This week is still a work in progress; due to a combination of attending Dassault Systèmes' 3D Experience World conference three weeks ago and attending an all week Machine Learning training for work last week, I'm a little bit behind and working on catching up.
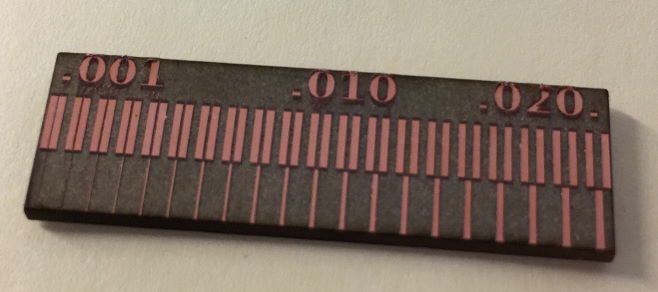
Since I'm already decently familiar with 3D printing, I dedicated some of my time this week to going back to last week's electronics production and experimenting with laser engraving PCBs on our Trotec fiber laser. More details about this, which may be much more interesting than my progress on this week's topic, in the relevant section in a future update (because it's 3AM as I write this), but here's a teaser!
# Group assignment
This week's group project was to characterize our tools for 3D printing and 3D scanning.
Since I was unable to attend last week's class, here's a picture of what my classmates were able to get out of our Sindoh printers during my absence:

I think that's a pretty good result! I do want to experiment more with settings, especially on our lone Prusa i3 once it becomes more available. It has only been recently rebuilt and is under constant testing/use at this point but I am looking forward to testing out the difference with my old, no longer functional printer, an old mk3 clone that was quite good in the beginning but significantly degraded over time as it's wood structure introduce more and more slop.

My classmates also tried to 3D scan various objects in the lab but reported little success. With a little patience over the last couple of days, we were able to get some slightly more satisfying results on bigger objects:
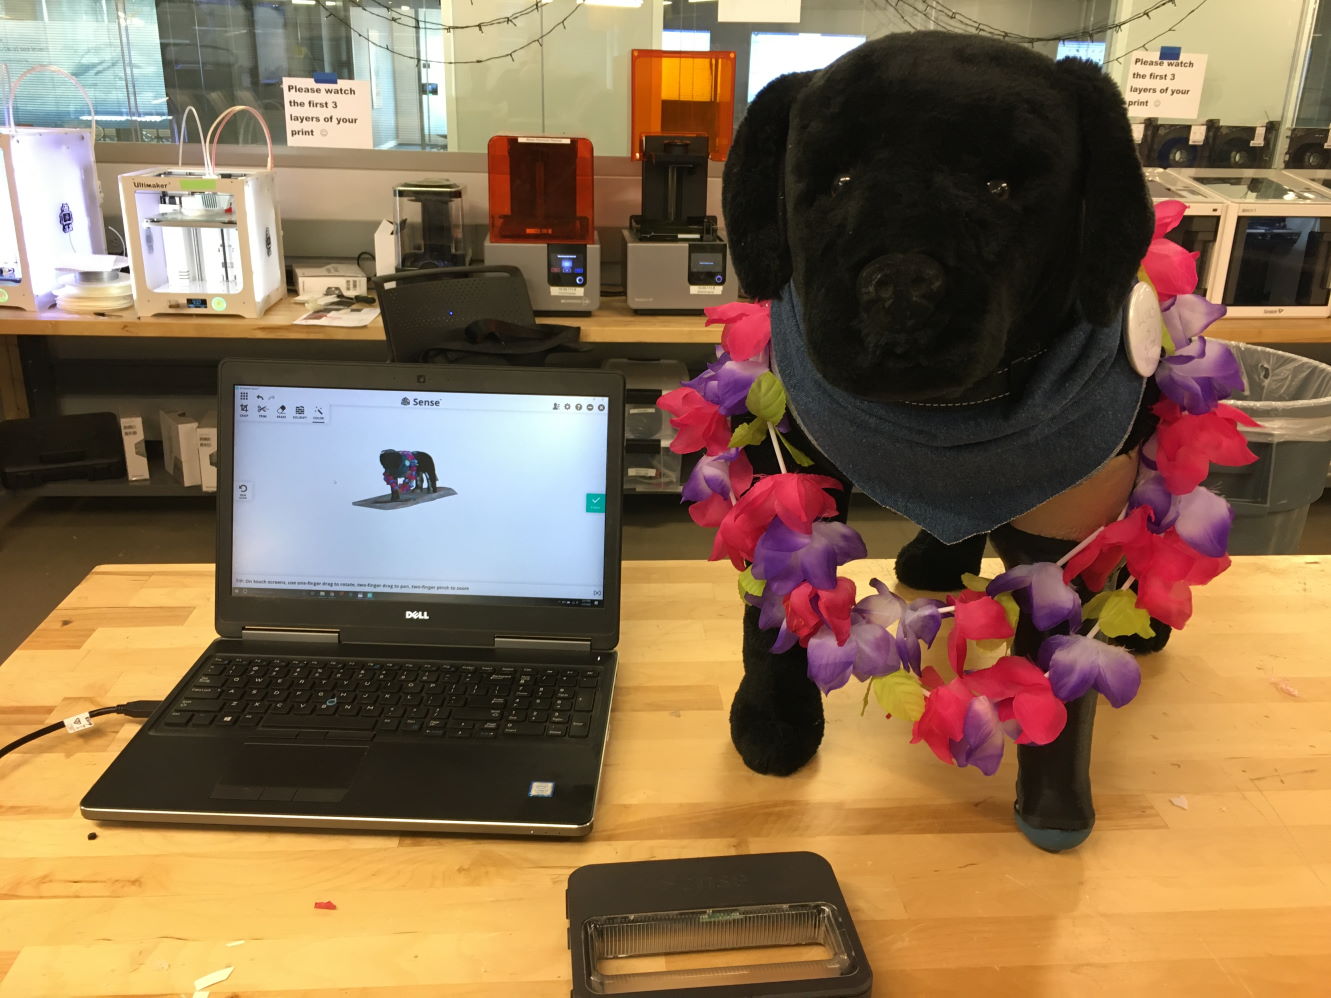
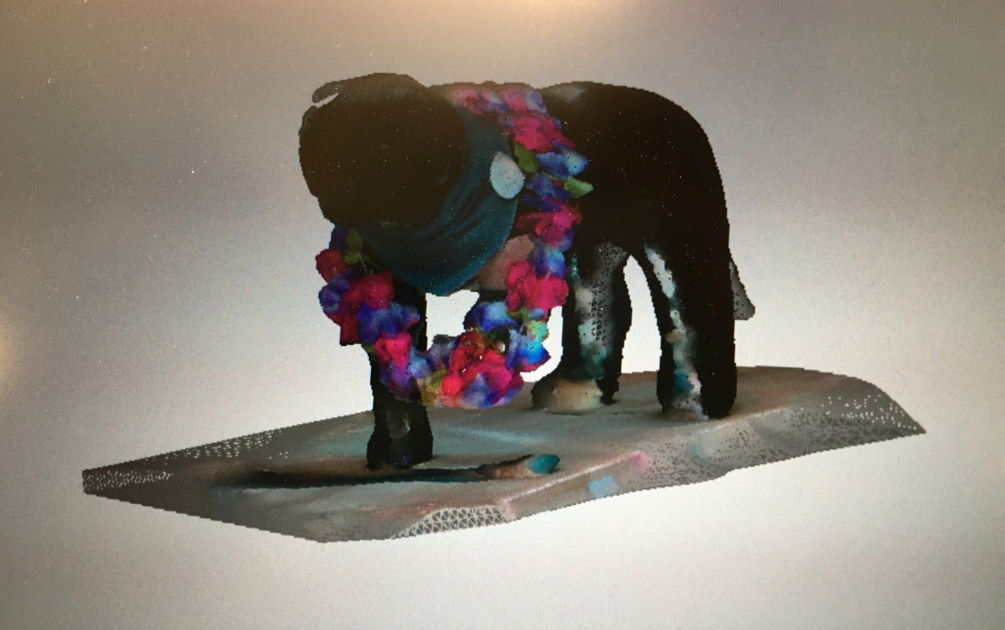
If you look closely at the real object and compare it to the scan, you'll notice a rather interesting phenomenon here: the "real" dog has a plastic prosthetic dog attached. The shiny plastic apparently reflected light enough, especially compared to the "fur" of the body, to become completely invisible to the handheld 3D scanner!
Overall, this did little to convince me that 3D scanning is useful outside of some very specialized, high end applications. Handheld scanners, phone apps, etc., all gave results that were quite poor in terms of both accuracy (reproduction of small features) and completeness (reconstruction of a full, manifold model, without having to generate too much "fake" geometry).
Interestingly, this somewhat lines up with my quick exploration of the idea of a Time of Flight sensor based measurement system in the final project exploration.
# Individual assignment
This week's assignment was to 3d print something that cannot be manufactured with traditional (subtractive) techniques.
# Print in place mechanism
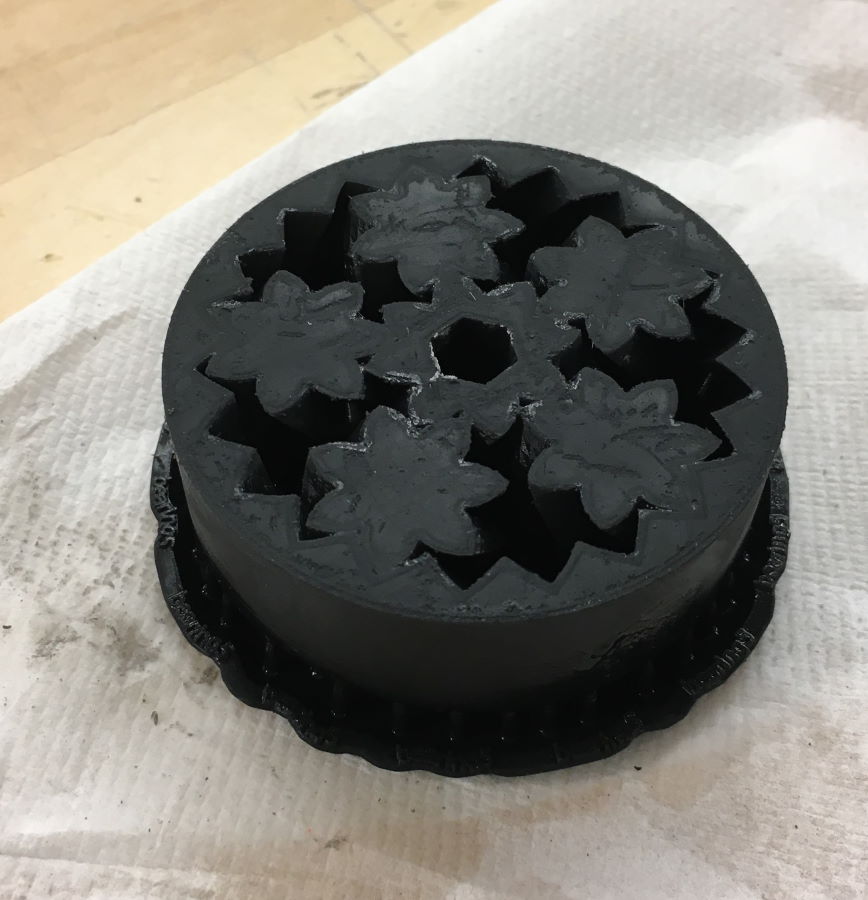
In the interest of time, I went with an existing design: this gear bearing from Thingiverse.
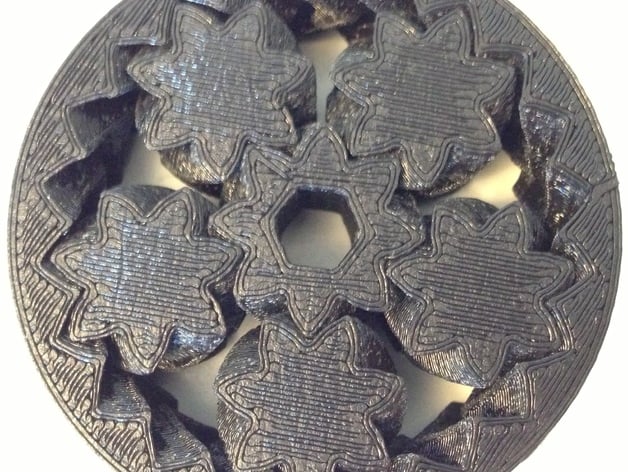
Print in place mechanisms are always exciting on paper but I've rarely had success with them with FDM printers in the past. I figured I would give our SLA printers a try, out of curiosity.
The result was not exactly a success!
This looks very fused together... Oh well, the instructions on Thingiverse say to put a hex shaft through the center hole and use a handheld power drill to break things free, let's try that...
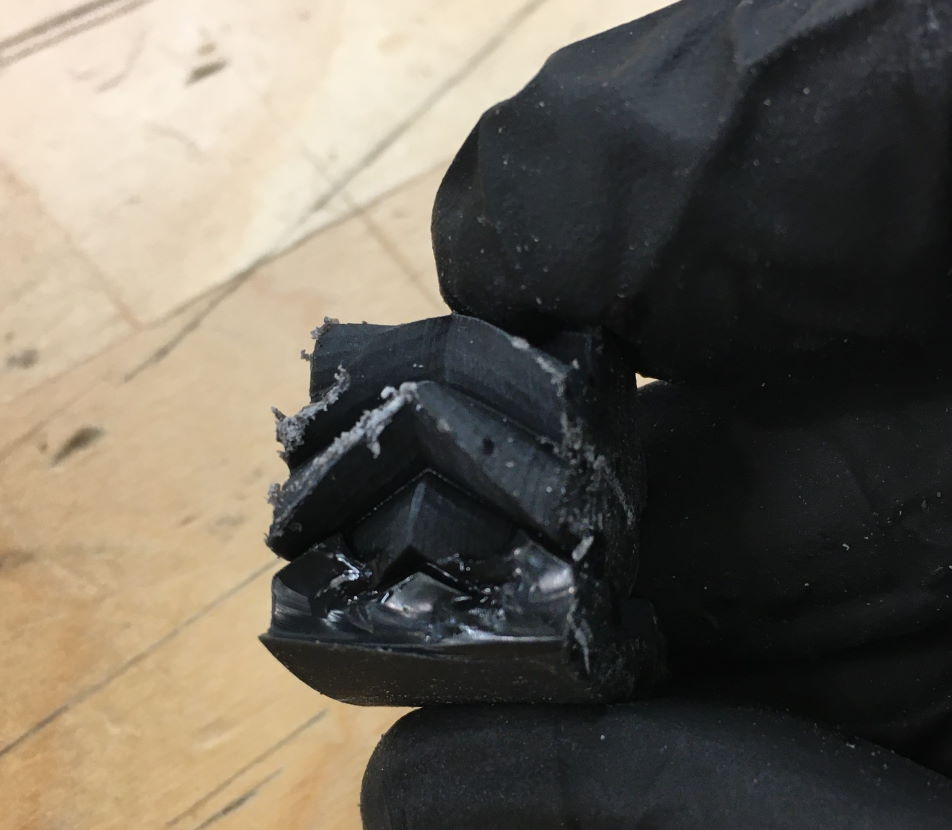
Oops!
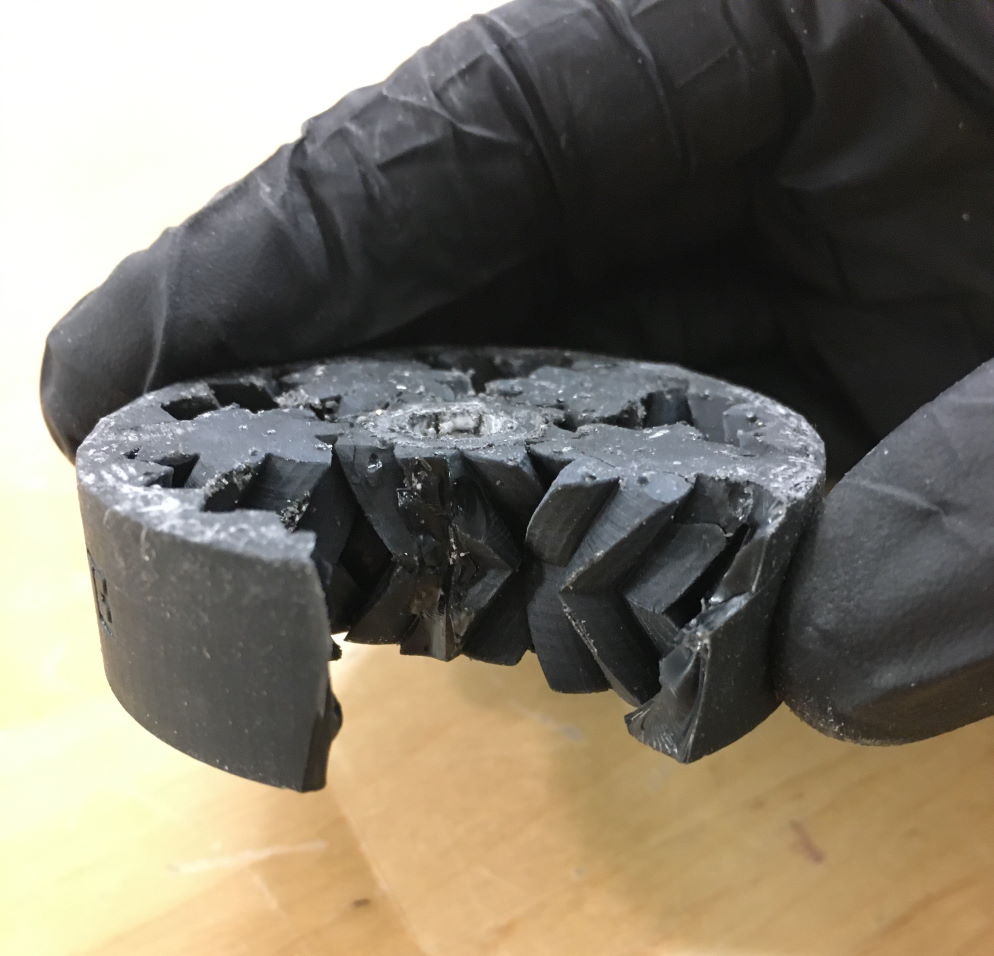
Those teeth did look pretty good internally though!
I then started another print of this on our more usual FDM printers. That print completed this very morning (Wed. March 4th 2020, just before our weekly class) and looked a lot better, tolerances wise:
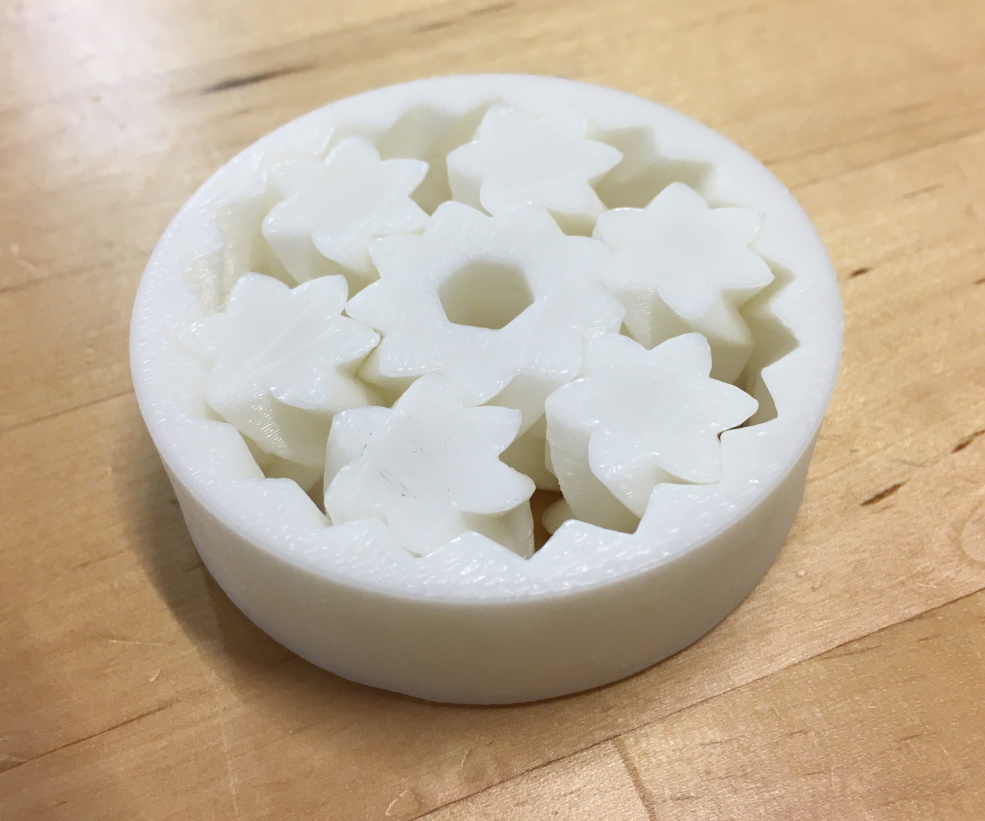
to power our second Magic Wheelchair build:
# Custom designed objects
Since I wanted to show at least one successful print here, here's something I designed several years ago, printed at home and have used regularly since:
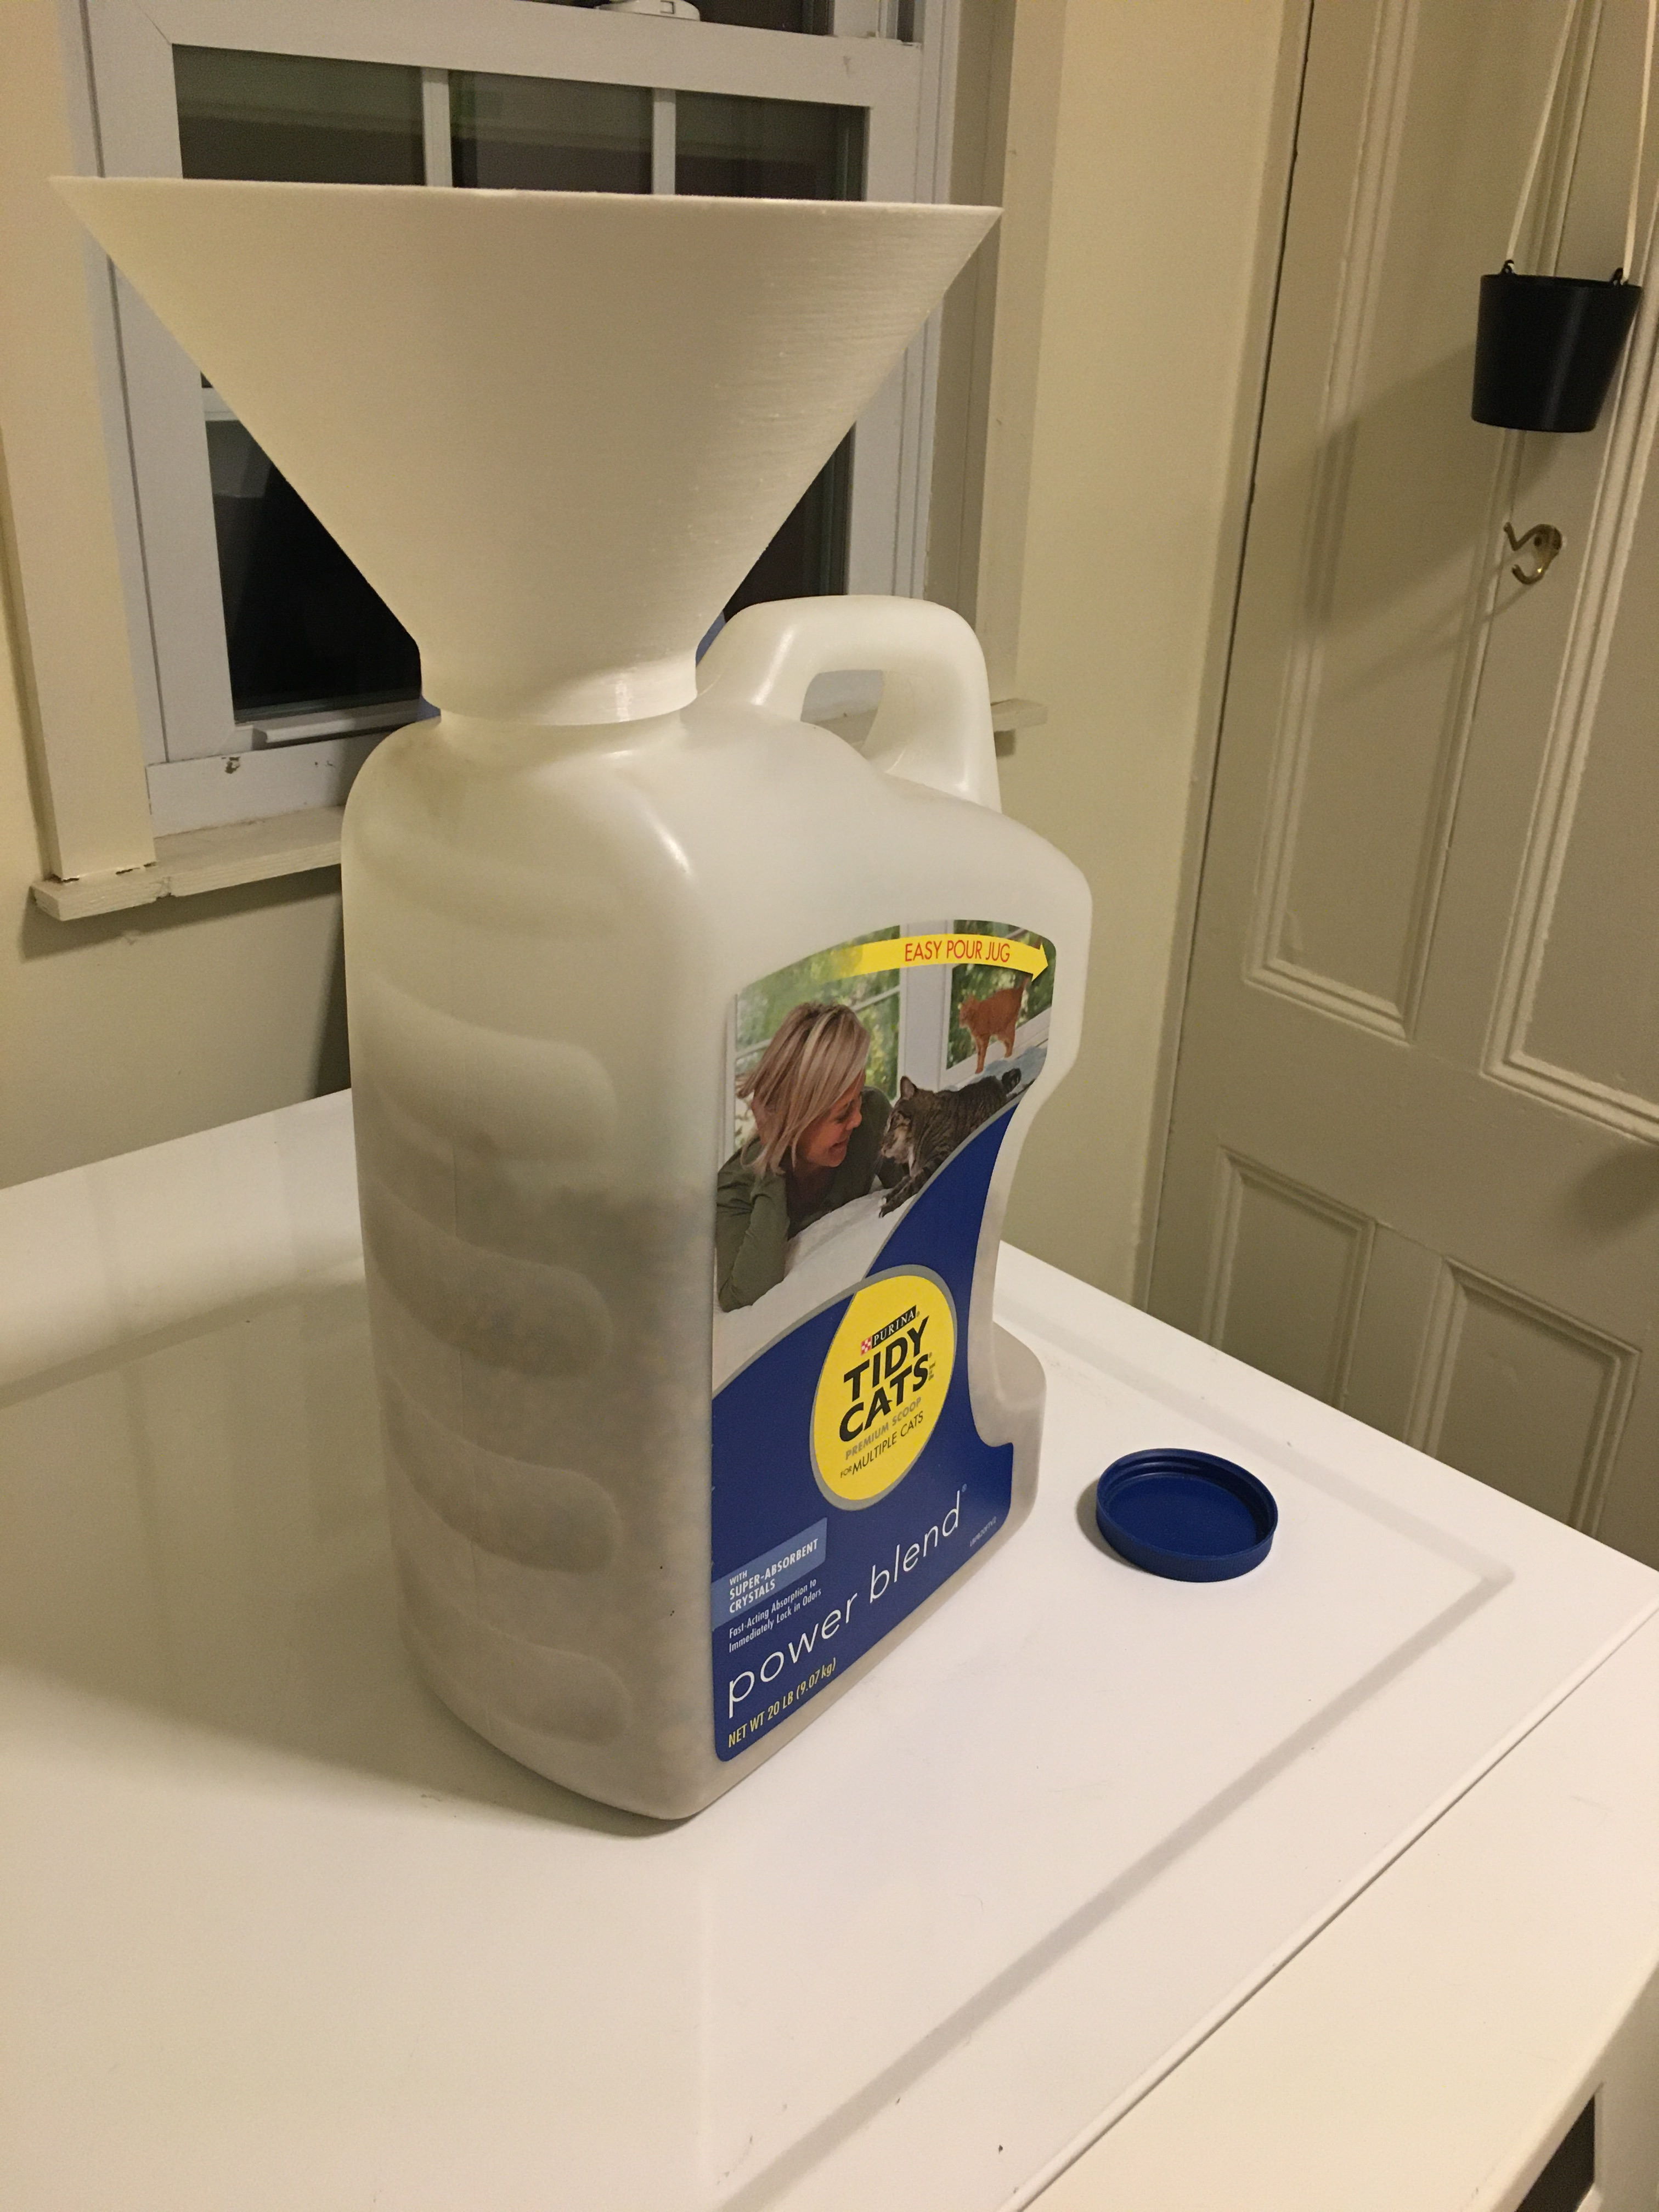
This exceedingly simple print is nevertheless something I really love about 3D printing: it allows for completely customizable products designed to solve a problem only you have.
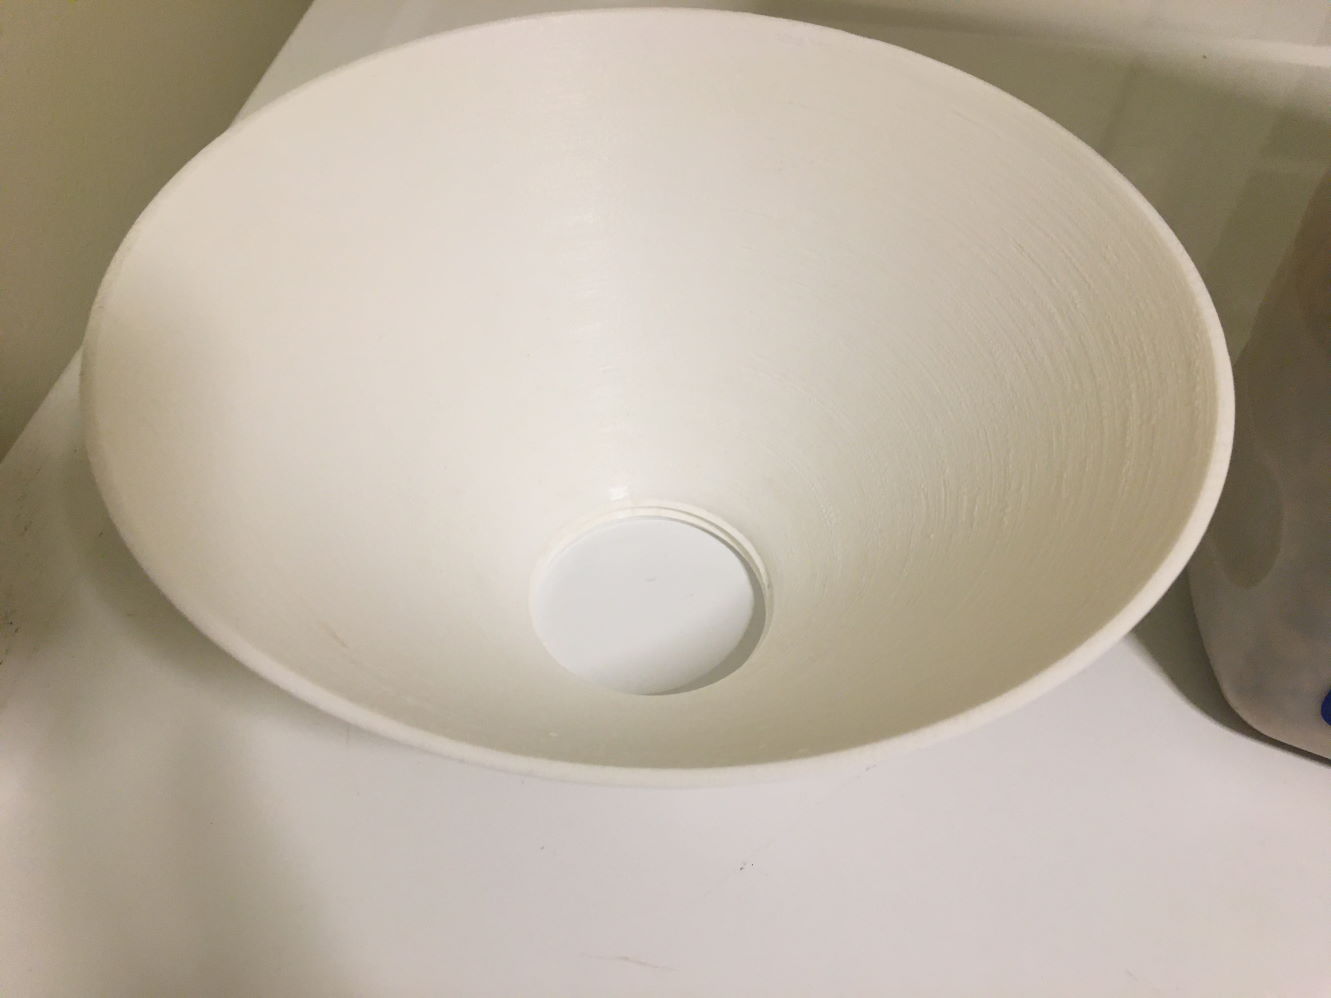
In this instance, storing my cat's dry food in a reused cat litter jug for easy serving. While this is extremely convenient, refilling said jug from 20+ pound bags of cat food was an ordeal every couple of months... Until I realized I could design a custom funnel with the exact right angle for best drainage and a custom inner thread matching the ones on the jug!
Also note that this shape is carefully designed to have the angle of the slide be shallow enough to print without supports, in the interest of speed and quality of the surface finish.
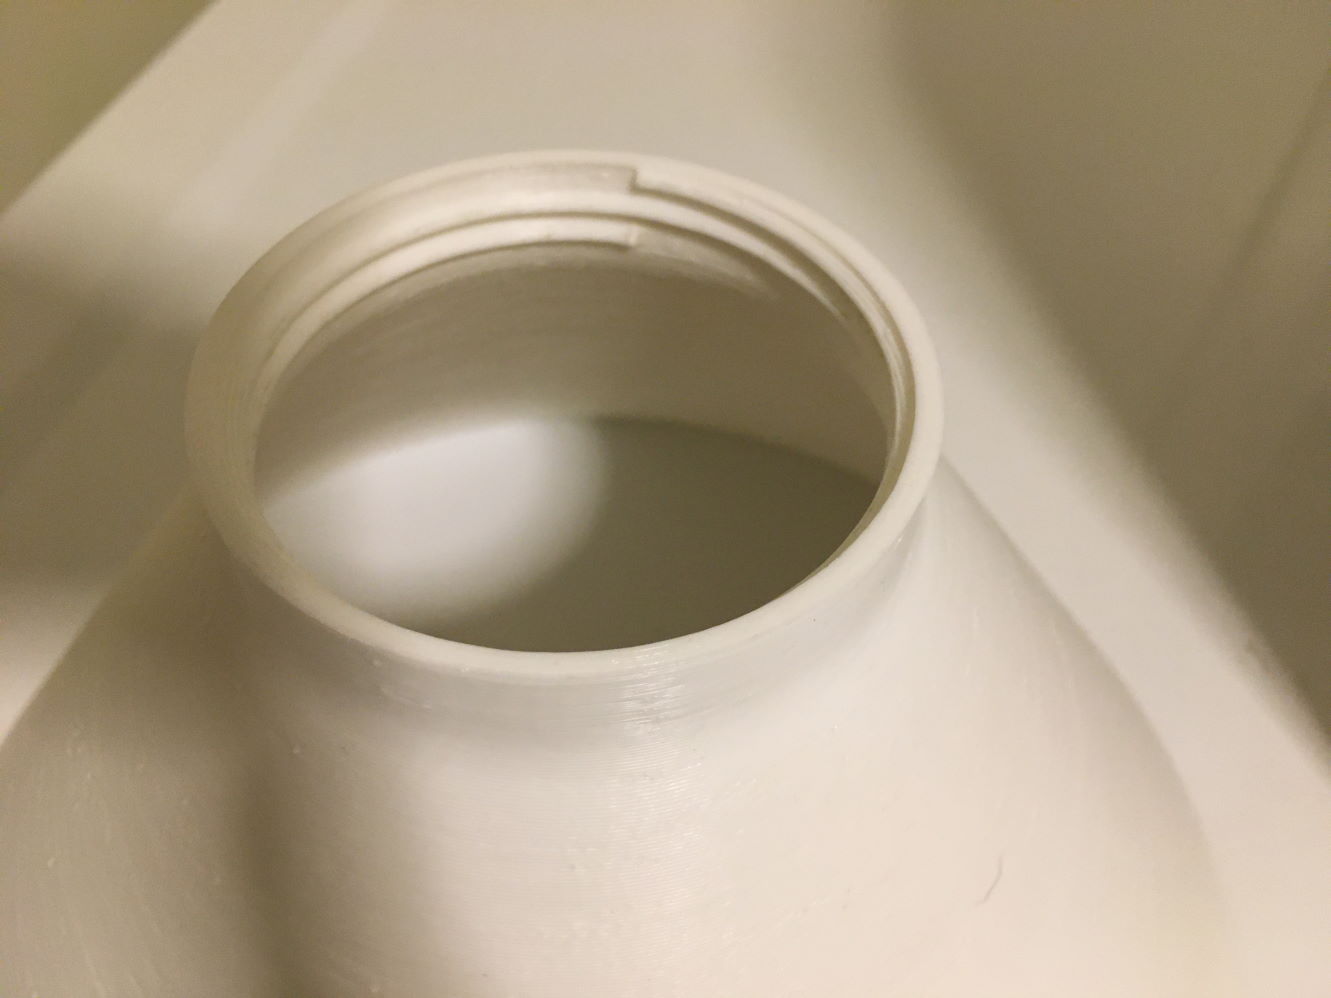
Where would you find a device with threads that match the cap on this jug, were it not for 3D printing and access to CAD software?
# Lessons learned
- This is a lesson I had unfortunately had the opportunity to learn previously with my own FDM home printer but print in place mechanisms can take quite a lot of fiddling with slicer settings to get right. More exploration needed!
- Somewhat predictably, SLA resin (at least the highly accurate but brittle Formlabs Black v4) is not the right material for printing a mechanical part that will experience any significant load
- 3D scanning seems to be very error prone; I've yet to see a use case that feels useful to me?