2. Project management
This week I learnt about version control and practiced documentation.
Below is a tutorial that explains the processes I went through.
I. GitLab Tutorial
Summary
GitLab is considered to be one of the systems of version control. It is a tool that assists in documenting and tracking different versions for different types of information such as documents and website development. In other words, it acts as a repository for your data.
Step 1. Accessing GitLab Repository
To access GitLab, you will need to go to gitlab.com and create an account. After creating an account, you have an option to go to “projects” in the tool bar then press on “your projects” and create a “new project”. However, for Fab Academy students, we were granted an access to the Fab Academy project where all the course work will be created and documented there.
Step 2. Installing Git and Gitbash to My Computer
For windows users, download Git and Gitbash from www.gitforwindows.org After the download ends, press run then keep pressing next without changing anything. After installing, you will mostly be working on Gitbash.
Step 3. Setting up SSH Key
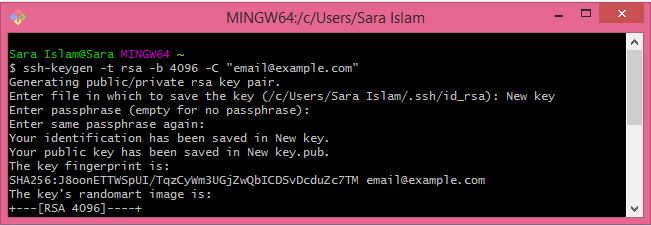
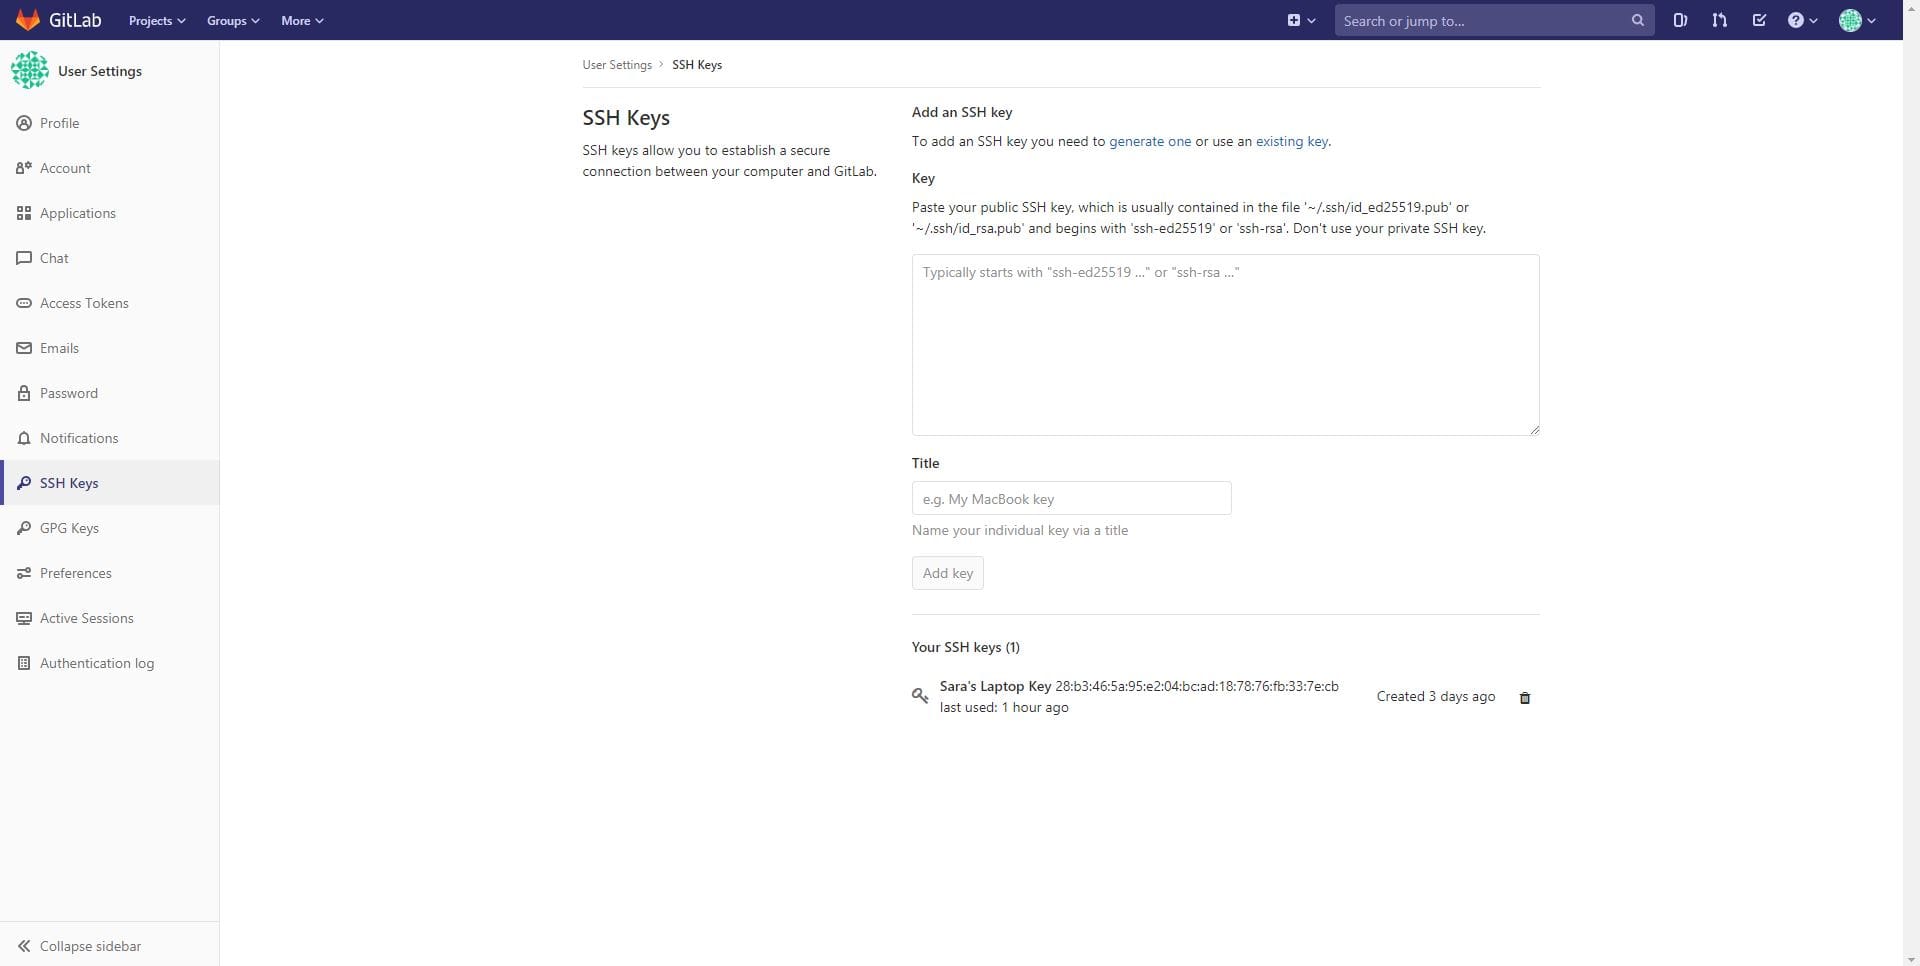
SSH Key is the key that grants secure access between your computer and the server (GitLab) To set it up, in GitLab tool bar go to “settings” this will be found under your profile image in the far right. Then go down the list on the lift side and press on SSH Keys. If you don’t have one, generate a new key and copy the selected part in the image below

Then, paste in GitBash and press enter , enter a file name where you want to save your key and press enter. It will ask you for a passcode press enter if you don’t to put one.
Copy your key and paste it in GitLab where shown in the picture below and give a title then add key.
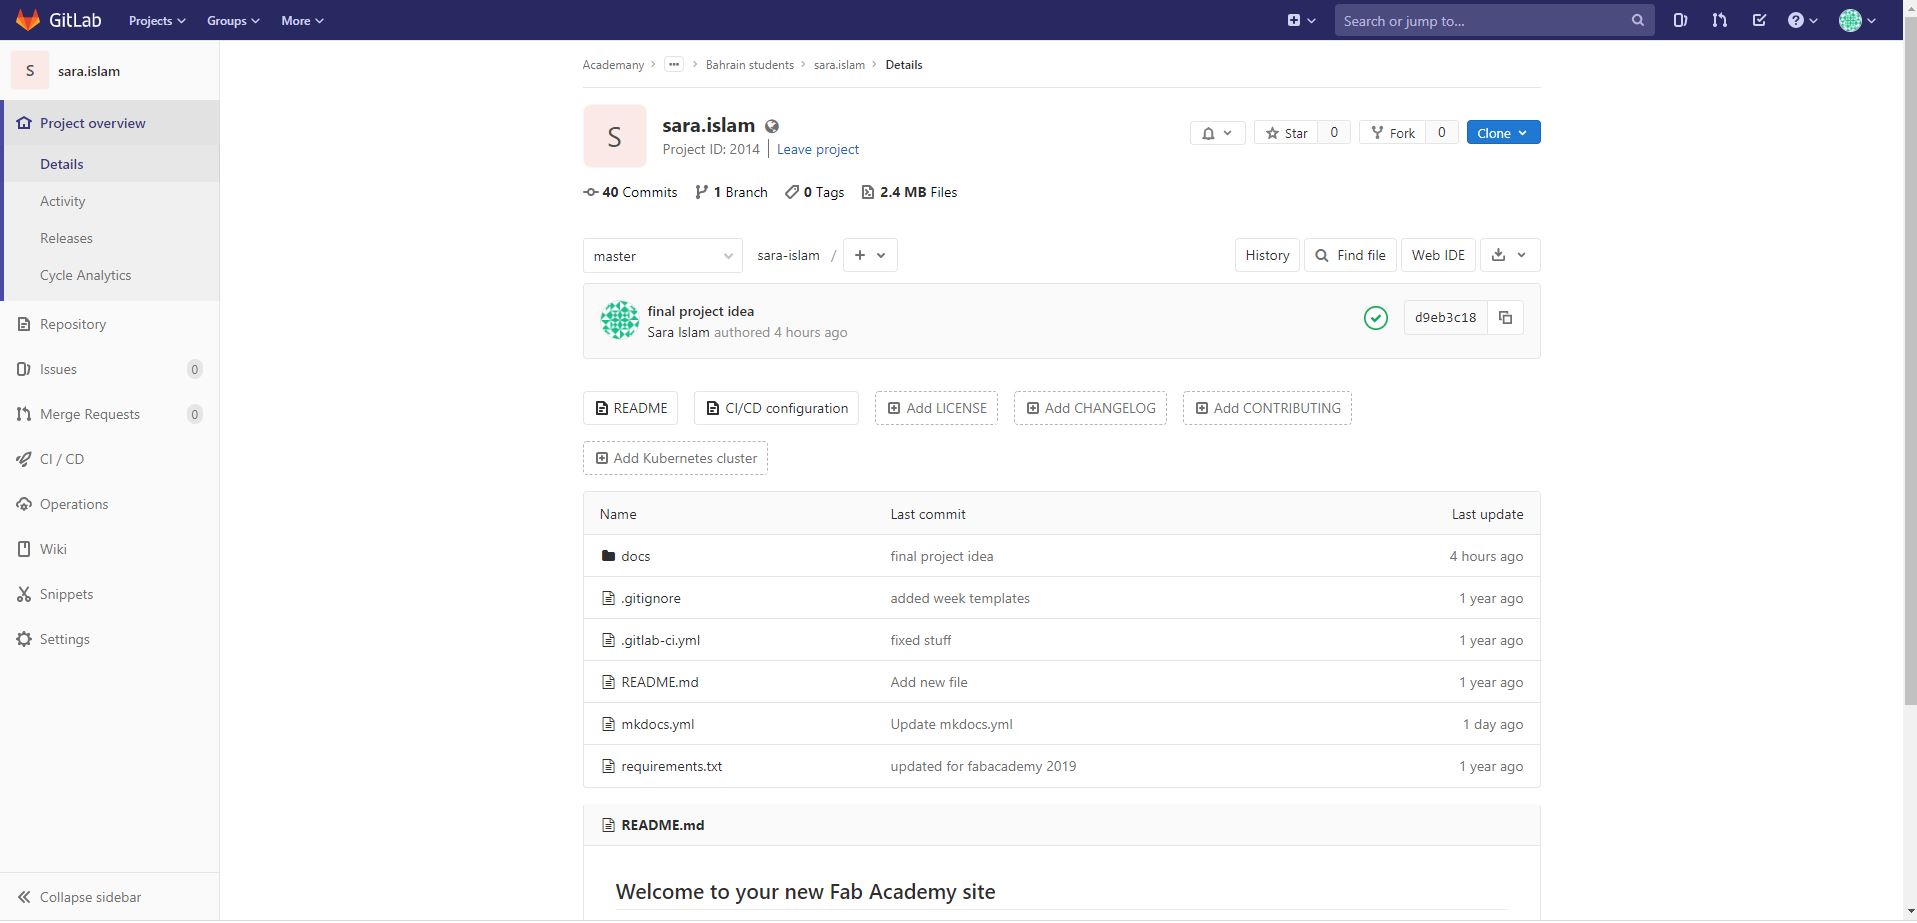
Step 4. Cloning Repository to Your Local Computer
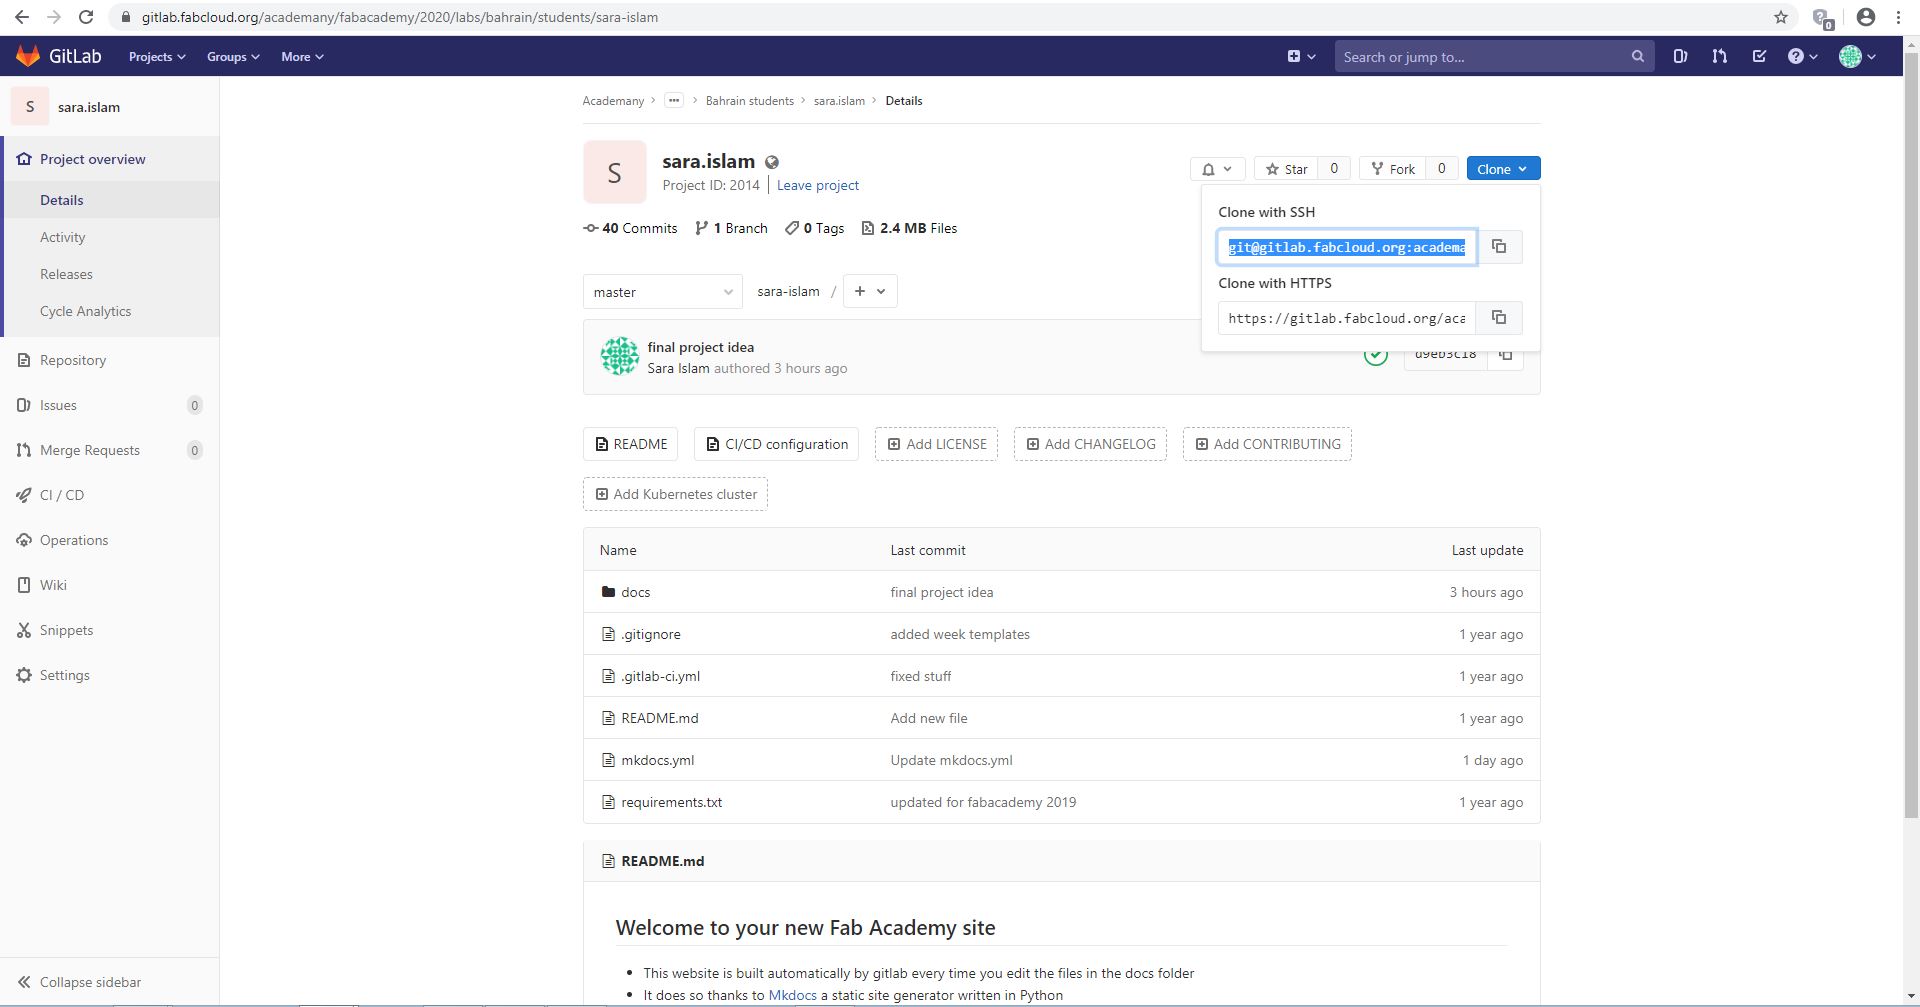
Cloning is the act of making a copy of your repository locally on your computer where you can edit it and push the changes back to the repository using GitBash. To do so, go to the project you are working on, and press clone and copy the first link (if you accessed the repository using SSH key) to paste it in GitBash.
Then open GitBash and do the following
Git Clone git@gitlab.fabcloud.org:academany/fabacademy/2020/labs/bahrain/students/your-name.git
cd “your name”
git config –global user.email “your email”
git config –global user.name “your name”
Note: SSH and Cloning steps are only done once unless you changed your computer.
Now you are all set to start editing and working on your files and website.
Step 5. Content Editing
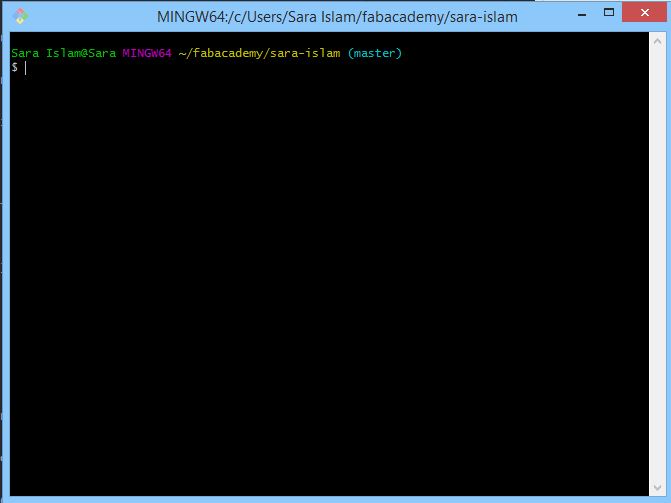
Editing the content of your website can be done either on GitLab website immediately or through Gitbash. However, the later is recommended. So, in Gitbash, In order to be able to make changes you need to be in the folder that you are working on. To do So, we will use the command cd (change directory), this command helps navigate through folders in your computer.
cd yourfolder/
In order to make sure you are going well, you should get (master) written in your location. This indicates that you are in the directory that is cloned to your local computer.
Now you have an option to either edit it through a text editor named “vi”
so you can type “vi” then enter. a page will open with the content. type “i” to insert then enter. Make changes as you like. Refer to MarkDown cheat sheet for more info about its syntax.
When you finish, press esc then type ” :wq ” by this you are saving changes and exiting the text editor.
or you can also edit the files by opening the files from your local folders and editing them on Notepad the save the changes.
Step 6. Pushing to Repository
To commit the changes you made and to push to repository follow the following steps on Gitbash:
git add .
git pull
git commit -m “write a short comment here”
git push
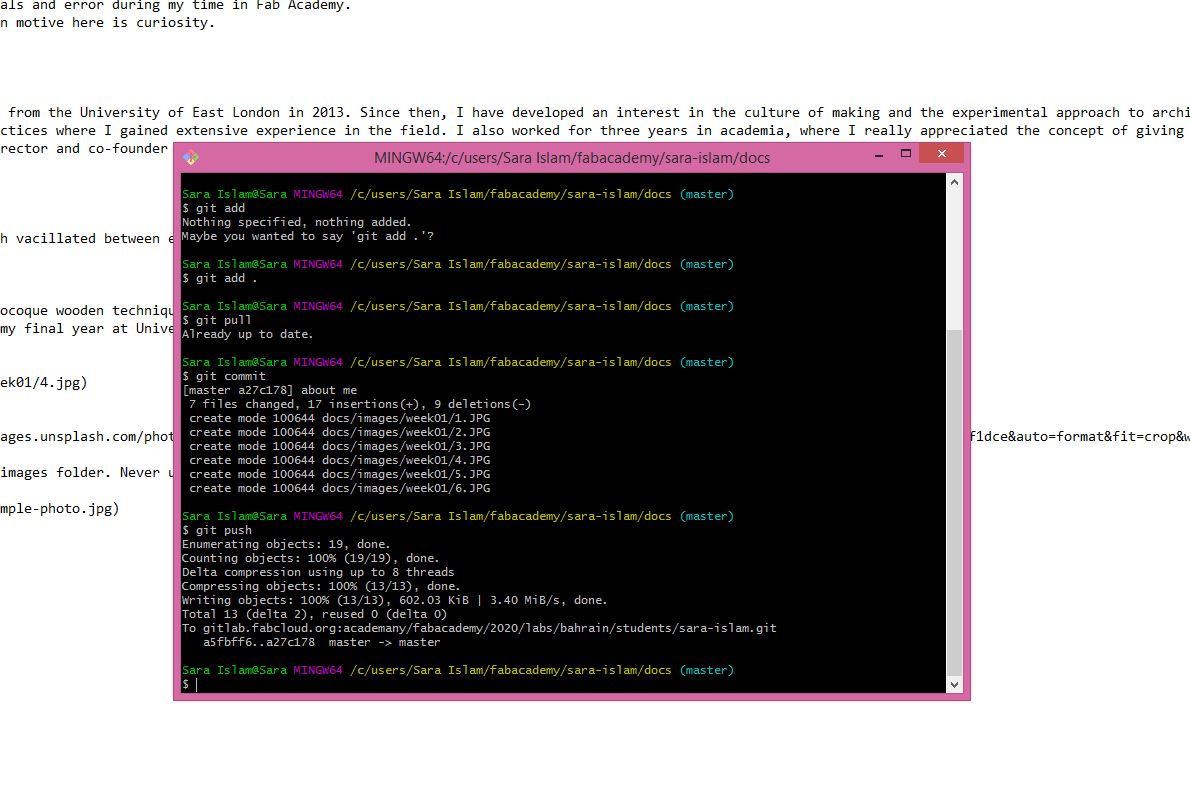
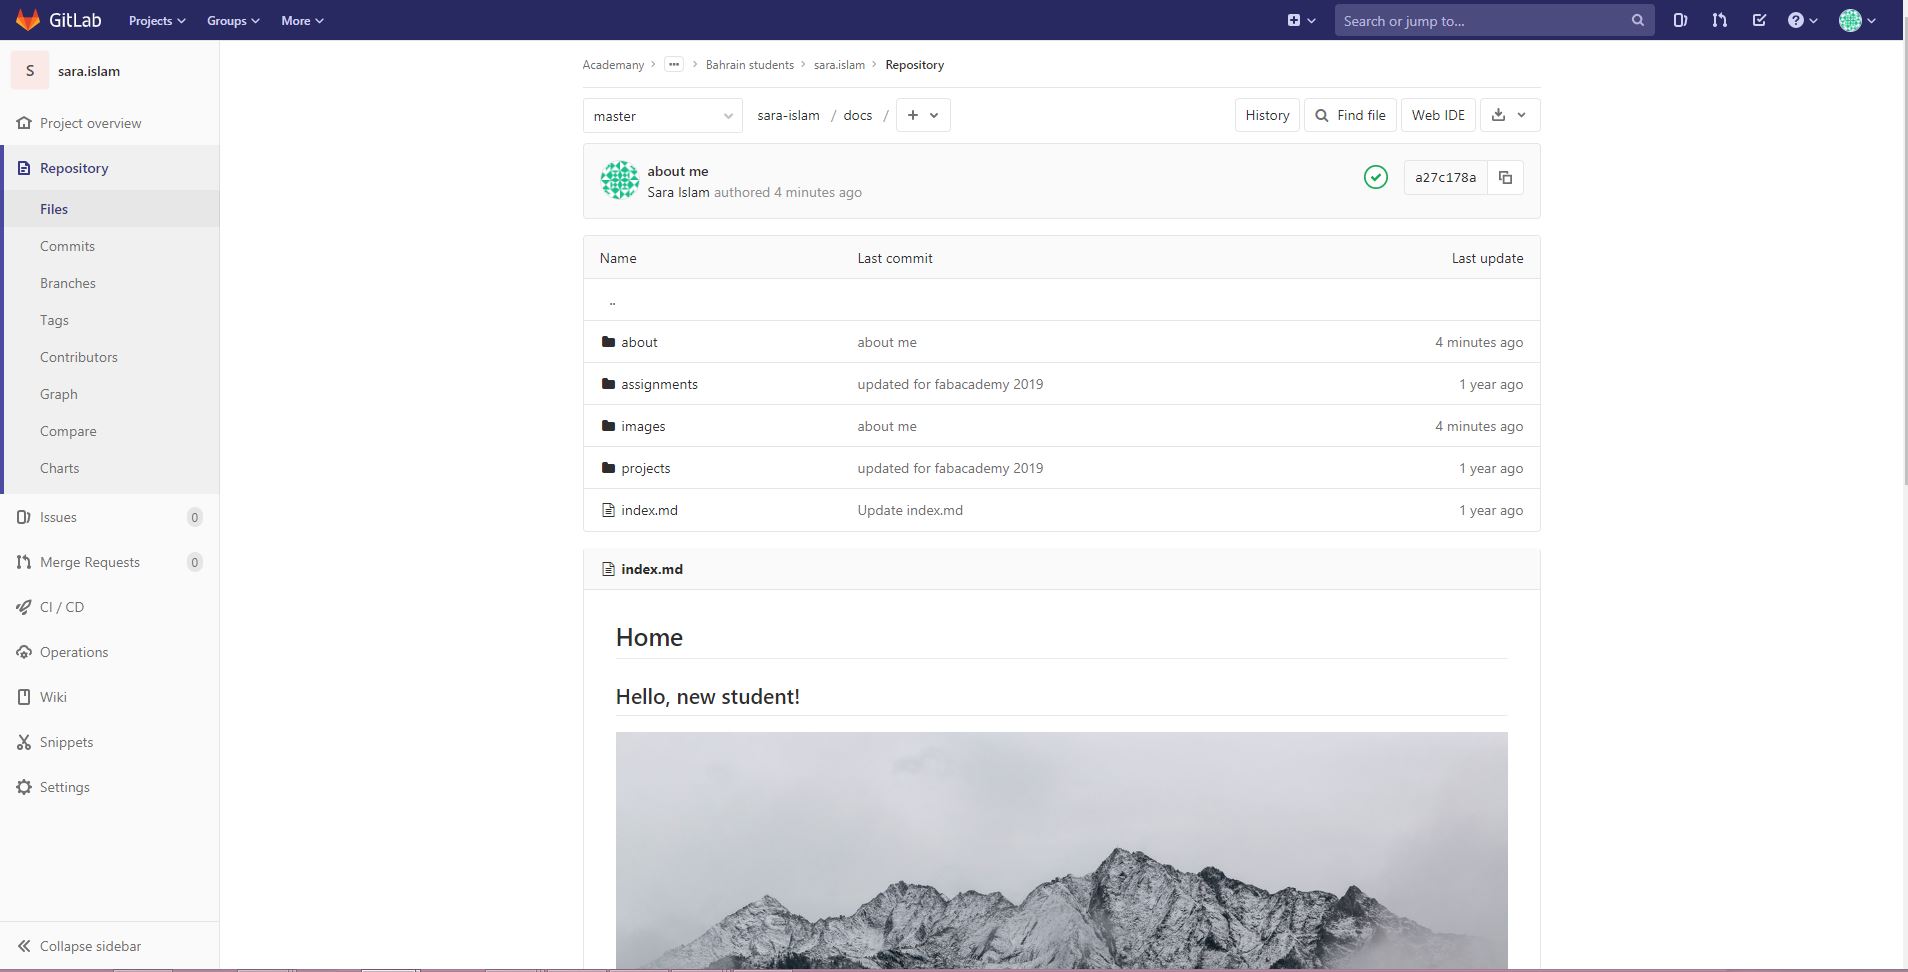
Now changes are made and updated to your repository.
Problems faced and solutions
I kept on getting a message telling me Fatal: not a git repository ( or any of the parent directories): .git
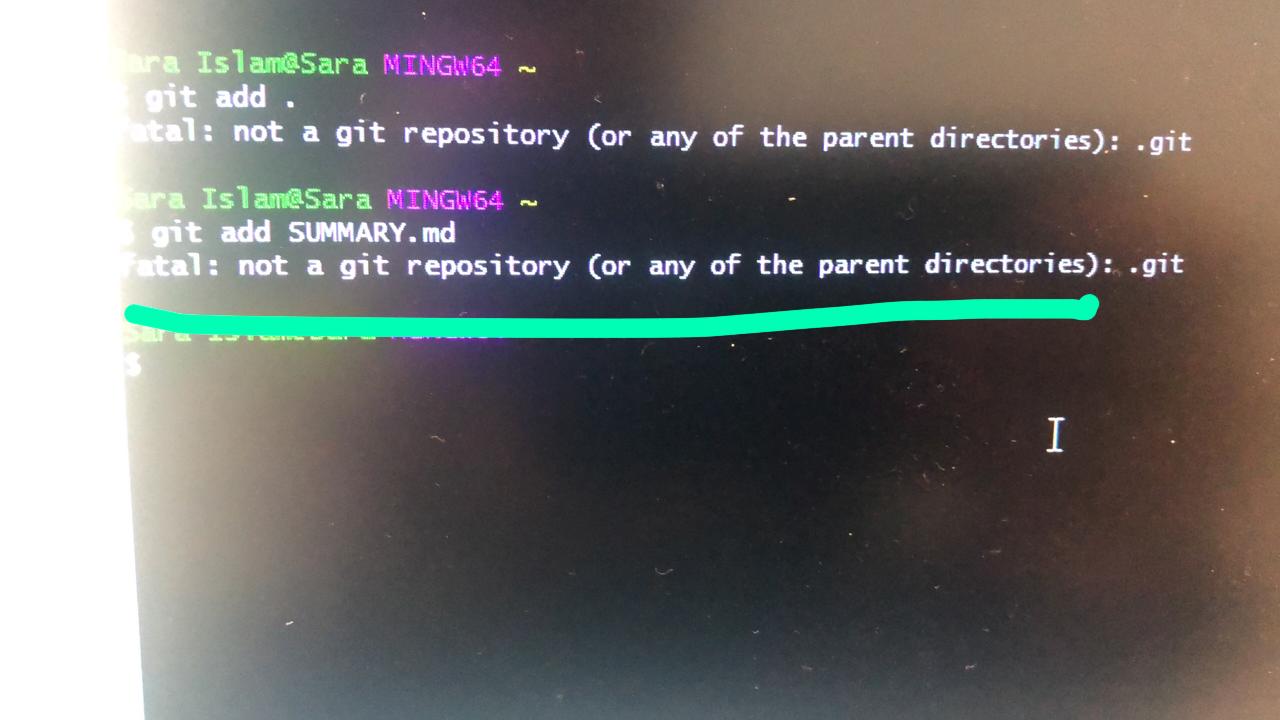
Solution found
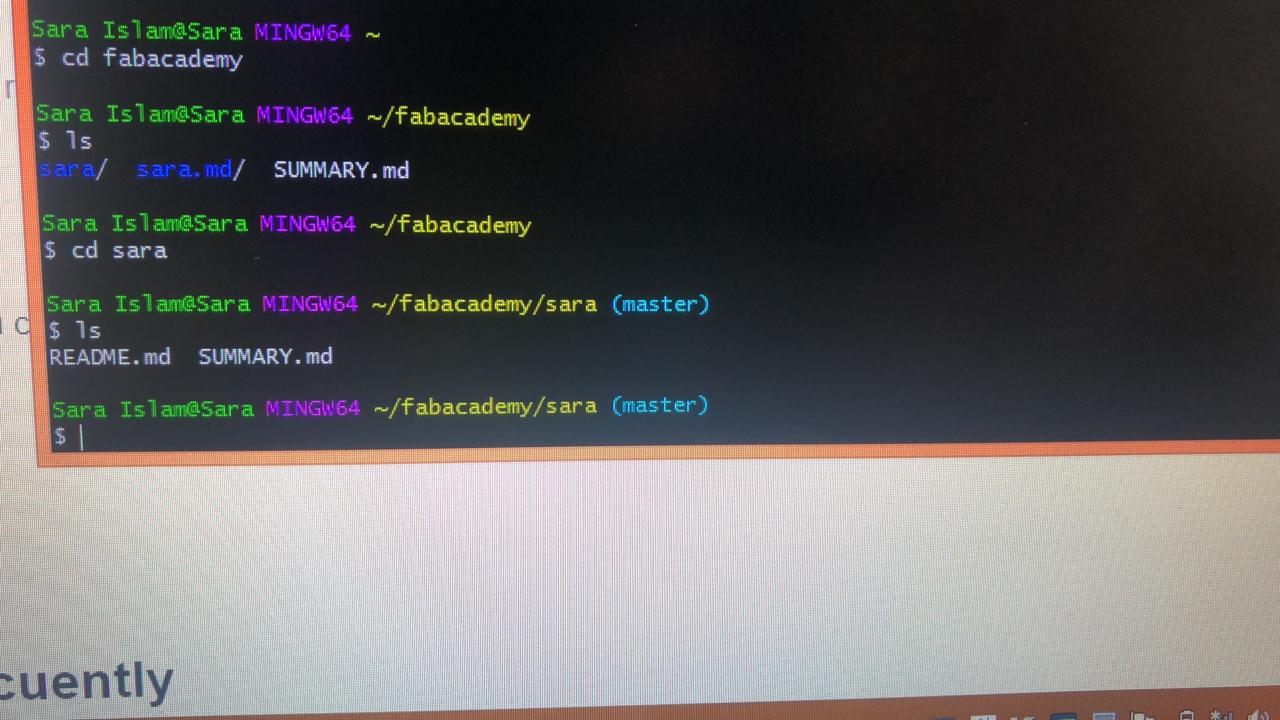
I asked around and I realized the point where I have to make sure I am working on the same file that I cloned from the repository and I should see (master) written
Second Problem description
I also faced a problem when I was trying to pull, I got a message saying Fatal: Could not read from remote repository.
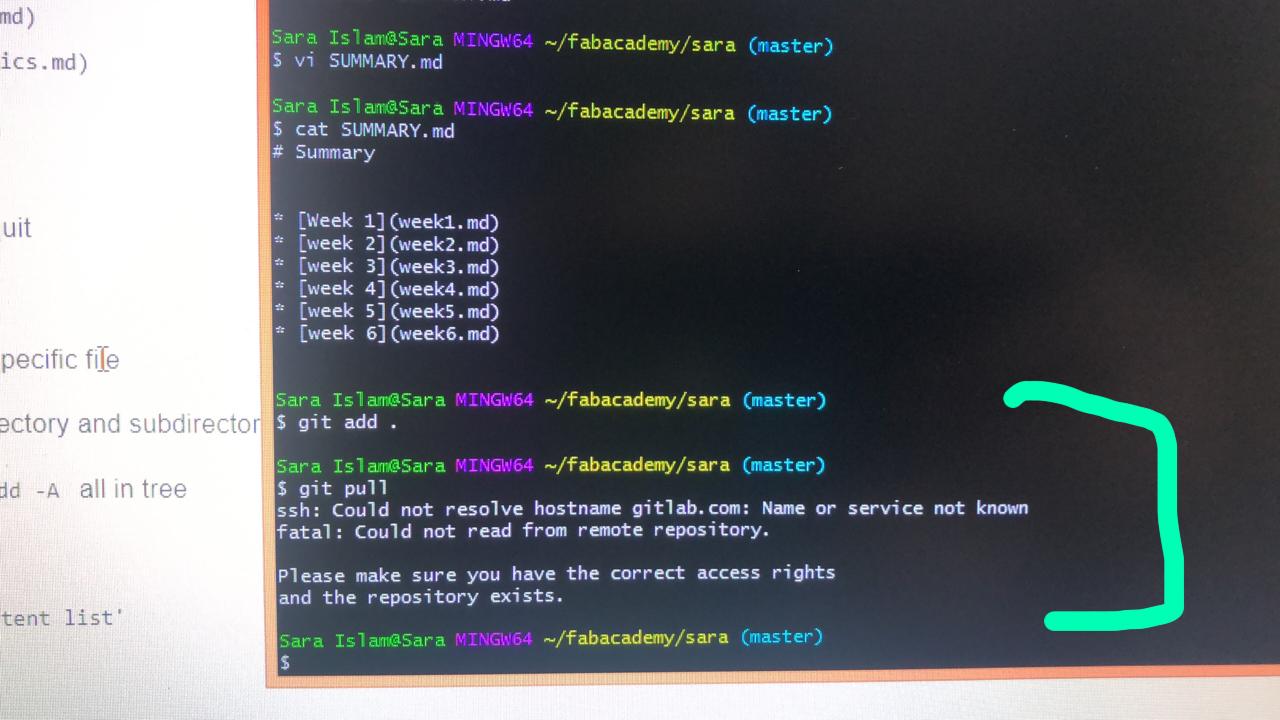
Solution found
I realized that I was not connected to the internet and I tried again after I connected and then I was able to commit the changes and pull to the repository
Machines and software used and settings
software : gitforwindows
Links for other sources / Useful information
II. Making a Website
This is My first time making a website. I’ve always thought this is an impossible mission and if I ever want to make one I should ask someone in the field to do so! But, thanks to technology today everything is easier. We have websites that made it possible for anyone to give it a go and make their websites with a simple graphic interface. But this website was not done using this method. It required from me to dig more in understanding Markdown and html.
Html is basically the language of the computer that uses in order to enter the internet.
Html uses tags to communicate texts
The vast majority of tags must be opened (

References:
Read more: https://html.com/#ixzz6D4HokPfj
https://websitesdiy.org/how-to-make-a-website-with-notepad/
However, although I am very interested in learning html as it allows more flexibility of design by the aid of css, For now, I used Markdown to make this website as it uses simpler syntax to format texts.
In the next steps I’ll show you how I made this website live.
From the document I cloned from my repository, there is a ready template that was pre created. I used this template as a starting point but I may change it later.
In order to ease up the process of shuffling between files and folders on my computer. I downloaded Atom. Atom is a software that works with git and allows you to open your directory, edit it and preview it all in the same page.
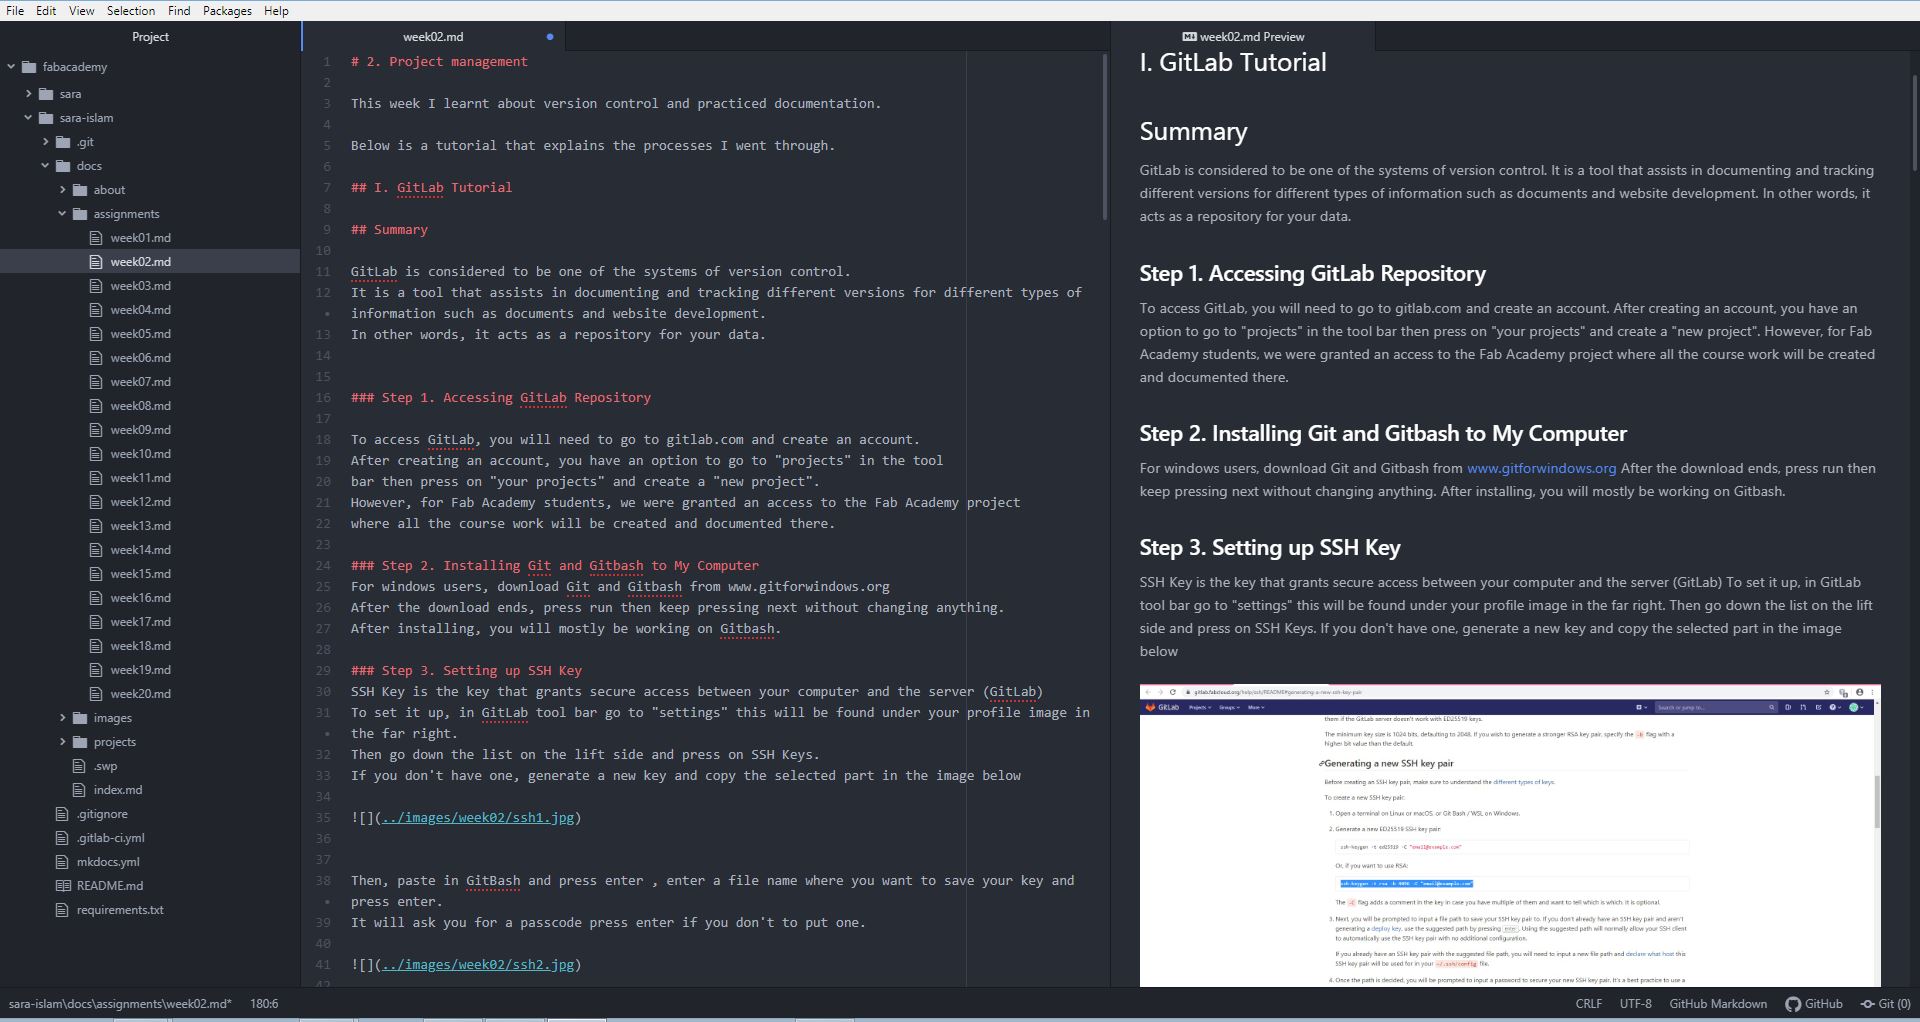
When you open the file, close the tabs you don’t need and to pop the preview window press ctrl + shift + m