13. Interface and application programming
in this week I try to use and connecting my phone with my device form the final project using Bluetooth module HC 05 and Bluetooth Terminal HC-05 application .
Group Assignment
MIT APP Inventor
I created a program, which turn an LED on and off from a mobile device using “HC-05” bluetooth module for communication with ATtiny84.
first open the website mit
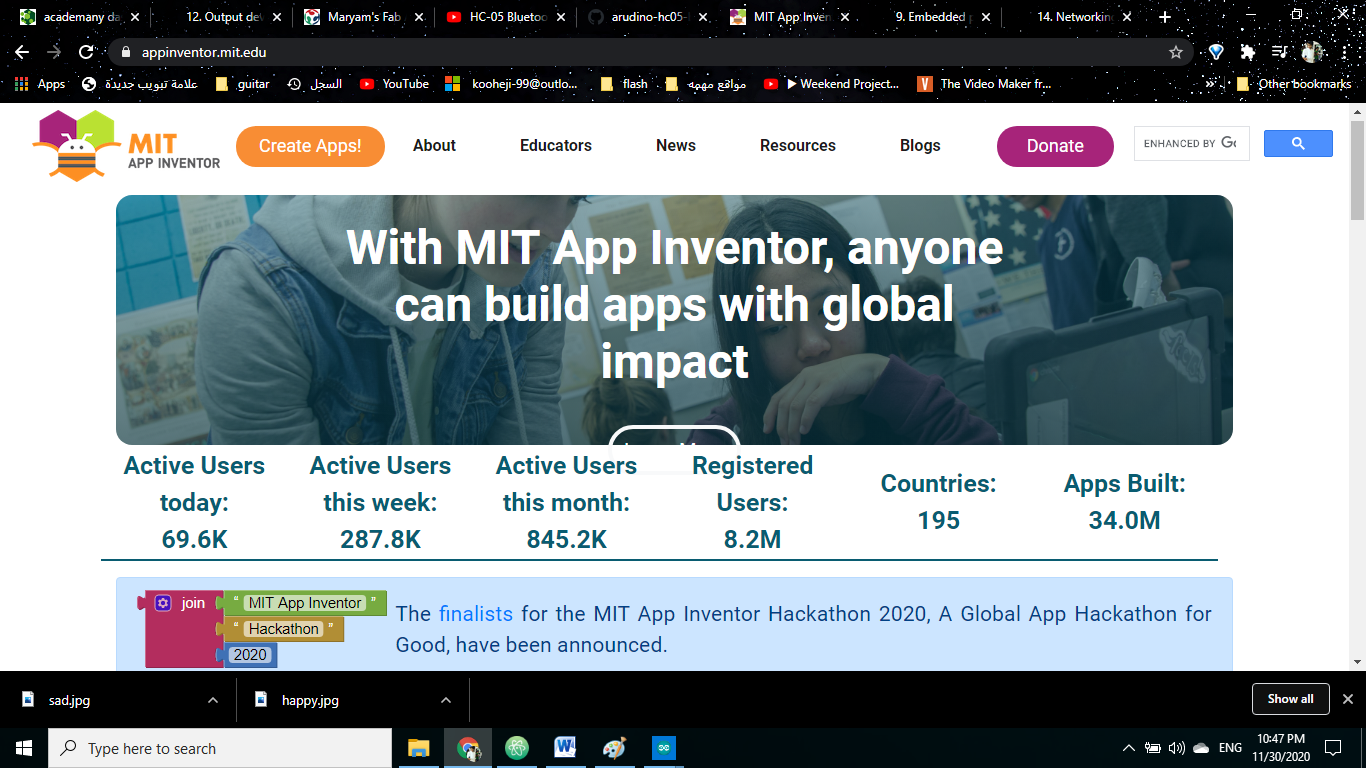
then press on creatsapp
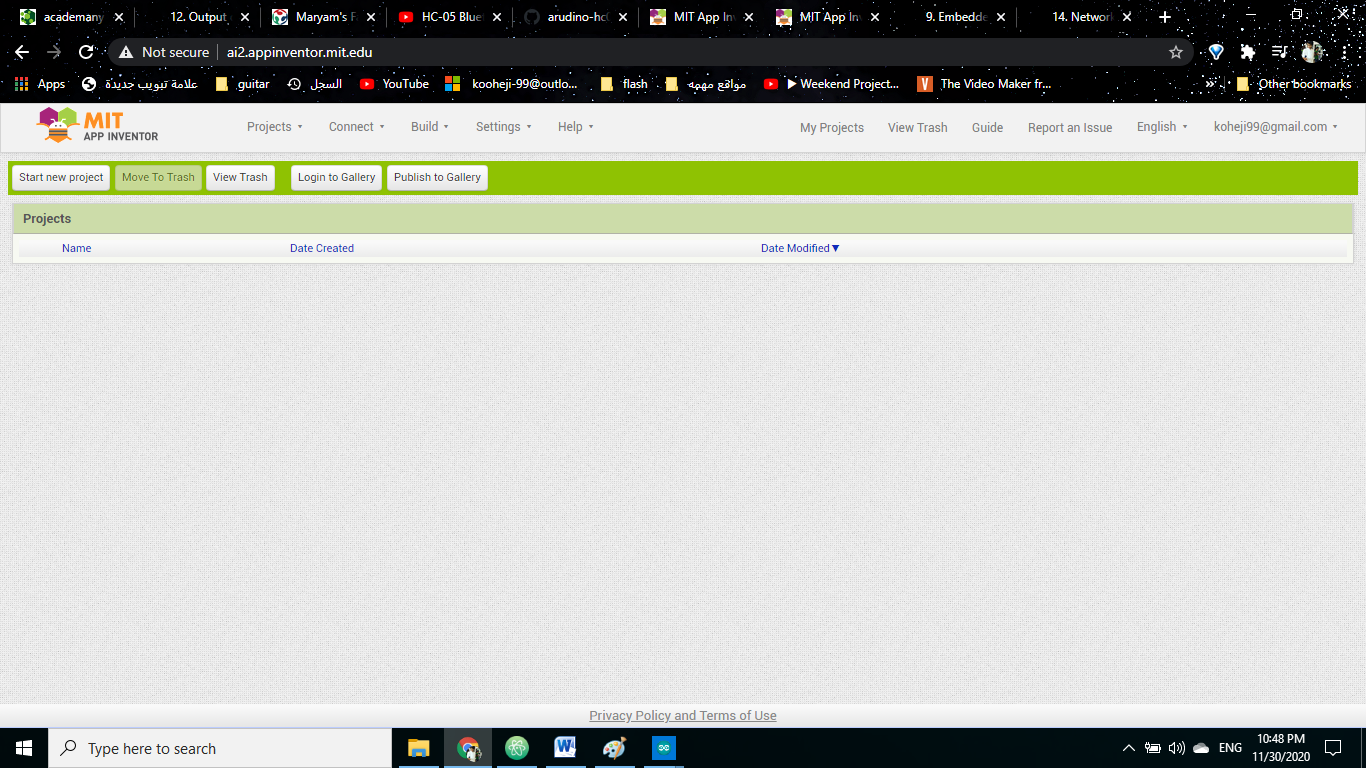
then start new project
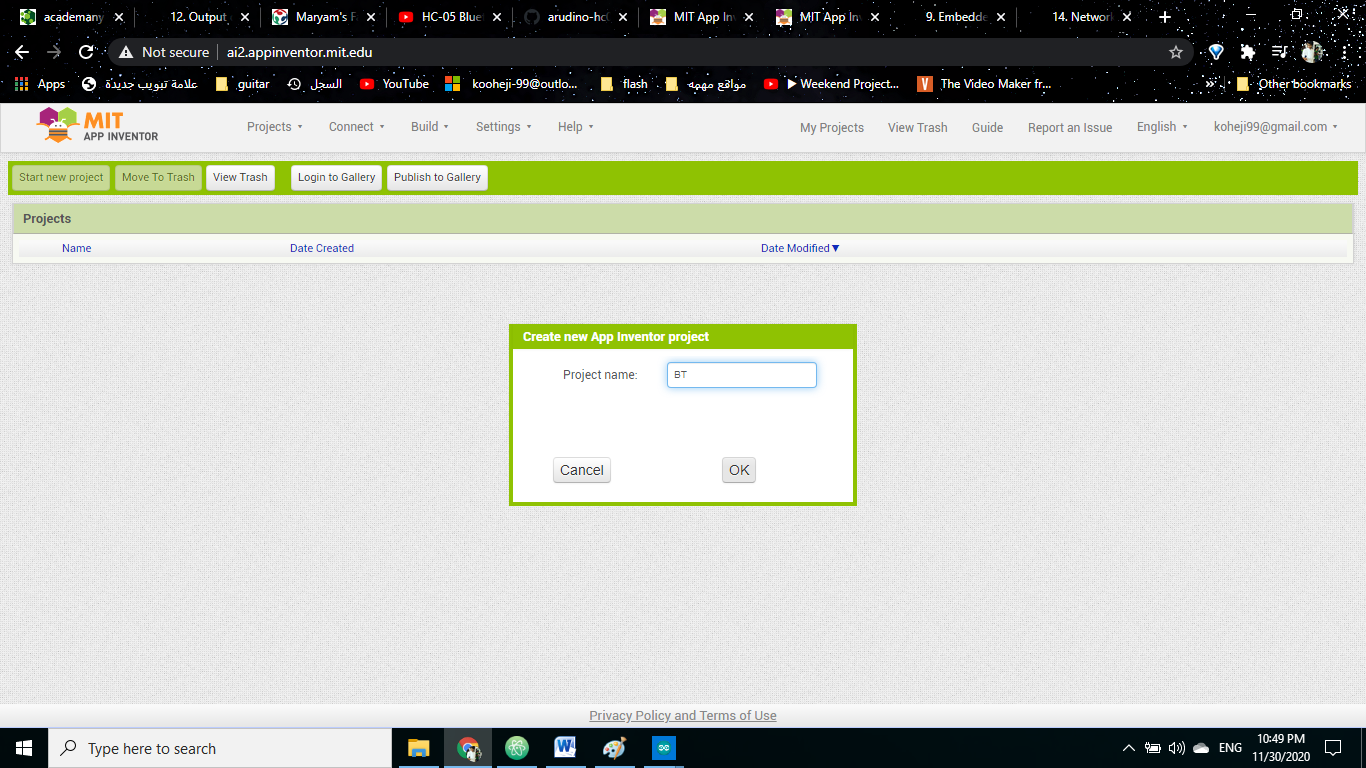
give the project name
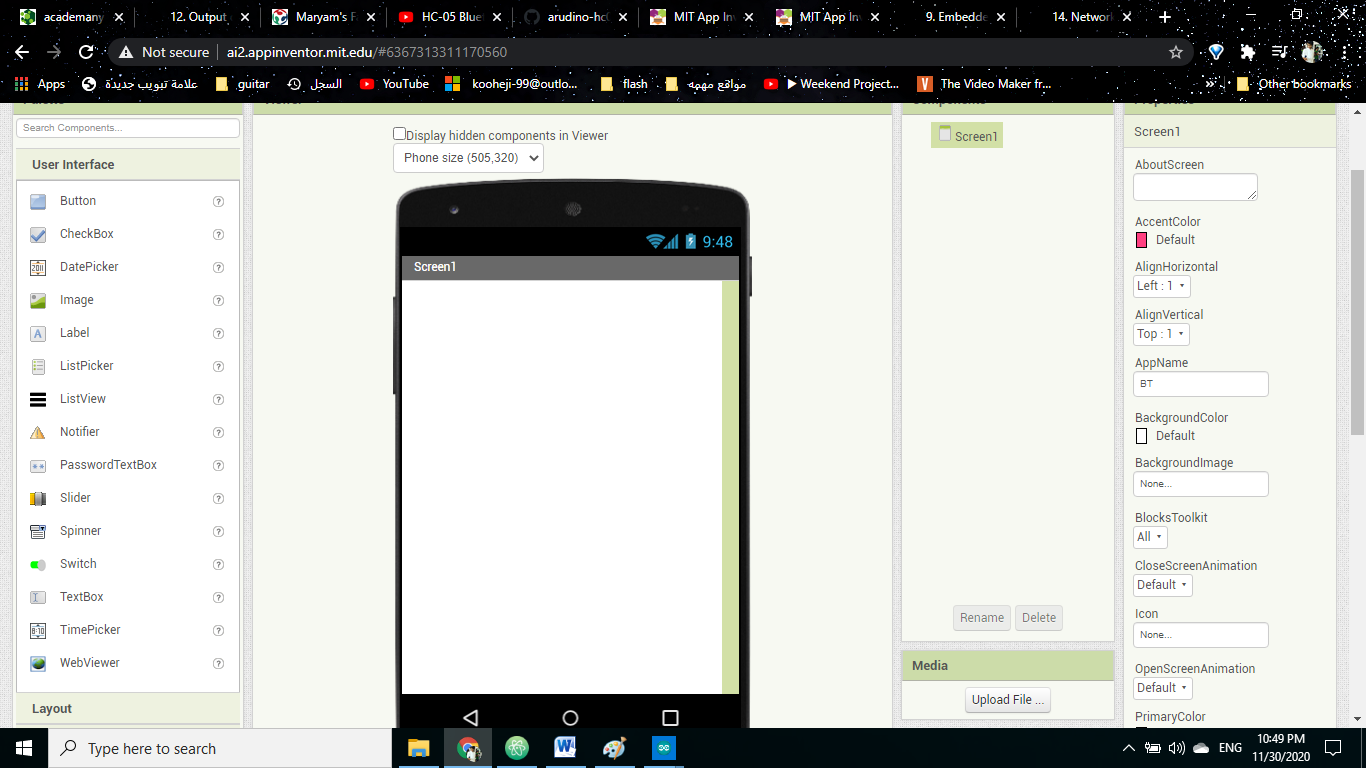
then this plateforme
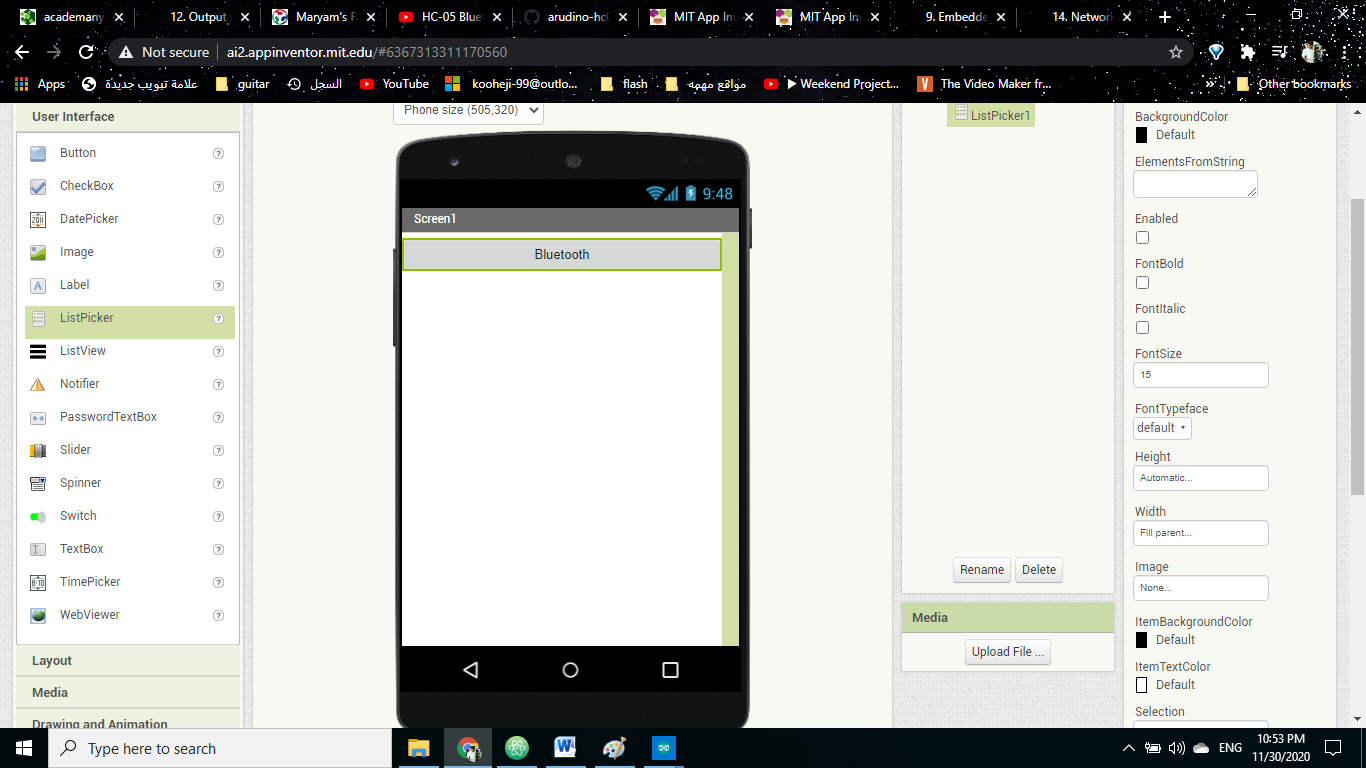
then I put list picker
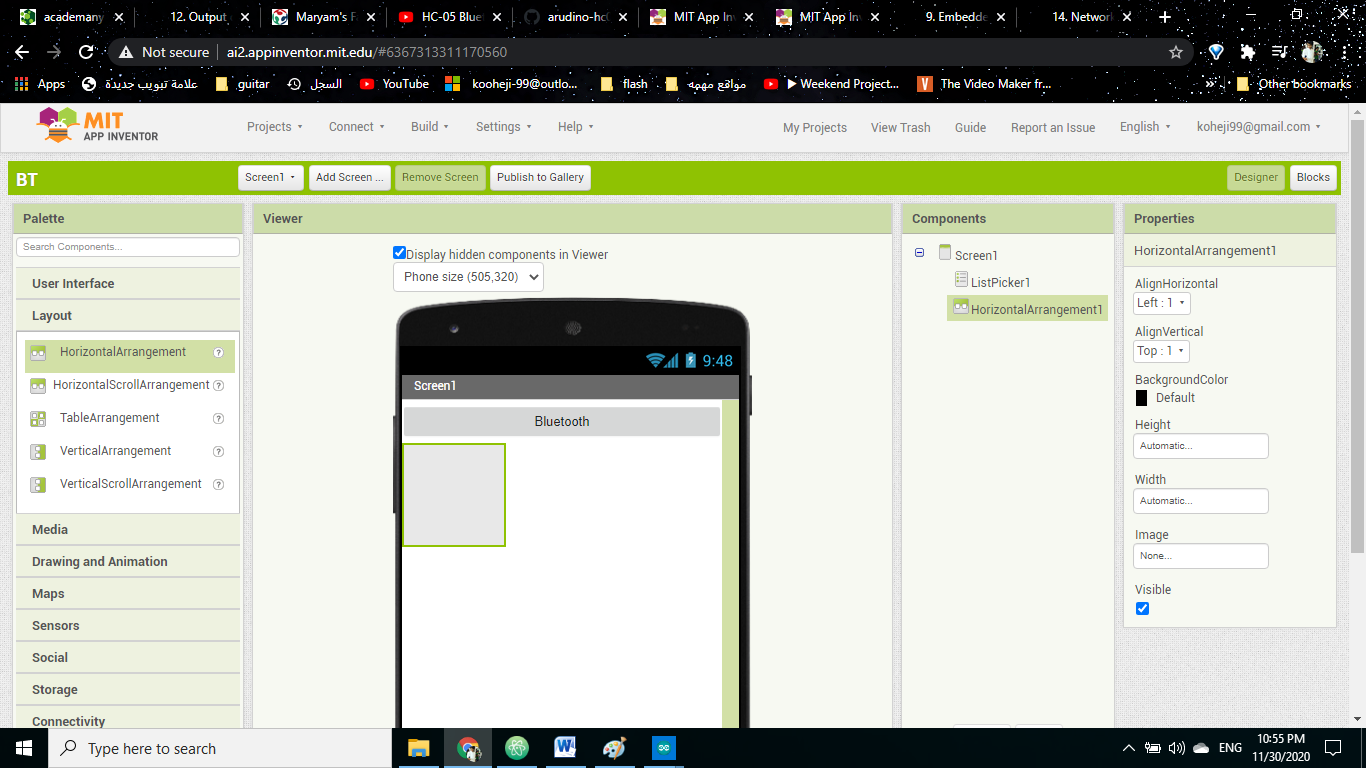
the I put the horizontal to put the button
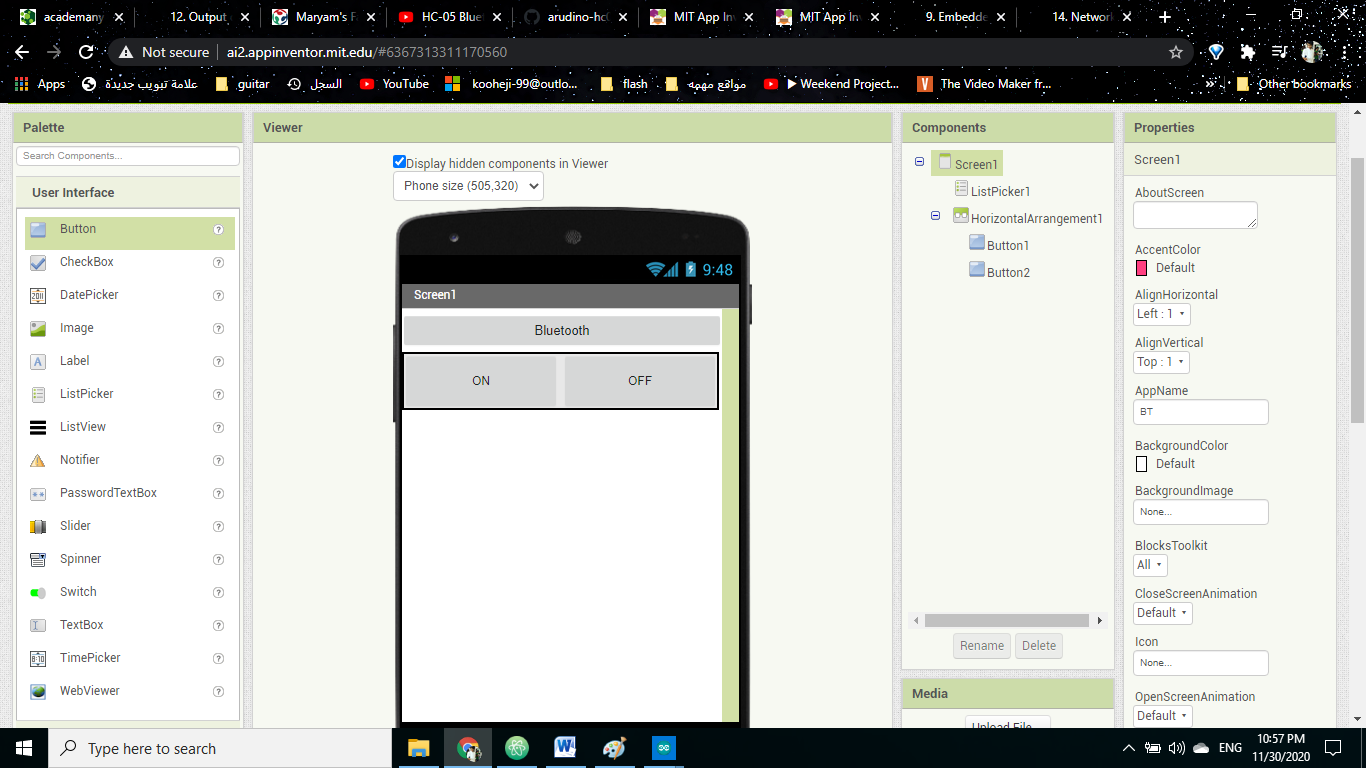
I added two button
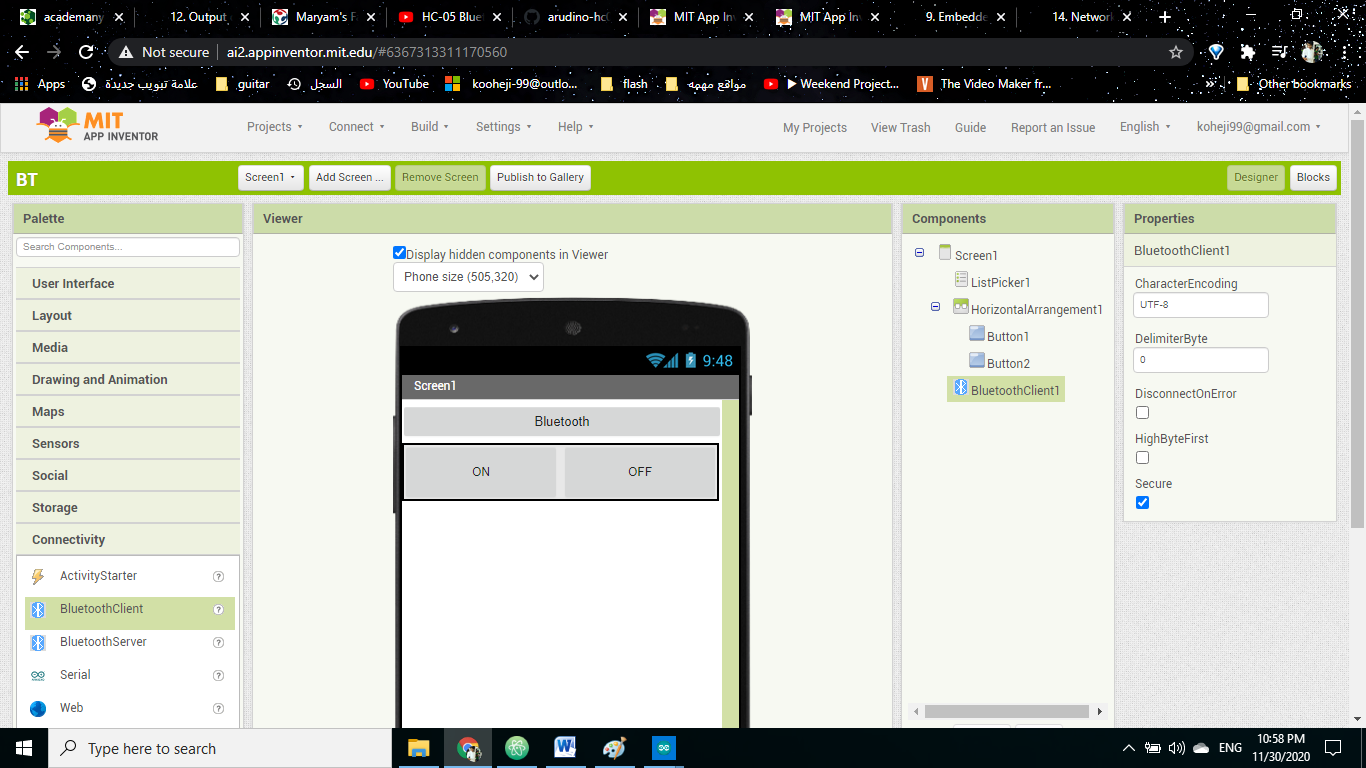
then I added Bluetooth client

then I put these block codes
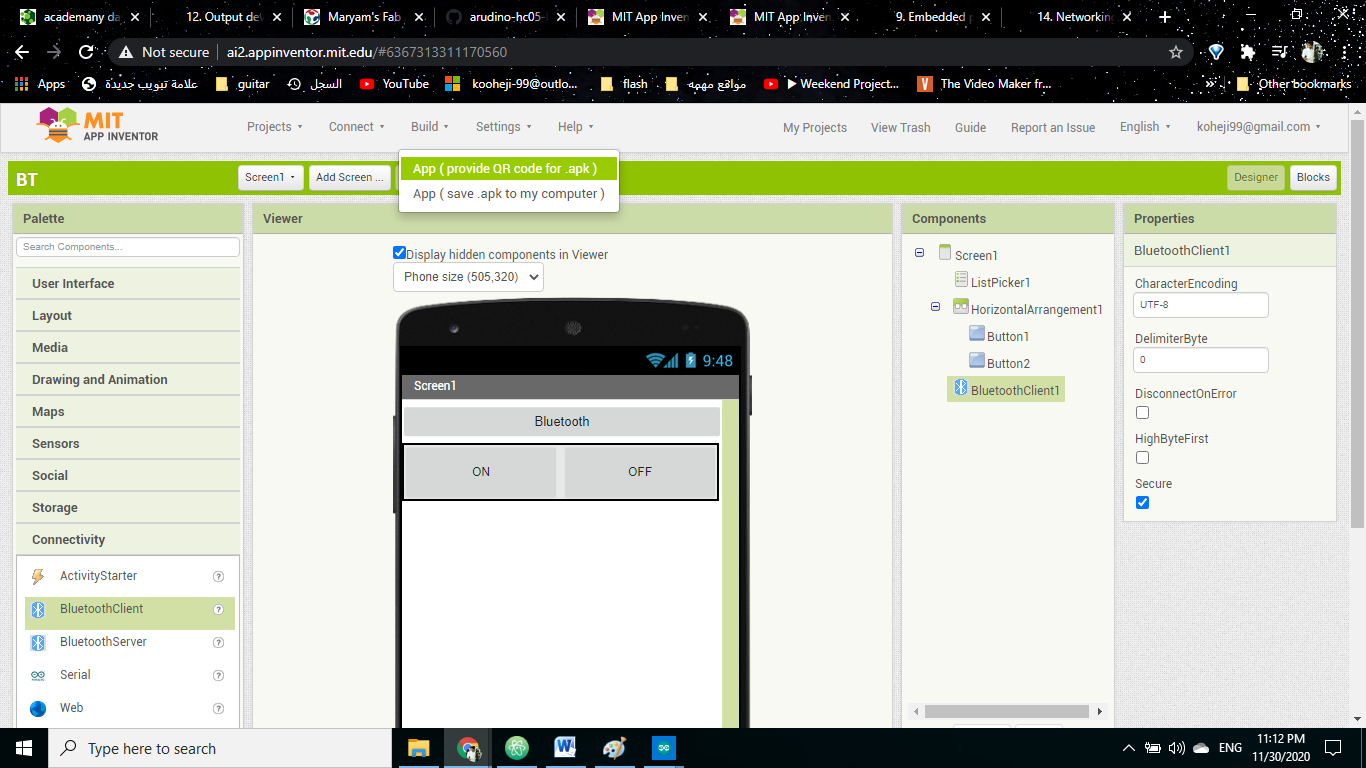
After I finish the code press on build and I chose app
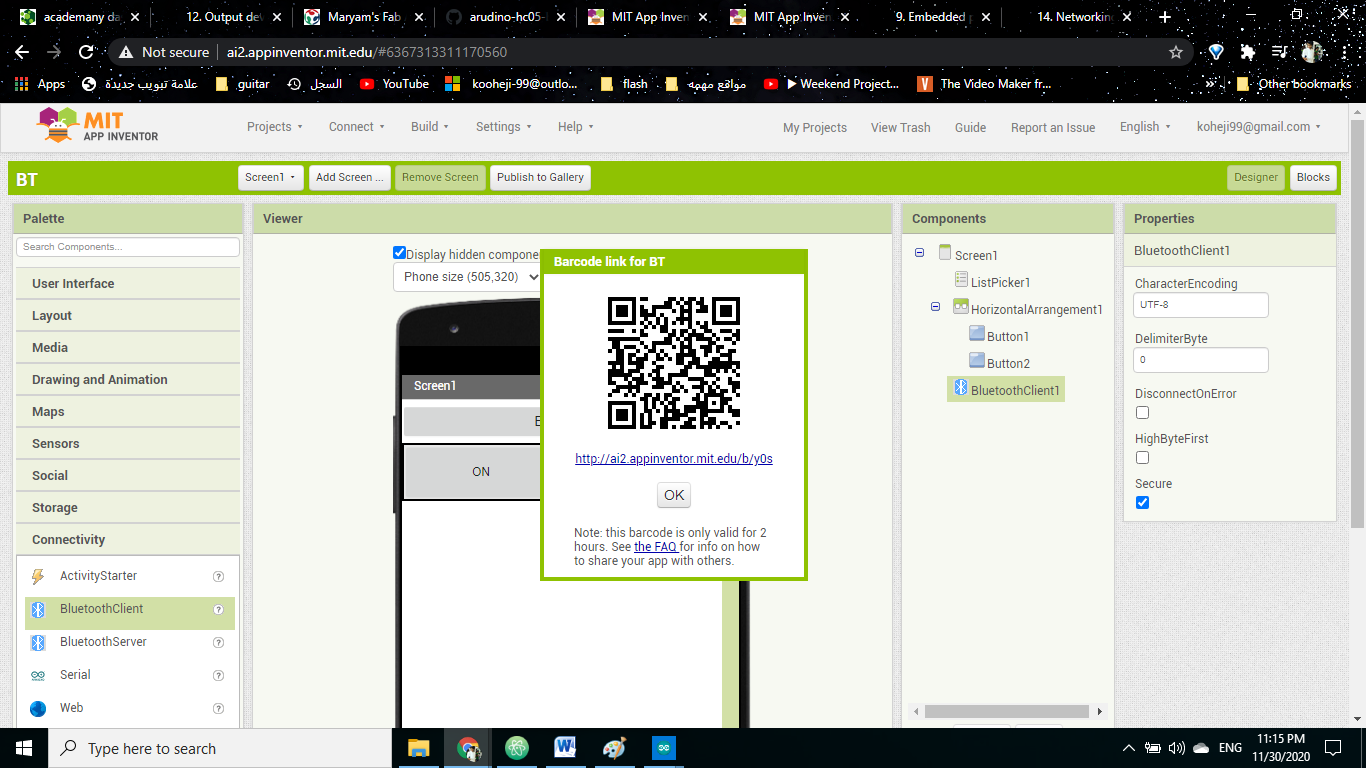
and I scan it from my phone and I install the app
Code
#include<SoftwareSerial.h>
SoftwareSerial mySerial(PA1, PA2);

char Incoming_value = 0;
void setup()
{
  mySerial.begin(9600);
  pinMode(0, OUTPUT);
}
void loop()
{
  if(mySerial.available() > 0)
  {
    Incoming_value = mySerial.read();
    mySerial.print(Incoming_value);
    mySerial.print("\n");
    if(Incoming_value == '1')
      digitalWrite(0, HIGH);
    else if(Incoming_value == '0')
      digitalWrite(0, LOW);
  }
}
result

Bluetooth Terminal HC-05 application
- Bluetooth Terminal HC-05 application
- one of the final project devices. the final project device that I will use contain of ATtiny84, 0.96in screen and Bluetooth HC-05
Bluetooth Terminal HC-05 application
it is One of a kind App that gives you compatibility with all microcontrollers. All you need is a HC-05 serial adapter connection with serial ports of the controllers.
and also you Control any Micro-controller that uses a Bluetooth Module HC 05 or HC 06 through your smart phone.
This app can send and receive commands via Bluetooth so you can debug your hardware problems easily.
FEATURES:
- Separate panels for sending and receiving data.
- Custom your own buttons for frequent sending of same data.
- Monitoring receiving data as HEX or ASCII.
- Sending Data as ASCII or HEX.
- Selection for \r \n at the end of sending data.
- Simple copy option in sent data just long press on data.
- Send Log file of Received and Sent data.
- Keep Screen on/off option.
- Remove Ads and get uninterrupted access with an Ad - free version of Bluetooth Terminal.
how it work
For more information about the device you can go to week Networking and communications you will find how to set Bluetooth module and how to make it salve for this use and everything else .
And for the details about the Bluetooth and for the screen you can go to week Output devices.
steps
First thing I did was to change the master with slave Bluetooth for the device , as you see the Bluetooth HC-05 blinking fast and this mean that it is ready to be connected with other things.
then I download the application Bluetooth Terminal HC-05 the application.
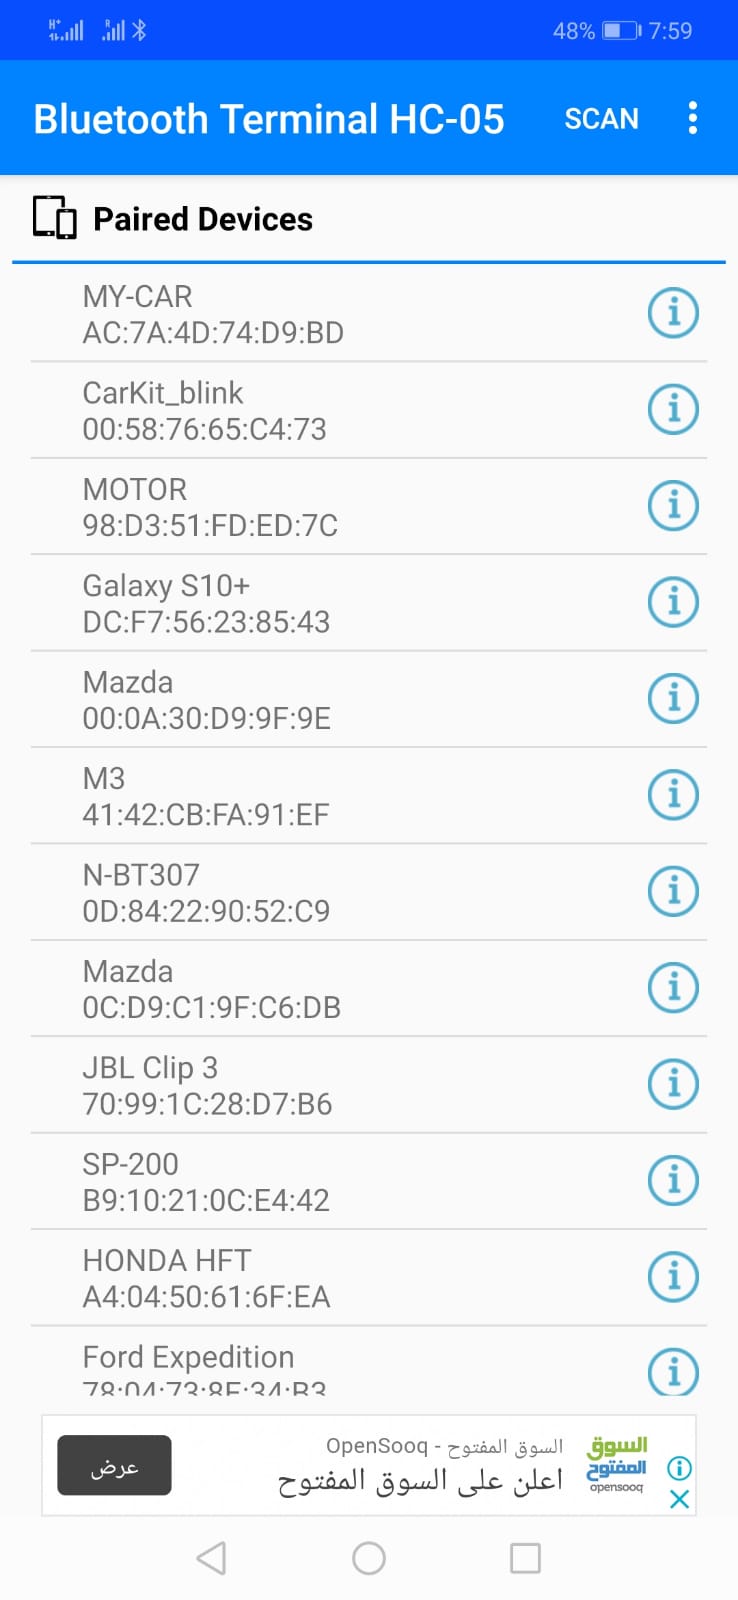 this how the app lock when you open it, all the devices that you contacted before and there addresses. on the lift you the scan and I scan abuts about my device and it call motor.
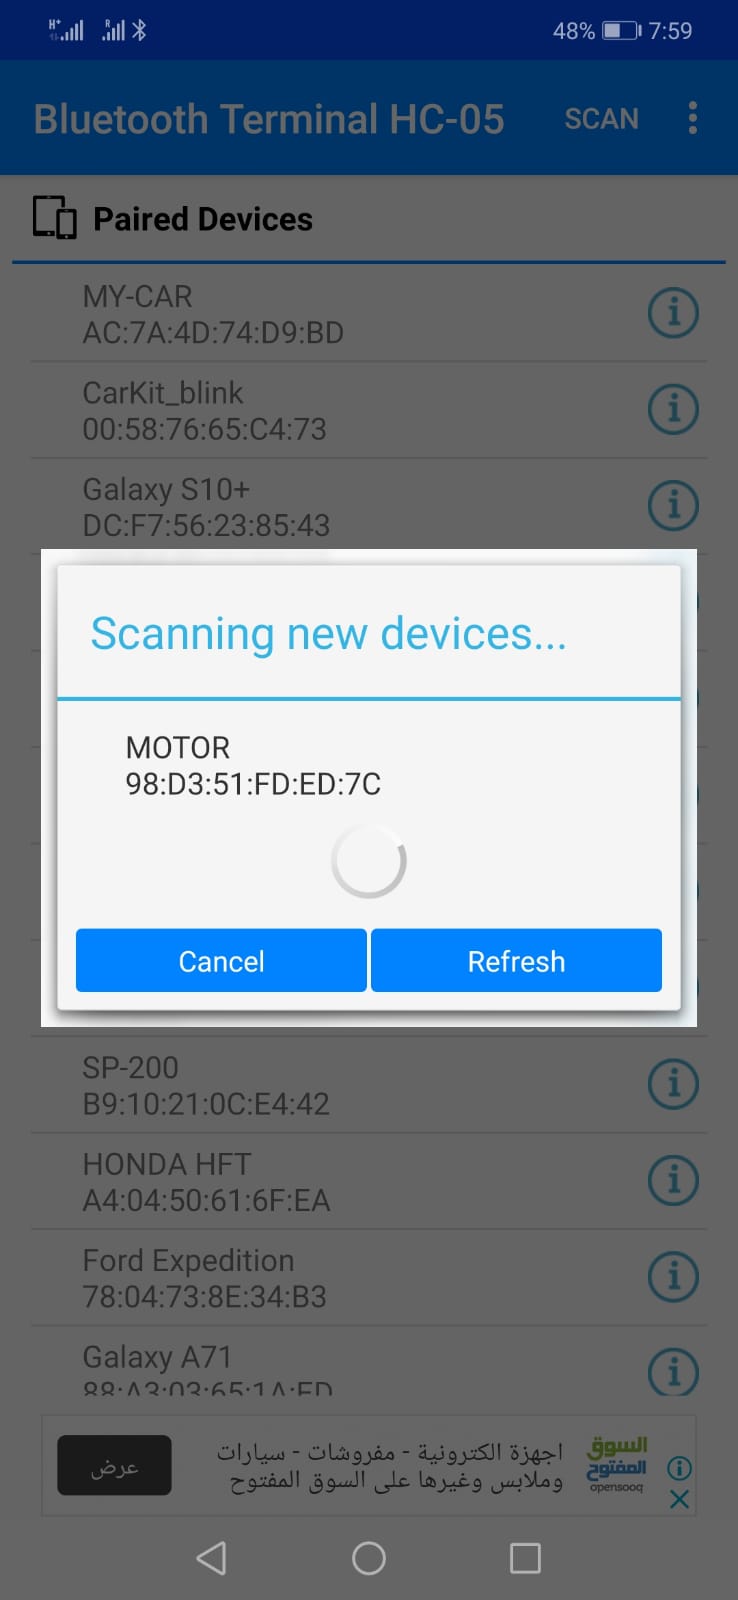 When I find it I press on it and connect
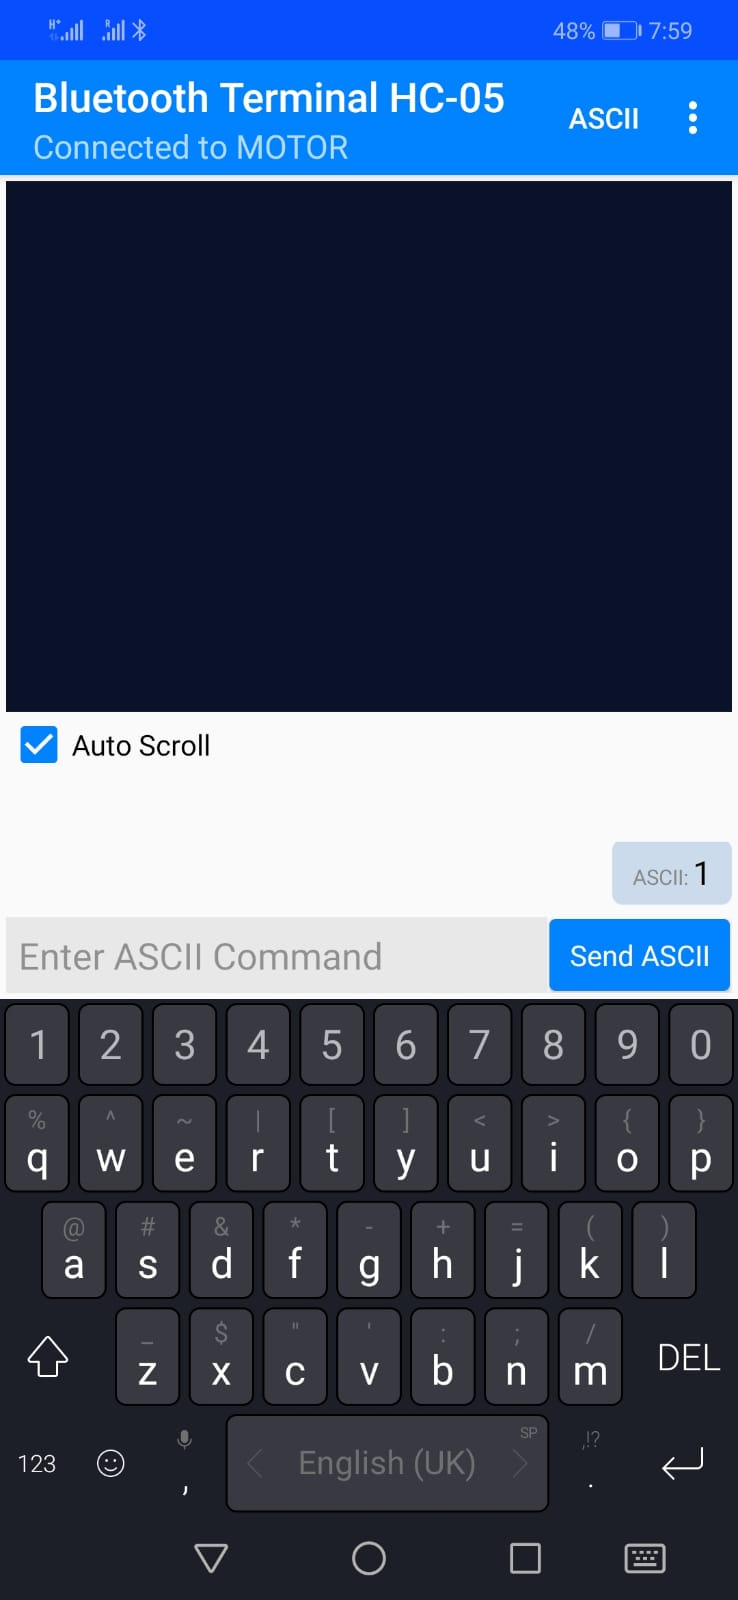 after this I white until it connected then I enter 1 “it mean that there is something in the back ” whine it receive it the screen as it supposed to be and blink danger icon on the screen as output.
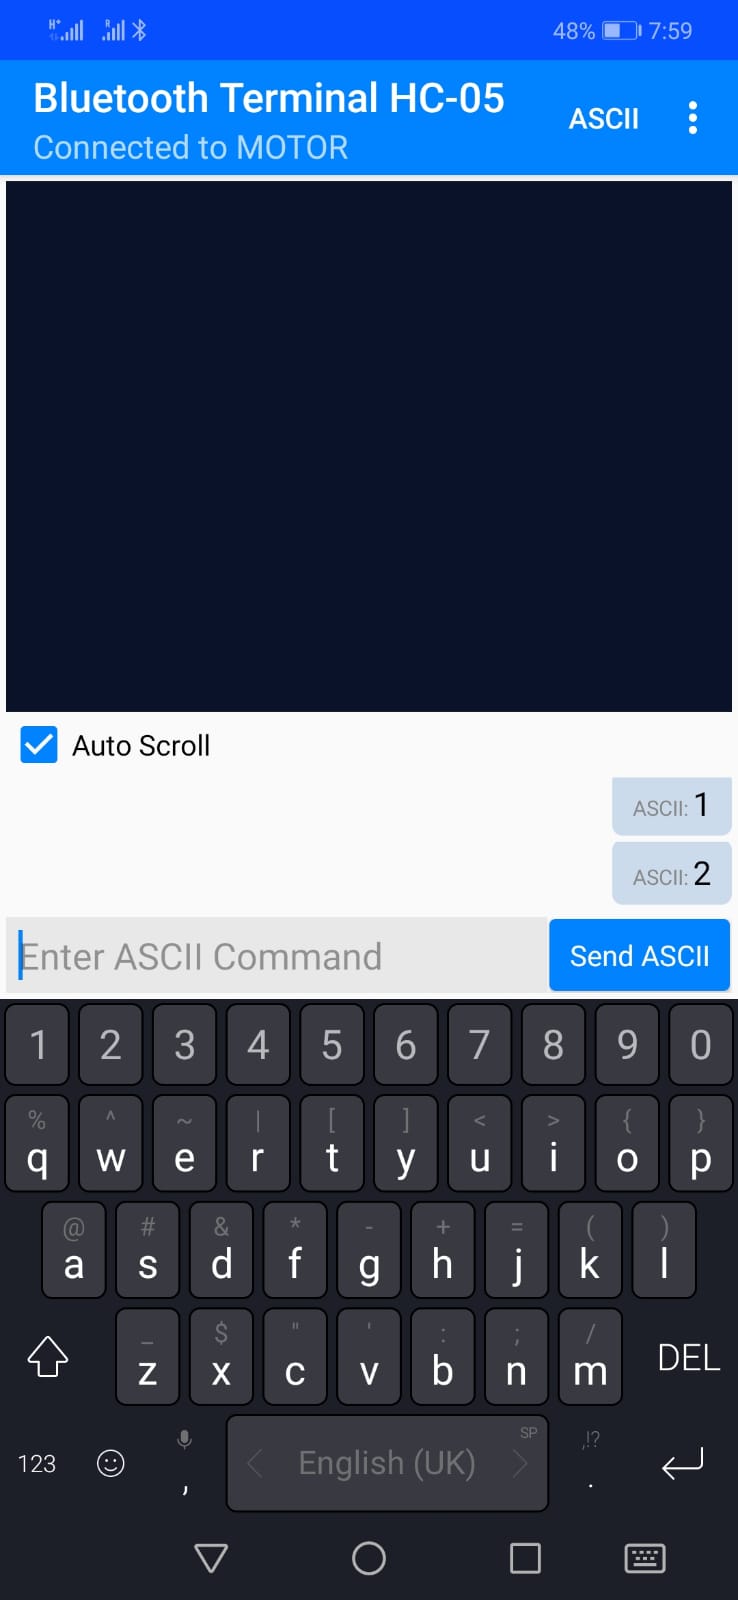
then I enter 2 and the screen blink danger the opposite side
as you see in this video what happen
Code
As for code I used the same one in the output week, you will find more explanation there.
// the setup function runs once when you press reset or power the board
void setup() {
  // initialize digital pin LED_BUILTIN as an output.
  pinMode(LED_BUILTIN, OUTPUT);
}

// the loop function runs over and over again forever
void loop() {
  digitalWrite(LED_BUILTIN, HIGH);   // turn the LED on (HIGH is the voltage level)
  delay(1000);                       // wait for a second
  digitalWrite(LED_BUILTIN, LOW);    // turn the LED off by making the voltage LOW
  delay(1000);                       // wait for a second
}#include <Tiny4kOLED.h>
#include "SolomonSystech.h"
#include <SoftwareSerial.h>
SoftwareSerial mySerial(1,6); // RX1, TX6
// ============================================================================

void setup() {


  oled.begin();
  oled.clear();
  oled.bitmap(0,0, 128,4, logo);
  oled.on();
  delay(1000);
  oled.clear();

 mySerial.begin(9600);
}

void loop() {
  int x = 0 ;
 if(mySerial.available() > 0){
    x = mySerial.read();
 }

 if (x == '1')
 {
  oled.begin();
  oled.clear();
  oled.bitmap(0,0, 128,4, lift1);
  oled.on();
  delay(250);

  oled.begin();
  oled.clear();
  oled.bitmap(0,0, 128,4, lift2);
  oled.on();
  delay(250);

  oled.begin();
  oled.clear();
  oled.bitmap(0,0, 128,4, lift3);
  oled.on();
  delay(250);
 }

  if (x == '2')
  {
  oled.begin();
  oled.clear();
  oled.bitmap(0,0, 128,4, right1);
  oled.on();
  delay(250);


  oled.begin();
  oled.clear();
  oled.bitmap(0,0, 128,4, right2);
  oled.on();
  delay(250);

  oled.begin();
  oled.clear();
  oled.bitmap(0,0, 128,4, right3);
  oled.on();
  delay(250);
  }
  else {
  oled.begin();
  oled.clear();

  }
  }