4. Computer controlled cutting
This week I worked on the laser cuter and Vinyl cuter
Group Assignment
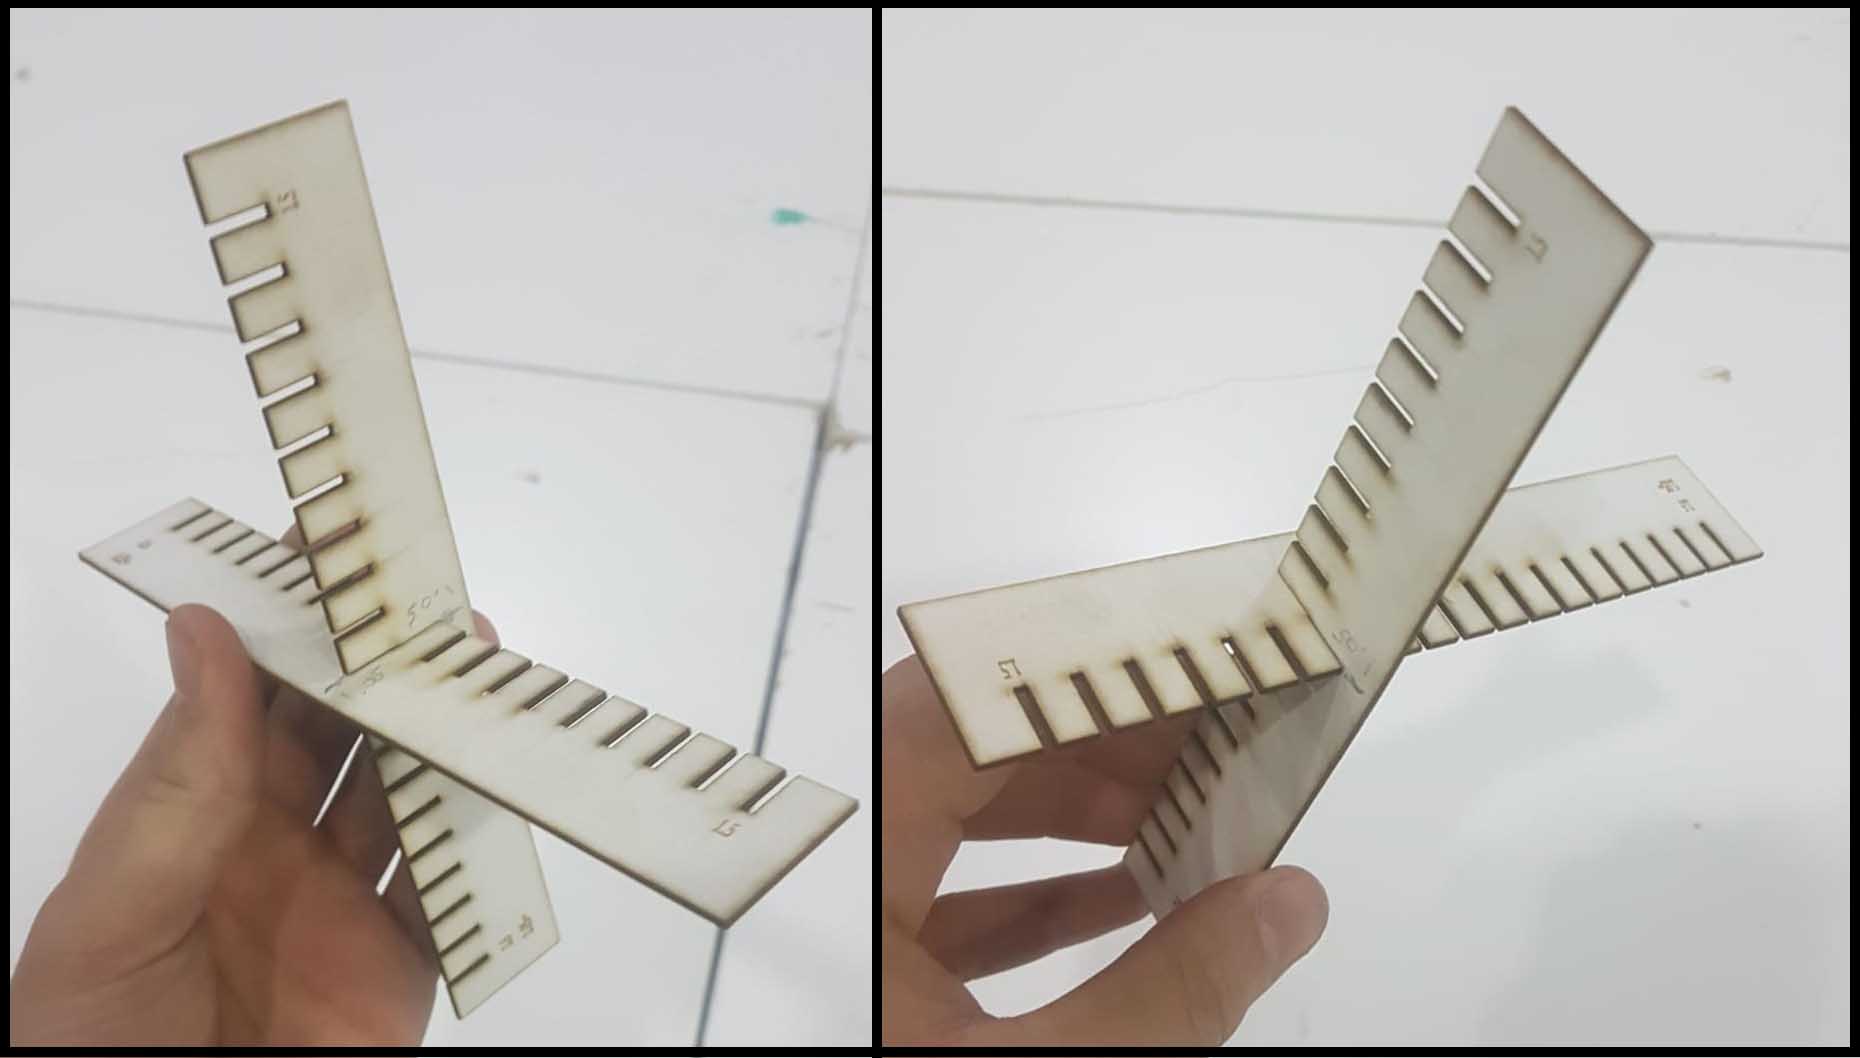
for the group project we chose carboard that we will make the test it first I measure the thickness and it was 1.3mm so I work in the fitting test by designing part that the test will be on it , It have slots the their height is 10mm and the width goes from 0.6mm to 1.5mm increasing by 0.5mm after I finish the design I take it to the laser cuter and cut it by the speed and the power the we test before for cutting the same carboard . after finishing cutting two piece of it start testing it and try to knw what will fit batter after I finish is seems to be the beat size of slot is 1.05 mm .
you can find everything here … Group Assignment
laser cutter
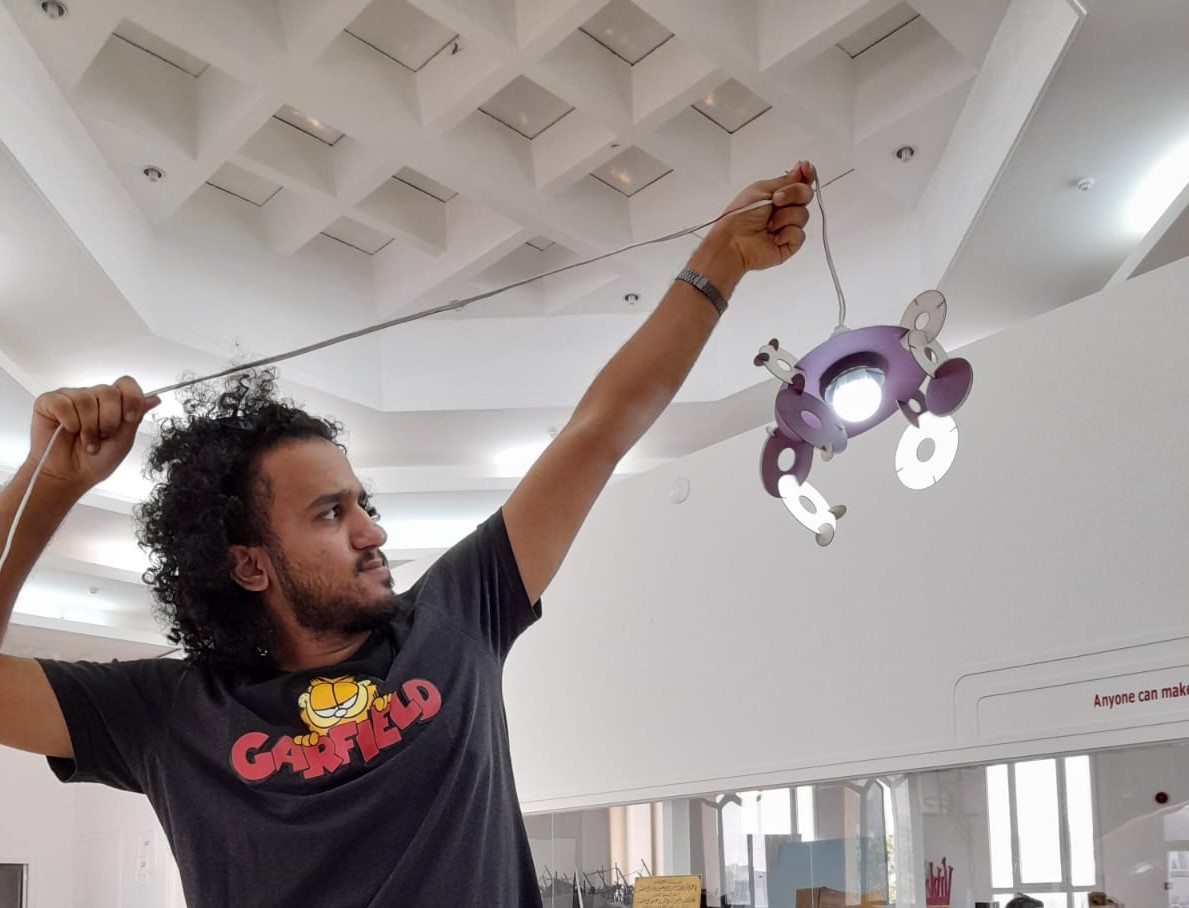
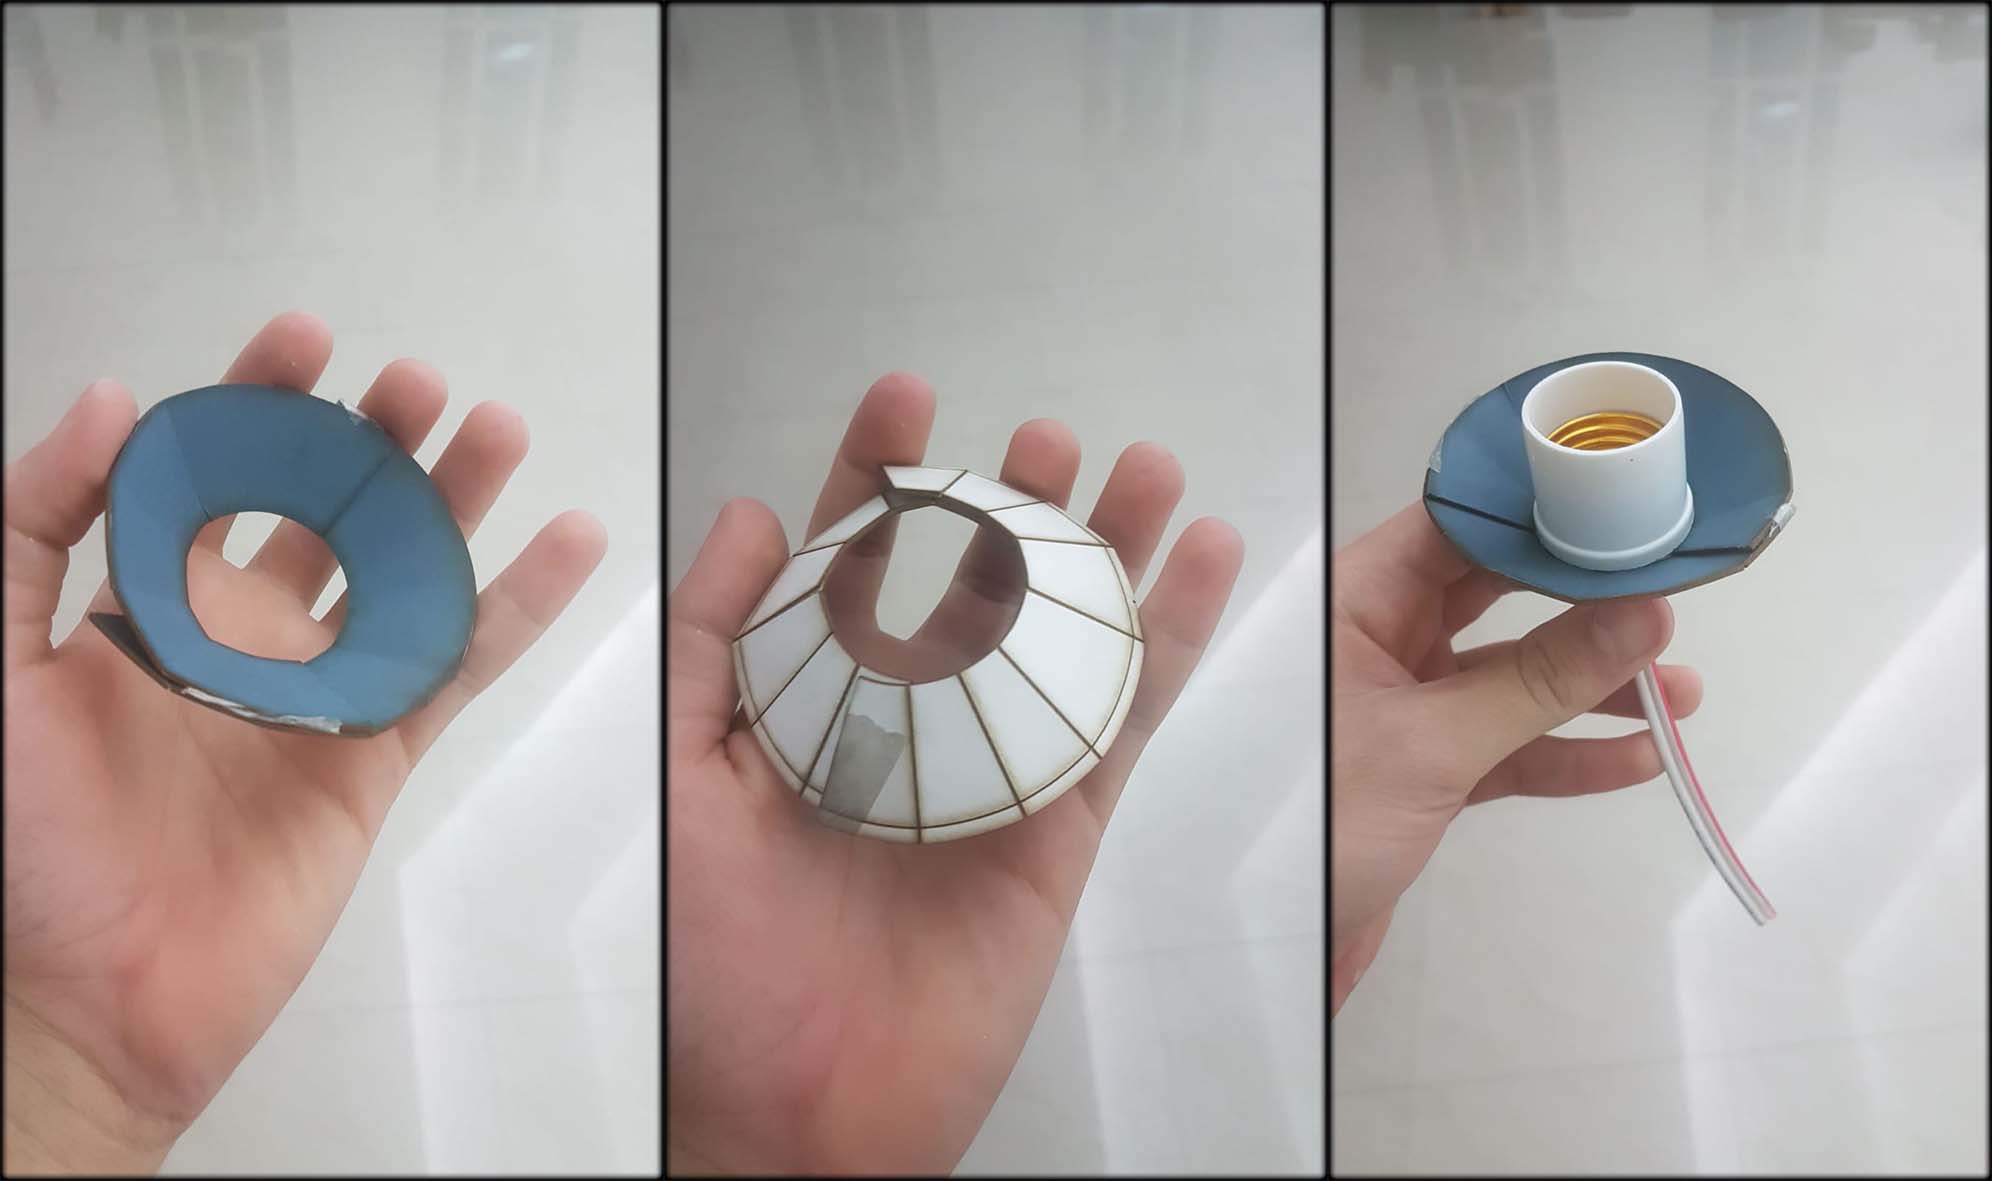
I was thinking of lap that it can change the shape of it.
Design
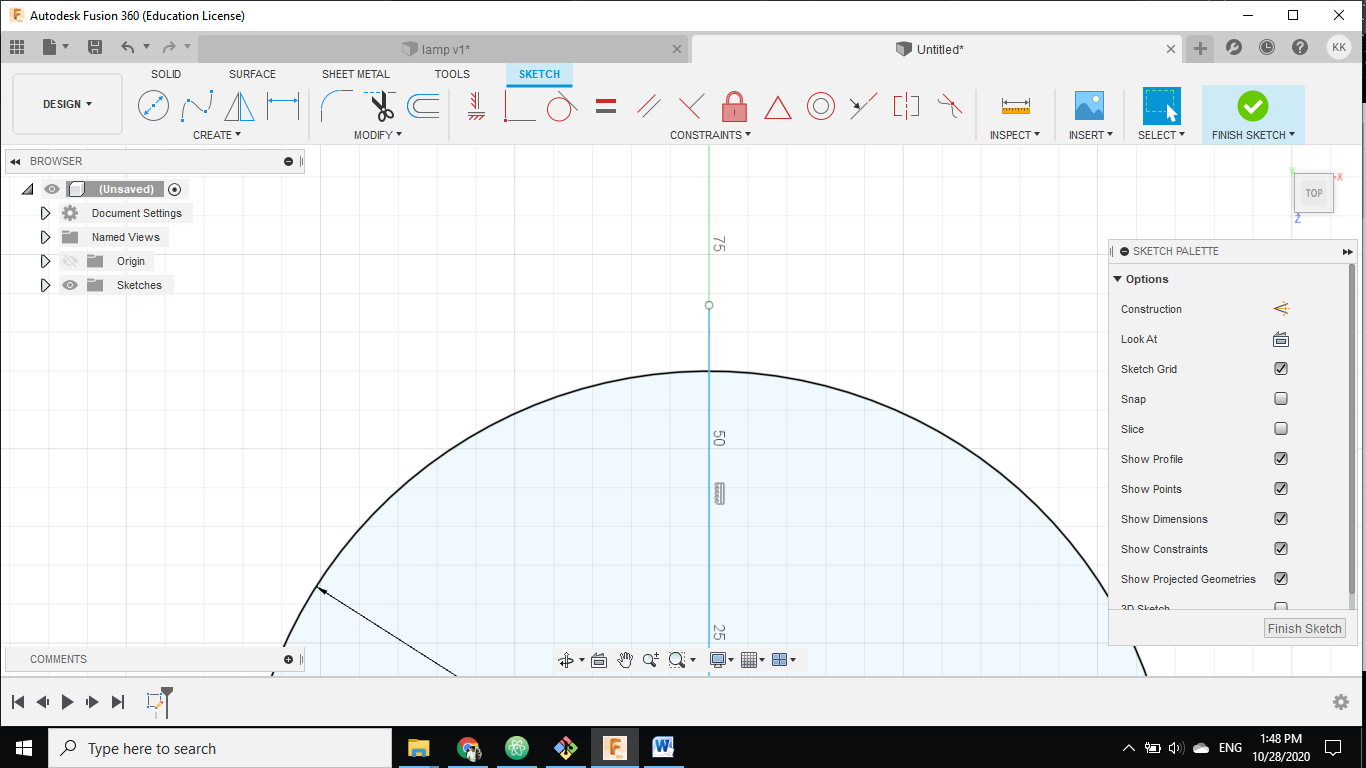
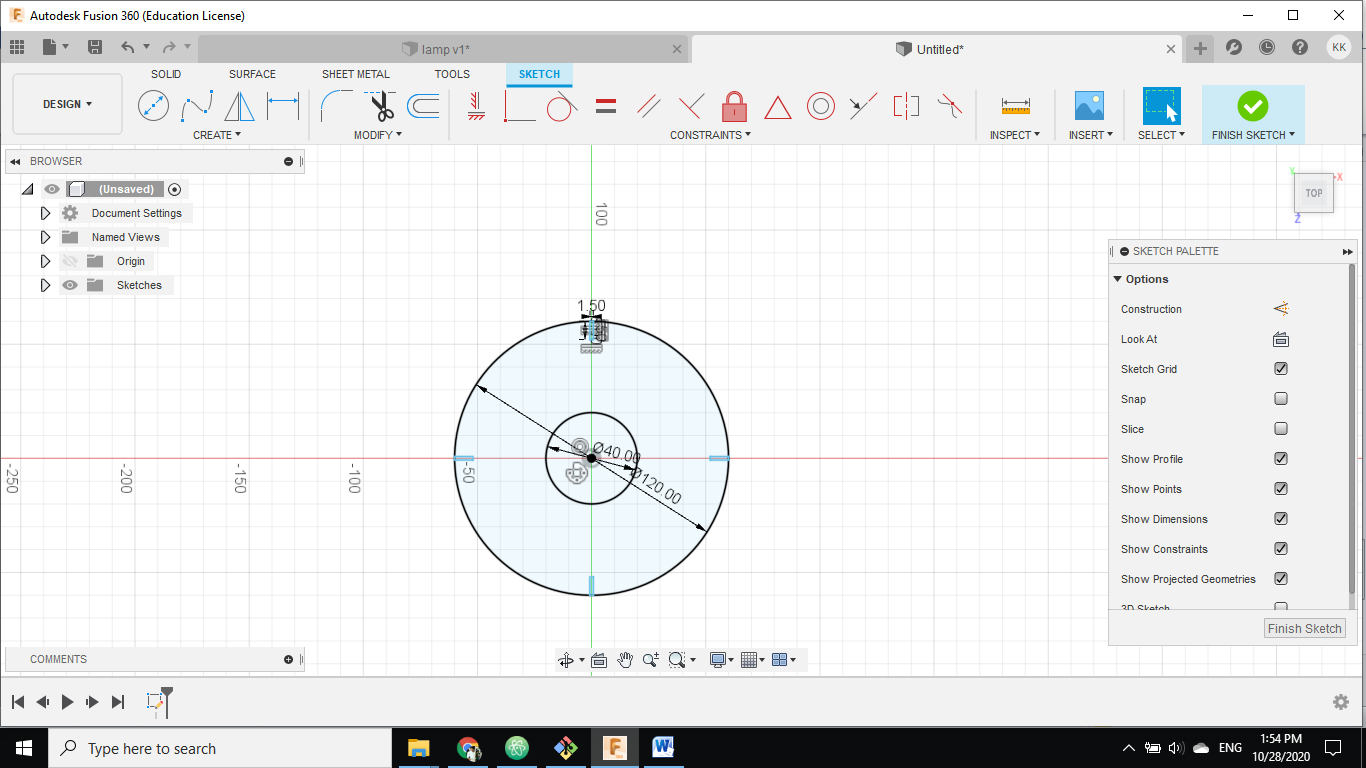
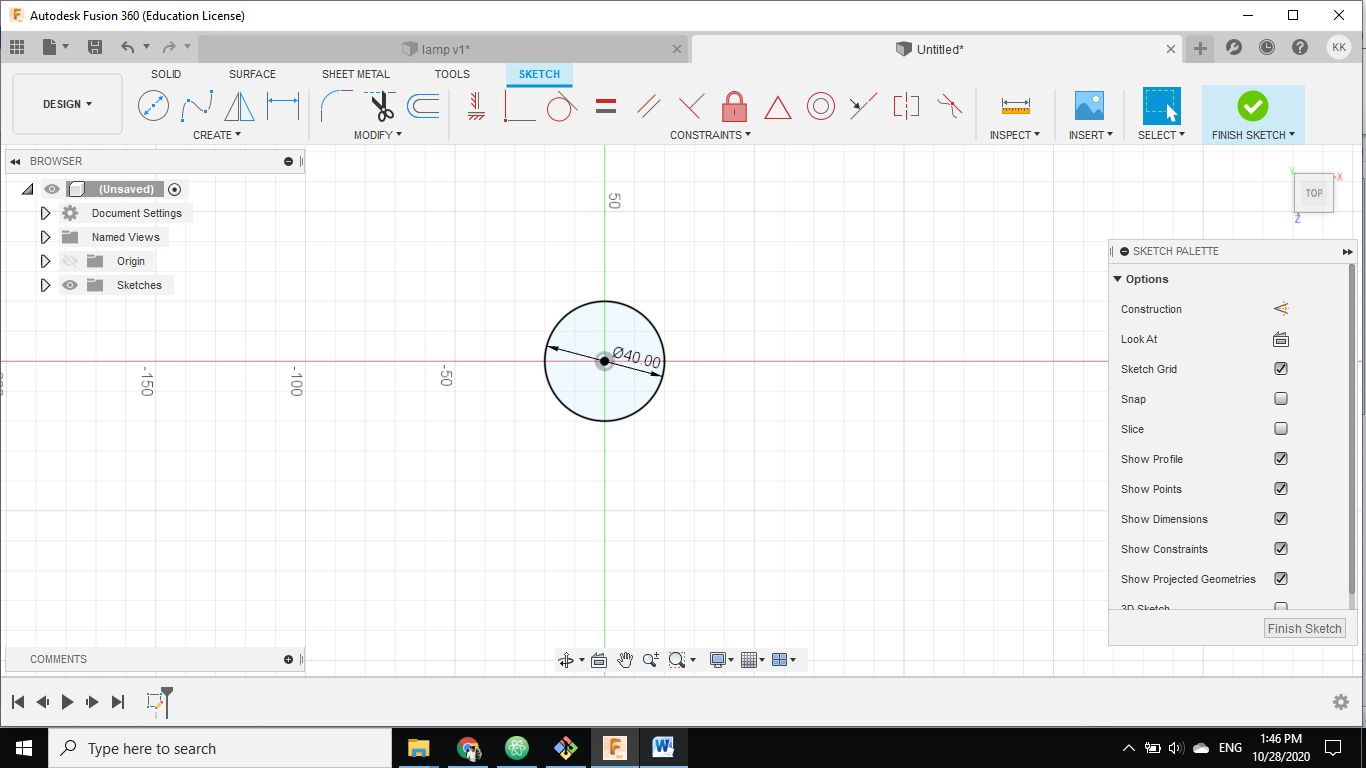 so I start by doing inner circle 40mm that light will goes throe.
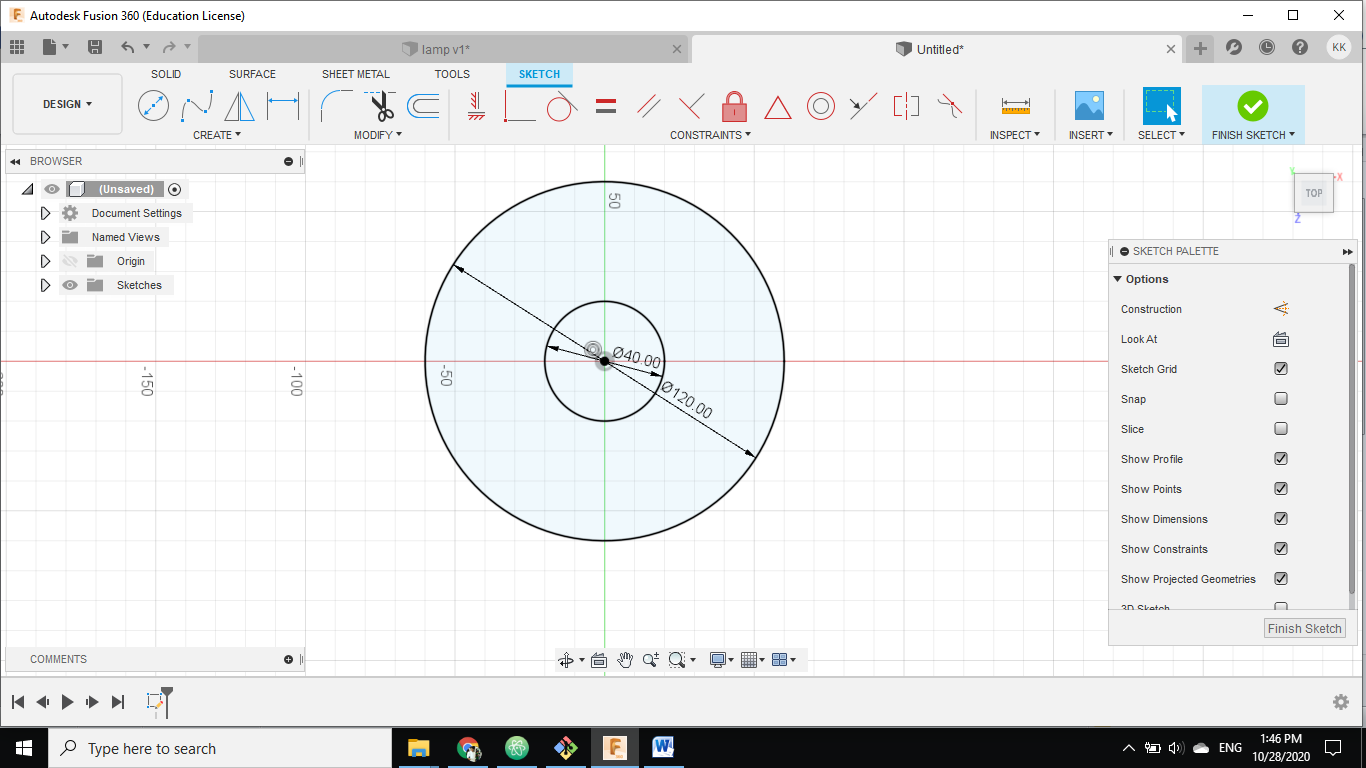 the second circle 120mm that will joint to the other circles.
 next I make line in the center to know where to put the fit and press .
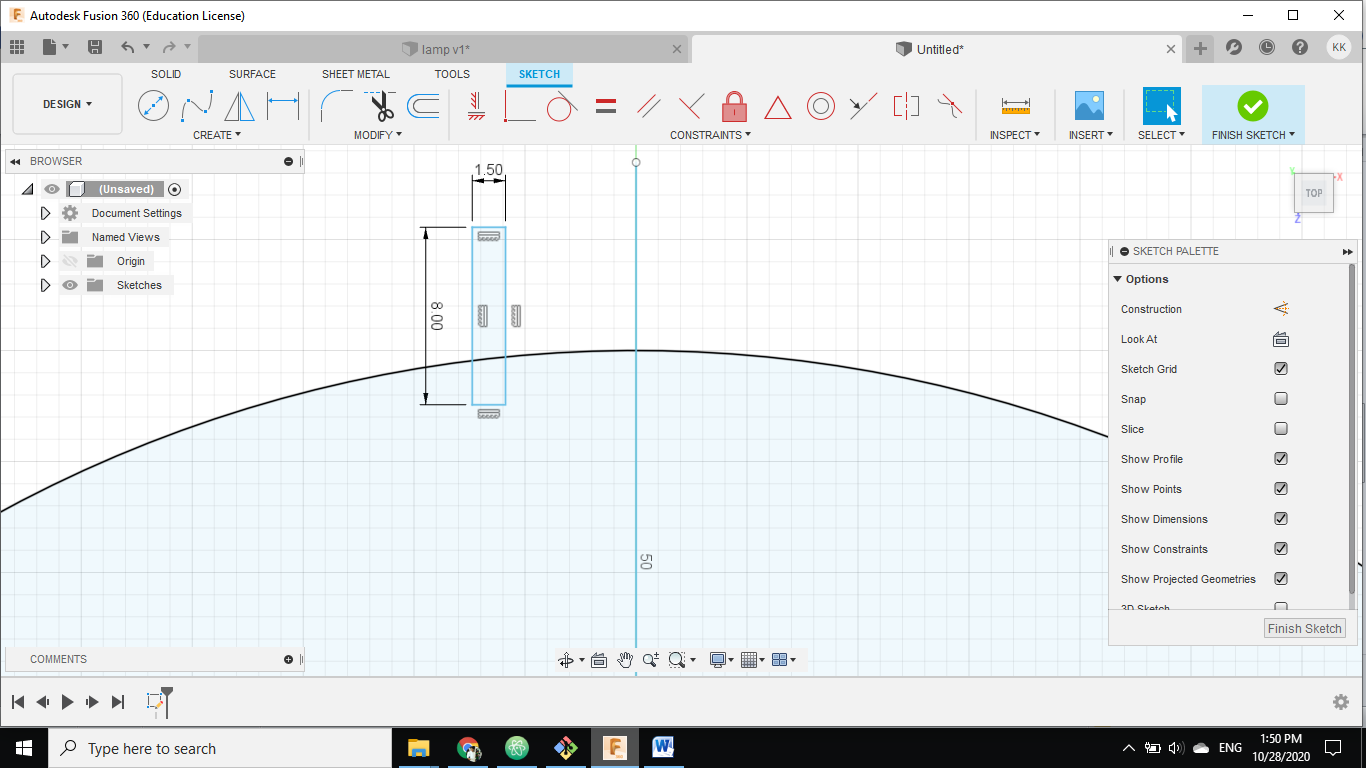 after that I make the a rectangle 8x1mm
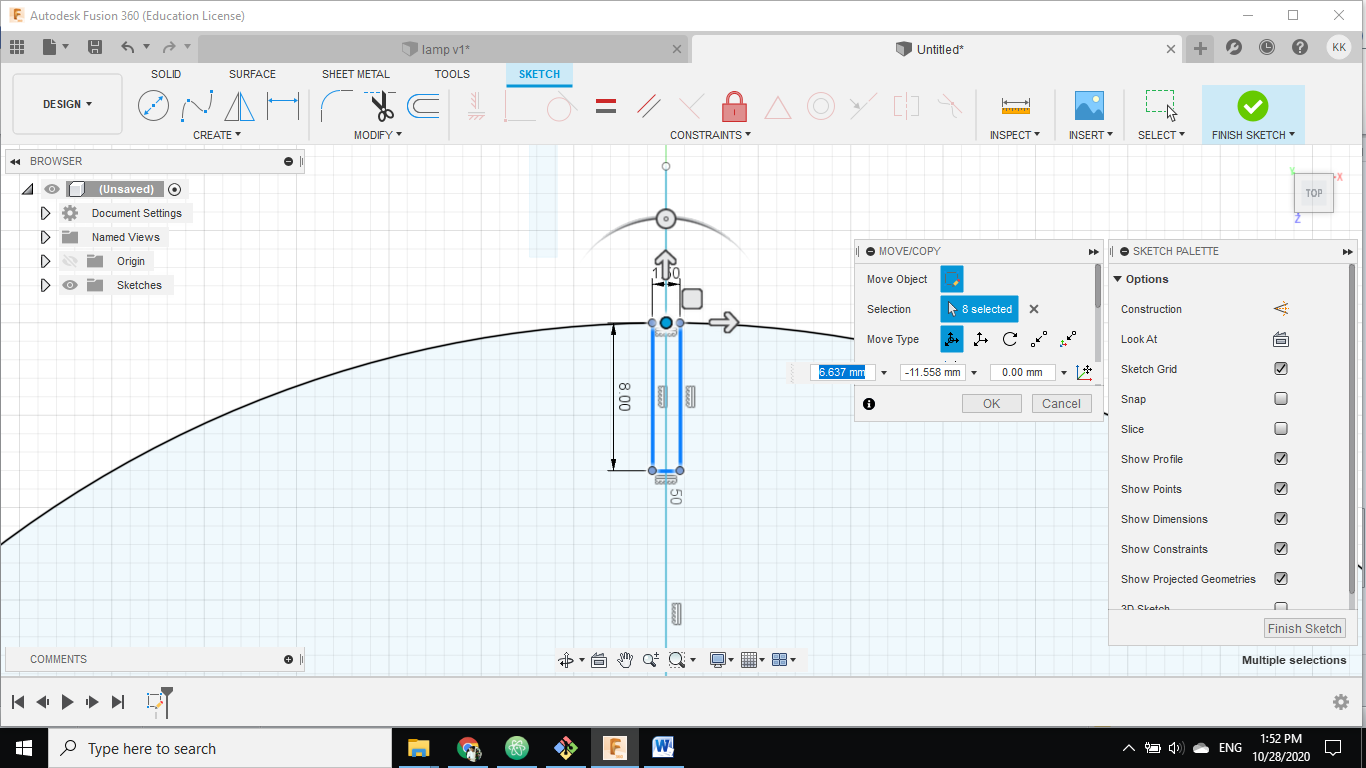 then I put it in the meddle to the line that I made before
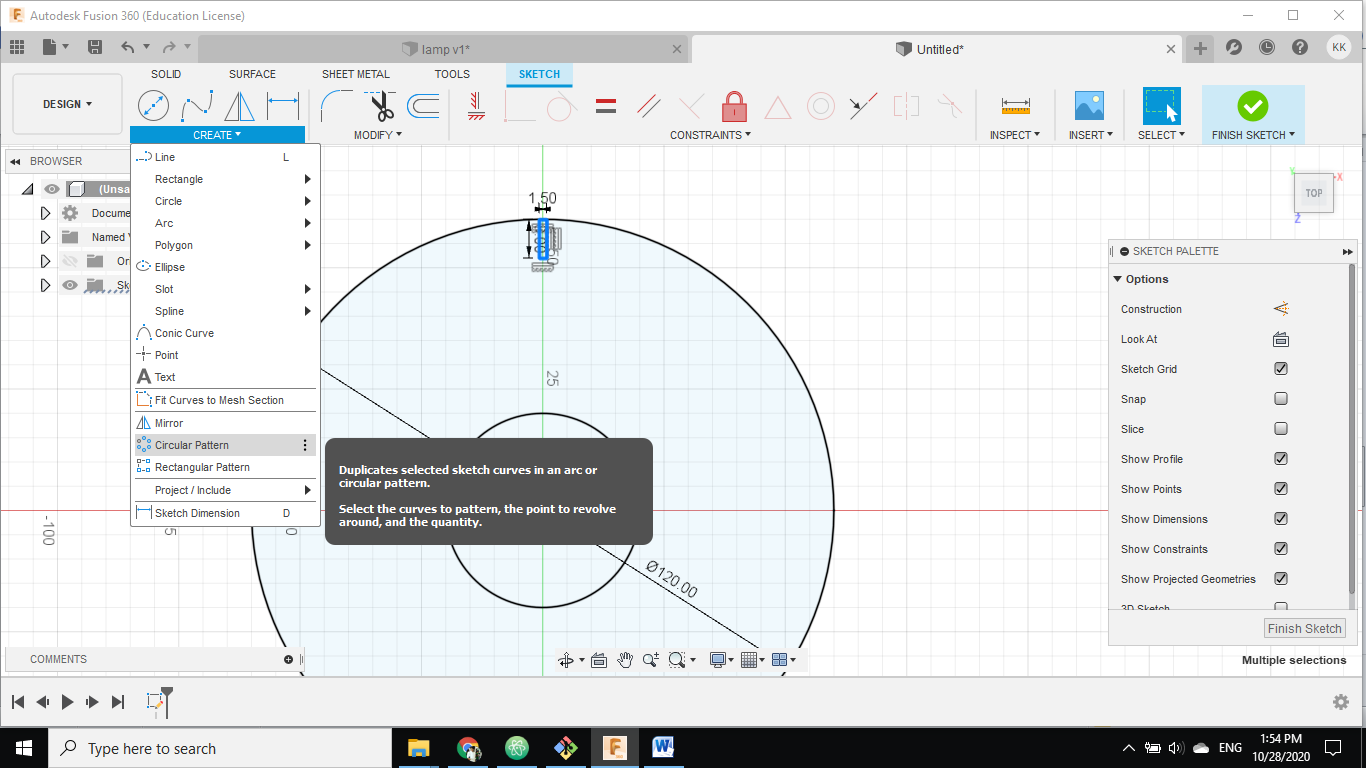 the I used the circular pattern
 I make four gap to fit the circles to gather.
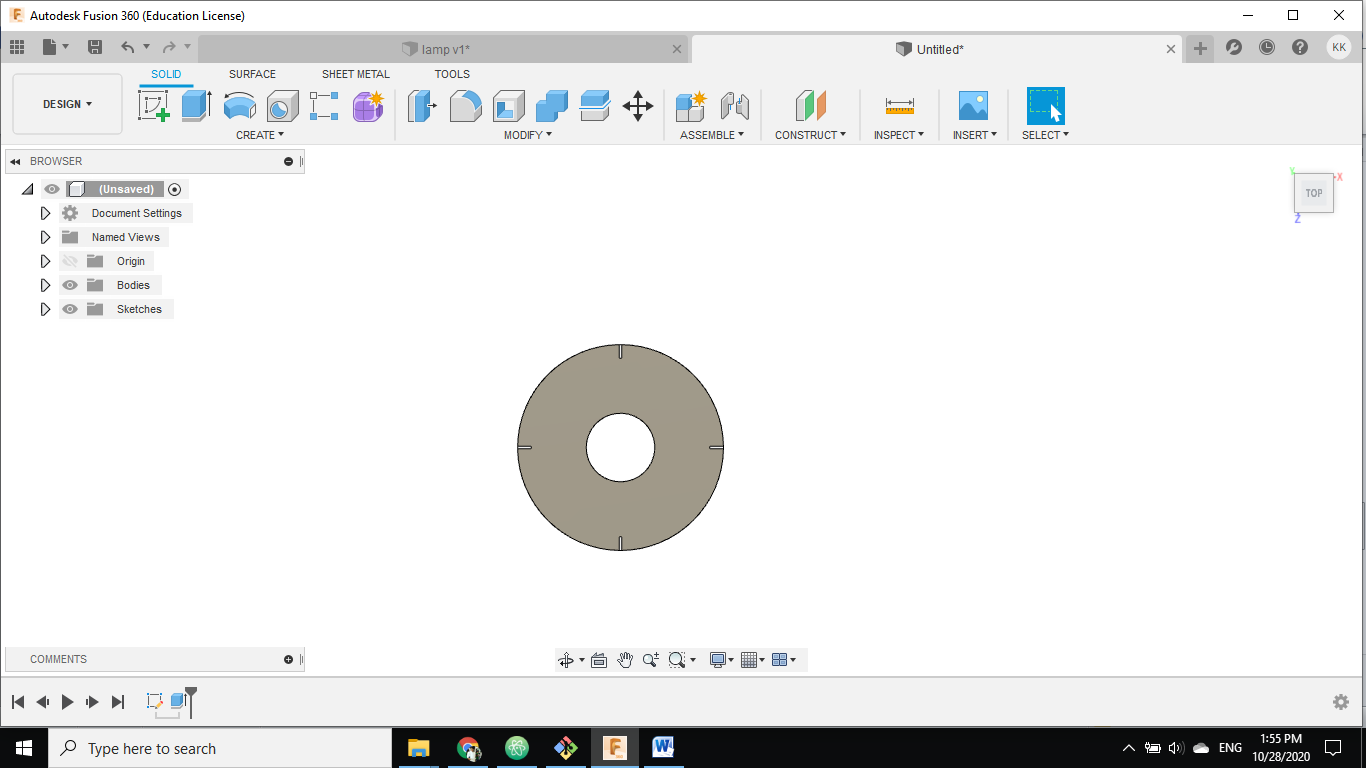 the last thing I did here is extrude by 1 mm
Parameter table
one of things that is needed in this design is to change the circle diameter, so it easy to change one or two thing and the whole design diminution change
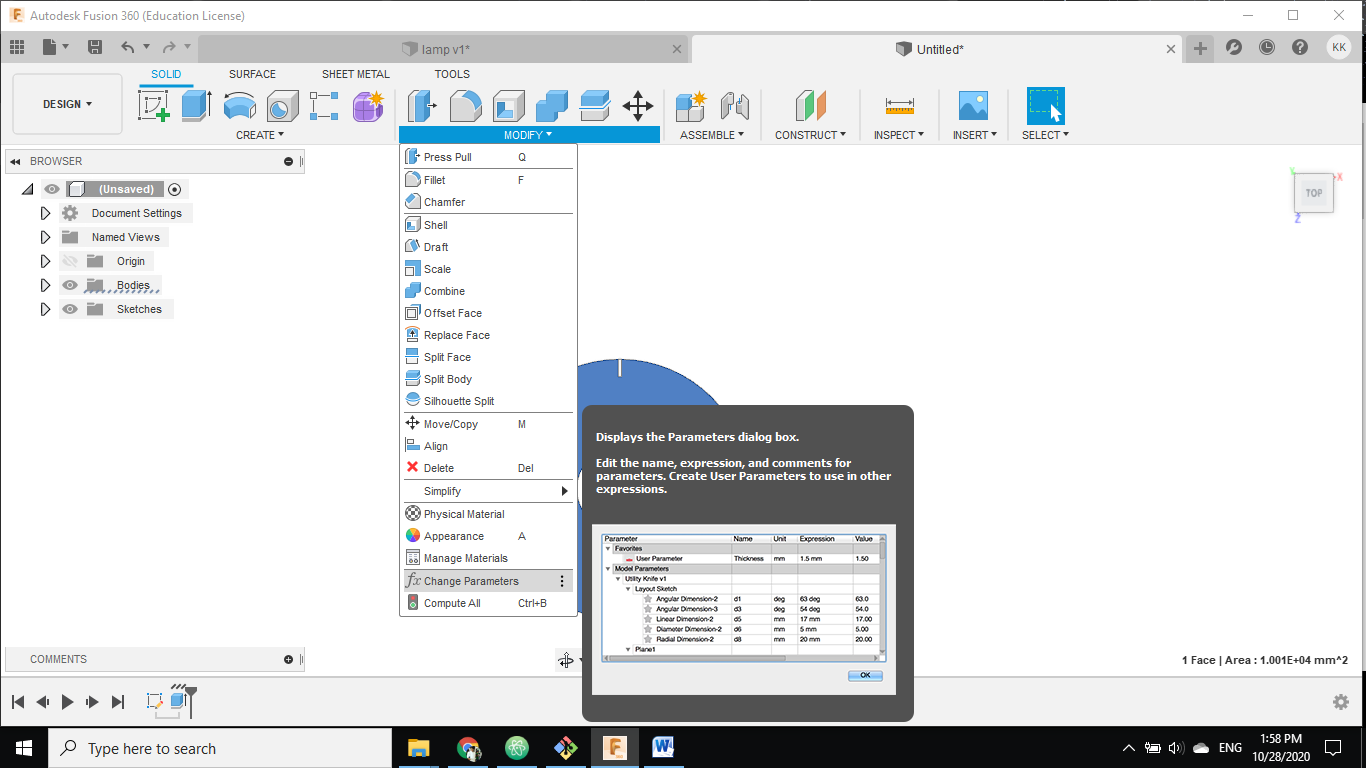 first I press in modify >> change Parameters
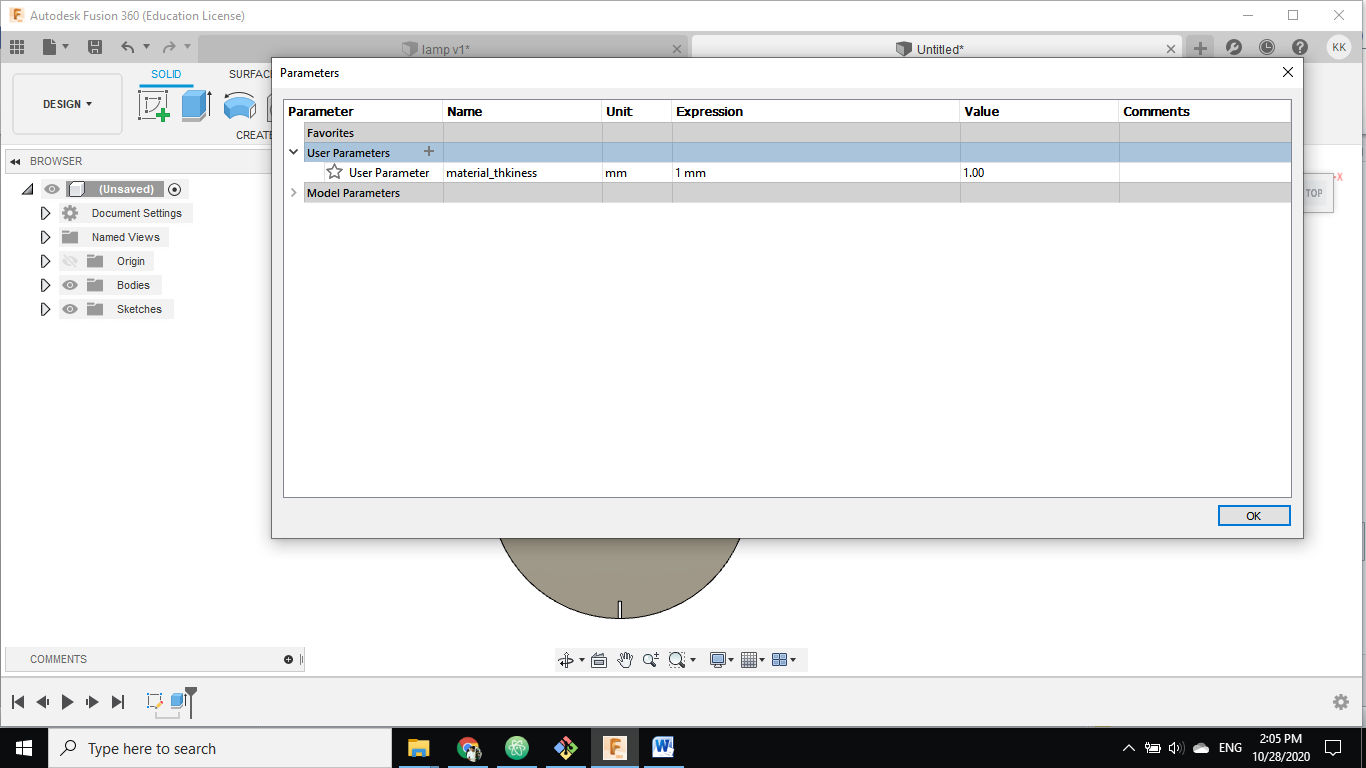 then I add in the User Parameters the things that I need
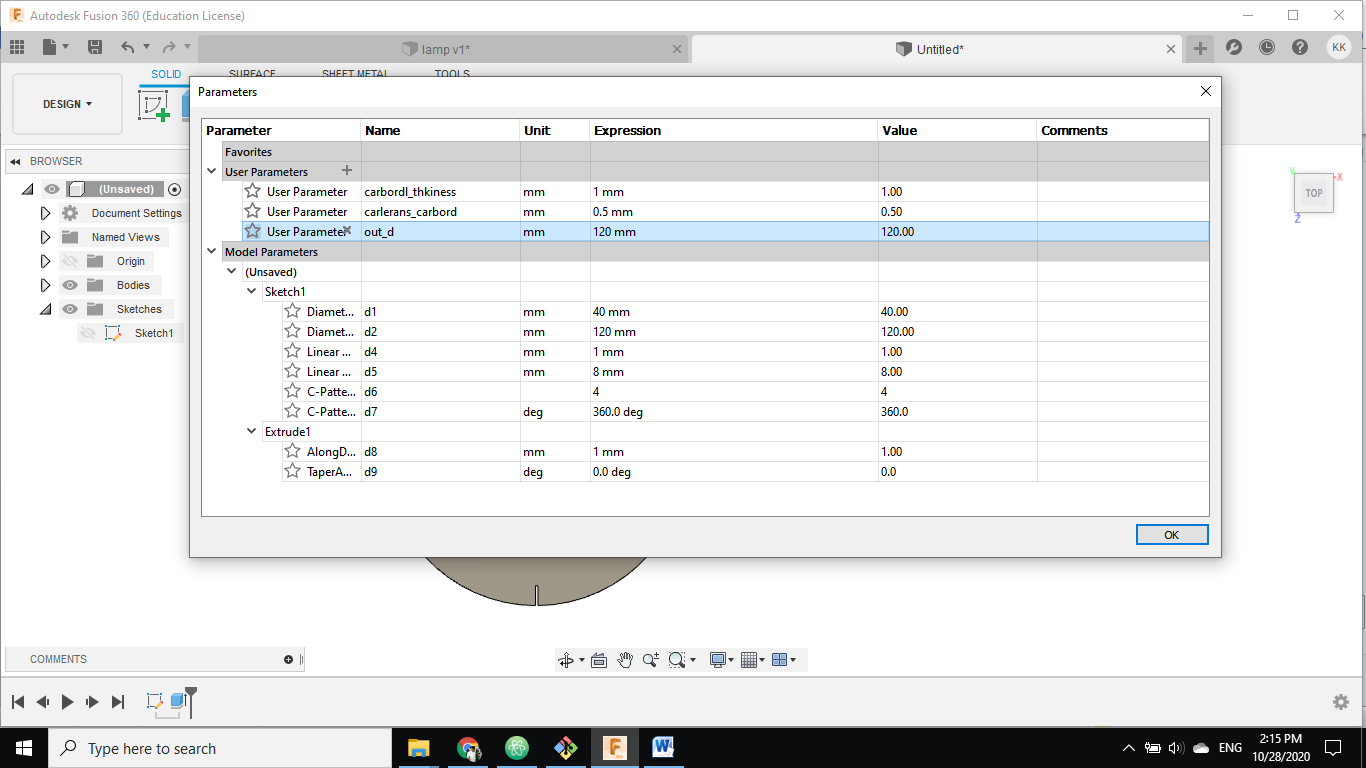 I put the carboard thickness, carboard clearness and the out diameter
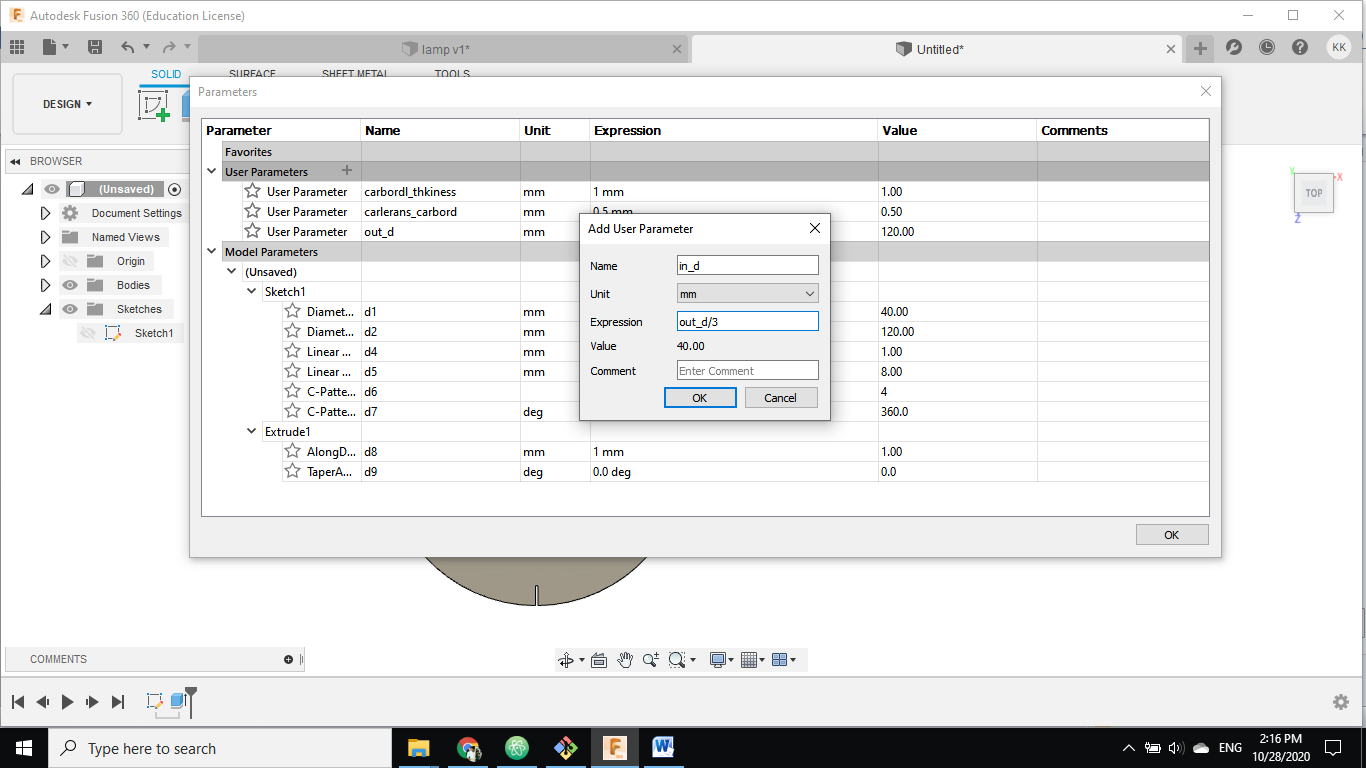 every time you add parameter you have to give it Name, unit, expression and comment if it need.
For the inner diameter I put the expression equal outer diameter / 3 , so if the outer equal 120 the inner will equal 40.
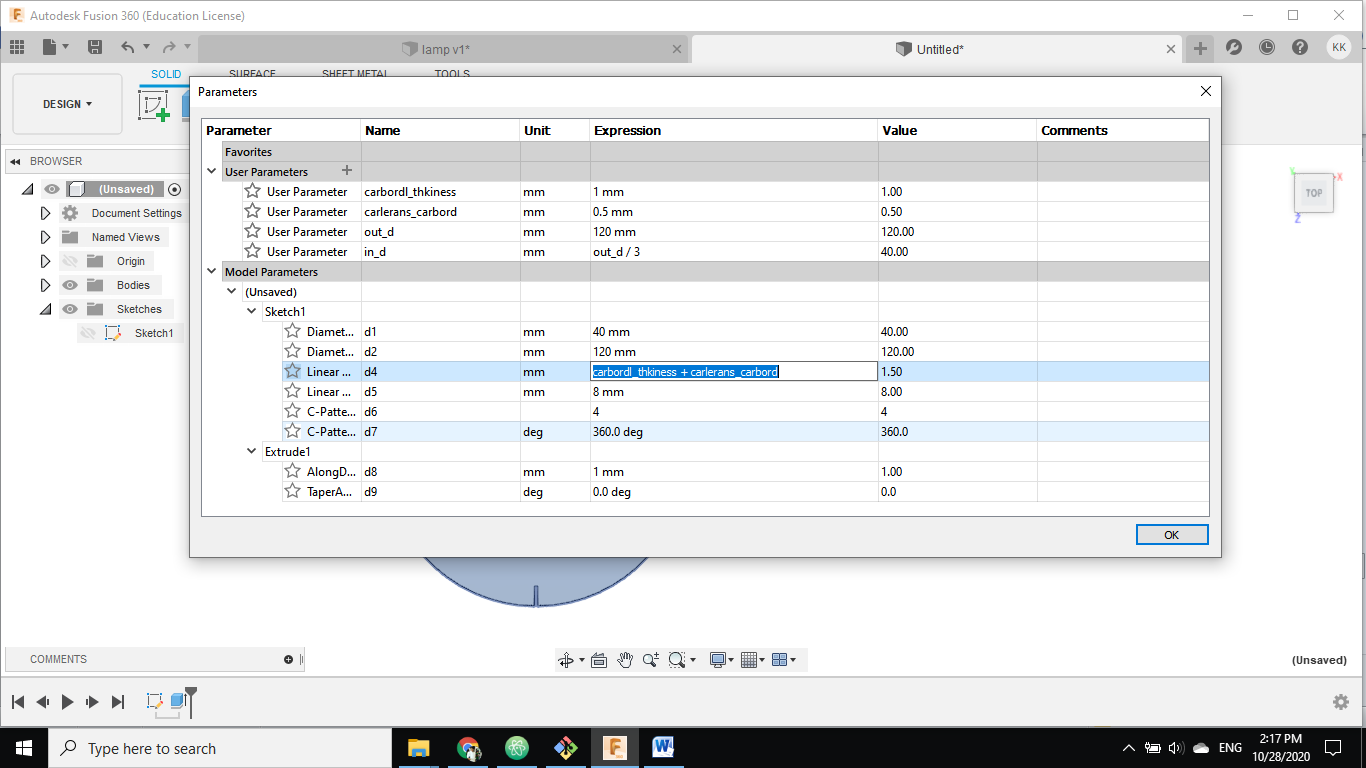 next step will be to add the Parameters that I made in the model Parameters.
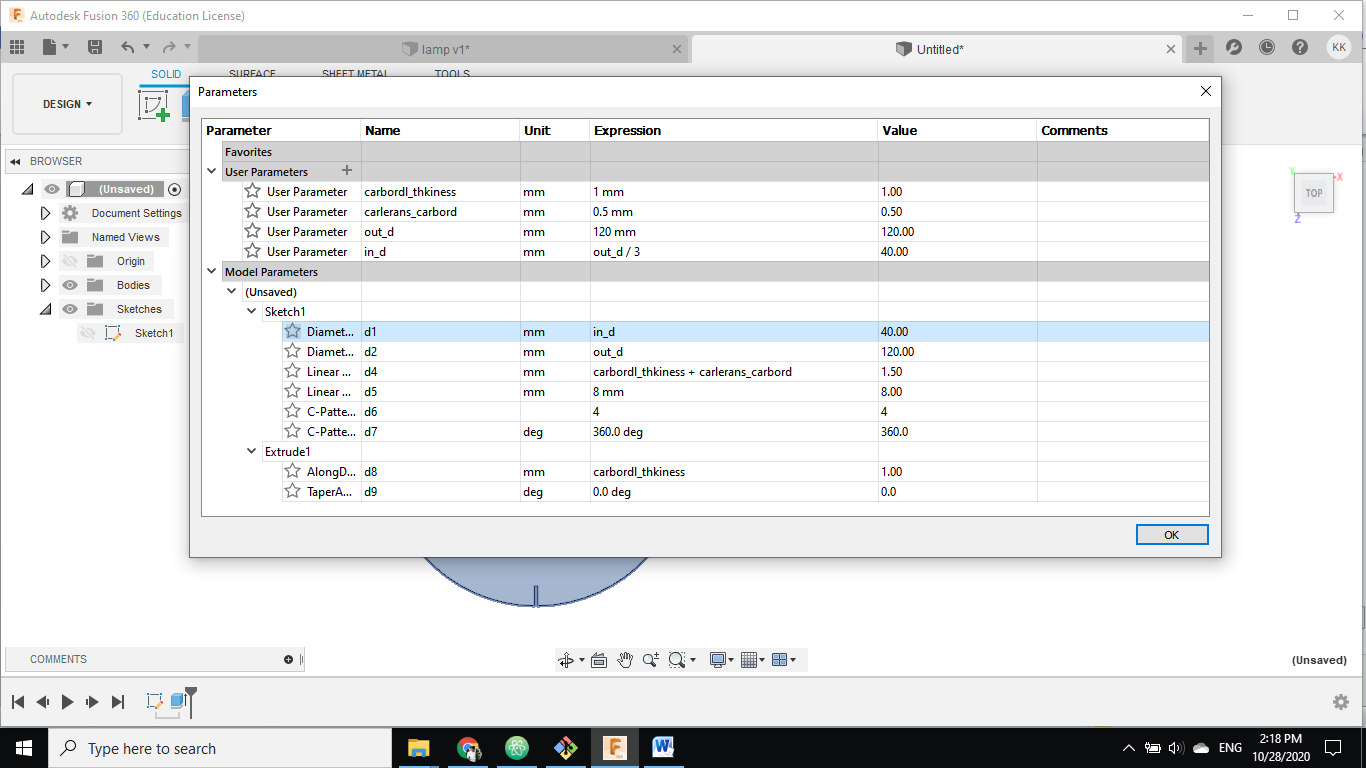
| model Parameters | what equal in user Parameters |
|---|---|
| fitting gap | carboard_thickness + carboard_clearness |
| outer diameter | out_d |
| inner diameter | in_d |
| extrude | carboard_thickness |
machine sitting
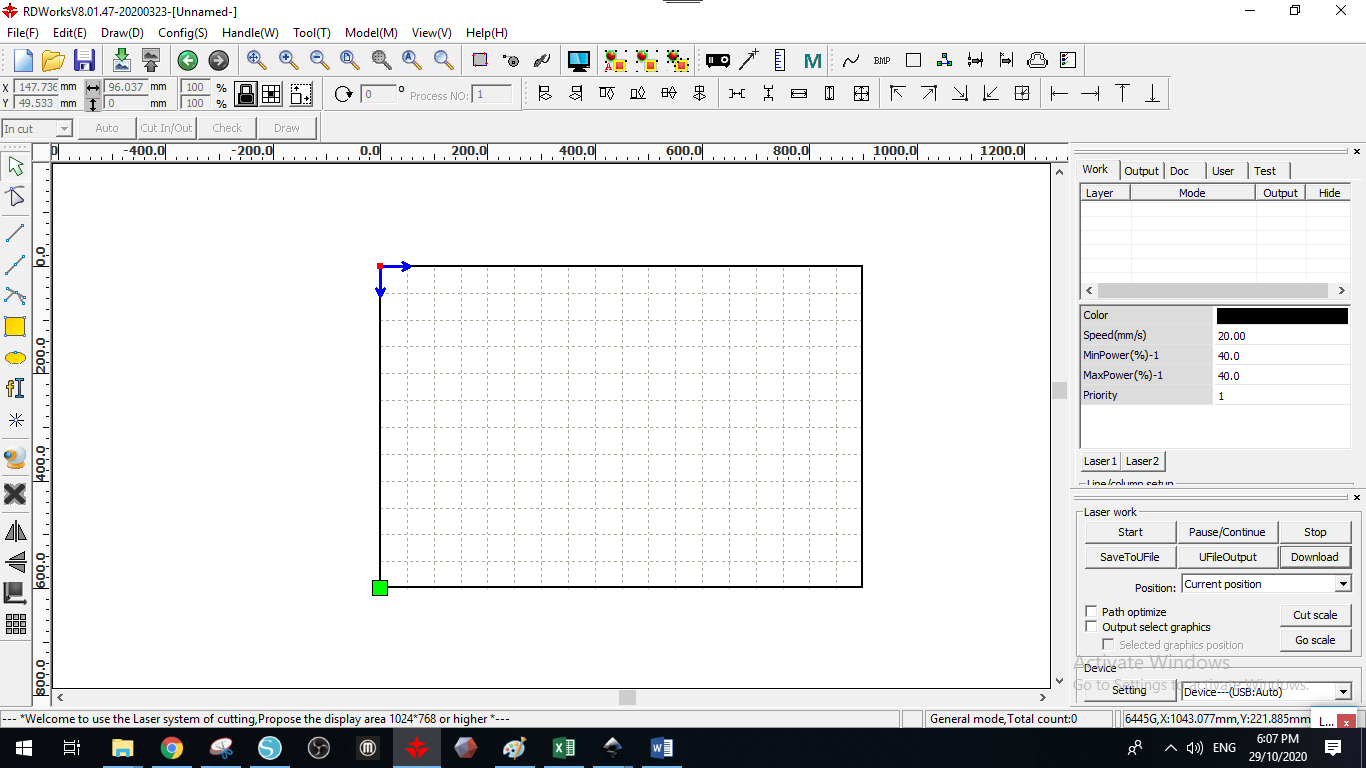 I used this program
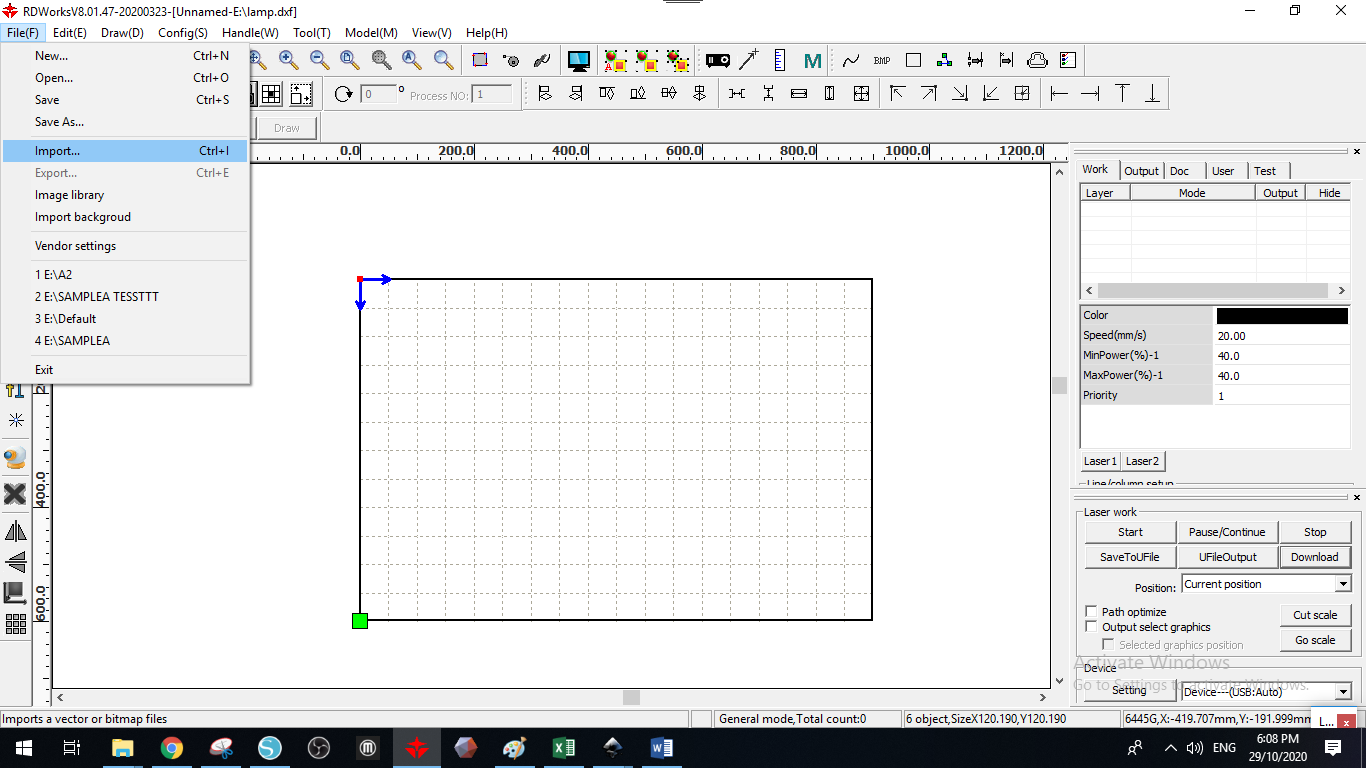 then I import DXF file to design
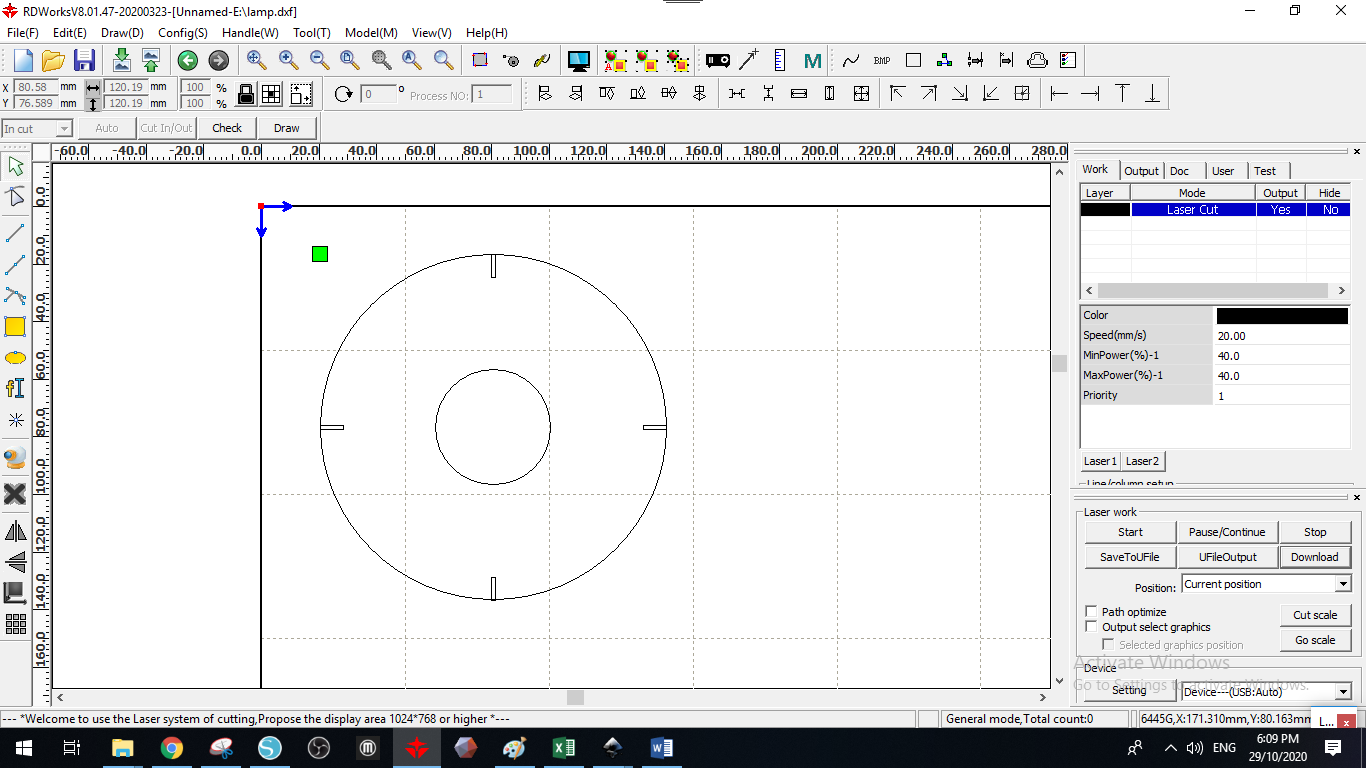 after I added the design a placed it in the place I want to cut it .
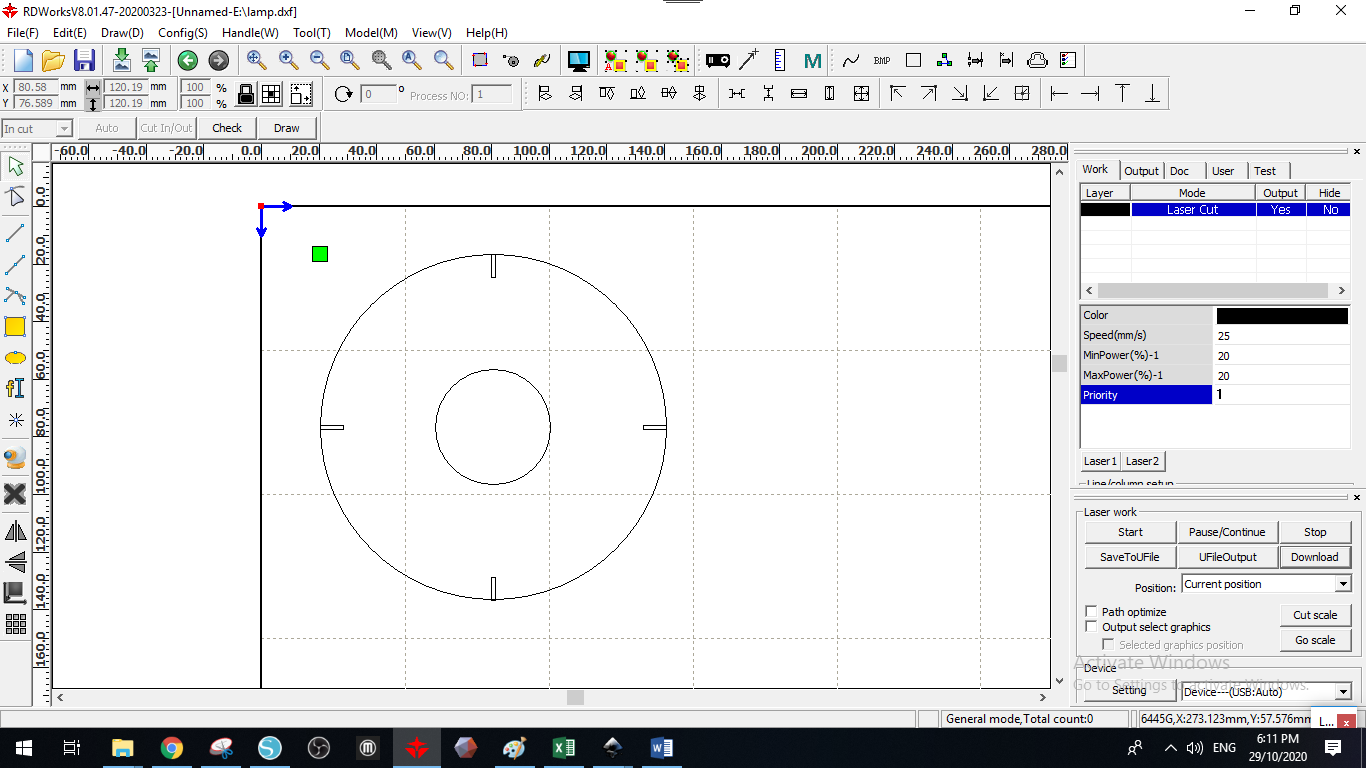 I change the speed and the power to cut carboard deo to the group assignments
| speed | power |
|---|---|
| 25mm/s | 20% |
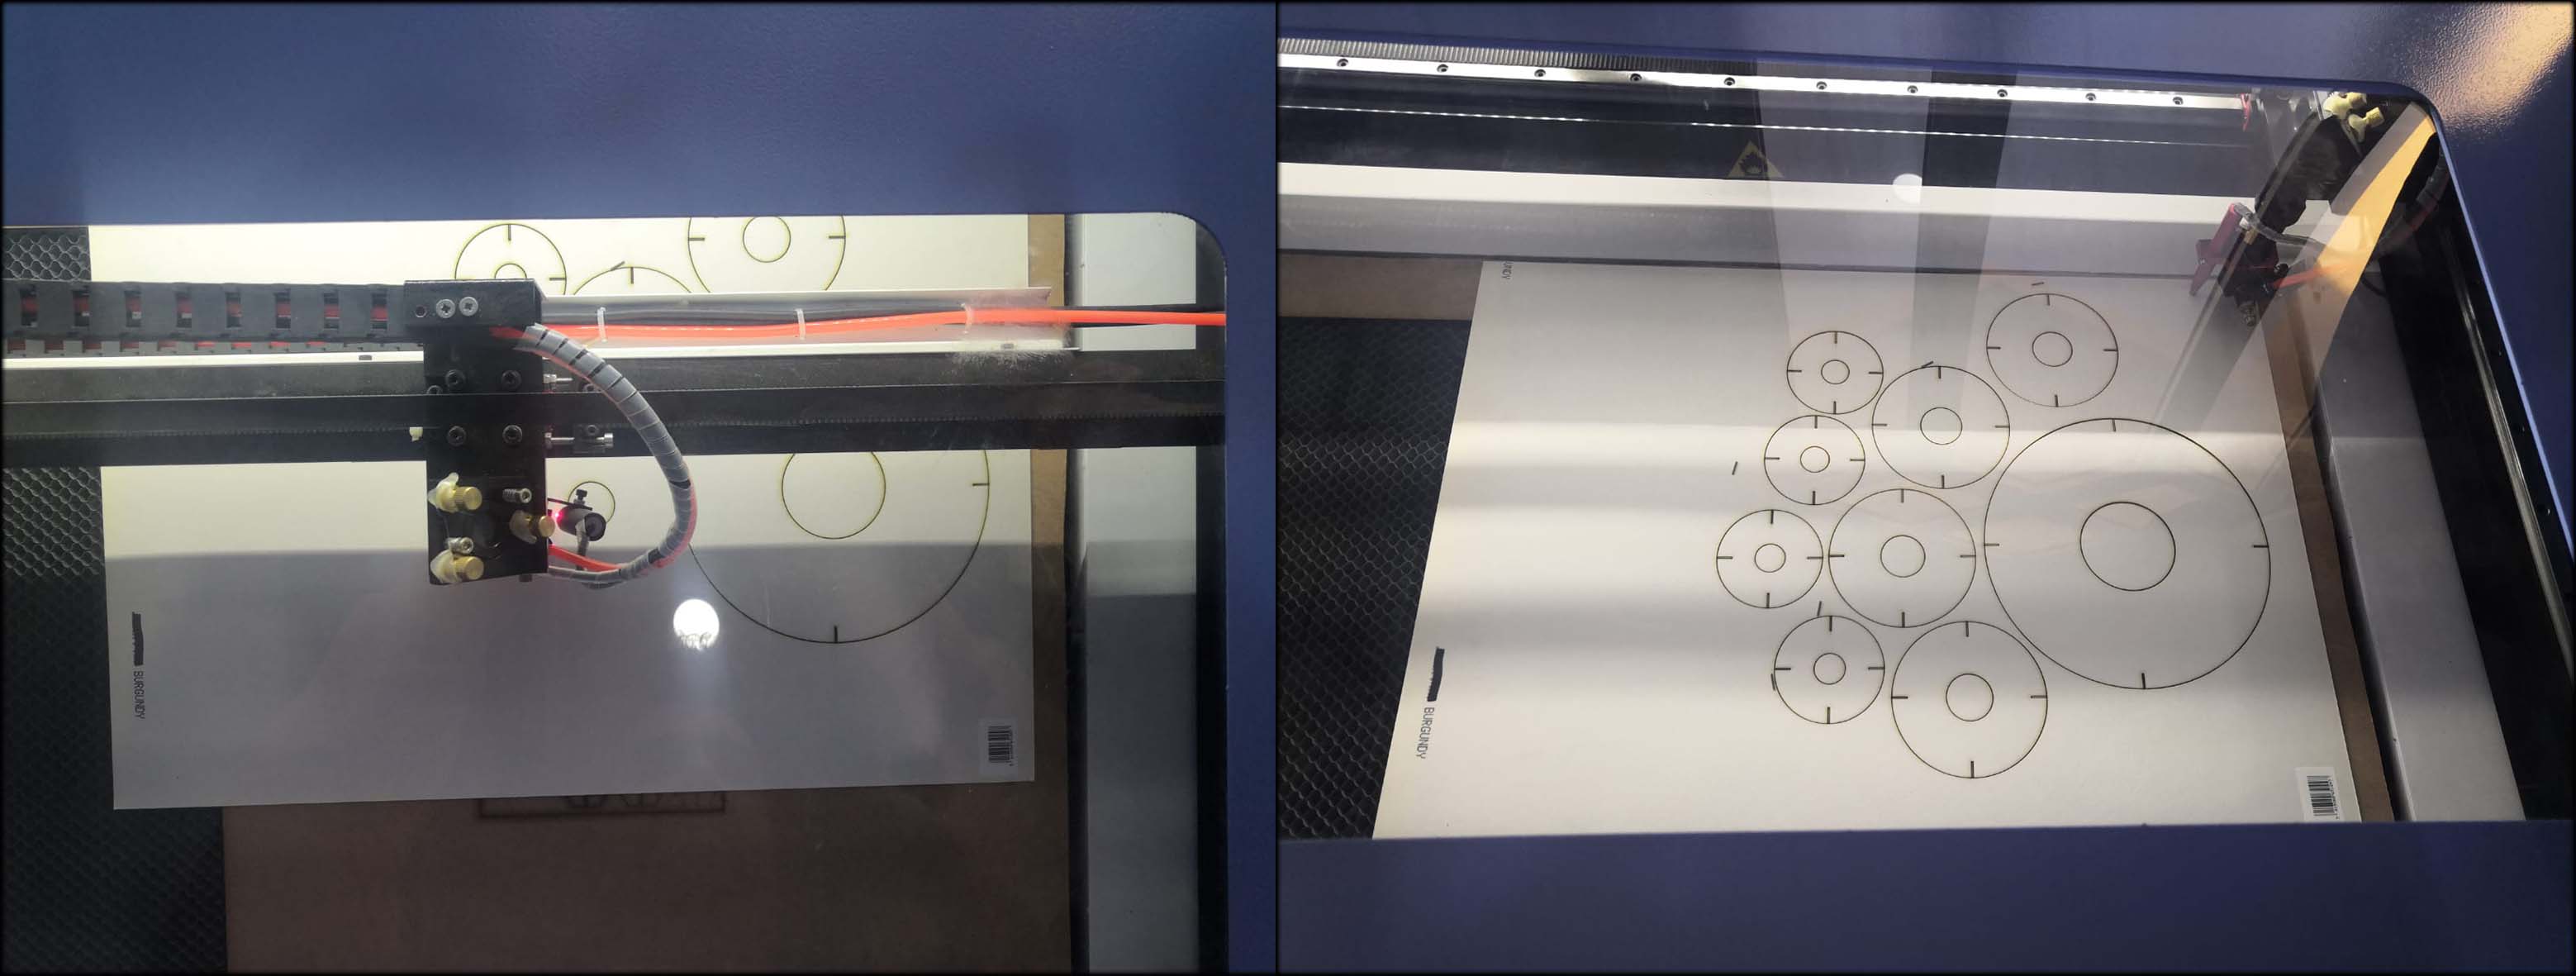
after I test the design and everything went will, I added more circle with different sizes.
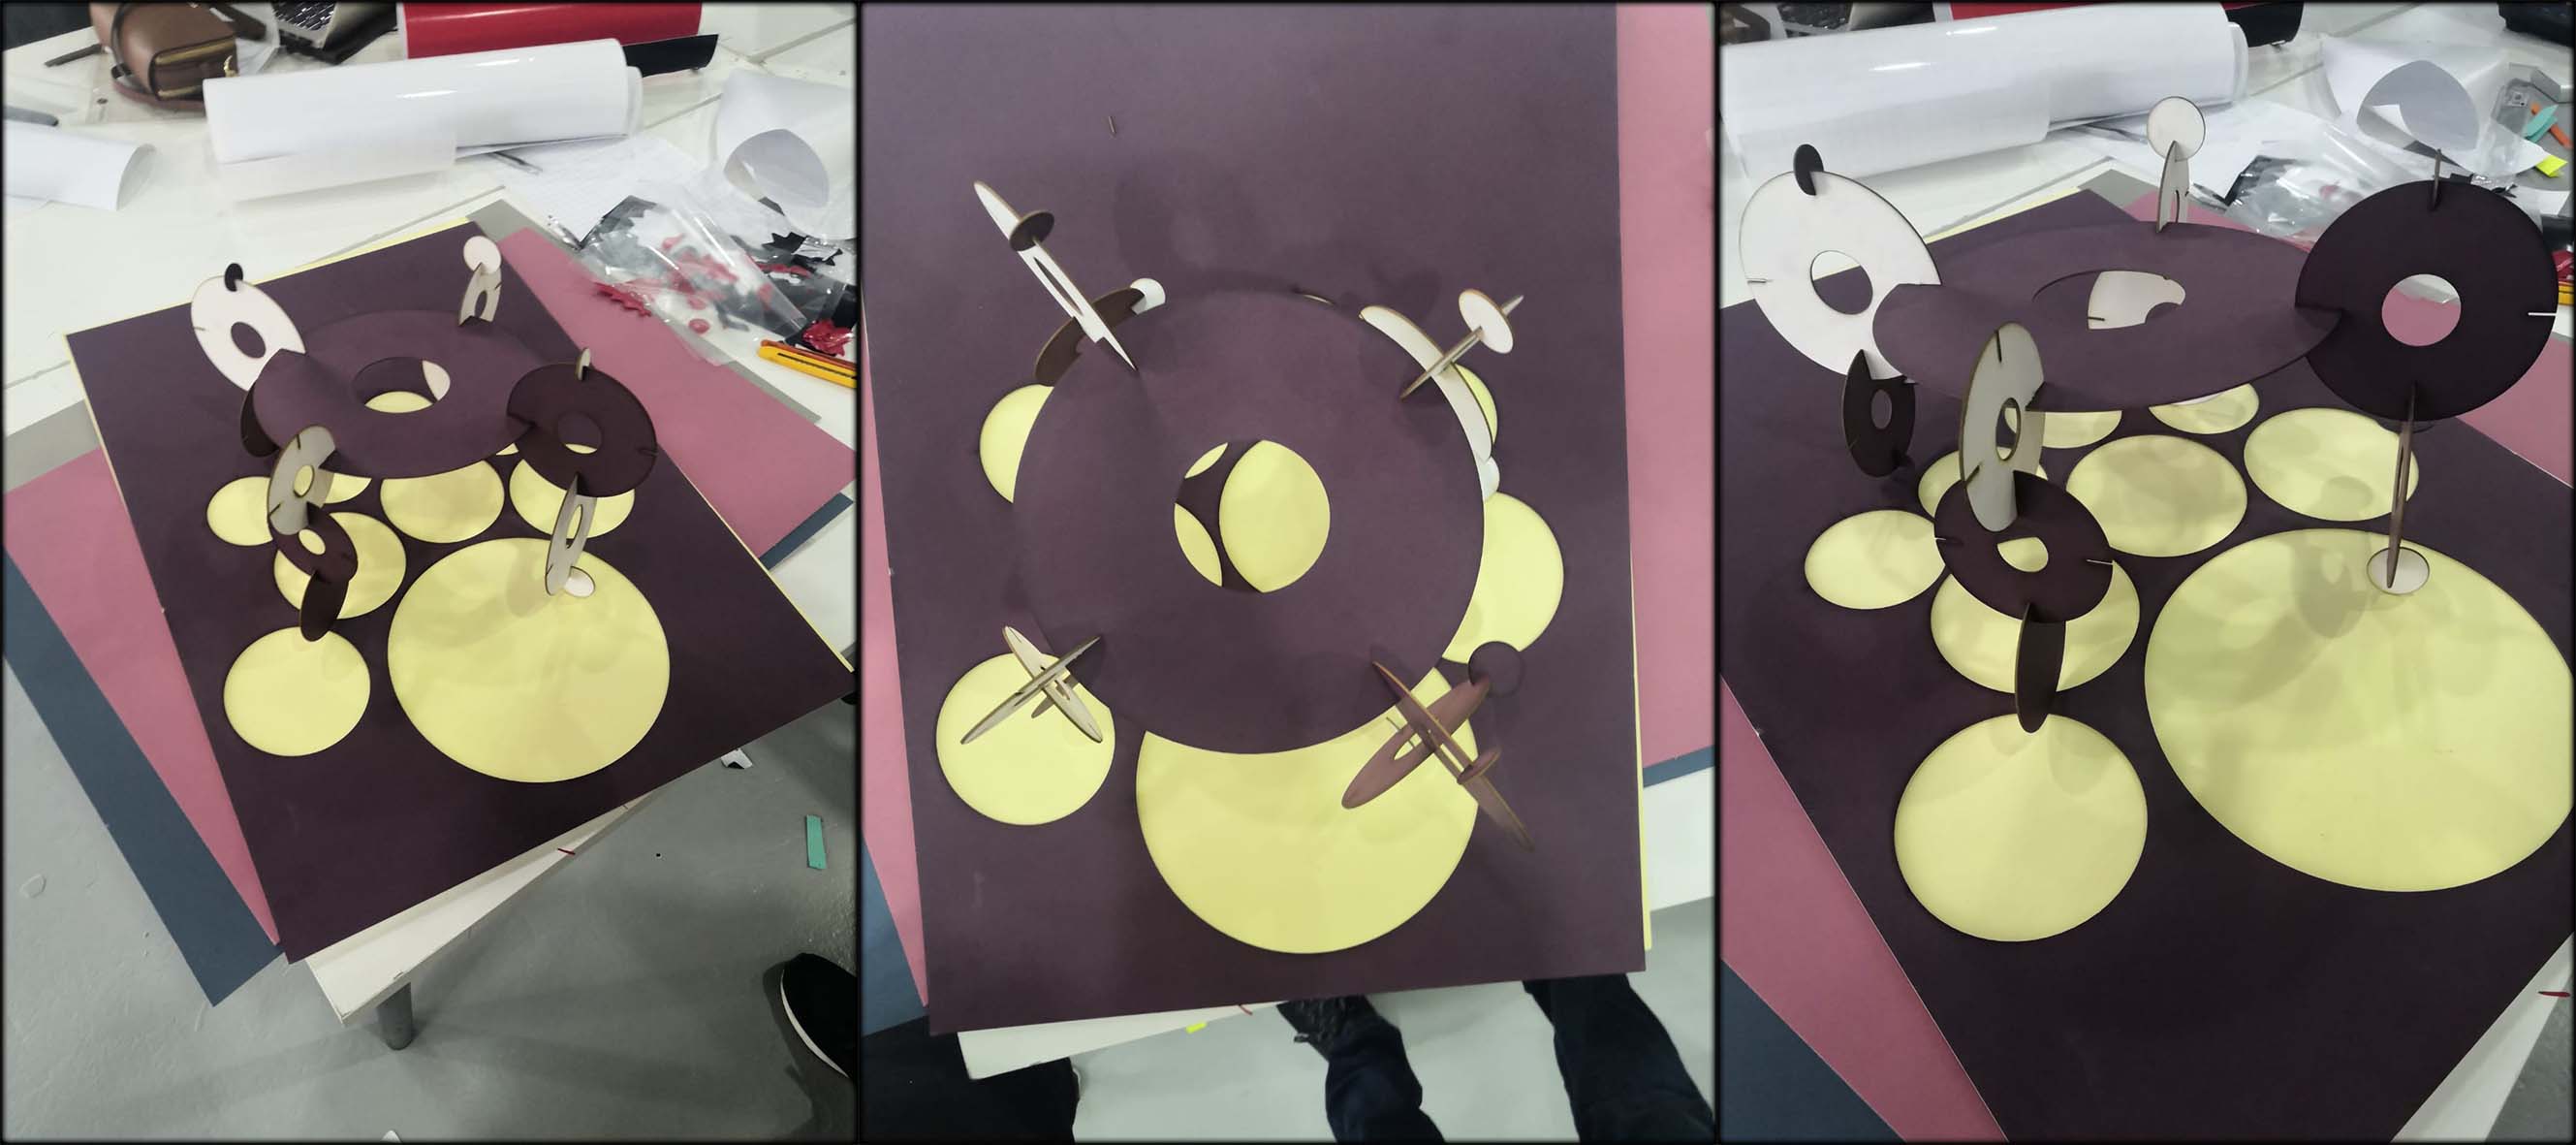 this is how it look whine I finish putting everything together, put still need place to put the light in it .
 I use the same carboard but to make binding without cutting the carboard I must change the sitting of the laser cuter , I have choose to making it less power or more fast
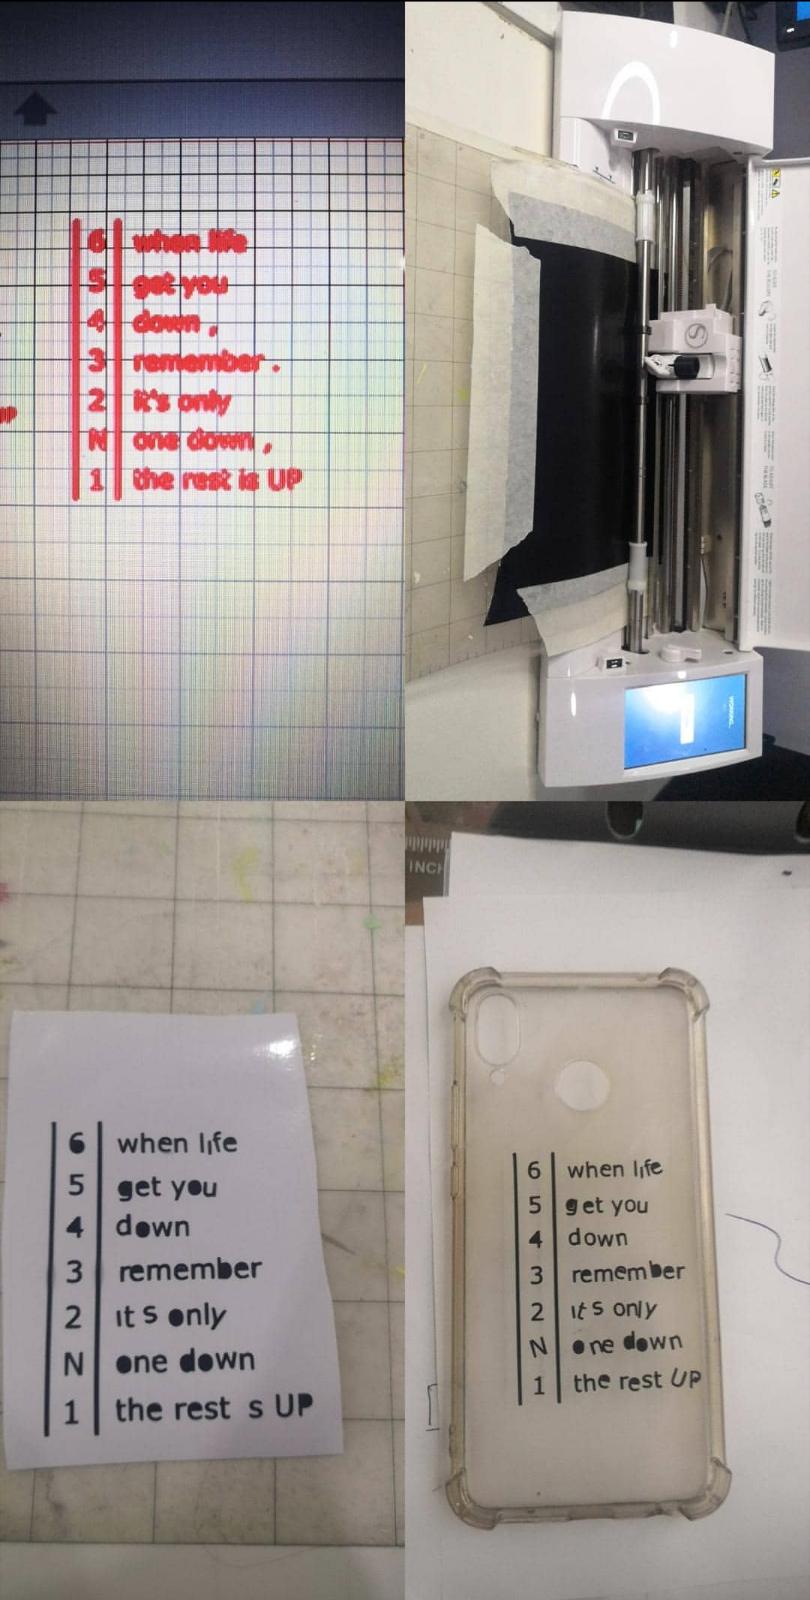
Vinyl cutter
it is just a few essay steps
- Put your design into the vinyl cutter program and fix it.
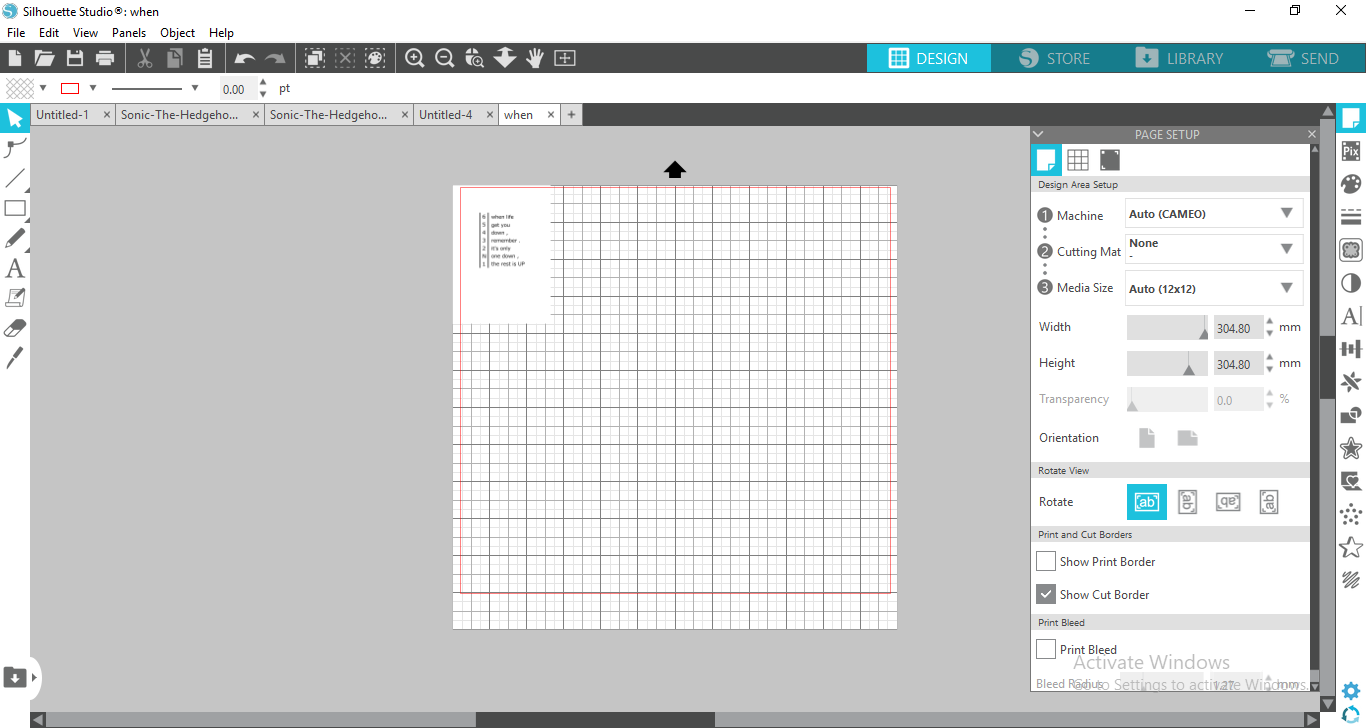 for this step you must add your design
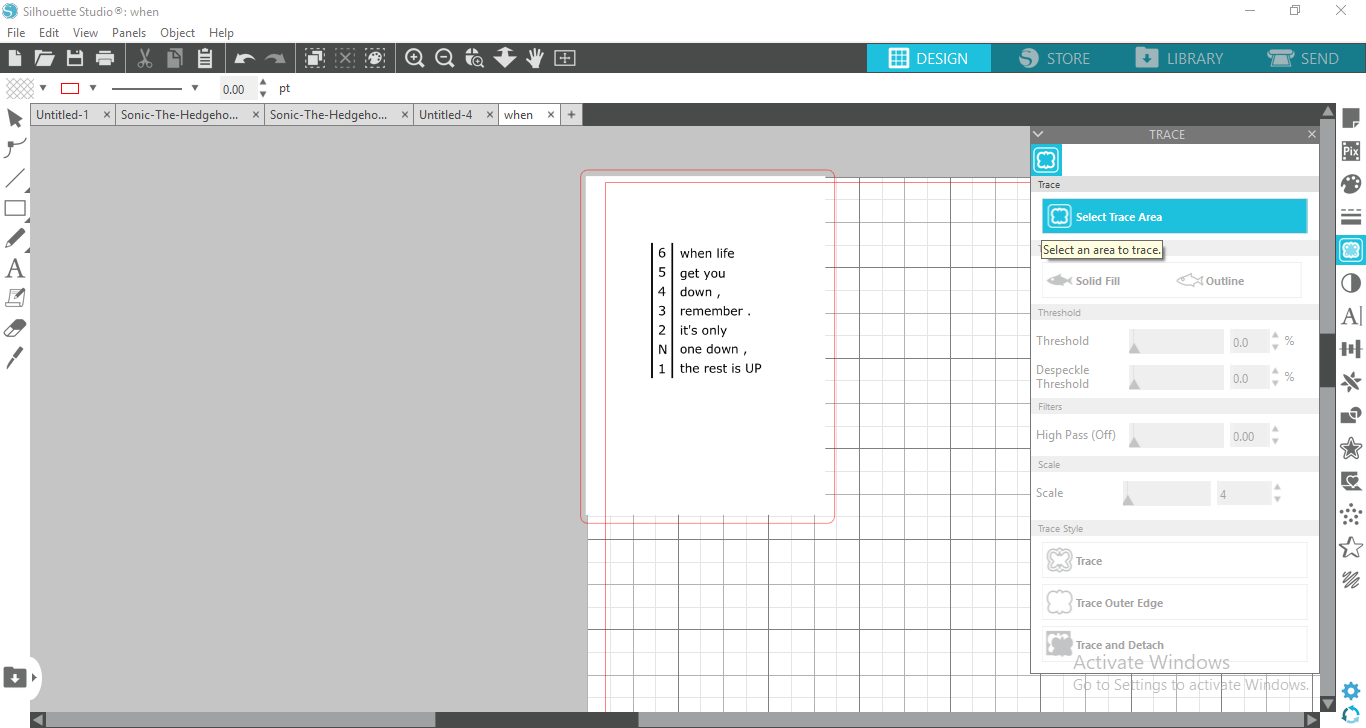 then make the outer line that the machine will follow to cut your sticker
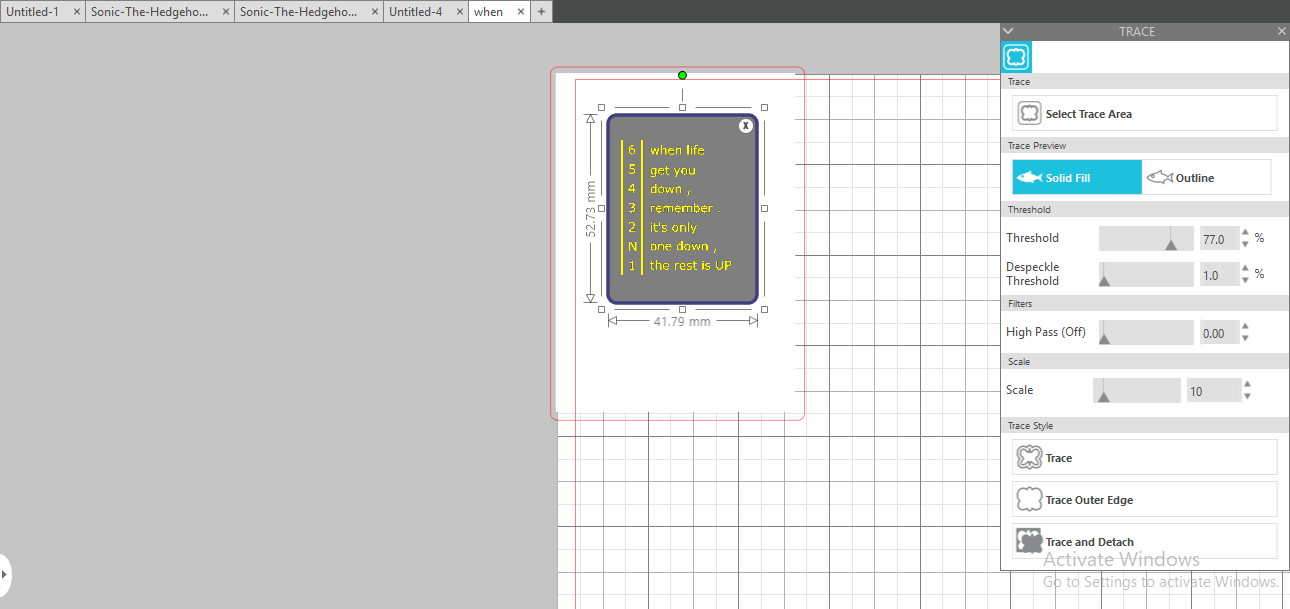 then cover all the are that you want to trace and add to the setting till all your design out line be yellow
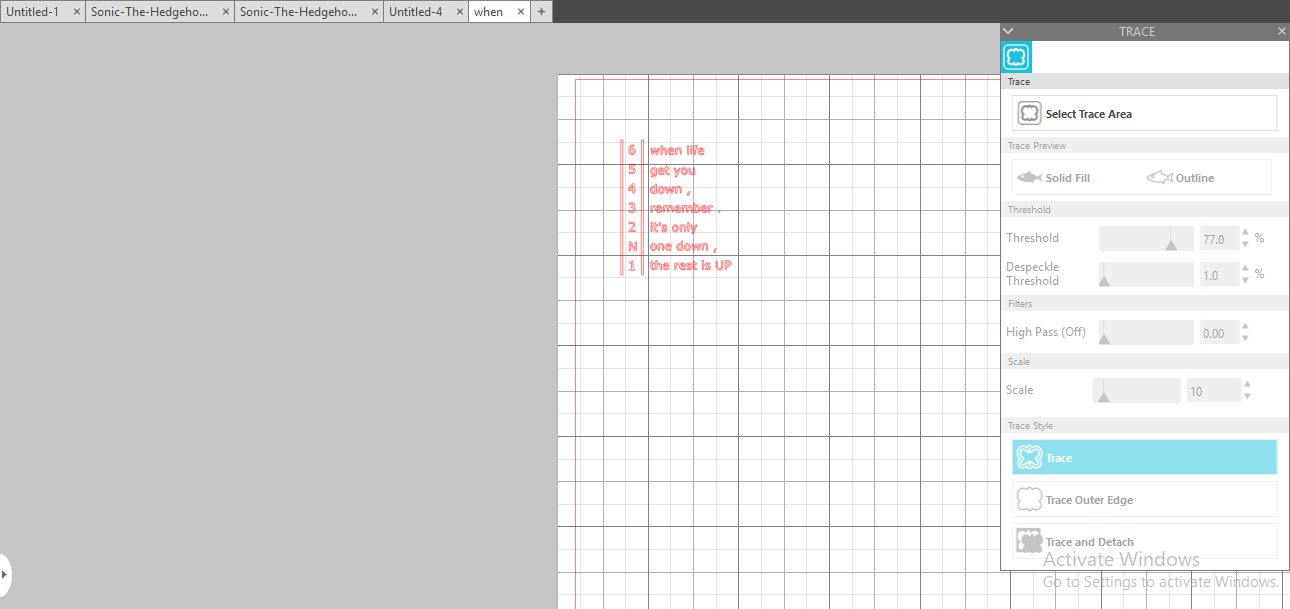 after it will be red you can move it to the place that will be cut.
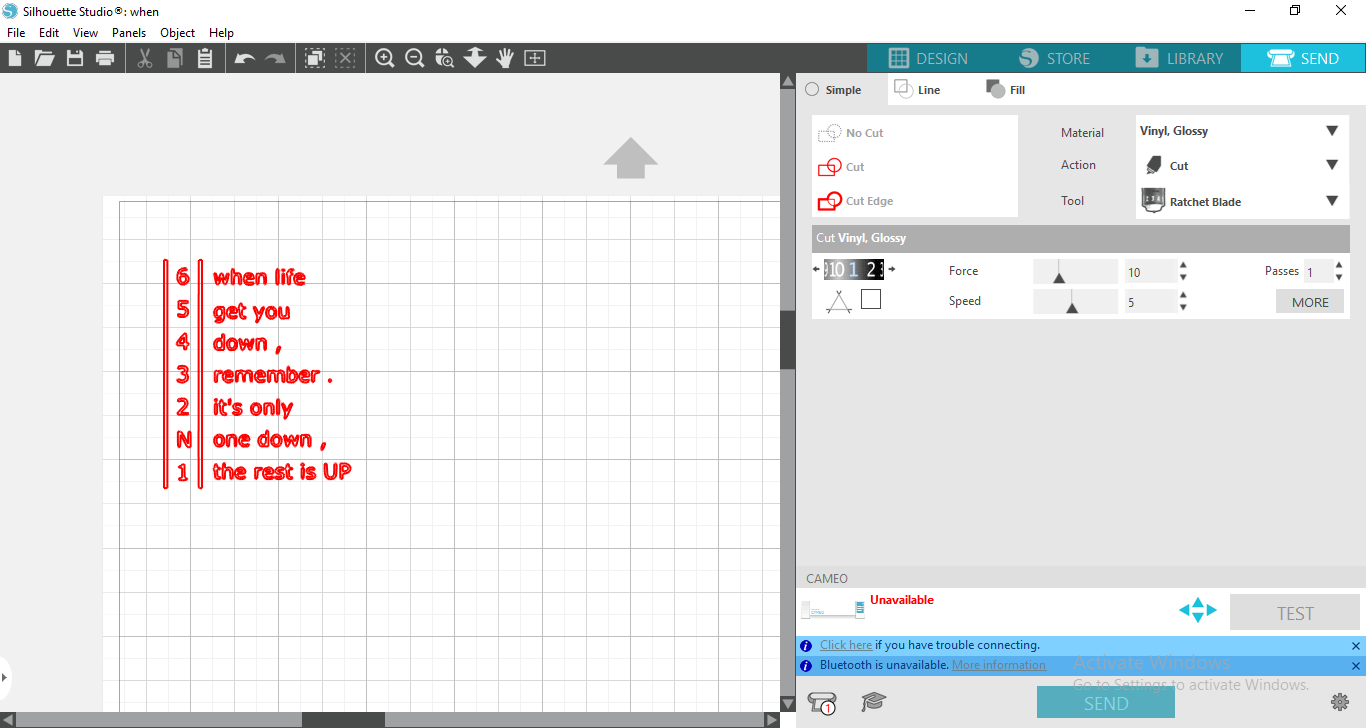 last thing to do is to go to send and edit the Cut vinyl glossy I put the force 10 speed 5 and the passes 1 .
- Put the material that you will use it
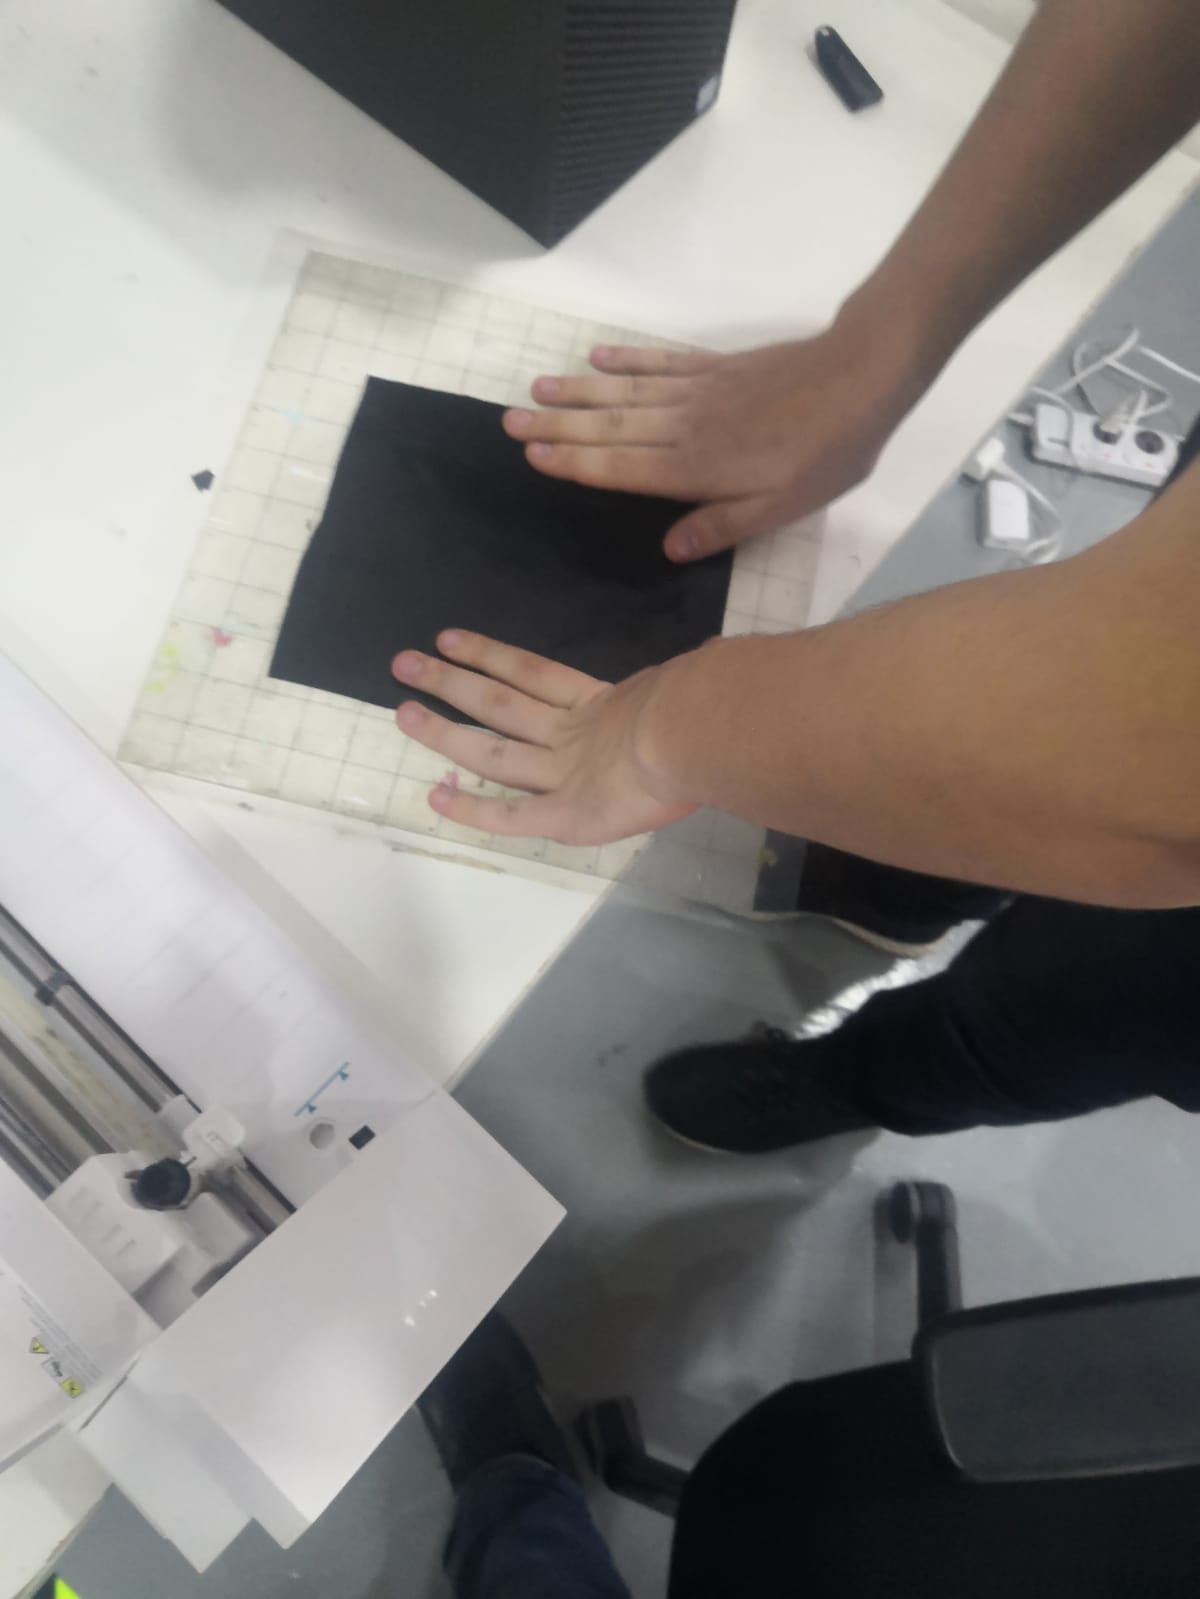 star putting the material that you will use in the bed and make sure that it stick on it well
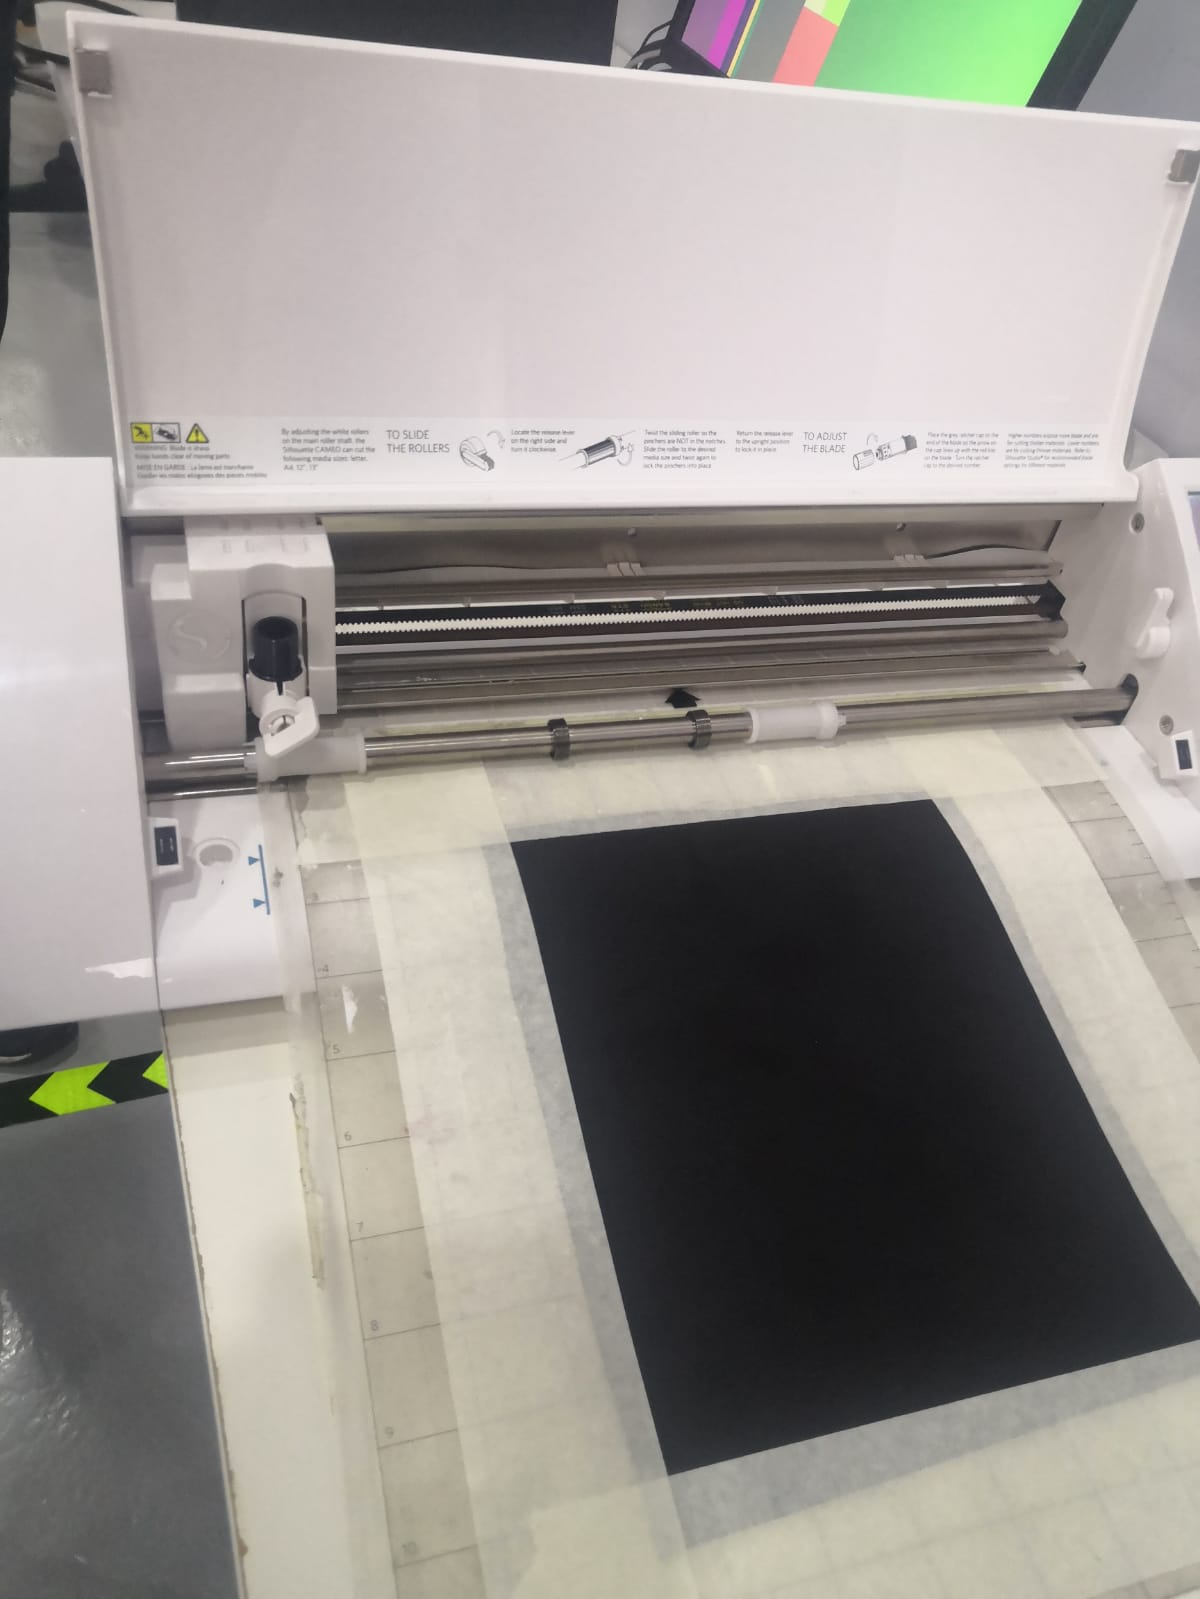 after this insert it into the machine by placing the bleu line in the pad and machine inline
- Take your sticker and remove the extra parts from it. by removing the extra pasts that you don’t need be careful with the small parts , the take clear sticker and cover all of your design
- Place your sticker in the place that you want. put your sticker on the place that you want .
DONE