10. Molding and casting
- Group assignment http://fabacademy.org/2019/labs/lakazlab/assignments/week14/
- Review the safety data sheets for each of your molding and casting materials
- Make and compare test casts with each of them
- Individual assignment
- Design a 3D mould around the stock and tooling that you’ll be using, mill it (rough cut + (at least) three-axis finish cut), and use it to cast parts.
Objectives
Moulding & Casting week the objective was to create a moulded end-product from a positive mould milled out of a block of hard soap, followed by casting of the negative mould from moulding rubber and finally pour the end product from moulding plastic.
- [x] Explained how you designed your 3D mould and created your rough and finish toolpaths for machining
- [x] Shown how you made your mould and cast the parts
- [x] Described problems and how you fixed them
- [x] Included your design files and ‘hero shot’ photos of the mould and the final object**
- [x] Reviewed the safety data sheets for each of your molding and casting materials, then made and compared test casts with each of them**
- [x] Add link to the group assignment.
- [x] Screenshots and description of the process of creating the design of the mold.
- [x] Describe the creation of the tool-paths: describe end mills for rough and nish cut. describe the process of generating the tool-path for rough and nish cut.
- [x] Describe the process of creating the rubber mold, then the plastic cast.
- [x] Describe any errors or problems with the process and how you fixed them.
- [x] Photos of your molds (soap and rubber) and your nal part
- [x] Include all the files you created for downloaded
Design & CAM
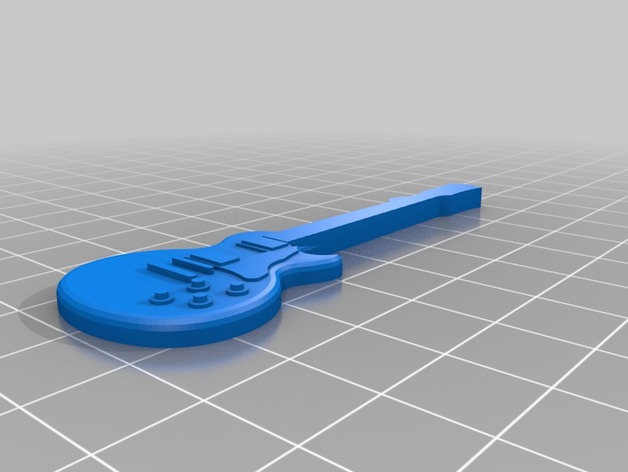
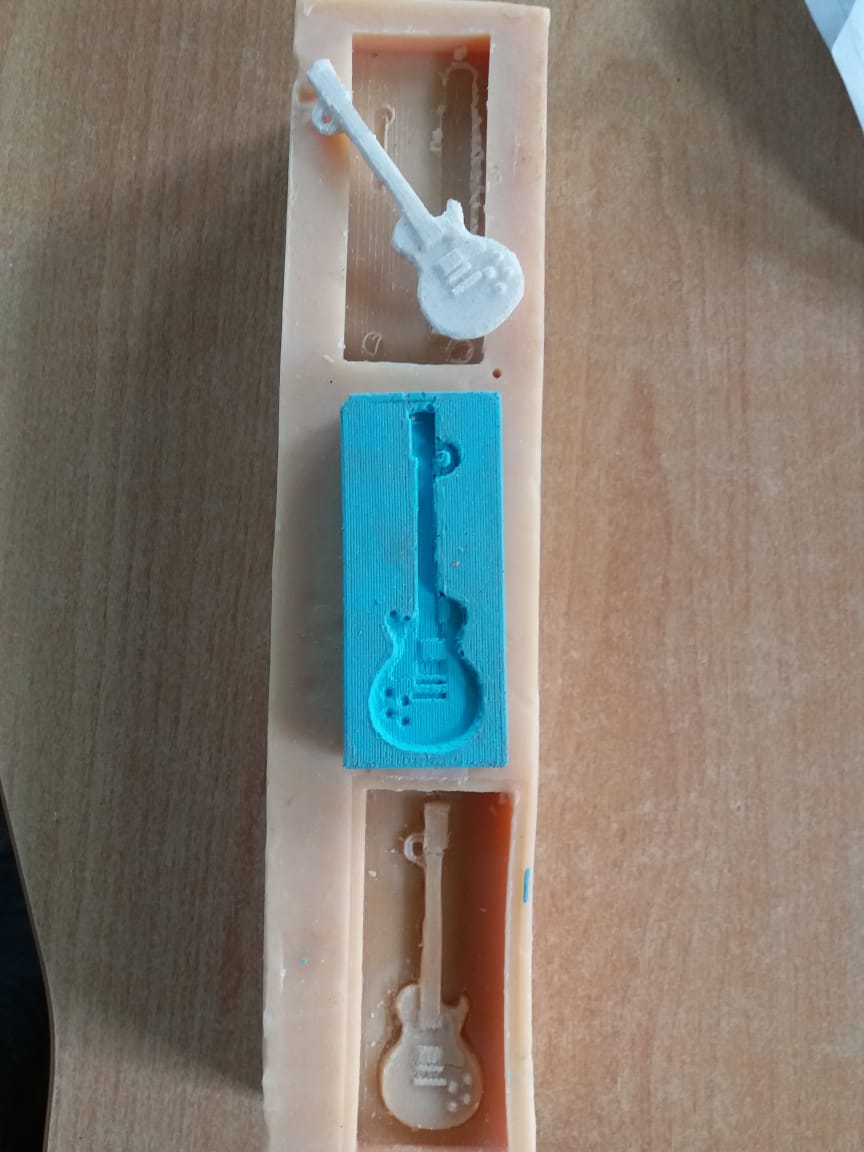
We used a stock design of a Gibson Les Paul guitar chain or key hanger for this assignment and i will make a one-sided mold.
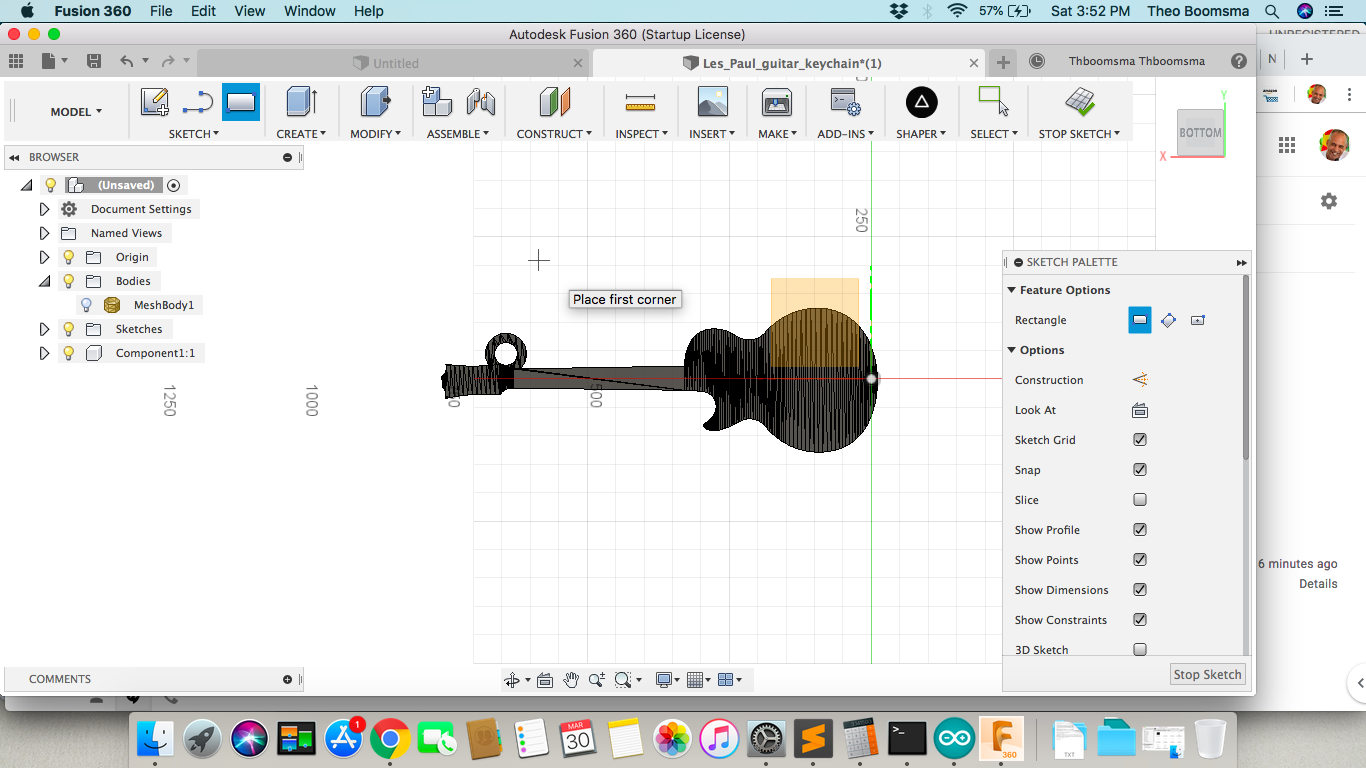
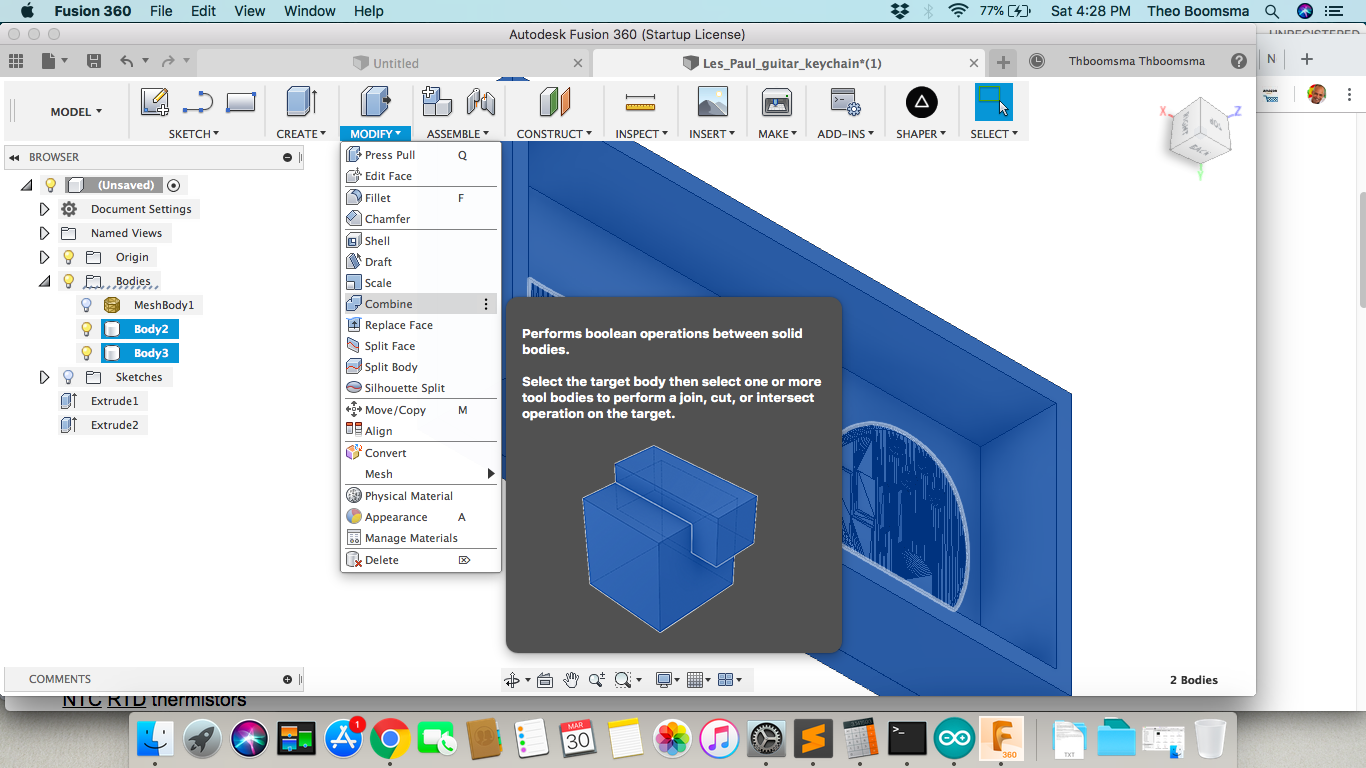
We created a body from the mesh to work with.
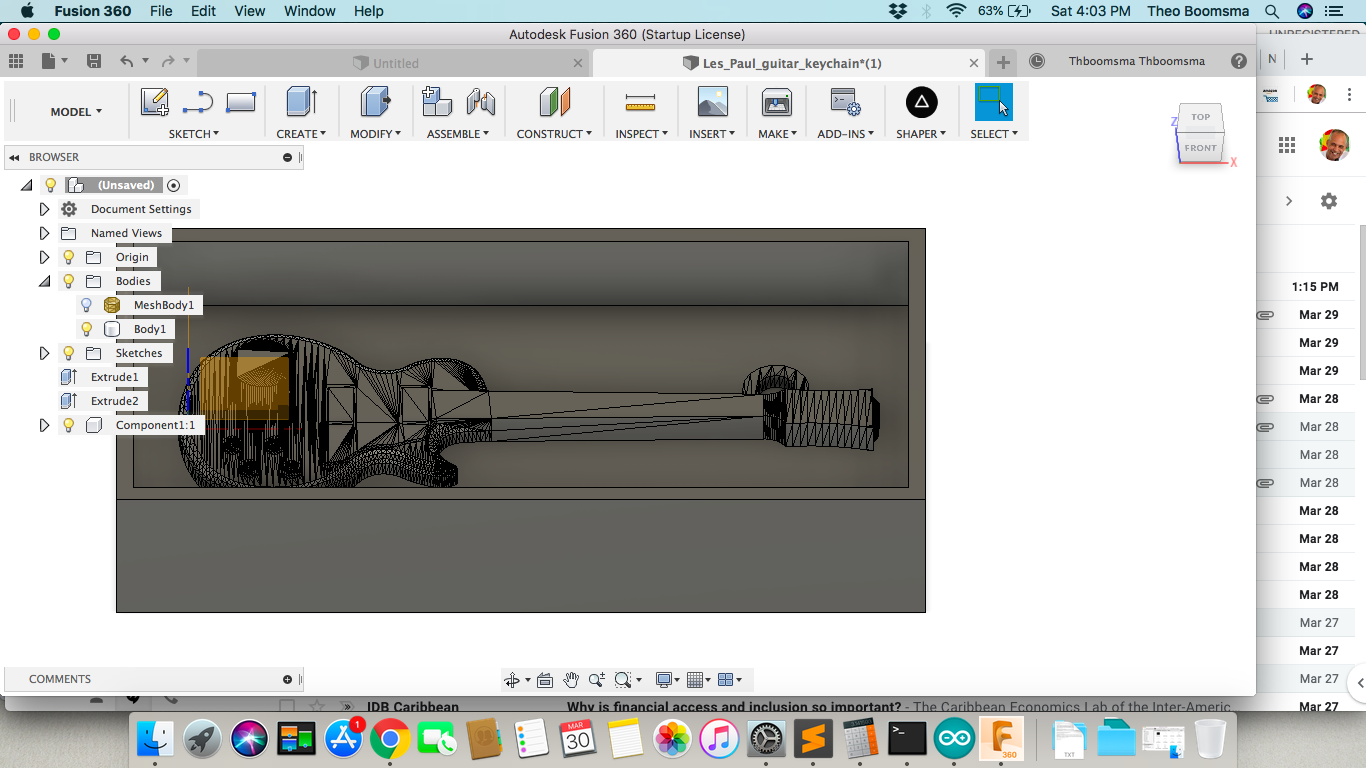
Add the surrounding box to the guitar (body)

Now we combine the bodies into a single body. The operation works only if the 2 bodies literally collide so we had to lower the guitar somewhat into the box bottom for this to work.
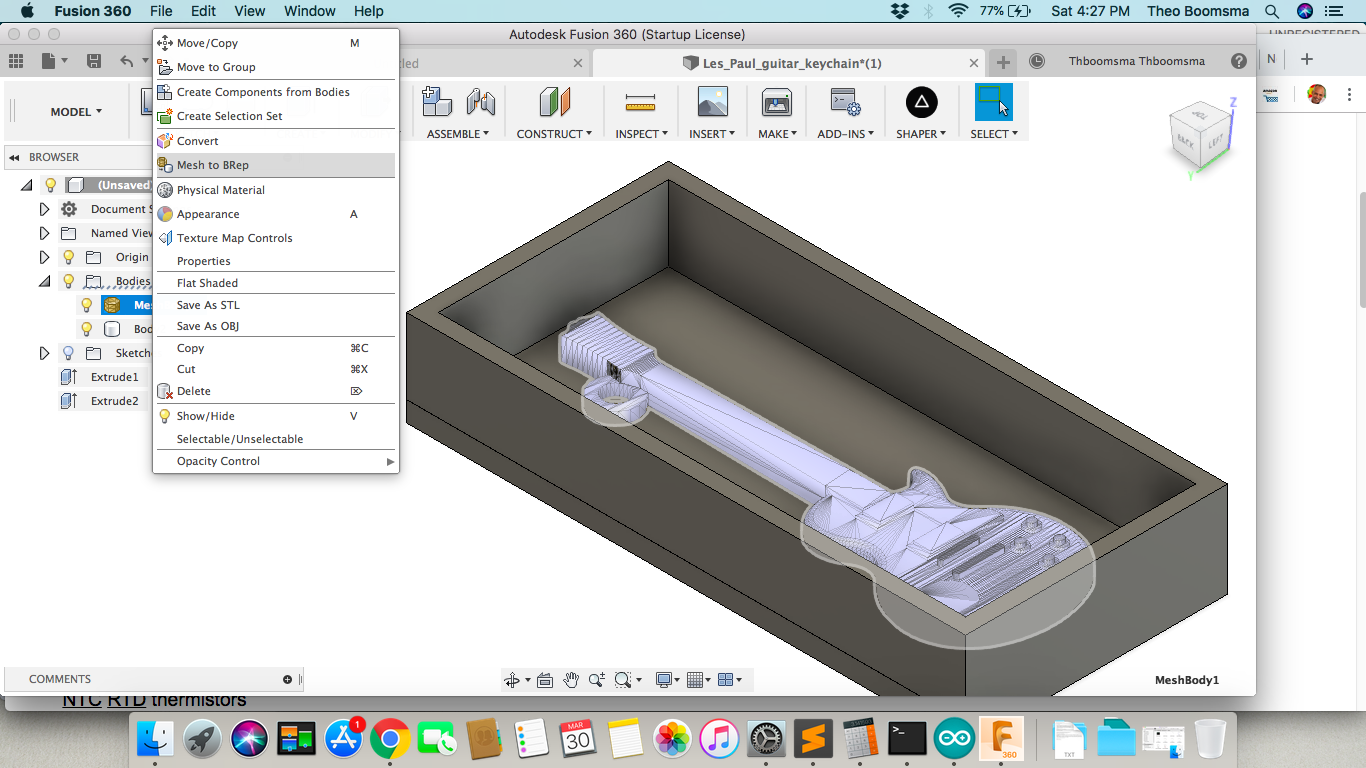
Now we prepare the design for milling. Fusion allows you to simulate the tool paths.
We create a Pocket cut with a and after a horizontal fine cut with Fusion CAM capabilities
Pocket Clearing:
| Parameter | Value |
| Mill | 3.175mm ("1/8") Flat End mill |
| Spindle Speed | 1600 rpm |
| Feed rate | 20 mm/min |
Horizontal Fine Cut:
| Parameter | Value |
| Mill | 1.5 mm Ball End mill |
| Spindle Speed | 1600 rpm |
| Feed rate | 20 mm/min |

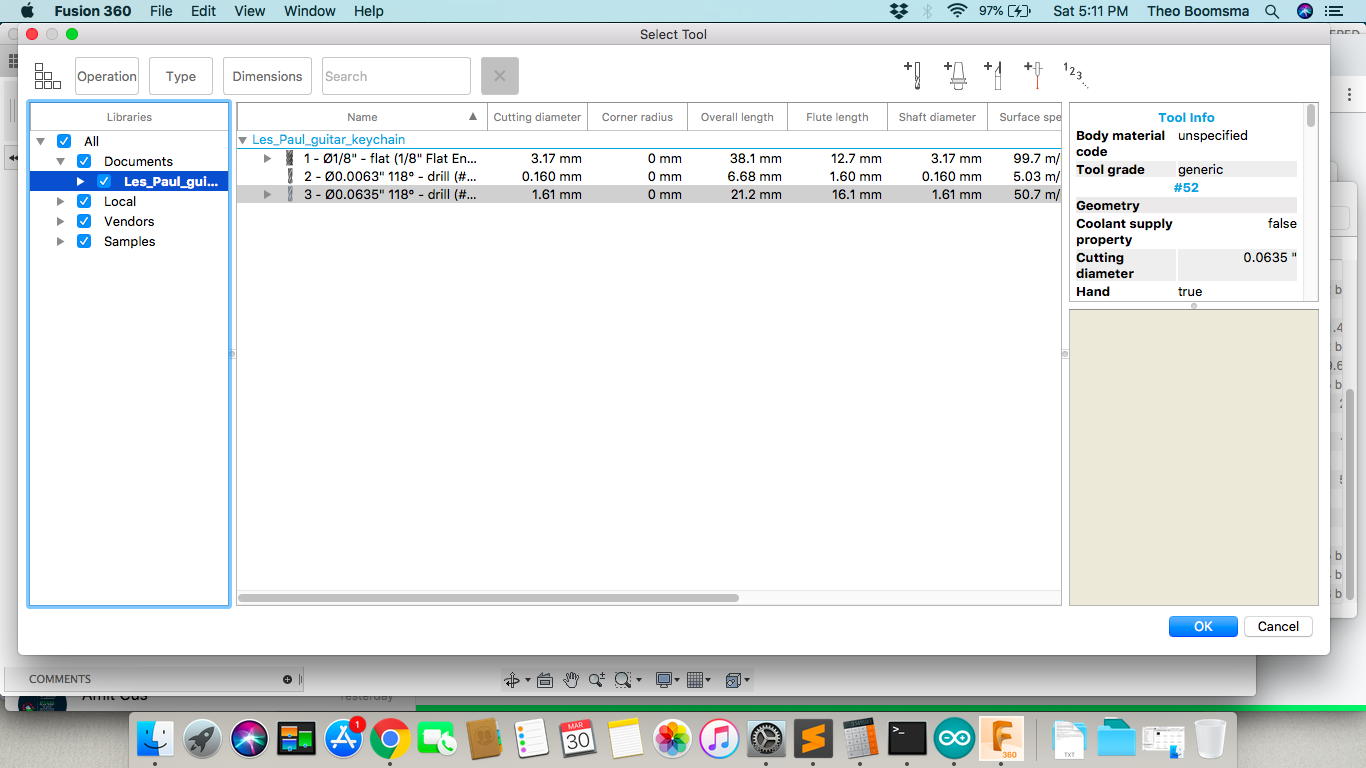
Select your tool diameters
I will mill the positive mold on the Stepcraft D840 controlled by UCCNC.
I found a Fusion UCCNC CAM Post Processor that should make creation of the NC files very easy. After testing with this results were unsatisfactory so colleague pointed me to a set of specific Stepcraft Post Processors
Getting it to work on Mac involved finding the Autodesk Fusion folder on your system, i followed this link to get it working. After this it was smooth sailing!
You can look for your machine’s Fusion CAM processor here
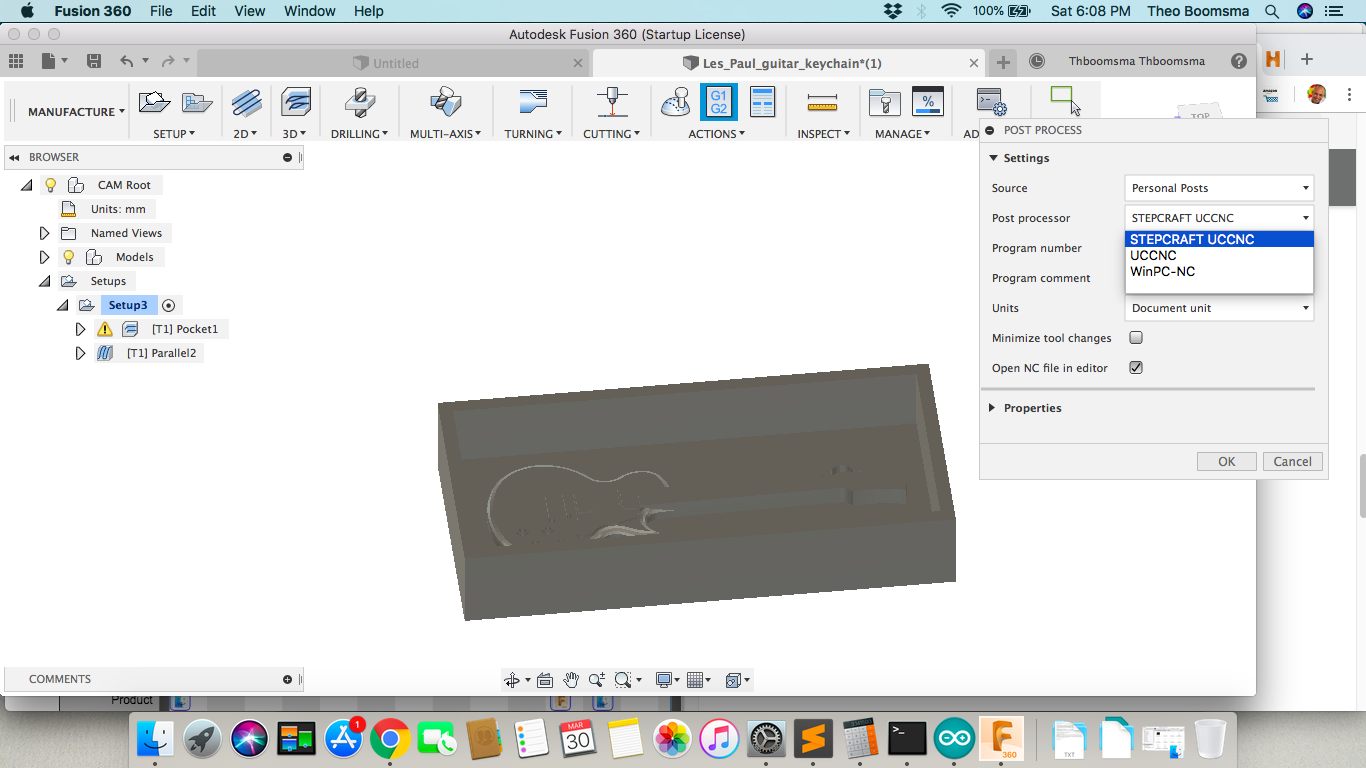
Select Post Process Action and select the CAM processor from the menu and export Gcode from there.
Z-Axis
Fusion by default puts the Z-axis zero at the bottom of the workpiece, while you want to be at the material surface for milling and carving the opposite is true for 3D printing and other additive processes.
CAM with MODS
As a trial i decided to do the above steps with MODS and i am truly amazed by the simplicity, the power and ease of the centralized and standardized CAM tool called MODS.
One issue was that MODS only accepts Binary type STL’s so i just converted it to binary using an online service and opened into MODS (www.fabmodules.org i wonder why this functionality isnt added to the http://mods.cba.mit.edu/ version of mods)
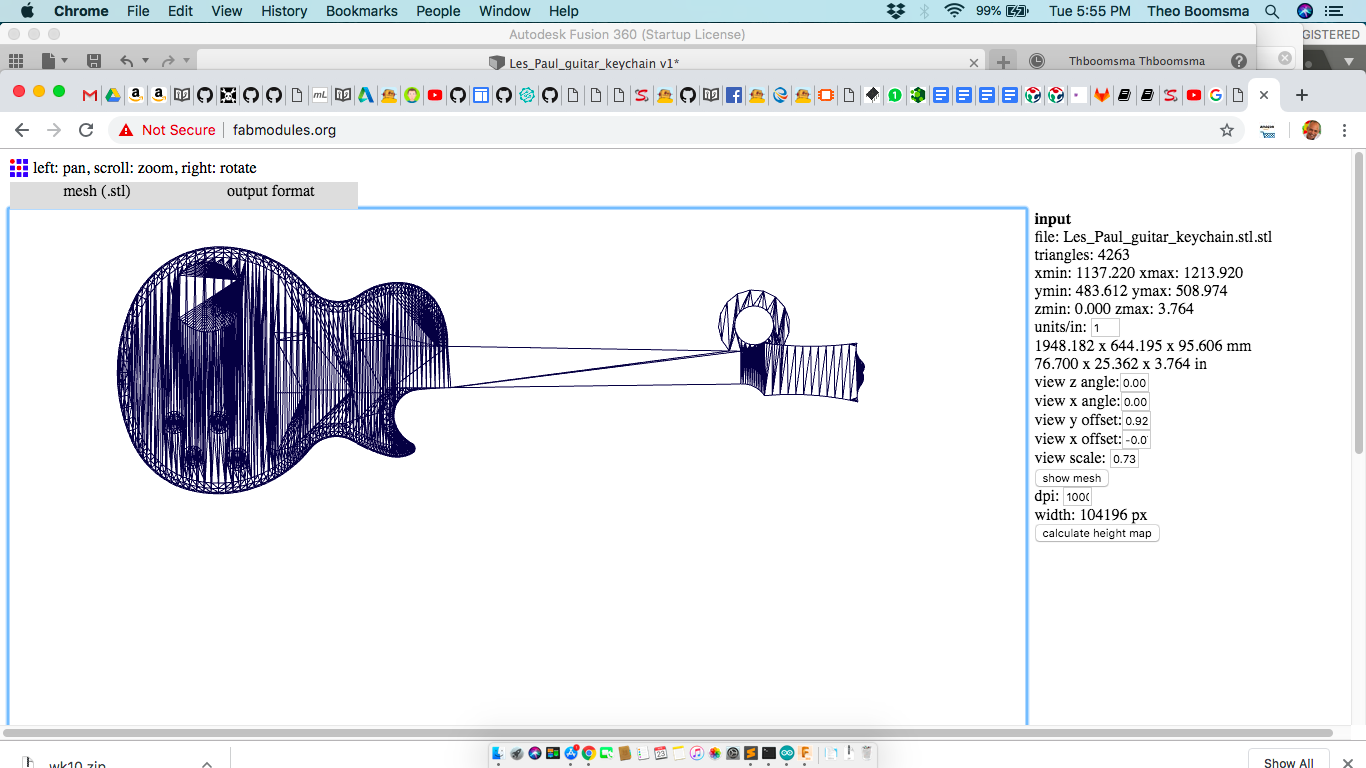
Enter the Unites/inch: 24.5 and select “show mesh”, calculate the “height map” and “Export to GCode”.
Select “Foam Rough Cut” and calculate. Paths will be calculated now.
Unfortunately the calculations took forever to run (actually results never appeared) so i think the mesh was too much for the calculation.
Milling
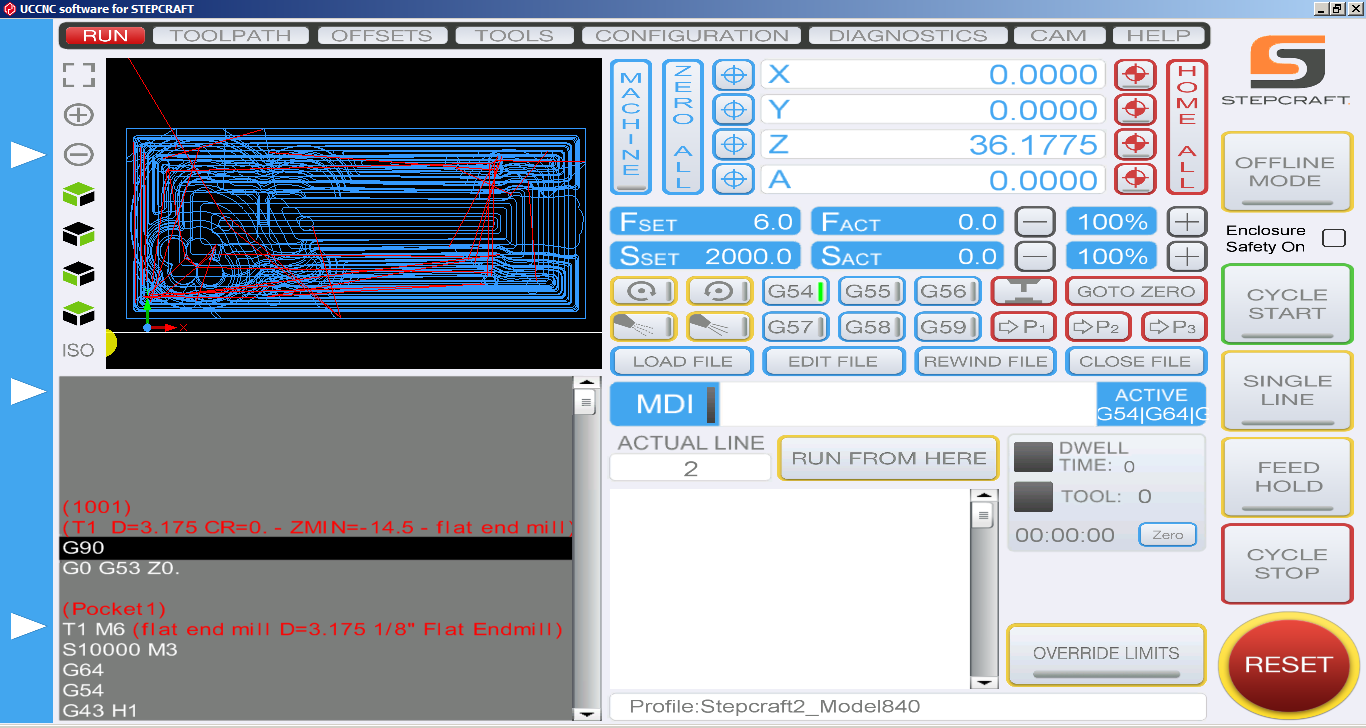
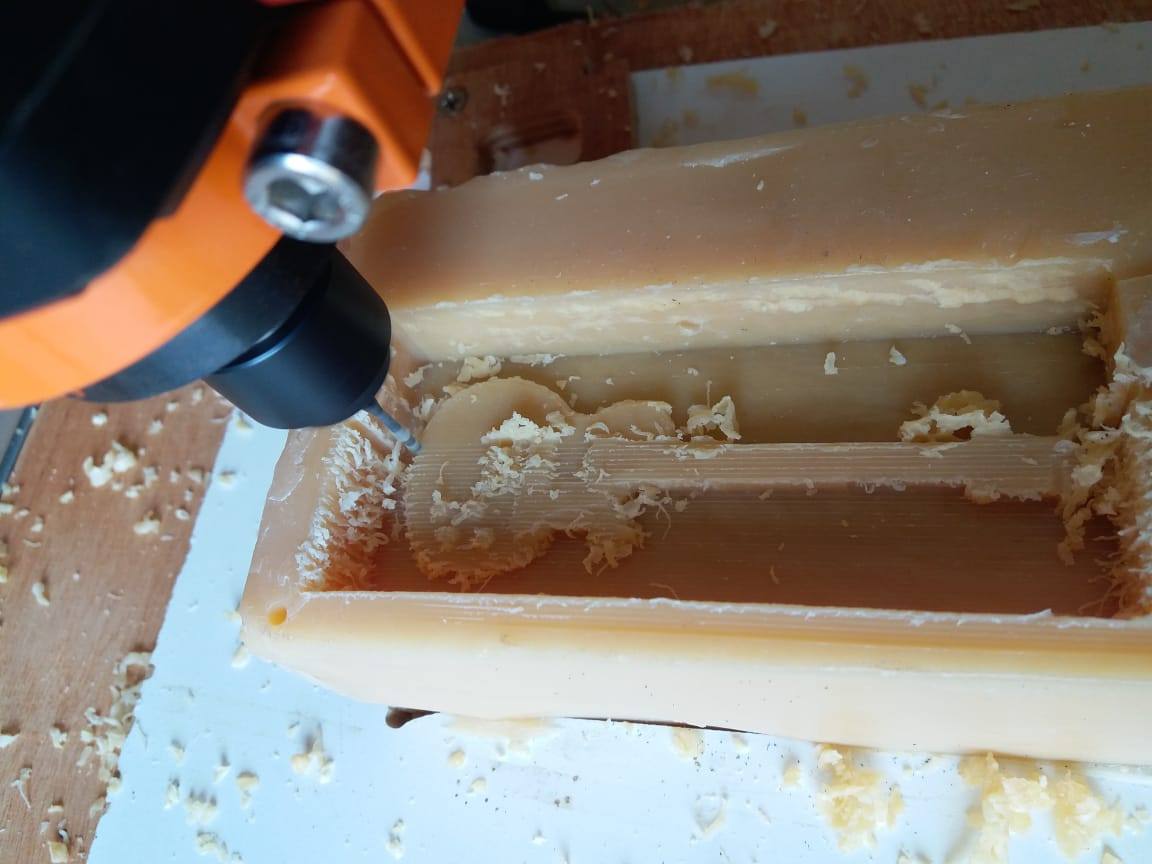
I used Stepcraft D840 with UCCNC software to perform the Positive mold milling first in a block of soap. Performed a rough cut with 3.75 mm straight end mill and horizontal fine cut with a 1.5 mm ball end mill.
Horizontal fine cut
Casting
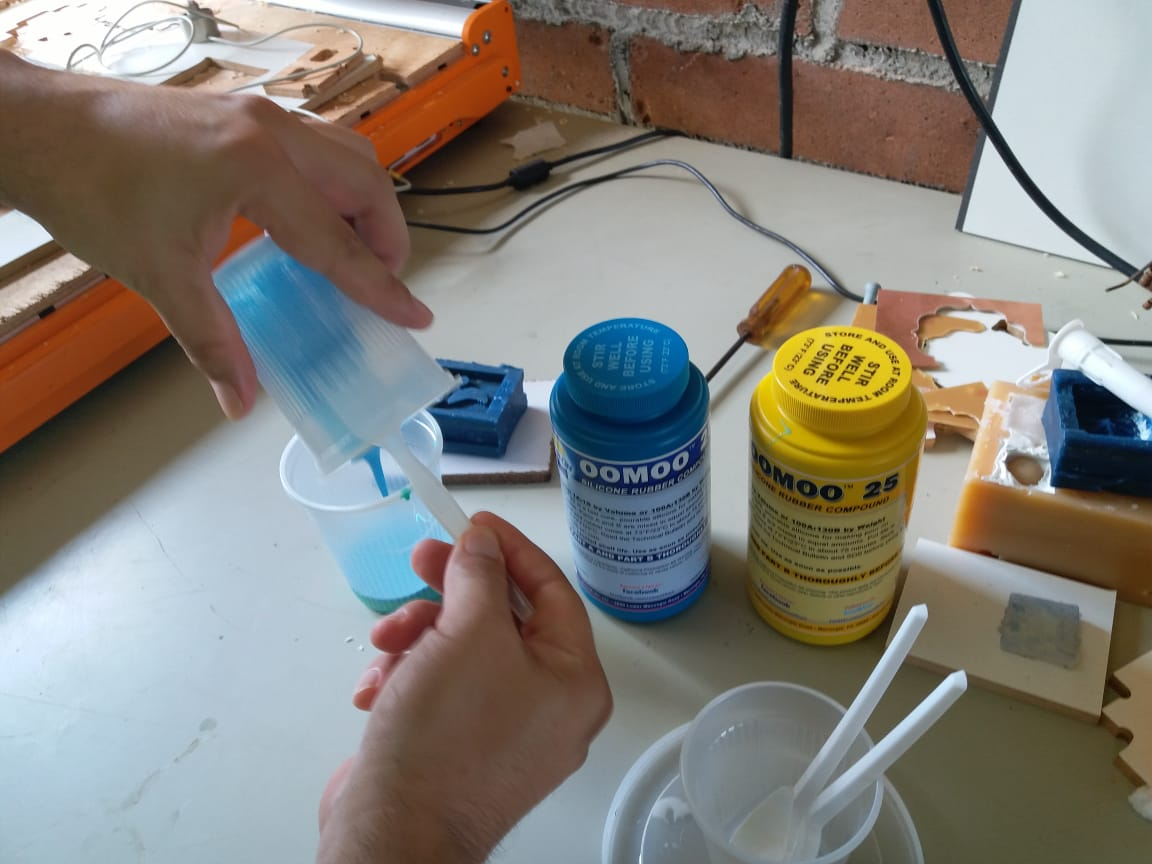
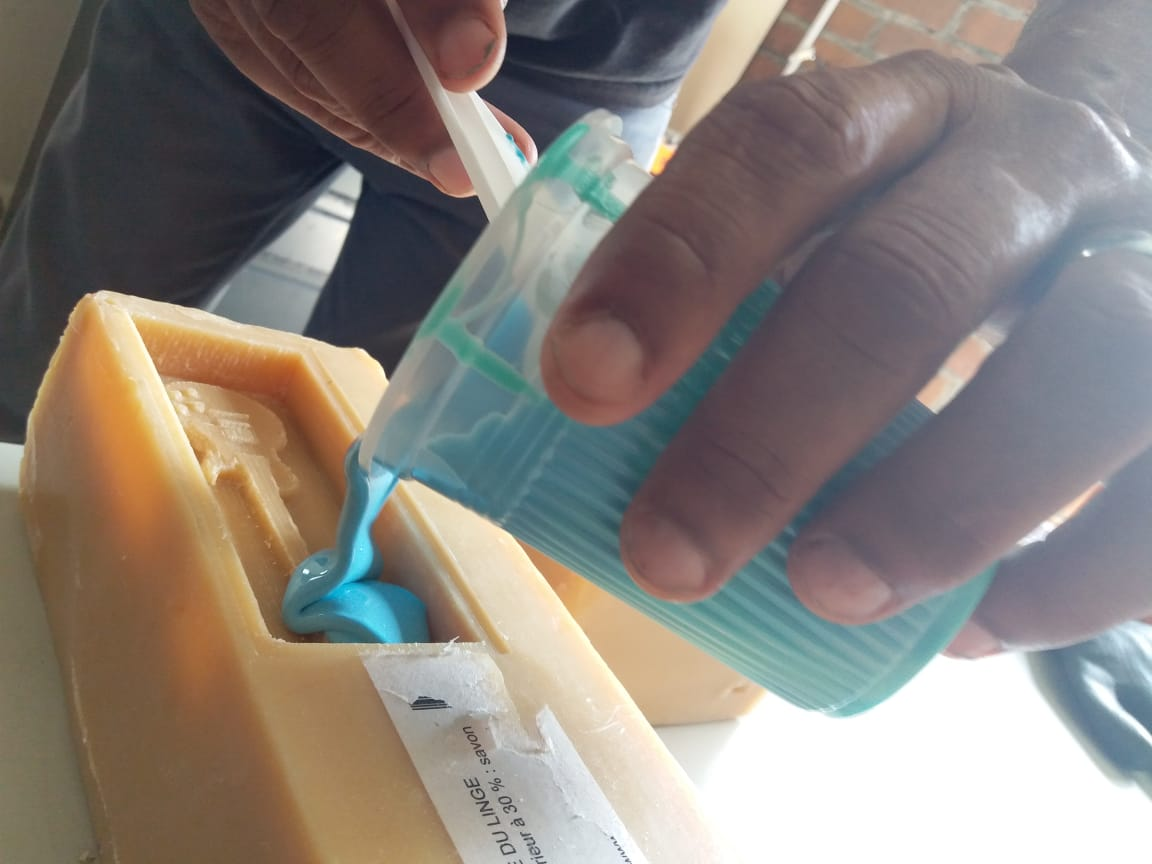
Casting counter mold with silicone rubber
For casting we used OMOO silicone rubber to generate Negative Mold from the positive that we created with CNC milling. It’s a 2-component rubber compound that has to be well mixed and applied within a few minutes. After this it takes about 60-90 minutes to cure.
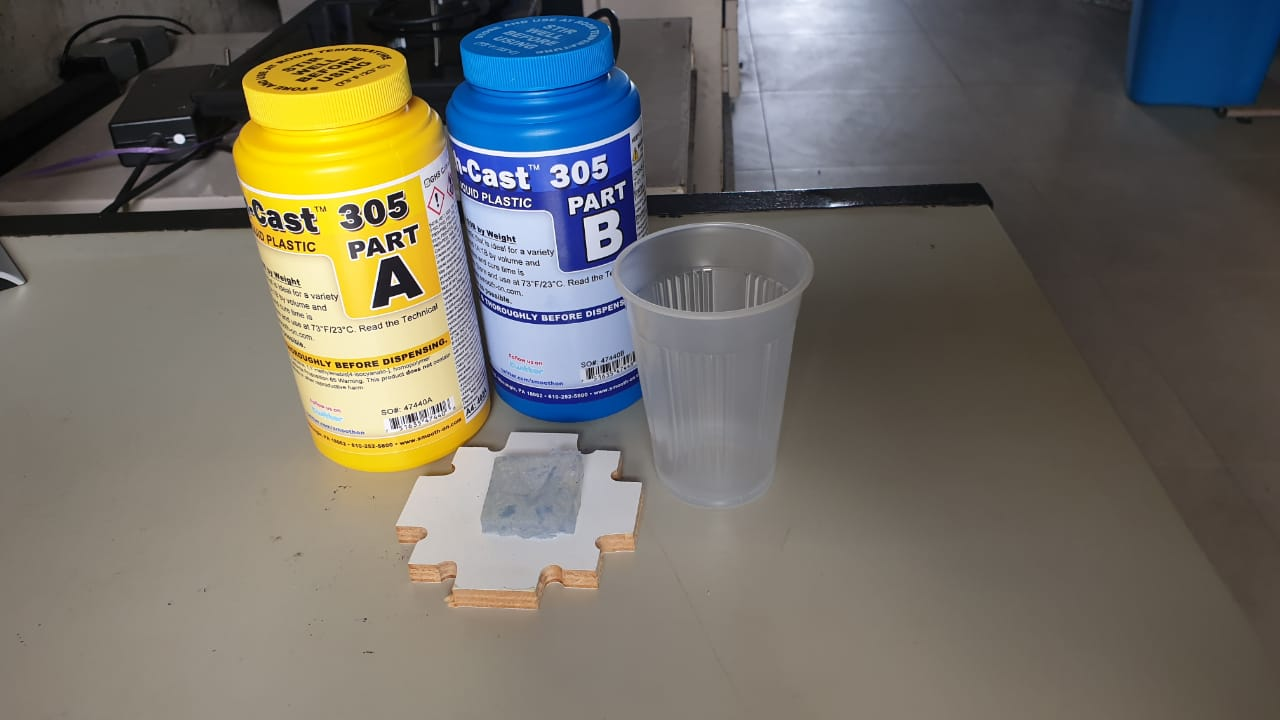
Casting the final product with Liquid Plastic
Also OMOO liquid plastic that will become the final product material and is also a 2-component mixture that cures a bit longer. They both mix in even quantities.
Files
Download zip file containing CAD Files & NC files