If you don't document, you do nothing.
Everyday we learn, we experient and we create, but when comes the time, will we remember everything? The knowledge that we build can be used also for other people that are facing the same problems. This web site will help me document my experiences and so other people can start from there and go faster and further in their researches.
Understand the environnement
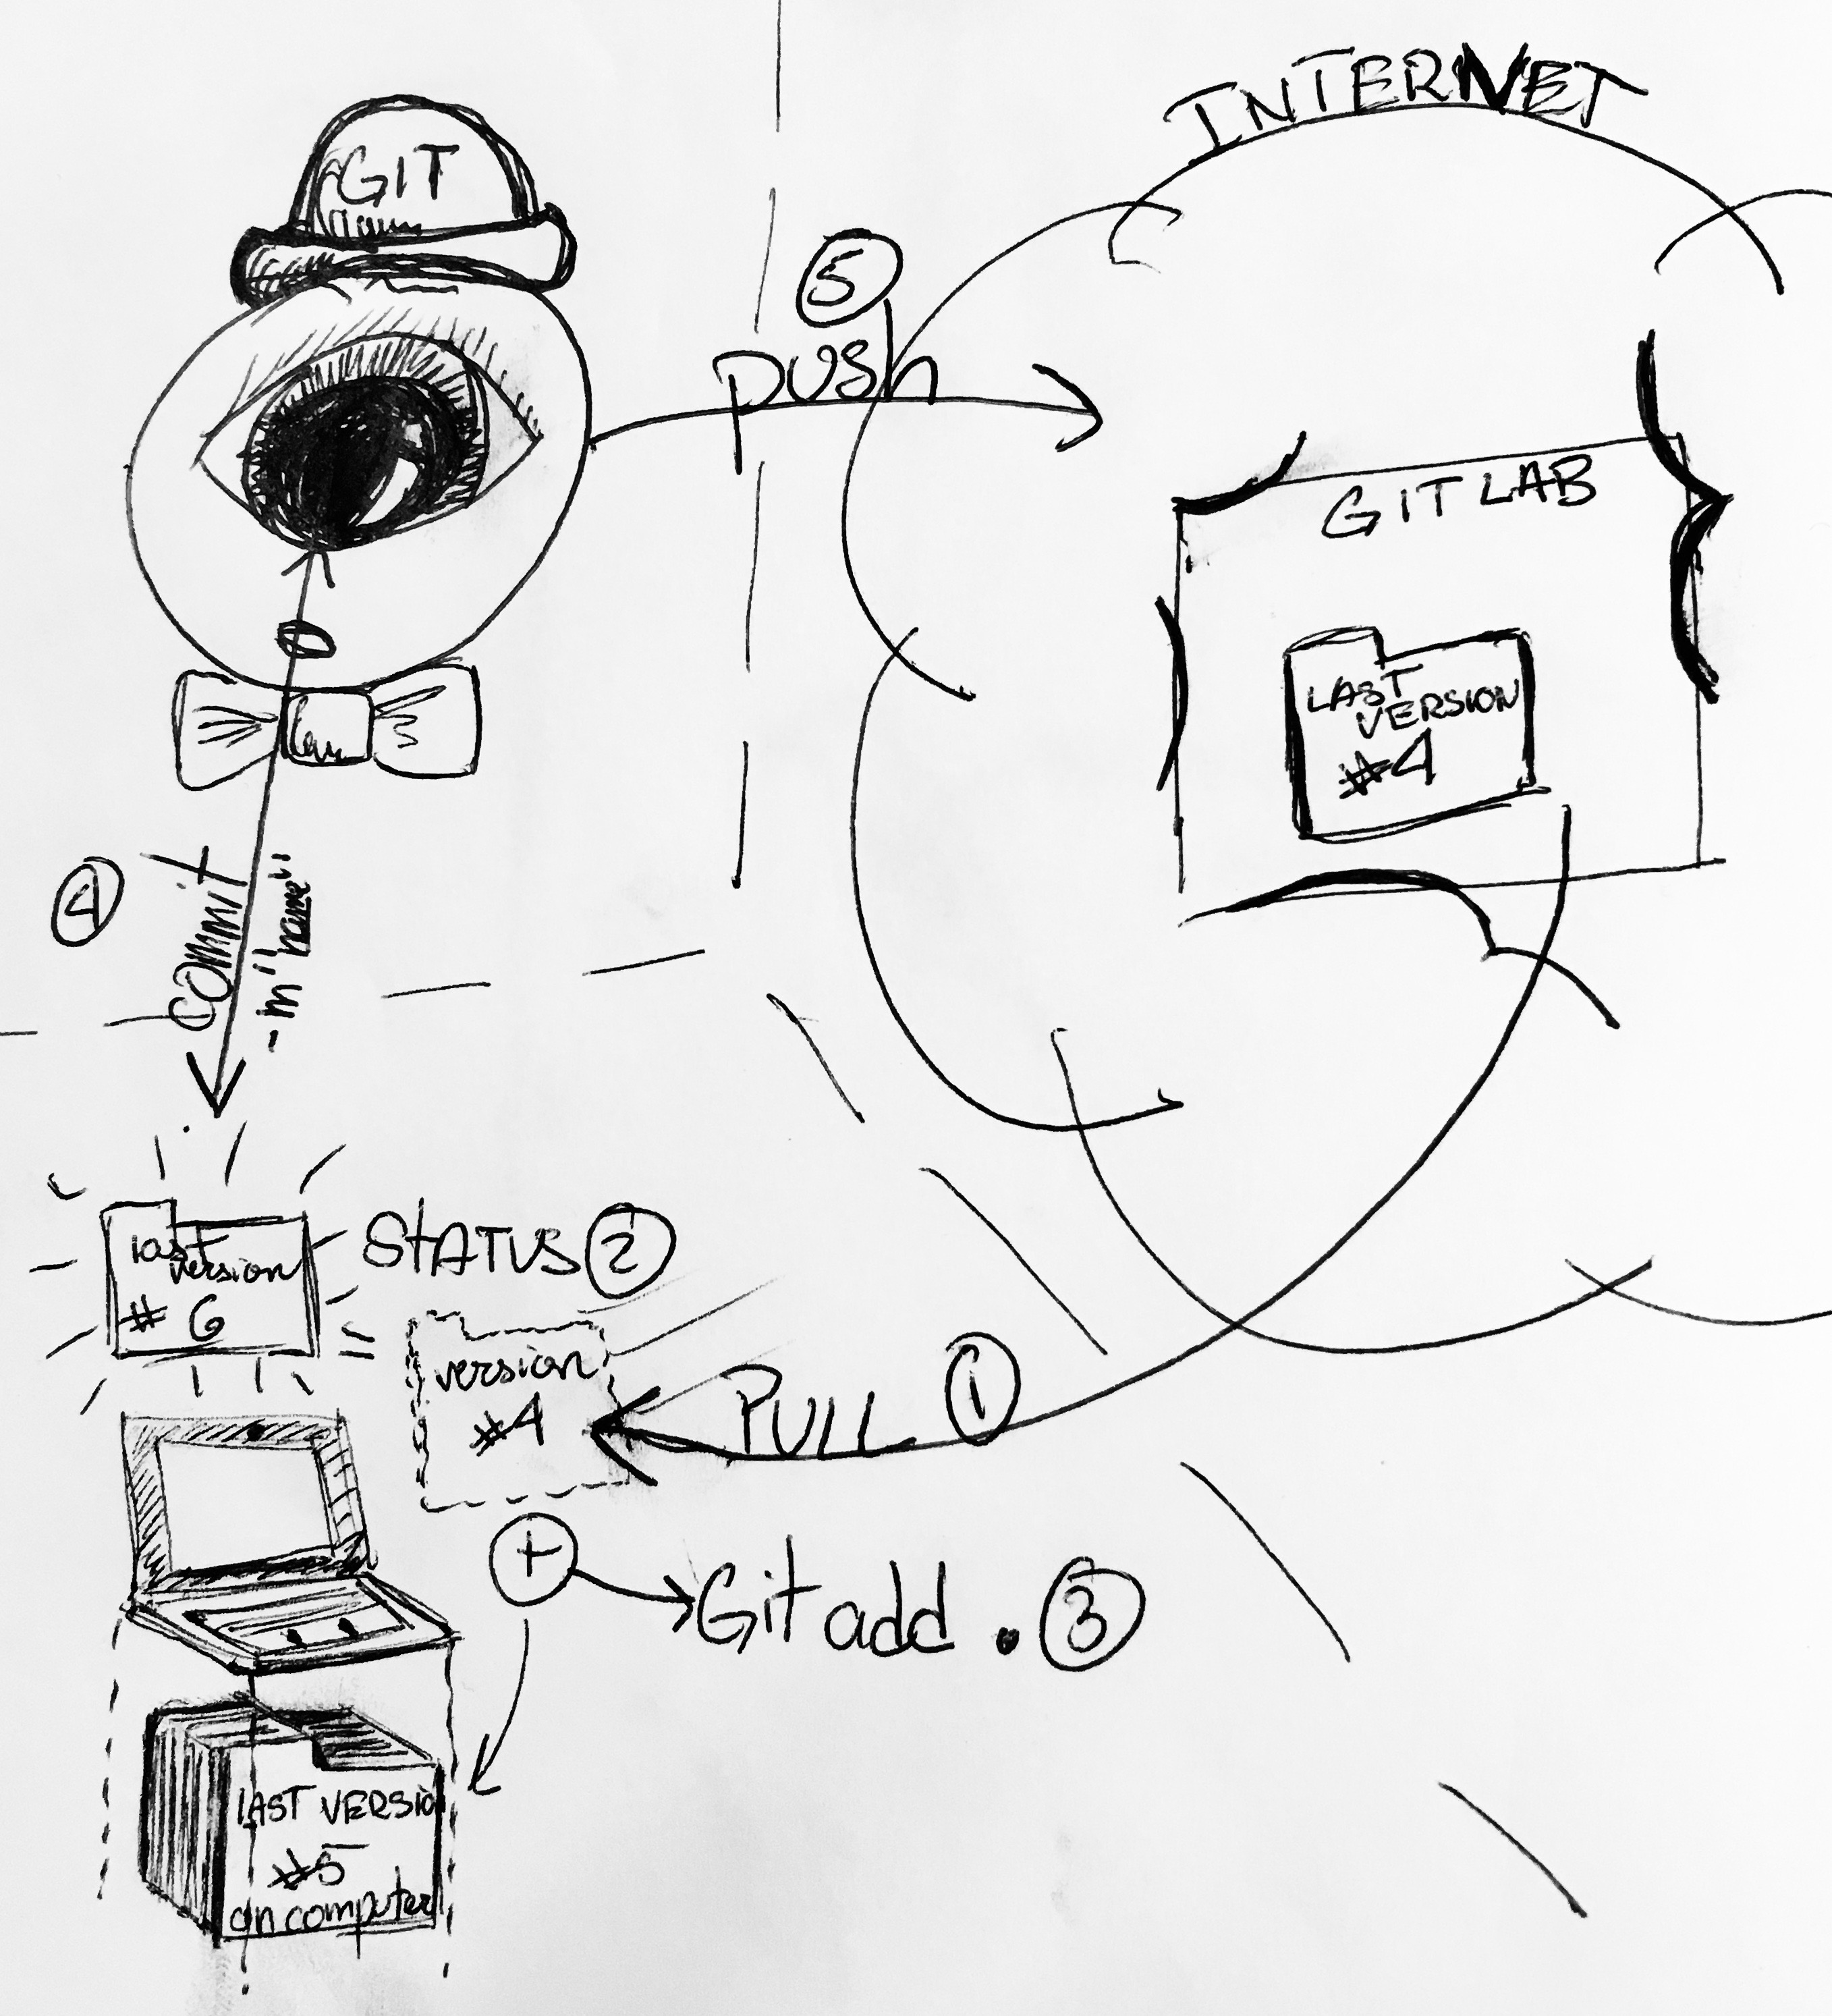
Like you can see, there are 3 main environnements.
- Your local computer
- Git Lab on Internet
- GIT (the mediator)
-GitLab is like a cloud or a google drive. It saves your website code on internet and then it communicates with the domain (CI/CD file) so your site can be seen on Internet
-Finaly, GIT is your channel of communication between your local computer and Internet. Also, because it's nice, GIT is a version control. It will keep track of all the different version you save and can make branch on your current or other initial project.
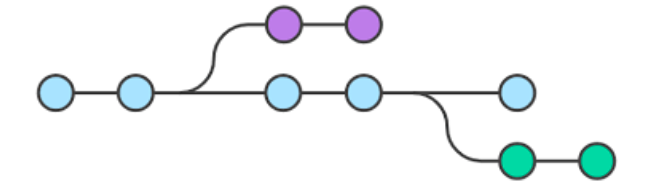
Branch
How to
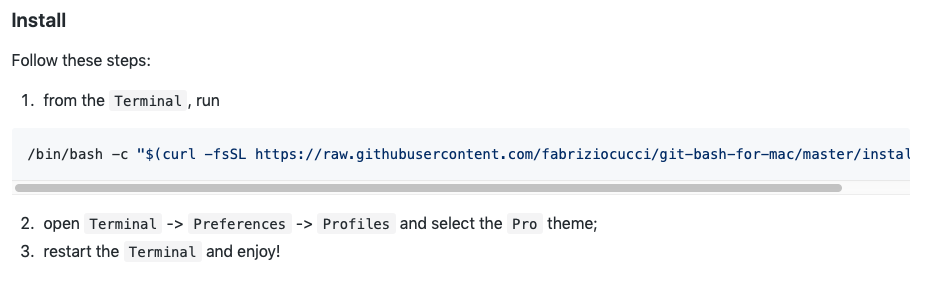
1-Install GitLab
- Install GitBash (help you with the color of your therminal to see the relevent information) for Mac following the tutorial
- Register to GitLab
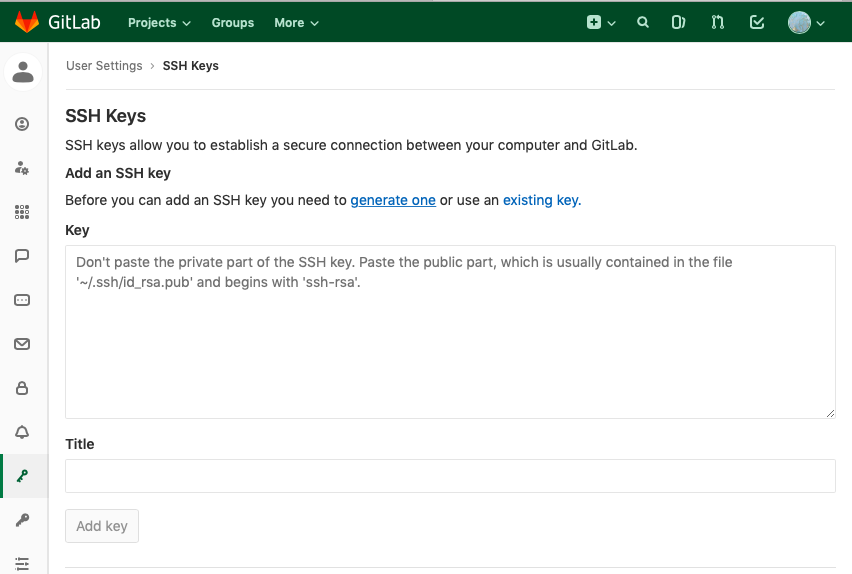
- In your account, go to your Settings and generate your ssh key following the tutorial of GitLab
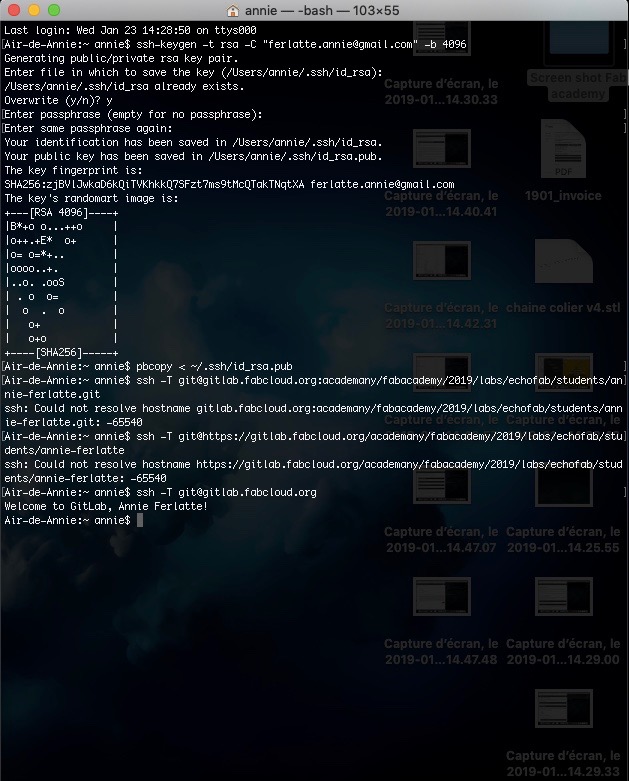
- It is supposed to do the same sequence has the image What you need to do on your terminal to generate a ssh key
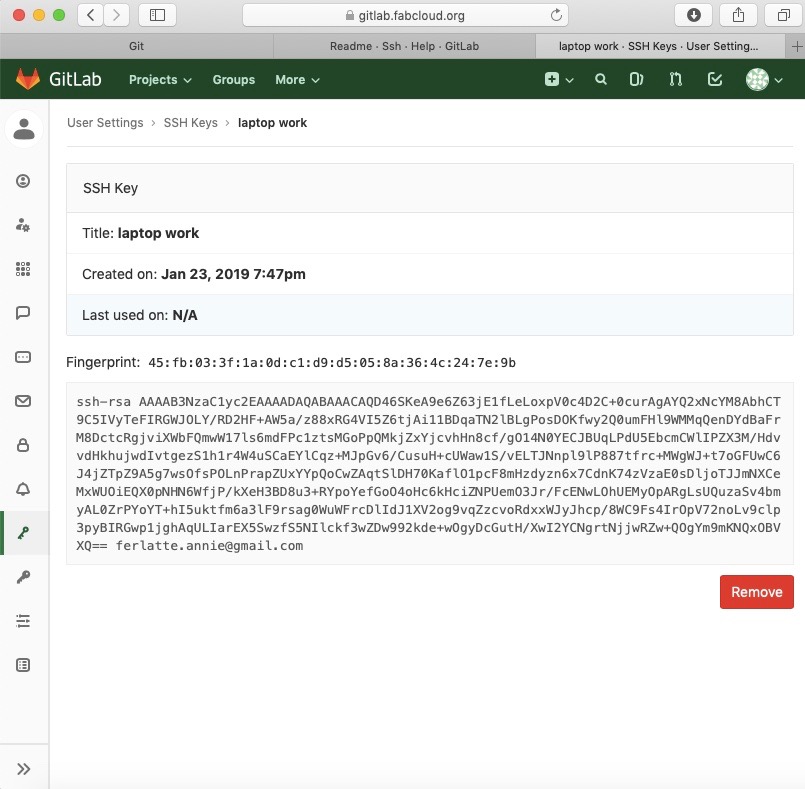
- Copy your ssh key in your GitLabSettings
- It will show you a confirmation like the image Copy your ssh key in your Git Lab
The ssh key is essential to recognize your local computer. It's a unique language between your computer and GitLab to make sure that you will always be in controle of your project.
Tips:
These are some website very helpful: GitLab basics
Installing Git Bash on Mac
Where to put your ssh key in GitLab
What you need to do on your terminal to generate a ssh key
Copy your ssh key in your Git Lab
2-Install git
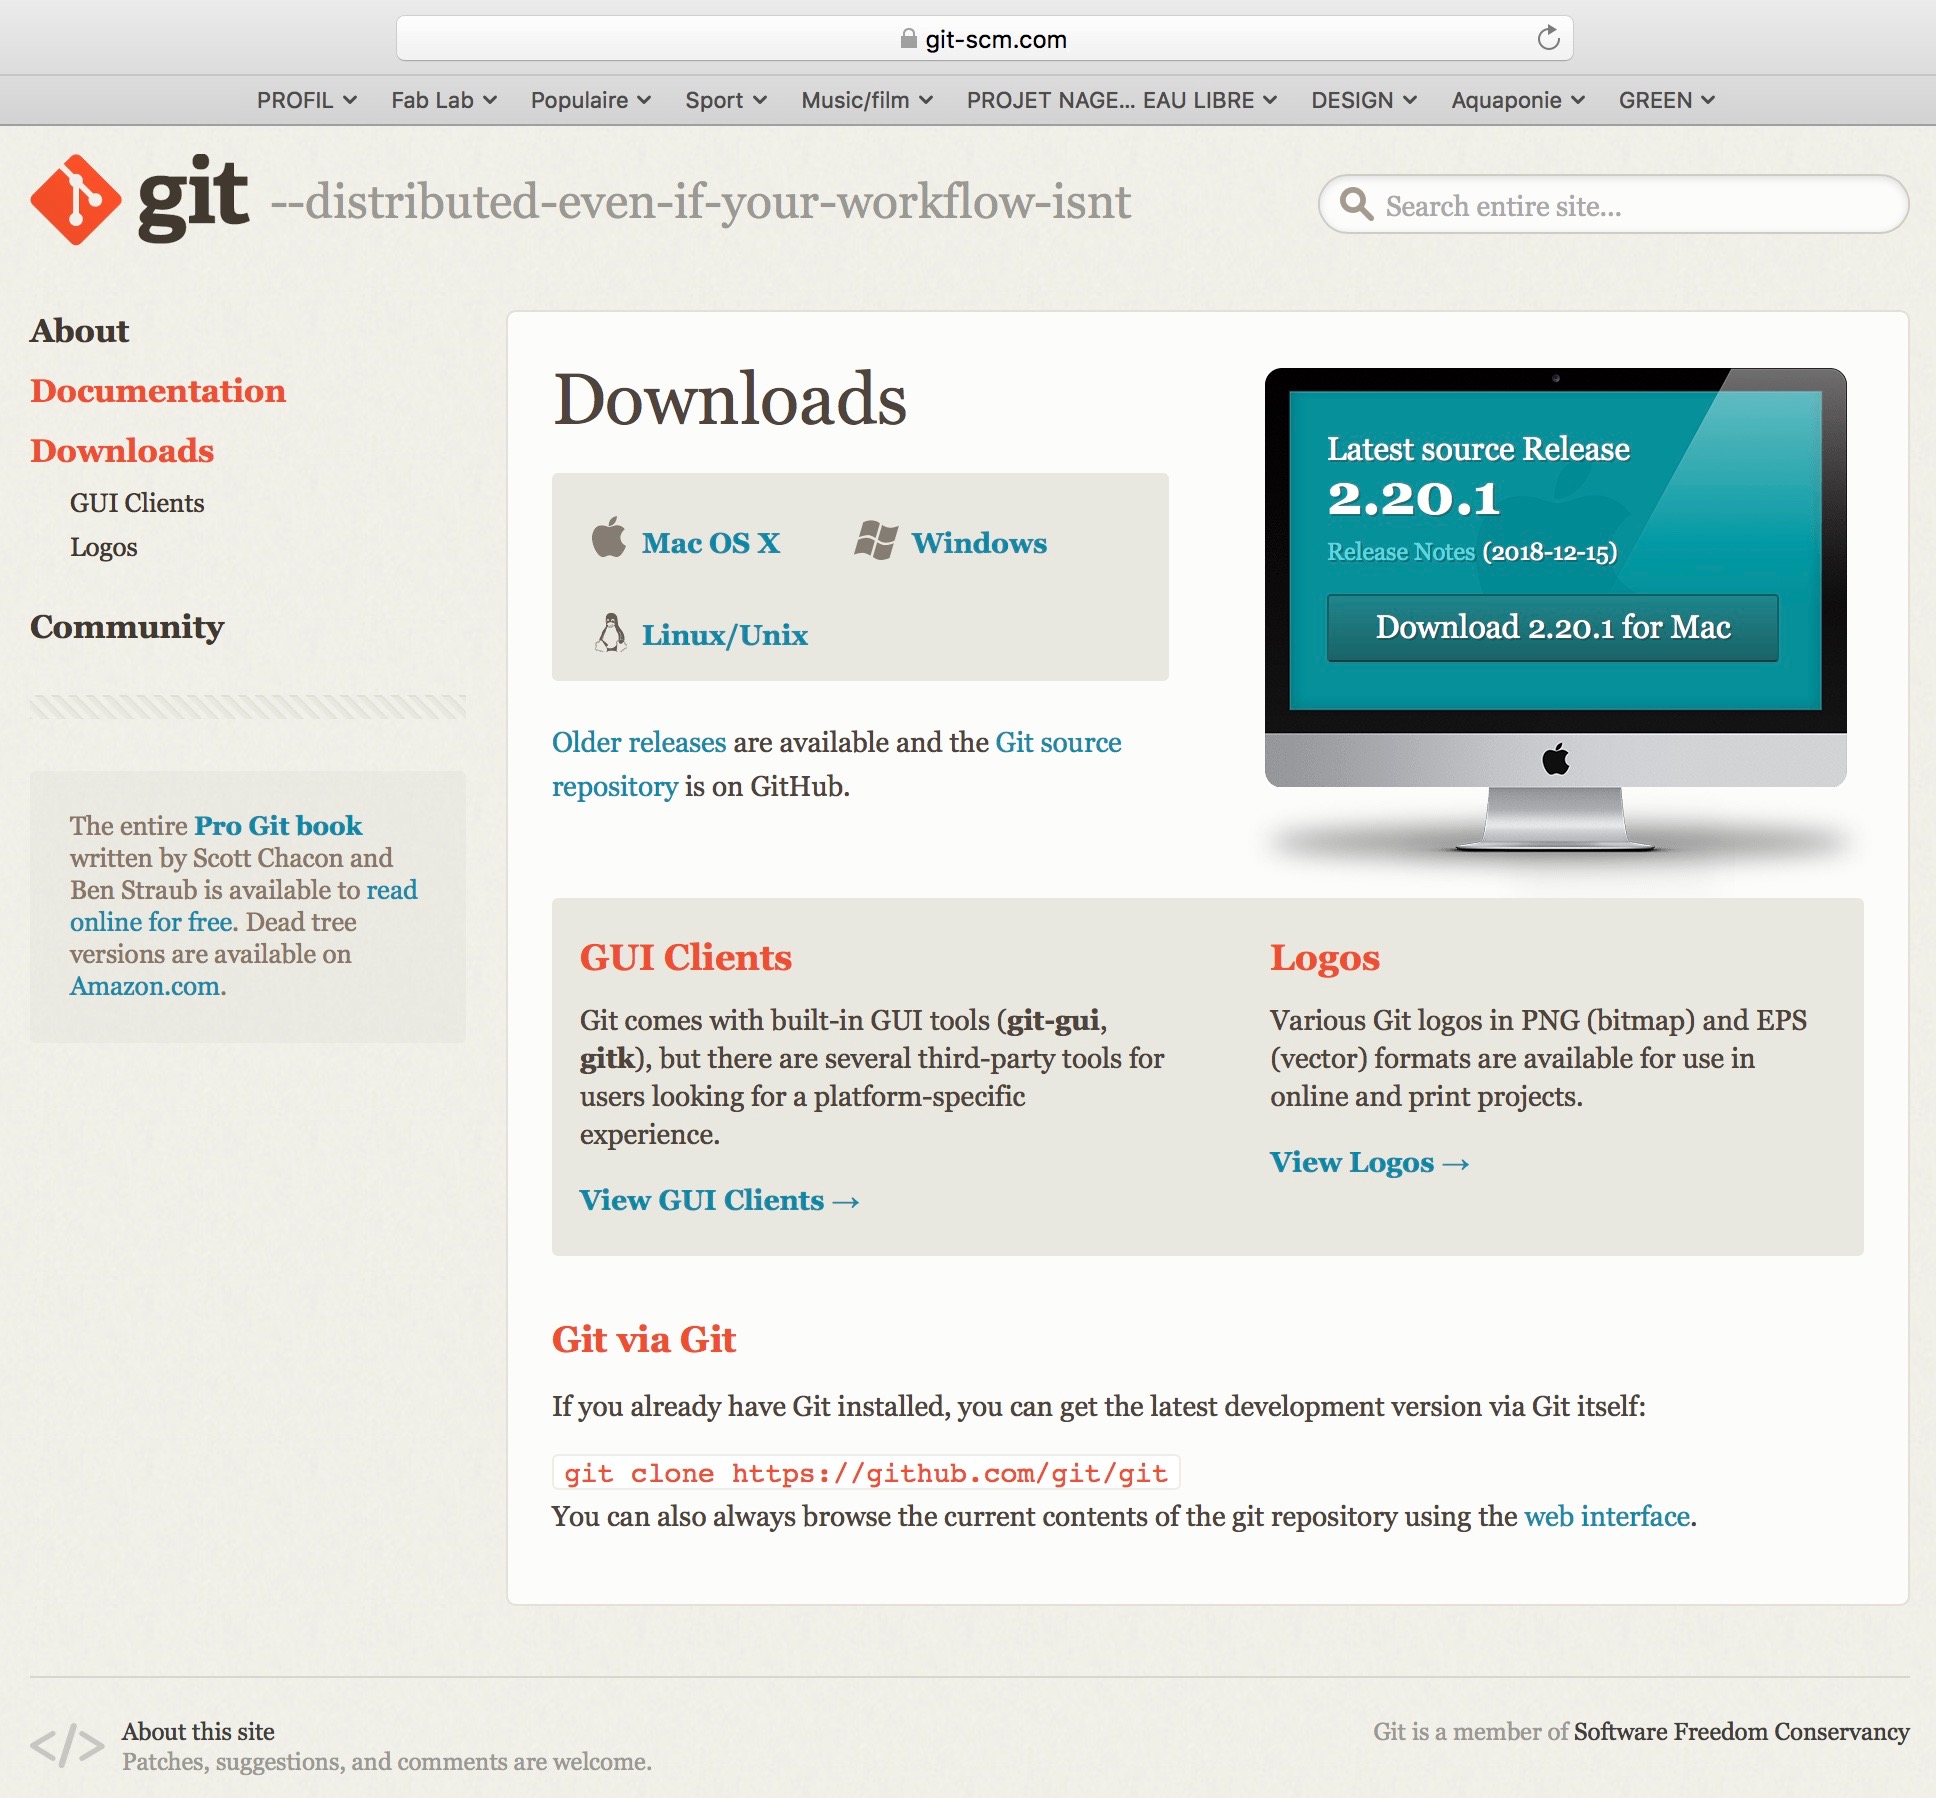
- Download Git
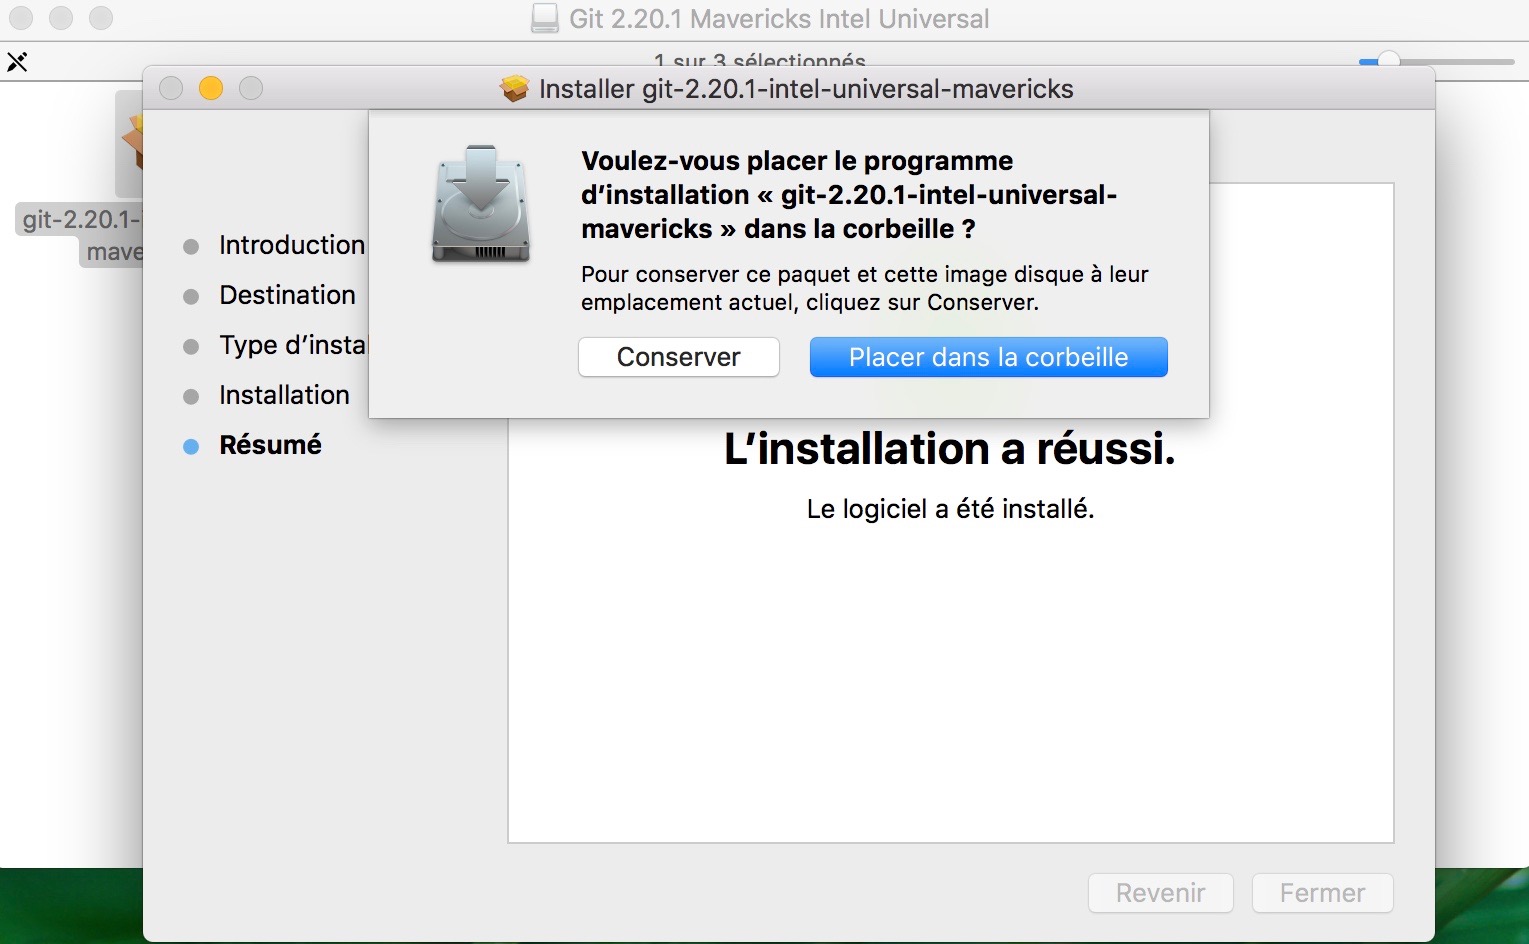
- Install Git on your computer like any other application.
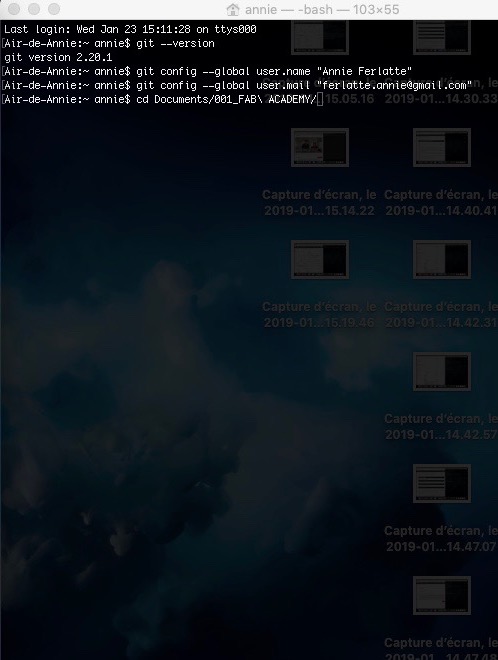
- Like you see in the picture How to config git on your terminal, you have to config your git with git config --global
- Then you are ready to began your project. You can go on your local computer and create a folder that you will put all the files associate with your web site in.
- When you begin a new project you have to git init(Create a new repository to start a project) or git clone (Copy a repository and start from there)
I personaly clone the base repository that the Fab Academy gave me. I delete their folder doc with their template and I replace it with the one I download from internet.
Principal fonction you will use on Git:
- Git init or Git clone (Initiate a repository on git lab (a repository it like the file of your new project) or clone a repository and start from there)
- Git Pull (Ask the mediator to take your latest version of code on GitLab)
- Git Status ( Tell me the diffence between this latest version on Git Lab and my latest version on my local computer)
- Git Add . (Combine both version and make it ready to give to GIT the mediator)
- Git Commit (Giving this new version of your work to GIT the mediator)
- Git Push (Ok GIT the mediator, you can push it on GitLab!)
Thanks to the patience of François and my collegues. These are some website very helpful: Start with GIT, Git tutorial.
Git site where to download
Installer of git complete
How to config git on your terminal
Where to clone your repository

The web adress on the picture before is the ssh adress of the repository on Git Lab

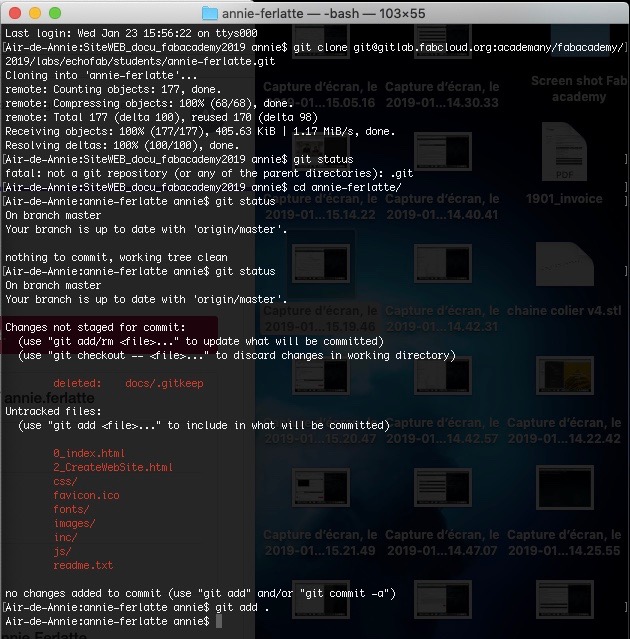
git status and git add .
git push

3-Code your web site
- Install Sublime Text. It's a software who will help you code and organise your site.
- I download a CSS Template and start from there
- Personalise your site and make it your own (Don't forget to give the credit to the owner of the template)
I never coded a web site, so I am starting very far away. The good thing with that template is that I can copy the different fonctions and work from there. The template I choose is really well made, documented and organise. It's very easy to personalise it and learn from it.
Very useful:
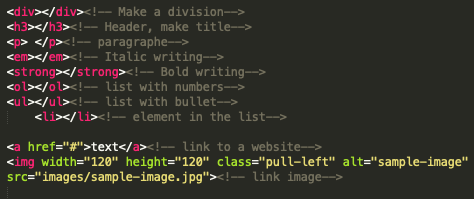
HTML
These are some website very helpful
Where I download the free template
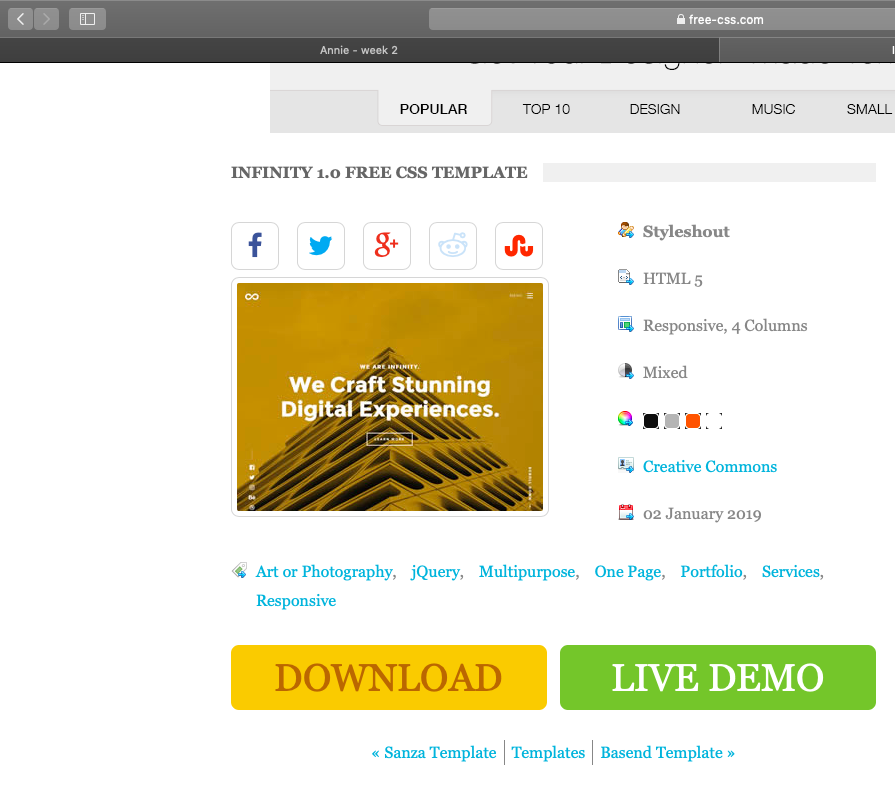
Original template, on internet
Original template, the code html
Problem
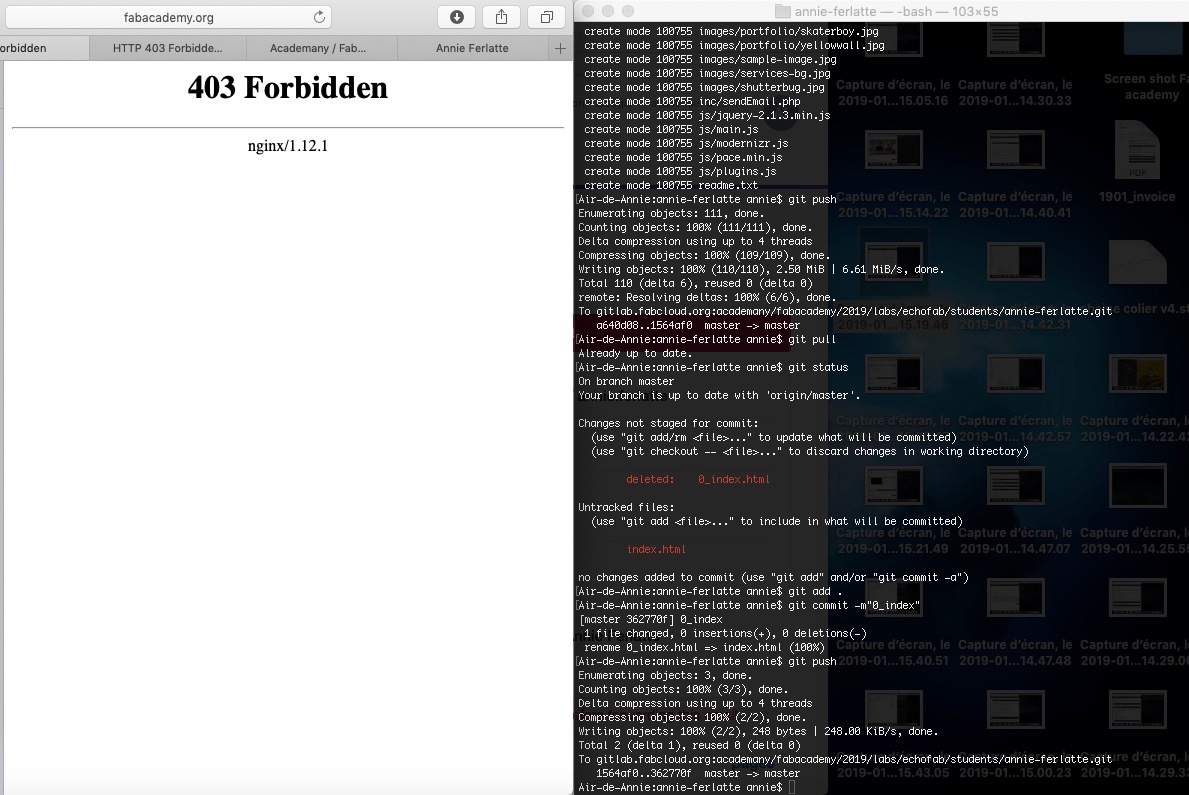
403 forbidden error
At the end of all, I push my site on GitLab and I have the 403 Fordibben error...oops! One of my collegue told me about the none written rule for the name of every files and folders You shall not put spaces, special charater or any accent anywhere.I change the name of my 0-index.htmlto index.html.
403 Fordibben error...again!
I went to see the web site of Philoppe Libioulle. He knows alot in this domain and hopefully he already pushed he's site.
Solution
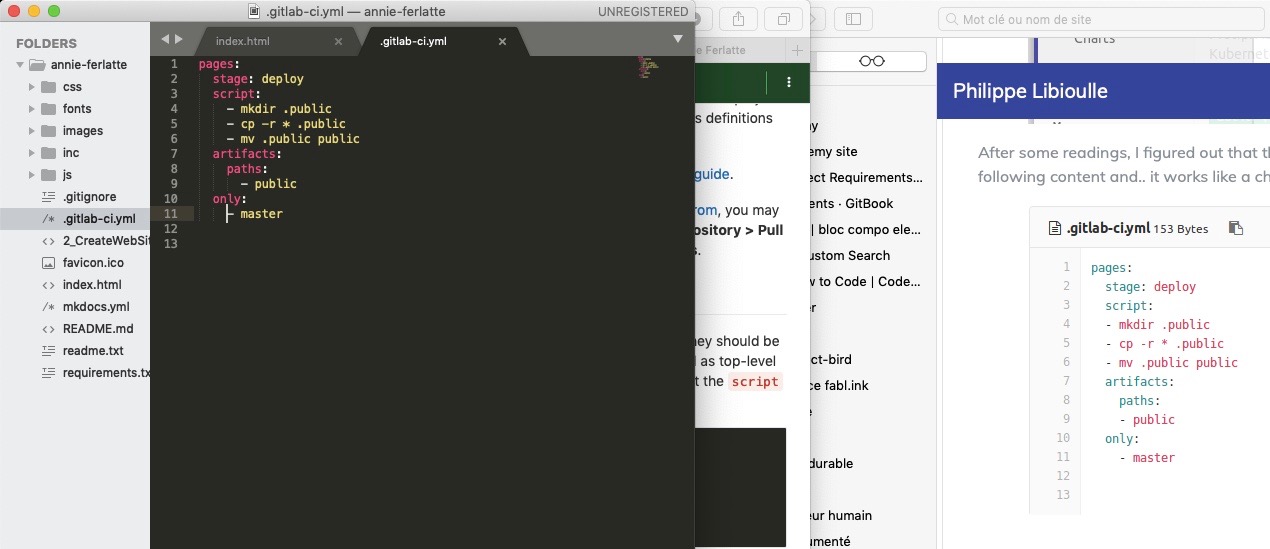
The file -ci.yml was built for the basic template of fab academy. Like I told you before, the type of file is responsible to send regularly you site to the domain. If it's not right, the communication can not be made. So I changed my -ci.yml file and magic happened, my site was on Internet.
403 Forbidden, I change the name of files
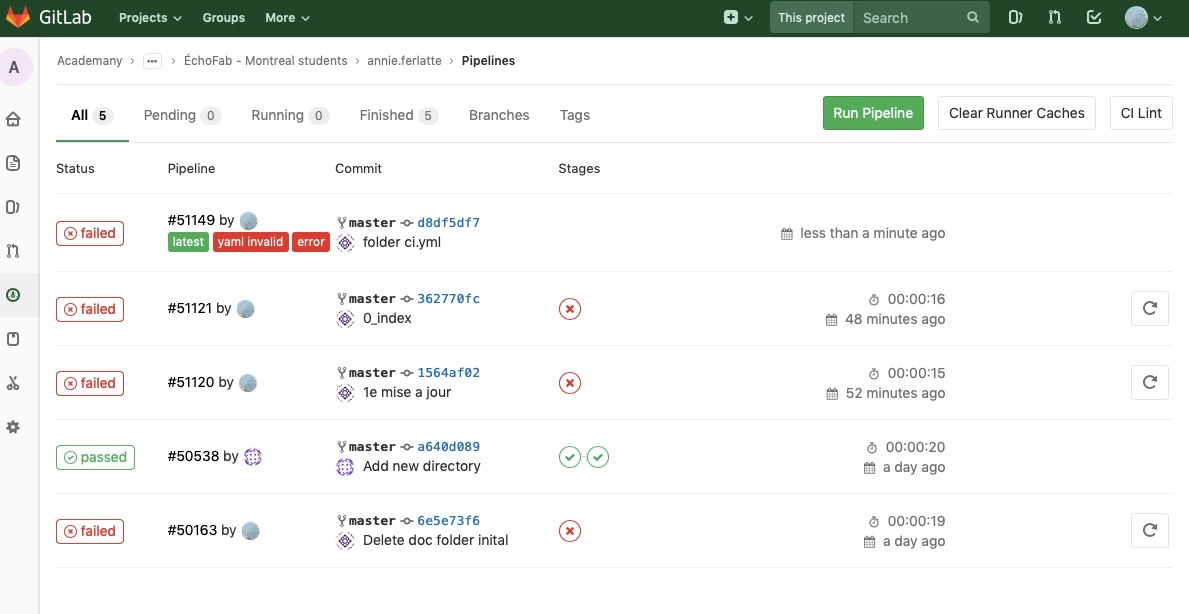
Diagnostic ci.yml
Correcting the ci.yml file
It's a victory

The moral of this story
Well, creating a website is not that hard, but I got very lucky that my template was well organised. Leaving anotations a everywhere is crucial to remember where you are and what the code means. It's another language like french or spanish, with rules and a hierarchy. Probably if you are very good to that new language you can do a lot of shortcuts, but I am pretty sure your code will not be understandable by everyone. Here are my files.
Contact
Annie Ferlatte
ferlatte.annie@gmail.com
Montreal, QC, Canada