The texture and the light
Molding and casting is something that we do very often and it's all aroud us. The process is also very similar: make a mold, prepare to cast, cast and let it dry. The result perhaps is completely different. The surface of the mold define the finish of it and it's texture, plus the casting material influence the property of the object and the ruftness of the shape. Here is the group assigment documented on Chuma's webpage.
Wax, silicone and resine
The Fabacademy suggest to create a shape in machinable wax on the cnc machine, then create a mold in silicone from it and cast it with a resine. I will use fusion 360 to create my form and try to do a very thin objet. I need to be very careful of the finish of the wax so the casting will not have mark.
The goal of my week is to create a 2 matrices mold creating a delicate feather and test different mold finish.
- Create a feather on fusion 360
- Make the CAM with fusion manufacturing
- CNC my two blox of machinable wax
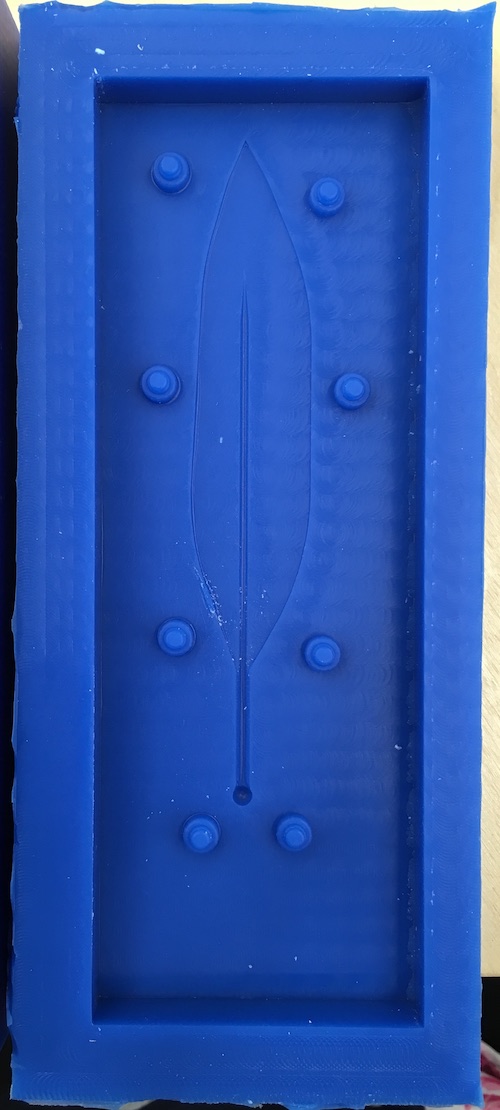
- Create a mold from the wax in silicone
- Cast some resine
- Make a dance of joy and uncast it
How to
1-Design
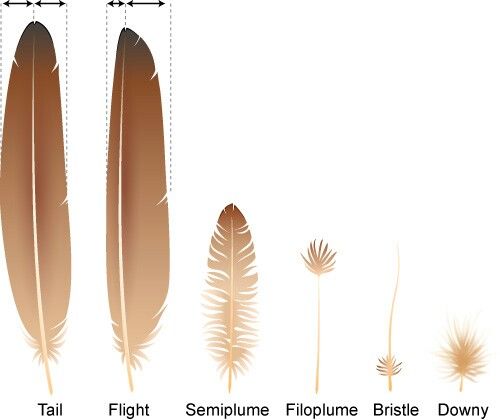
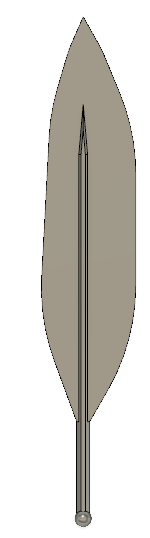
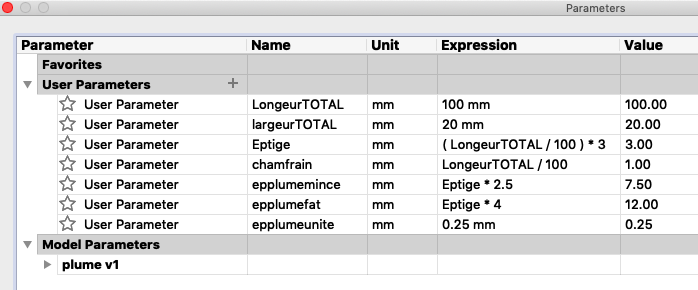
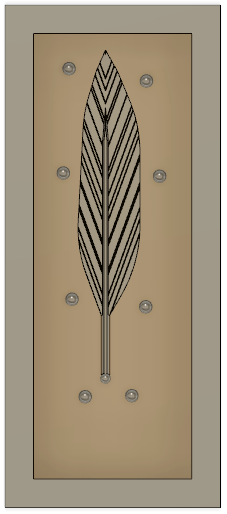
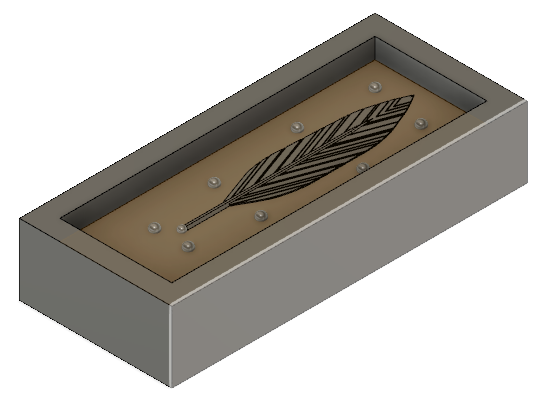
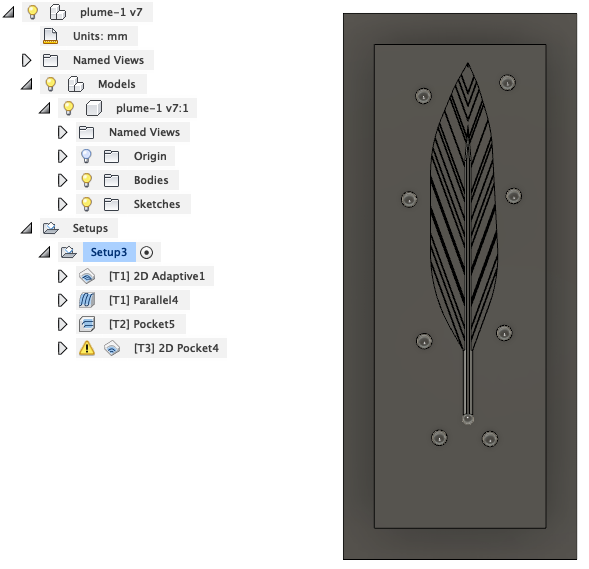
- A feather is symetric on its both sides, so I create a parametric feather of 2mm thick and a bloc.
- I take the feather and put it half in the bloc and half out.
- To assemble my two matrices mold, I know that many people are doing a puzzle of half sphere to align both sides toghetter. Neil share with us another technique which is inserting all the molds one into each other. I make both on the same bloc to test it.
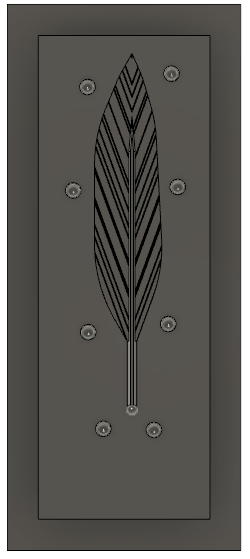
- Then I make a copy of my first file and use the tool fonction to make a perfect match on the other side.
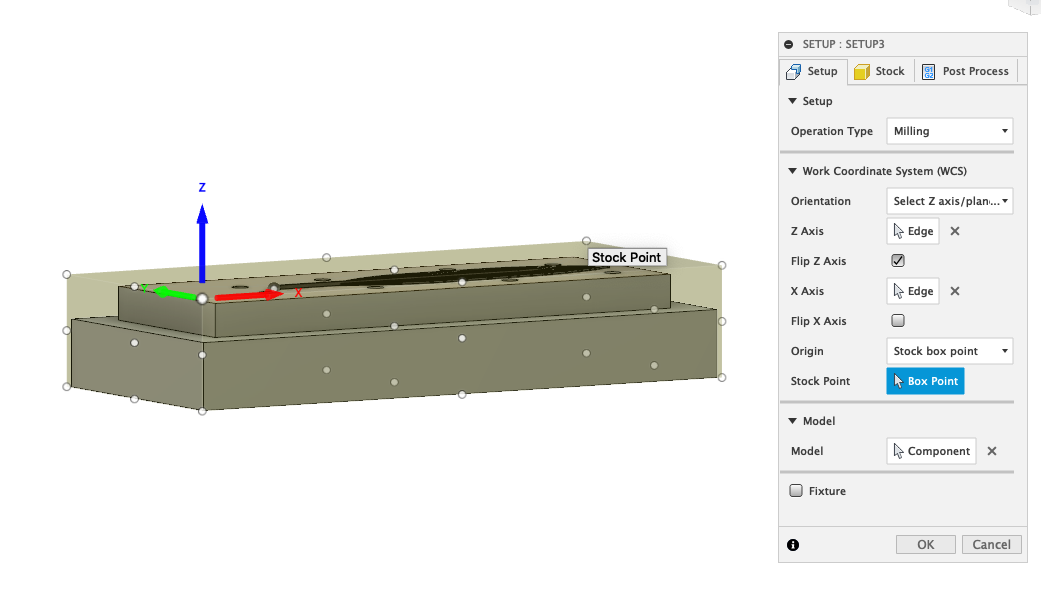
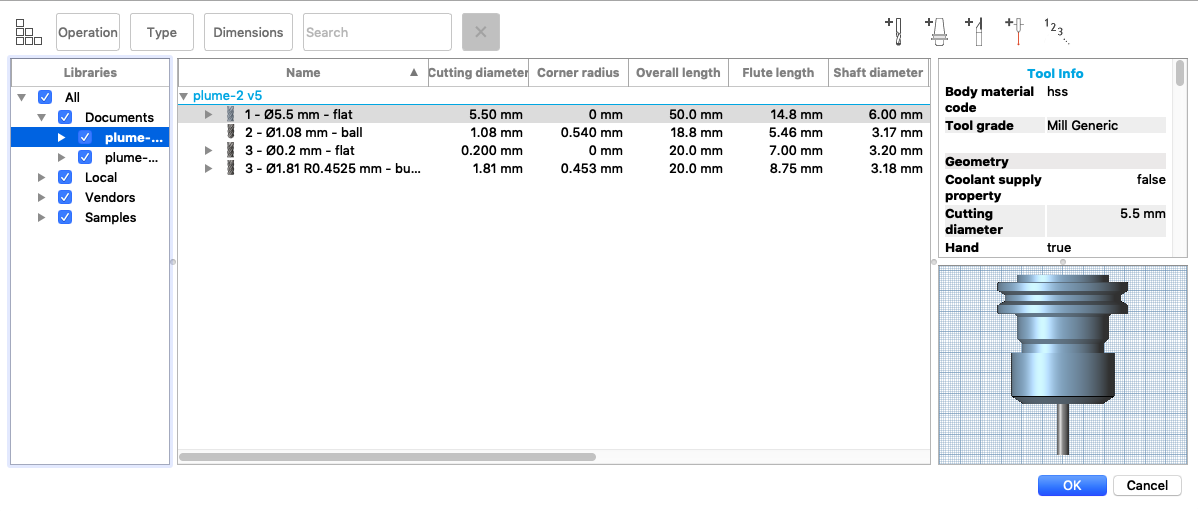
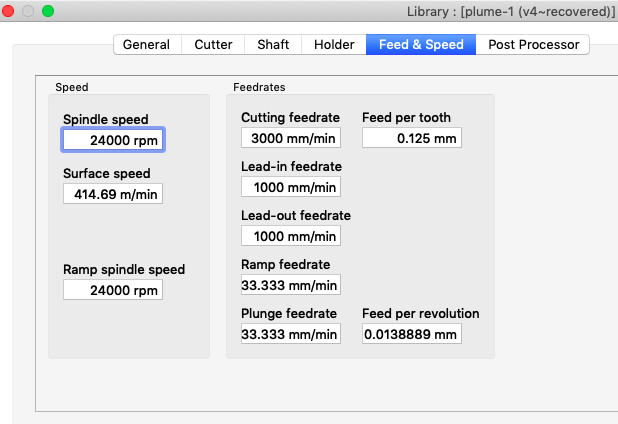
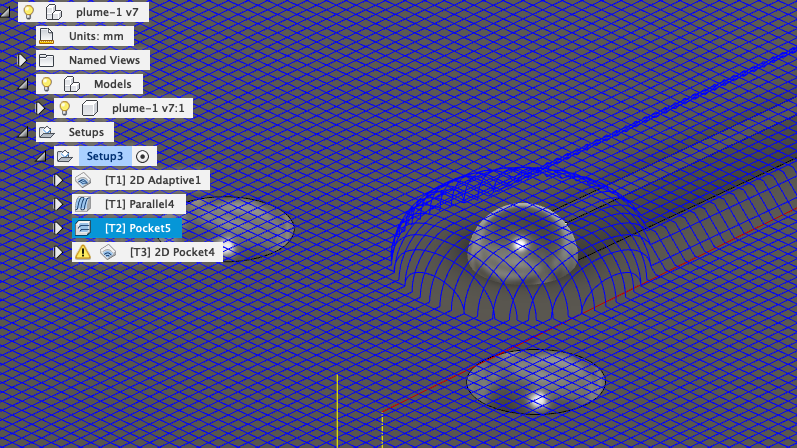
- I switch to fusion 360 manufacturing and add the cnc tool I will use in the library of fusion. I start by creating a stock, create my tools and enter the feed and speed that I want link to the tool.
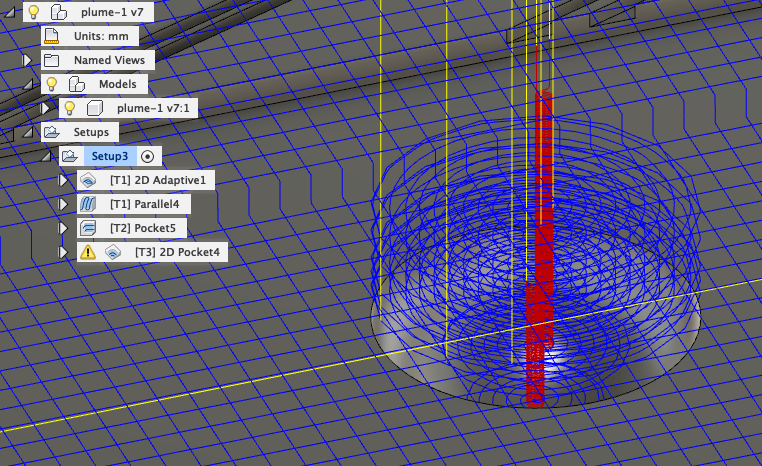
- I use the simulation tool to help me figure the best path. I also add a extra distance between the feather and the tool path. That allows me to make a ruff and fast cut and after a finishing cut.
- I use different tool path on both bloc to have multiple finish on my wax. I would like to find the best finish technique.
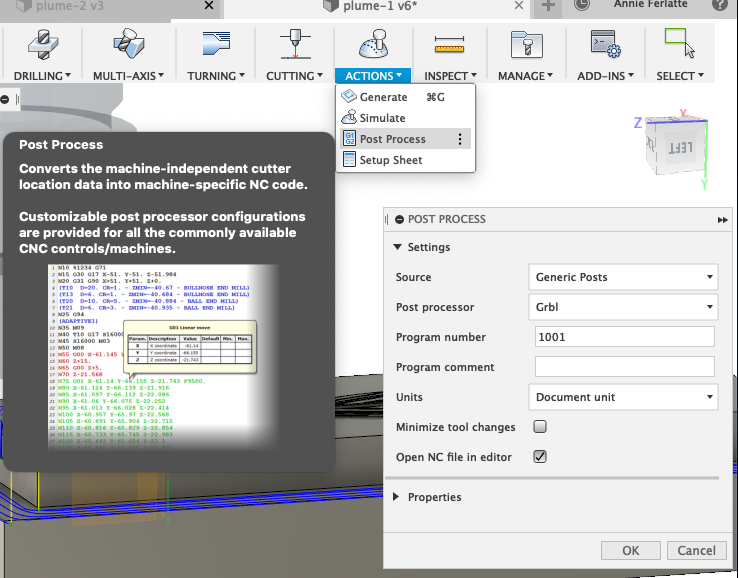
- To generate your gcode, you can go in actions and Post Process. The gerber option is available.
Tips:
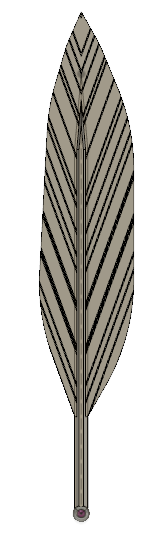
Creating a parametric feather
Create a bloc and a top of a bloc. Add to it the feather half inside half outside of the surface
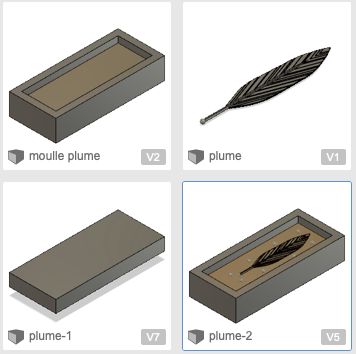
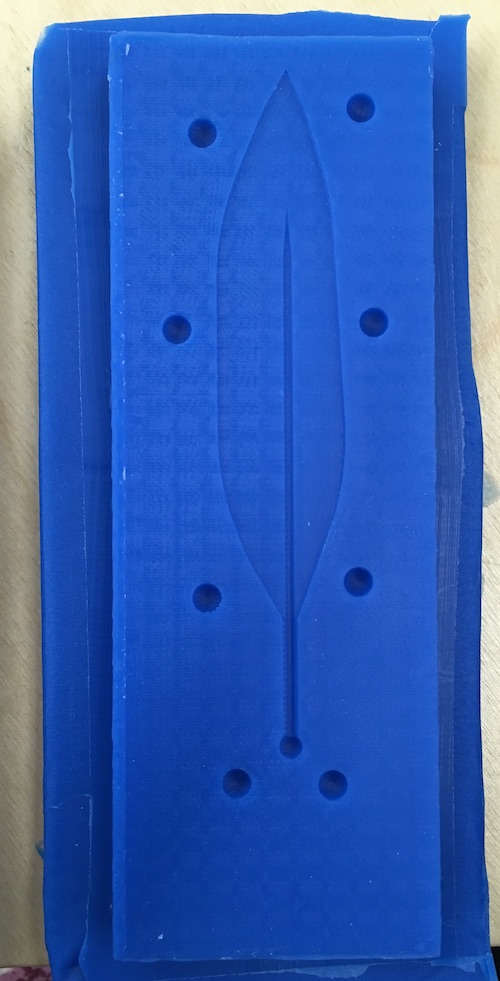
First side of the mold complete
Second side of the mold complete

Create your tools and create your CNC path on mafufacturing on Fusion 360
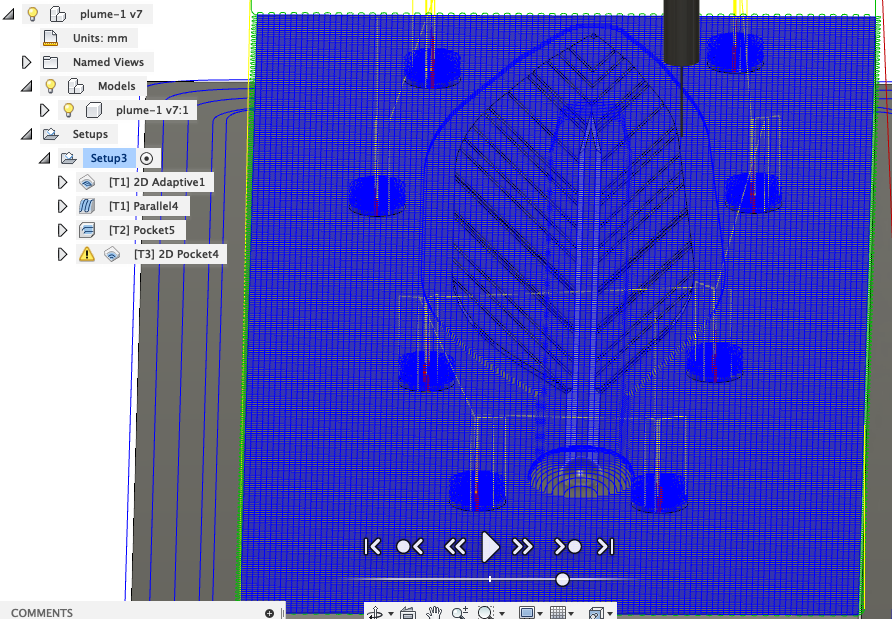
After simulating all your tool path, generate your gcode and your are ready for CNC.
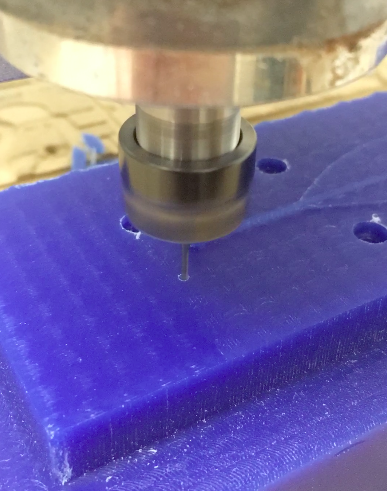
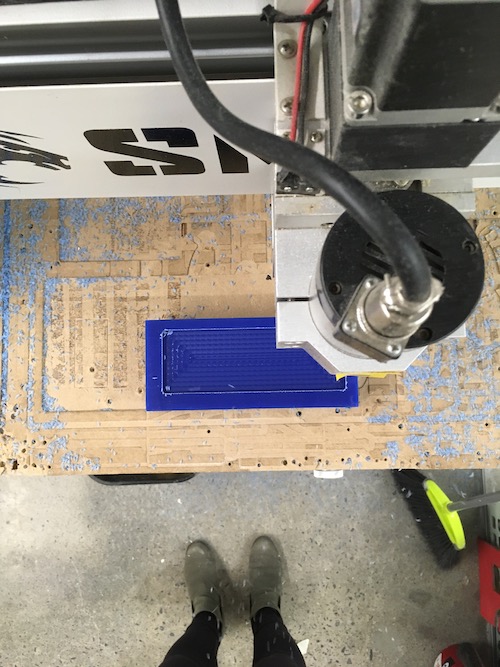
2-Mill the wax
- Put some double faced tape on the wax and stick it to the flat surface of your cnc.
- Put the right tool in your cnc for your first job and make your x,y,z origine.
- I have alot few jobs for each bloc so I name them A1, A2, A3....
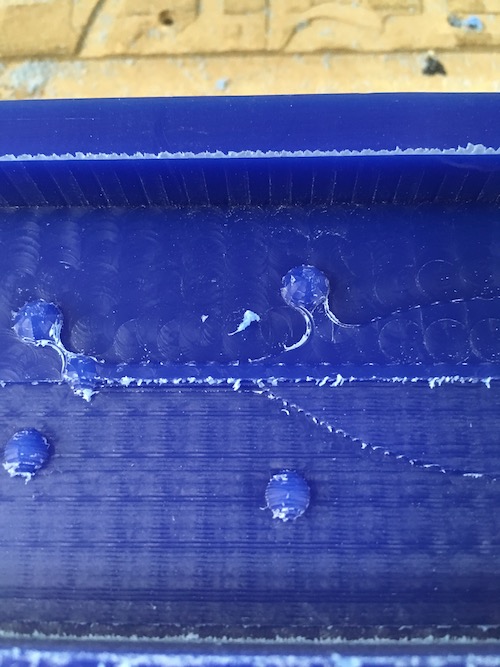
- I made a little mistake on my first job, I forgot that my first job was with a 5mm tool so the corner was full of wax. Happily when my smaller tool came in the soft wax it didn't break. It melt a little bit on the top and did a beautiful wax ruban.
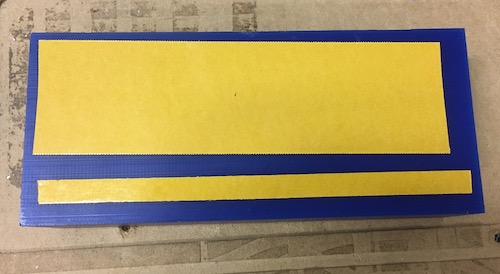
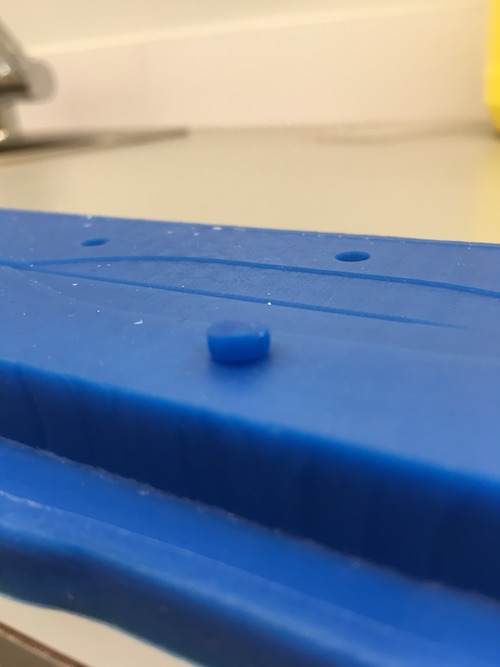
- When everyting was done, I took a heatgun at 256 degre and heat half of both of my wax blocs.
The finish is completely different and the heatgun was able to reduce the marks, but not all. I tried to make some marks on the feather, but I decide not after sending the job. It makes a hole in the edge of the feather. I put some wax dust in it and heatgun everything... It hold a part, but not all. ( Oups )
Put some double side tape on your wax bloc
Put your bigger bits and start with the ruff job
It's not because it's a big bit that it is not capable of doing very small things. I keep the the big one to do almost everything on that part of the mold.
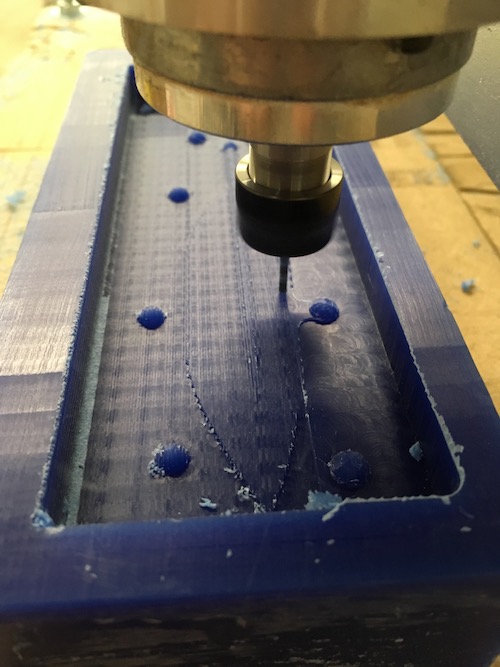
I took a smaller bit to do the inside sphere
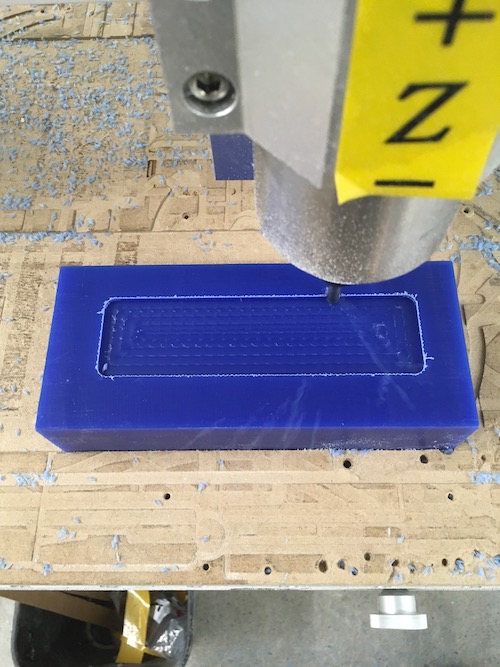
For the second mold I did the same strategie, take off the maximum of wax with the bigger bits
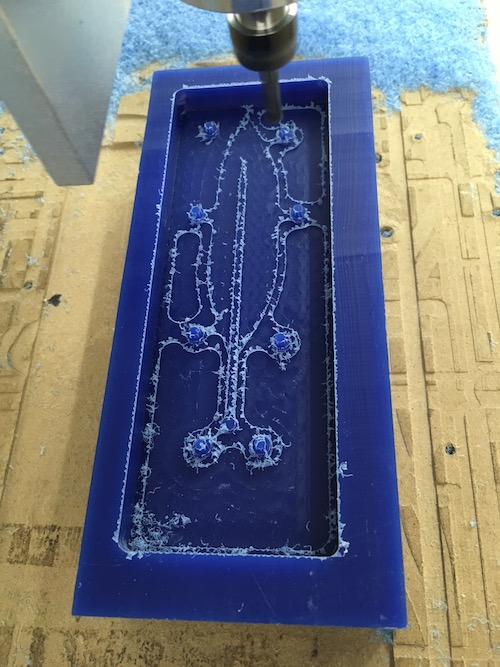
Oops, I forgot that diameter. The bigger bit did the ruff job, but because it was inside, the big bits leave corners full of wax. Lucky me the wax is a realy soft material and the smaller bits was able to pass in one time without anydammage. I will defenetly remember next time.
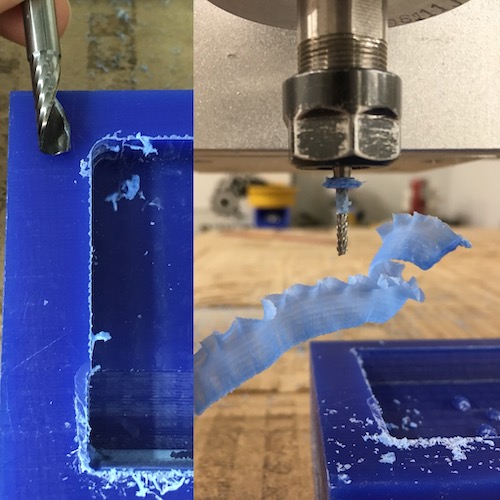
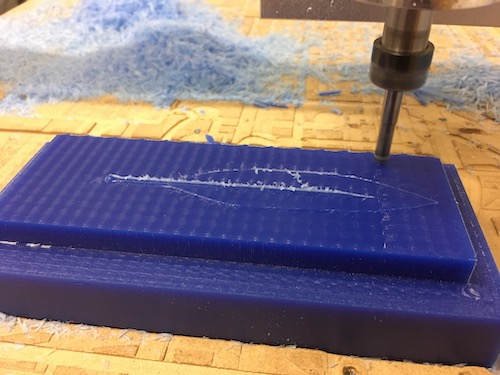
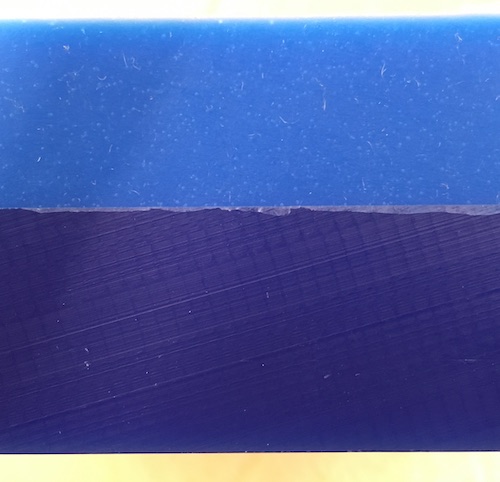
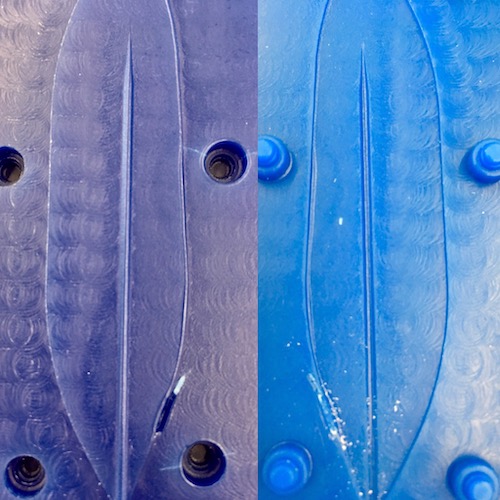
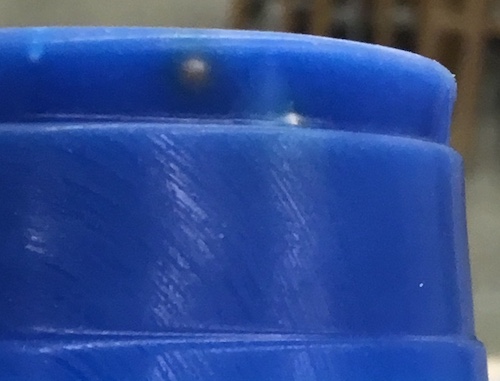
You can see the difference between the finich with the big bit and the smaller one
Smaller bit on that mold pass horizontaly and verticaly, the final finish was pretty precise compare to the first one.
With a heat gun at 200deg. I blow some hot air on half on each mold to see the diffent effect that it will give.
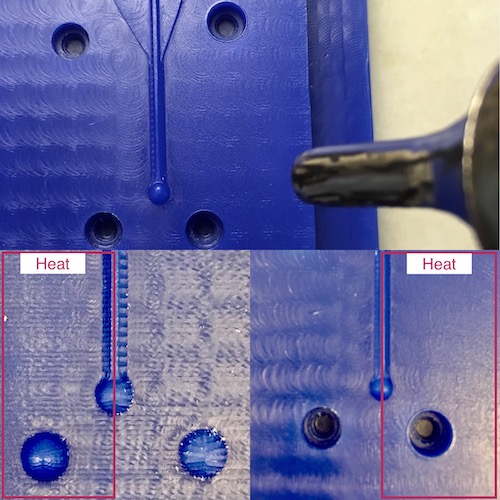
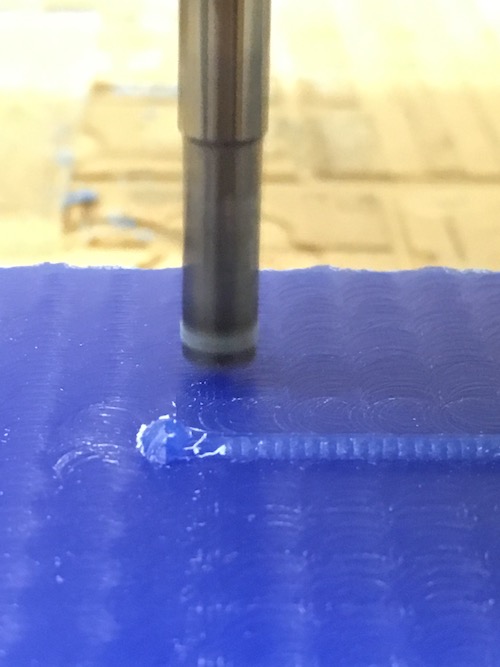
I last cnc job I prepare was with a pcb bits that I want to scratch the surface to create some textures, but the was was so soft and my parameter a little bit fast and at the first line it creat a hole...not very pretty so I decide to skip that part without damaging the rest of it. And the feather is already very nice.
3-Mold and casting
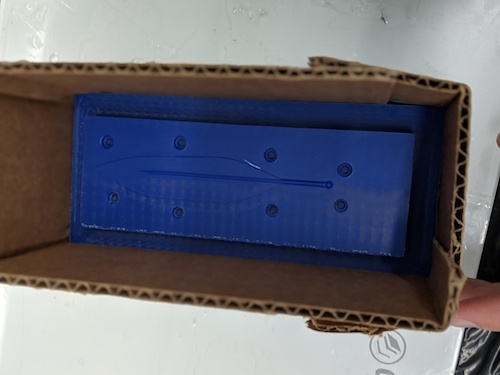
- I put some cardboard around my wax bloc and seal it with tape.
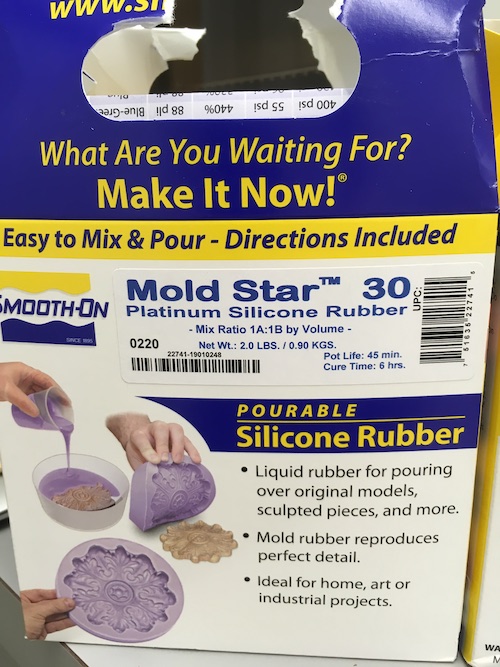
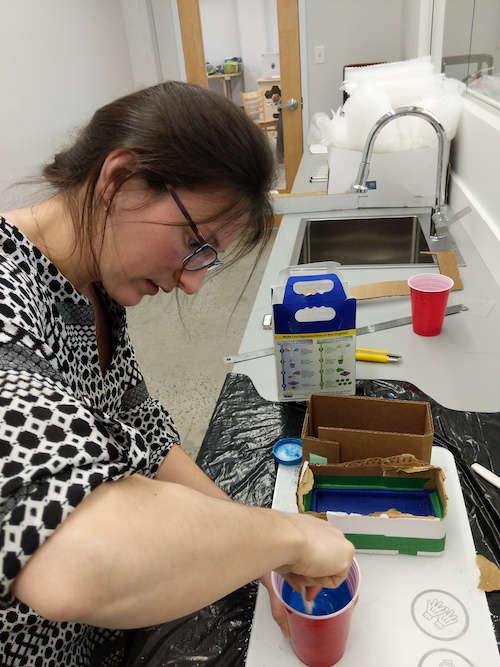
- I mix some Smooth Cast silicone in a cup and mix it until it has a uniform color. Calculate the volume aproximatively and it's the same number you need in gram of silicone. I use the MOLD STAR 30 de Smooth-on:
- Mix ration: 1 partA for 1 part B.
- Pot life: 45min. It means that when you begane to mixe part A and part B you have 45 minutes to poor everything in place.
- Cure time: 6hrs. It means that it take 6 hour to dry completely if not, your ratio was probably no good.
- Other tips: mix until the color in completely uniform and mixt it without adding air in the product. the texture is very tick so air bubble have difficulty to reach the surface.
- Press and release the cup few time to release the bubble.
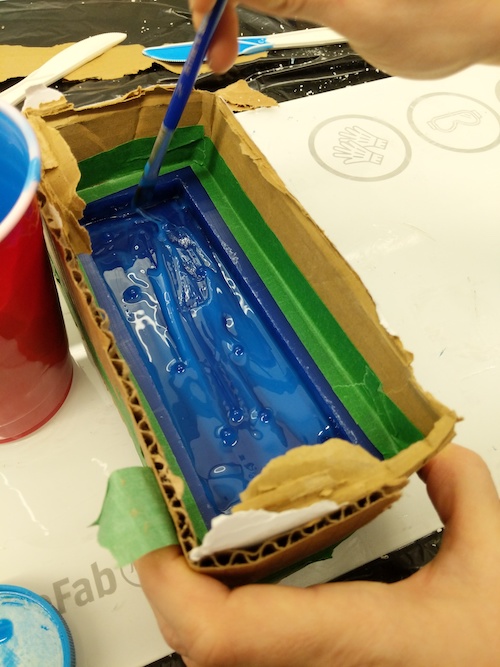
- Take a paint brush and cover the wax with a thin layer of silicone. This will create a nice and smooth first layer for your casting with bubble for sure.
- Pour the rest of the silicon on the wax the same way you do with beer. Make the silicone travel all the space slowly and vibrate the final result to help the bubble release.
- Let it dry for 6 hours.
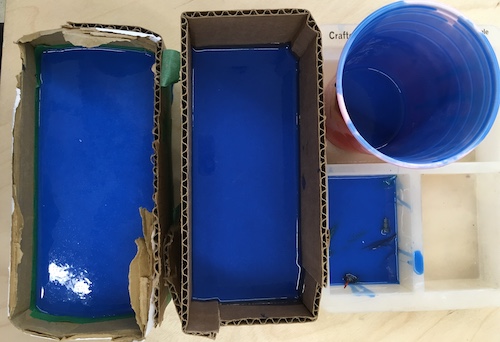
- I have a little bit more silicone so I make somes experimentations (see pictures at the buttom).
- When it's dry, take off everything and see the result.
- The good thing is it's not finished when you have your mold because you can make somes changes. I test my half spheres and it doesn't fit. I made mistakes in my tool path. The pin out was too big, so I cut it. Lucky me I did Neil's technic also so my two molds are aligned and fit together. Also my little reperation was not strong enough so I cut it too. Than everything was perfect for the next step.
- I tape my two mold together and...oops, I forgot the tunnel where I will pour my resine. I cut it in the silicone with a blade.
- After taping both molds together with a tunnel, I inserted a conic straw to help the resine go down.
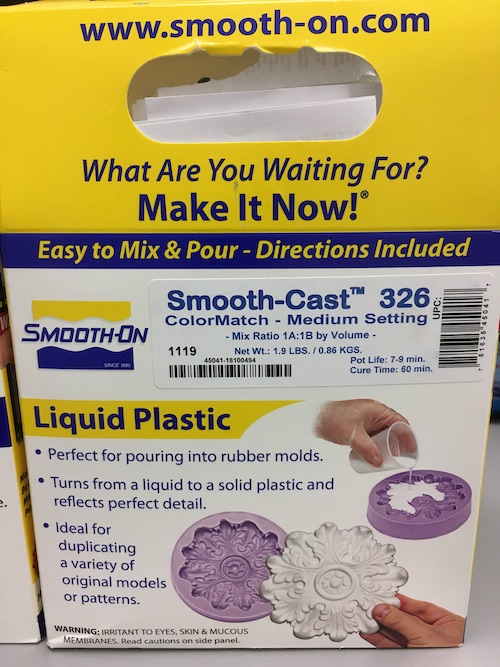
- Like the silicone, pour in a cup both resing (part A and part B) and stir well. (This type of resine dry in few minute, so make it quick.I use the SMOOTH-CAST 326 de Smooth-on:
- Mix ration: 1 partA for 1 part B. I need to be carefull here, because I use very small quantity so the precision need to be higher.
- Pot life: 7 to 9 minutes.
- Cure time: 60 min. It's faster that the silicone.
- Other tips: The texture is like a thick sirup, so you can not poor into very small canal, your need to have a nive cheminy.
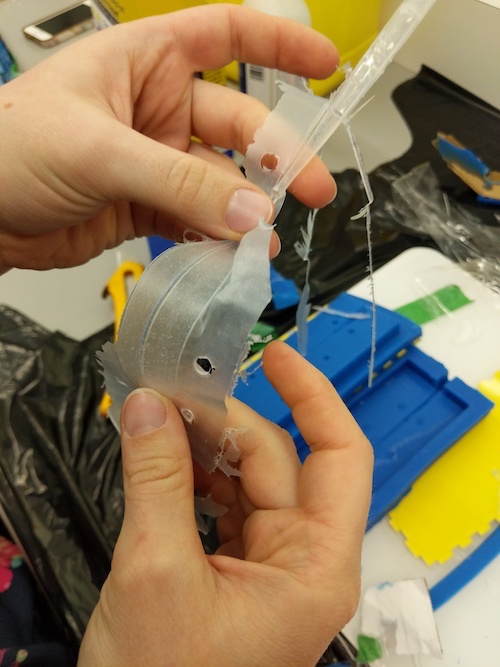
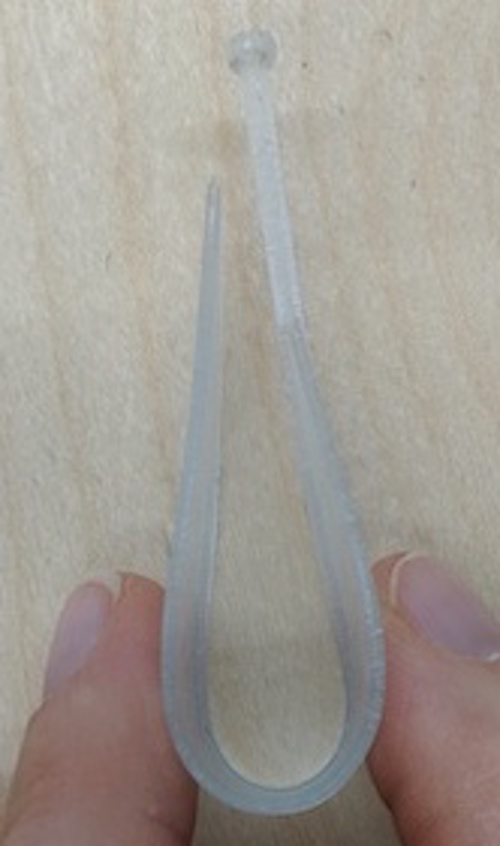
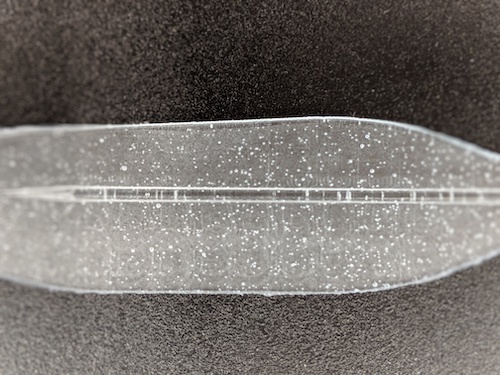
- At my big suprise, it was flexible...and a little bit blue...and I don't know why. But on my experimentation, the half ball I made was really hard so it's probablely the thickness of the feather that make it flexible.
- I tried to open both molds to see if it can be tiner and if I can insert random bubble to texturise the it.
- I tried also with PLA trash that I found to creat a inside skeleton to make it harder.
The wax mold wrap in carboard. I seal with tape the inside on one (the carboard was not straight and I fear the leakage)
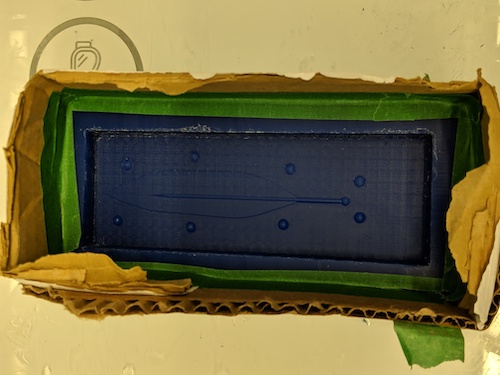
I mix the silicone and peint the first layer to make sure that the first layer has no bubbles and that every small corner has silicone in it.
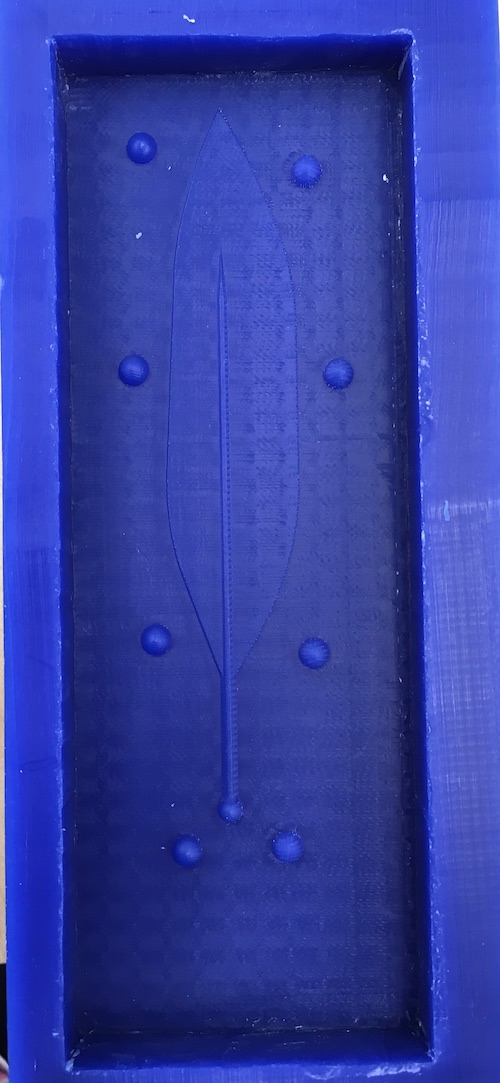
After one night, the silicone is dry and I take off the carbord, this is the side of one molding. The technique of cardboard works well only when the cardboard is perfectrly straight
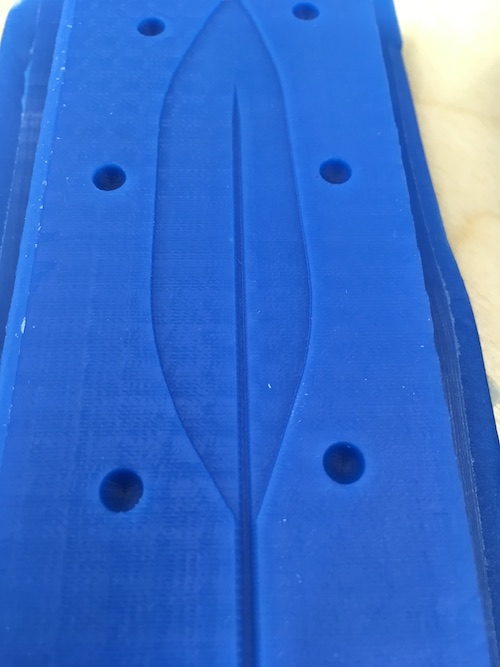
This is the comparison with the max mold, the reparation is not exactly successful but overall it was really good.
Because I try different techniques, the geometry is not exactly the same for the ball, but at my big suprise it doesn't fit at all so I cut the parts out and try one in the hole of the other mold. You can see that it's not even close.
First, I cut a space in both of the molds to allow me to pour the resine (which I forgot at the design step), tape my two molds on top of each other and cast with a hard resine. Once dry I discovered that the seal was not good and create a very thin layer. Suprise it was flexible!
I didn't do anything for the bubble I didn't shake it or use a vaccum. And the little quantity I made was very difficult to mix without adding bubble.
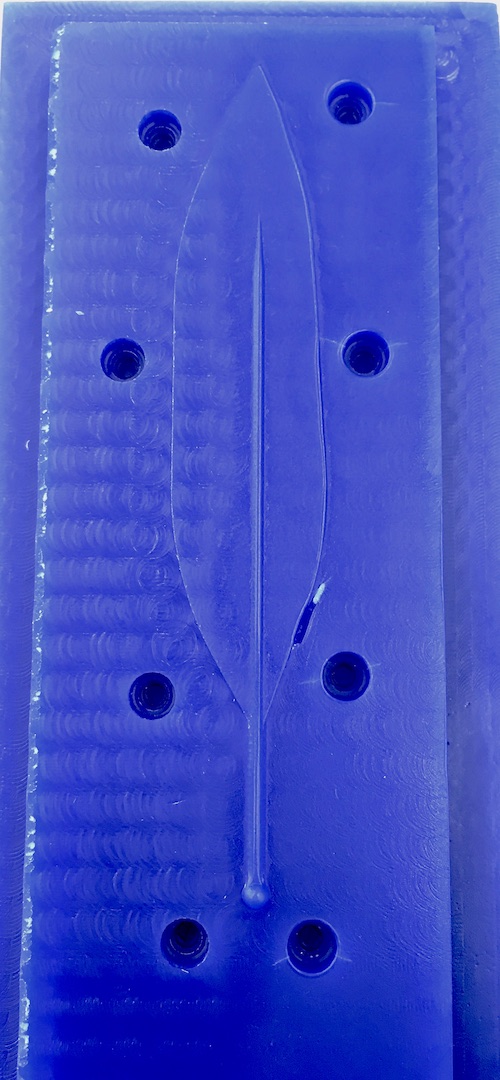
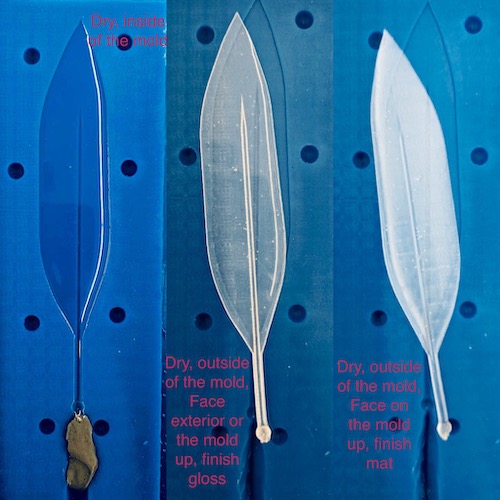
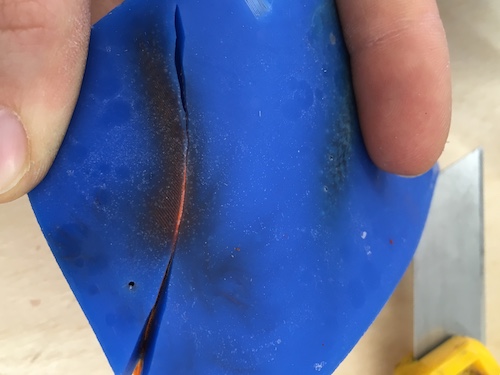
When I molded it, it had 3 different light reflexions. The first one is dry but strick to the mold, the second one is on the same side but out of the mold and the third one is on the other side. You can see that the light is reflecting on all the texture from the mold. So I have one side of my feather glossy and one side mat.
When I did the silicone I had a little bit left so I decided to do an experimentation. I try to poor feather in..put the feather float during the night and stick on the surface. It was impossible to come out. Probably if the feather was immerged in oil before, but it's really too thin.
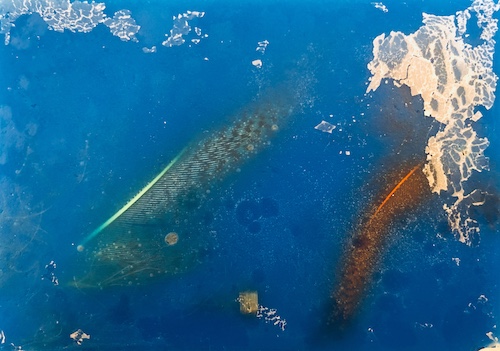
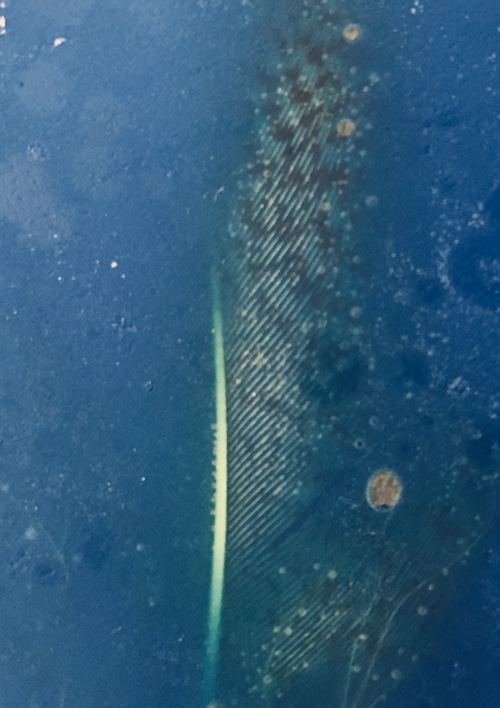
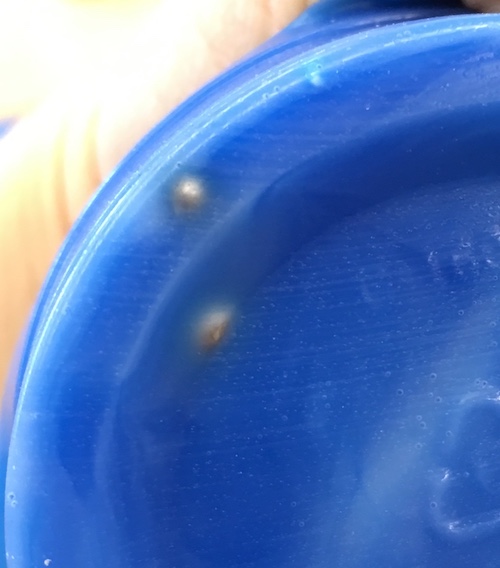
What you can see is metal ball that sinks and made that lens in resine that work better that I expected.
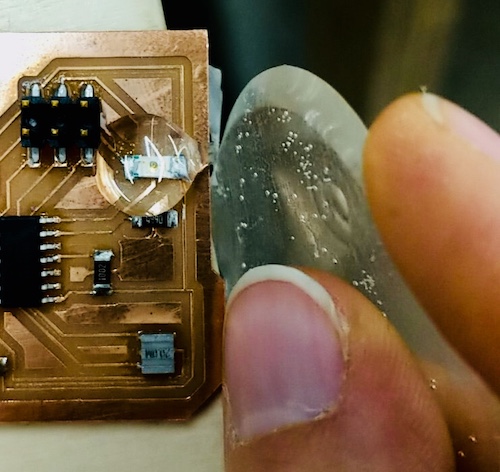
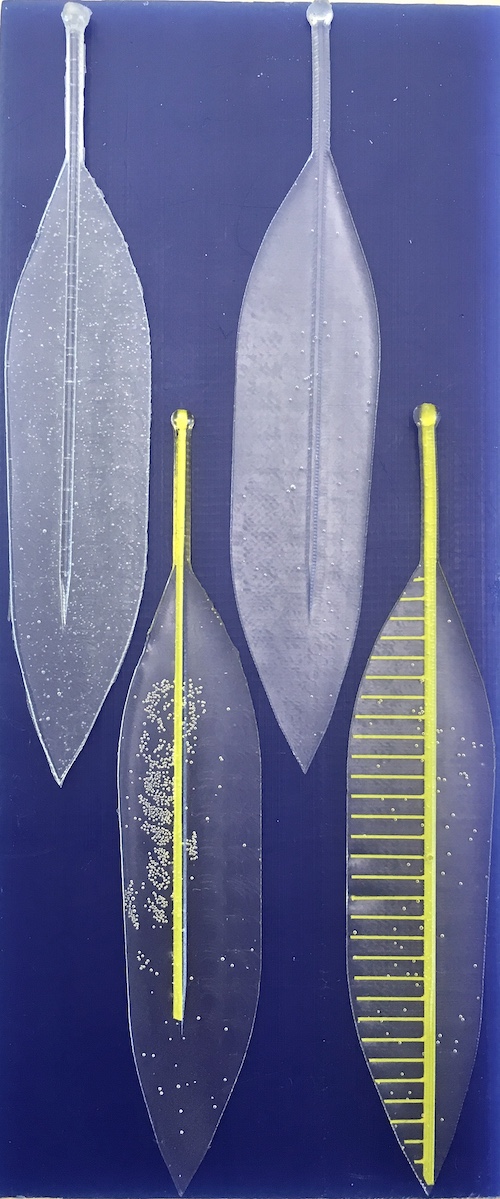
Here are my different versions of feather. I think the bubbles air in the feather bring a little interesting texture. Each one are unique.
The moral of this story
Casting is really fun and easy to iterate with it. The mold take time to make, but influence the final quality so it's worth it. If you are not careful, it will definitly be very messy, protect your working space and don't rush it. Files
Contact
Annie Ferlatte
ferlatte.annie@gmail.com
Montreal, QC, Canada