3D SCANNING AND PRINTING
In this week of the Fab Academy we saw the interesting techniques of additive manufacture regarding 3D printing and 3D scanning.
3D PRINTING.
Currently, the 3D printing technology is the fastest way to materialize ideas quickly. I’m not a novice regarding 3D printing as I worked at a innovation centre in a University and own a couple of printers myself. I have used different 3D printing methods: the makerbot family (2X, 2 and 5th Gen), connex 260 for Stratasys and markforged for carbon fiber and Kevlar. The materials I used were ABS and PLA, carbon fiber, nylon and resin.
For this assignment, I printed some of the pieces for my final project. The pieces will be integrated with some ball bearings.
Up date this following part.
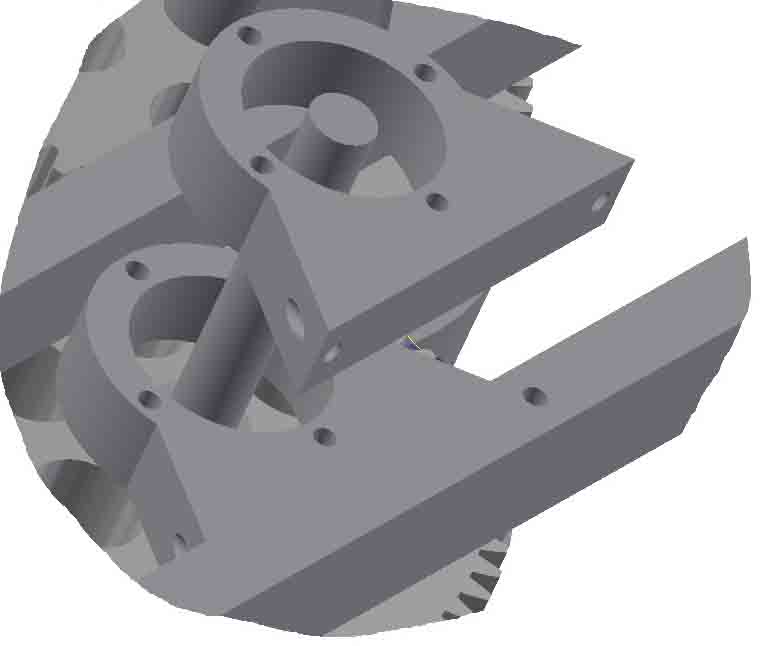
The final project will be made mostly with 3D printing technology. I decided to use additive technology, because it is the best choice for manufacturing complex surfaces. I also used this technology, because it’s a prototype, and 3D printing allows me to scale the project up and change it on the go, without spending expensive resources. Some parts are made of metal because of the force that will be exherted upon them. The shaft for example, will be fabricated with a mill and a lathe because it needs to take up the force from the DC motor. During the fabrication of the squeezer machine, one of the most important parts was the drum. This part was printed 3 times. Twice with PLA and once with ABS. The chambers of the drum need to have round corners so that the lemon can flow easily, be cut and come out again. Internally, the drum has a hexagonal hole for the propulsion shaft. The middle of the drum has an inlet so that the lemon can be pulled outside. This part is difficult to manufacture with a subtractive method, so the best choice for this application is a 3D printer
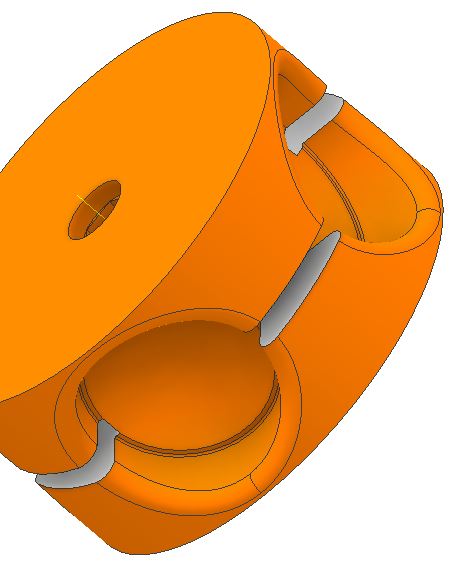
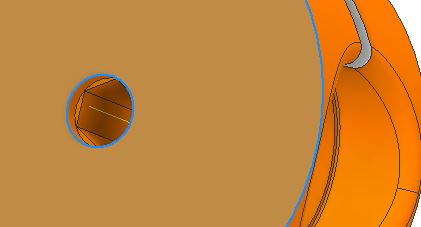
Fig 4. The hexagon for the propulsion shaft.
Test the design rules for your 3D printer.
For our group assignment we tested our makerbot replicator +. The file “constraints” was downloaded from the link:
https://www.thingiverse.com/thing:636363
To summarize the 3D printer tolerance test: The desing had features beyond machine resolution which is around 1500dpi, to demostrade how the printer fails. The walls and wells were up to 0.00063425 inches thick. In this case the tolerance was 0.01inch.
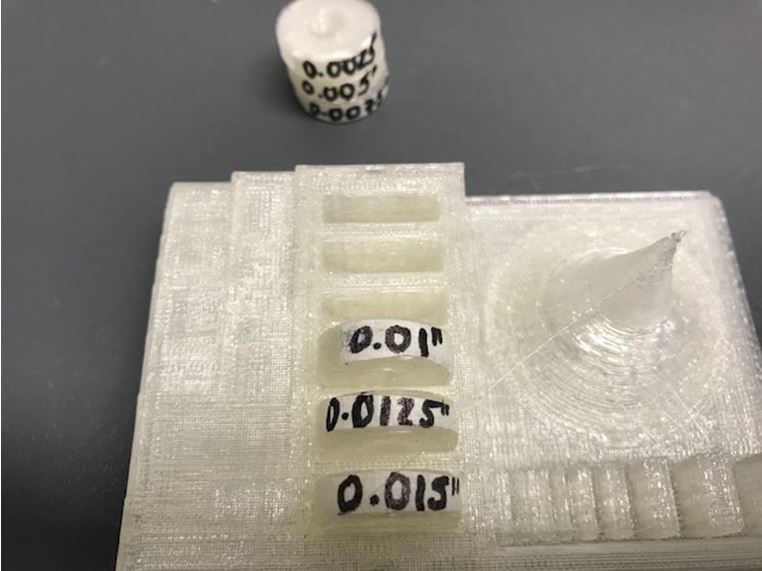
Fig 5. The printer test was 0.01inch.
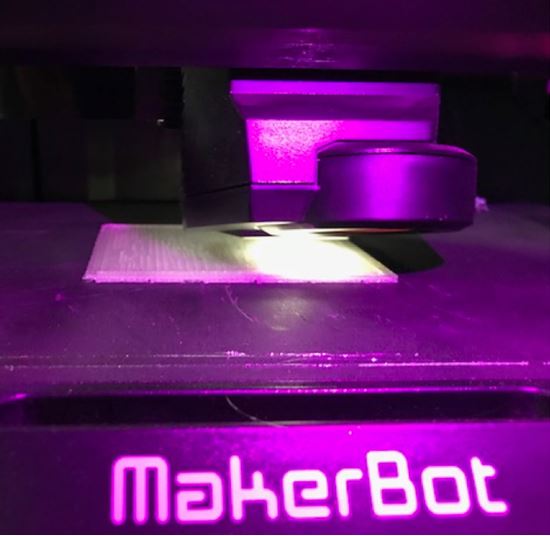
Fig 6.The picture shows the test being printed.
3D PRINTER.
Makerbot 2
Makerbot 2x
Makerbot Replicator
Markforged
Scanner 3D
ATOS Core.
Creaform.
Drum
Gear.
Rowlock