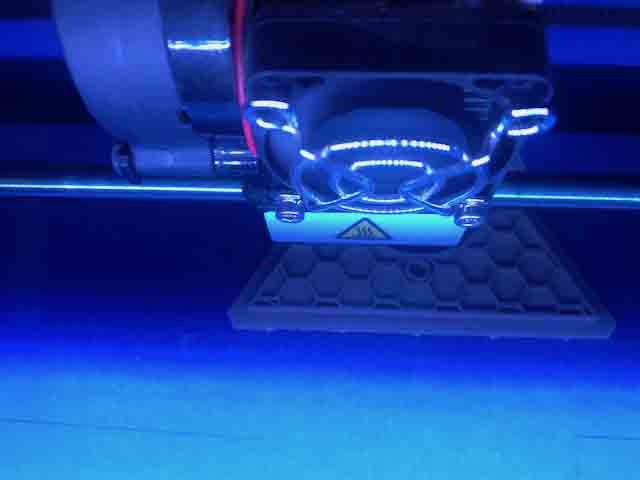
Makerbot 2


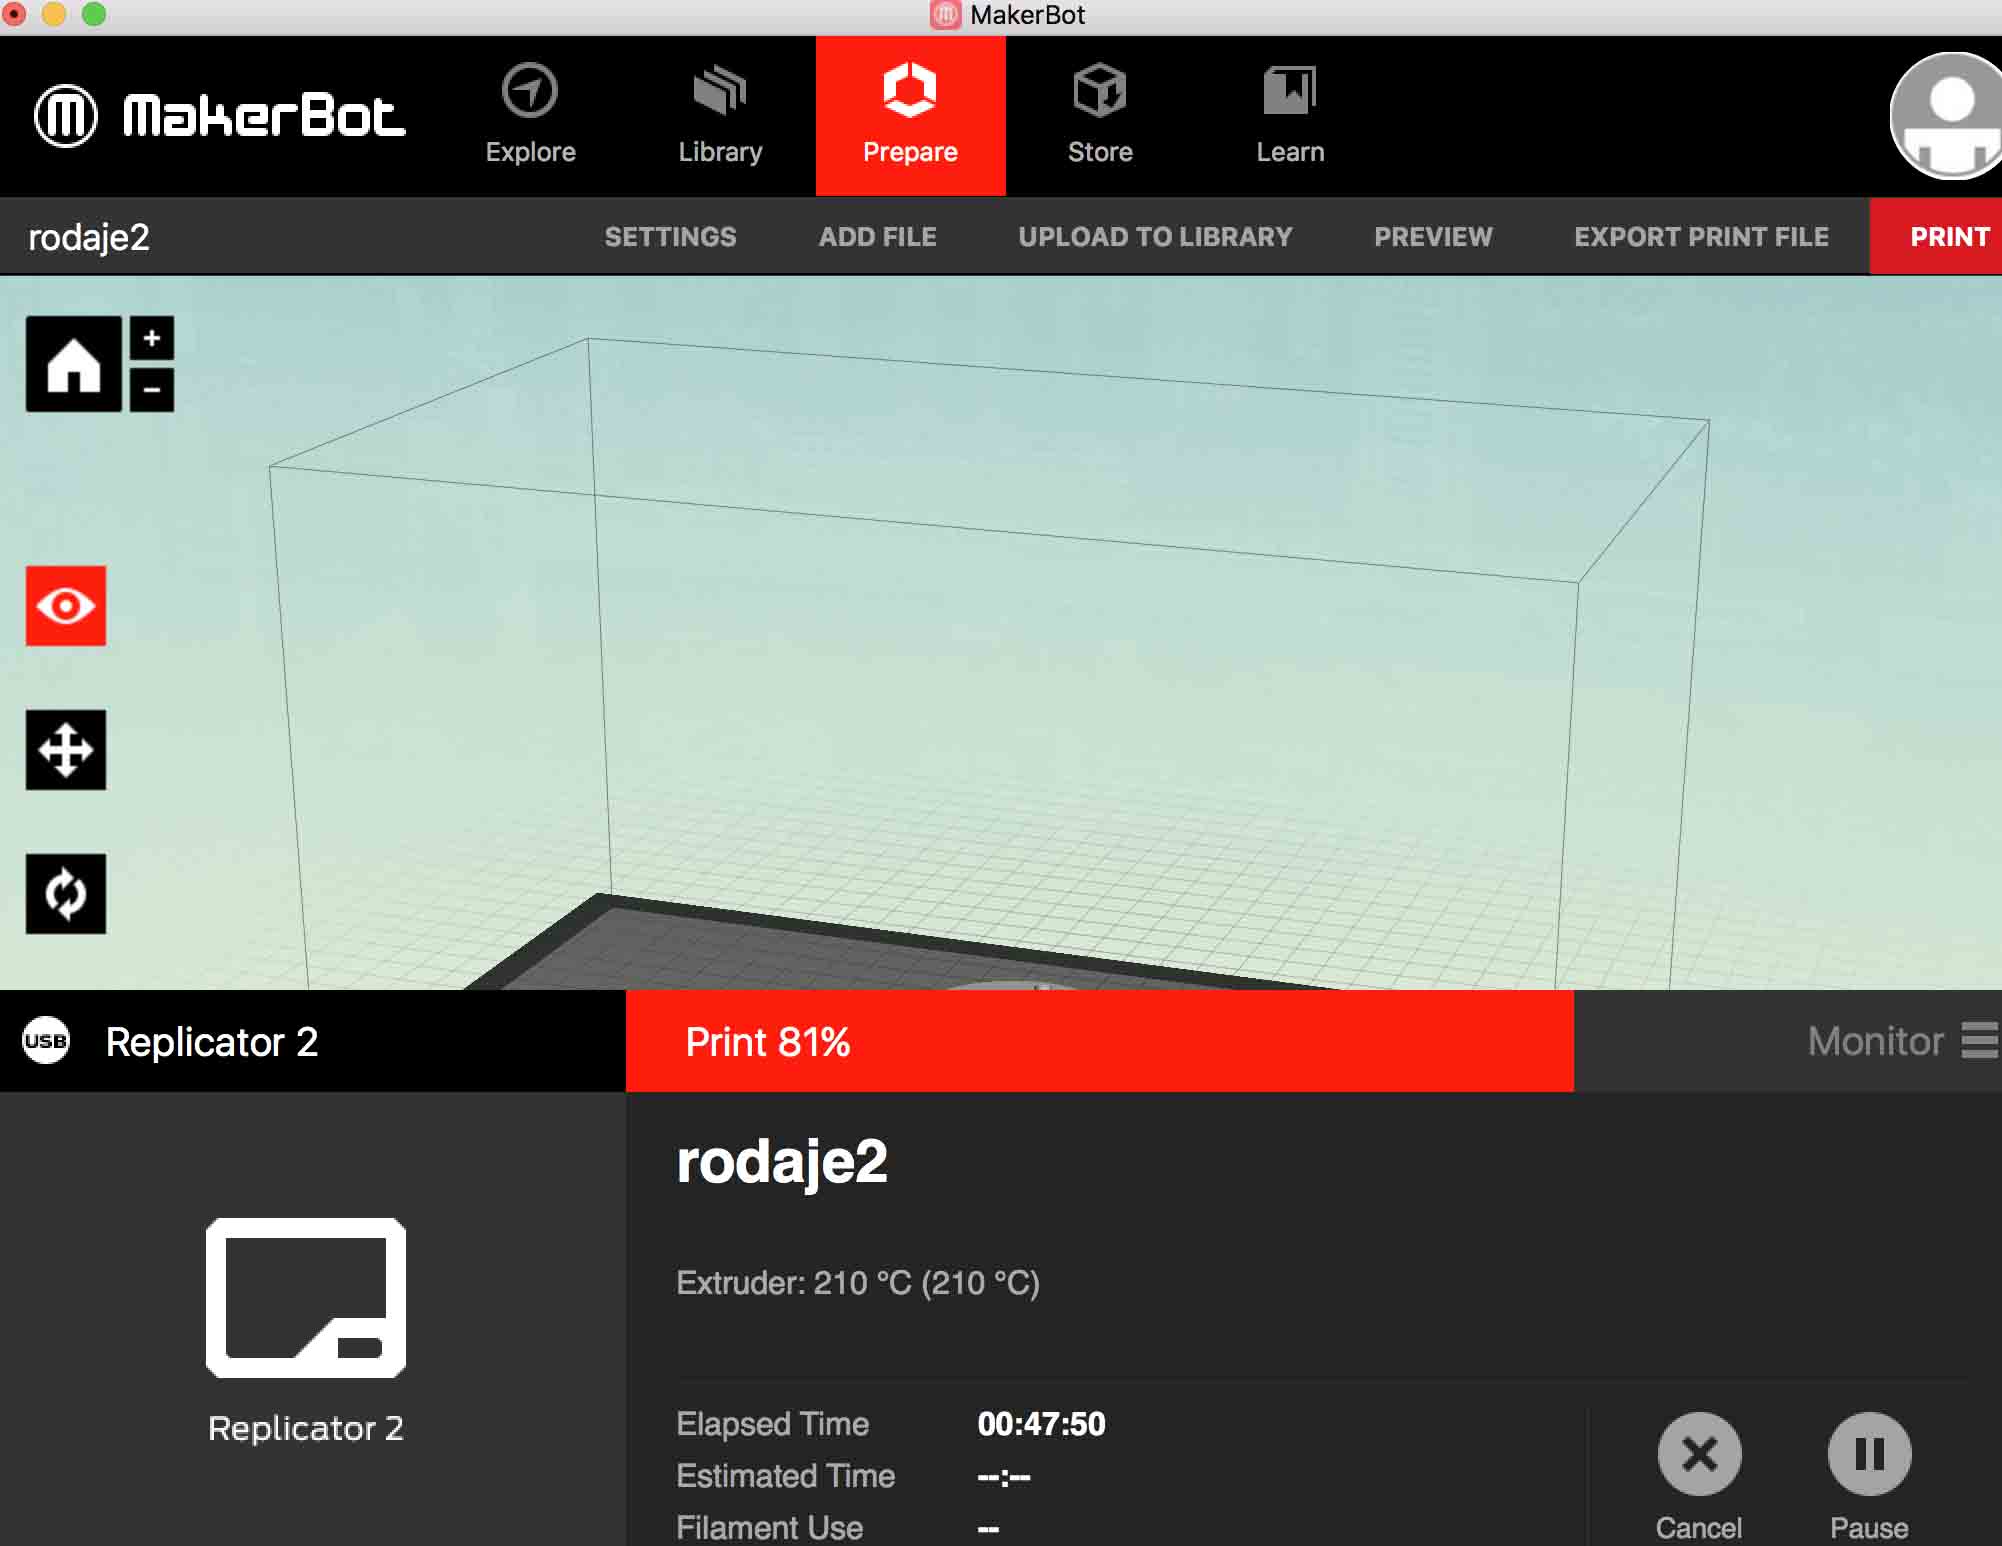
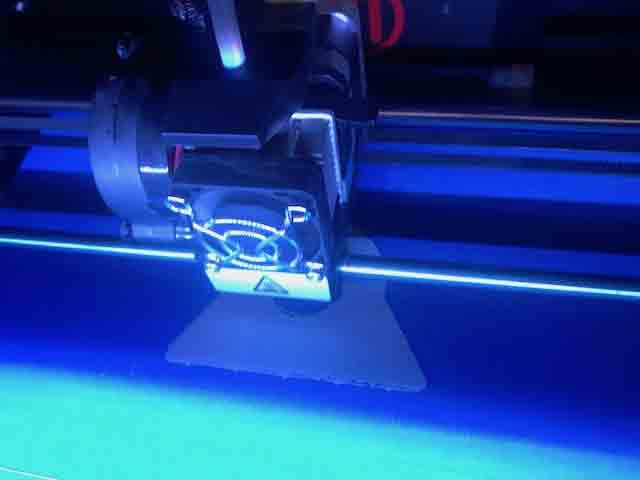
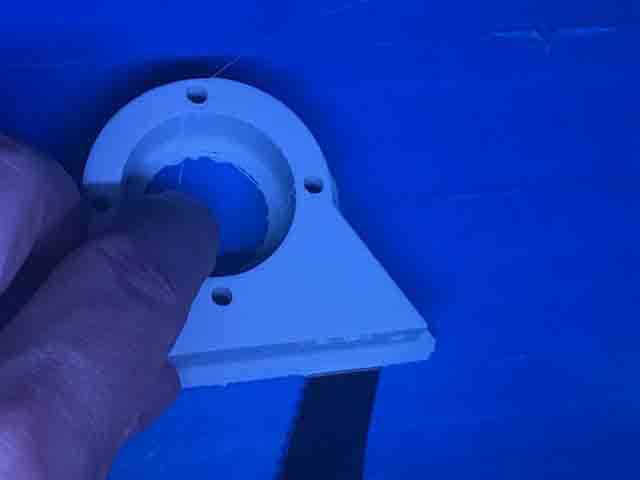
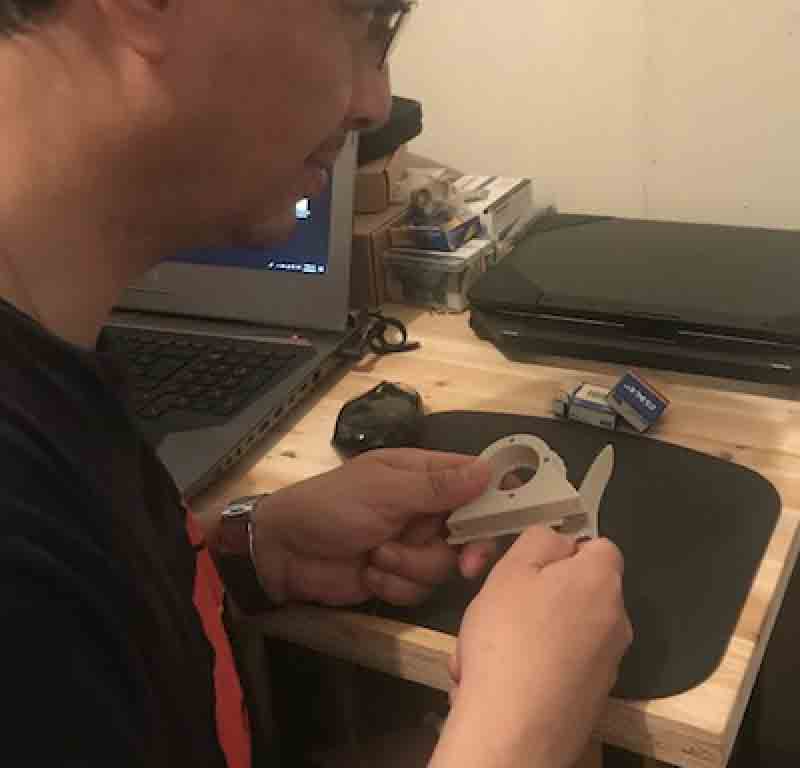
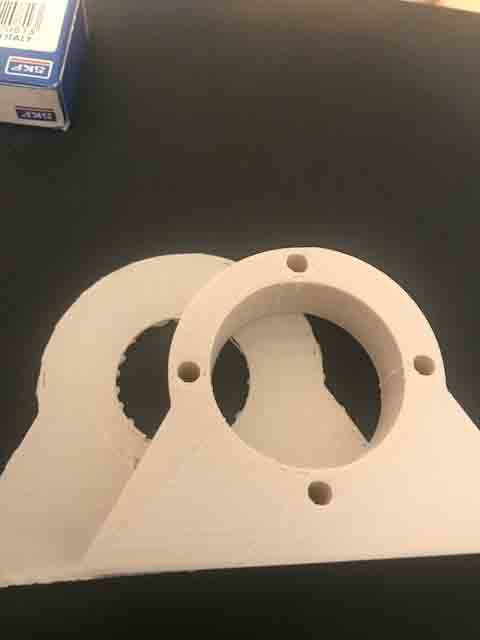
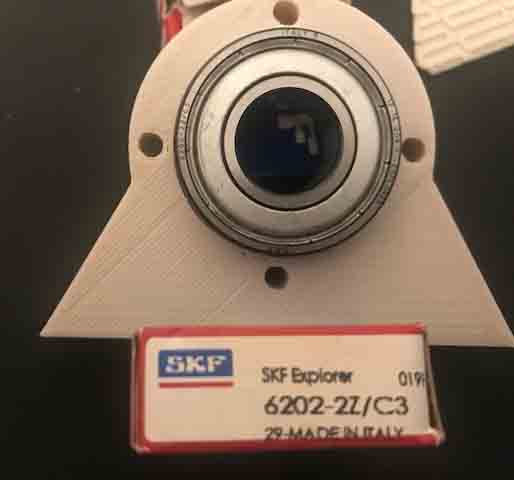
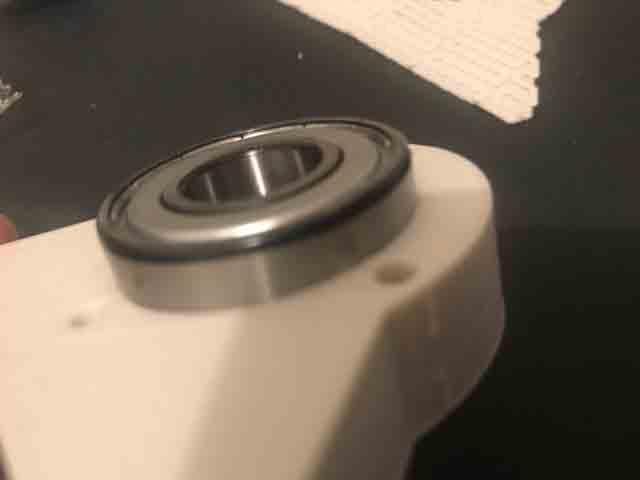
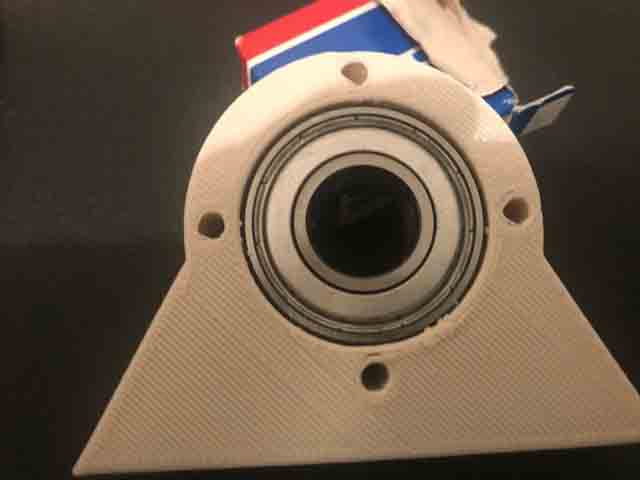
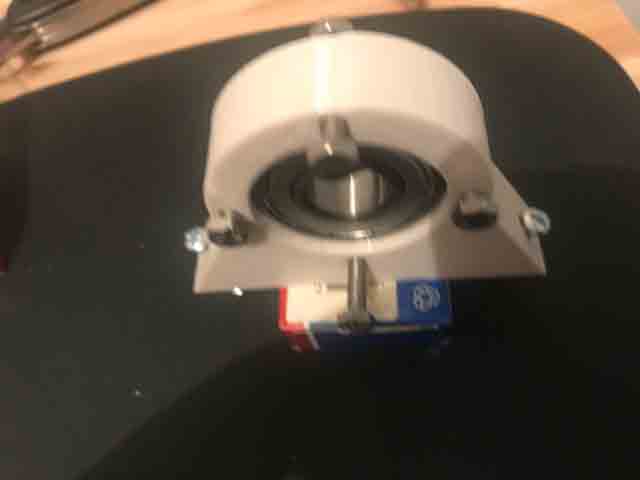
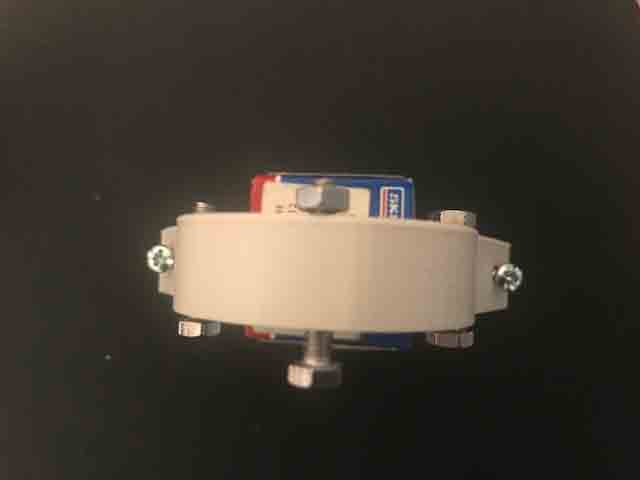
For this assignment, I printed some of the pieces for my final project. The pieces will be integrated with some ball bearings.

Fig1. 3D printer-Makerbot 2.

Fig 2. The parameters on Marketbot 2.
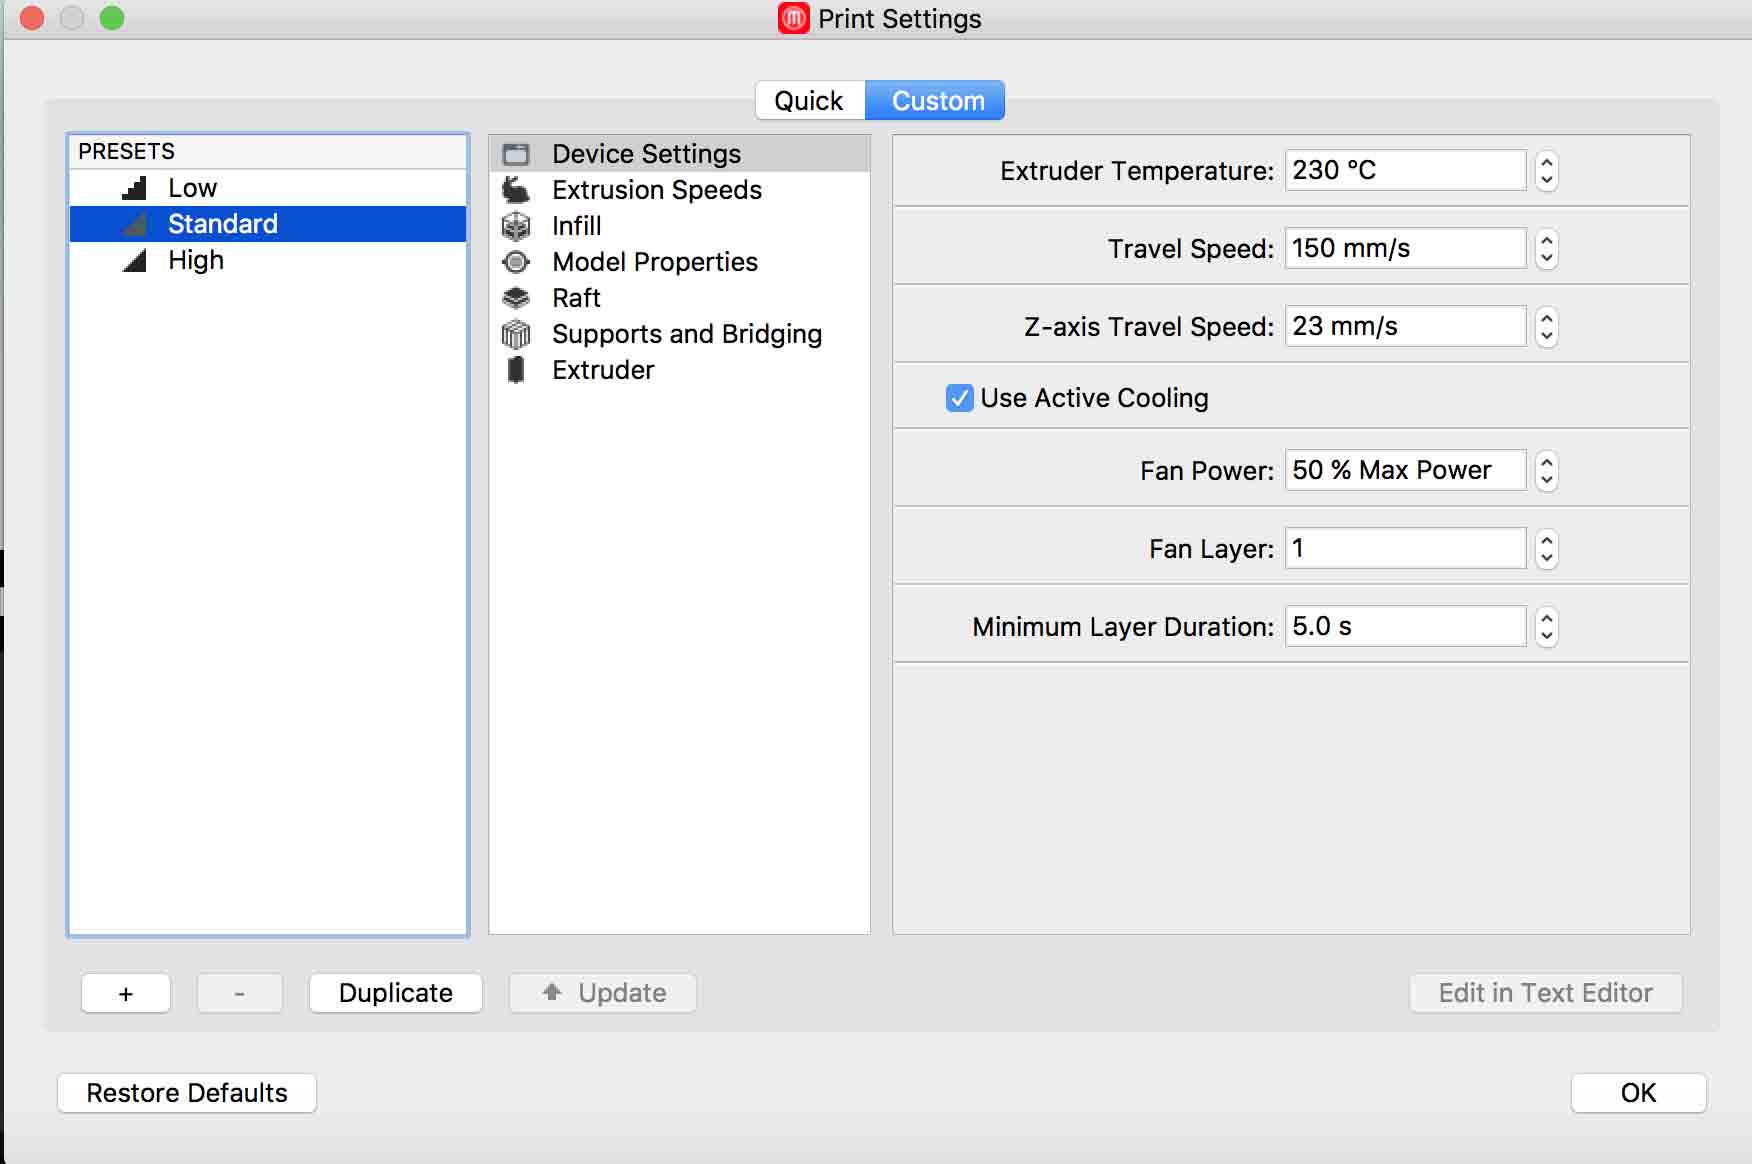
The temperature on the extruder was 230 ⁰C for ABS and the travel speed was 100 mm/s. The Z axis travel speed was 23mm/s, on the standard mode.

Fig 3. The plate design on Inventor.

Fig 4. The process starts by printing the raft of the piece.

Fig 5. The image shows the printing process within 15 min of process.

Fig 6. The printing took about 54 minutes and the final piece looked like this

Fig 7. Finally, we remove the raft of the piece and it was ready to use.

Fig8. Recently the makerbot software was updated and with it, it has made the raft removal wasier.

Fig 9 the picture shows the piece with the ball bearing fitting perfectly. When I designed the piece on Autodesk inventor the external diameter of the hole was 35 mm but I put 35.4 mm instead. The 0.4 mm corresponds to hole on the extruder.

Fig 10. Some pressure was needed to put the bearing inside the lock.

Fig 11.Finally, the bearing fit perfectly

Fig 12.the small holes correspond to a set of screws which I also inserted.

Fig 13.All pieces fitting perfectly.

GO TO :3D SCANNING AND PRINTING.

  • Download files here-part of the squeezer machine:
    Drum
    Gear.
    Rowlock