Makerbot 2x
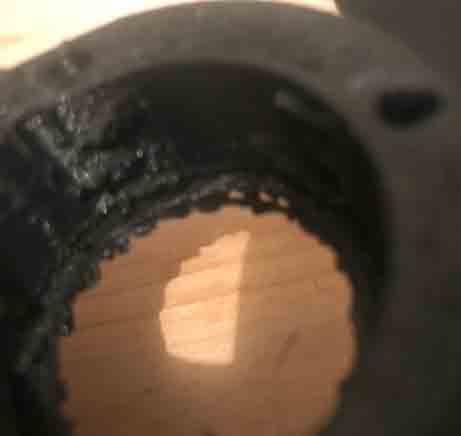
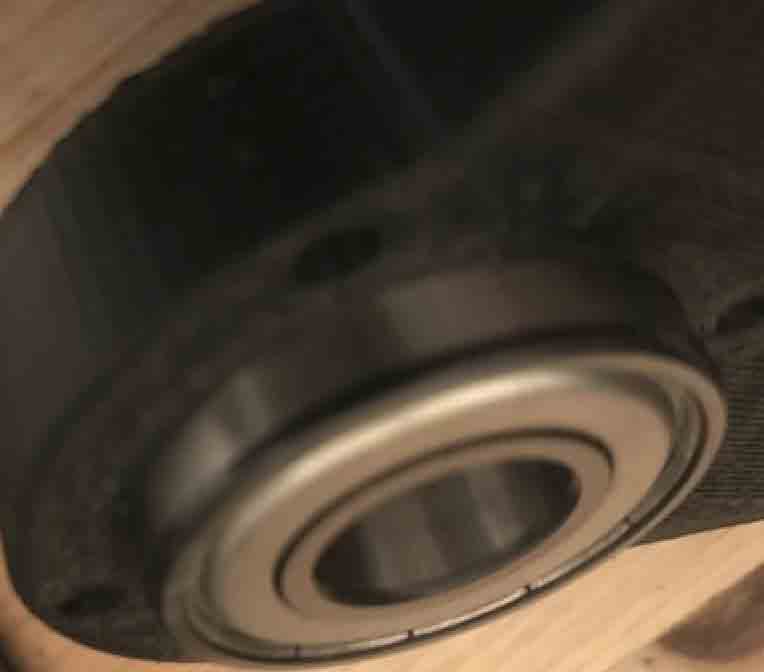
For this assignment, I printed some of the pieces for my final project. The pieces will be integrated with some ball bearings.
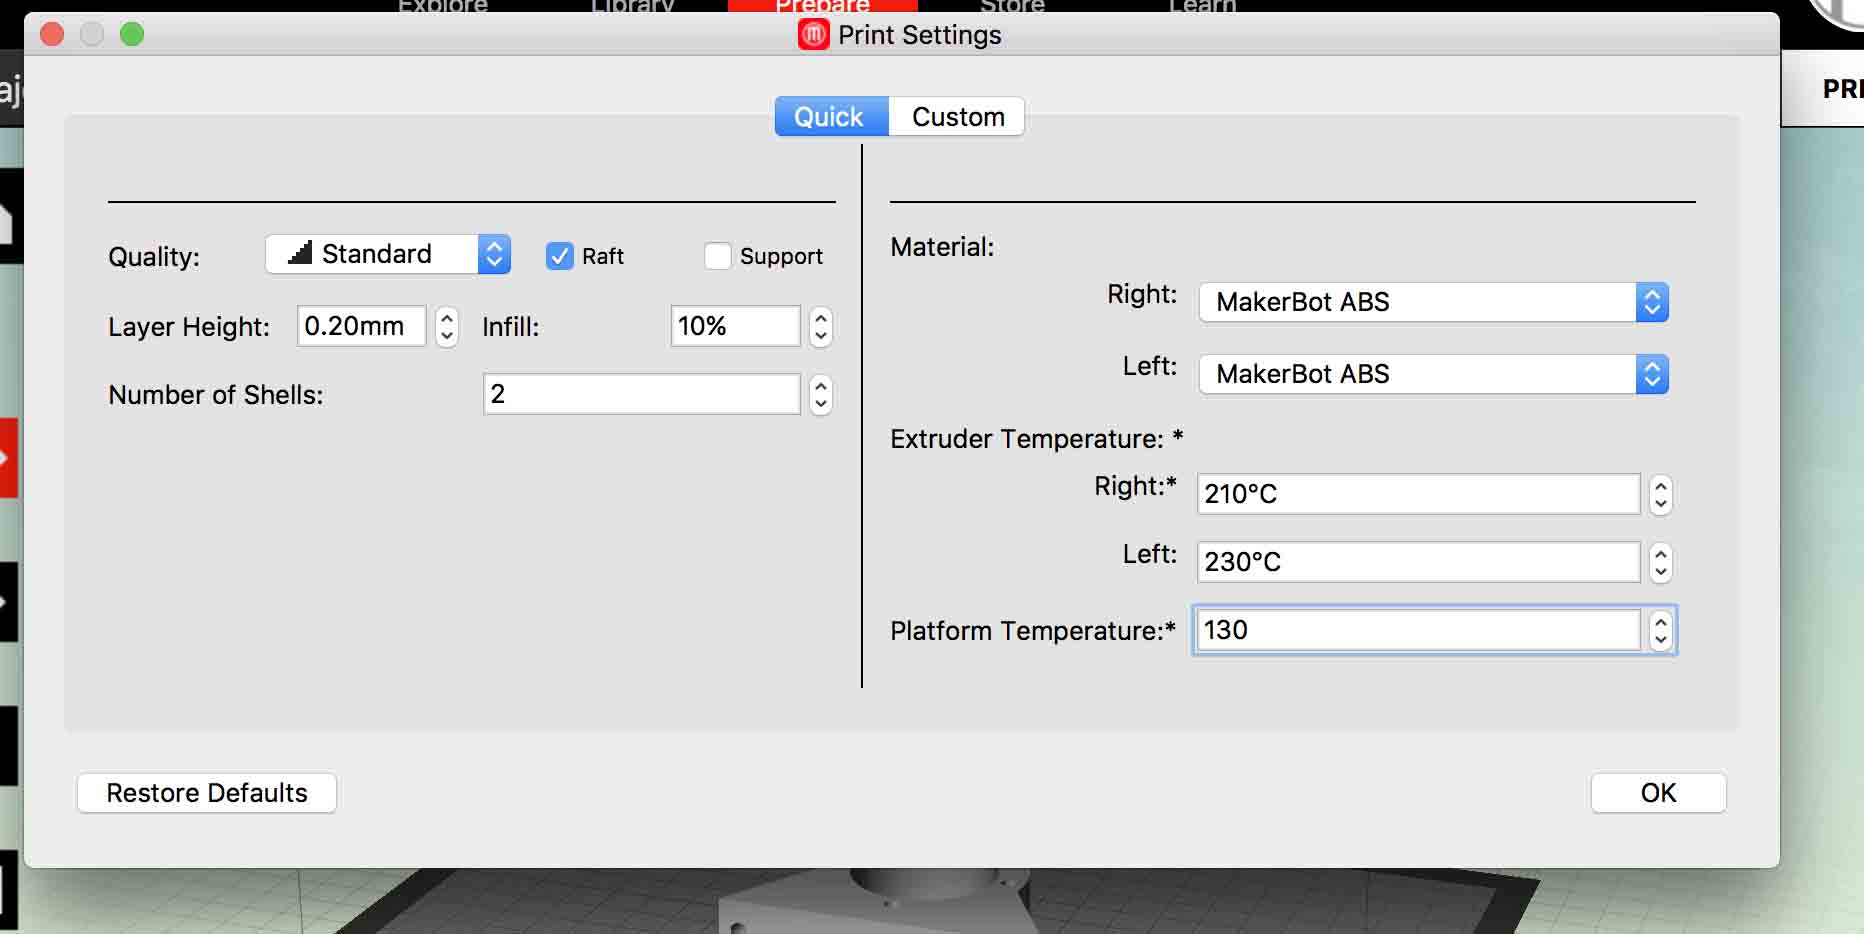
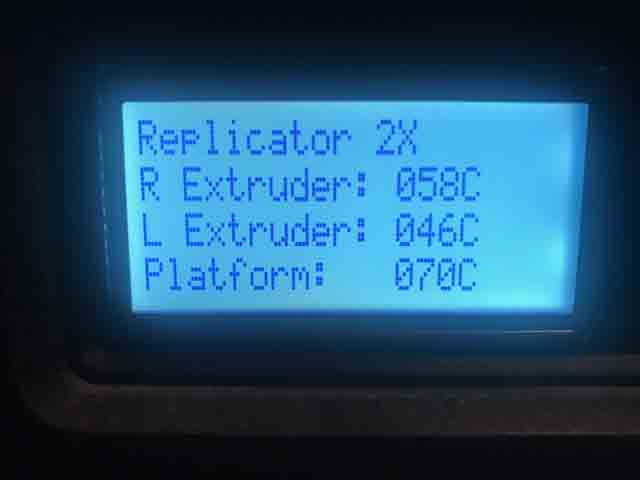
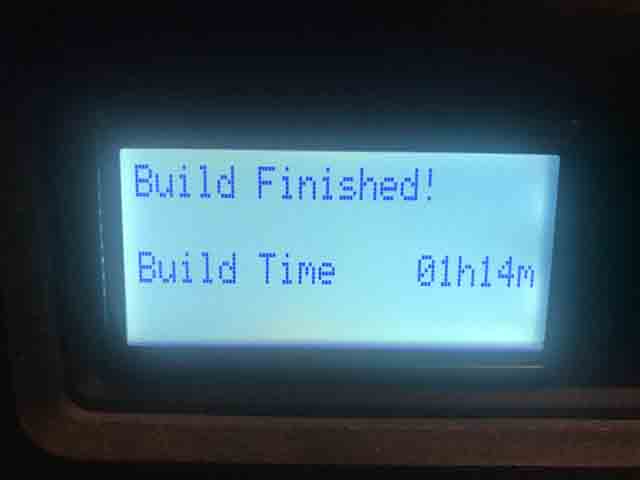
The seconds example shows the rowlock printed on ABS material. The printer in this case used Makerbot 2x. The parameters were explained in the follow pictures. The markerbot 2x contains a hot plate with 130 ⁰C which is needed in order for the material to stick well on the plate and enable ABS printing.
The heat of the extruder was 230 ⁰ C and the platform temperature in this case was 130 ⁰ C . The travel speed was 100 mm/s and in the Z axis travel speed was 23 mm/s . Standard mode was use.


GO TO :3D SCANNING AND PRINTING.
Drum
Gear.
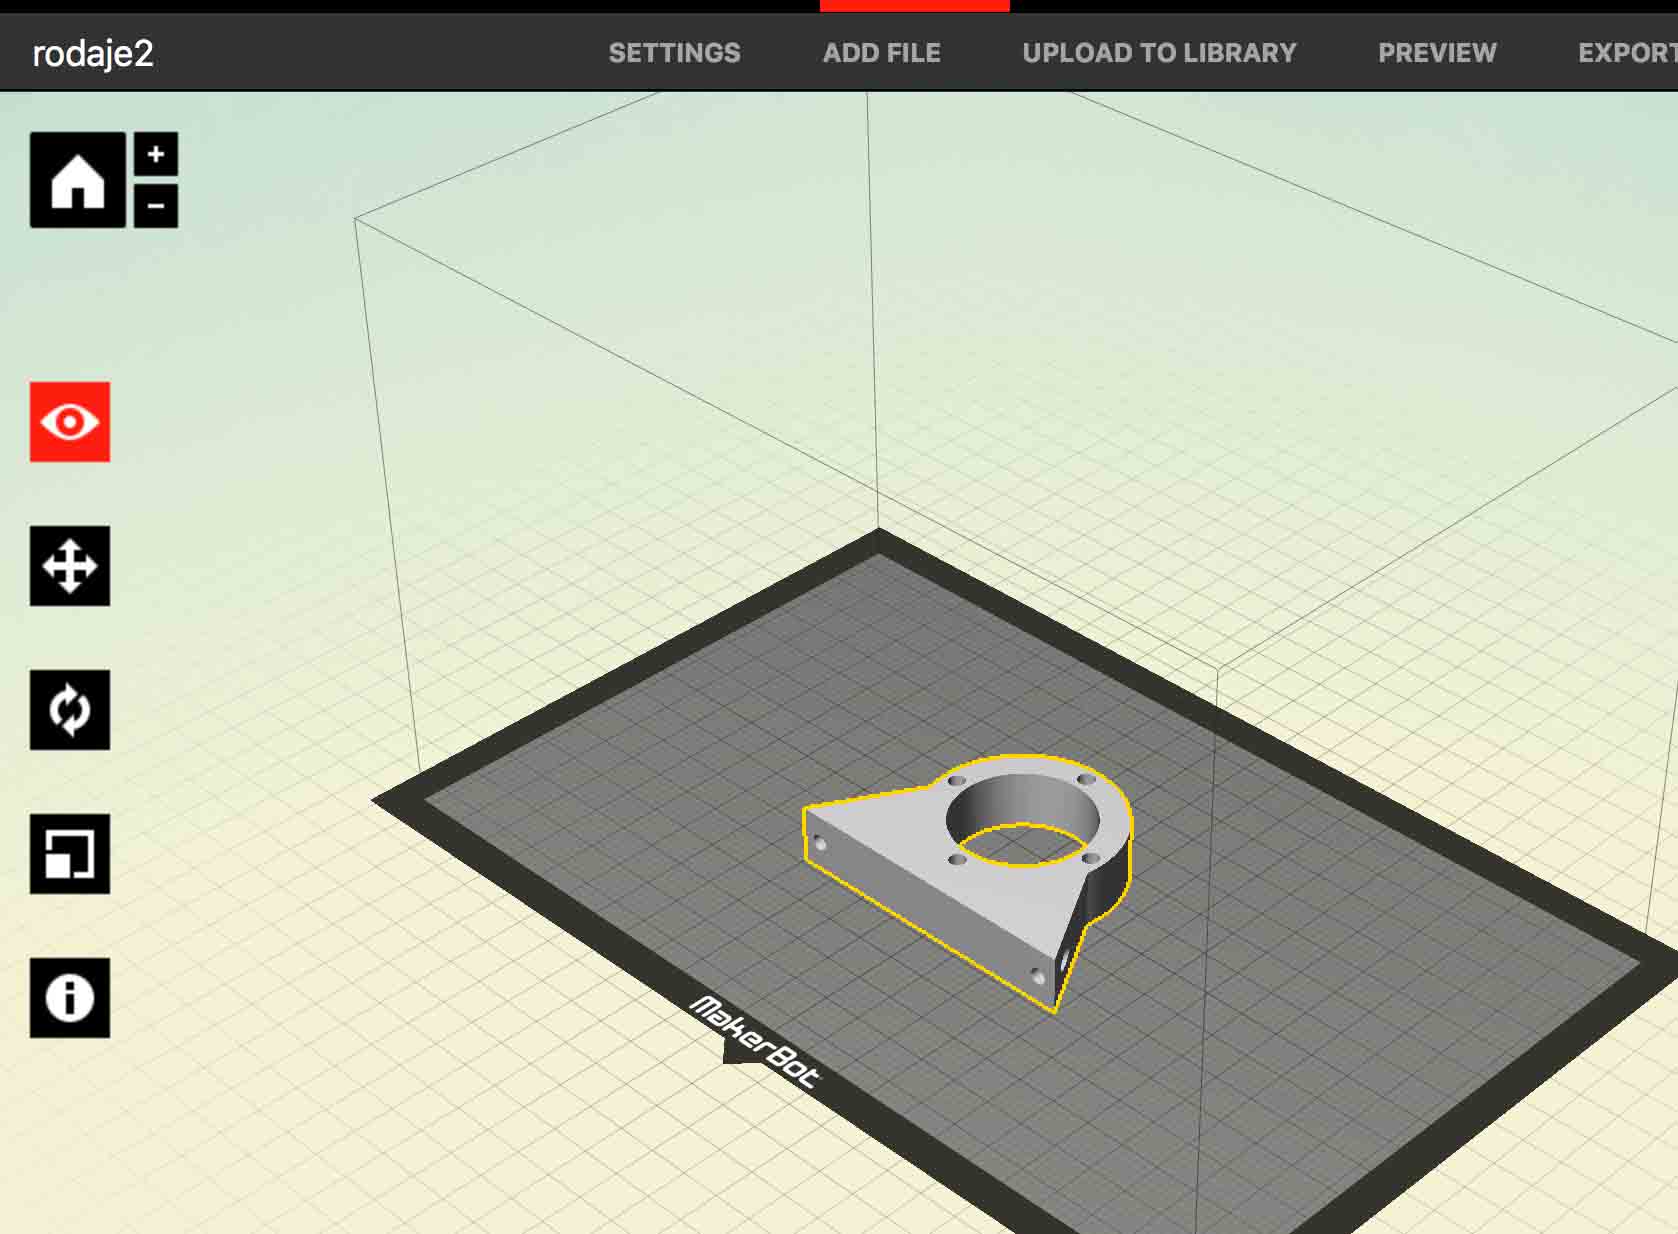
Rowlock