Computer-Controlled Cutting
The assigment page
The goal of this week was to create an 2d model and cut it with a laser and a vinyl cutter.
⇝ Laser Cutting ⇝ Vinyl Cutting
For the lasercutter group assigment, check my group assigment page.
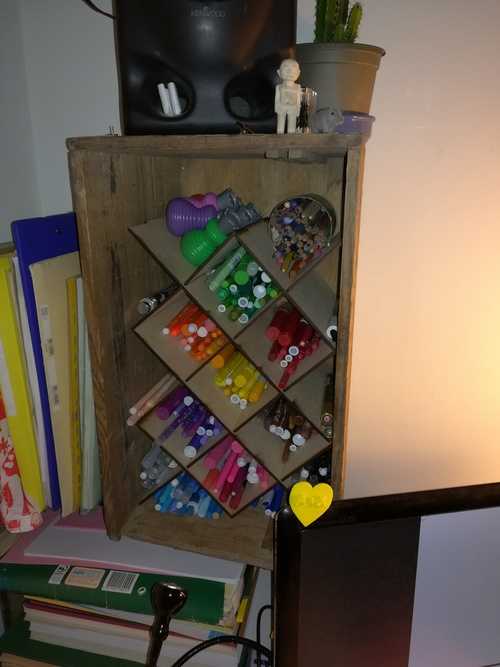
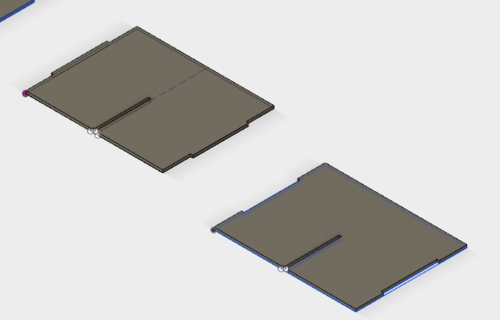
So I drew a system to make furniture, initialy to store felt pen:
You can download the file here.
I was walking in the street, I looked to floor and I had my idea:
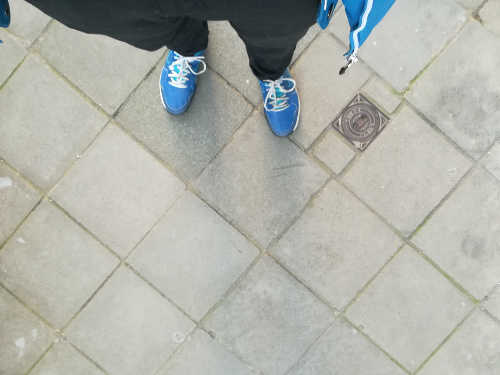
No I'm joking, I was looking for something useful to make when my lover told me "I want something to store my felt pens, the same they have in the pen store!".
So the idea was to draw a system in order to make a parametric press-fit storage cabinet.
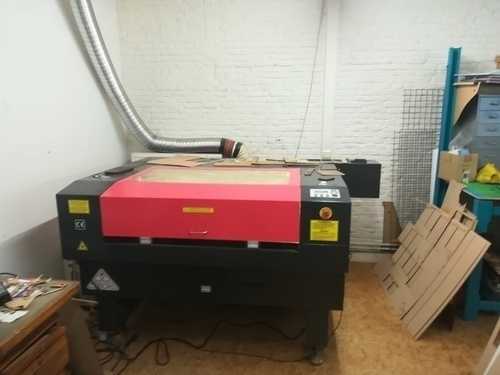
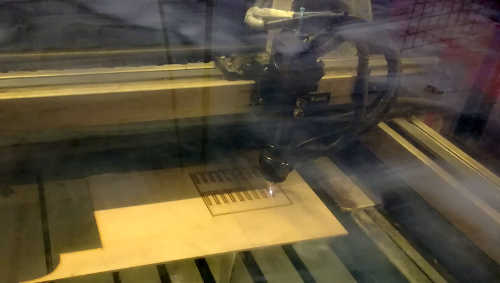
The lasercutter I used:
My lab is Fablab.Imal. Imal is a digital art center in Brussels-Molenbeek who have its own fablab. It's not very big but it will be bigger in the future after renovation. It will look like this.
Our lasercutter is a Cyborg LS-1080-K (from Ketele) with a working area of 100x80cm and powered by a 130W CO2 laser. It can cut through wood, acrylic/plexiglas, fabrics,... but no metal or glass. Although the machine can be used for engraving, the model we have (without a z axis but with a powerful laser) is more suited for cutting.
The control software, SmartCarve, can import DXF 2D vectors files (that can be exported from Illustrator or Inkscape) and bitmap images (BMP, JPG, GIF,..). (I've copy-paste the description)
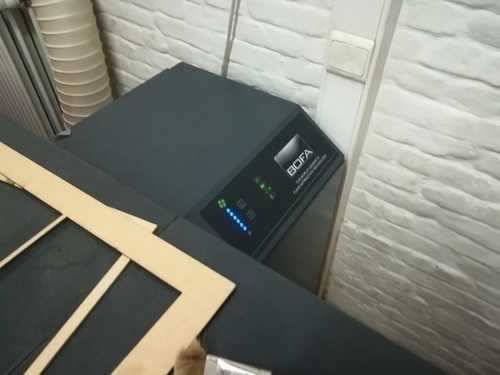
The smoke evacuation system is brand-new, it's a system from Bofa who's evacuating the smoke outside.
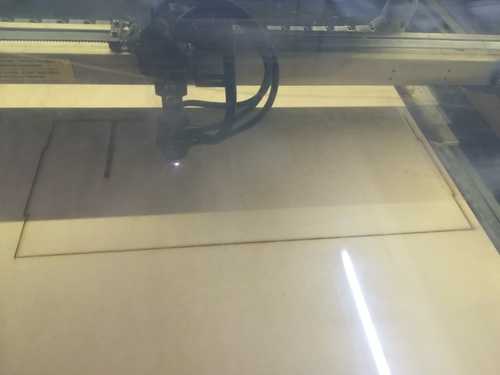
I put inside a 3mm mdf plank, set the focus and launch the software, SmartCarve.
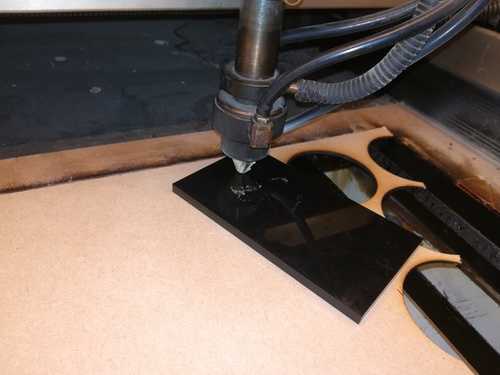
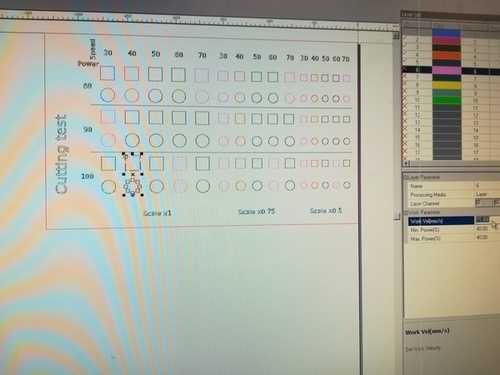
I import the DXF file and set its position in the plank. I have to "scatter group" in order to select each stroke separately. I also set speed and power for each test. 15 different settings.
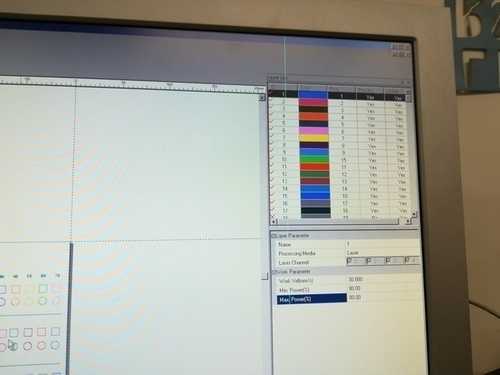
On the machine, I set the origin (where the zero is for this cut), press "Carve Out" and the machine is rolling.
How I made my parametric storage furniture:
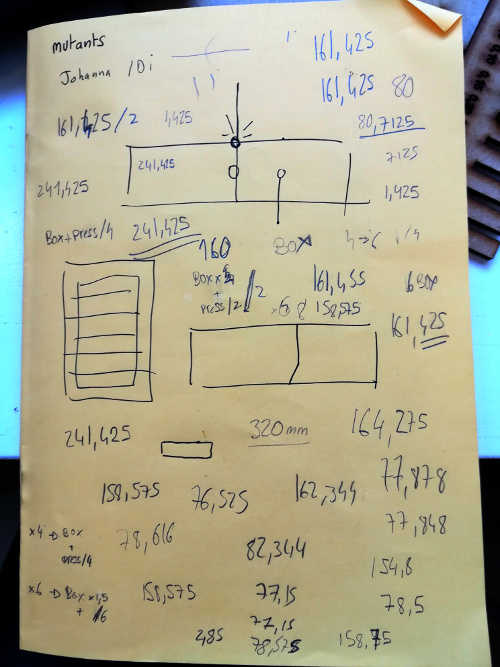
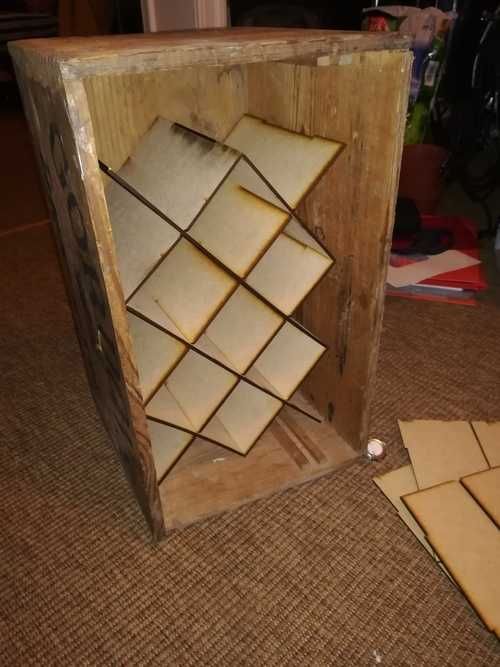
1. I make some sketches, the pen's storage have to be in the box you saw on the picture above. Dimensions: 420x240mm. The depth is 20mm and the size of each square is 80mm. So 420/80 = 5,25 and 240/80 = 3. So a 5 on 3 square furniture.
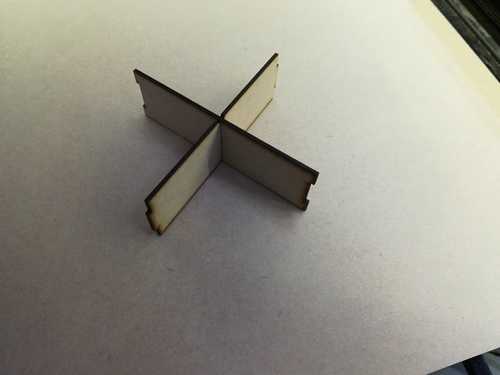
We'll see later that's a mistake. I'd also made a cardboard model, to check how height the slot had to be in order to fit perfectly.
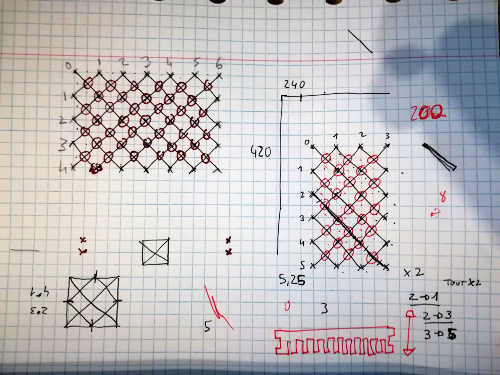

So I need 3 differents modules : 2 with 1 slot, 2 with 3 slots and 3 with 3 slots:

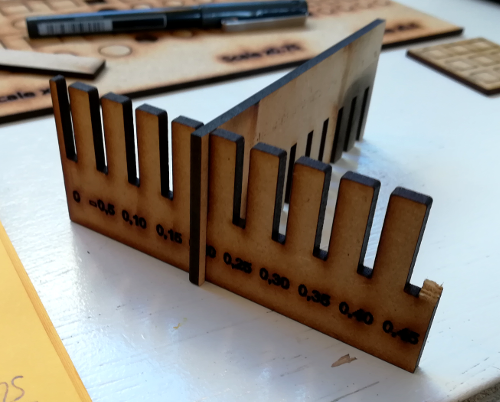
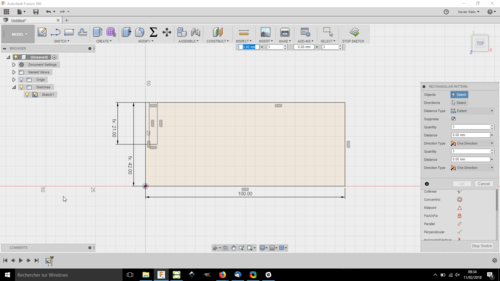
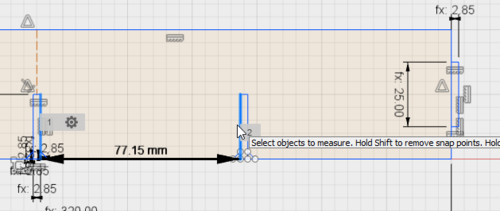
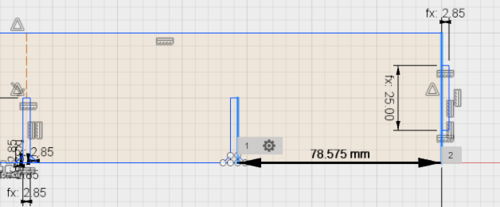
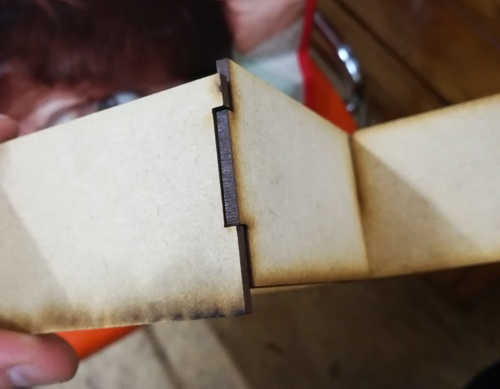
2. To test if the slot is tight enought, I made a parametric slot test, I set the parameters, model some slots, each one 0,05 wider than the one before:
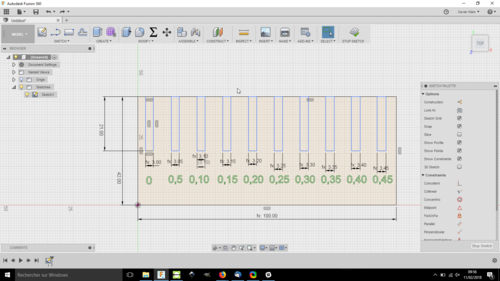
I cutted it but I realized that I made a mistake, if I want something who cannot move I have to set each slot 0,O5 tighter than the one before. I cutted it and realized that my slot had to 0.15 tighter that the material height.
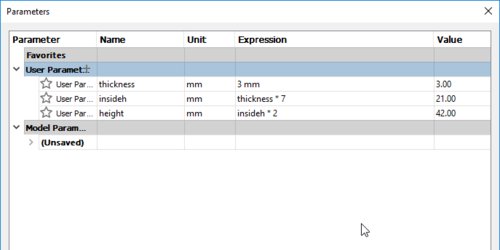
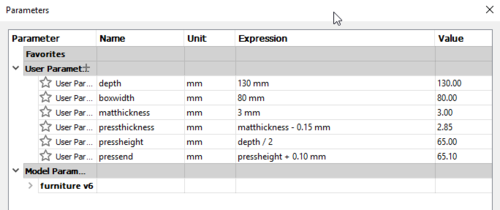
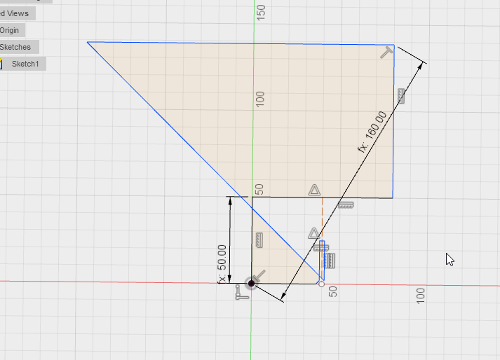
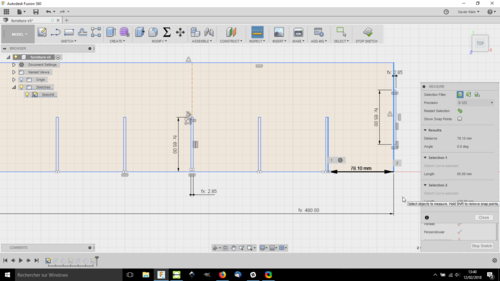
3. So I started to model modules, I set the parameters:
Depth (200mm to fit the pens)

  Square's width (80mm)

  Material thickness (MDF 3mm)

  Slot thickness (I've measured that you have to remove 0,15 -> 2,85mm)

  Slot's height (Half of the depth -> 100mm)

  Slot's height but for the modules' ends (Slot's height + 0.10mm)
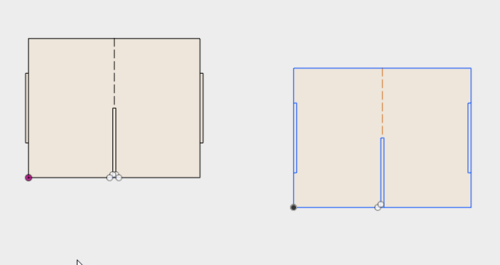
3. And now, be ready, it's where the things began to be funny. Drawing the sketches for the 1 slot module was pretty easy. It's big rectangle with one rectangle in the middle to make the slot and 2 other one to make the end's slot.
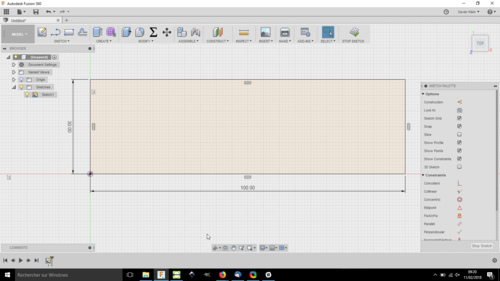

BUT when I try to change parameters, it's going to hell.
So I spend 2 hours to struggle with constraints, erase everything, restart etc. Sometimes I had an error "Too many constraints".
But I managed to make something who works! And you see that there's 2 models. I've made some notches 0.15 wider than the material to reinforce the structure. So I wanted to make a test.
4. To cut it i have to export it in .dxf. But I kept all the strokes!
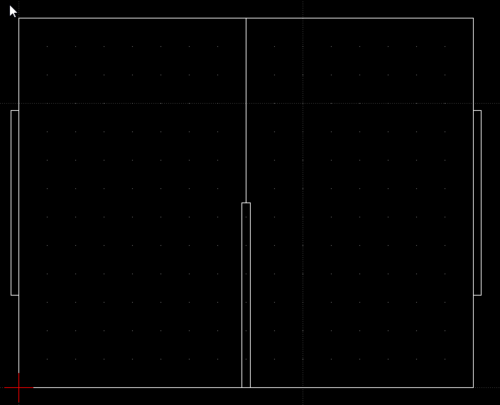
I did a quick tour on the internet, and I find the solution on the Autodesk website. You have to transform your sketch into a body and make a projection. And it makes a good sketch ready to export!

So I cut my first model and it's work:
5. Now I have to make the other one. I copy-paste the first one, change the settings in order to be twice wider. I use the rectangular pattern to copy the slot. I've struggled to find the right formula in order to have the same width everywhere.
When everything was set, I exported all the models and cut it. I had some problems due to some constraints who didn't make their job.
I spend 1 hour to fix those problems and I started to massive produce!
I've used those settings (for more about settings check group assigment page):
Speed: 25 mm/s
Power: 90%
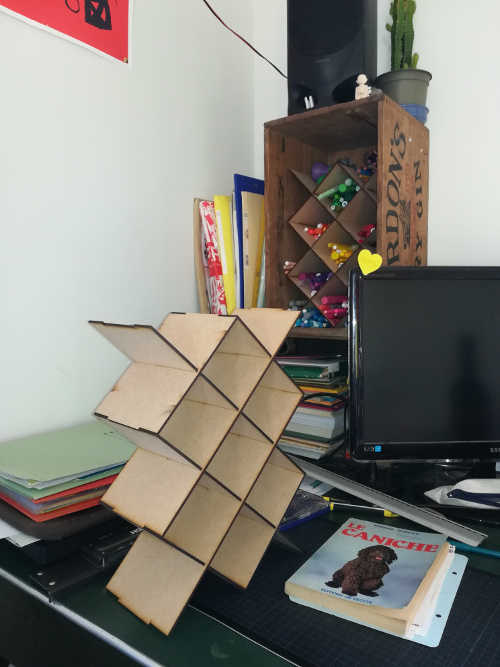
I bring my stuff home to test if it's fit the box! And no. It was too big, I didn't have to make the 5 slots:
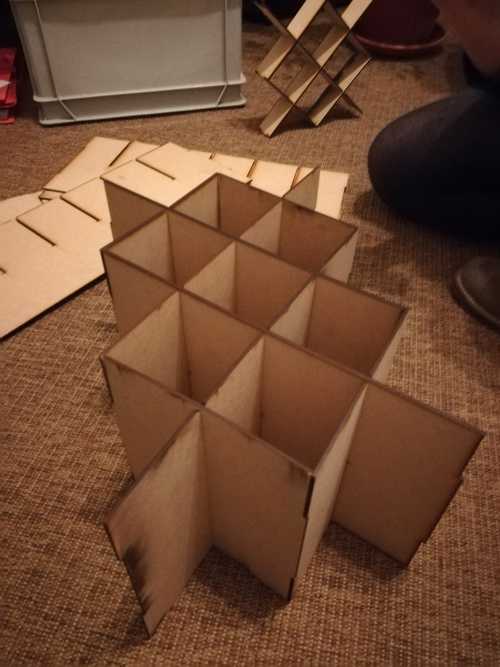
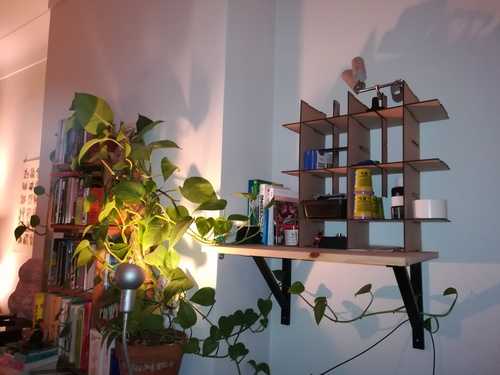
And here's the final result. With the 5 slots, I've managed to make another furniture:
You can download the file here.