Week 9: Molding & Casting
This week's assignment is to design a 3D mold, machine it, and cast parts from it. I will be creating the mold out of machinable wax using the Roland Modela, following the AS220 lab tutorial on Molding & Casting.
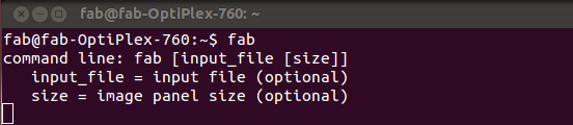
The work flow is very similar to making PCB boards. First you open up the terminal window, and open up the fab modules. Select png to rml with a DPI of 500.

Save the file to the desktop
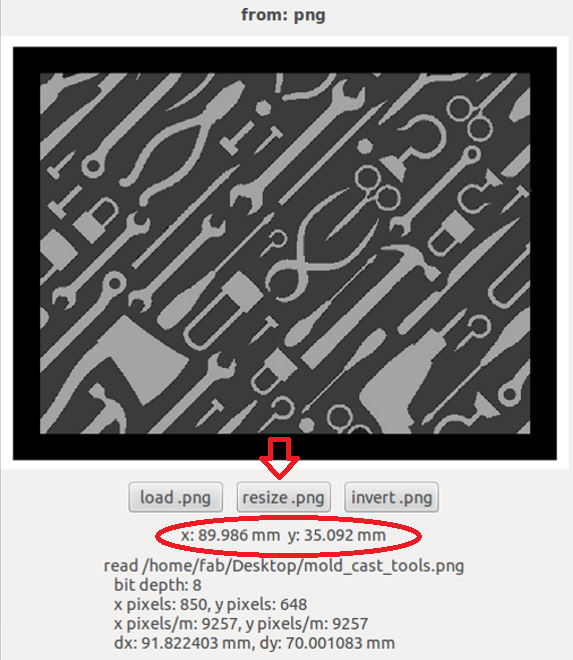
Once the fab module opens up, select load image and select the png you saved on the desktop. Once the file is imported make sure to check the dimensions of the piece and make sure you have enough corresponding room on the wax. Resize and scale if neccessary.
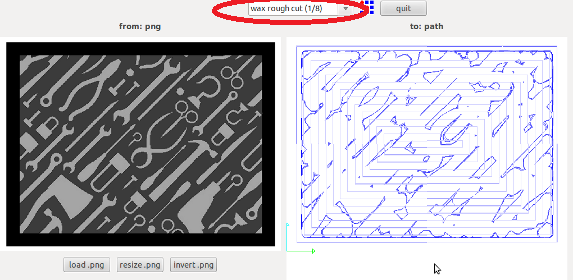
Now select from the drop down menu at the top of the screen "wax rough cut 1/8"
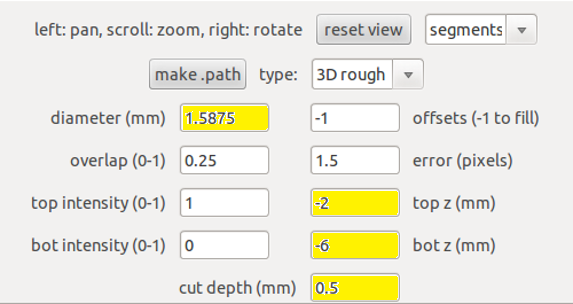
Once you selected the "wax rough cut 1/8" option, there will be some preset values that appear in the various fields. These defaults are based on a 1/8th bit size. If you are not using a 1/8th bit, you will need to change this value along with the top z, bot z, and cut depth.

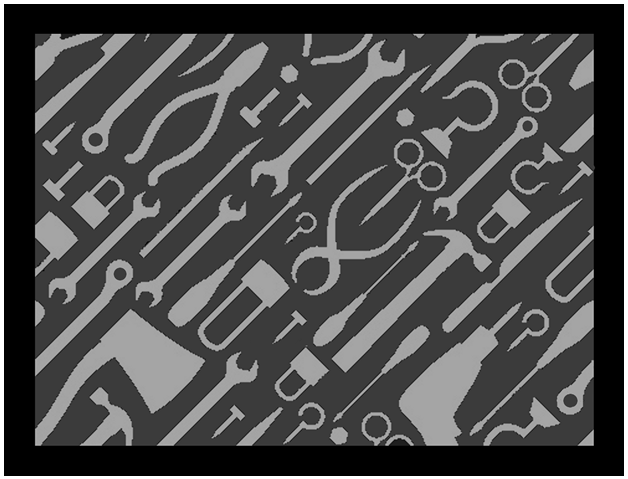
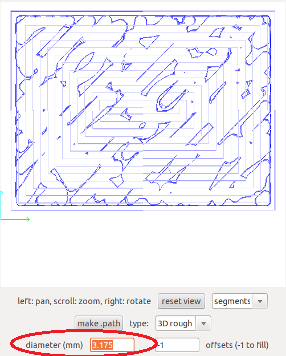
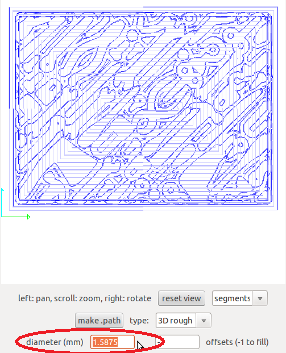
You can help determine what bit size is most appropriate for your design to by changing the value in the diameter field and then clicking make path. Make sure the viewing option is set to segments. If you cannot see the design or it has very little detail, adjust the bit size down until you can clearly see the pattern with the amount of detail you would like. Below the picture on the left is with the default 1/8th bit size, and the picture on the right is with a 1/16th bit.
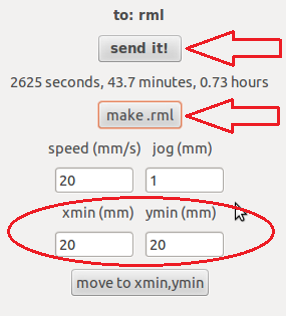
Once the correct values have been entered in, and the path has been created. Set the x,y home position, and then zero the bit to sit flush with the top of the wax. Next click "make .rml", followed by "send it".
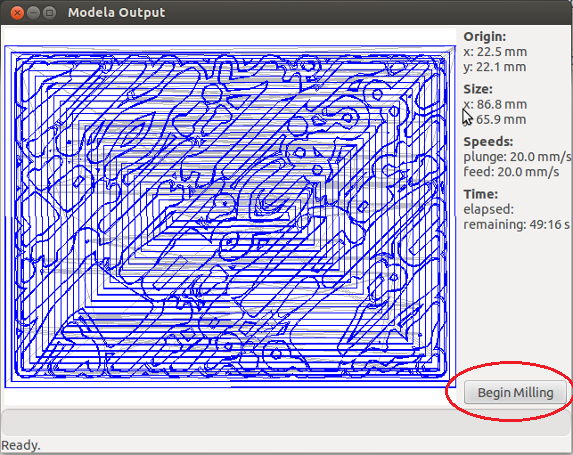
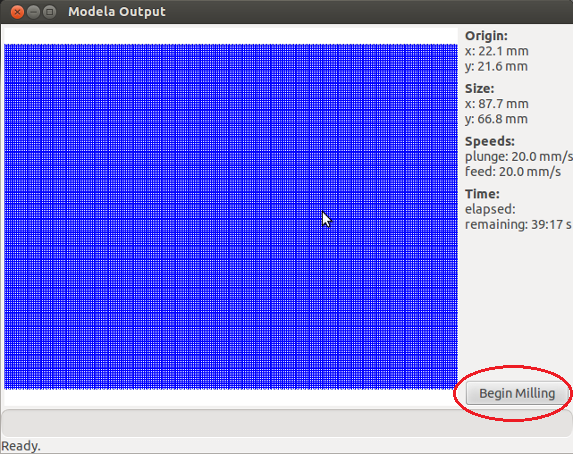
A seperate window should pop up showing the tool path, double check for any errors, and click "begin milling"
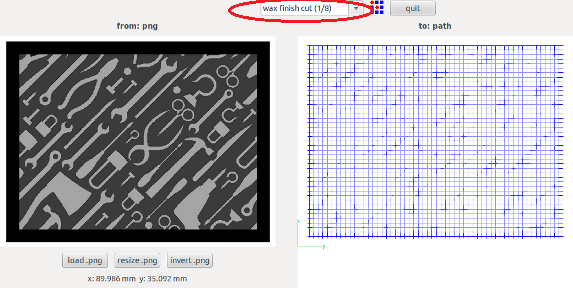
Once the rough cut is finished, do not move or adjust the wax in any way. Select the "wax finish cut (1/8)" option from the drop down menu at the top of the screen. Like with the rough cut, this will load out a set of default values based on a 1/8th bit size. Change the values accordingly.
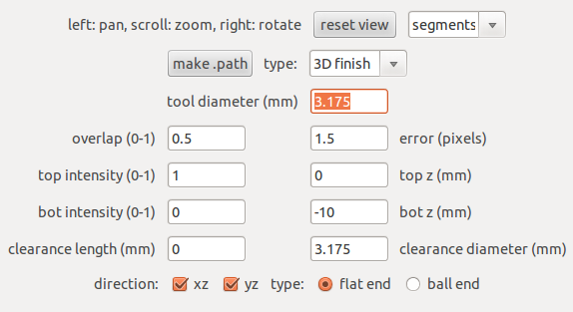
Adjust the top z, and bottom z to match the values used on the wax rough cut. You will also need to adjust the clearance diameter to match whatever size tool diameter you choose. Also select either flat end, or ball end depending on which bit you are using. A ballnose is best for curved surfaces, flat end is good for flat parts or straight angles.

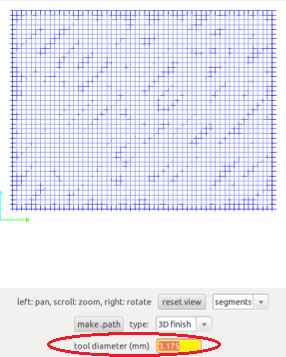
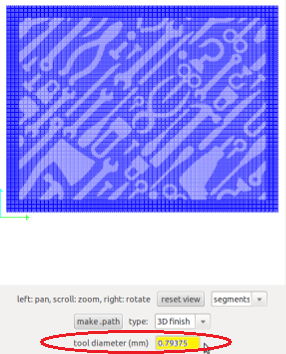
Again, to help determine what bit size is most appropriate for your design, change the value in the diameter field and then click "make path". Make sure the viewing option is set to segments. If you cannot see the design or it has very little detail, adjust the bit size down until you can clearly see the pattern with the amount of detail you would like. Below the picture on the left is with the default 1/8th bit size, and the picture on the right is with a 1/32nd bit.
Once the correct values have been entered in, and the path has been created. Enter the same x,y home position that was used during the rough cut, and if you've changed bits, zero with the top of the wax and tighten the set screws. Next click "make .rml", followed by "send it"

A seperate window should pop up showing the tool path, double check for any errors, and click "begin milling"
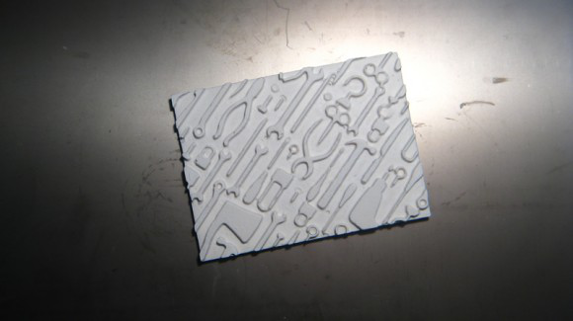
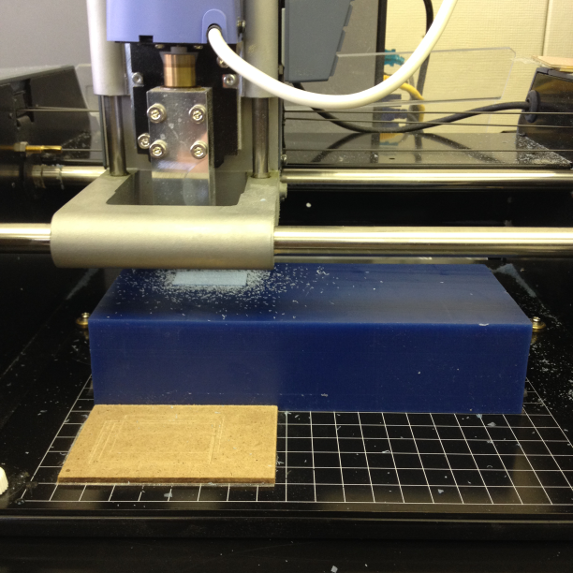
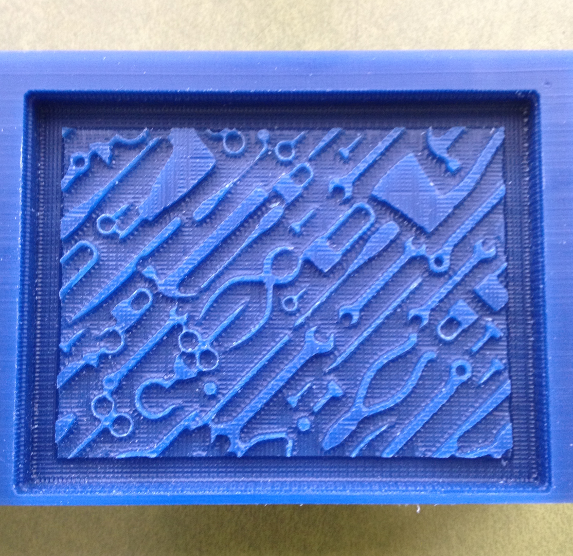
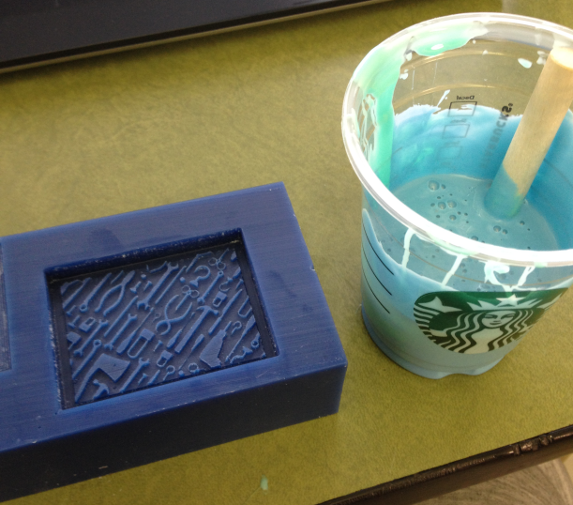
Once the finishing pass is complete you can remove the wax from the modela. It should look similar to the mold pictured below
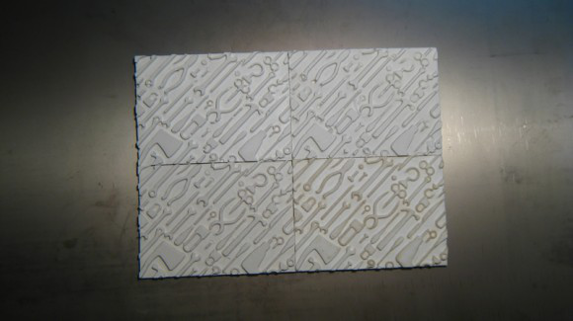
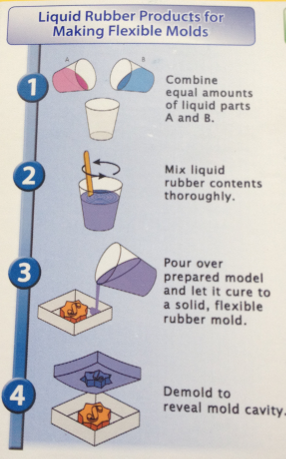
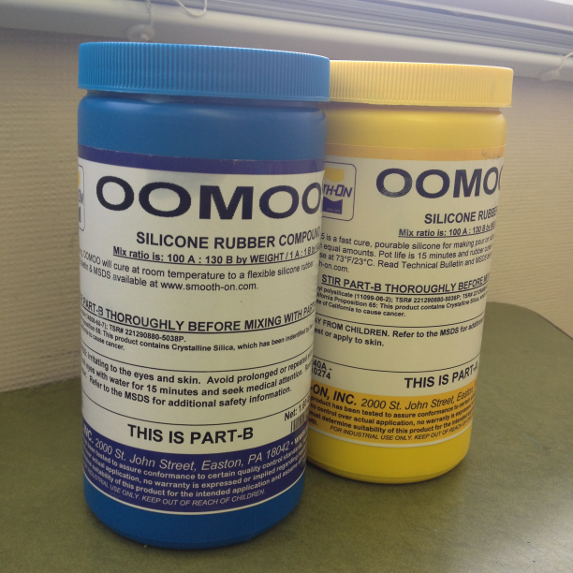
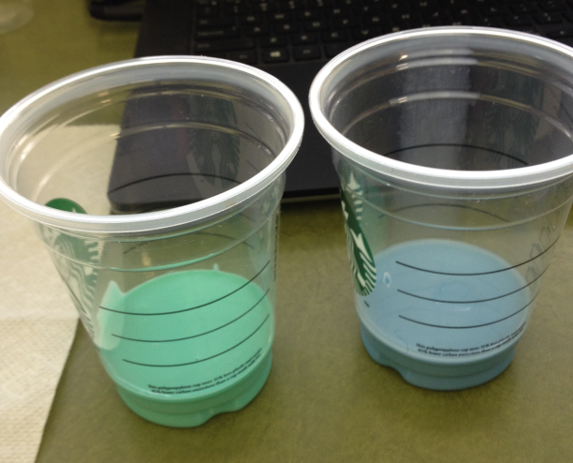
Using OOMO 25, mix equal parts A and B together, pour over wax mold and allow 75 min before demolding.
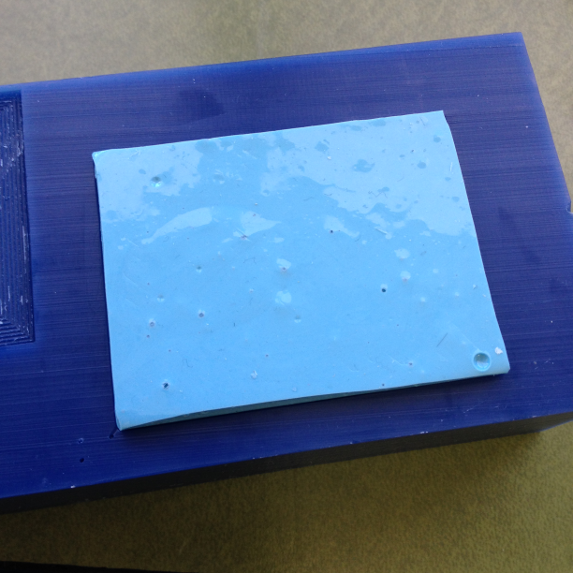
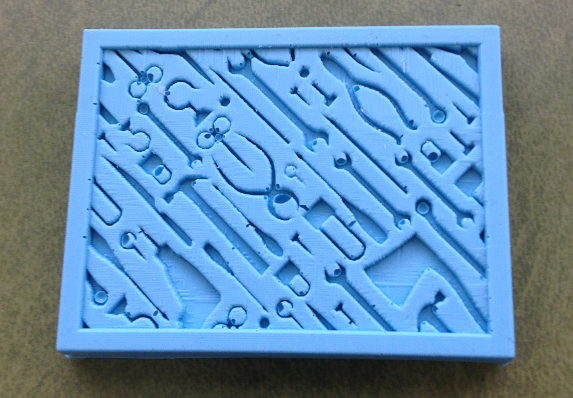
Once demolded, I mixed hydrostone and poured over the mold. Allowed the drystone to cure, and then removed the part from the mold.