Week 3: Computer-Controlled Cutting
For this week's assignment, we were tasked with creating a "press-fit construction kit". In order to accomplish this, I headed to the TechShop in San Francisco. The FabLab in Richmond is not yet built, so going to TechShop is the only way I can access a Laser Cutter.
Before you can use any of the machines at the TechShop by myself, you have to take a mandatory "Safety & Basic Use (SBU)" course for the particular machine you would like to gain access too. Our instructor Jasper went over the basic functions of the machine, steps you need to take turning on and off the machine properly. He introduced us to the software which was Adobe Illustrator (AI), and taught us how to set the various raster/vector settings as well as the power, speed, and frequency variables. We created a few pieces out of wood in order to test our competency, and once that was complete I successfully passed the class and now had full access to operate the Laser Cutter by myself without assistance. See rough notes from class here.
So in addition to this week's assignment, I also plan to do a project that was given to me by Phil Gonsalves, a Mathematics Coach. The project was to construct a number of different bionomial expressions that when combined correctly form a much larger cube.
First thing I needed was the dimensions of all the expressions:
| Expression | a^3 | a^2b | ab^2 | b^3 |
| Width (mm) | 30.04 | 30.04 | 30.04 | 70.04 |
| Height (mm) | 30.04 | 30.04 | 70.04 | 70.04 |
| Depth (mm) | 30.04 | 70.04 | 70.04 | 70.04 |
| Thickness (mm) | 3.175 | 3.175 | 3.175 | 3.175 |
| Cut Width (mm) | 0.0 | 0.0 | 0.0 | 0.0 |
Next I went to MakerCase and generated the pdf files that will be used for cutting out the various boxes. There are 8 boxes total that need to be made. Download the files below.
Once you have the files downloaded and saved onto your desktop, you are ready to open up the files in Adobe Illustrator and set the raster/vector printer settings for the cutter. The settings I used to cut the pieces were:
Speed: 15%
Power: 90%
Freq: 5000mhz
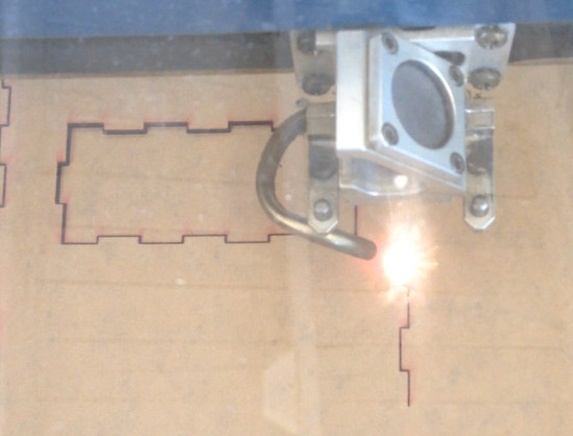
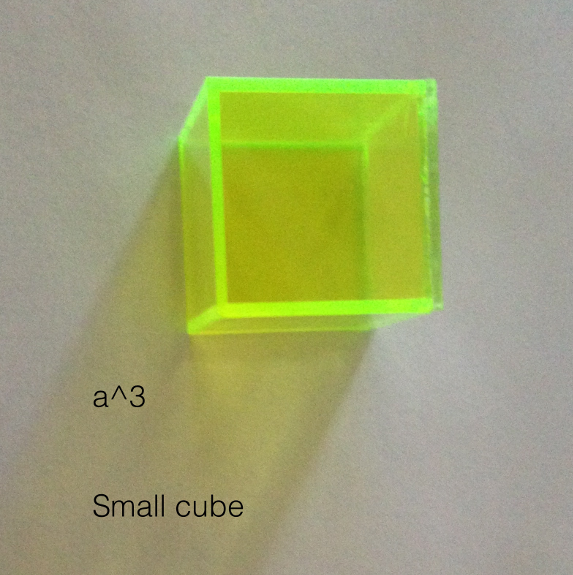
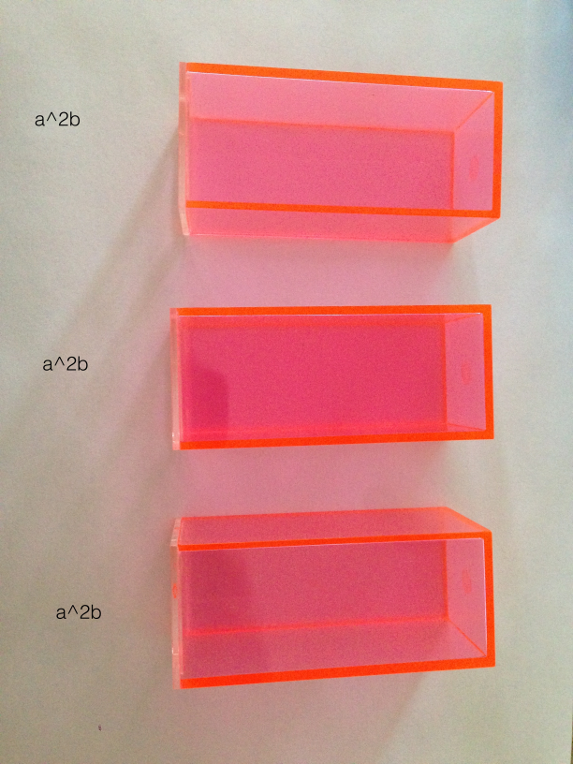
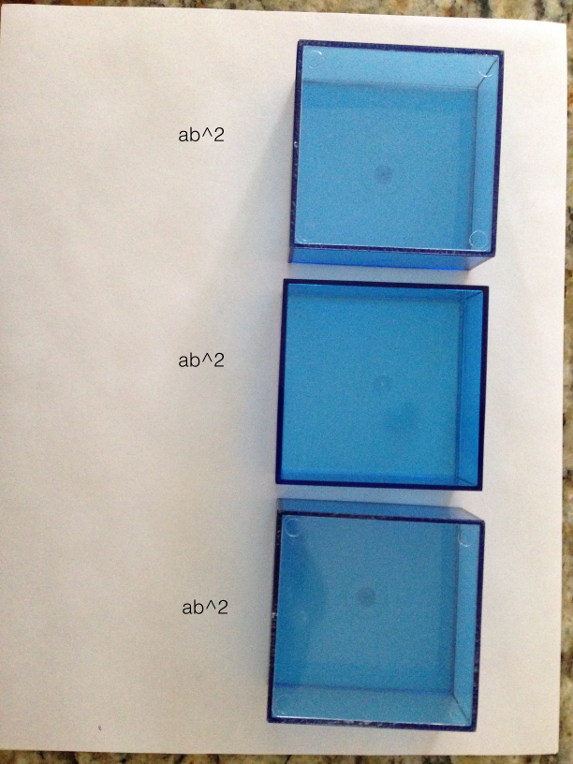
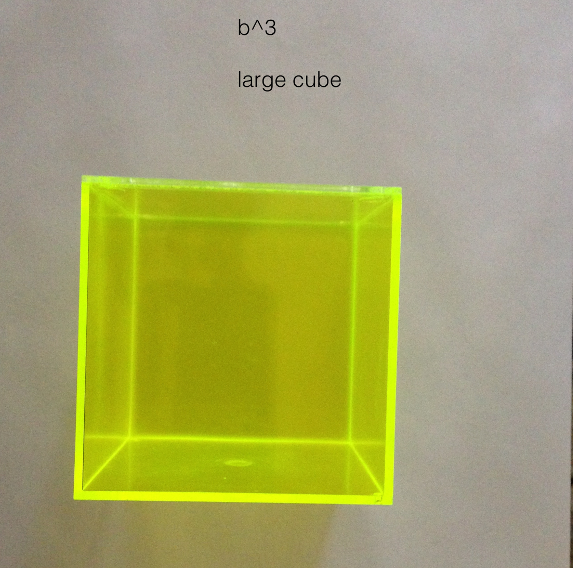
These settings proved to be almost perfect as majority of the pieces were cut out on the first pass, while only a few other pieces needed some slight pressure and then they popped right off of the sheet of acrylic. Once the pieces are cut, using acrylic glue, I fastened the joints together and created each of the boxes. Here are what the expressions should look like once they have been cut and glued together:
(1 pcs) a^3
(3 pcs) a^2b
(3 pcs) ab^2
(1 pc.) b^3
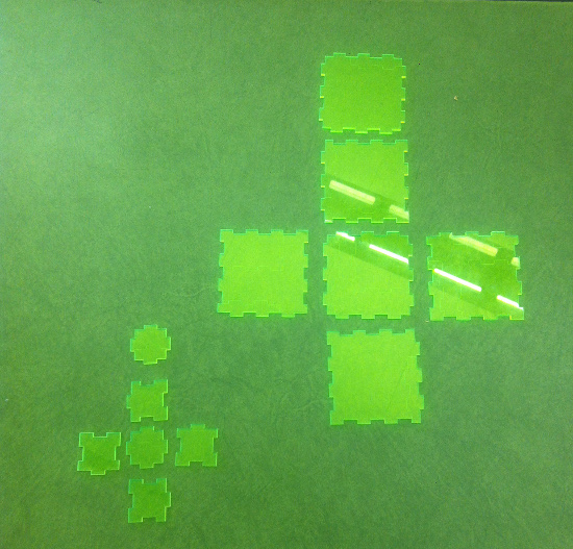
After the pieces are created and glued, they then can be arranged to make a much larger cube as pictured below:
^3_side.png)
^3_top.png)
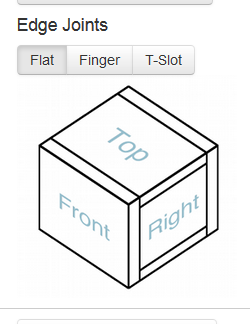
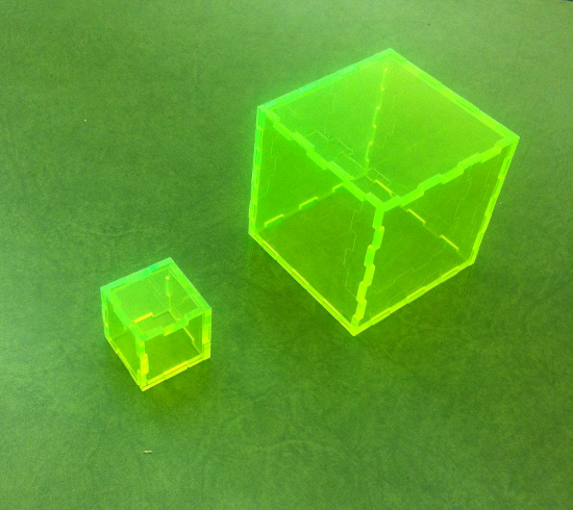
In order to satisfy the weekly assignment of making a press fit construction kit, I attemped to make two of the expressions (a^3 & b^3) with finger joints instead of flat joints.
I followed the exact same process as before, except this time after entering the measurements into the fields instead of the flat option you select the finger option
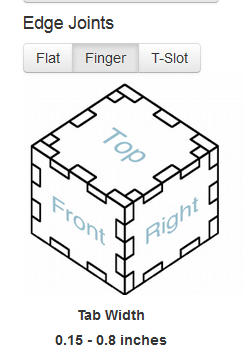
When choosing the finger edge joint option, make sure to double check the thickness of the material. On my first attempt to use the finger joint, I accidently left the default thickness of 1.7mm when I generated the box layouts. Once I went to glue all the edges together, realized that the tabs weren't deep enough, and didnt allow the joints to sit flush. A quick adjustment of the material thickness to the correct size of 3.175mm and the joints sat perfectly flush
Here's a quick video of the laser cutter in action: