Week 8: Embedded Programming
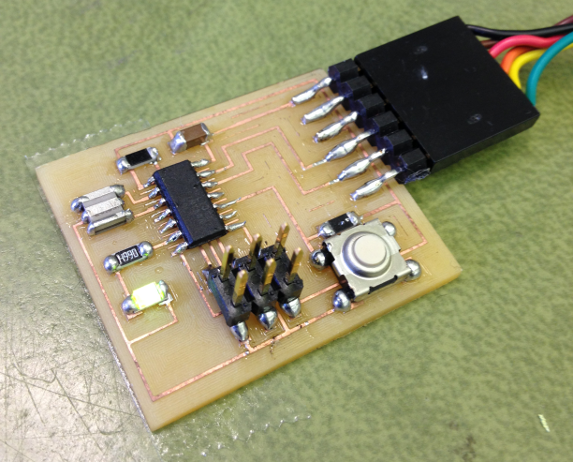
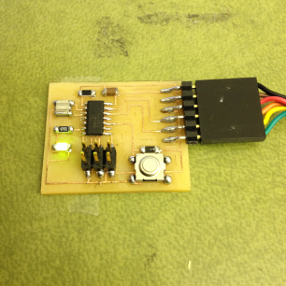
For this week's assignment, I will be programming an ATtiny 44A microcontroller on the Hello Button + LED board that was made during Week 6: Electronics Design using Arduino.
Download Software:
Download the ATtiny Board Files:
Install the FDTI Drivers:
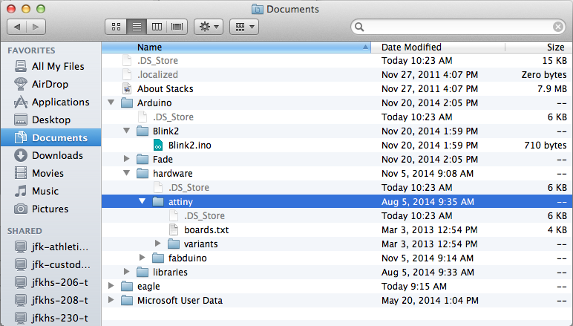
Once the ATtiny board files have been downloaded and unzipped, locate the Arduino sketchbook folder:
arduino software > arduino menu > preferences
Navigate to the sketchbook folder, create a new sub-folder called "hardware". Copy the attiny folder extracted from the zip folder to the hardware folder
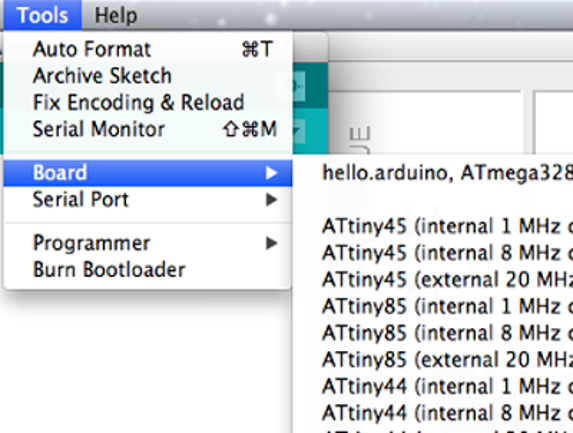
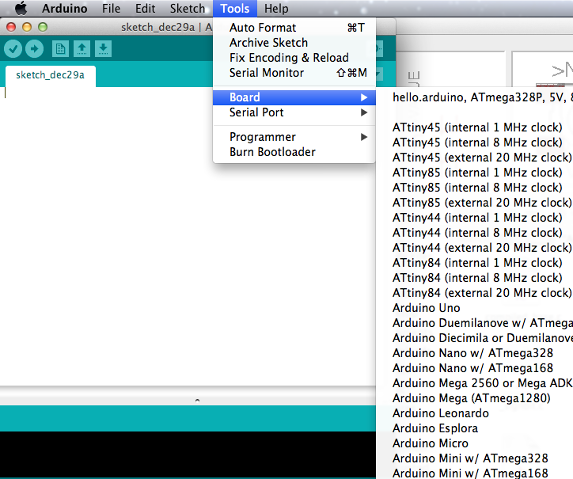
Restart Arduino and you should see the ATtiny entries in the Tools > Board menu
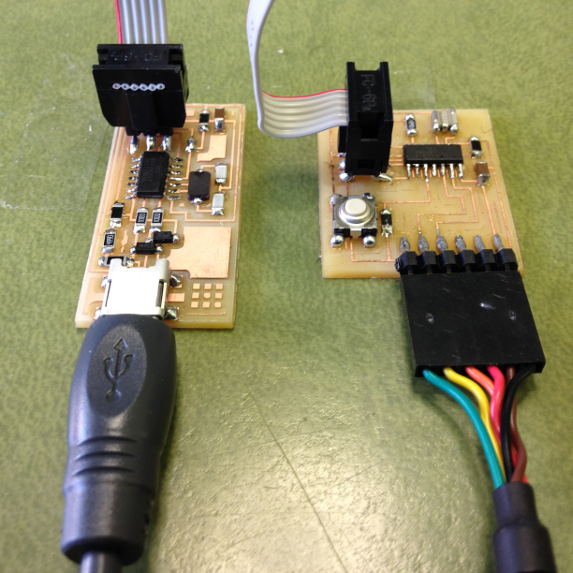
Now power the Hello Button + LED board with the FTDI Cable, power the FabISP with the mini usb, and connect the programmer to the ISP header on the Hello Button + LED board.

Now configure the ATtiny to run at 20 MHz. Go to "Tools" > board > and select ATtiny 44 (external 20 MHz clock) from the menu
Select your programmer from the Tools > Programmer menu > USBtinyISP

Now run the "Burn Bootloader" command from the Tools menu

Next, use the Arduino IDE to upload a program to the ATtiny. Modify the code by first opening the button sketch from the examples menu. File > Examples > Digital > Button. Change the pin numbers from to correspond to the pins used for the LED and the button on your Hello Button + LED board.
Locate this section of code:
// constants won't change. They're used here to
// set pin numbers:
const int buttonPin = 2; // the number of the pushbutton pin
const int ledPin = 13; // the number of the LED pin
Change it to match the pins on the Hello Button + LED Board:
// constants won't change. They're used here to
// set pin numbers:
const int buttonPin = 3; // the number of the pushbutton pin
const int ledPin = 7; // the number of the LED pin
To program the ATtiny, power the board via the FTDI cable and make sure the FabISP is connected to the 6 pin programming header on the Hello Button + LED board.
Upload the sketch to the board by selecting the arrow button in the top left corner of the Arduino IDE
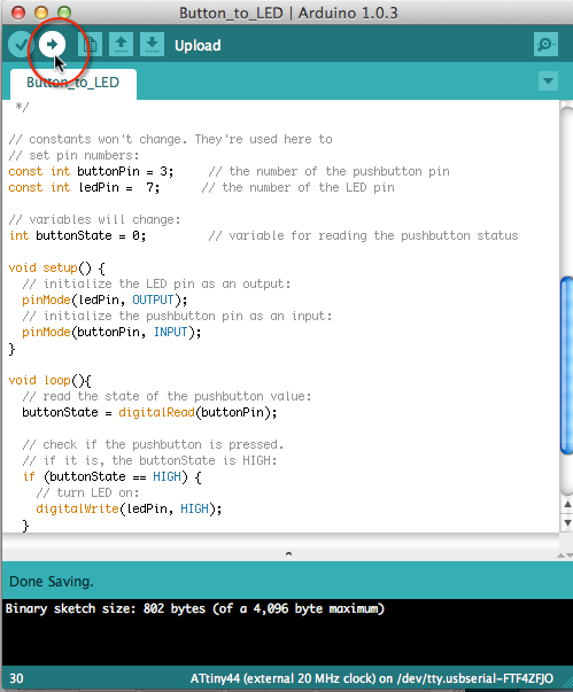
You should see "Done uploading" in the Arduino software and no error messages.
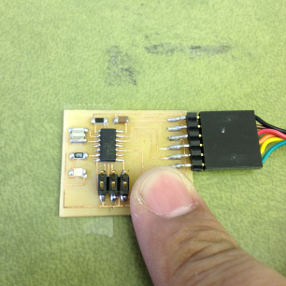
The LED should be glowing on the board. When you press the button, the LED should turn off (as shown below)