09 Make Something Big
This week, we learned to operate the shopbot, a 4'x8' cnc that can cut wood, plastics, and even light aluminum. I used this to prototype some connectors for my City Factory (final project) that will build the walls of the mobile factory. I also made a very simple pressfit table that I'll probably give as a gift to my friends' newborn, who is likely to start making art as soon as she can hold a pencil :)
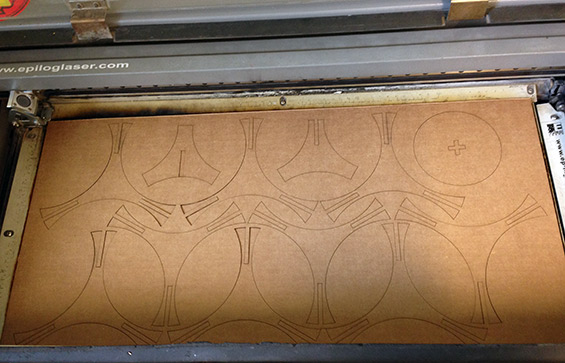
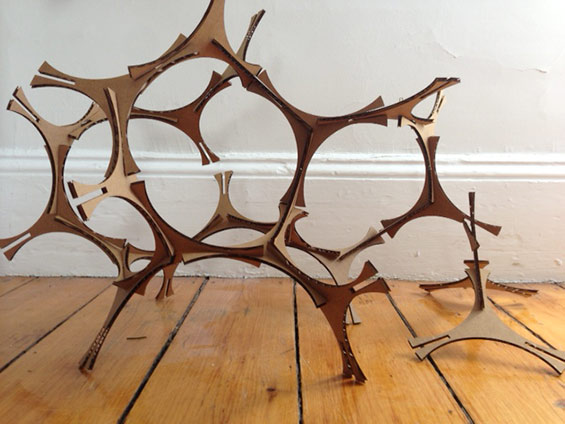
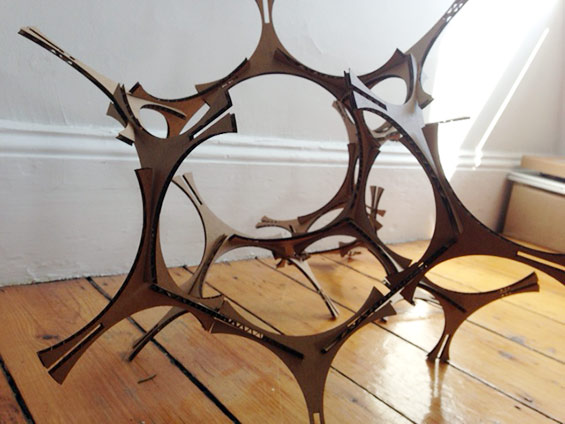
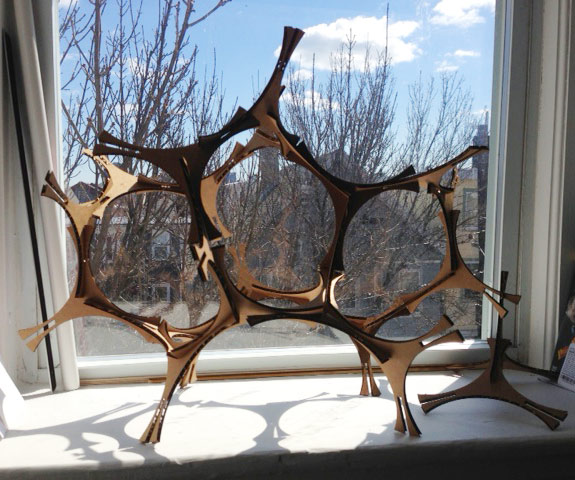
Cardboard test: conveniently the shop bot is exactly proportional to our laser bed, 12'x24', and .75" (thickness of my plywood) is relatively proportional to the .125" cardboard so I got away with just scaling down the file.
Pressfit table: cardboard test and plywood final result. It was intended as a chair, but butt to tabletop proportions are pretty awkward, and there isn't enough support, so it became a table!
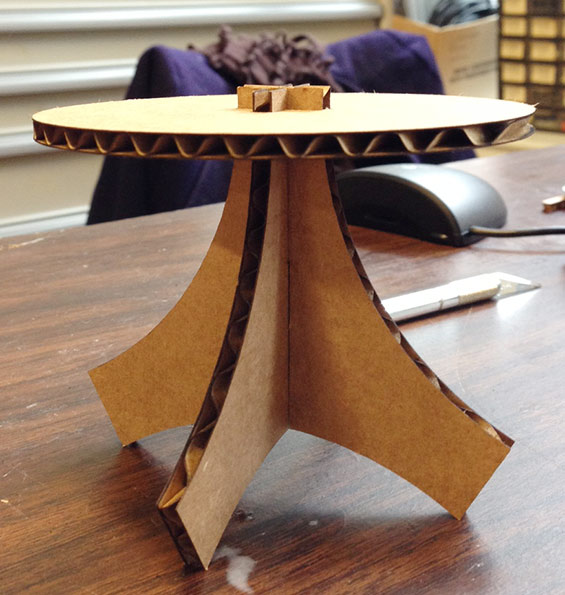
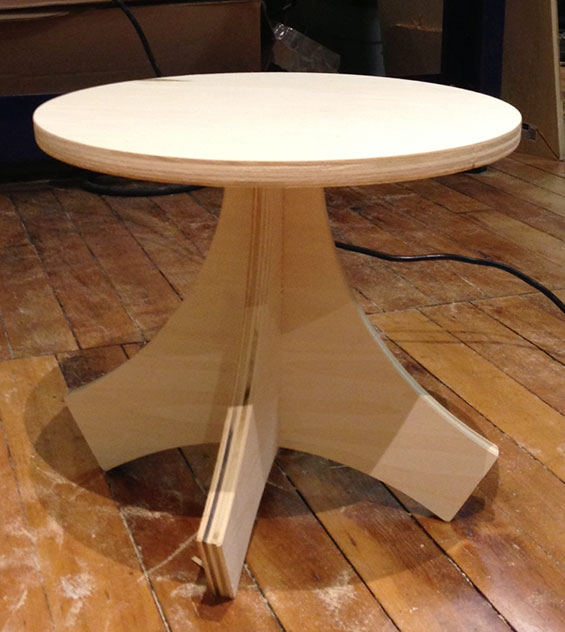
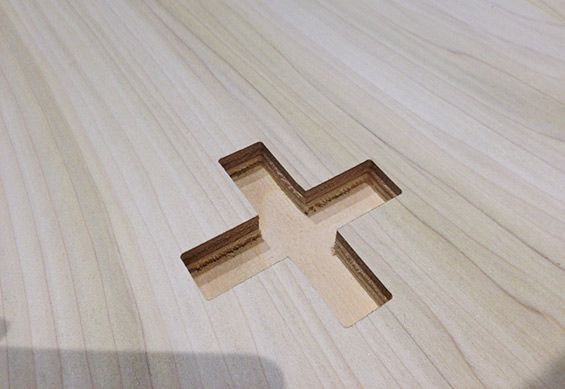
I milled out the underside of the table to allow the legs to snap into it.

Cardboard 3-prong connector test:
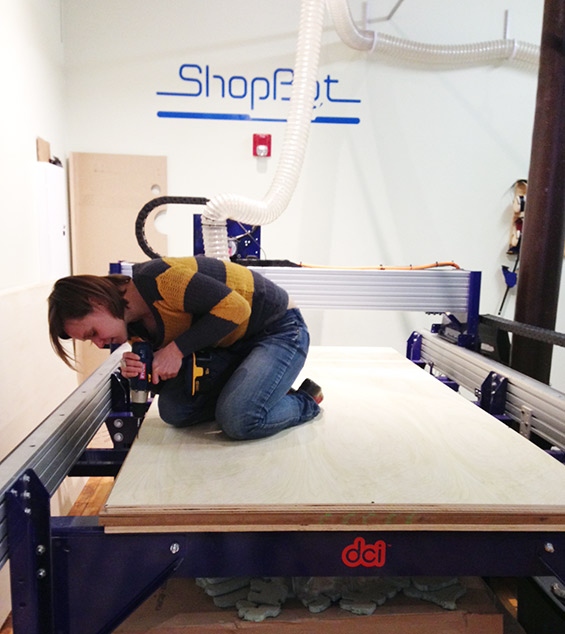
And finally ready for the shop bot! First, we put down the plywood:
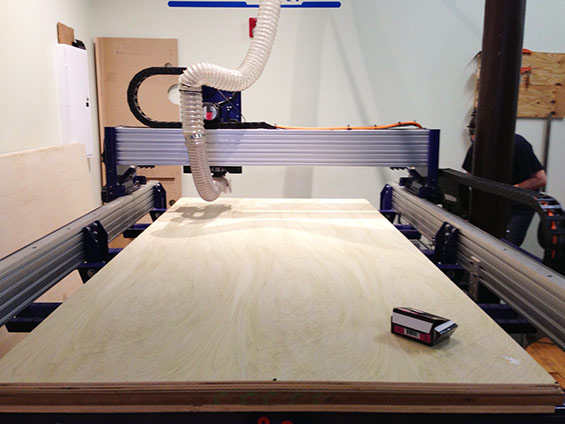
And "fixture" it: screw it in along the edges, every 2' with screws long enough to go through the stock and into the base layer:
Then, on to Partworks. My file was .AI, and, unlike CorelDraw for the laser cutter, lineweights don't matter here. Upon importing, the file was off, so I had to reexport it with a box exactly 8'x4' around the file. This helps situate the data in Partworks:
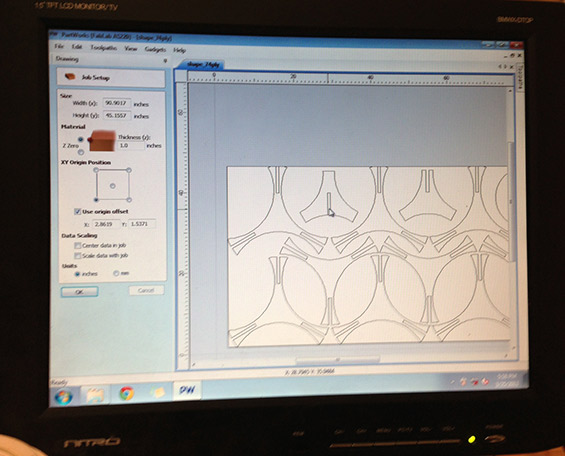
We aligned the top right corner of the Shopbot with the top right corner in the program, and then set up the toolpaths one by one. To do this, you have to specify the kind of bit and milling technique you're using, how many passes you want to make through the material, the speed, the feed, and so on. The preview simulation is pretty awesome, good for alerting you of any places where there might not be enough space for the bit to travel. I used an 1/8" bit to make sure that my sharp angles didn't become too rounded. Another awesome thing in partworks is the ability to add fillets right into your file. This is great for giving more tolerance to a pressfit joint - you can see the small rounded corners in the image on the right below.
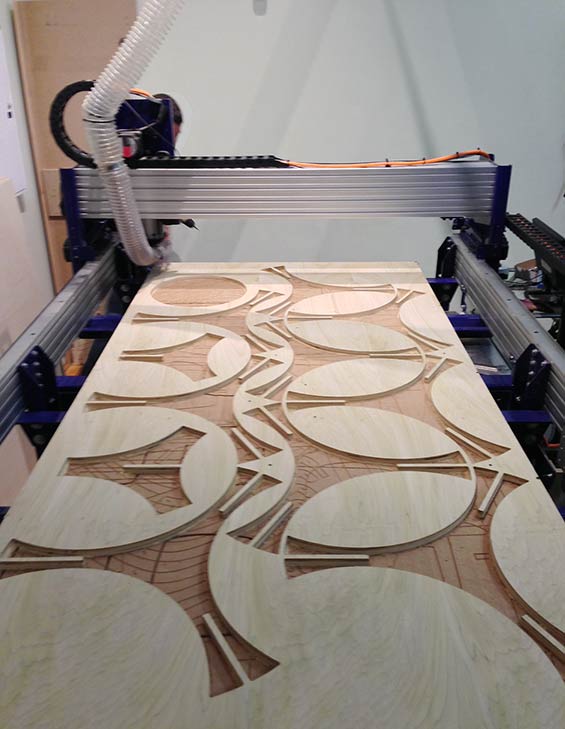
Machine in action:
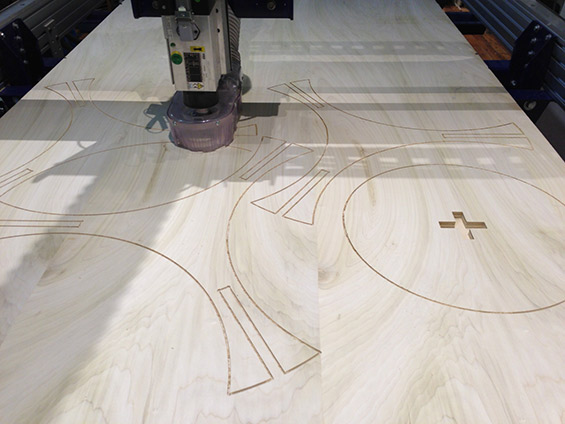

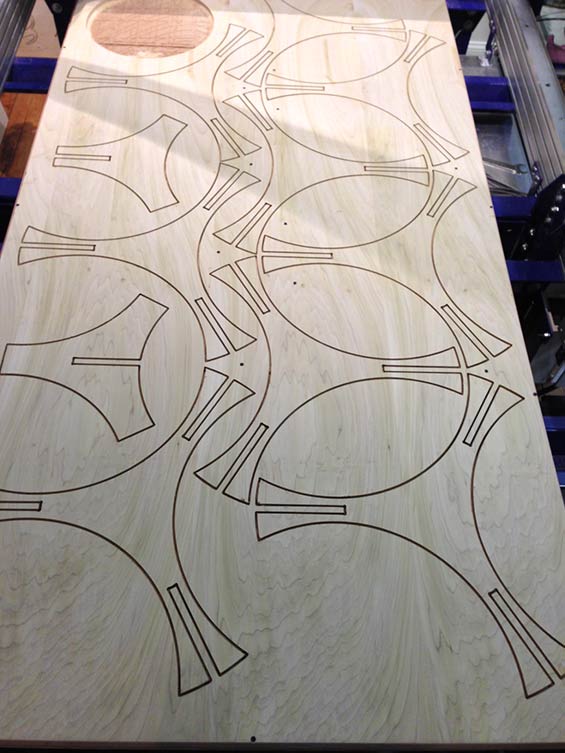
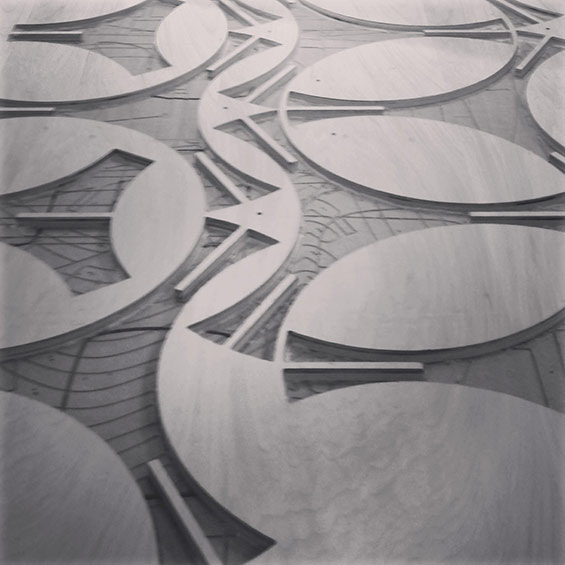
Same layout as the laser cut above, but SO MUCH BIGGER!
I put a few of these together (they work!) but got so excited about my second attempt at casting (see that page) that I forgot to take a picture. Will do it this week! The cardboard prototype actually showed me that connecting this joint results in a much bigger negative space in the structure than I thought, so I have to rethink the size. This is supposed to be a 3-d wall, but the size of the wood attempt would be enormous. The final size is probably max 2 times bigger than the cardboard. These pieces will make a fun smaller sculpture though!
Link to table file: http://www.thingiverse.com/thing:66892
Link to shape file: http://www.thingiverse.com/thing:66898

