05 3d scanning and printing
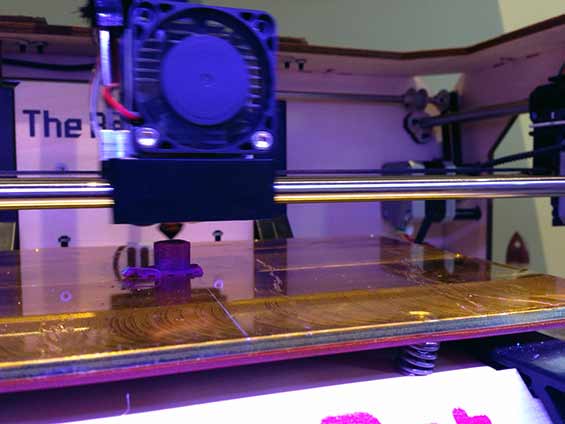
This week I did two things - fix and print a scan of my head, and model and print the first models for a connector for my final project. A few lessons: that moment that the first thing you make starts to droop out of the Replicator is awesome. Said moment:
Also, the variety of free programs out there ccomplement each other but all are very much works in progress - Netfabb, Meshlab, Meshmixer. Finally, Meshmixer is a tough beast.
1. Kinect scan, reconstruction and printing.
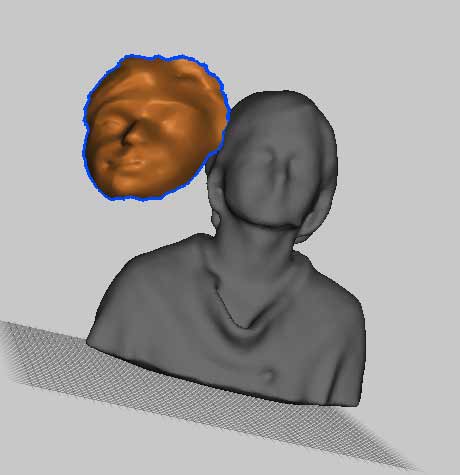
We scanned each other using the Kinect and Reconstruct Me. I also had a second scan with 123D Catch on my phone. The latter did a better job on facial details. Like everyone, I used Netfabb to clean up the big chunks of the model, then meshlab to smooth it out. That was quick and easy. Then, I tried to use MeshMixer to blend the two scan meshes together, and ran into hours of trouble. Here's what I was trying to connect:
These are the hols I just can't get rid of: (if you want a go at it, I'm glad to send you the file, it's too big to upload here (4mb).

I followed this super helpful tutorial but my two meshes just wouldn't zip together. There were holes between them, and where there were overlaps, a visible difference in texture that also wouldn't blend together, even after I combined the two meshes into one object. That said, some of the components that are supposed to come with MeshMixer don't appear on my version of it, so the problem could be with the version I'm running.
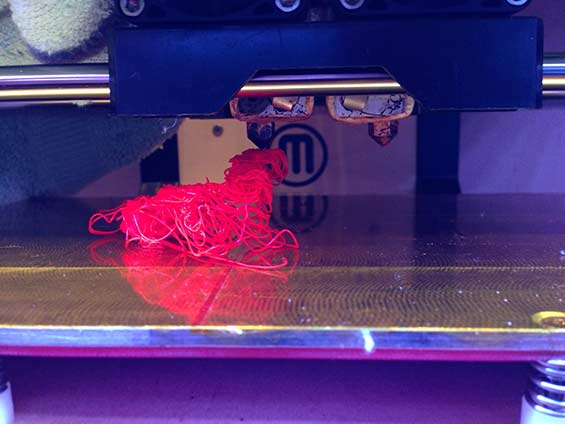
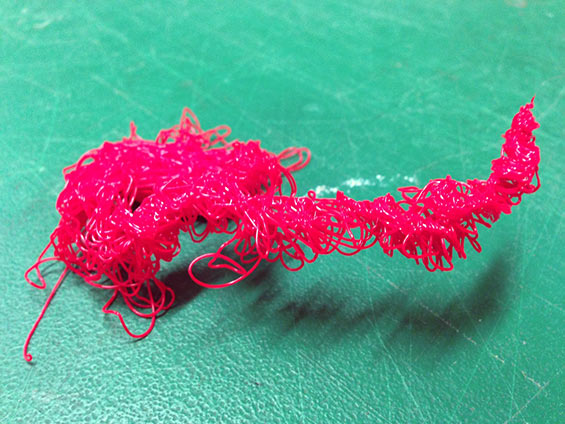
I got pretty good at the sculpting capabilities of MeshMixer's brushes (which are great!) so along the way ended up redrawing much of the face mesh I was trying to attach. But still, I wanted to learn to stitch them together so kept trying! Finally I decided to just print the first mesh of the whole head, but got lost in my many files and printed a file that hadn't been 'Netfabbed' - the bottom wasn't cut flat. As a result, my head unraveled into this snake monster - a great representation of my feeling at the moment! (L: rounded bottom visible, C: model falls over R: plastic tumble)
With Anna's help and persistence, I have a second, proper model after all (though still with just the one mesh) Thanks Anna!

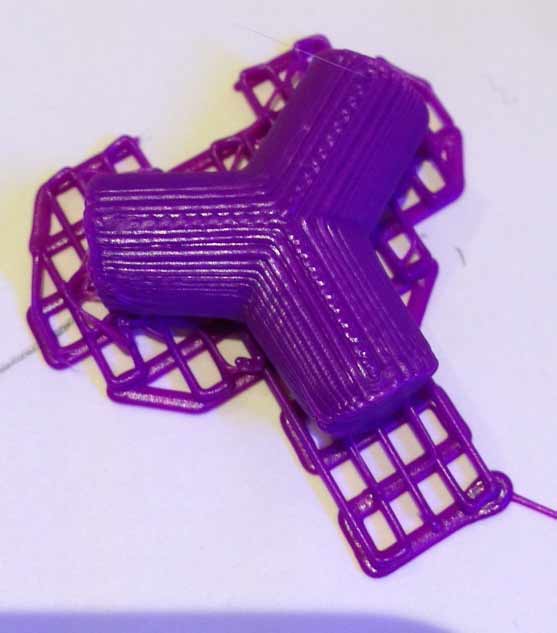
2. Connector prototypes for City Factory
My final project will be a modular structure made of 3-pronged connectors that attach prefab tubes of PVC or similar. One possible way of making them is a 3d print that's used to make a mold for the batch. Another way would be to mill an original for the mold. I'll try both and see what works better.
Initially, I thought the connectors would fit around the tubes, and was trying to find the right amount of give in the plastic, much like the pressfit kerfs (?), which took a few tries. The tubes I'm using here are from bic pens.
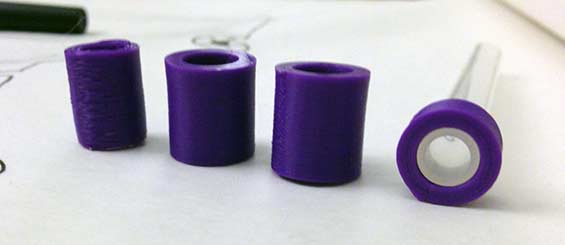
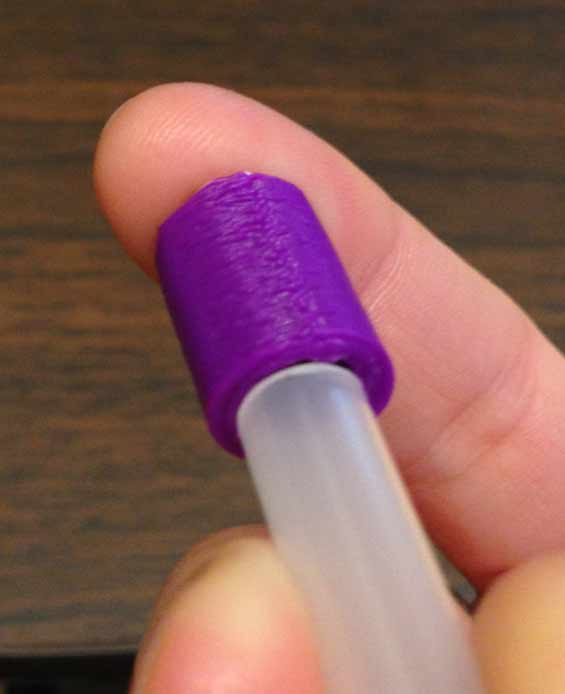
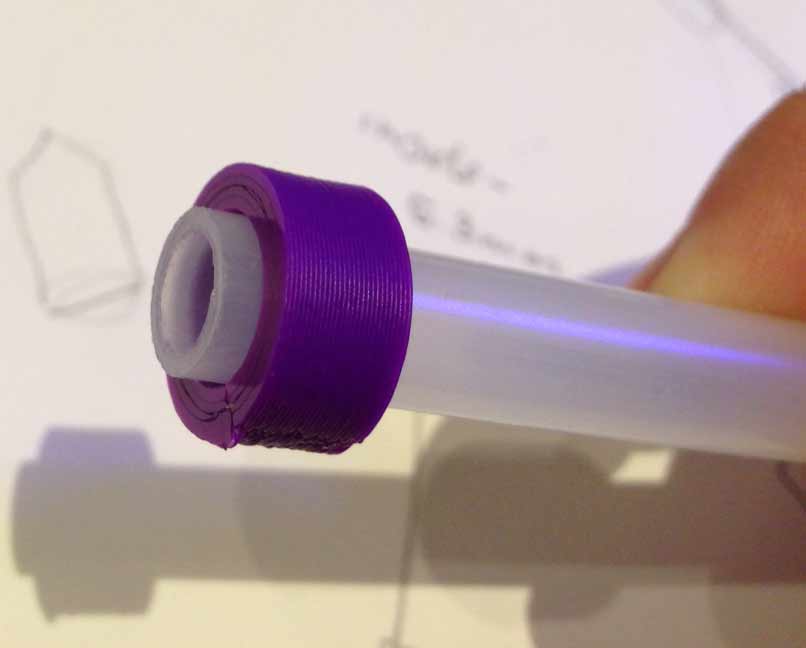
That last one finally fit. However, then someone suggested the pieces connect by fitting inside the tubes, which is a fantastic idea - it gives flexibility to the tubes, so I can get various connection angles in the structure without printing various angles of connectors.
These first tests are kind of lumpy and uneven, so I'd have to experiment with the layers and speed of printing to get a nice clean print - or work at a larger size.
Here they are, making structures!
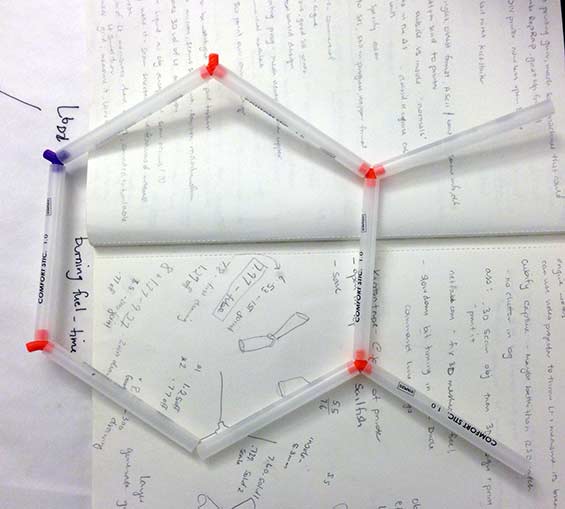
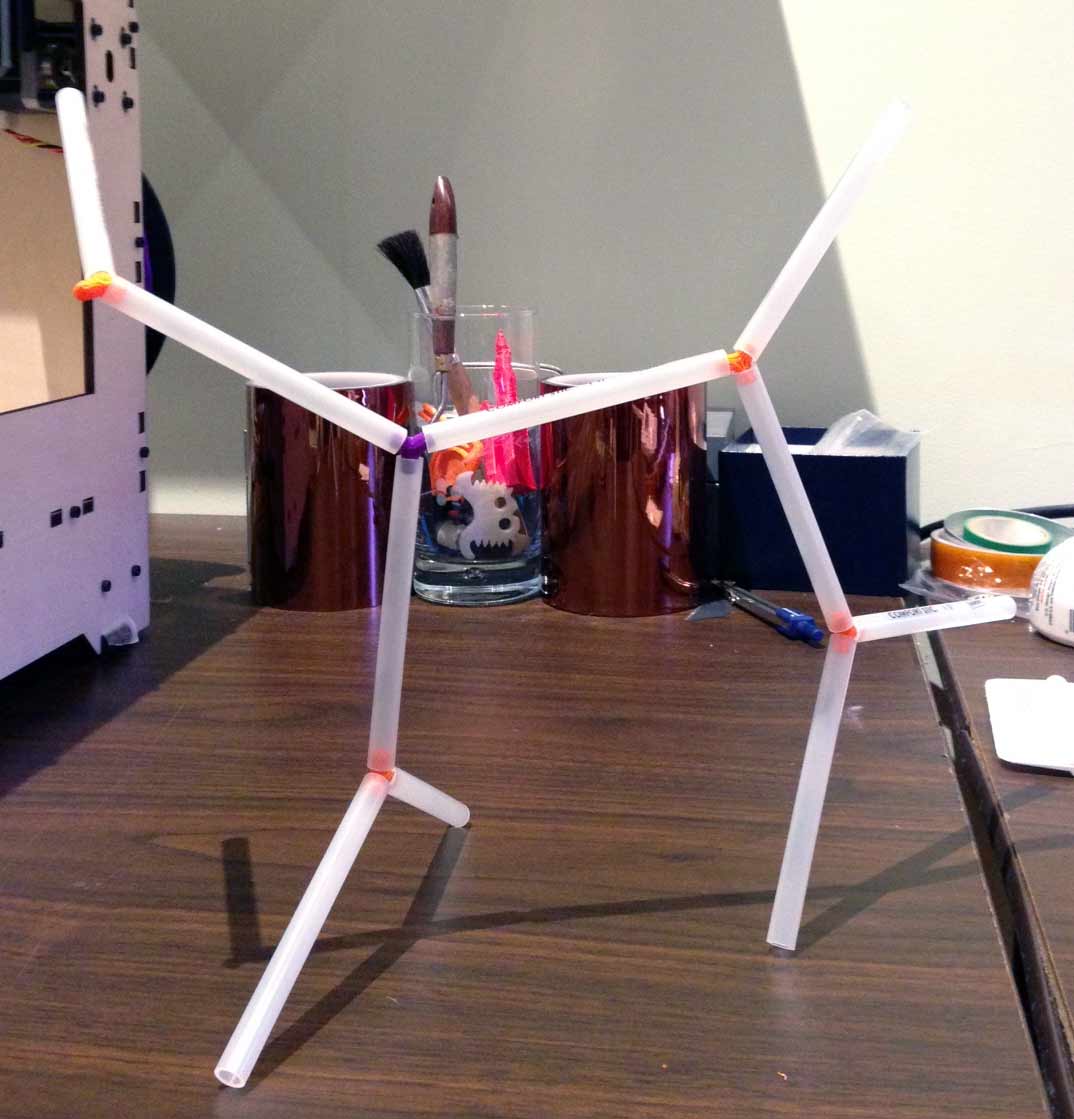
This is a promising direction (with shorter tubes proportionally), we'll see what happens next!

