07 Molding and Casting
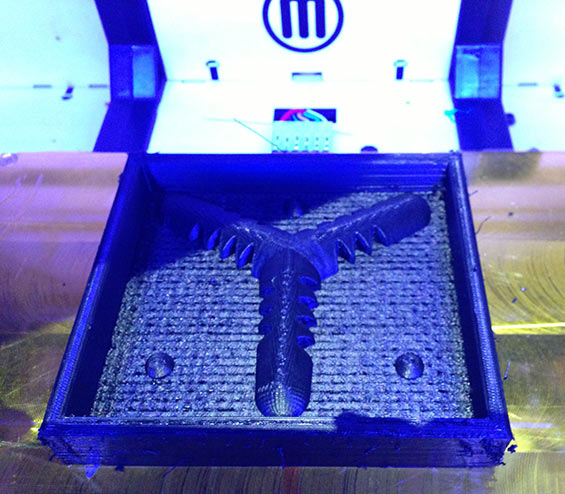
This week, we learned how to make and cast a mold. For my mold, I made a 3-prong connector to connect PVC tubes. I was considering this design for my final project, but will use a pressfit connector as the building block instead (see "Make Something BIg" week). I'm learning Rhino, so spent a lot of the time trying to build the shape that I wanted to make. The shape evolved from left to right:
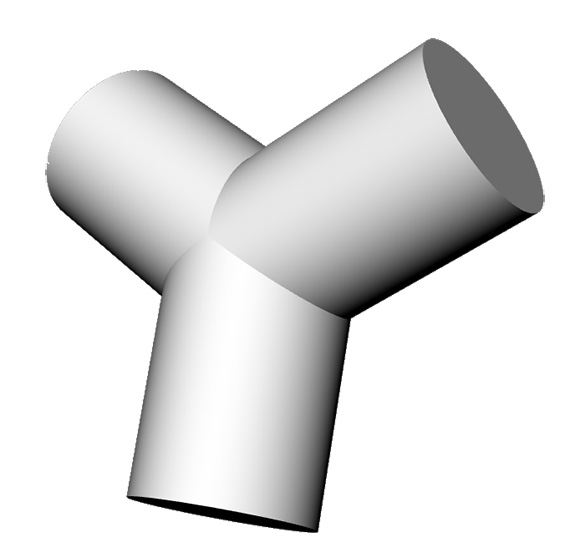
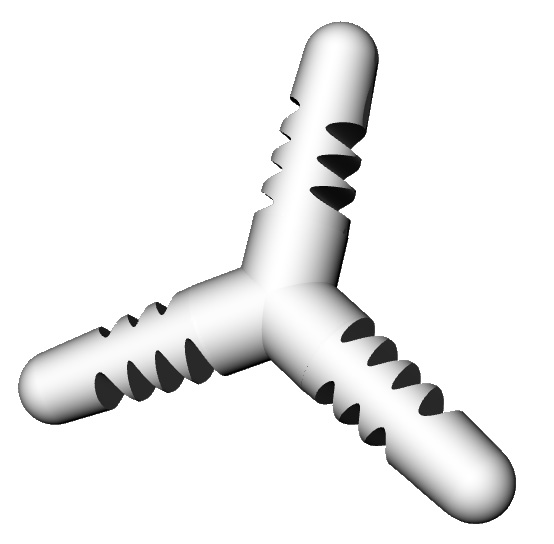
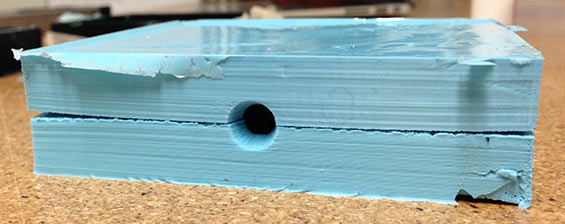
The final shape (above, right) wasn't quite connecting as a solid, but an architect classmate (Matt) helped me make the 2-part mold container below.
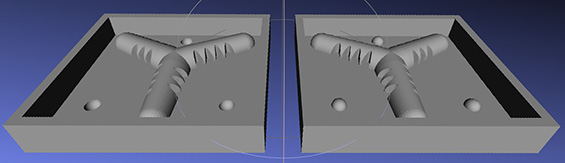
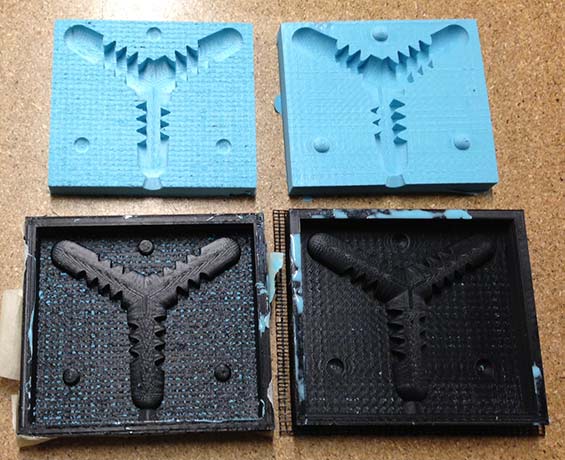
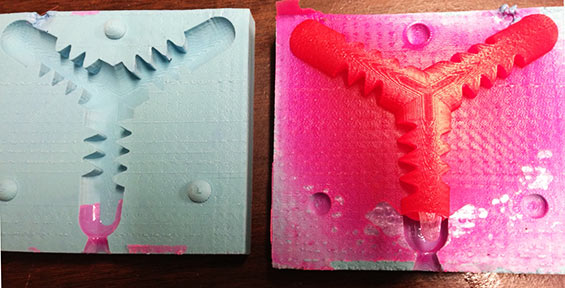
Due to long lines at the milling machine, I 3d printed the molds.
After both were printed, I mixed Oomo, a silicone rubber, to pour into the mold. You have to mix it very thoroughly to get a consistent pour.
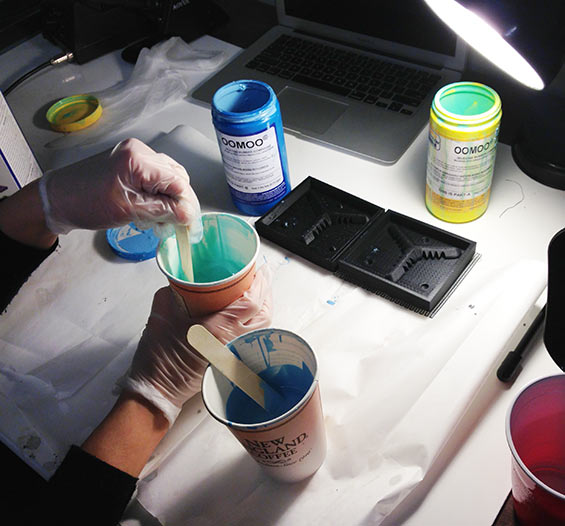
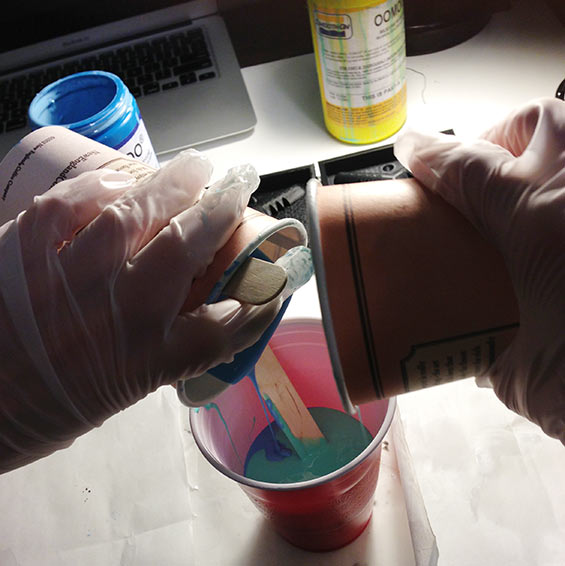
After both were poured, I spent a lot of time tapping each container lightly to remove air bubbles.
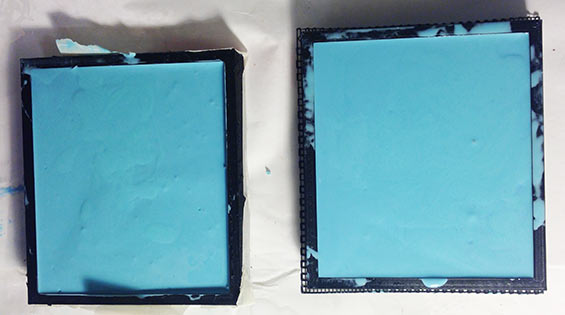
One of the 3d prints was made with a finer layer setting, and as a result one of the molds came out more smooth (the second one down). However, that mold also didn't set properly at the top edge (see especially left prong wall), where it stayed gooey and soft. I was scraping material off the sides of the cup, where it probably wasn't mixed properly.

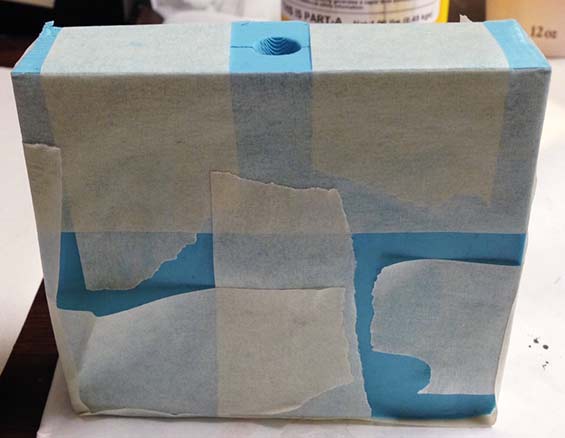
But, put together the molds fit well, so I taped them up to try a pour.
I used Smooth Cast 326 - Color Match, and added a few drops of Smooth-On pink flourescent pigment to make the mold bright pink. Here's the mess that resulted:
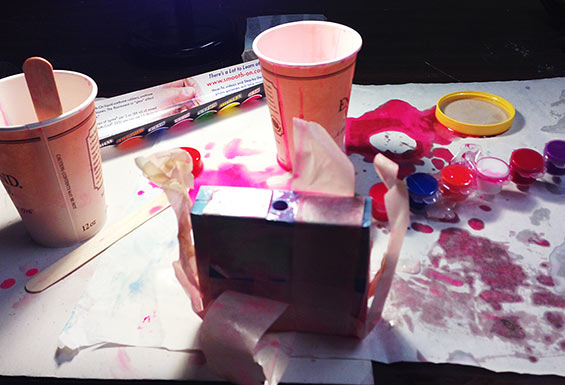
I used a giant syringe to inject the cast material into the mold. That, plus the fact that the oomo is pretty flexible, made the mold bow out, and the cast poured in between the walls of the mold.
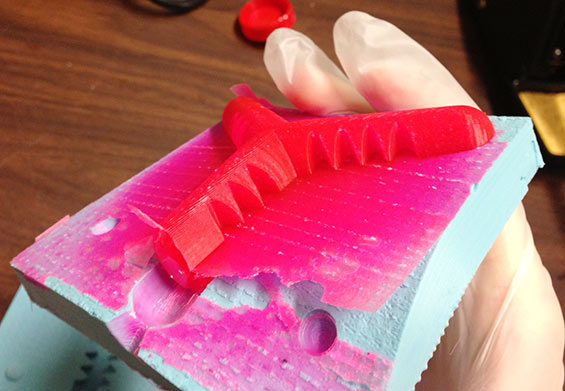
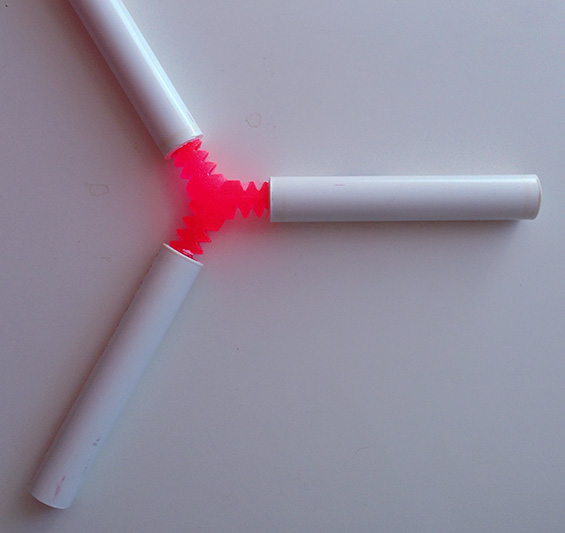
Instead of having 3 solid connected tubes, I ended up with webbing in between each tube. The tubes were also taller than they were supposed to be, and more oval shaped. I hacked for a long time at the webbed plastic, learning that it's a very durable material!
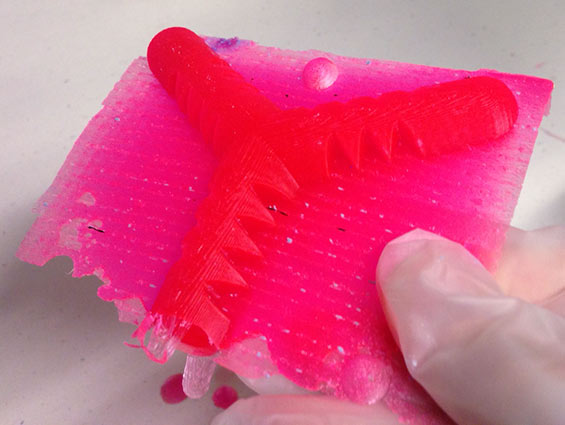
Try two - with clamps (total of 2 - one on each side) and no syringe this time. Ted, who helped me hugely with this second round, suggested that using a syringe injects the plastic too forcefully, bowing out the oomo. So, I poured it straight from the cup. It oozed out again and again out the bottom because of that gooey part, so I kept pouring in more in batches to get a full length on the top leg.

The final cast came out great this time! See the first and second, side by side. (Note the hacked away plastic in the left one).
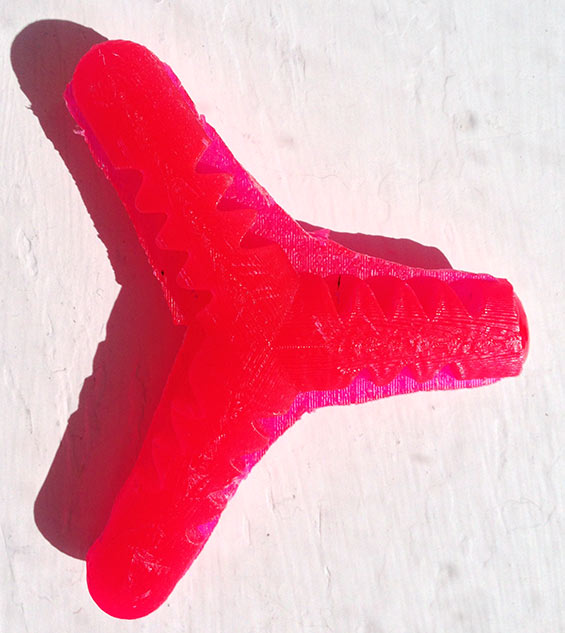
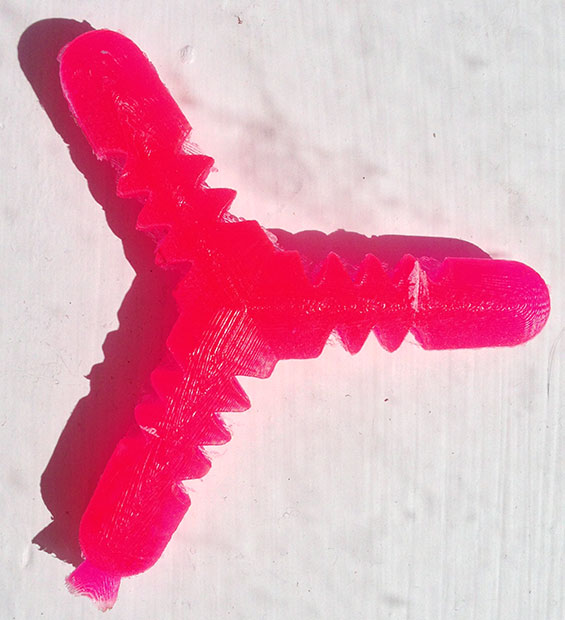
And the final connector. It was designed to fit a .75" tube, but that was way too loose. Instead, these are .5" tubes, which it fits halfway. With more of these, I could make a hexagonal pattern - but again, decided to go with a 3D sphere instead!