Week 14 - Mechanical Design

Ultimaker clone build

This week we started the Ultimaker build. The Ultimaker project is an open source project. All of the build files and assembly instructions are provided and can be accessed below.

Case Design Files: http://www.thingiverse.com/thing:13571

Build Instructions: http://wiki.ultimaker.com/Main_Page

For my part in the assembly, I was able to update several components to standard imperial. There is a premium for some metric parts in the US so we were able to save some of the budget by doing this. Specifically the 8mm threaded rod was replaced with 3/8"-10 rod and the M8 bronze nut was swapped for 2 Acme nuts. We had to account for this in the Z-stage assembly.

After the case was laser cut, John sanded and primed it. We then started the assembly. The Ultimaker design uses t-nut fasteners at all 90 junctions, so assembly went fairly quickly.

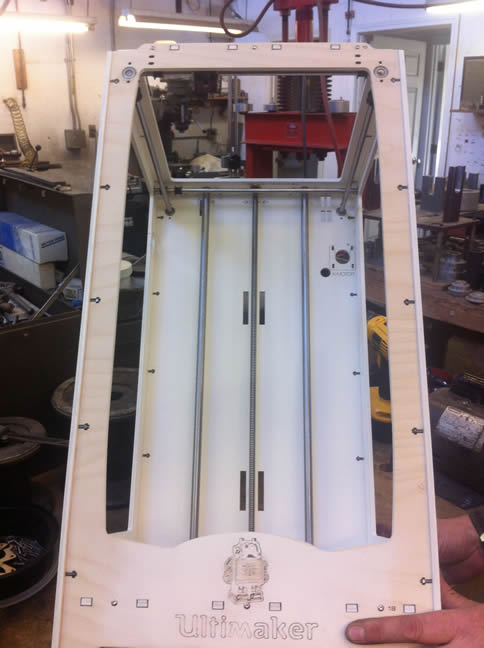
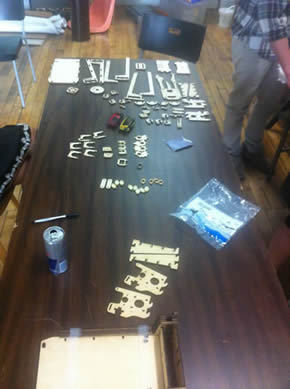
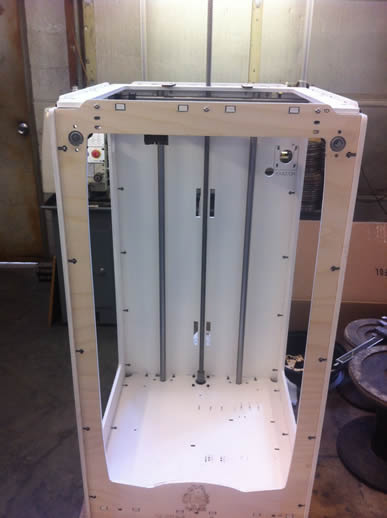
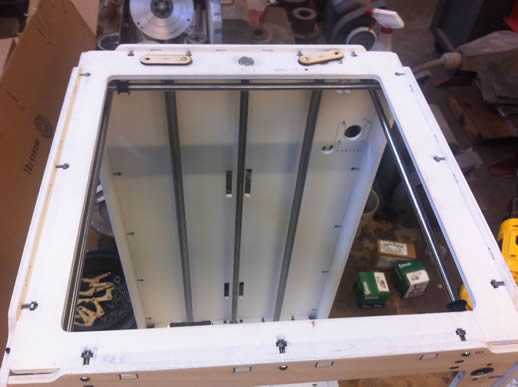
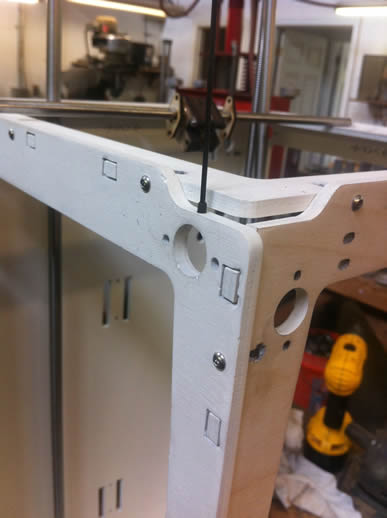
After the box was assembled, the linear drive system was installed. In order to do that, we first test fit the 12mm and 8mm shafts. Since the design is not optimized for stock shaft sizing, we had to machine down each one to fit the precise length required. Luckily, fellow Fab Academy student, Ted and I have a machine shop at work.

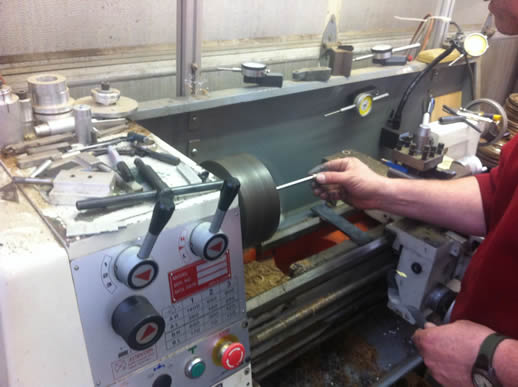
The process was done with an industrial lathe. After measuring and marking each shaft the rods were cut and deburred. Special care was taken with the Z-axis threaded rod. For it to work properly, it needs to be able to rotate on both ends. At the bottom of the case the shaft is fit directly to the stepper motor with a 5mm-8mm female coupling, and at the top an 8mm ID roller bearing is press fit into the case. The 3/8"-10 threaded rod was turned down on each end to 8mm diameter in order to receive the coupling and bearing.

Here are a few photos of the procedure.


Another minor change that I did was to add set screws to secure the shafts from slipping. Due to the large kerf of the laser that was used, the inside cuts are very loose. The set screws are able to account for this.

After the shafts were all cut to length and installed, the class did a mock assembly to make sure that all parts in the linear assembly worked together. Unfortunately, some work still needs to be done.s