|
Assignment 8: molding and casting.
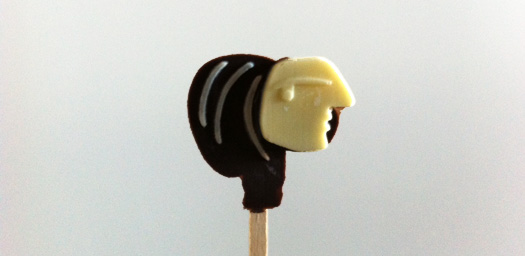
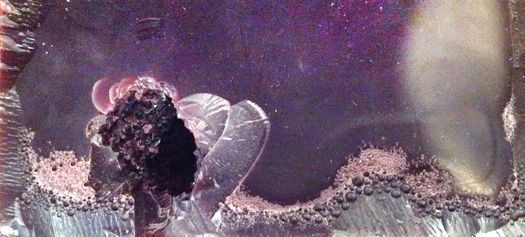
This week I made a Picasso-style lollipop.
The steps to follow are:
> designing the object in 3D
> machining the positive halves in a wax block; first a roughing job and then a finishing job
> casting the mold of the negative object in silicone rubber
> casting the final material into the silicone molds
Designing
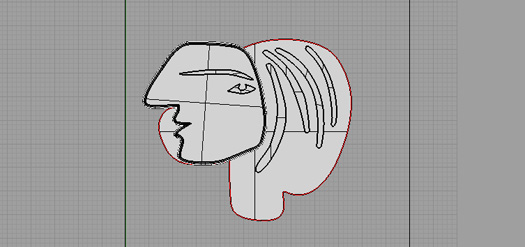
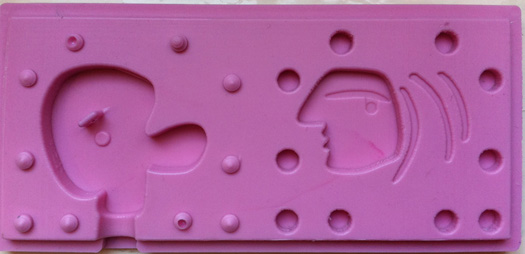
First create the object as you would like to have it- I did mine in Rhino. It is important to think which bit you will use for milling the was, because the holes and corners of the design can never be narrower than the size of the bit. Also it is important to take into account that smaller bits have shorter shafts, so they can't go deeper than the length of the bit - otherwise the collet can damage the top part of the wax when it moves down. When the design is finished split the two halves, mirror one half and put them next to each other. Then design the pegs and the holes for alignment of the silicone mold. Round the corners of the holes in the model: they will be pegs later on and they fit better if they are rounded at the tip.
As can be seen in the picture, the two halves of the object have been placed next to each other. It is also possible to position the halves a couple of centimeters apart and make a cube in between them in Rhino. That way the milling machine makes two separate pockets in which the silicone will be poured. I tried to do it this way, to make the machining easier. Only thing is that I have to cut the silicone in two halves after it comes out. When the 3D design of the mold is done, export it as an .stl file.
Machining
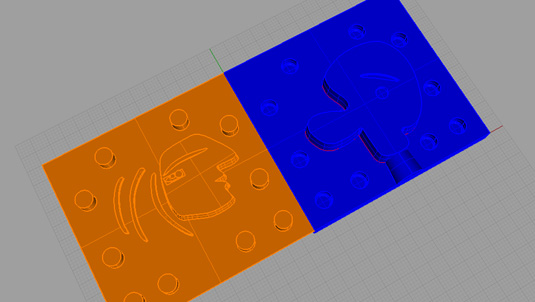
The machine job has to be prepared in Partworks 3D at the Shopbot computer. Once in the programme, open the file and set the view to top surface. Make sure the programme uses the correct units (mm/inches). Now the 3D object has to be placed in the wax block, leaving some space around it on all sides. A couple of things are important to remember:
- place the object well below the top surface of the wax block, so the silicone mold will not be too thin
- zero at the bottom side of the model, since you want to be able to change and re-zero the milling bit for the
- place the origin at the corner of the wax block
- make a roughing path in one direction, that leaves 1 mm of material around the object. An endmill bit can be used, I took a 4 FL straight 1/8 inch bit.
- make the finishing path perpendicular to the direction of the roughing path. Choose a ball end bit - mine was 2 FL 1/16 inch, and I used the following parameters: feed 150; plunge 10; spindle speed 14k; stepover 6%.
- save the two jobs, and also the partworks file - in this way you can always check and adjust your settings.
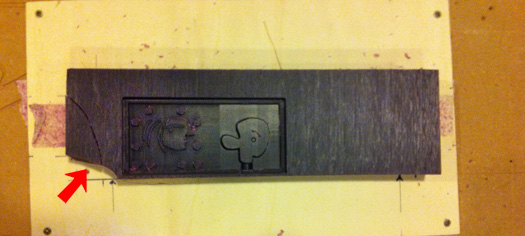
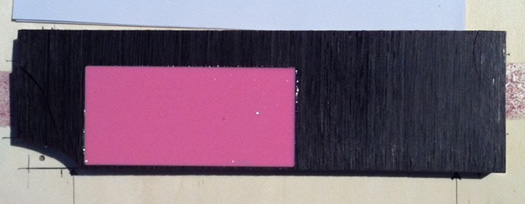
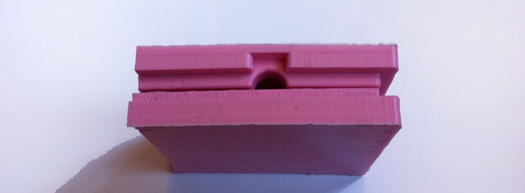
Time to place the wax block on the bed of the shopbot. The block should be attached to a flat piece of wood with double sided tape and screws. The wax breaks easily, so be careful whith the screws (see red arrow in the image above). Always indicate where the screws are inside the wax, because the milling bit should never be able to accidentaly hit them. I zeroed the x, y axis a bit beyond the position of the screws and in PartWorks I entered smaller width and lenght than the actual size of the wax block, so the milling bit would not go near the screws.
The sheet must be screwed flat onto the table. If you don't attach it well, the block will start dancing around the moving spindle....
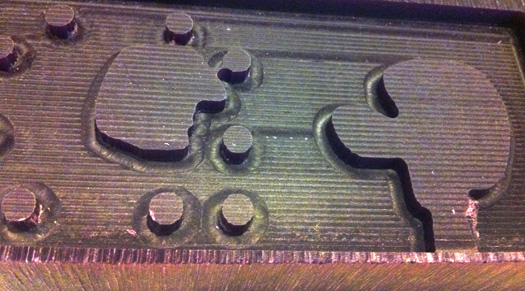
When the wax block is fixed to the table, open the shopbot editor and zero the x, y and z. First do the roughing job and then the finishing. Do not vacuum while milling, but collect the chips in a separate bin for recycling. This is what the wax looked like after the roughing job:
And this is the result after the finishing job:
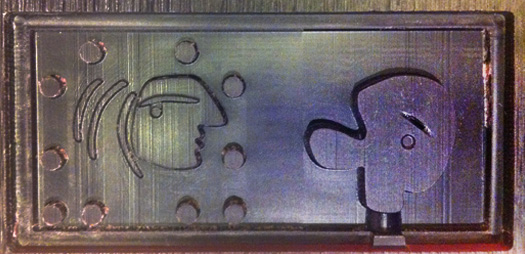
After roughing, finishing and releasing the block I saw I had overlooked something. On the right side of the mould there are supposed to be holes that will be pins in silicone for the alignment of the two halves. To solve this in a quick-and-dirty way, I mirrored the center points of the pegs and carefully drilled holes on the right halve.
Casting the mold
Now the mold material can be poured into the wax block. I wanted to make the object in a clear and hard epoxy that is suitable for making beads and jewellery. For this material I was recommended to make a mold in silicone rubber. I used Smooth-on Mold Max 30.
Take the wax block and spray it lightly with release agent. Brush it and spray again. There should be a very thin film in the mold. If there is too much it will react with the casting material and prevent it from curing.
Thoroughly mix the components for the silicone and cast it in the wax block. Bake it in the oven at 150F and/or let it cure overnight. When it is cured you can take the siclicone piece out and put the mold together.
Casting - epoxy
Mix the casting material according to the specifications and cast it via the hole. My design was not ideally designed, since there is a high risk that while filling the mold air bubbles get locked up in the nose of the head. If that happens the bubbles have no way to escape. Fill the mold up to the top, because the material will shrink while curing. You could calculate the shrinkage volume with the parameters in the specification and make the air outlet exactly that volume. In that way you will end up with a perfectly cast object.
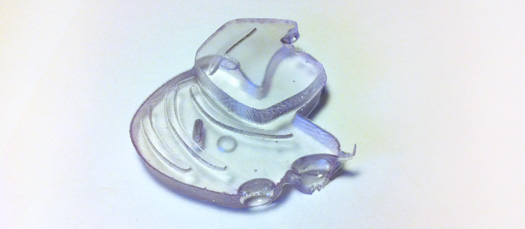
The epoxy had to cure 25 hours, and this is how the object came out of the mold.It had some bubbles at the top, so I made a new one - this time with colorant! In the oven at 150F the epoxy hardens in an hour or so, so you can make a small batch in a day.
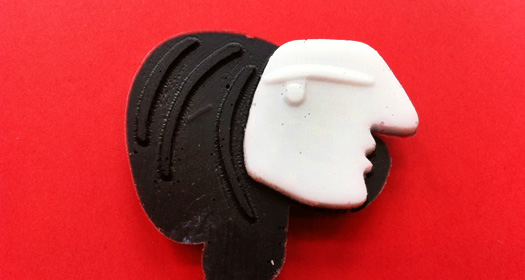
For this one I first filled one half of the mold with white epoxy, let it set for half an hour, then casted the epoxy with black colorant in the other half of the mold and pressed the two halves together.
As a last step I made another silicone mold that is suitable for casting food, and made chocolate lollipops. See the picture on top for the result (they are all gone now...)
|
 Astrids Fab Academy Projects