Idea & SolidWorks Model
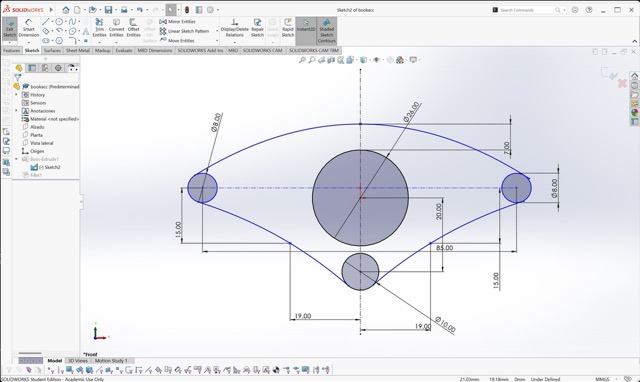
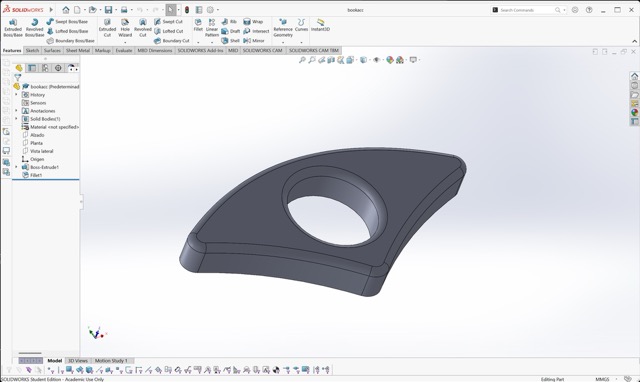
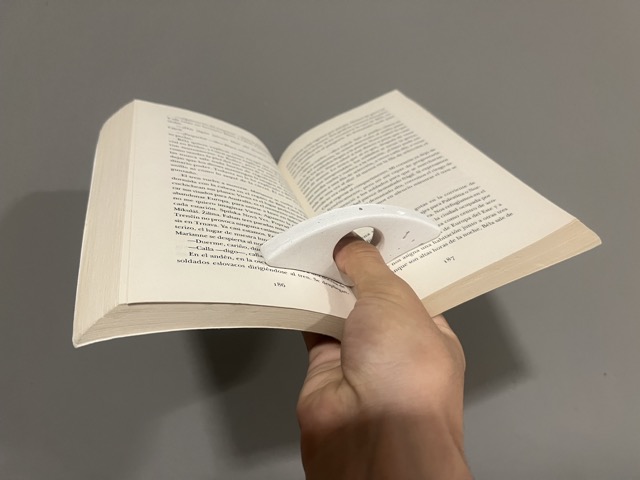
For this week I decided to make a silicone mold. I started by thinking about what I wanted to make — my first attempt was a mold for a pot, but it did not go well, so I pivoted to something smaller. I chose to make a small page holder that lets you read while holding a book with a single hand. The shape was inspired by ones I had seen a long time ago on Instagram.
Once I had the idea, I began building the counter-mold for 3D printing in SolidWorks. The general steps are documented below. For a more detailed explanation of the modeling process, refer to Week 05 — 3D Scanning and Printing.
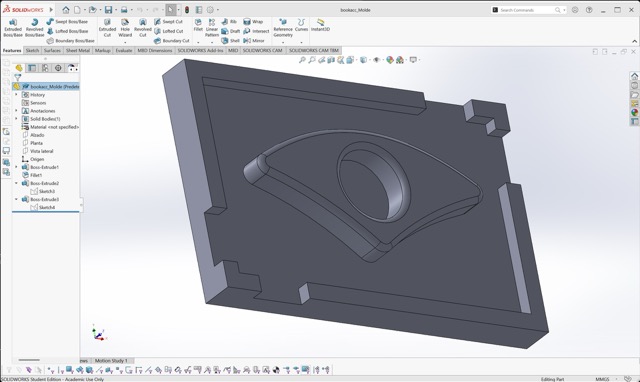
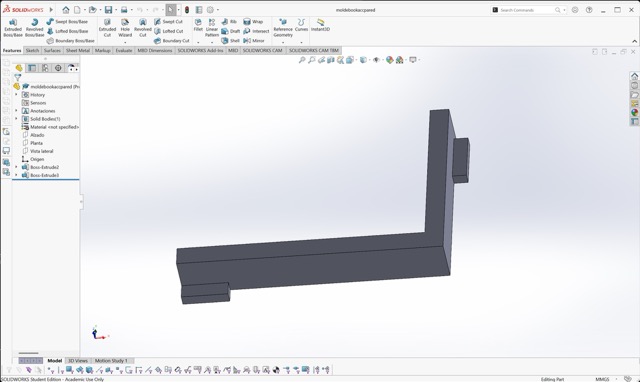
Mold 3D Model
Physical Fabrication
Silicone Used — 3030 Two-Part Silicone
Material: 3030 two-part silicone.
Mixing ratio A:B = 10:1 by weight.
STEPS FOR MAKING THE SILICONE MOLD
1. 3D Printing
3D printed the mold.
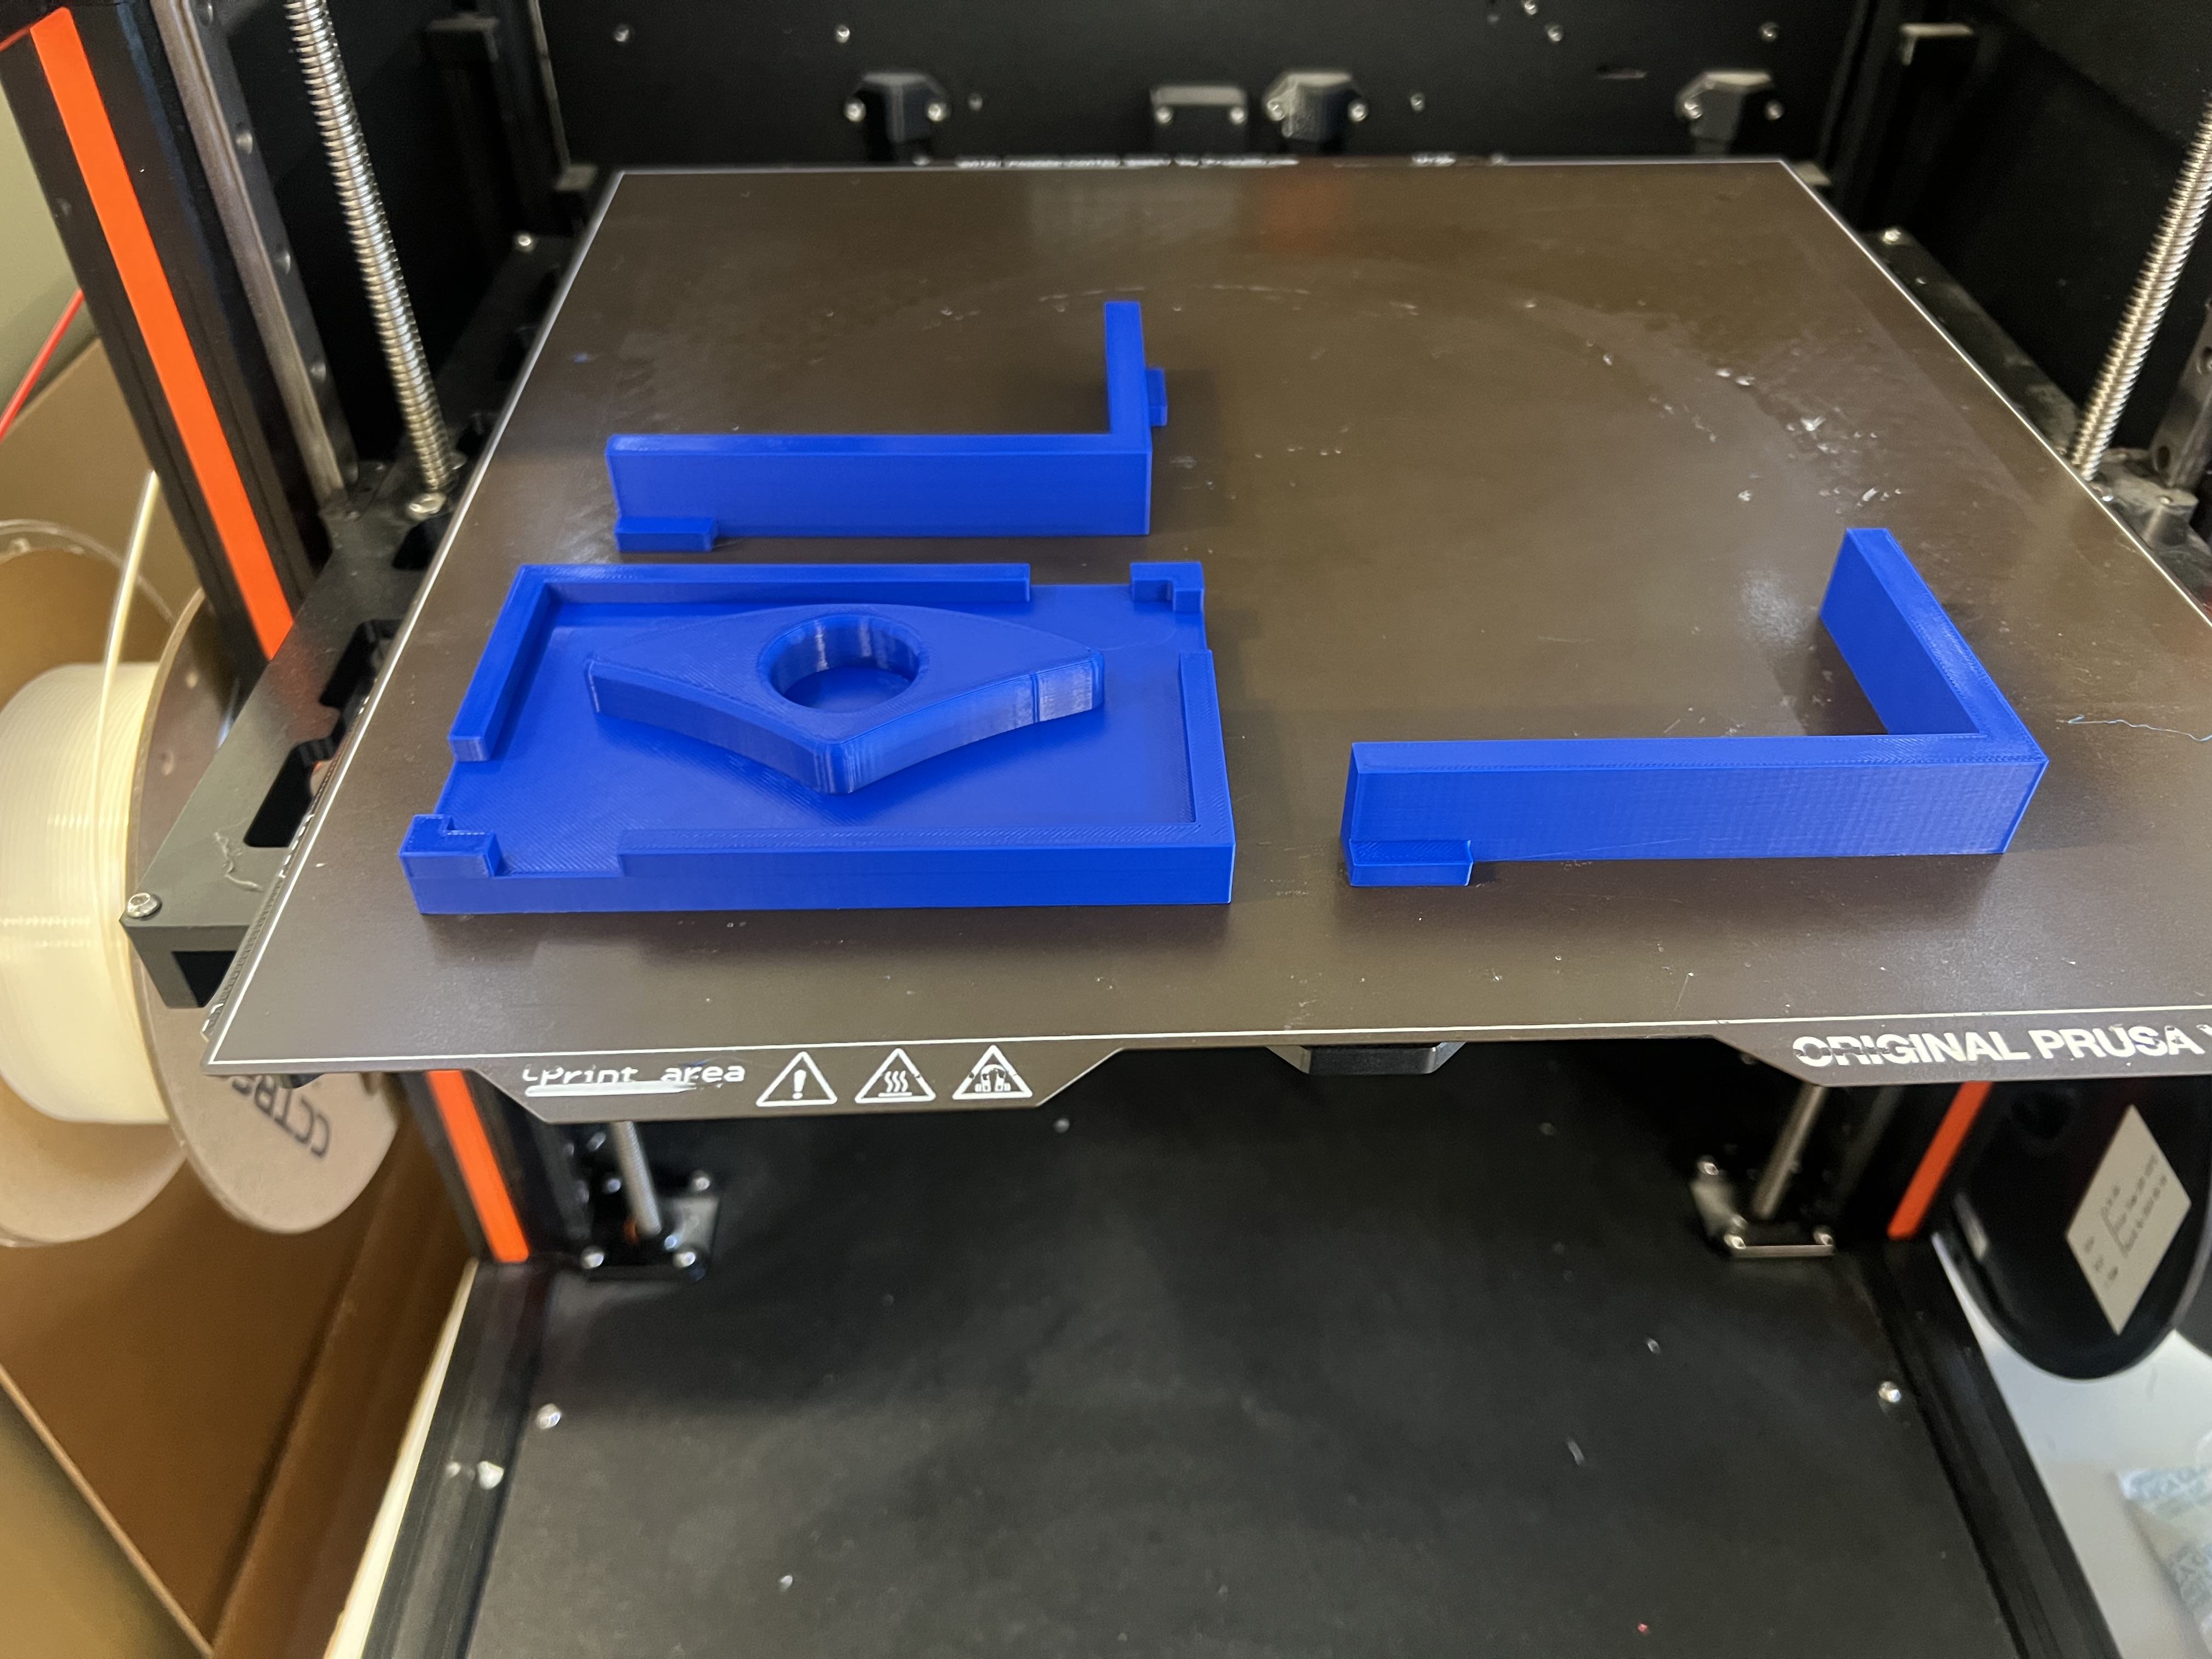
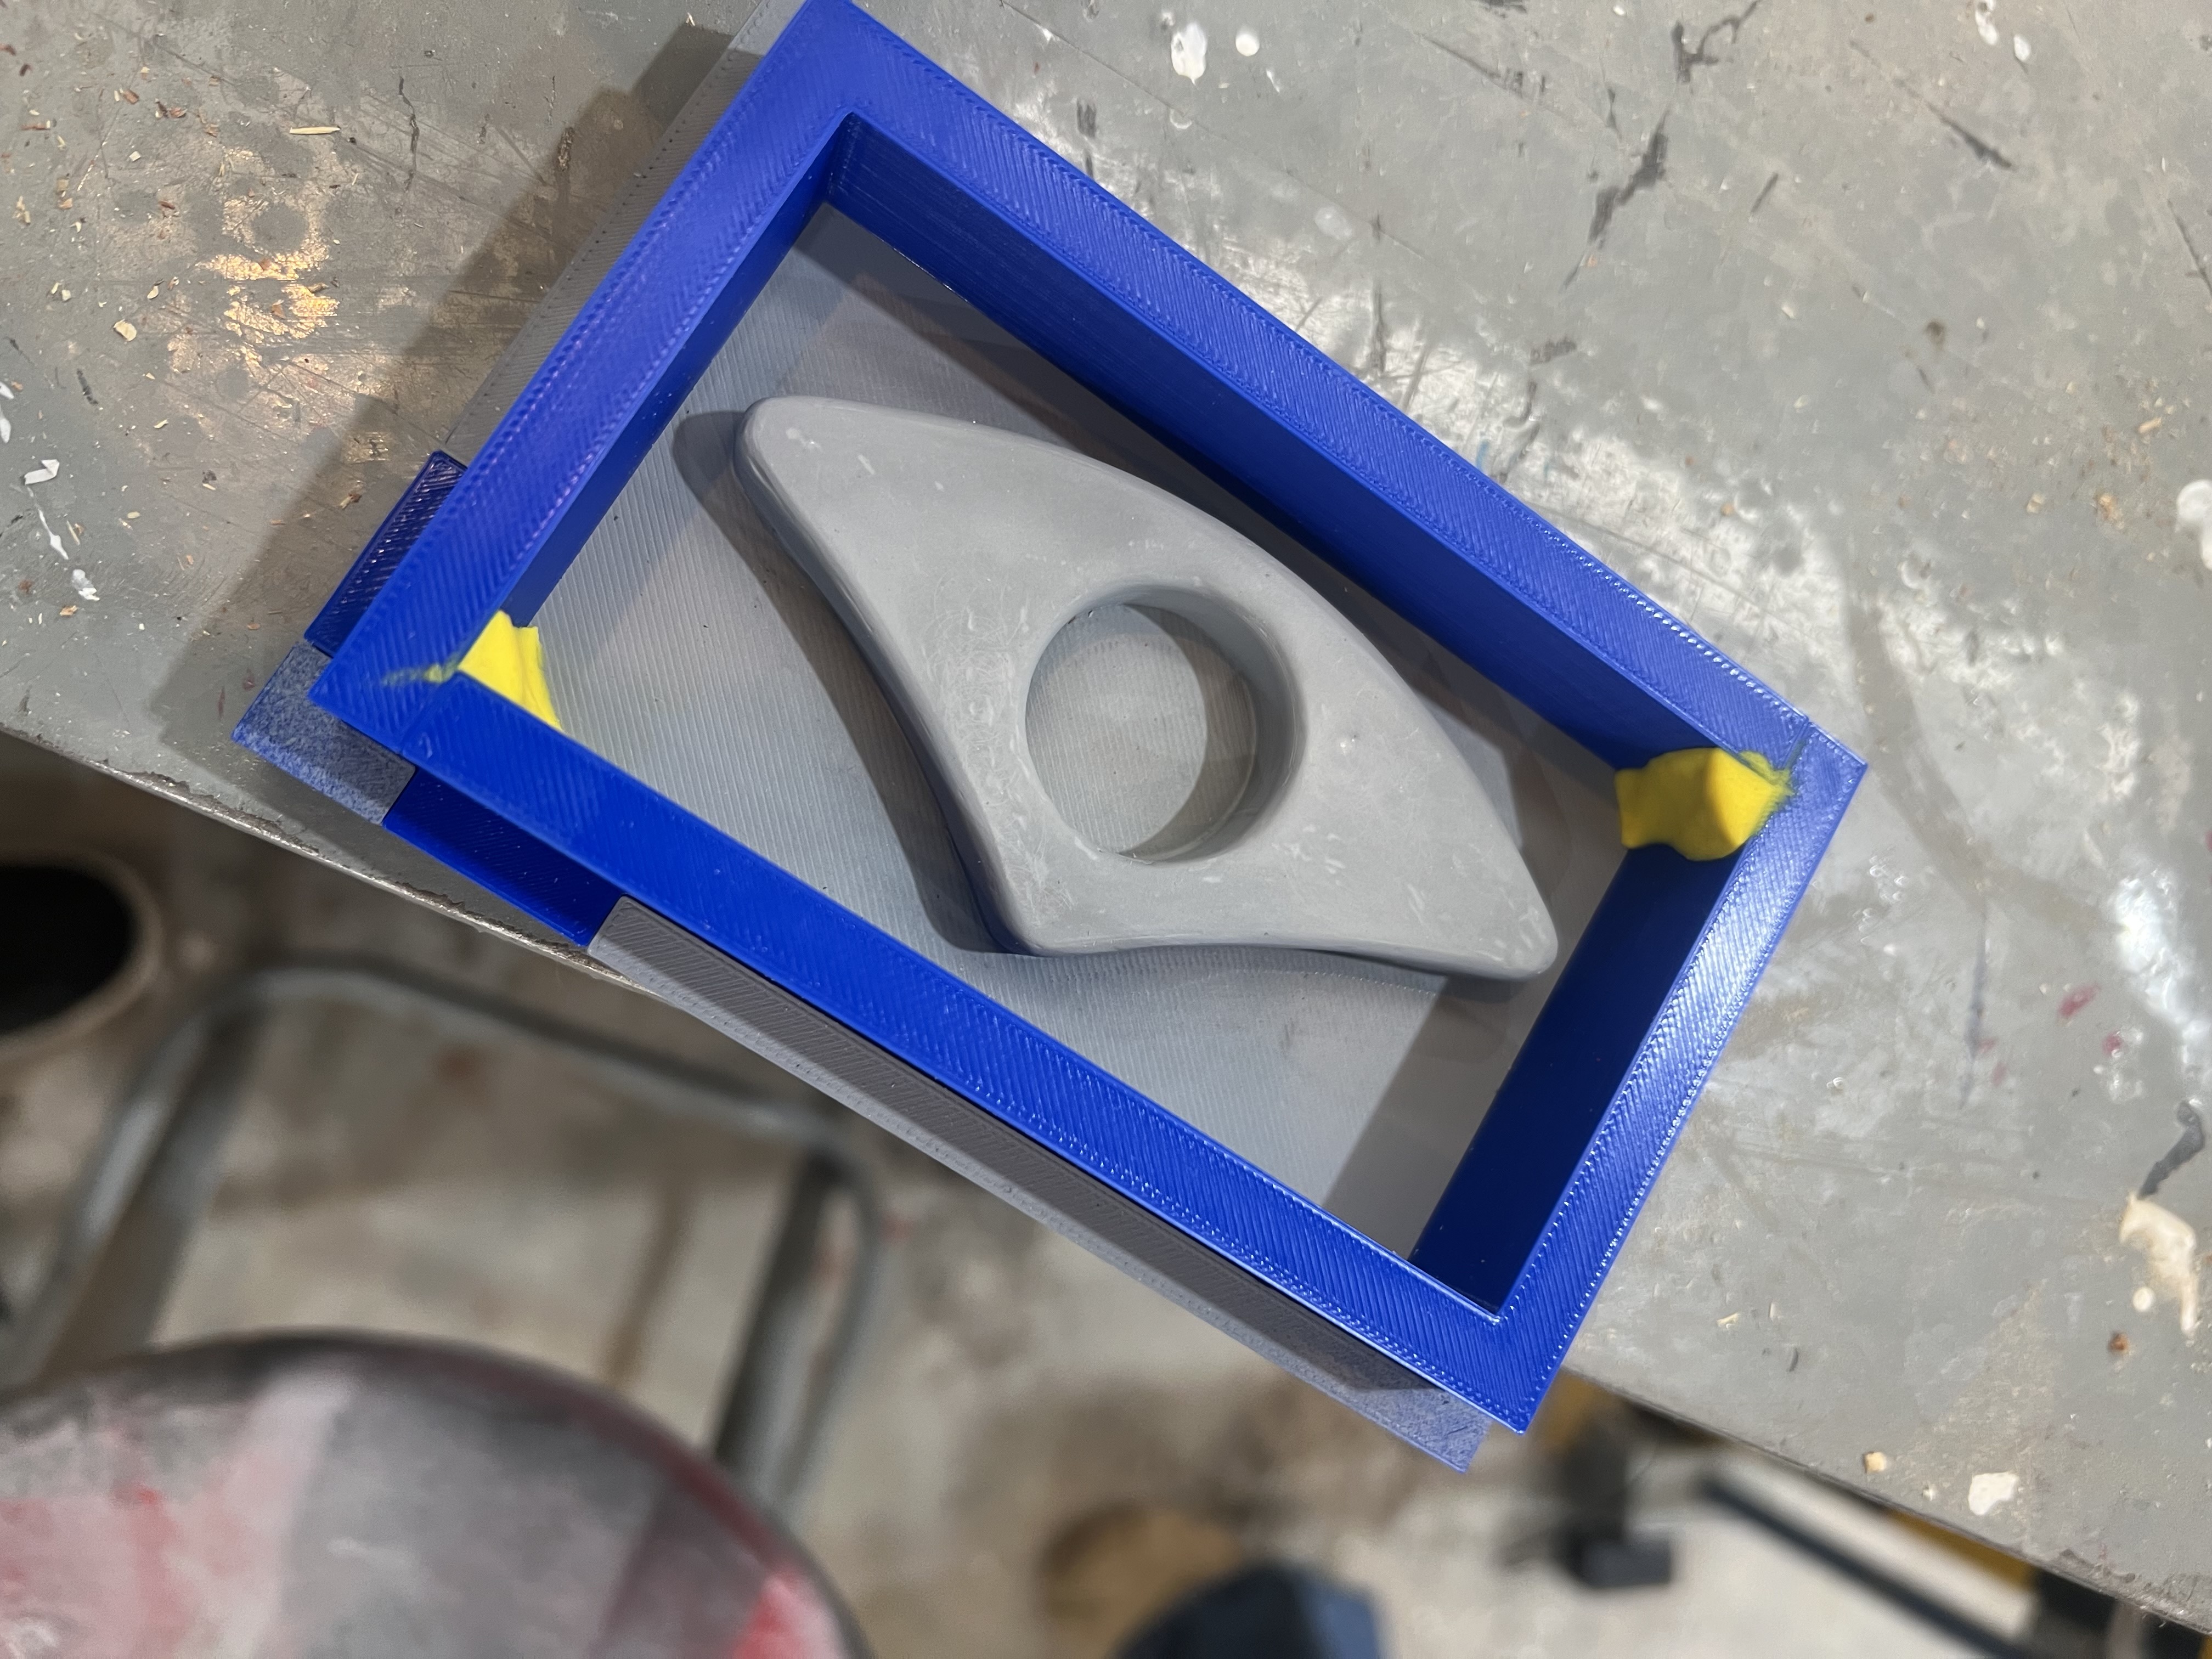
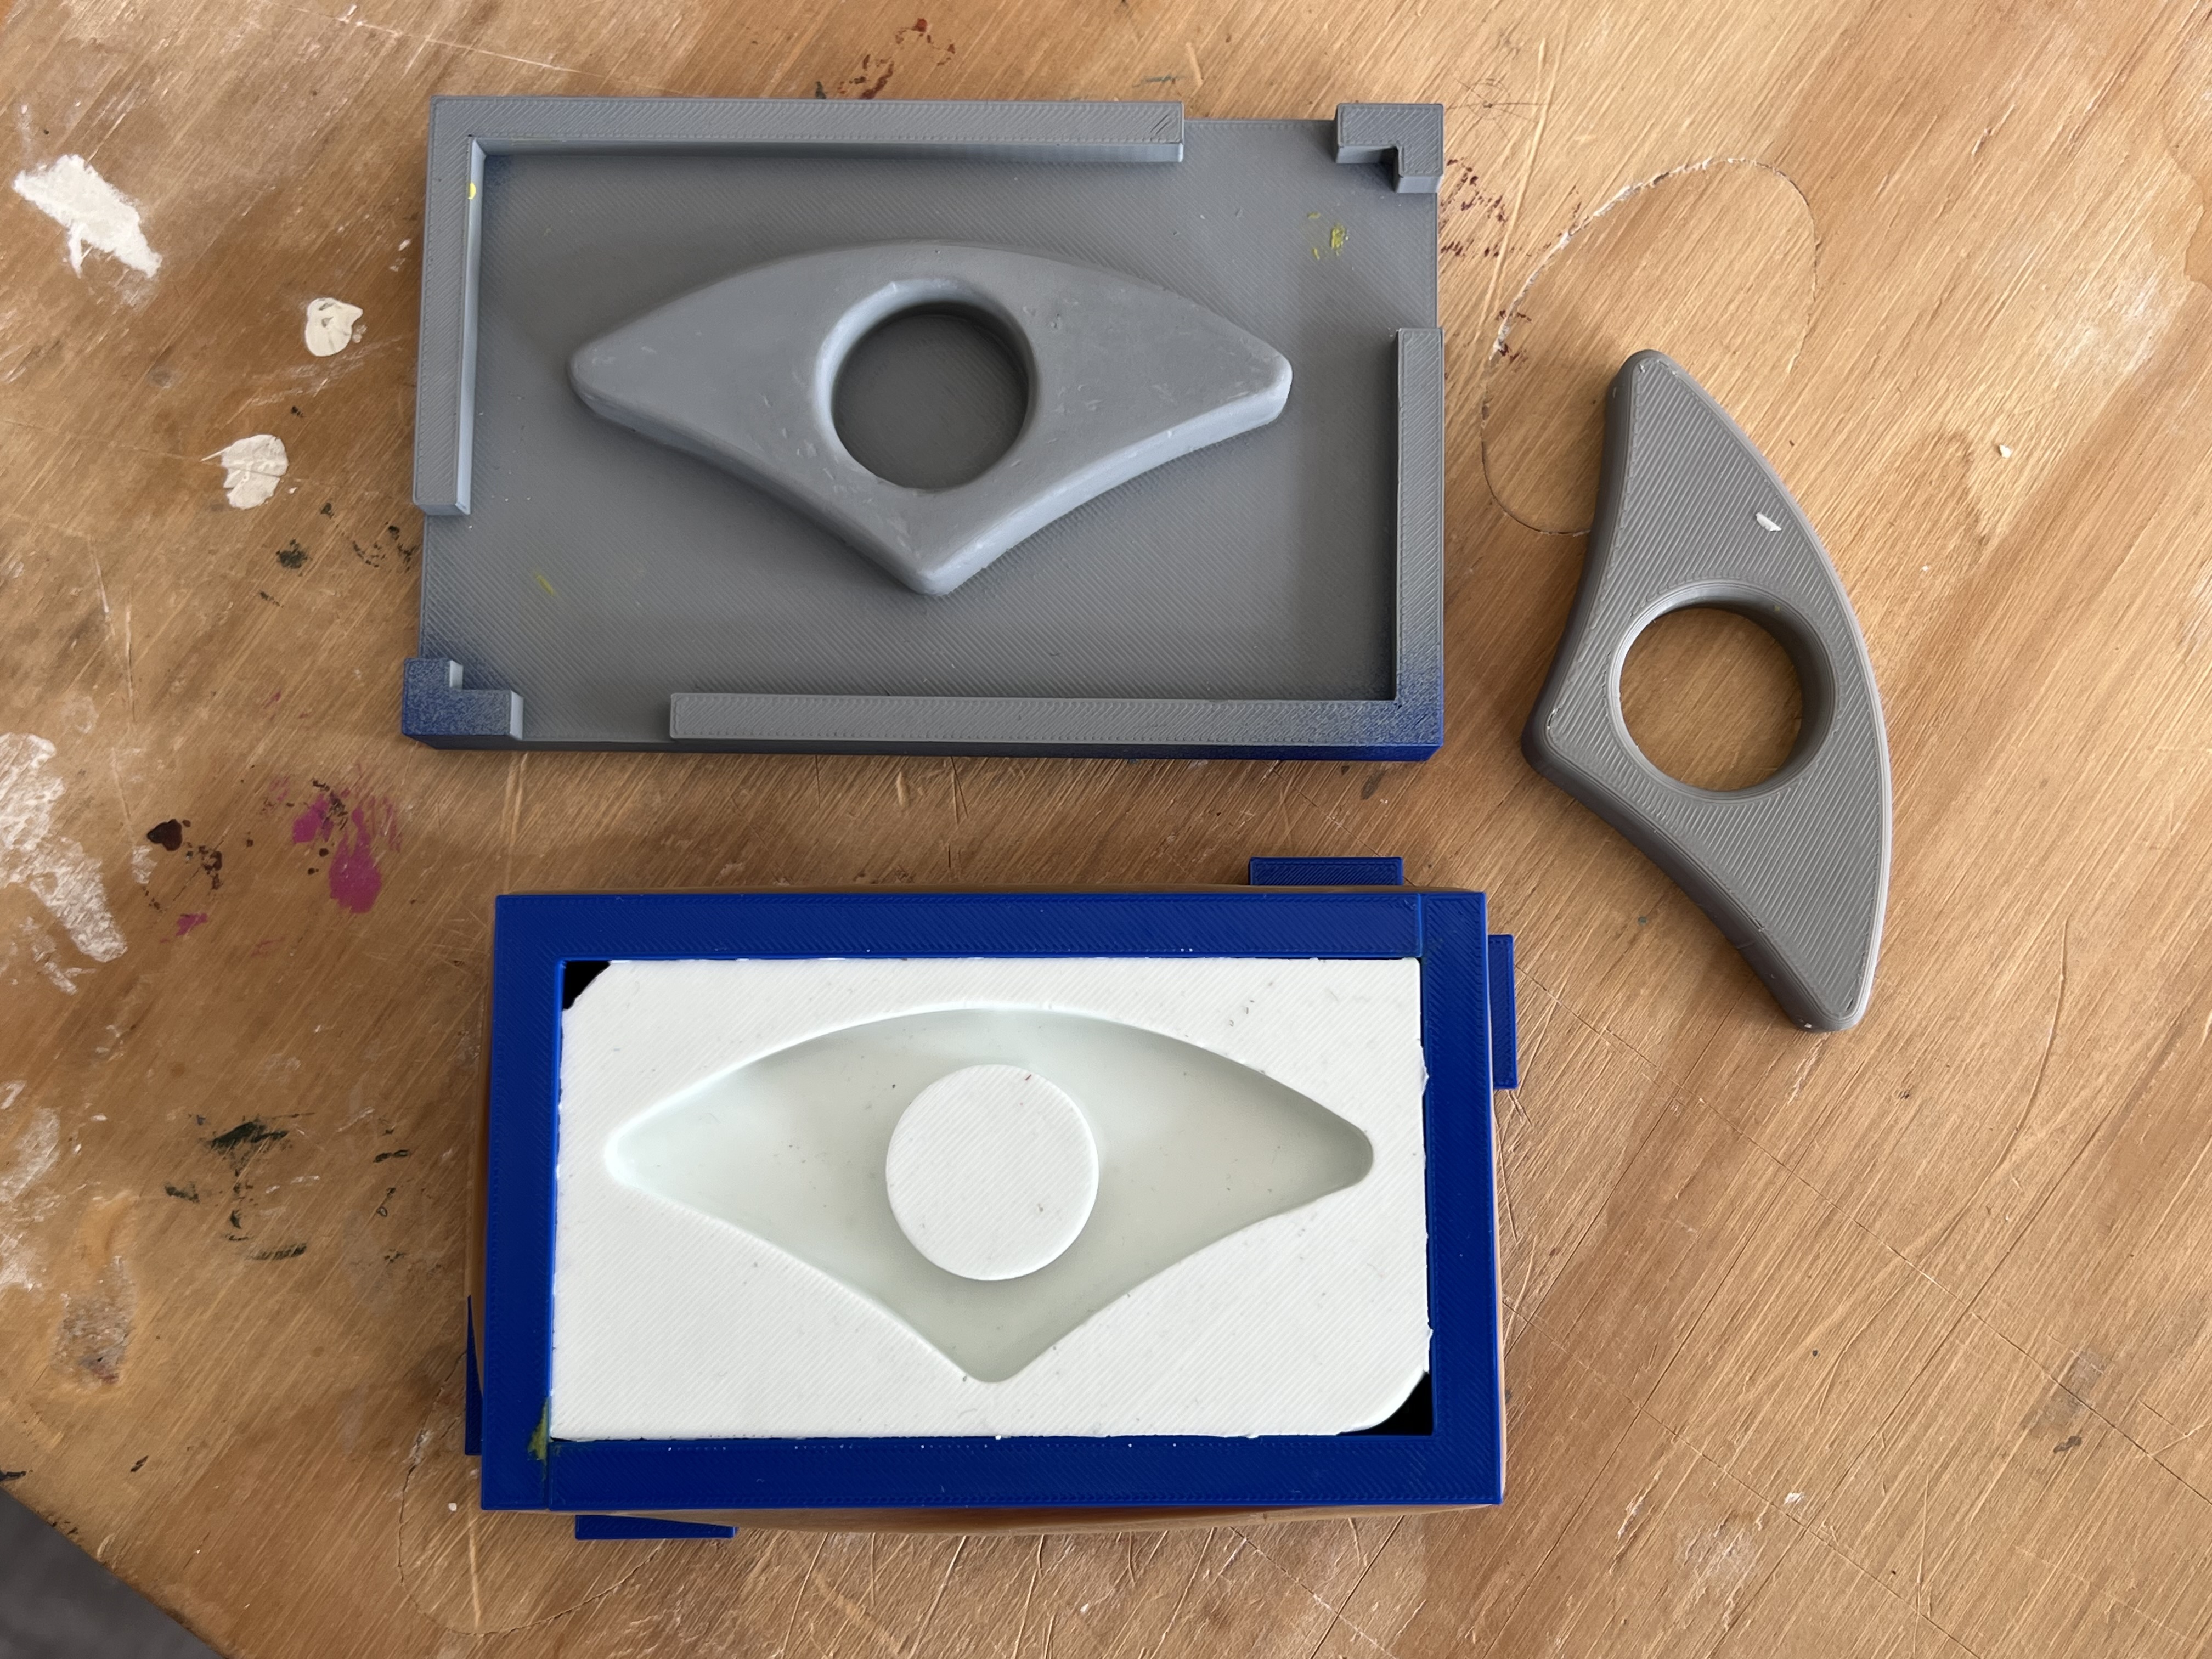
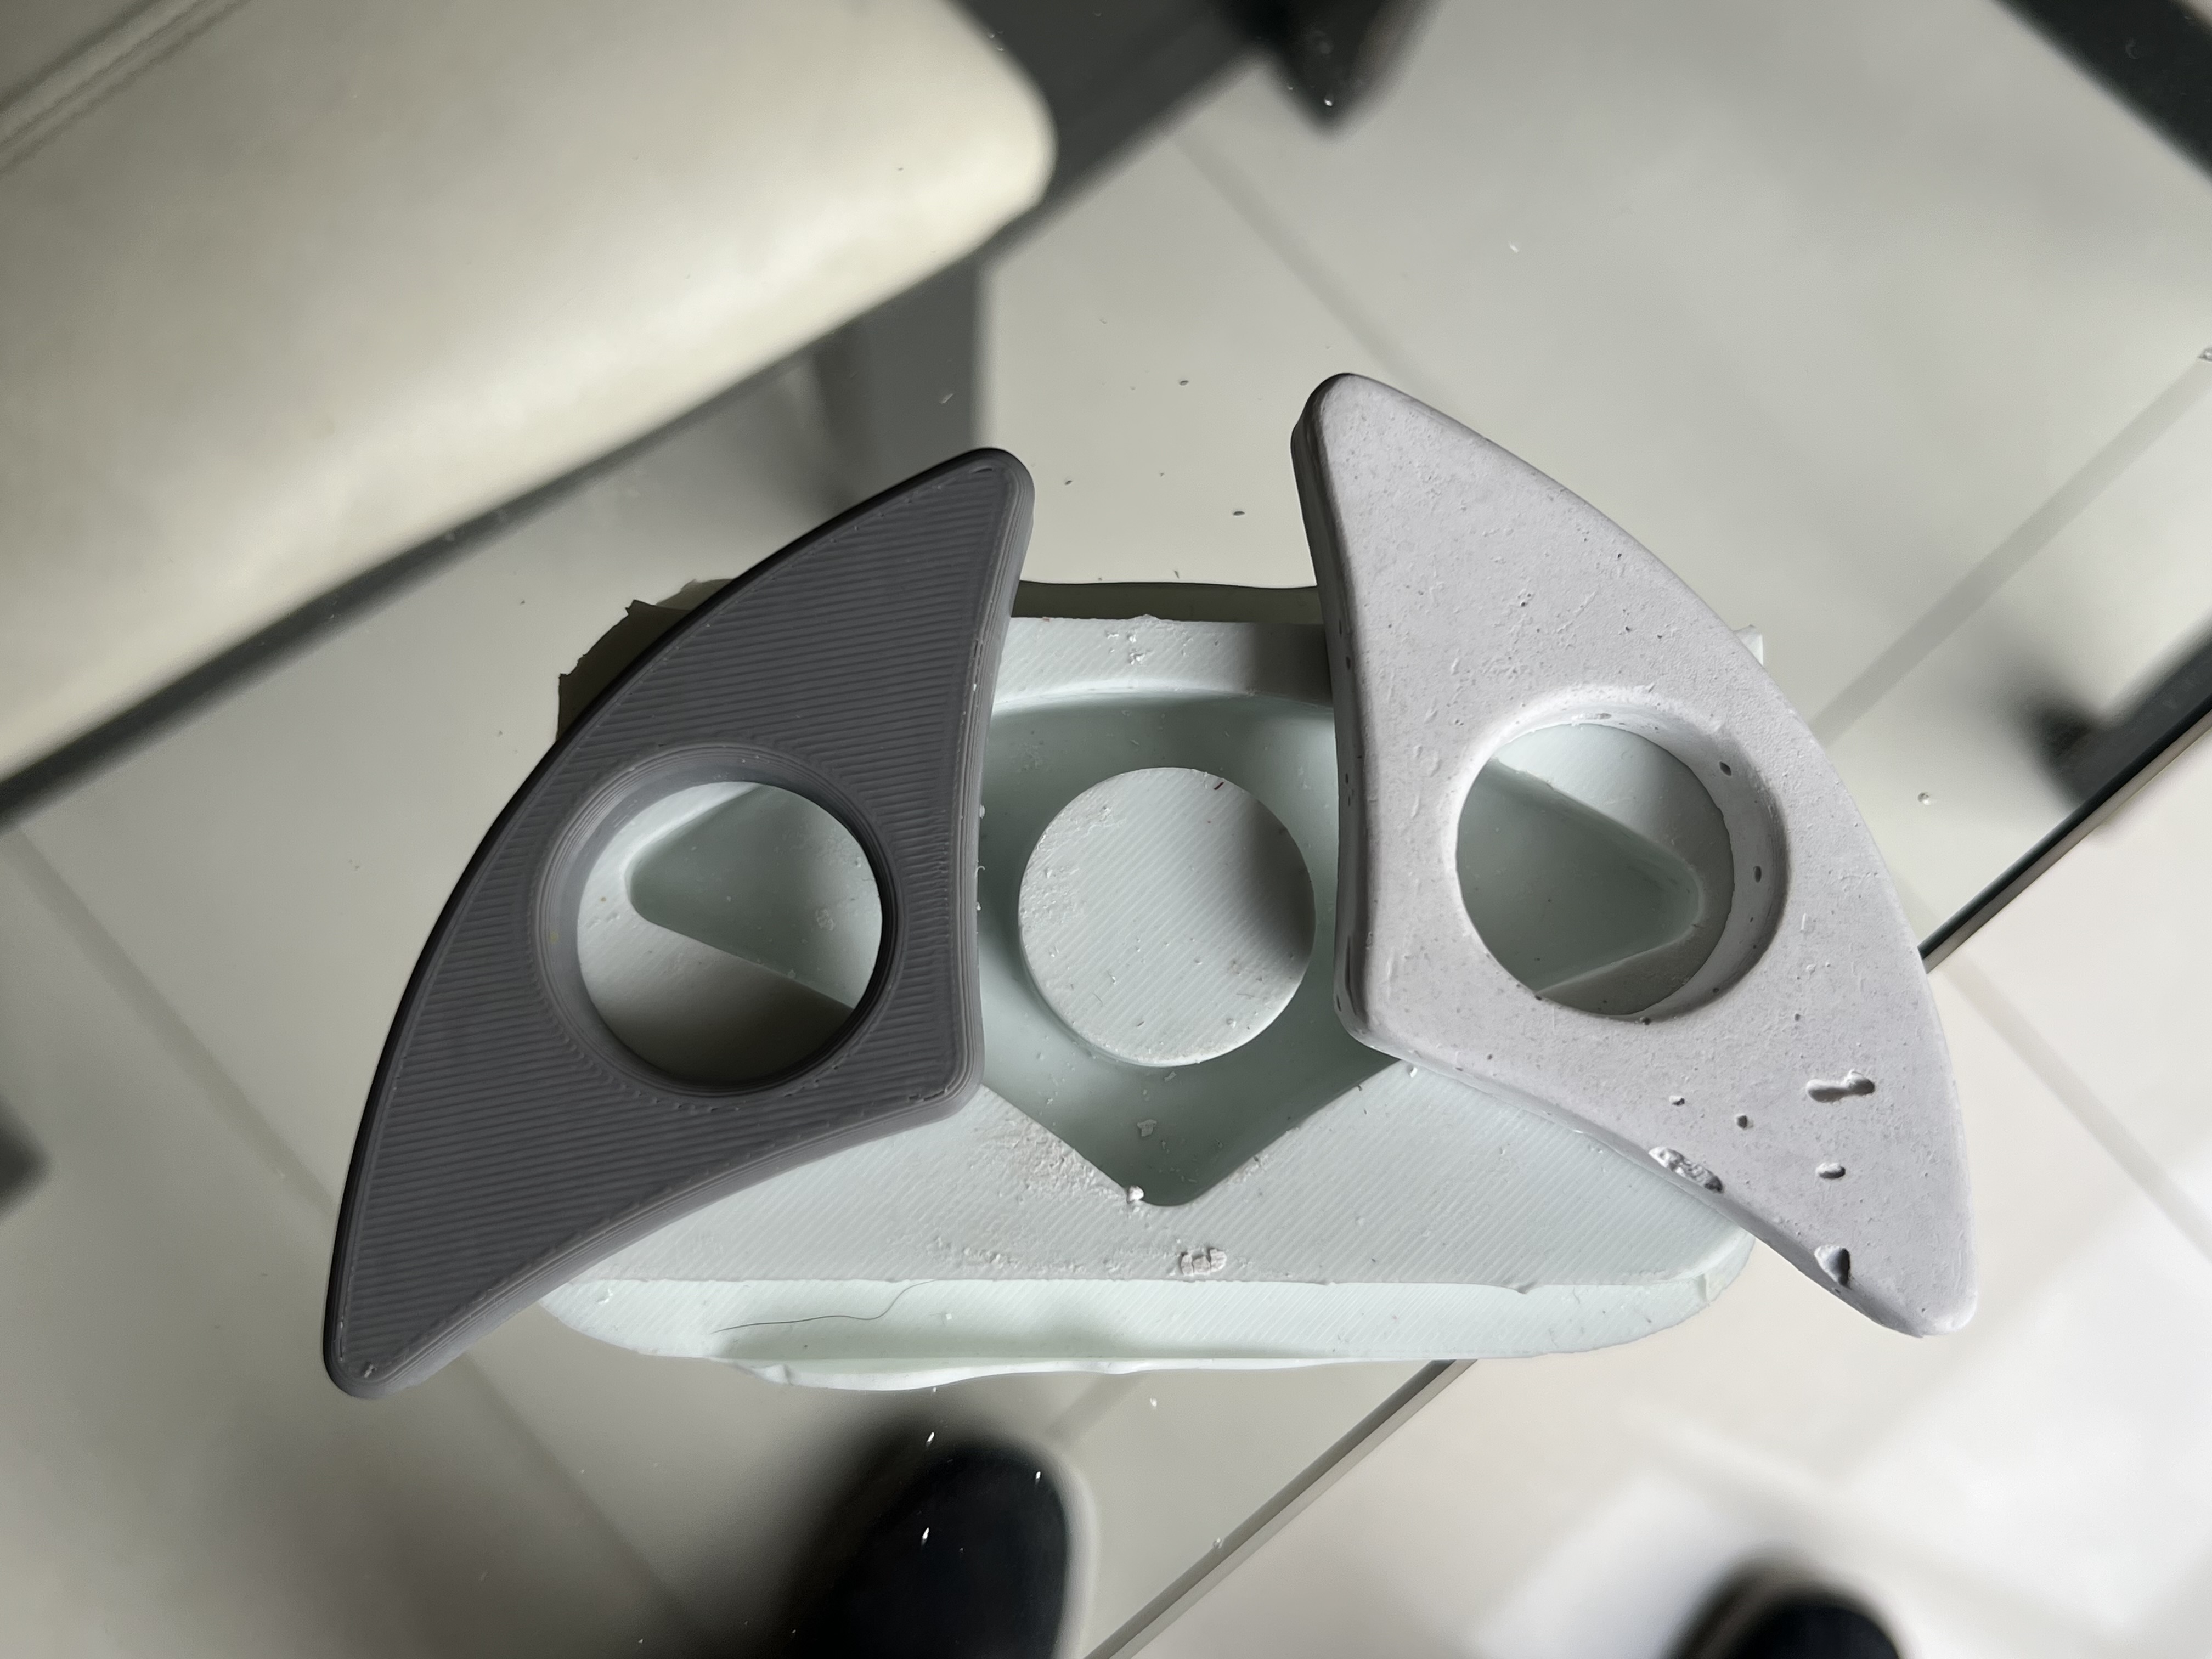
2. Assembly Verification
Assembled all three parts to verify the fit.
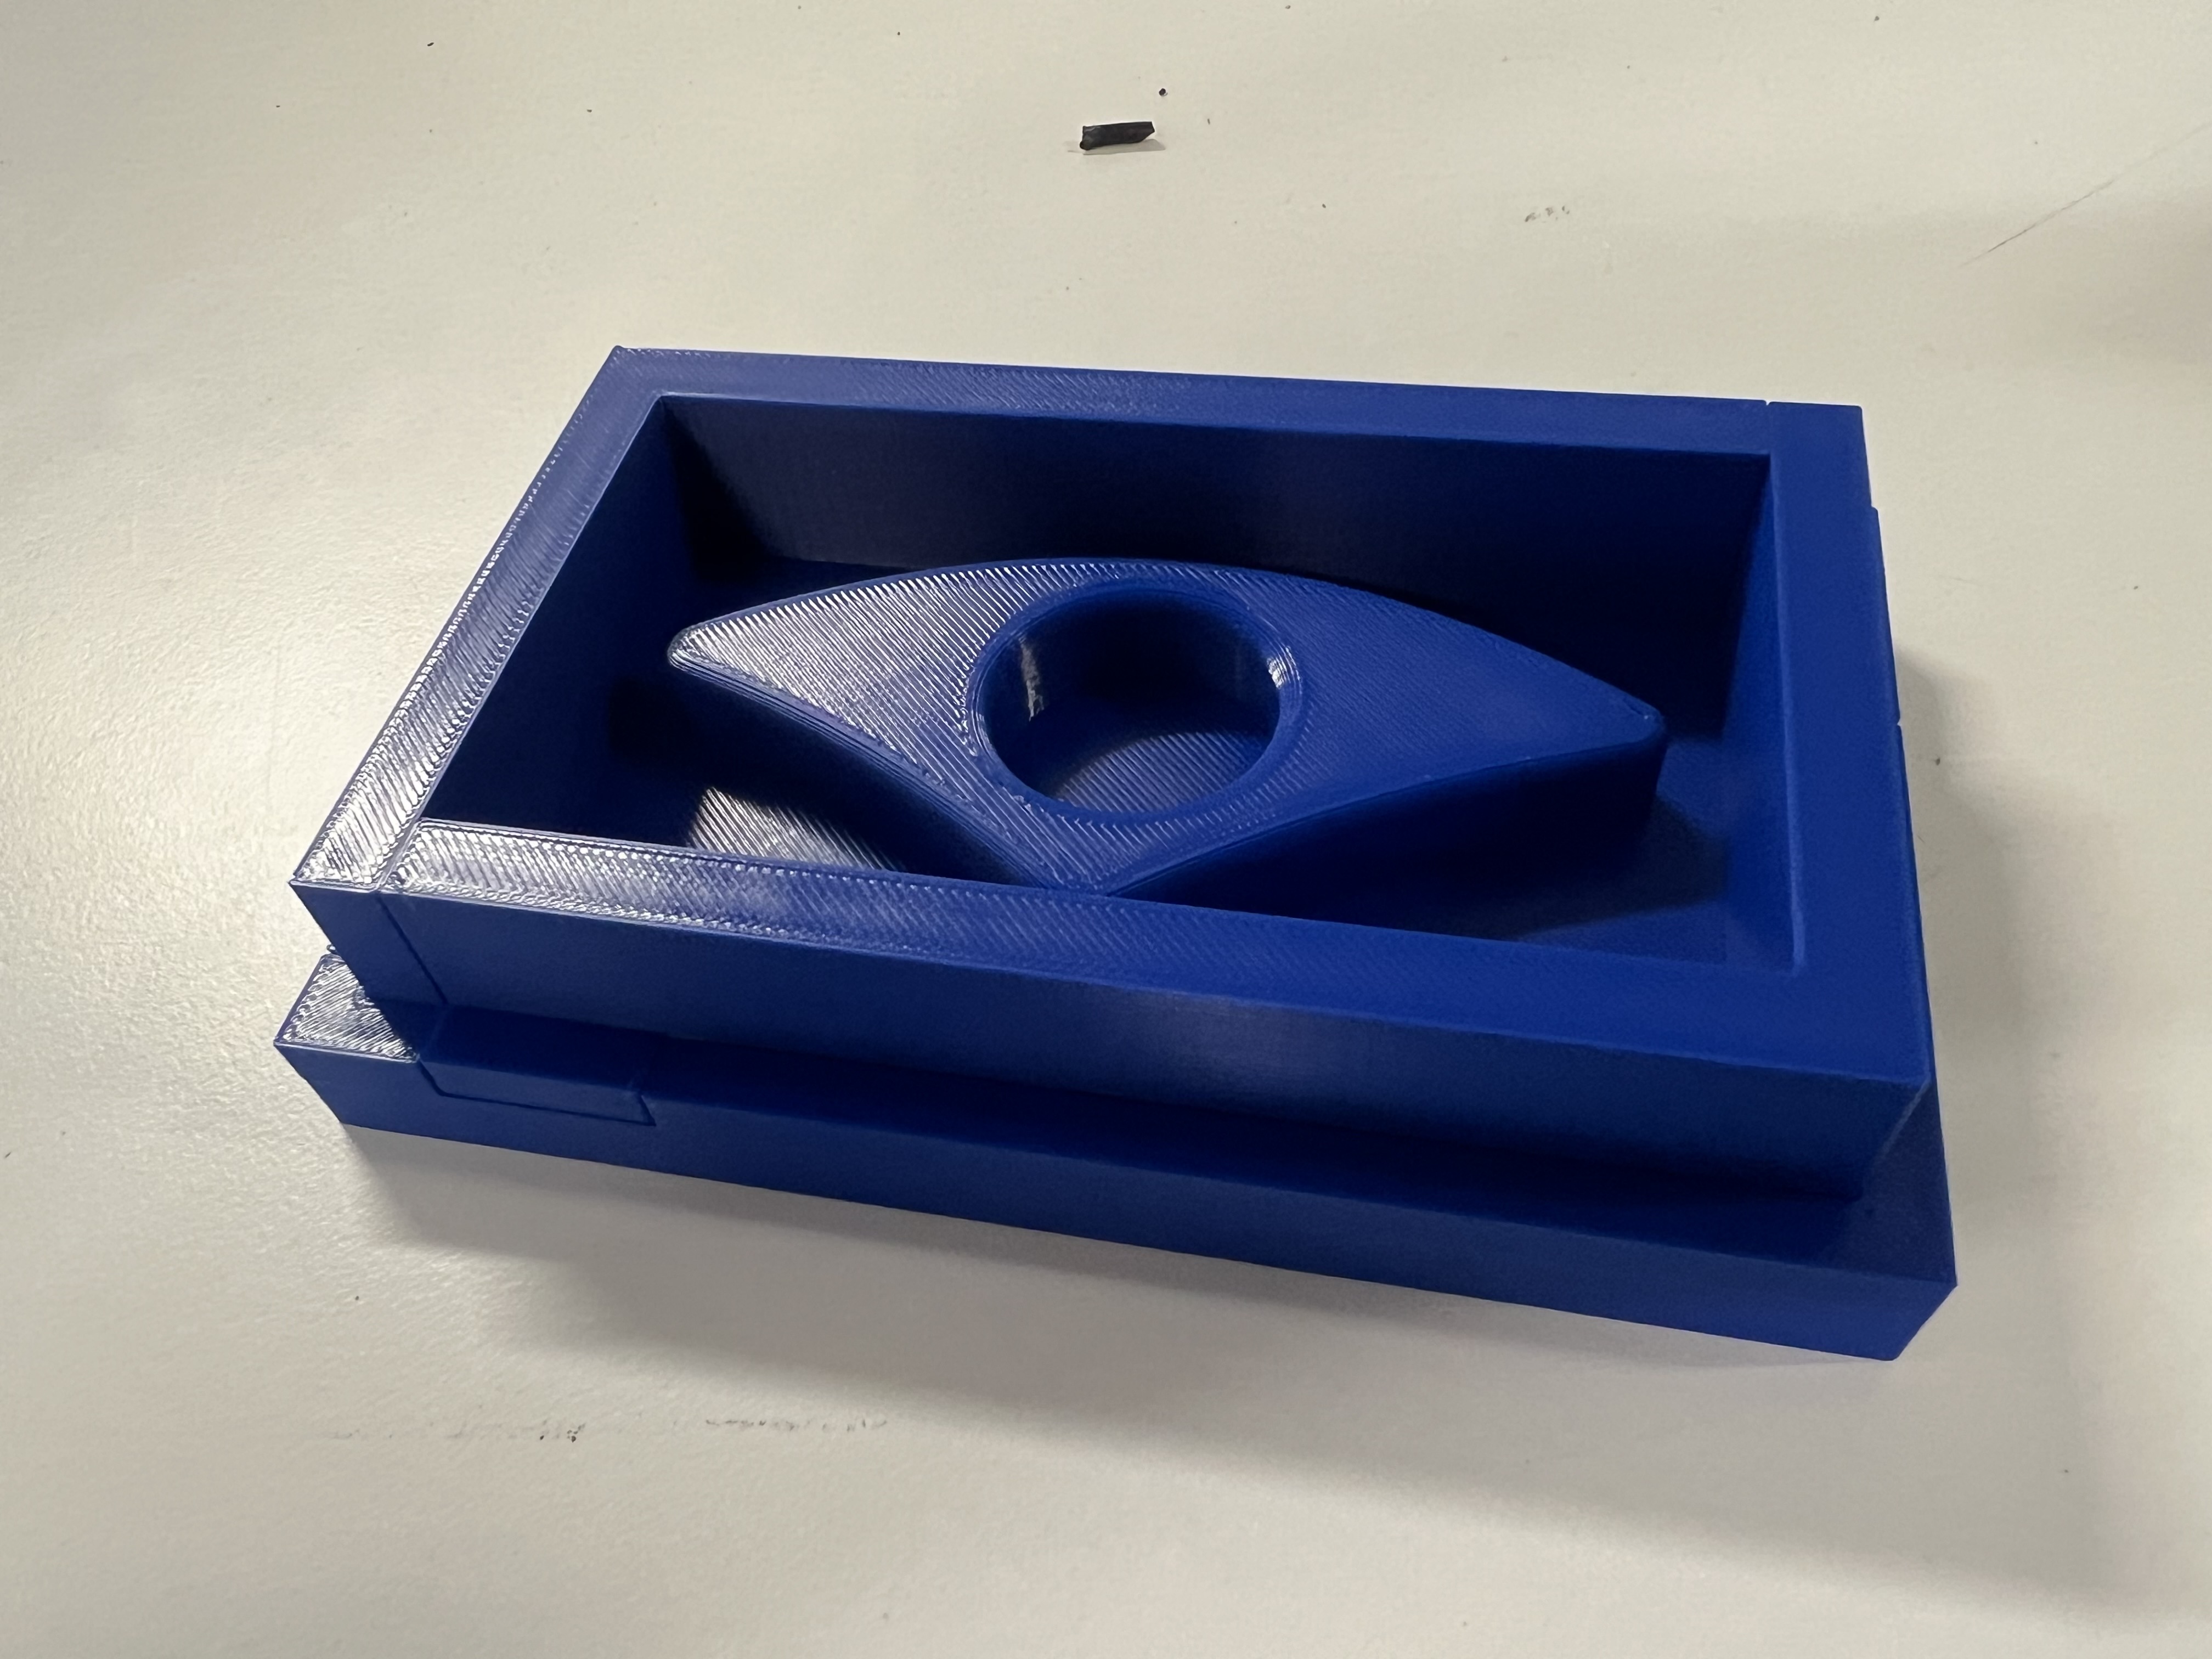
3. Surface Smoothing
Applied wood filler to remove the 3D printing layer lines and achieve a smooth surface.
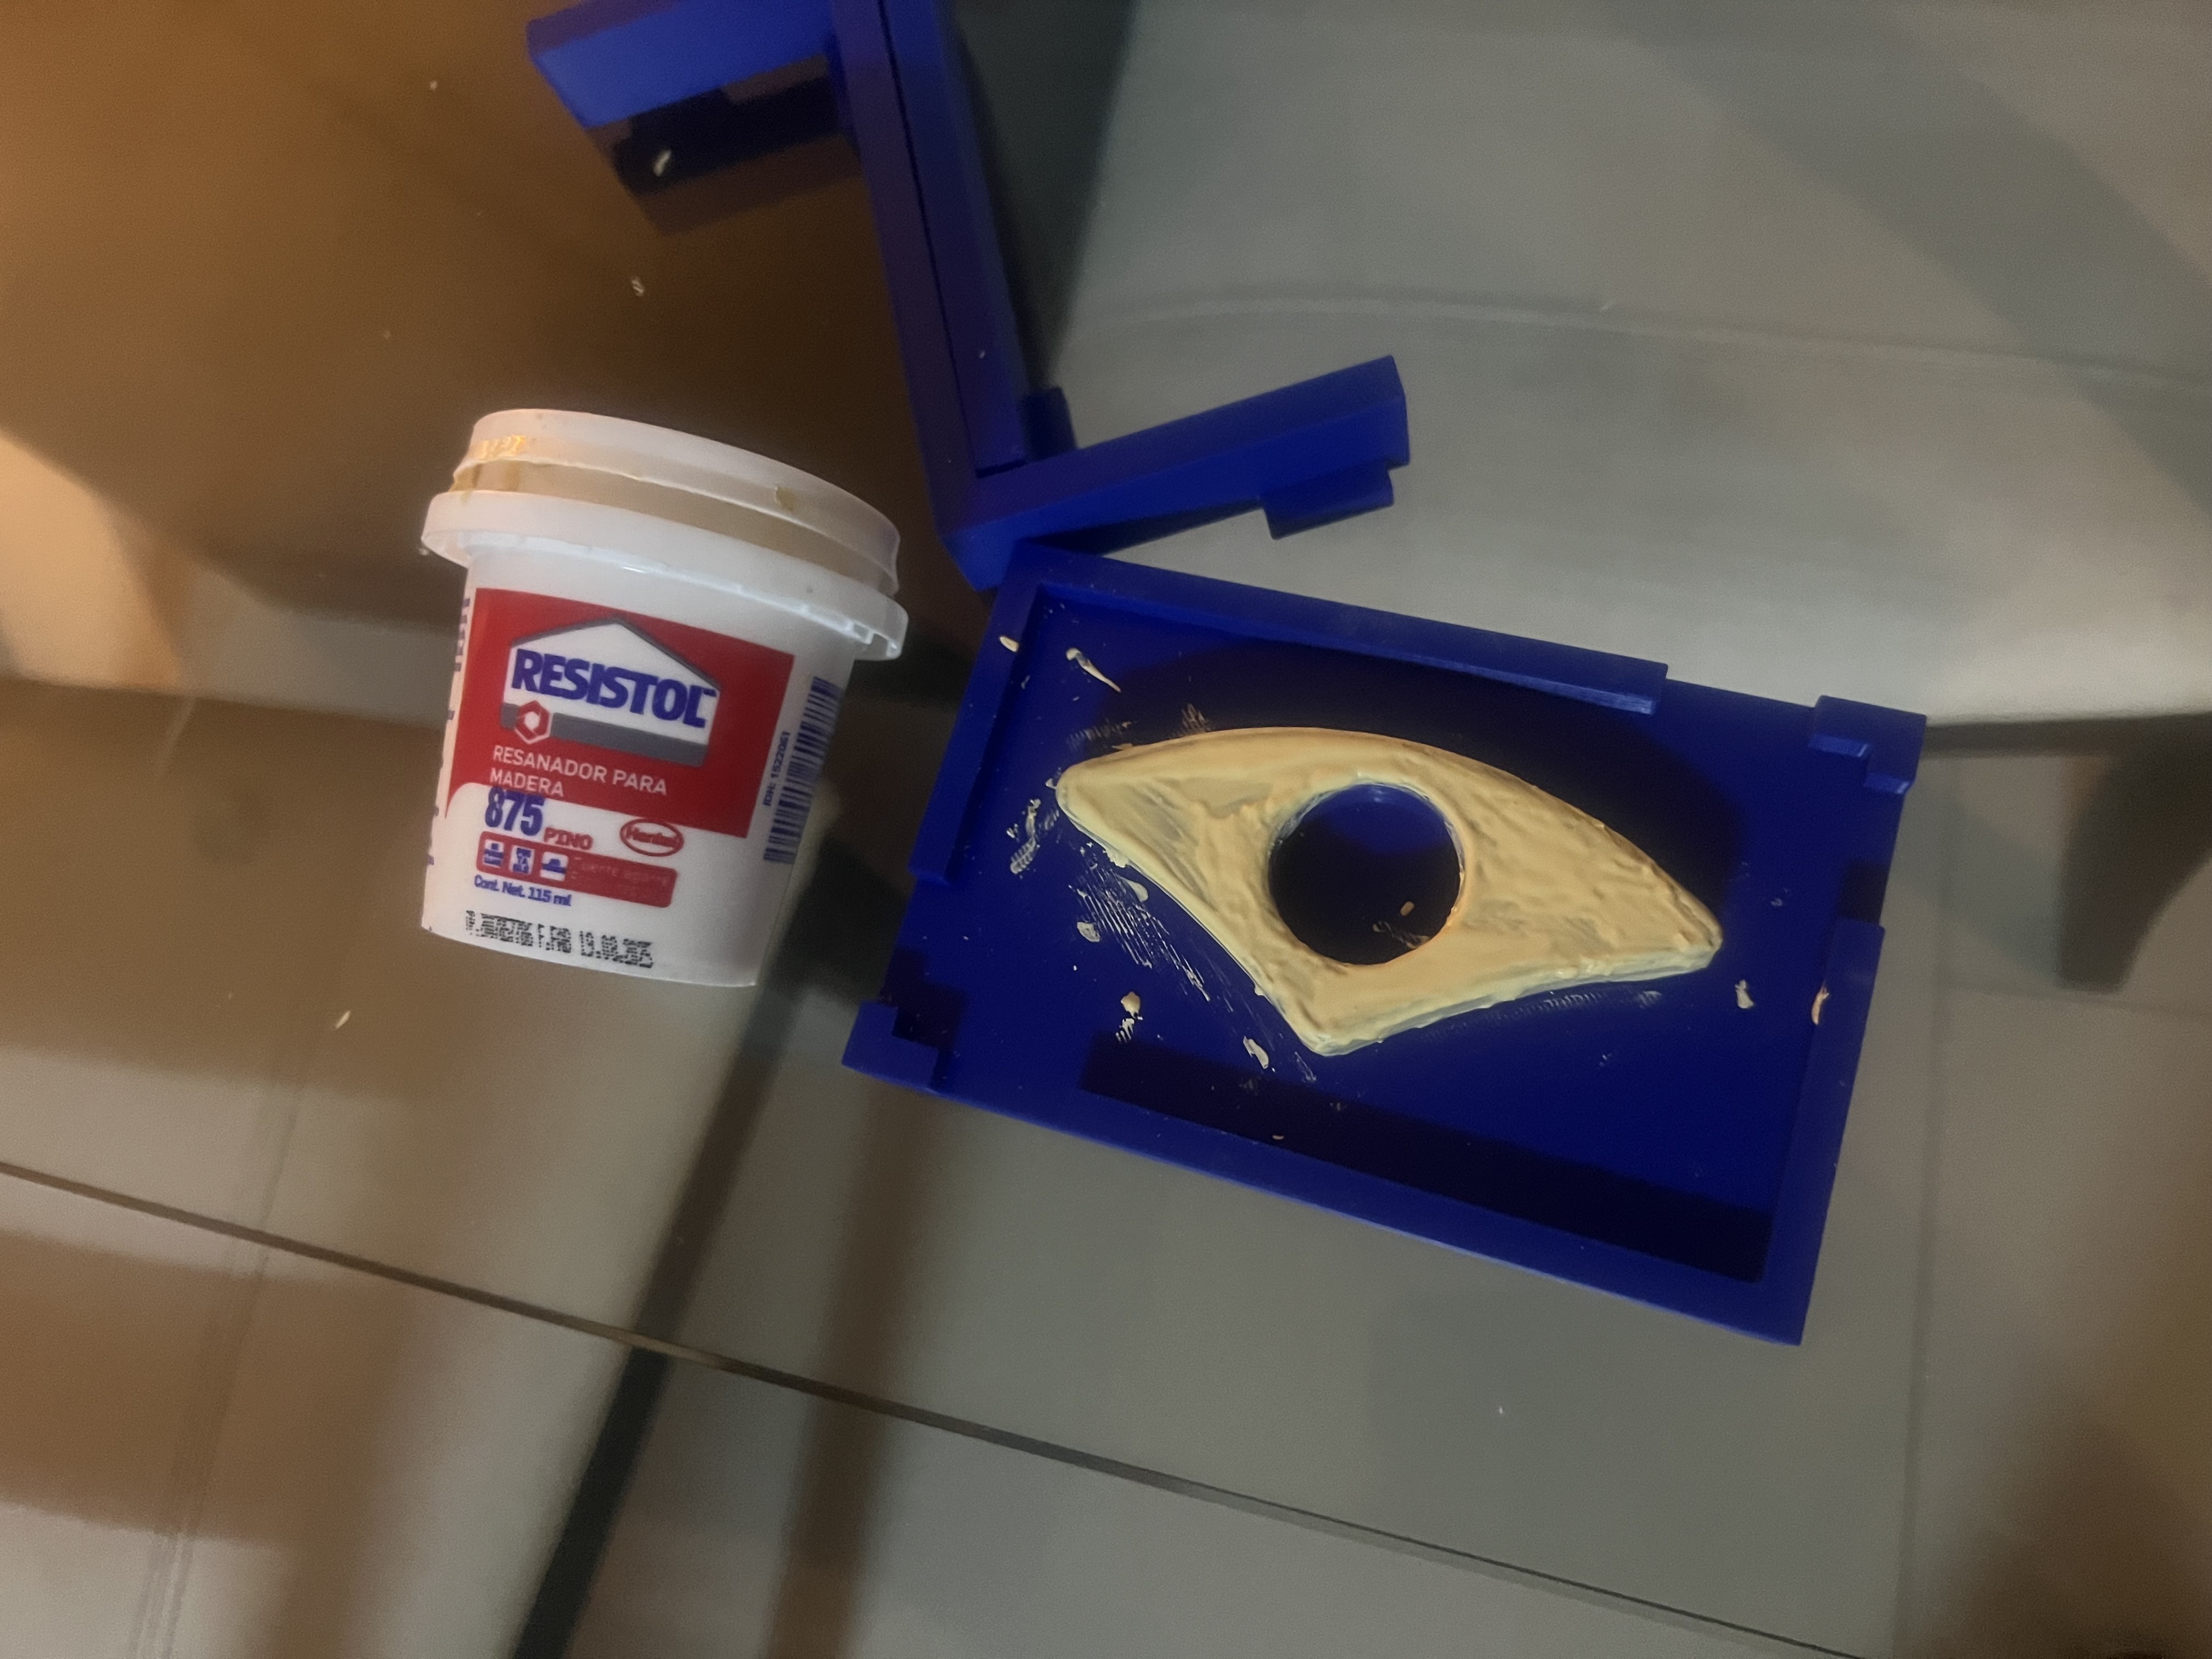
4. Priming
Painted the piece with primer.
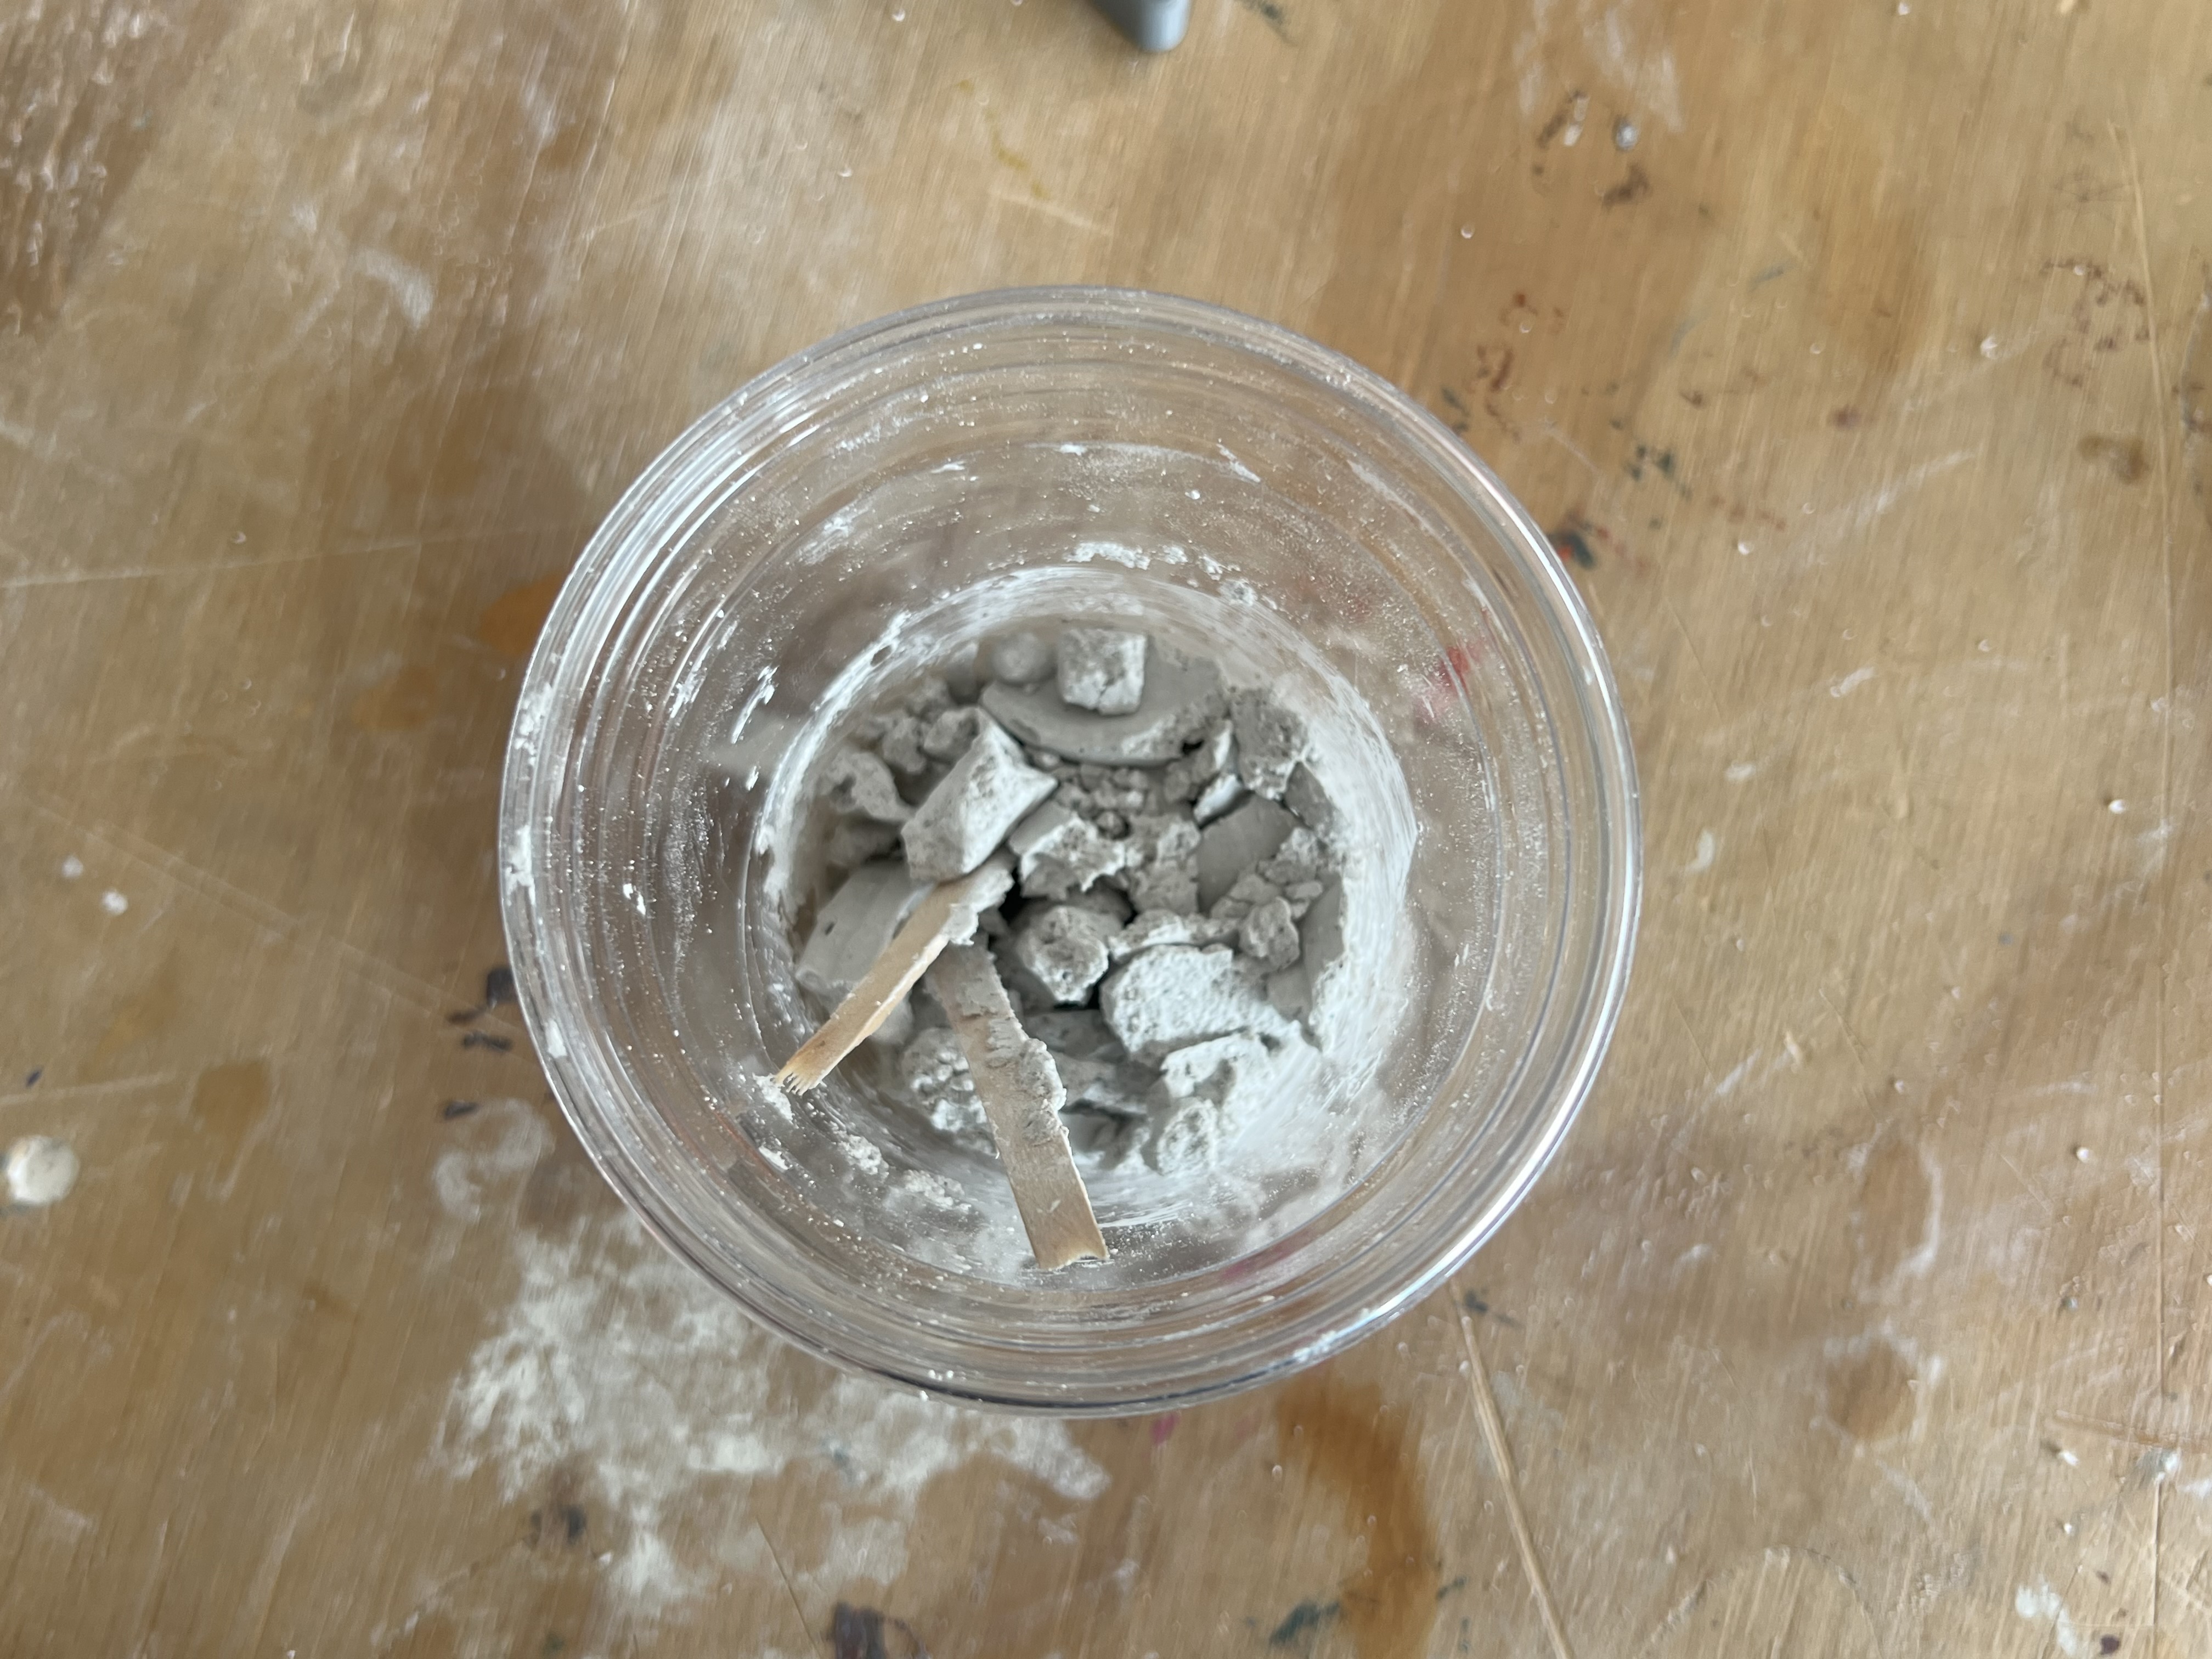
5. Volume Calculation
To calculate how much silicone to prepare, I filled the mold cavity with scrap 3D print pieces and transferred them to a cup.
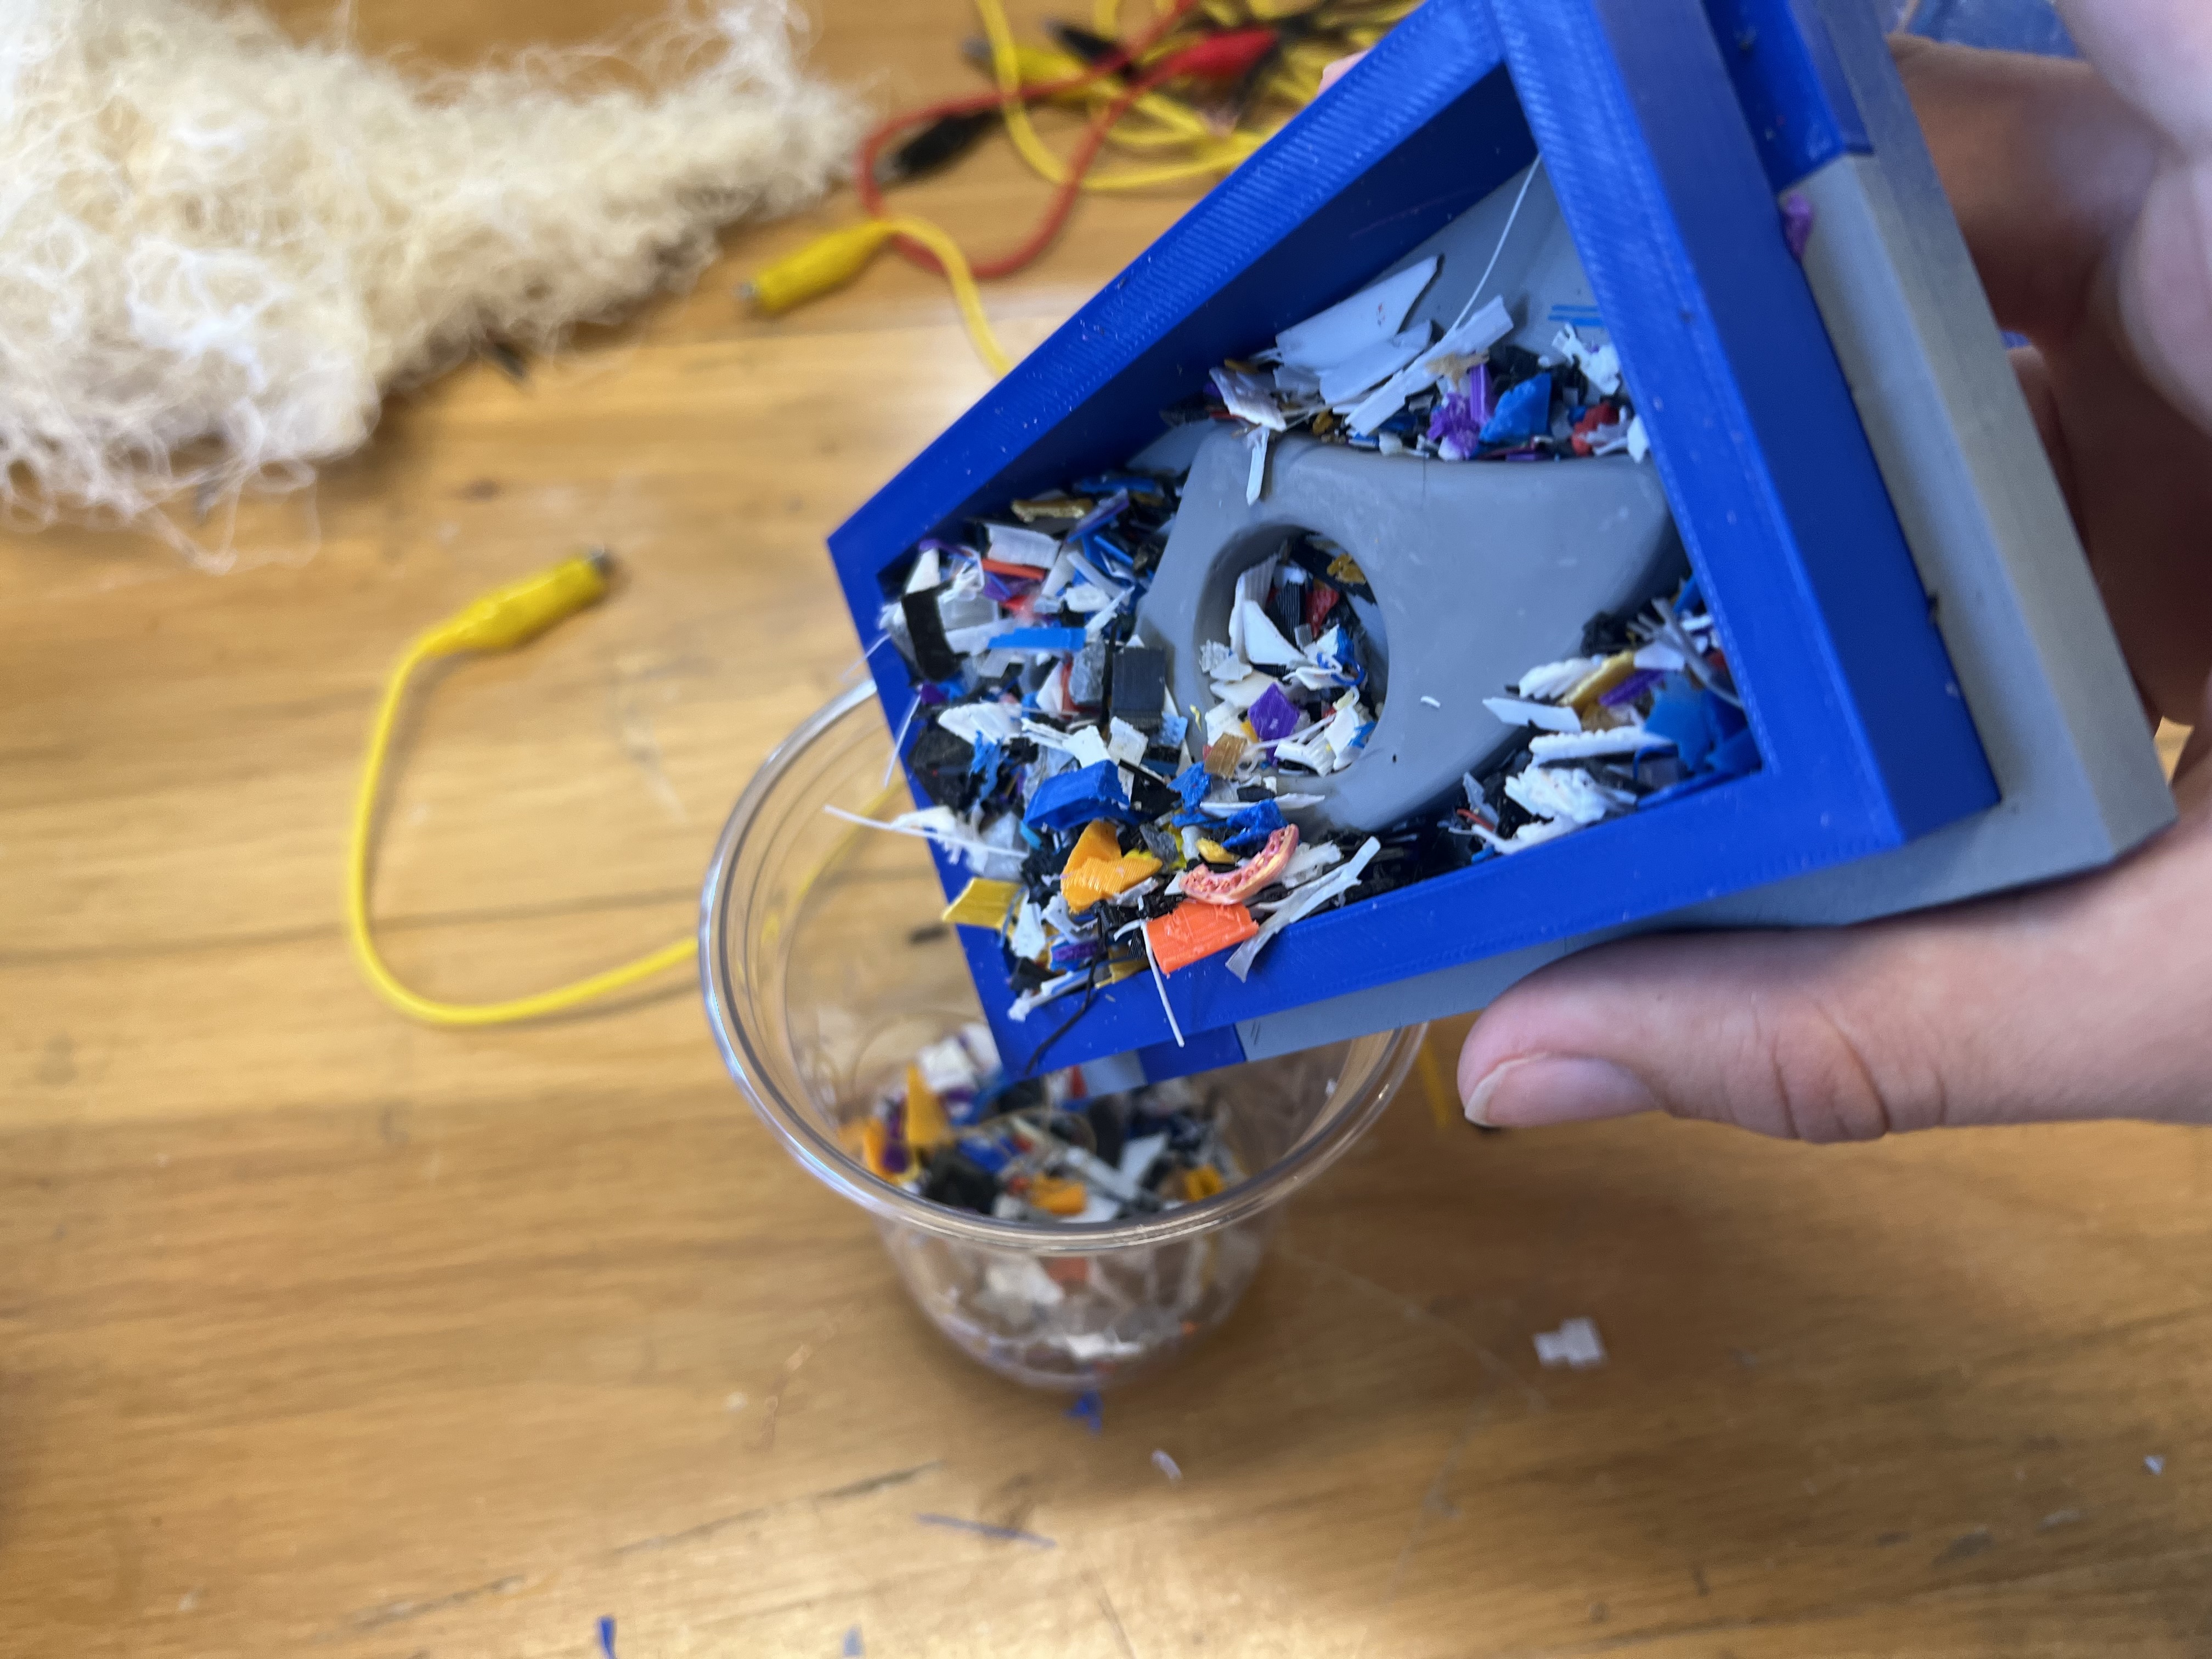
6. Marking the Cup
Marked the cup slightly above the scrap level to have a small safety margin.

7. Pouring Part A
Filled the cup up to the mark with Part A of the silicone.
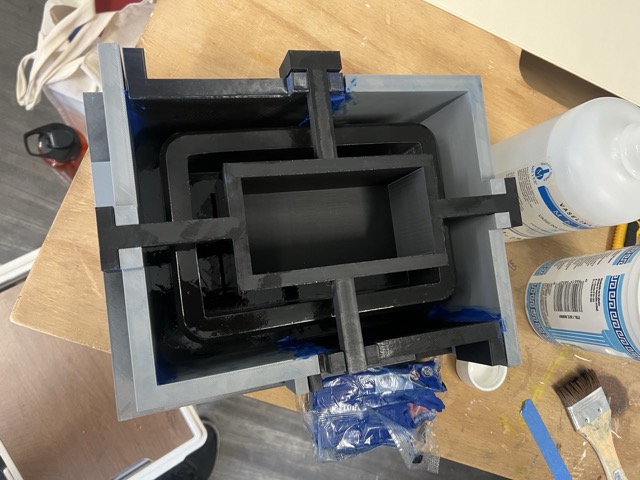
8. Sealing the Mold
Sealed all the mold corners with modeling clay to prevent silicone leaks.
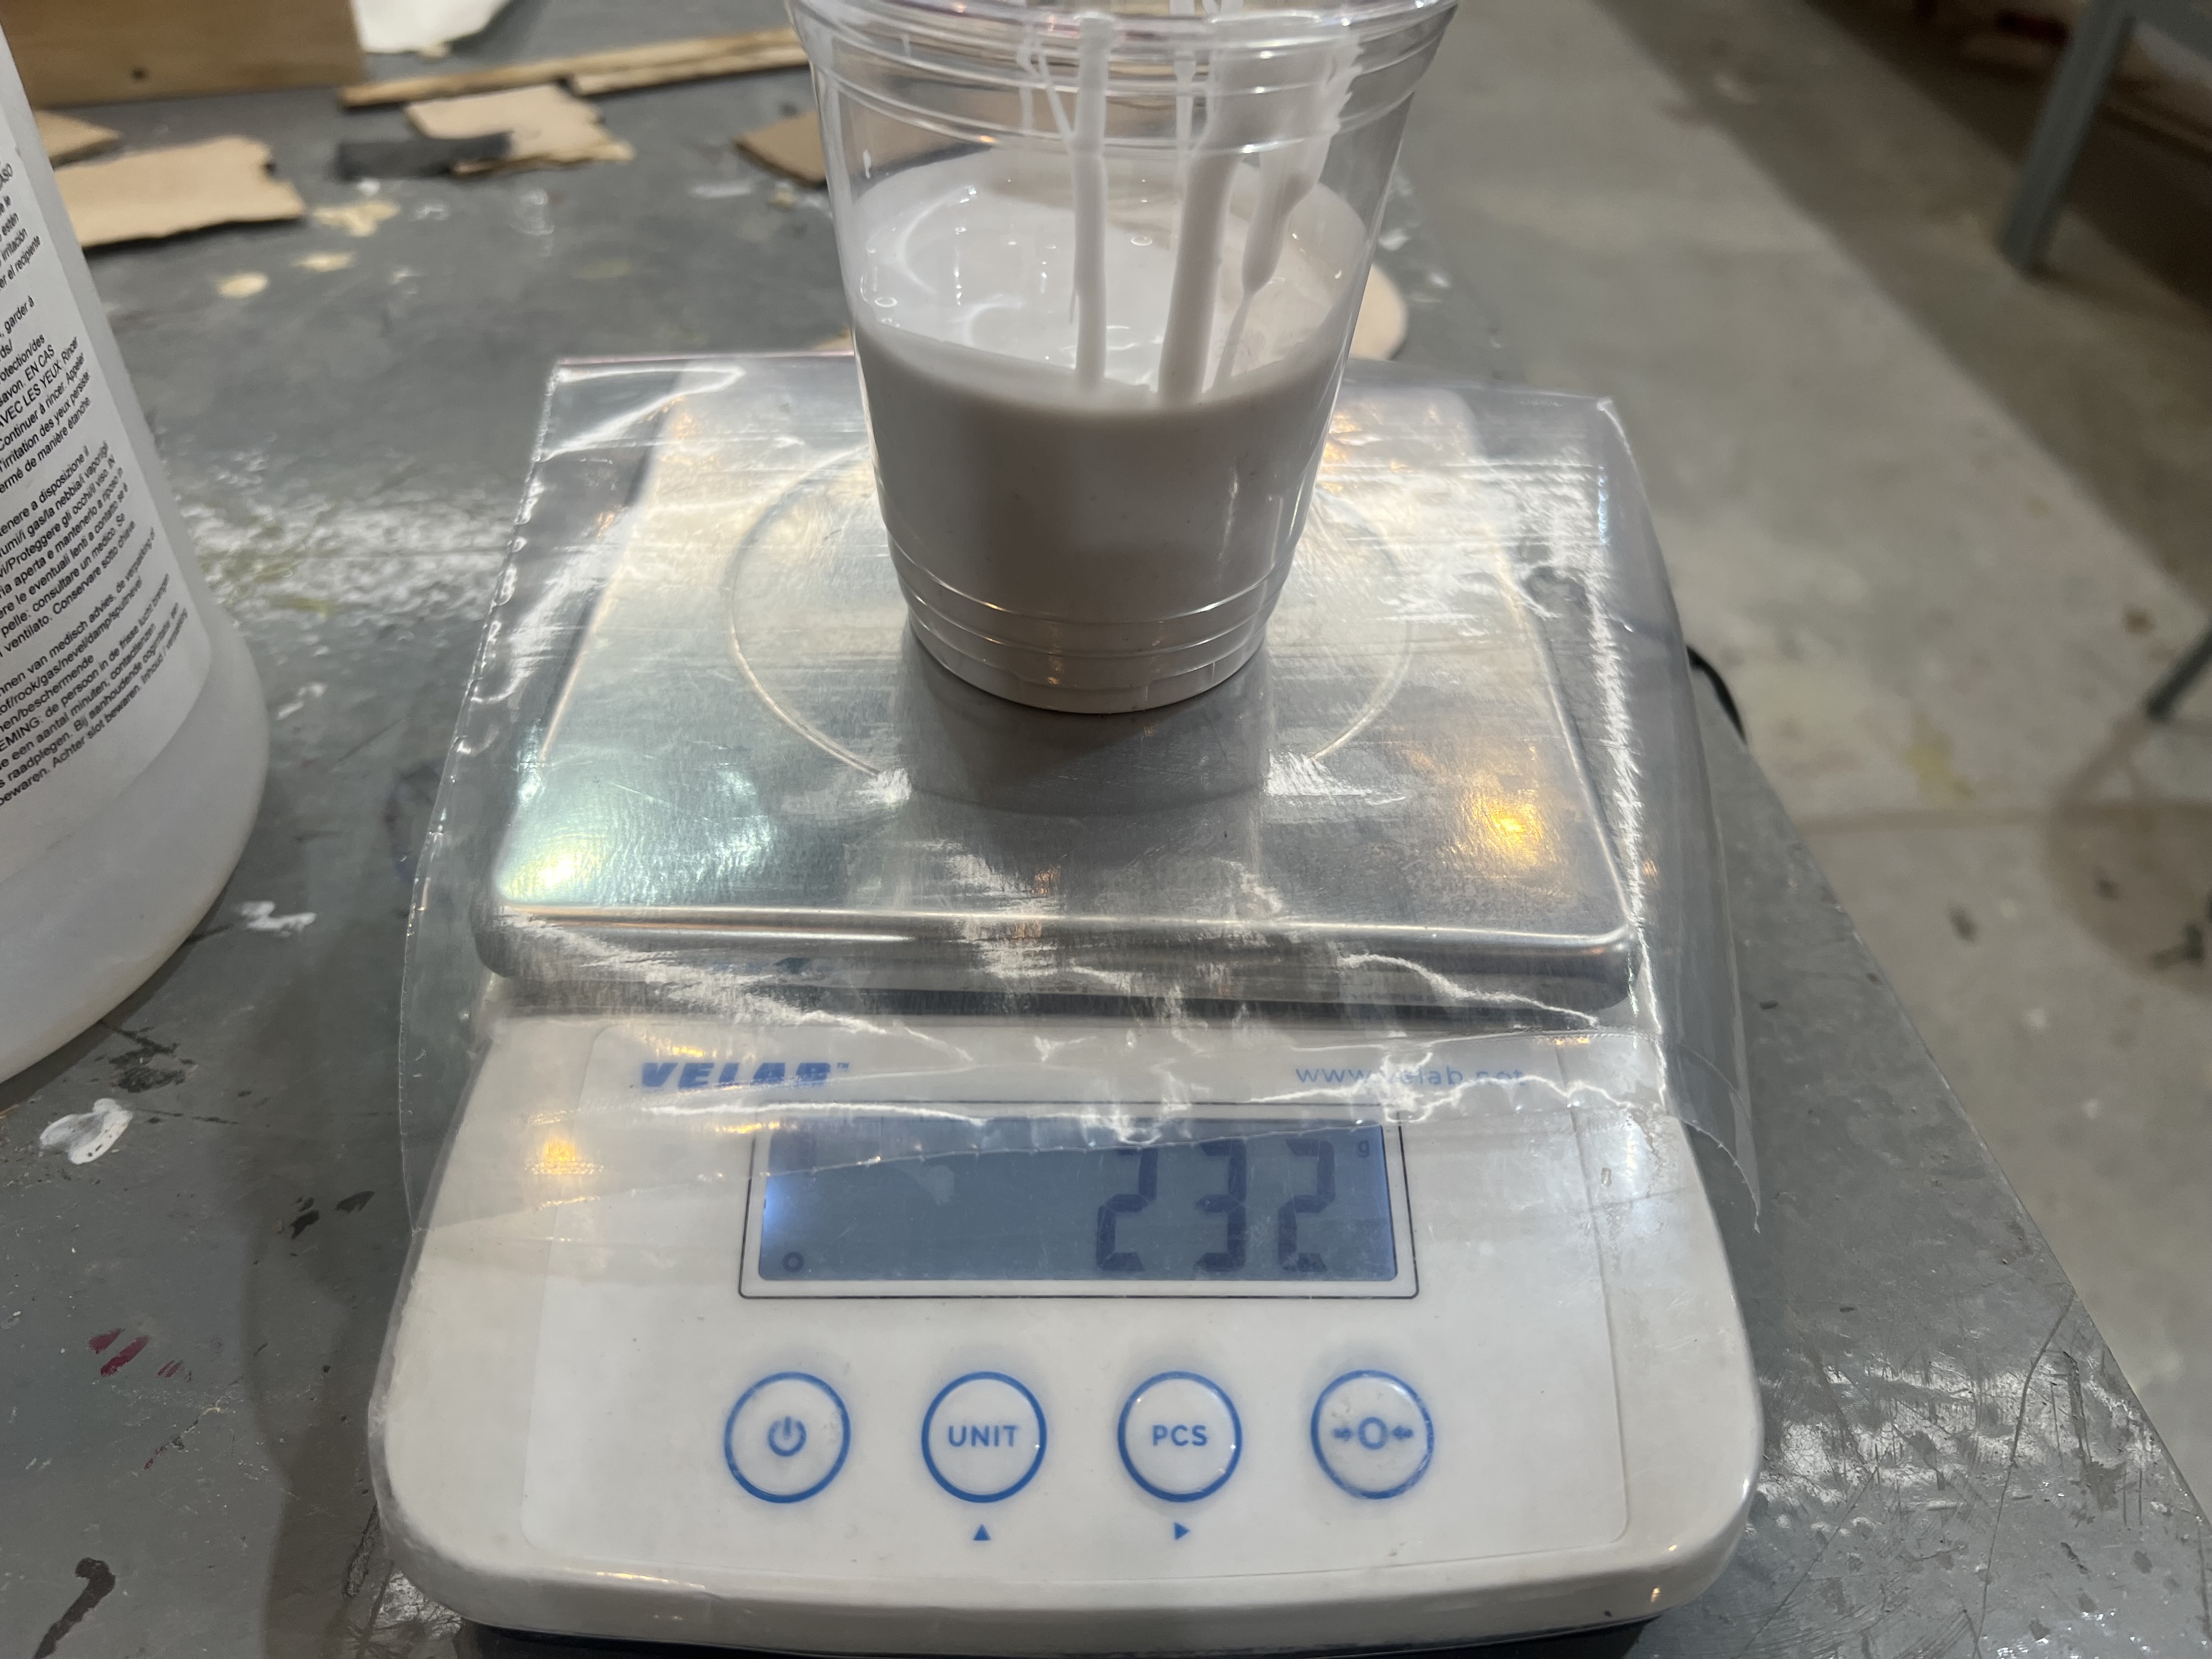
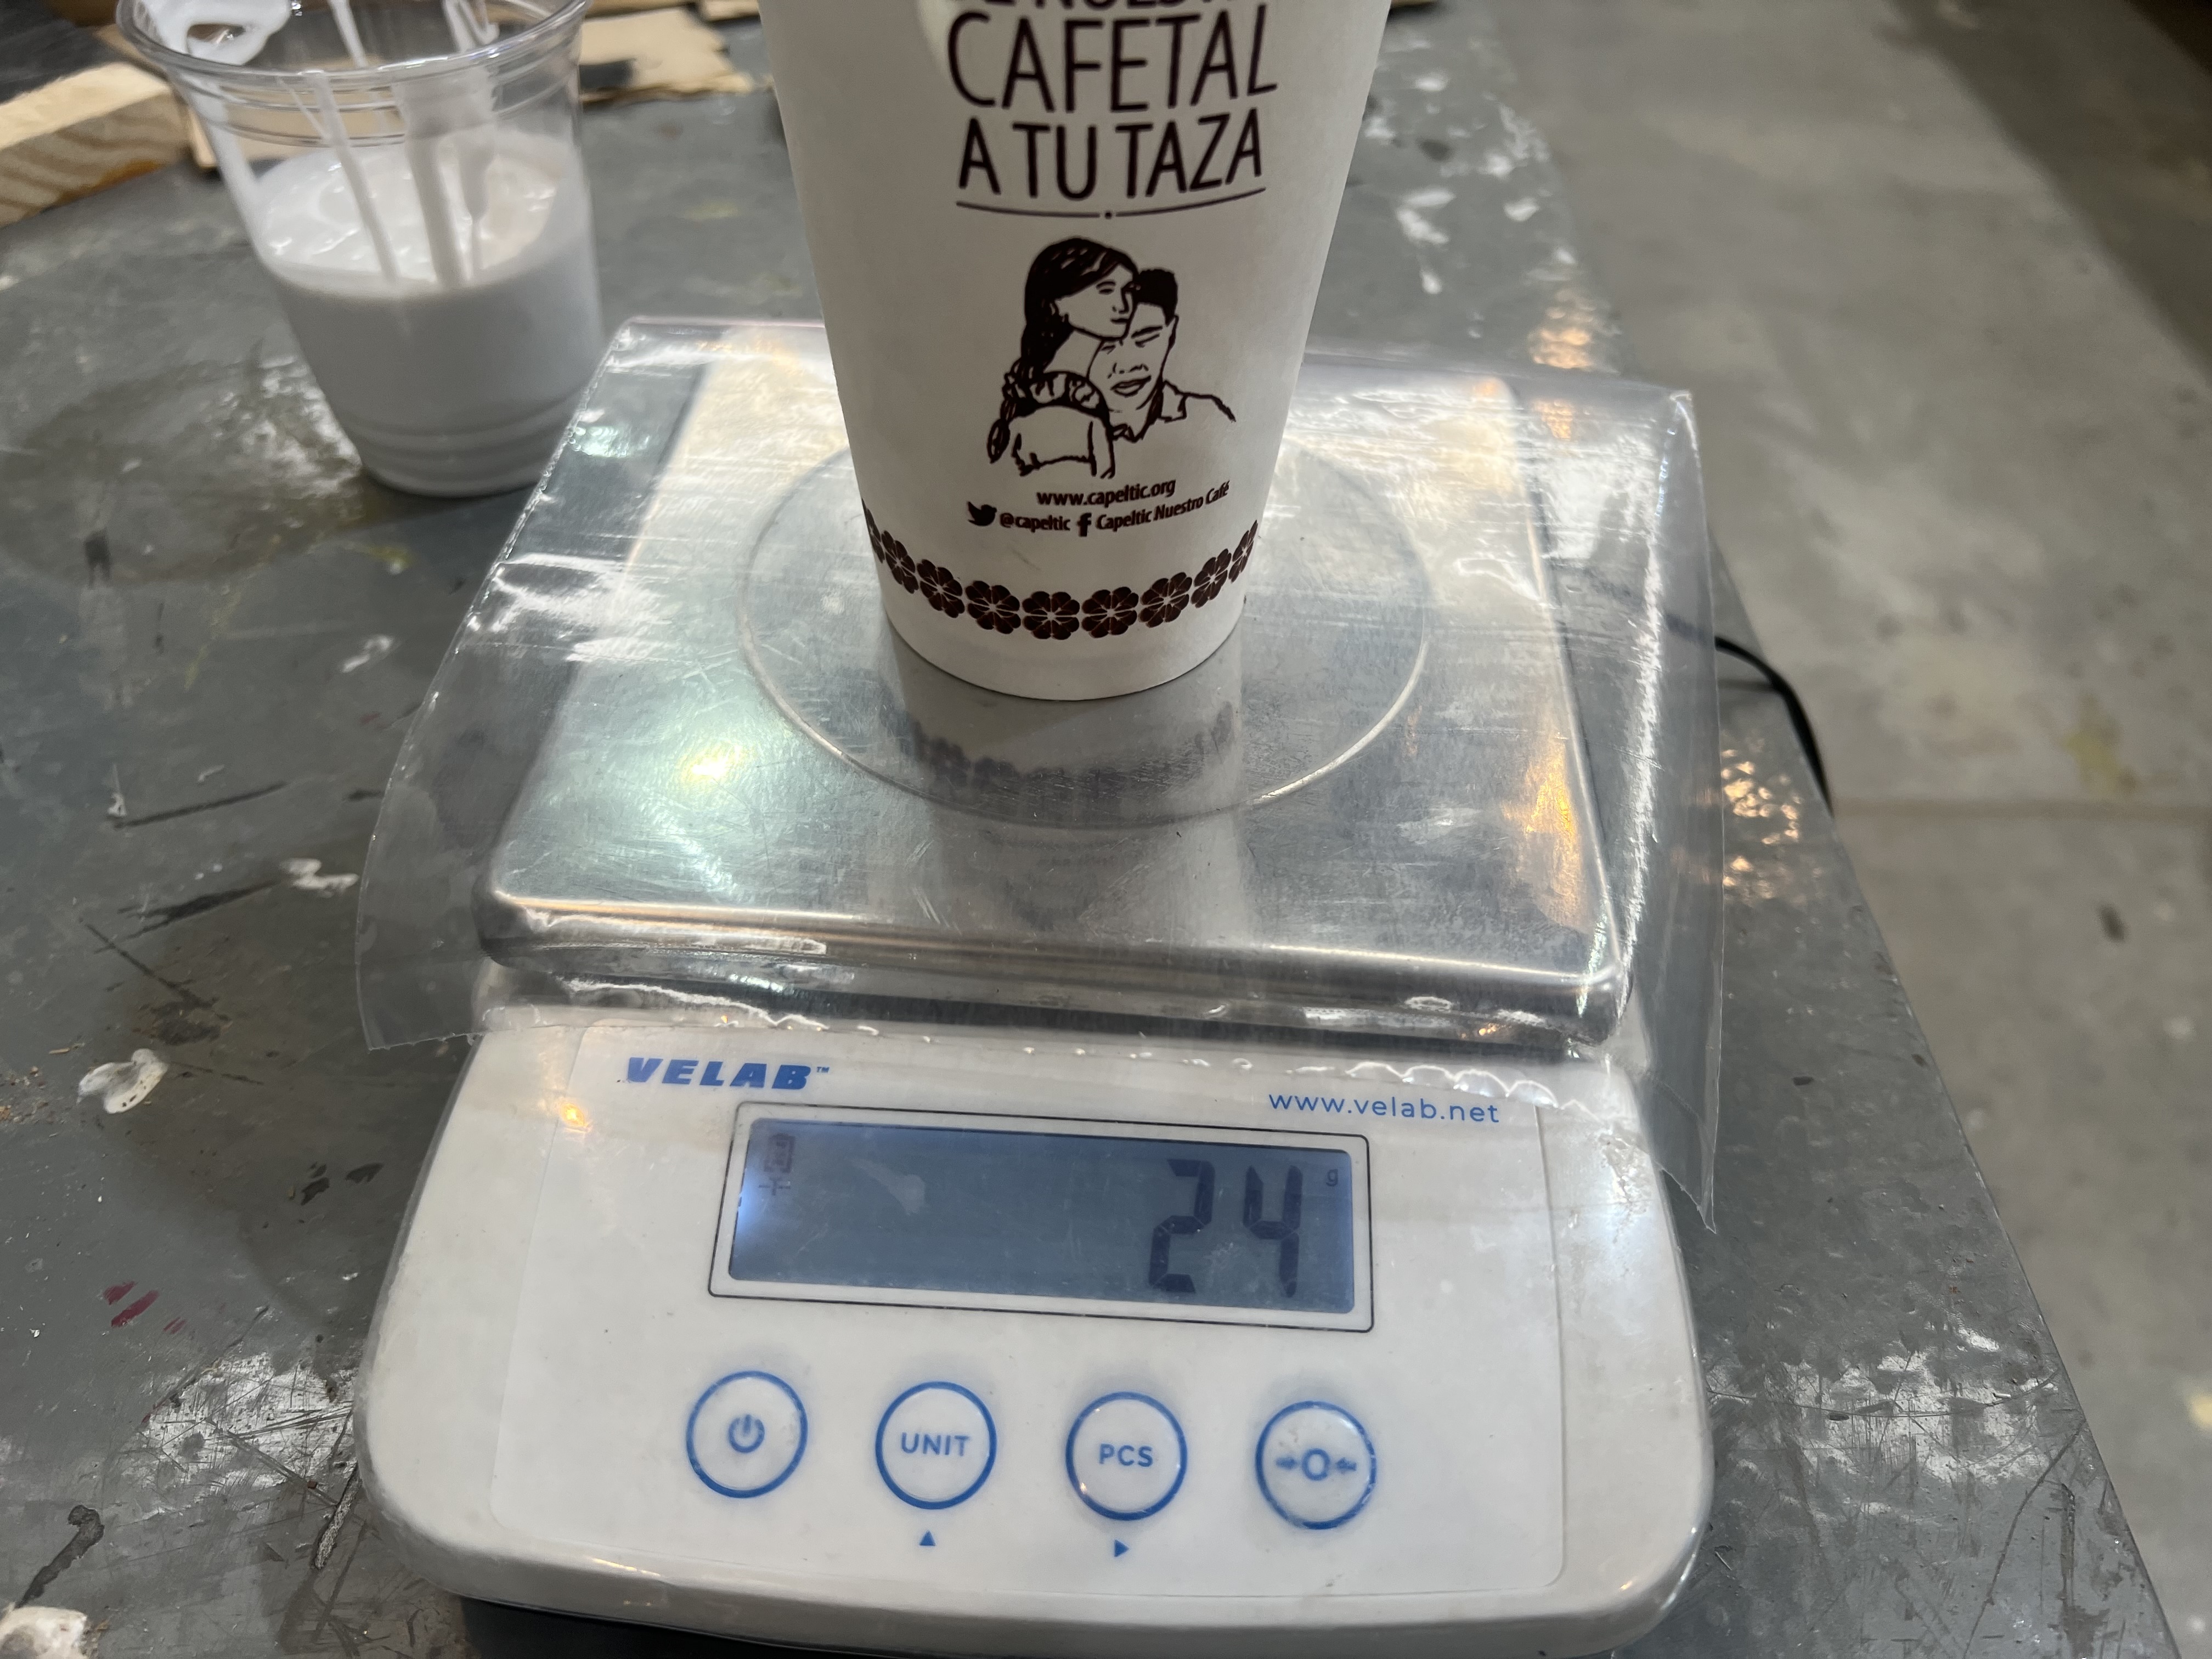
9. Weighing Part A
Weighed the Part A mixture on a scale to calculate the required 10% of Part B. The total was 232 g, so 23 g of Part B were needed.
10. Adding Part B
Weighed and added the 23 g of Part B.
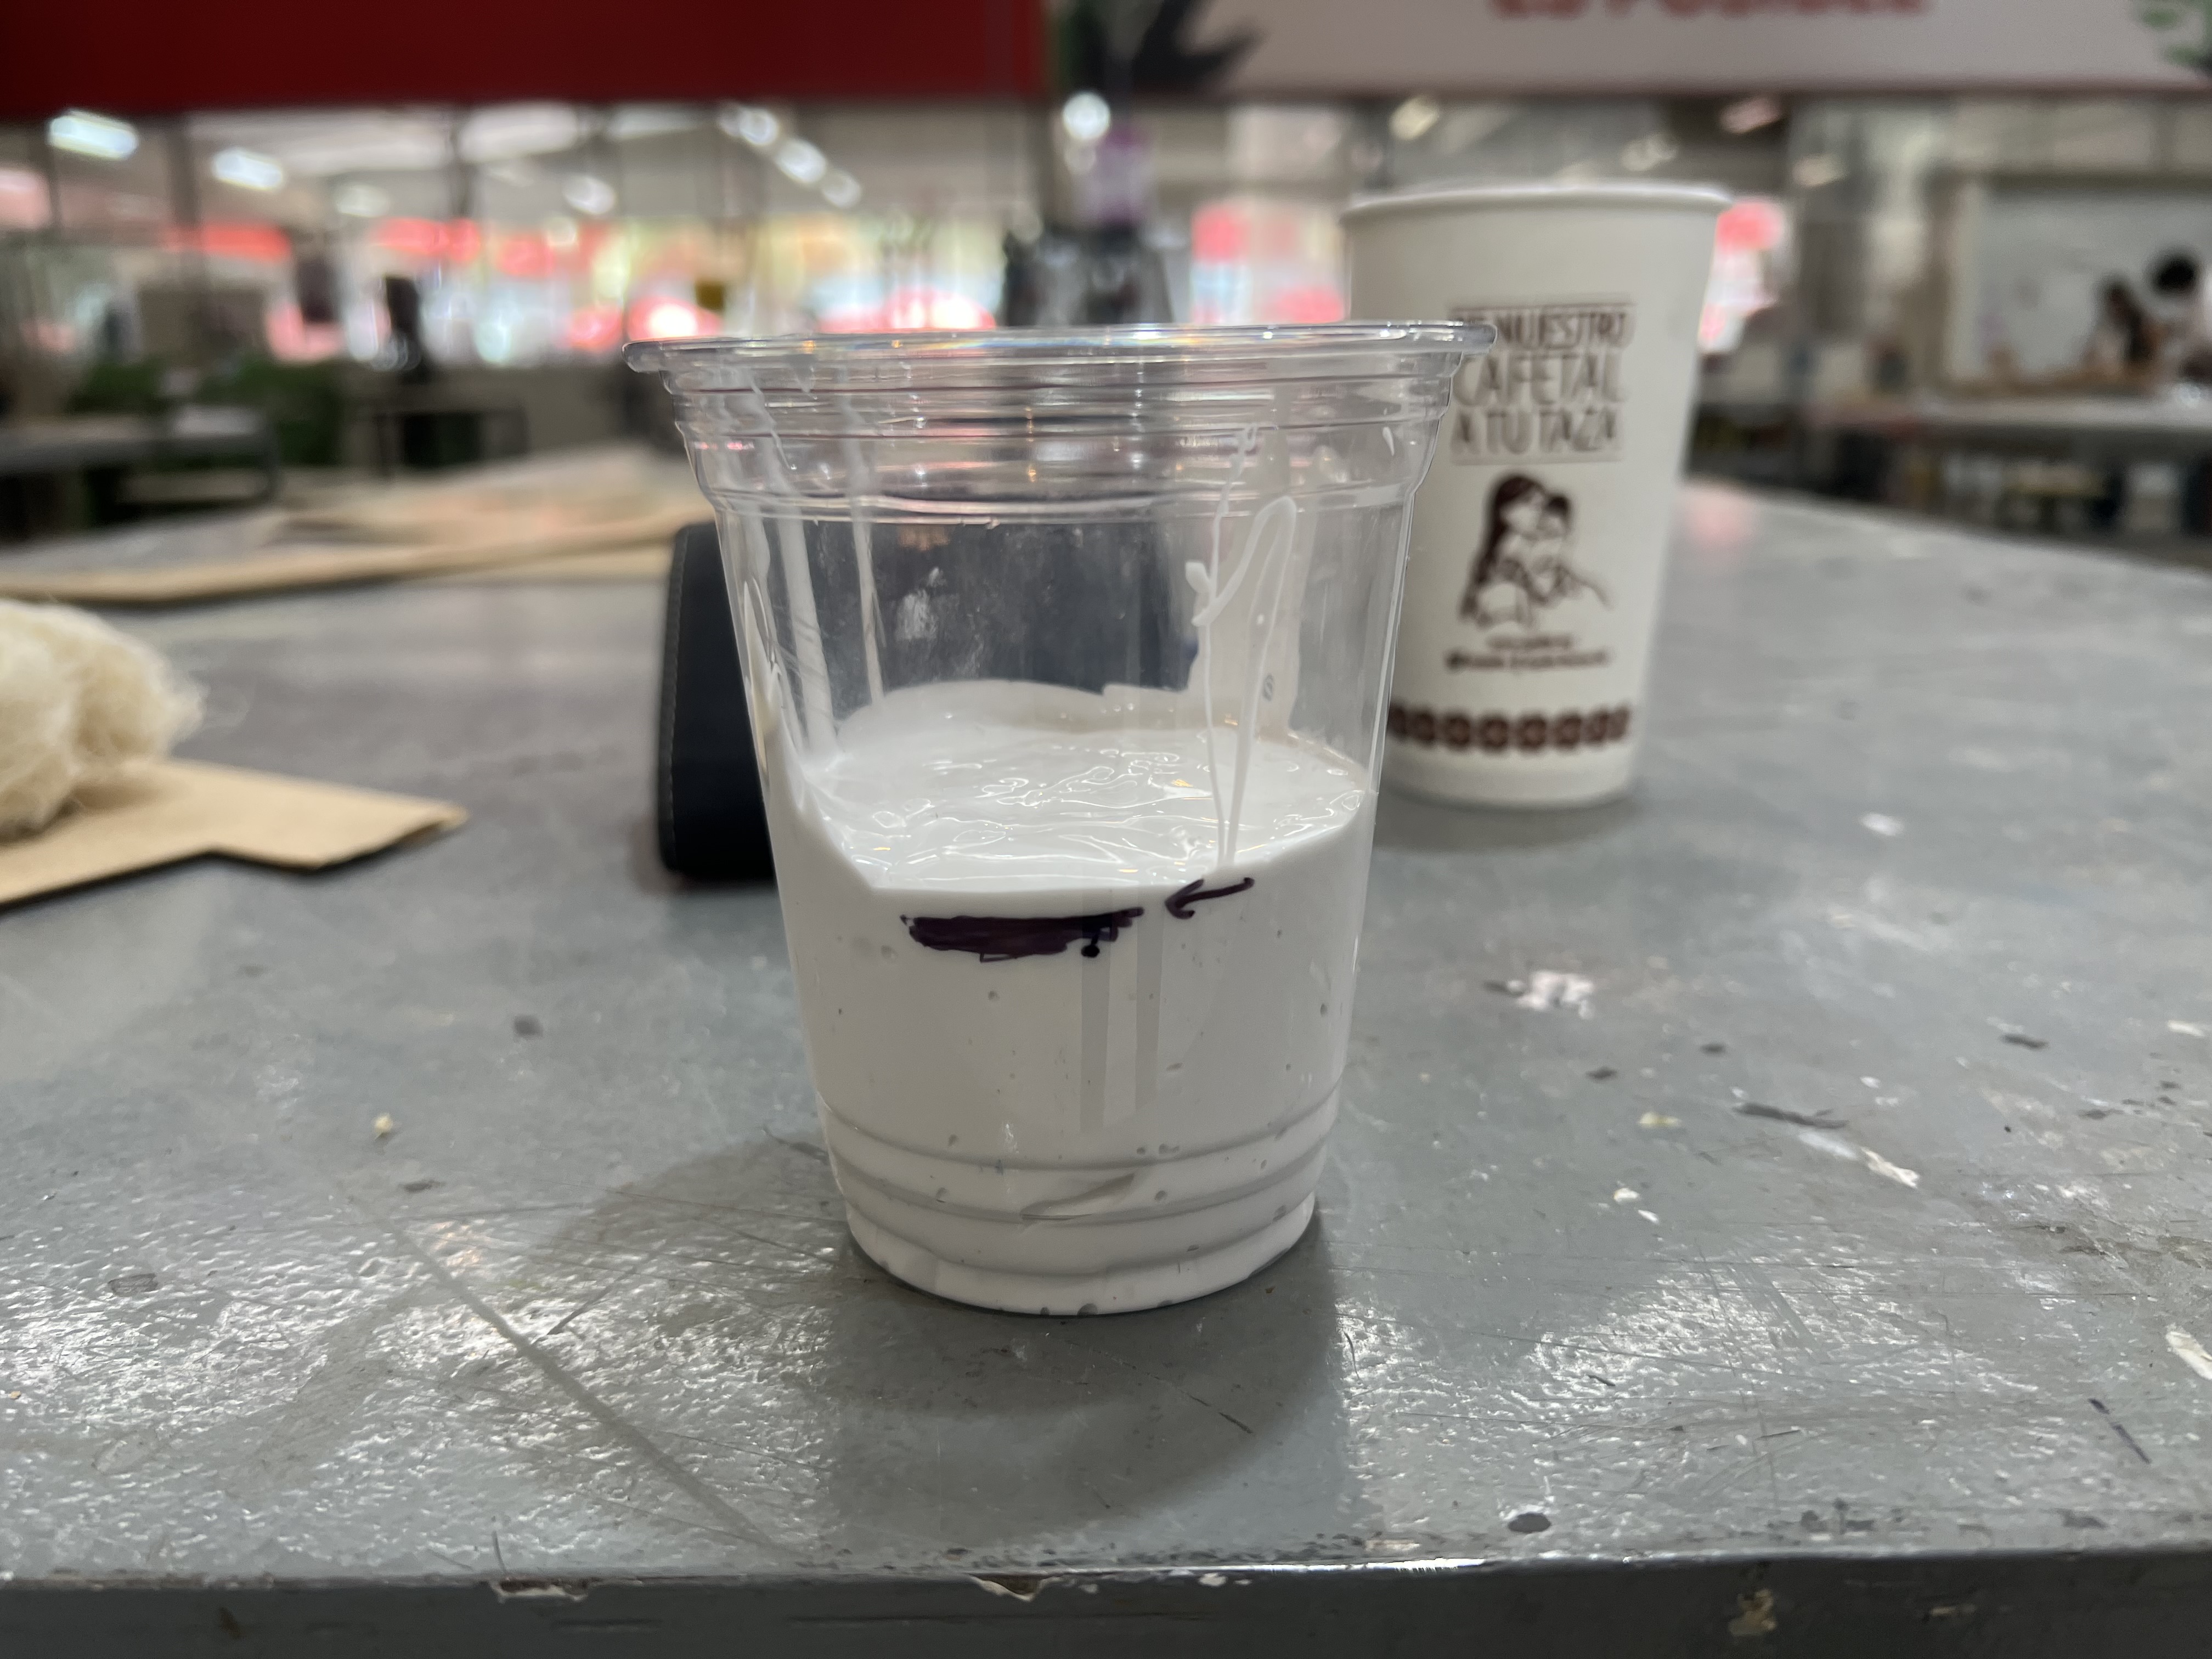
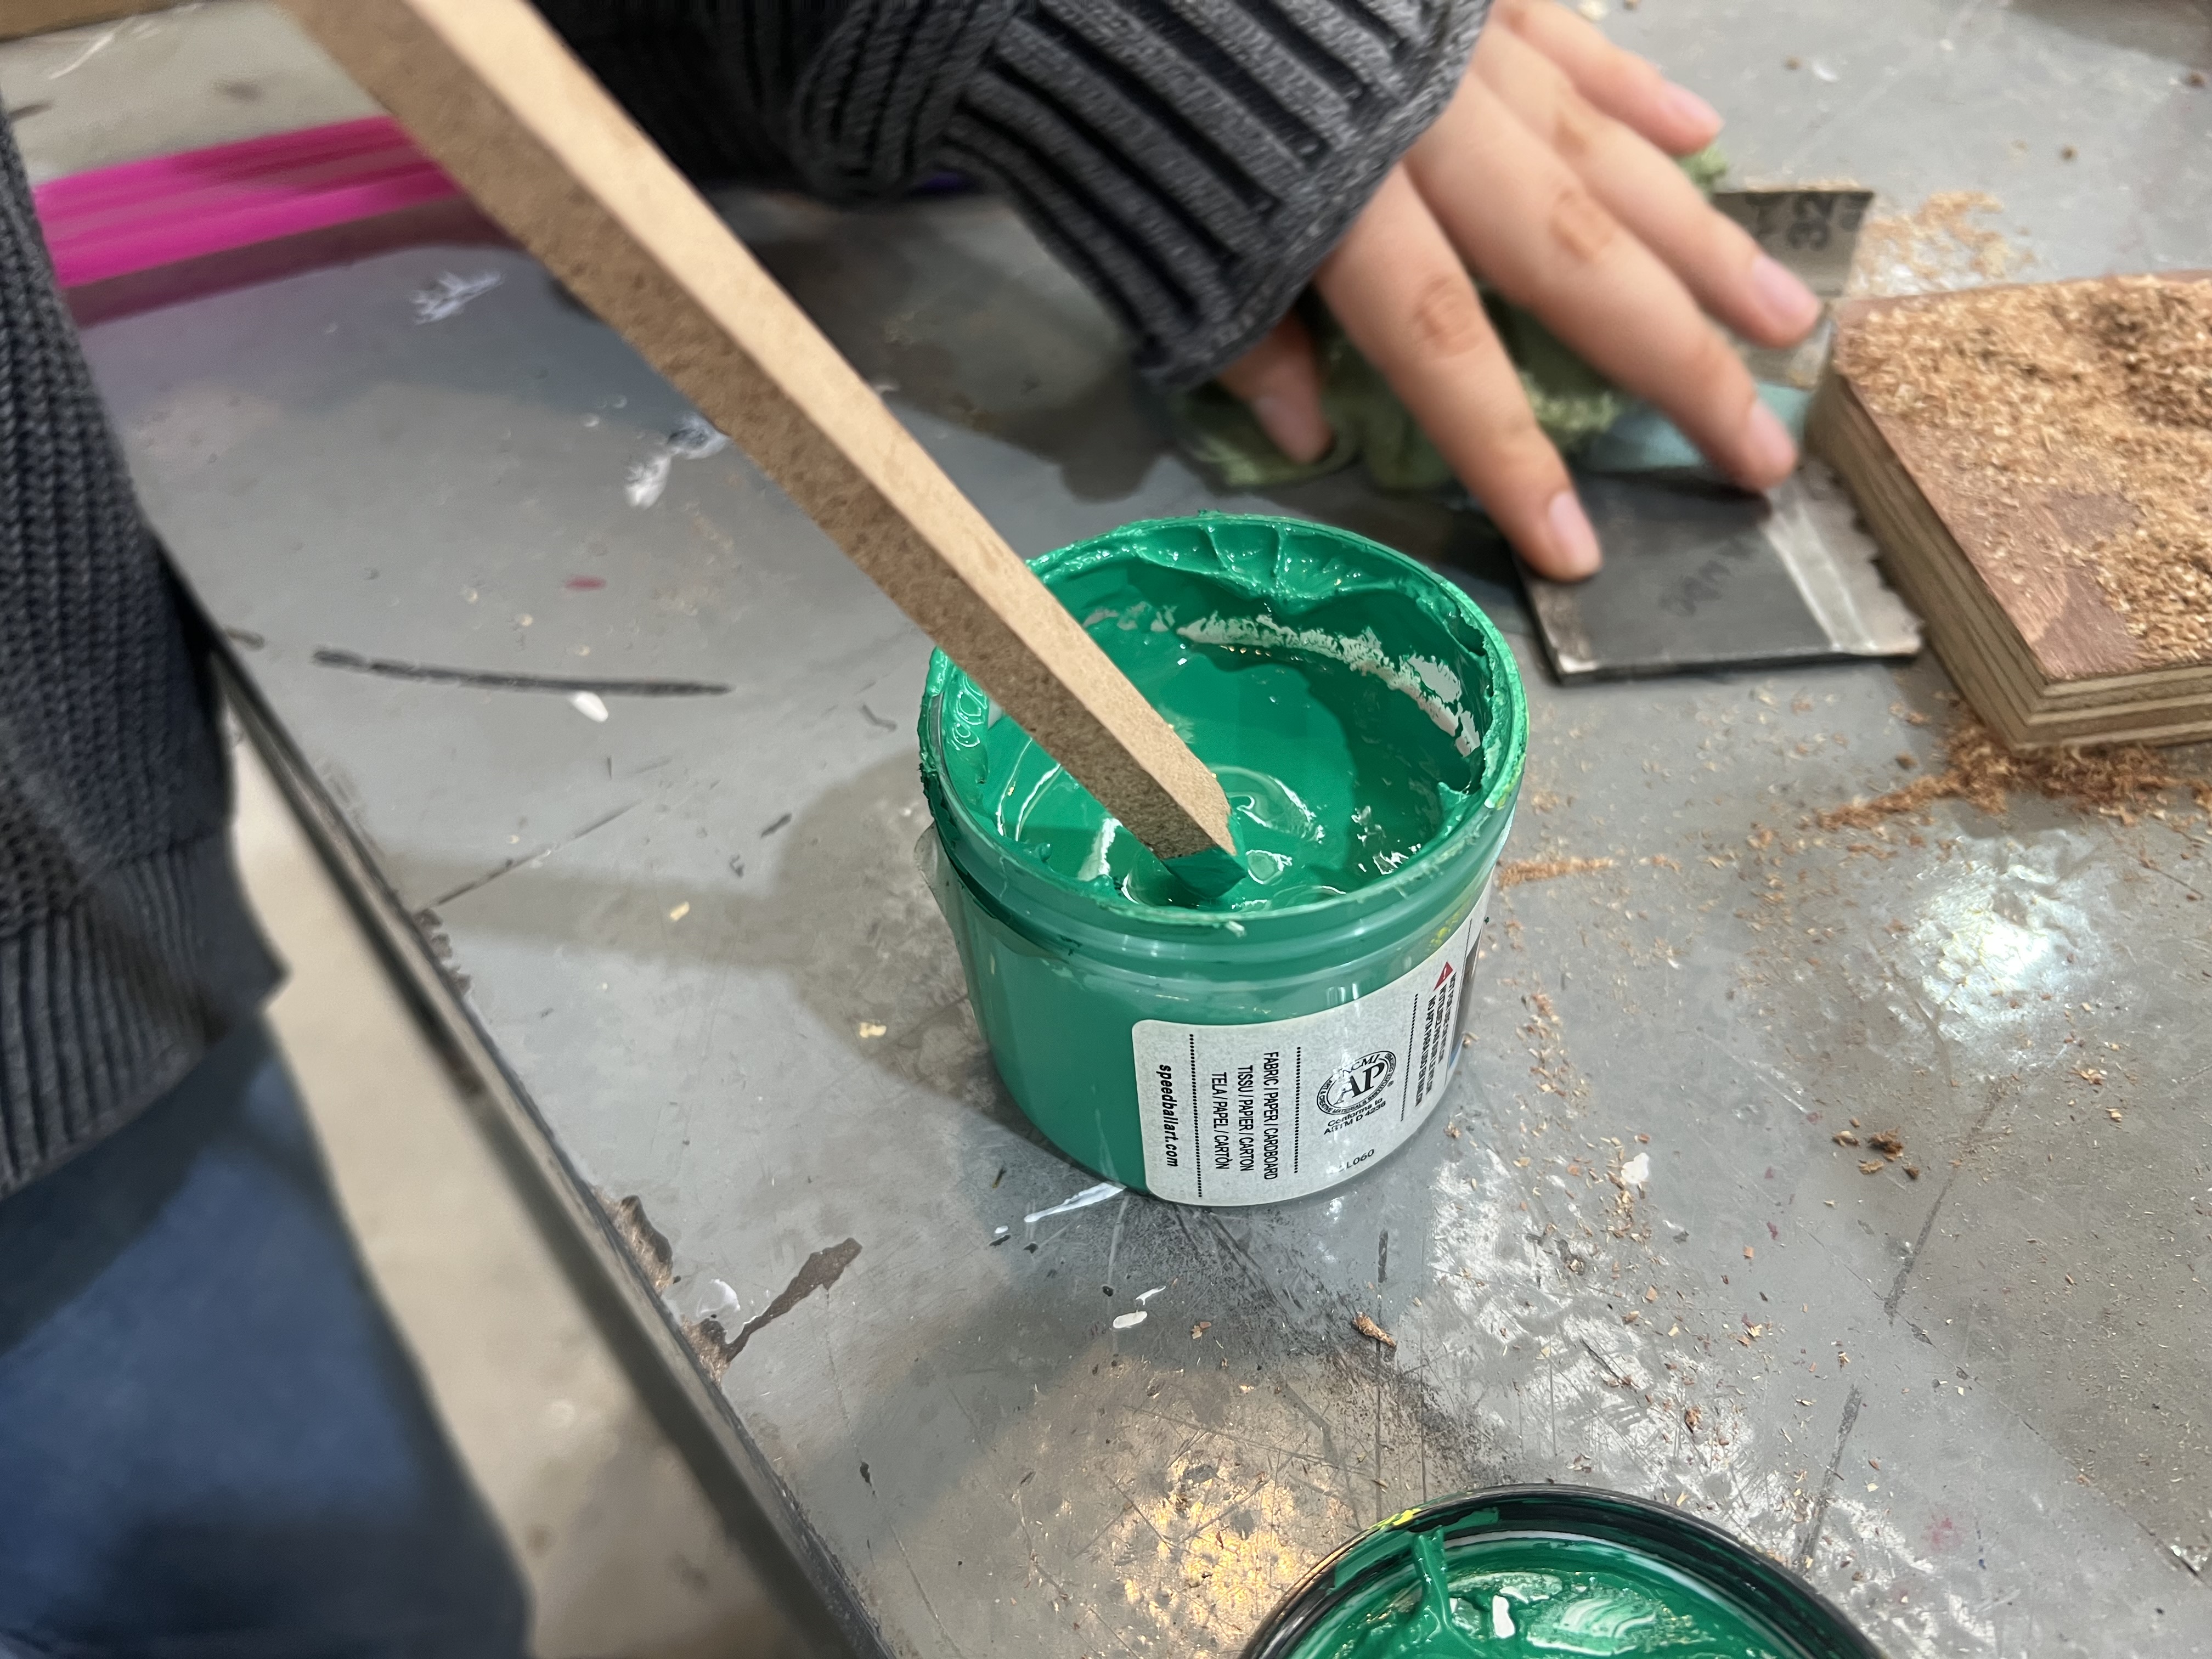
11. Adding Pigment
Tip: To confirm the mixture was fully homogeneous, my friend Majo recommended adding pigment to the mix. There is a specific pigment for this purpose, but since I did not have it, I used screen-printing ink, it worked well. This came directly from the fail described in the Final Result section.
12. Mixing
Mixed everything quickly — the working time for the entire mix and pour is approximately 3 minutes.
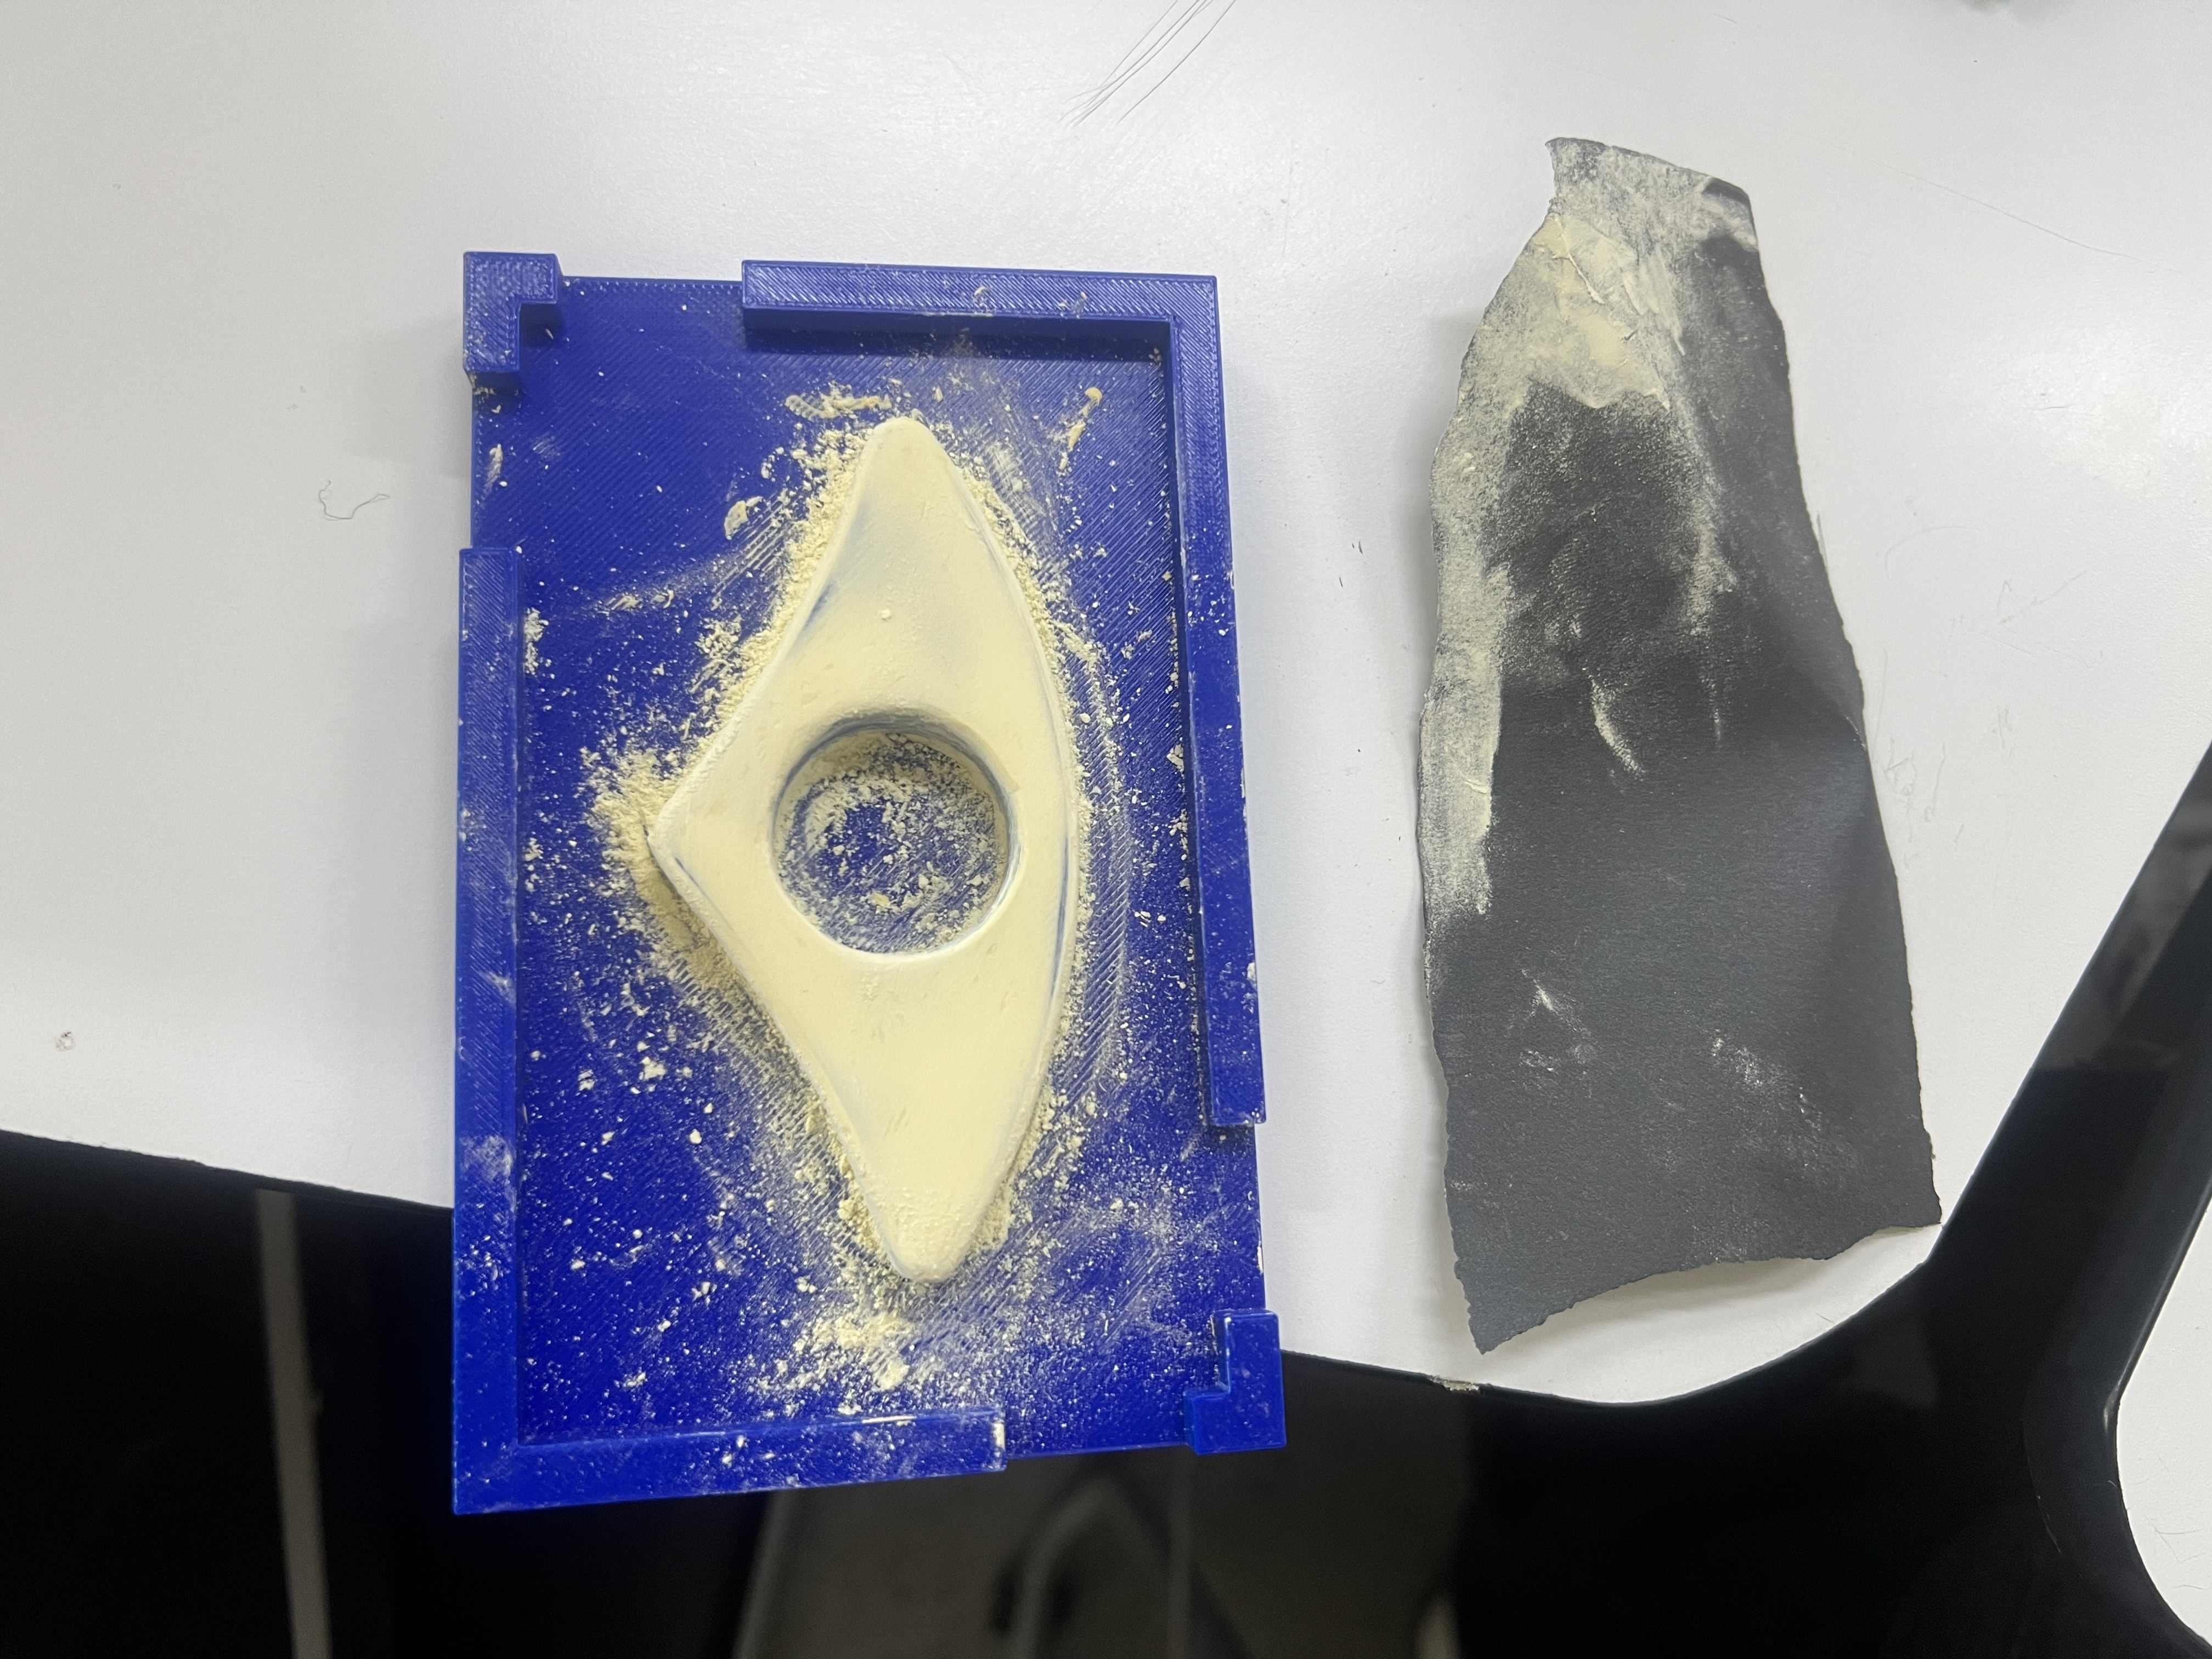
Demolding & Plaster Casting
DEMOLDING — STEP BY STEP
- 01 Waited one full day for the silicone to cure. This time the demolding went well.
- 02 Applied liquid petroleum jelly (Vaseline) to all interior surfaces of the silicone mold as a release agent.
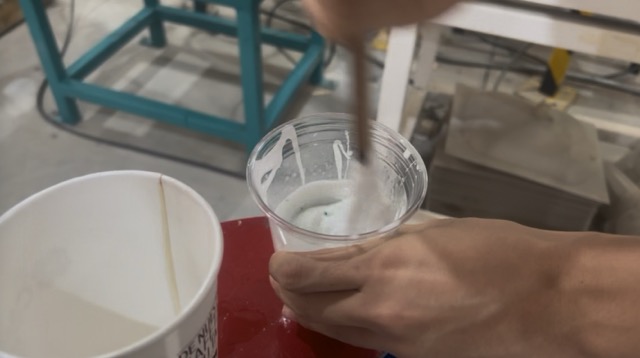
- 03 Prepared a plaster of Paris mix using a 2:1 ratio — two parts plaster to one part water — and stirred until homogeneous.
- 04 Note: Make sure to mix quickly — the plaster sets fast and the working time is limited.
- 05 Poured the plaster into the silicone mold and leveled the surface with a spatula.
Final Result
Fail — First Attempt: Silicone Mold for a Pot
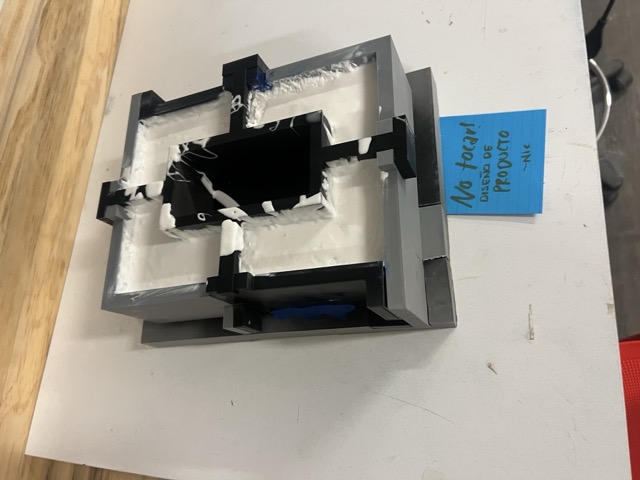
During this week I had a major setback. I first attempted to make a silicone mold for a pot I needed.
Problems Encountered
— I left the PLA mold drying in the sun and it deformed. I tried to fix it with a heat gun and got burned in the process.
— The main problem was the silicone quantity: I used 2,300 g and assumed the process would scale up easily. I followed the same procedure described above, but it appears the mixture was not stirred thoroughly enough, as a result, parts of the mold never fully cured.
Solution
For the second mold I applied Majo's tip: adding screen-printing ink to the mixture to visually confirm it was fully and evenly blended before pouring.
Final Photos
Bubbles
I ended up with some holes in the piece, because some bubbles remained during the pouring of the plaster, probably because after pouring I didn't make sure that the mixture settled properly.
Final Reflection
This week was more challenging than I anticipated, but I genuinely enjoyed the process of making the mold. I was pleased with the surface quality of the final result and learned a great deal about what not to do, particularly regarding silicone volume, mixing thoroughness, and avoiding heat deformation of PLA parts.