Final Project
Overview
Questions
Bill of Materials
The Process
As a general warning for this section, I’m not going to go too in-depth about specific processes used if they were previously documented in a weekly assignment.
Weeks 1 & 2: The Initial Plan
The Problem
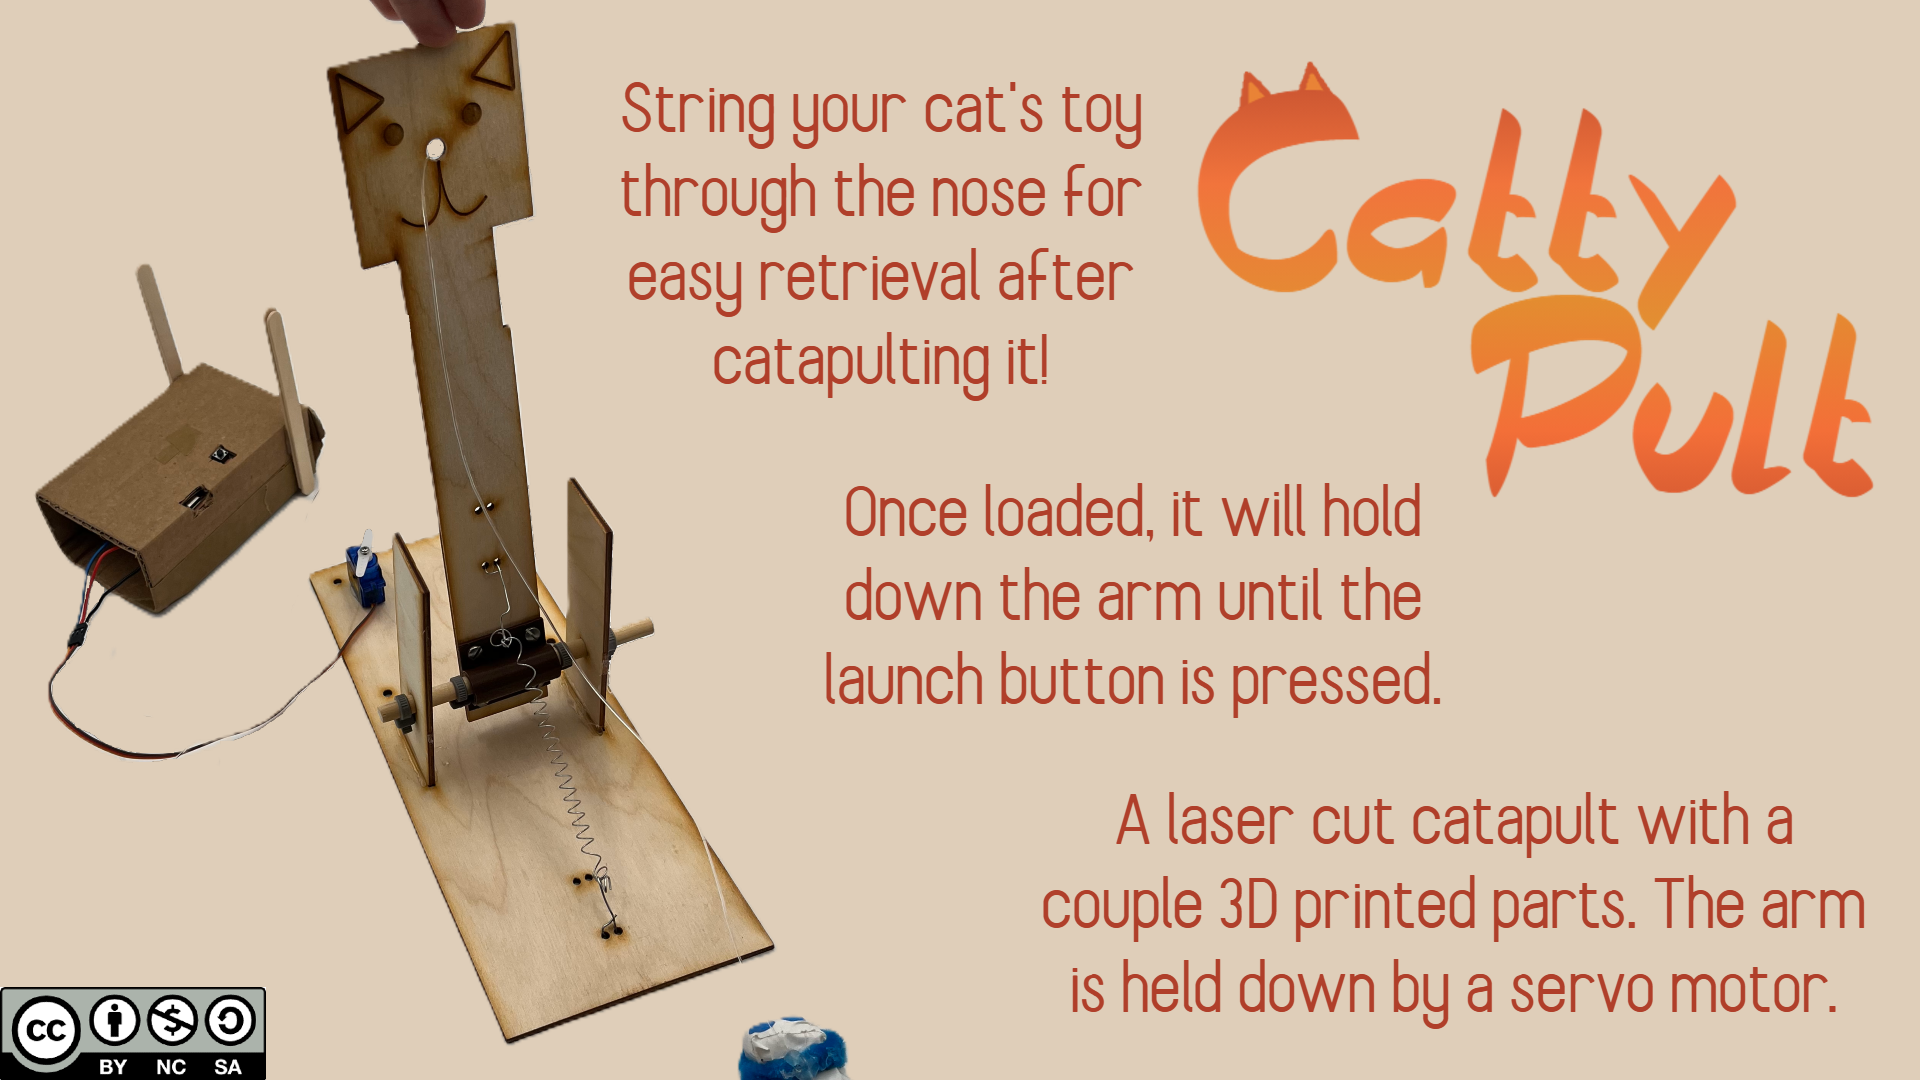
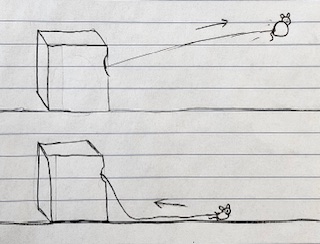
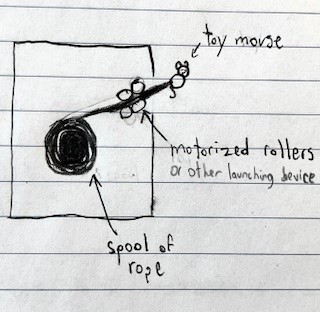
There are plenty of toys that automatically throw balls for dogs, but what about cats? I present to you, the Cat Toy Launcher! (name TBD) The main issue with playing fetch with a cat is that cats do not care what you want them to do and wouldn't bring a toy back. My project would solve this problem by attaching a cat toy to a rope that is able to be launched and then automatically reeled back in. Ideally, the launcher would be connected to a remote controller. This way, you can still keep your cat entertained even if you're working from home and can't leave your desk. There could also be some sort of safety feature that leaves the toy out for longer if the cat is actively playing with it. I'm unsure exactly how the mechanism would work at this point, but I'm hoping to learn the skills to see if it's possible!
Sketches & Inspiration
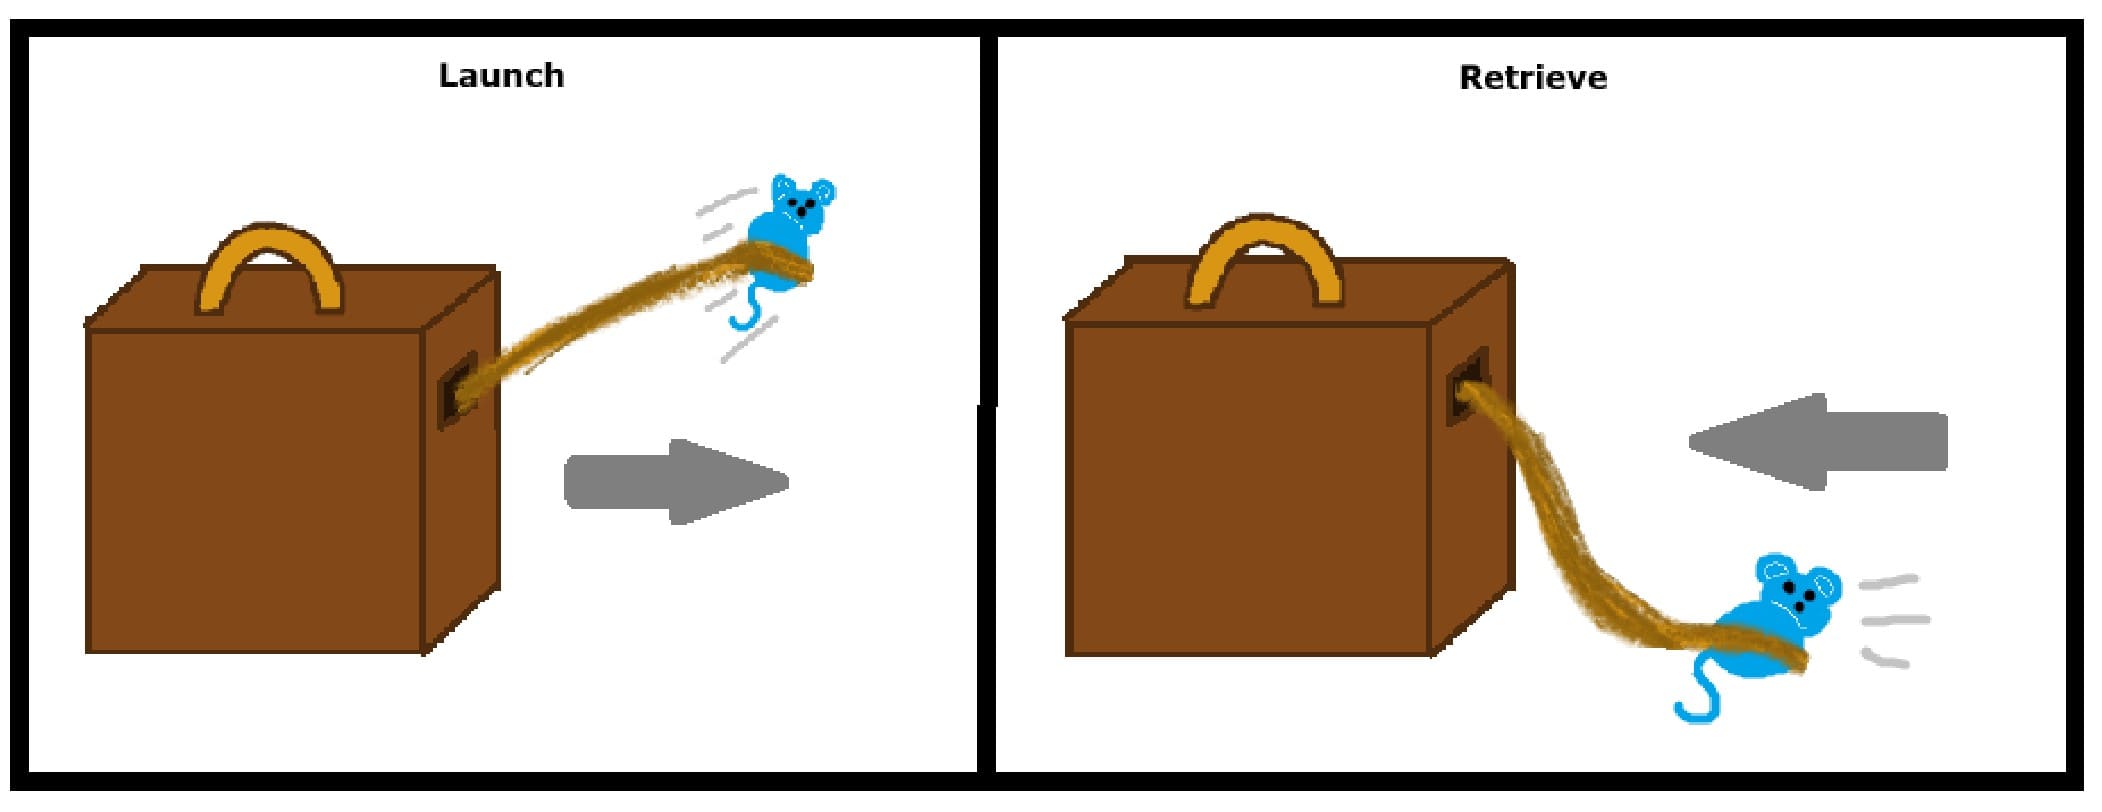
The Cat Toy Launcher in Action
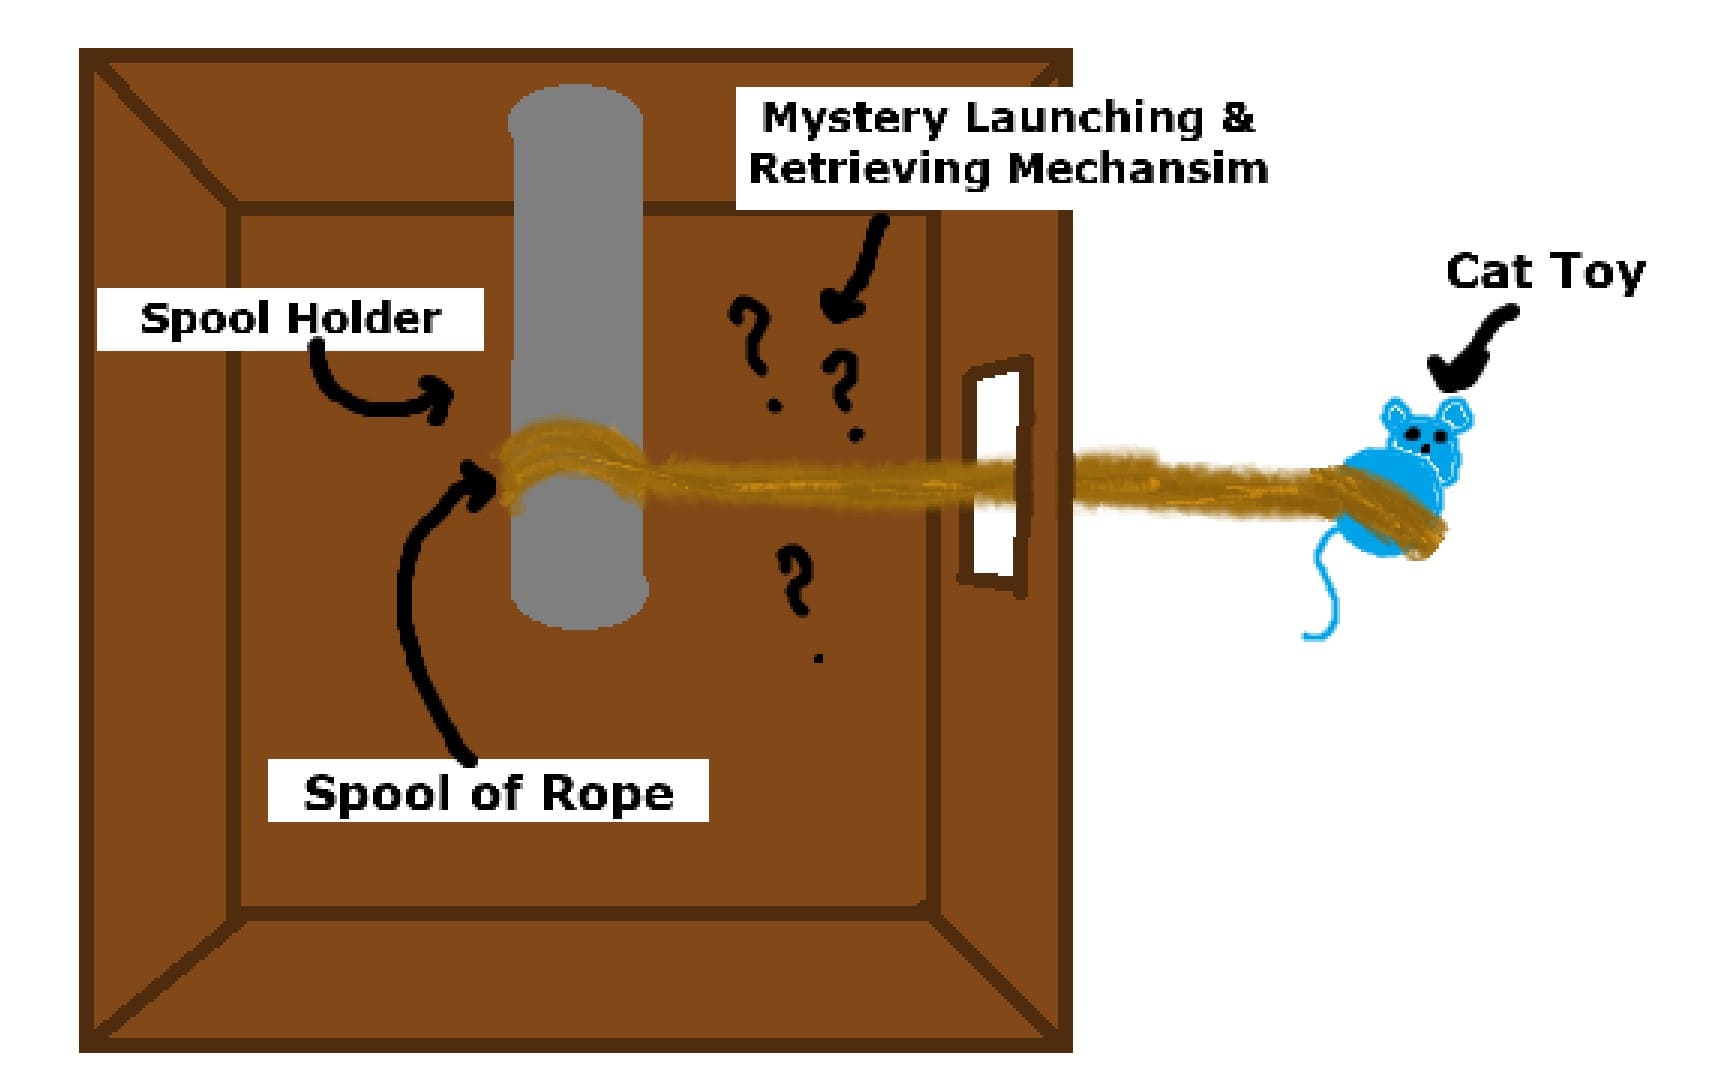
Interior of the Cat Toy Launcher
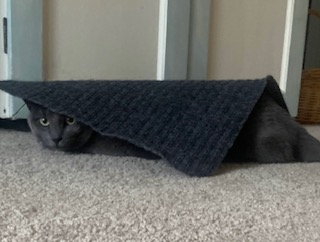
The Inspiration, My Cat Kirby
The First Model & More Sketches
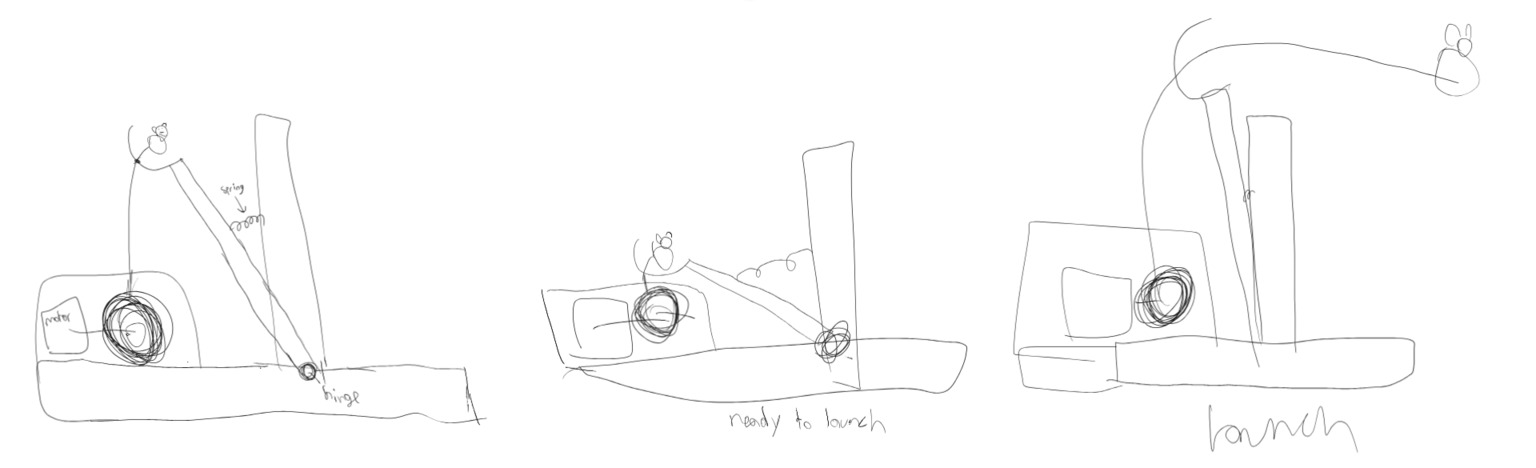
Sketch of Top Down View
Sketch of Launcher In Use

First Model of the Machine
I made a 3D model and sketch of my first idea as part of week 2. The sketches were made in Paint and the model was made in Fusion. I’m not really sure how the machine will actually work at this point in time, hence the very basic model.
Making the First Prototype
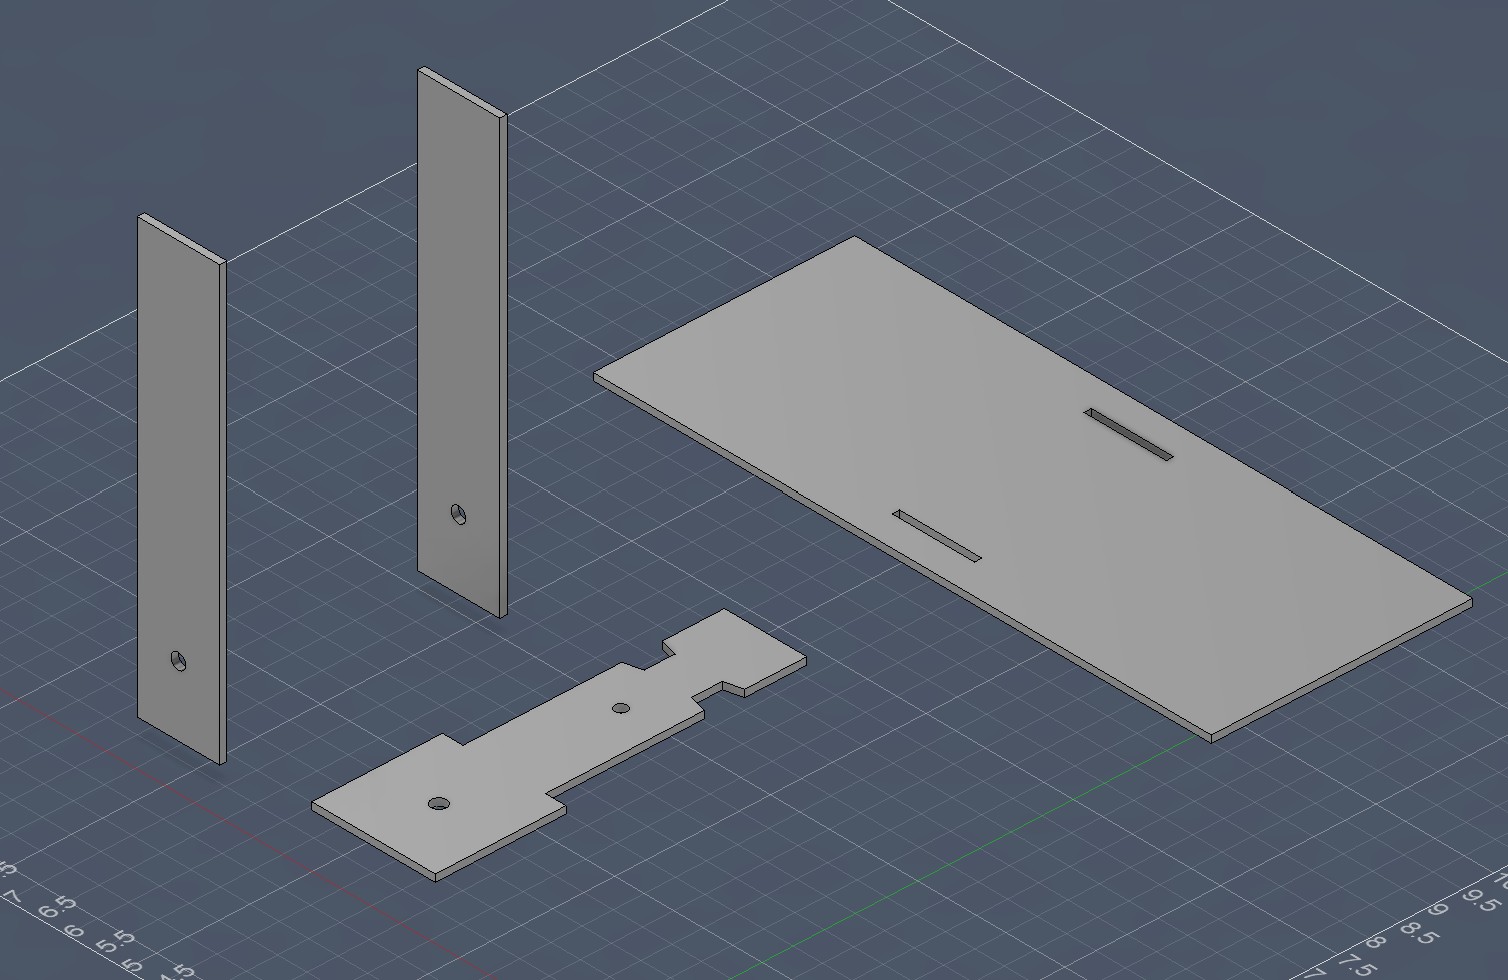
I decided to pivot and make a catapult because I figured I could get more launch power without needing a super powerful motor or spring. I started by making a design in Fusion. My goal was to make sure I could make a catapult, even if it could be made more efficiently. I essentially have three pieces, the base, the support which is the same on both sides, and the launching arm. I wasn’t entirely sure how things would attach to be honest. The arm has divots on both sides to somehow attach to the supports. There are various holes on the supports and base to attach things. It is a fully parametric design so if I want to change the size for the final design I can.
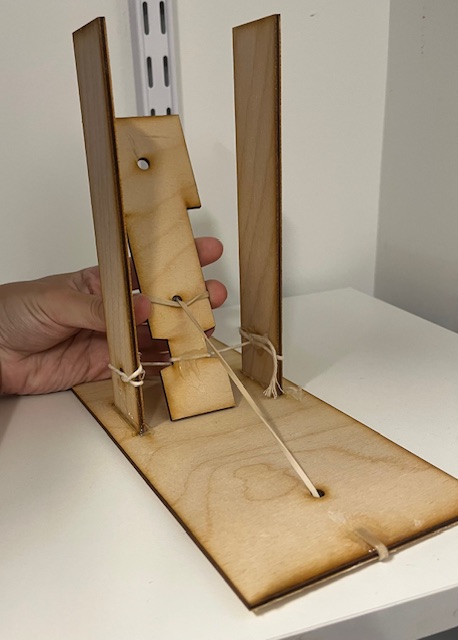
I laser cut my pieces out of 1/8" wood. My original design had the holes too big and also didn’t cut all the way through the wood for whatever reason. I changed the design to have smaller holes and did 2 cycles instead of 1 to fully cut through the wood, which worked. It was then time to assemble the catapult. The supports were pretty strong, but I had to hot glue them in place to stay upright. I used a rubber band tied to the arm and hot glued to the base for tension. I used a string to attach the arm to the side supports. This was a bad idea, because it made the catapult launch sideways half the time. I attached a ball of tape to the end of the string to act as the cat toy. I then tested it by pulling on the string to and then letting go to launch the projectile. This didn’t launch very far, probably a foot on my best attempt. It was technically a catapult.
I’m glad I made this so I could figure out how to make this actually function consistently. First off, I need some sort of hinge to attach the arms to the sides so it launches straight forward. I may make the base a bit wider to prevent the arm from going sideways but I think a hinge should fix that issue. I need a stronger tension, I’ll likely use a spring. I think I will use a stepper motor to draw in the string. This was a good first step because at least I have something to go from.

Catapult with Straw Hinge
Model of Hinge Piece
3d Printed Hinge Piece
Before moving to a proper model, I wanted to try making a hinge for the catapult’s arm. After removing the old string, I threaded a new piece of string through the supports with a piece of a straw in between the supports. I then glued the straw to the bottom of the arm. This worked much better and the arm went straight when launched.
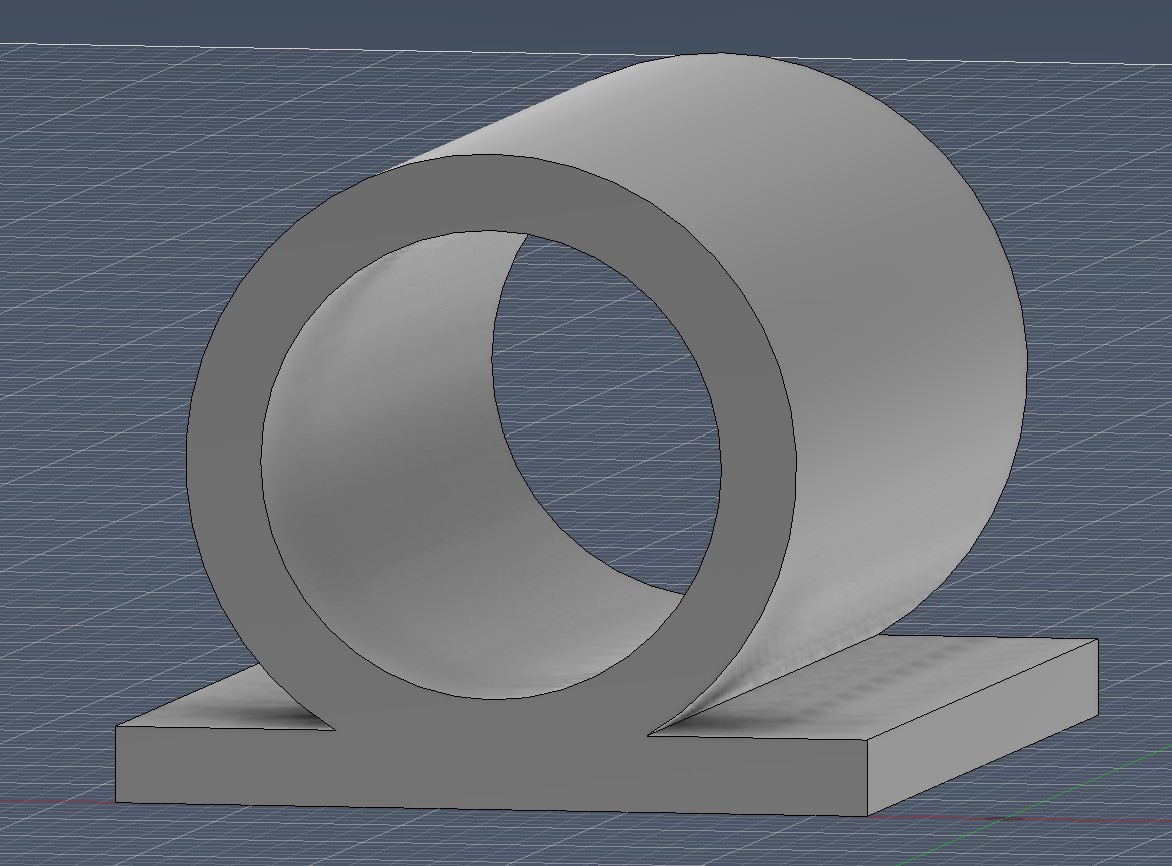
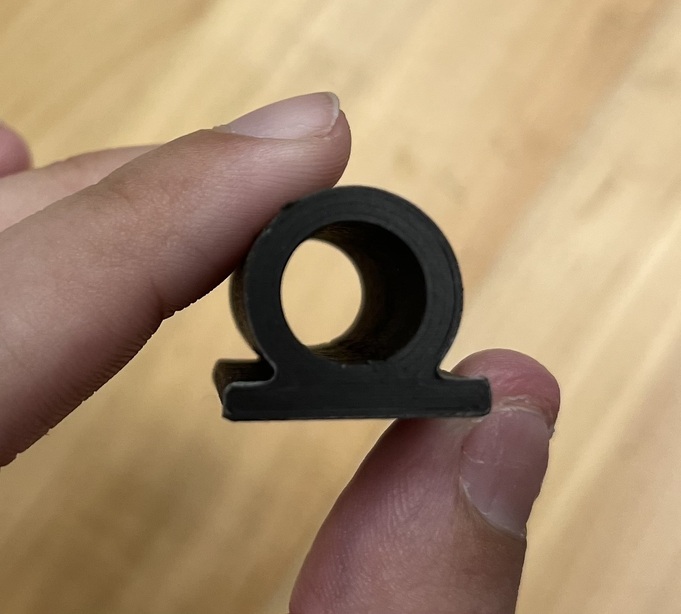
My plan for the final product is to use a 5/8 wooden dowel to connect the arm and supports. I designed an attachment in fusion that I could glue to the catapult’s arm that would take the place of the straw in my test. It’s essentially a tube that is attached to a rectangle base for easier attachment. I then 3D printed it with black PLA filament on a Prusa Mk 4.
Version 2
This is the version that I had for my final presentation

Laser cut catapult parts

Hinge in Prusa Slicer
3d Printed Hinge
I started my edits by making the catapult bigger. The arm of the catapult is 10 inches long and the vertical supports are 4.75 inches tall. The bottom platform is 10.5” long and 4.2” wide. I also added lots of holes to attach things. I added four 0.15” diameter holes in the bottom that could be used to attach the hinge to the arm. There are two sets of smaller 0.1” diameter holes to attach the spring. There are two sets to see which one worked better. In the bottom platform, there are two more sets of tiny holes on one side, once again to attach the spring. On the other side, there are four more 0.15” diameter holes with the idea that I could attach a motor and/or electronics housing. The vertical supports still have holes in the side for the 5/16" wooden dowel. Finally, the “head” of the catapult’s arm still has a 0.25” diameter hole in the center. I also made a design in Adobe Illustrator of a cat’s face, using the hole as a nose, to engrave onto the catapult’s arm. I once again laser cut these parts out of 1/8" wood.
After making the first hinge, I realized that it should be longer and that I wanted to attach it with nuts and bolts. I modeled another hinge in fusion that has a base with holes so I could use nuts and bolts to attach it to the catapult’s arm. It was printed in brown PLA on a Prusa Mk 4.