15 - System Integration
This week, we will document how all the components (mechanical and electrical) will be integrated together to complete our final project. It's worth noting that many mechanical components still need to be manufactured or designed, but a connection and assembly plan is in place.
BOM and costs
The components to be used are then listed, as well as the number of elements, which are likely to increase throughout the project.
| Product | Features | Quantity | Cost | Link |
|---|---|---|---|---|
| XIAO RP2040 | Dual-core ARM Cortex M0+ processor, flexible clock running up to 133 MHz. Support Micropython/Arduino/CircuitPython |
1 | $8.49 | Amazon |
| Servomotor Mg995 | Torque at 6V 12kg/cm, 7.2V 13kg/cm. | 2 | $13.99 | Amazon |
| Micro servomotor mg90s | Stall Torque: 2.0kg/cm(4.8V) | 7 | $13.99 | Amazon |
| Servo driver - pca9685 | I2C communication control 16 free-running PWM |
1 | $12.99 | Amazon |
| DFPlayer Mini MP3 | Serial port | 1 | $7.96 | Amazon |
| S-25-12 Switching Power Supply AC/DC | Single Output 12V 2.1A |
1 | $39.20 | Amazon |
| Silicone Rubber - Dragon Skin | Mix ratio of 1A:1B by Volume Pot life of 25 minutes Cures to Soft, Super-Strong, and Stretchy Shore |
1 | $38.12 | Amazon |
| PLA Filament |
ELECTRICAL - MECHANICAL CONNECTIONS
| Component | Type | Input From | Output To | Communication |
|---|---|---|---|---|
| XIAO RP2040 | MCU | Qt Interface | MP3-TF-16P PCA9685 |
Serial |
| S-25-12 Switching Power Supply AC/DC |
Power Supply | AC | PCA9685 | - |
| MP3-TF-16P | Actuator | XIAO RP2040 | Speaker | UART |
| PCA9685 | Controller | XIAO RP2040 | Servomotors | I2C |
| Servomotors | Actuator | PCA9685 | Physical Movement | PWM |
ELECTRICAL STAGE
As seen in the image, the original board was modified. A voltage regulator was installed in case it needs to be powered externally, and optocouplers were added in case it is necessary to move power stages. As can be seen, all pins of the XIAO RP2040 are placed with a pin header. Although the original project does not need so many pins, they were added because it is conceived as a modular element to which additional elements can be incorporated in the future. Furthermore, it is observed that the XIAO is mounted on a base, in case it is damaged or if it is decided to change family, in this way its installation or replacement is easy and accessible, without the need to disconnect pins or disassemble the designated place for the plate.


MECHANICAL STAGE
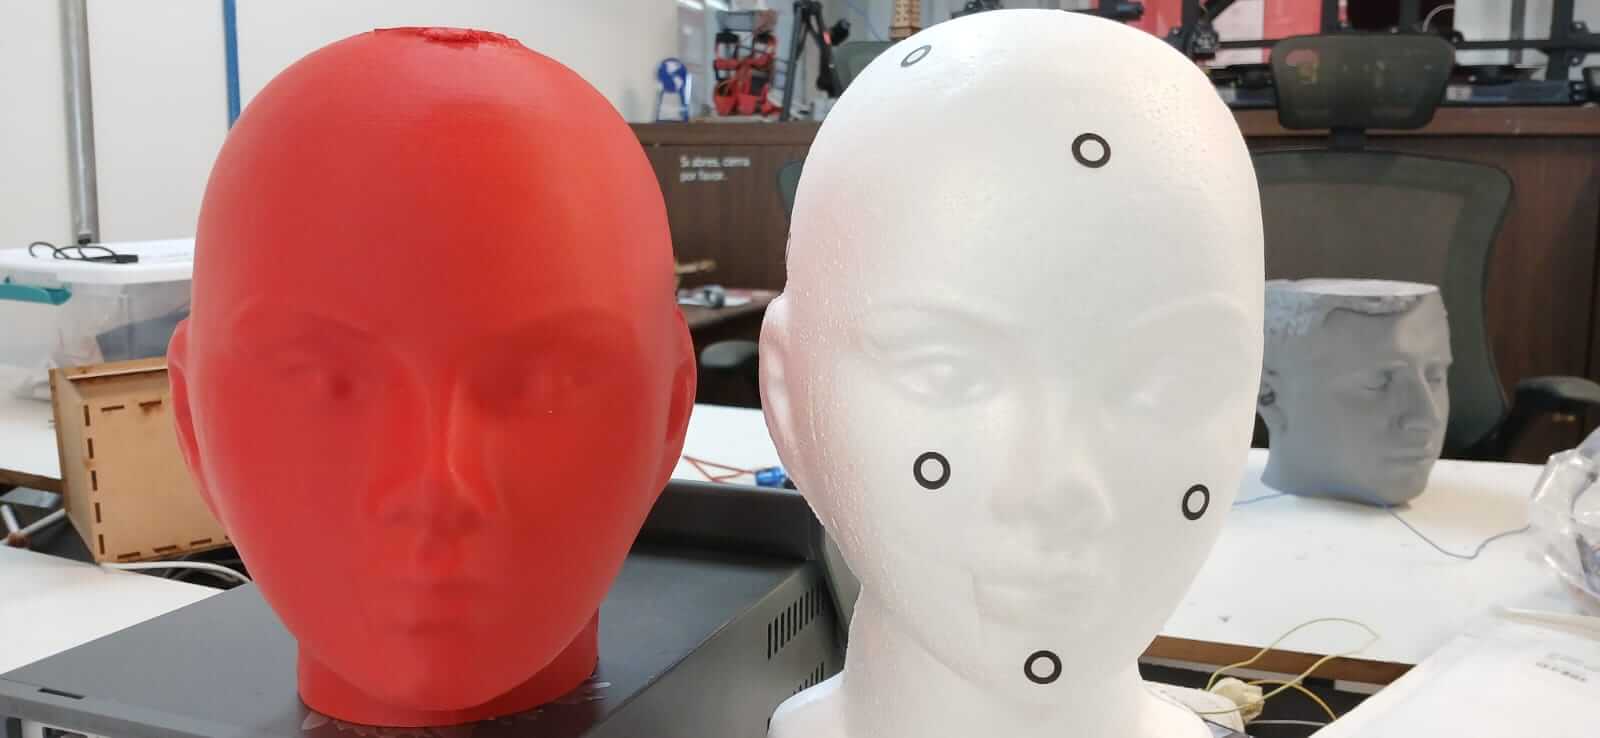
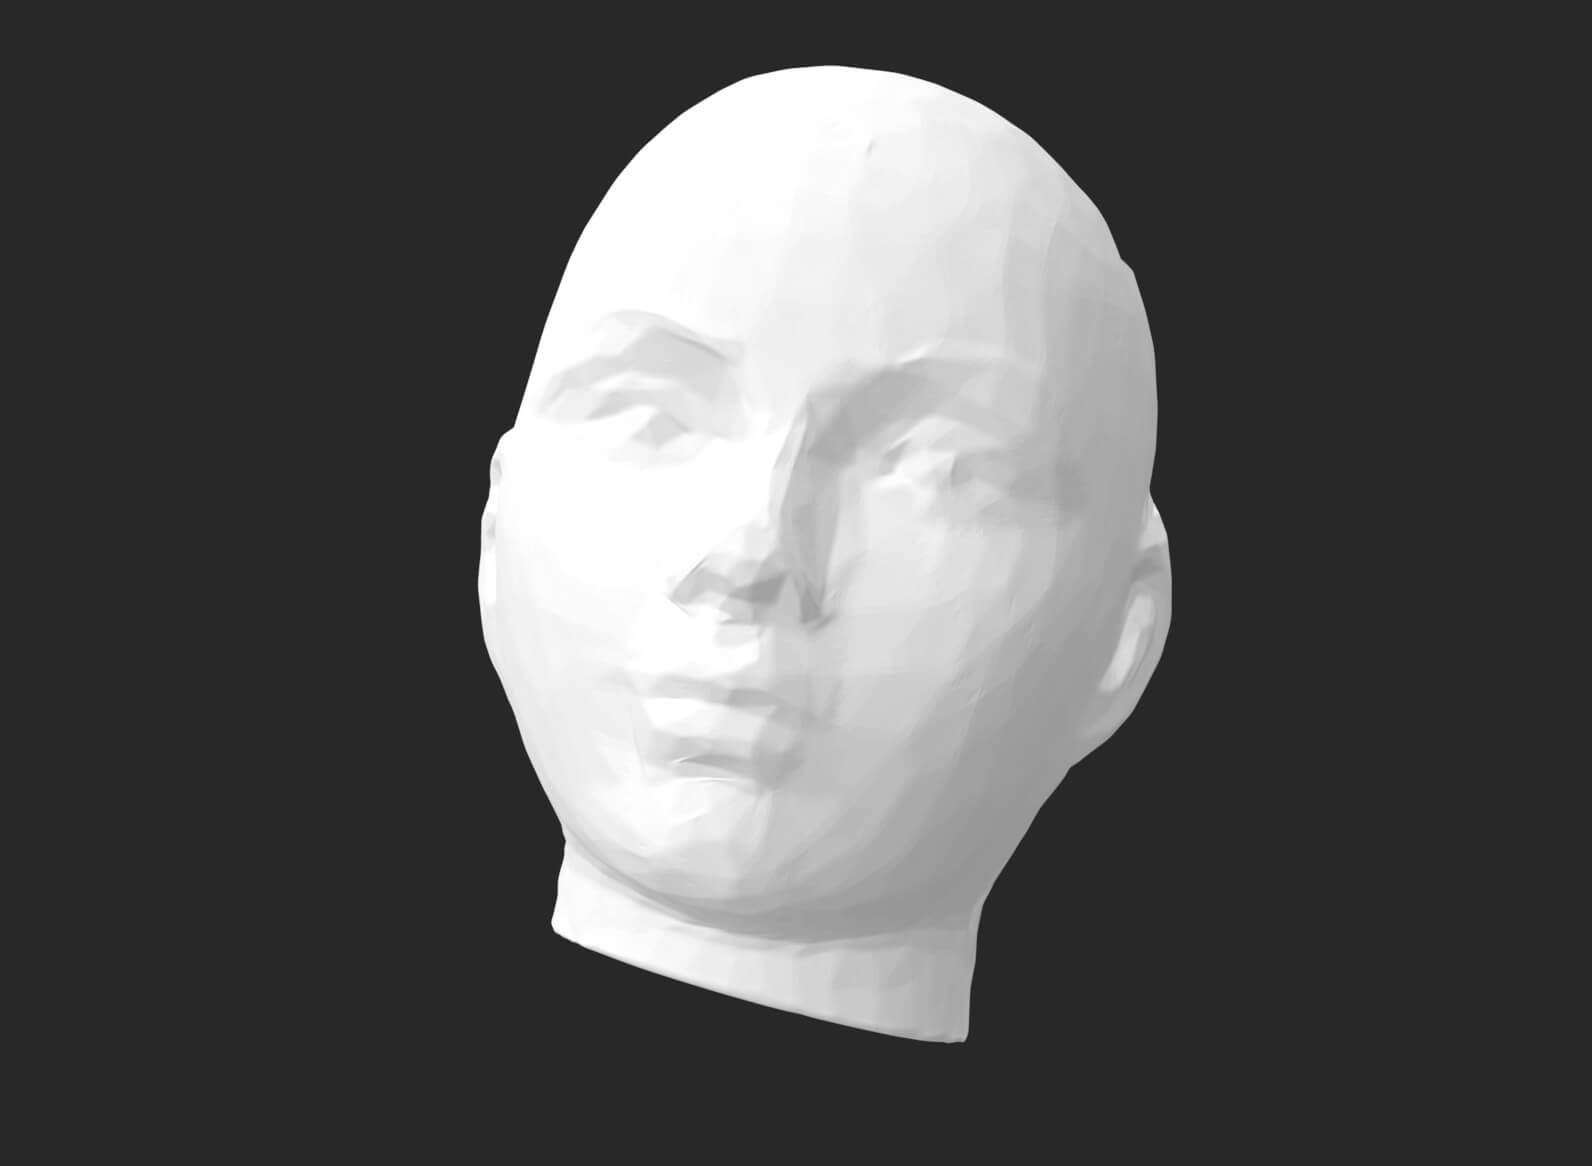
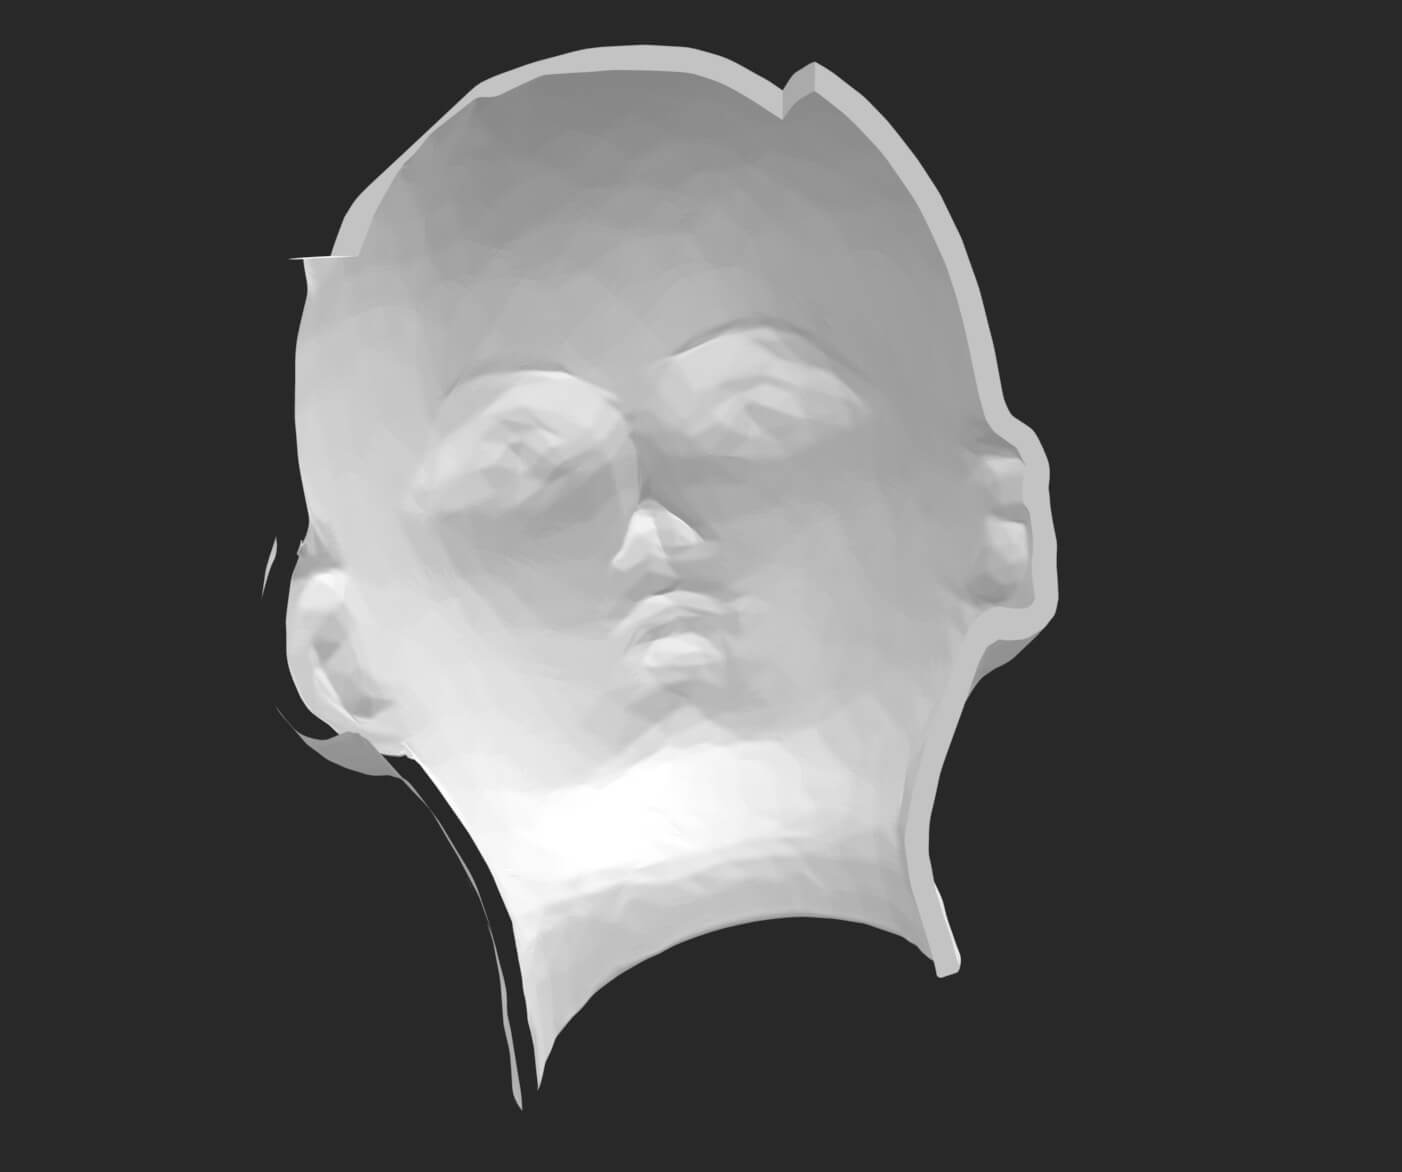
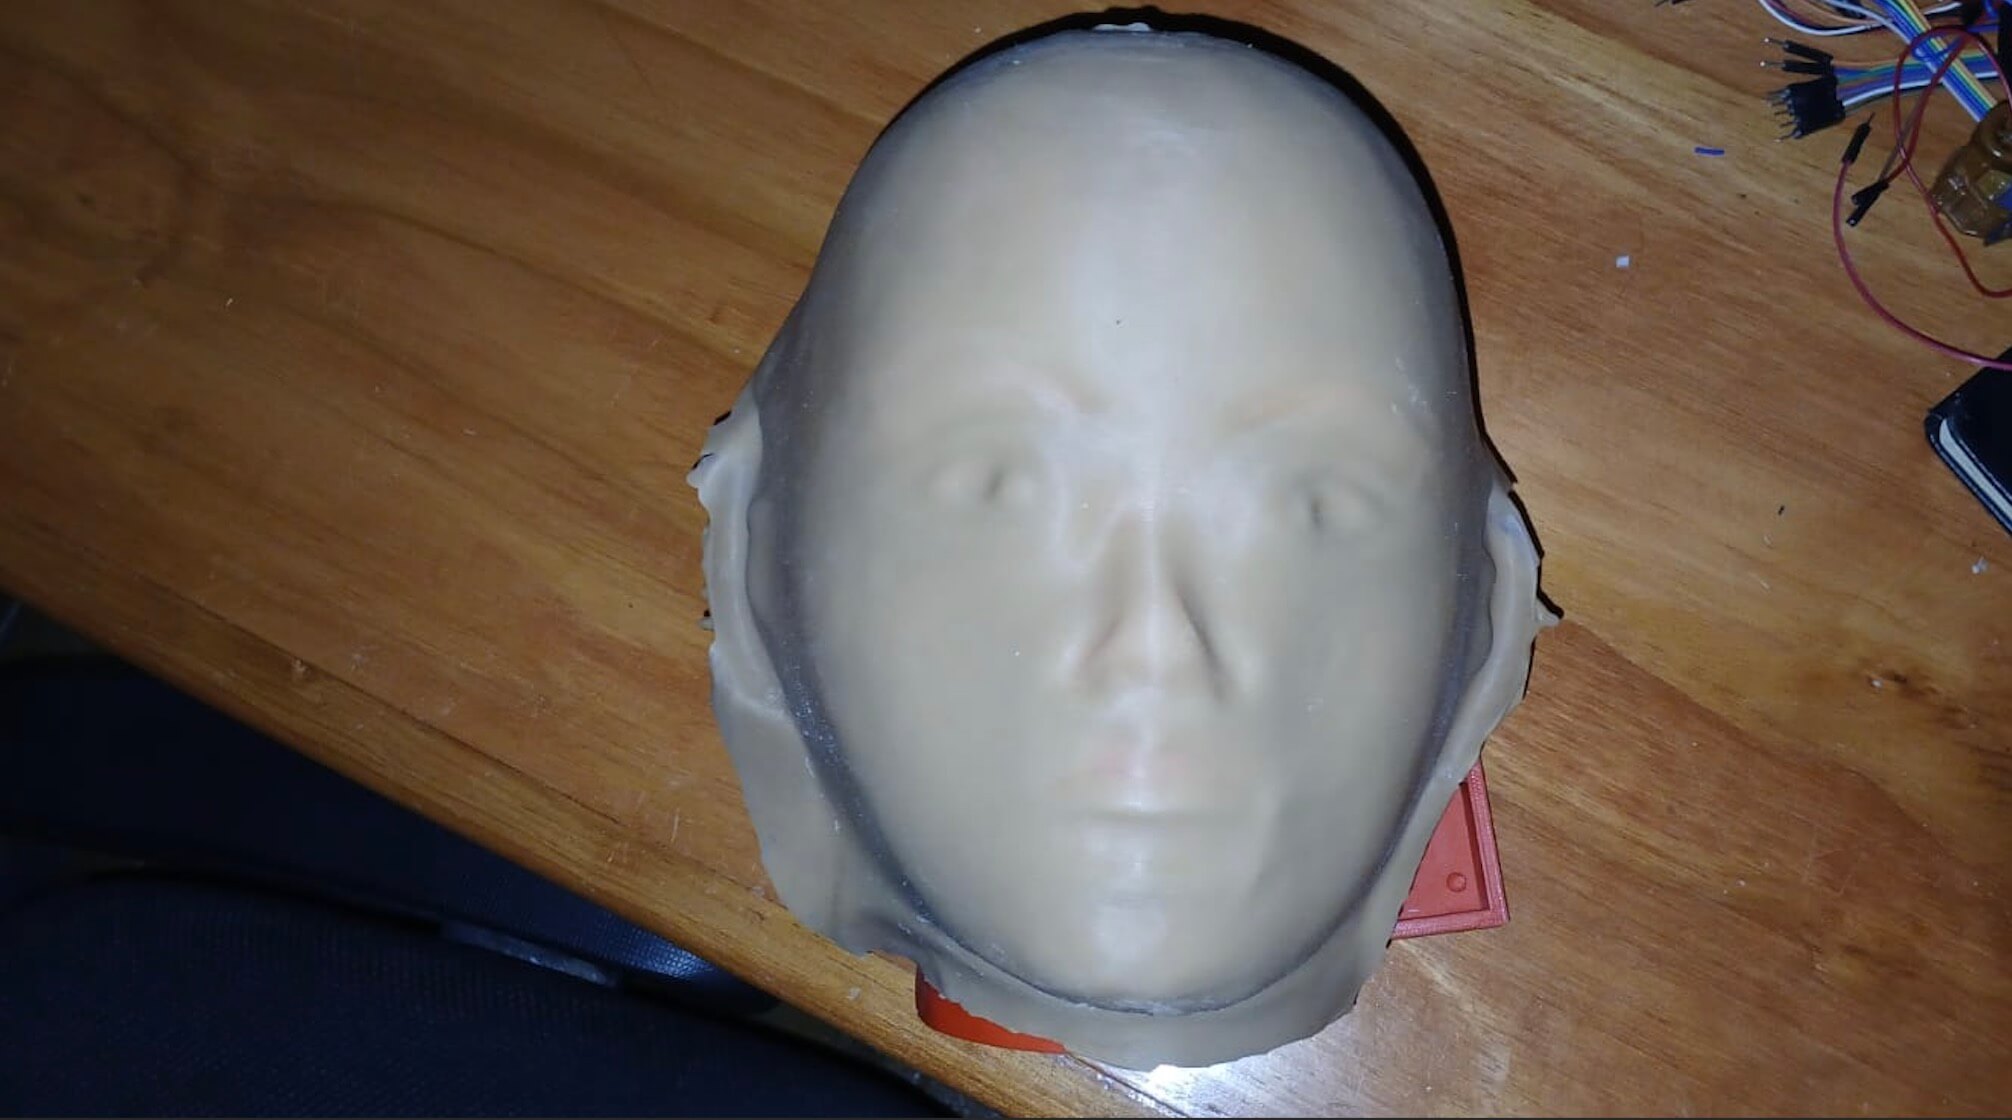
Our model was based on a Styrofoam figure, which was scanned in week 5.
MATERIAL STRUCTURE
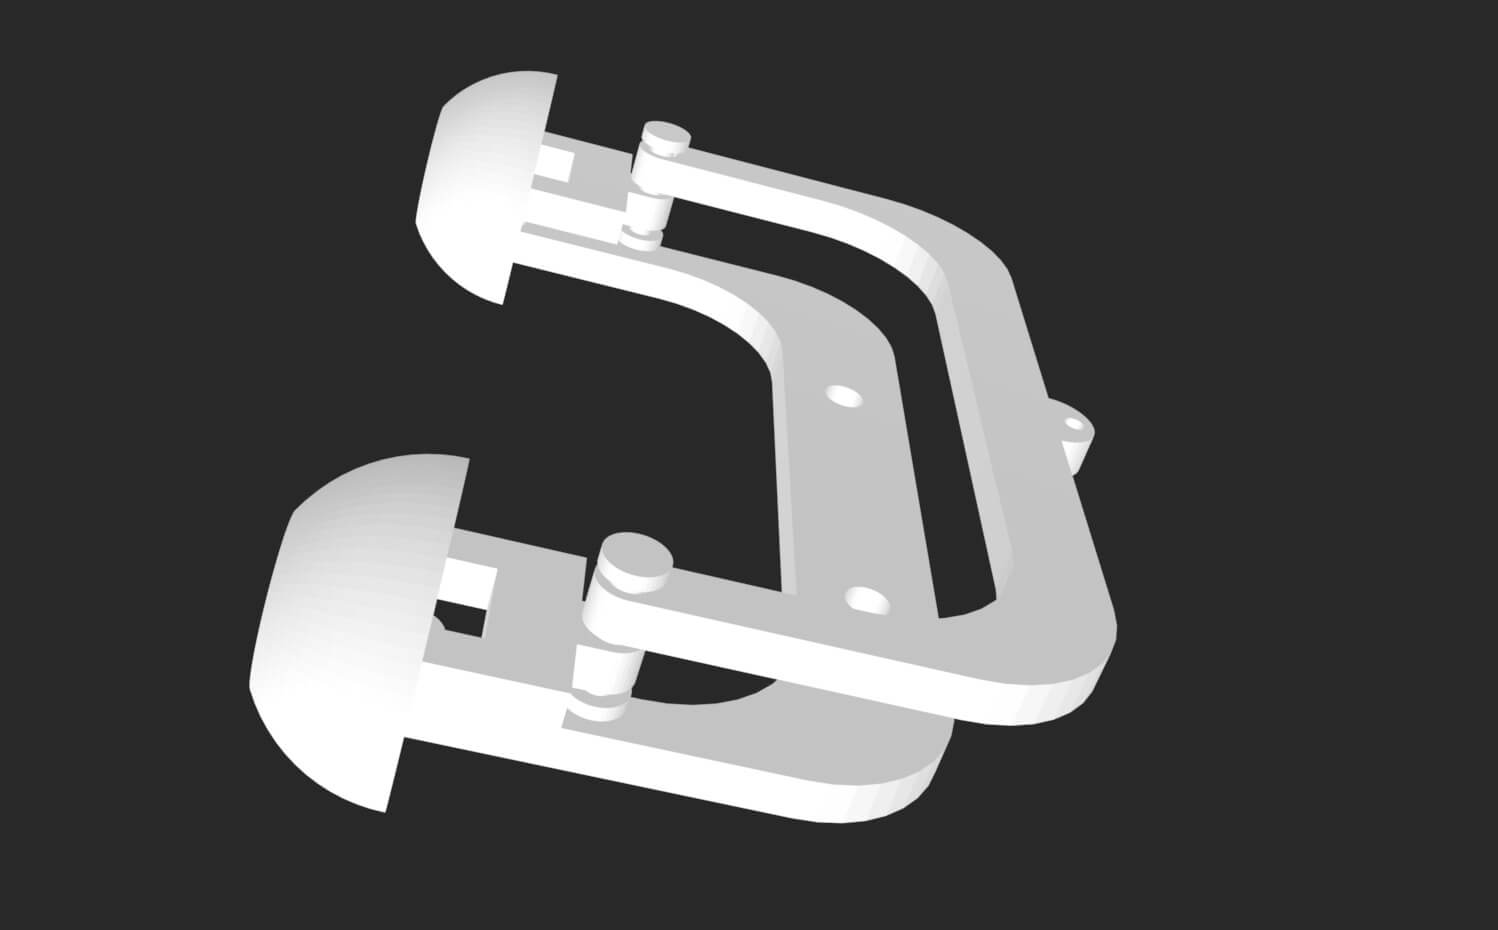
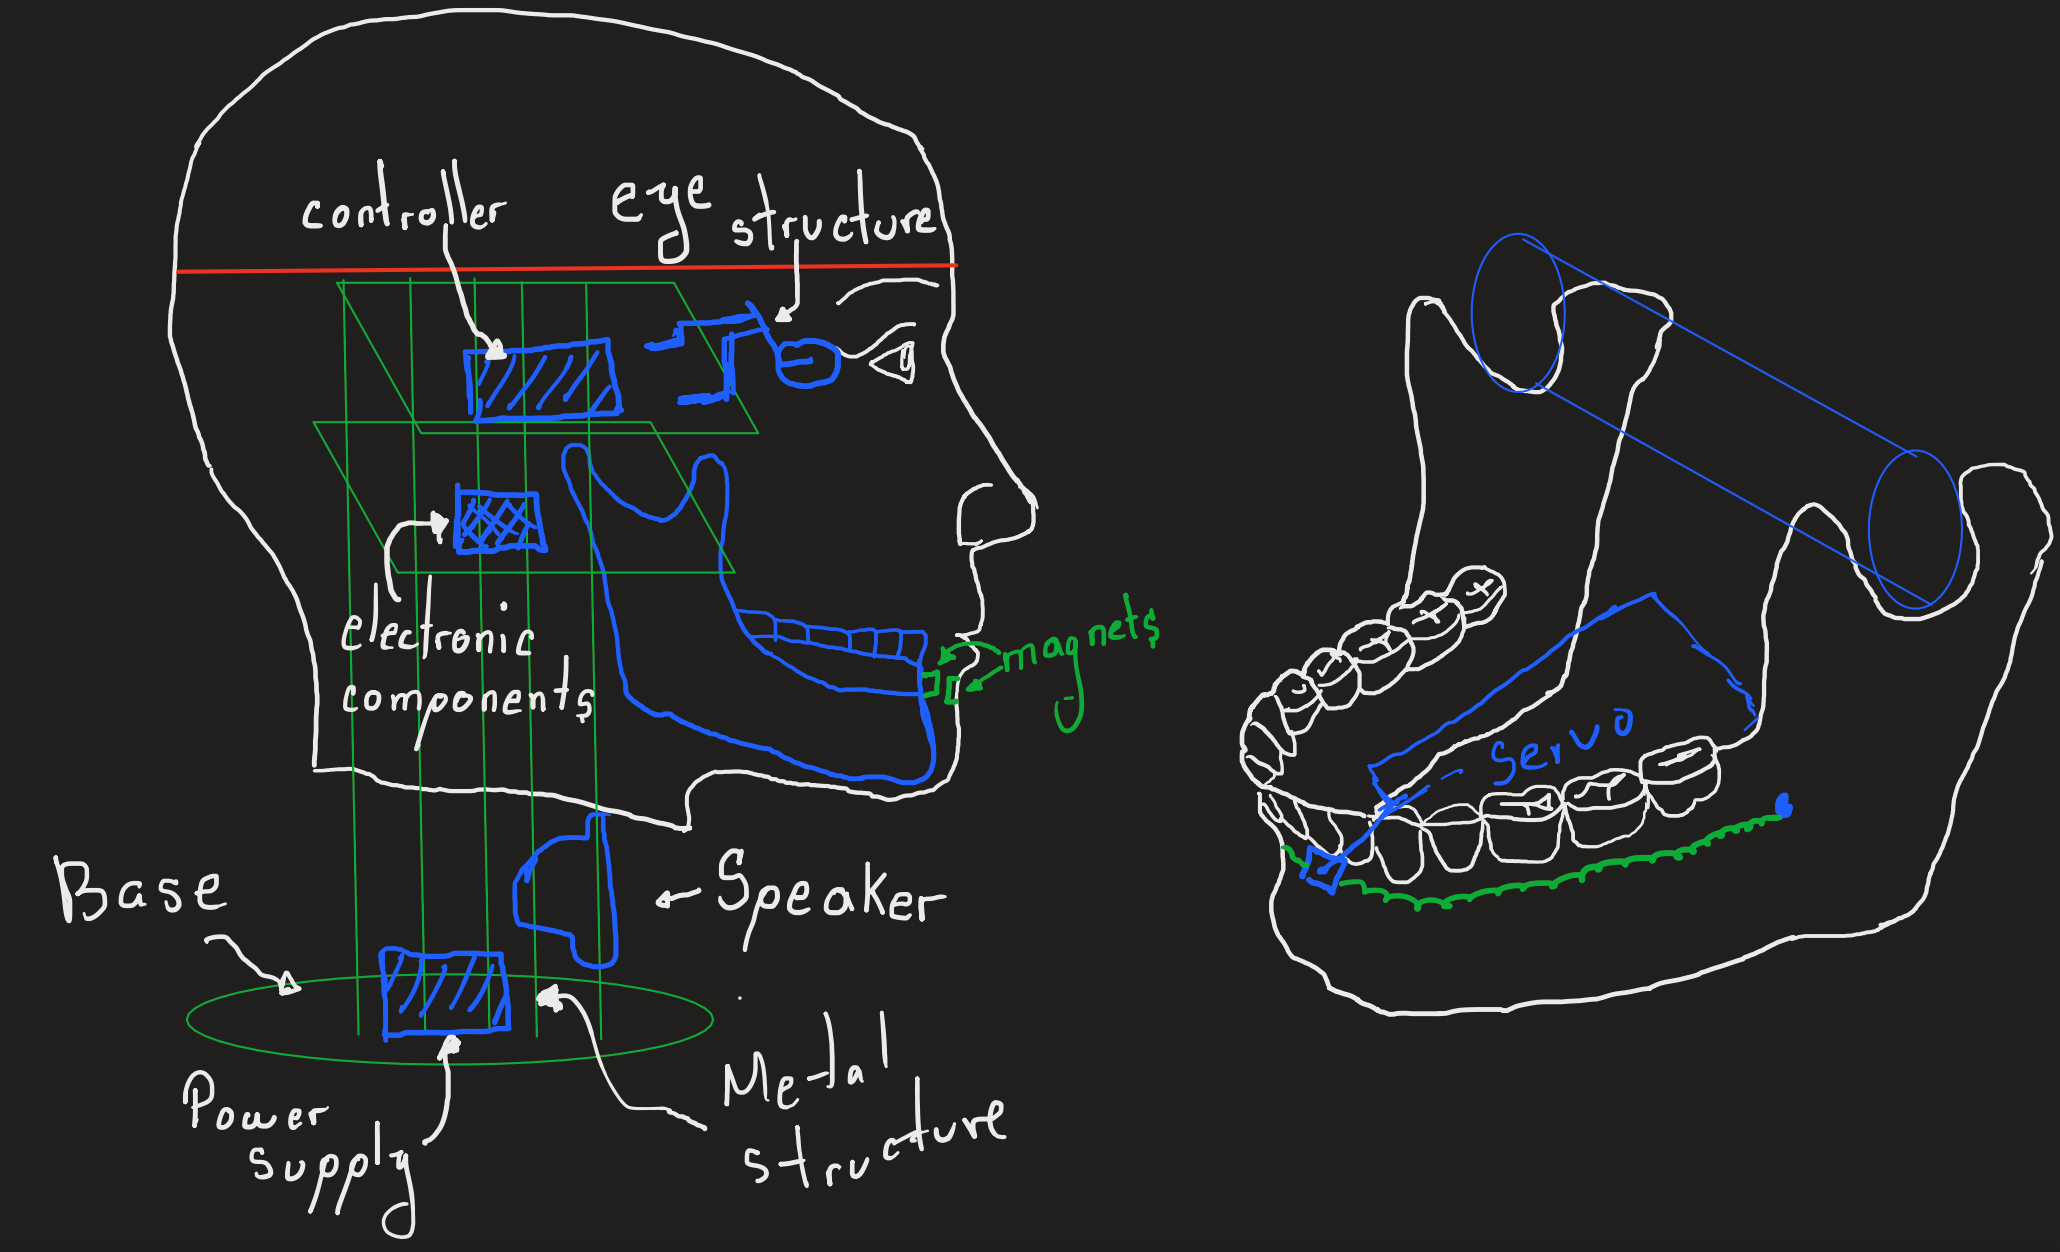
The following image illustrates the layout of the electromechanical components. It's worth noting that the base includes the power supply and provides support for the entire structure.
Learning outcome
This week we planned the integration of all our components. Distribution and planning are key elements to ensure the success of this process.