14 - Interface and Application Programming
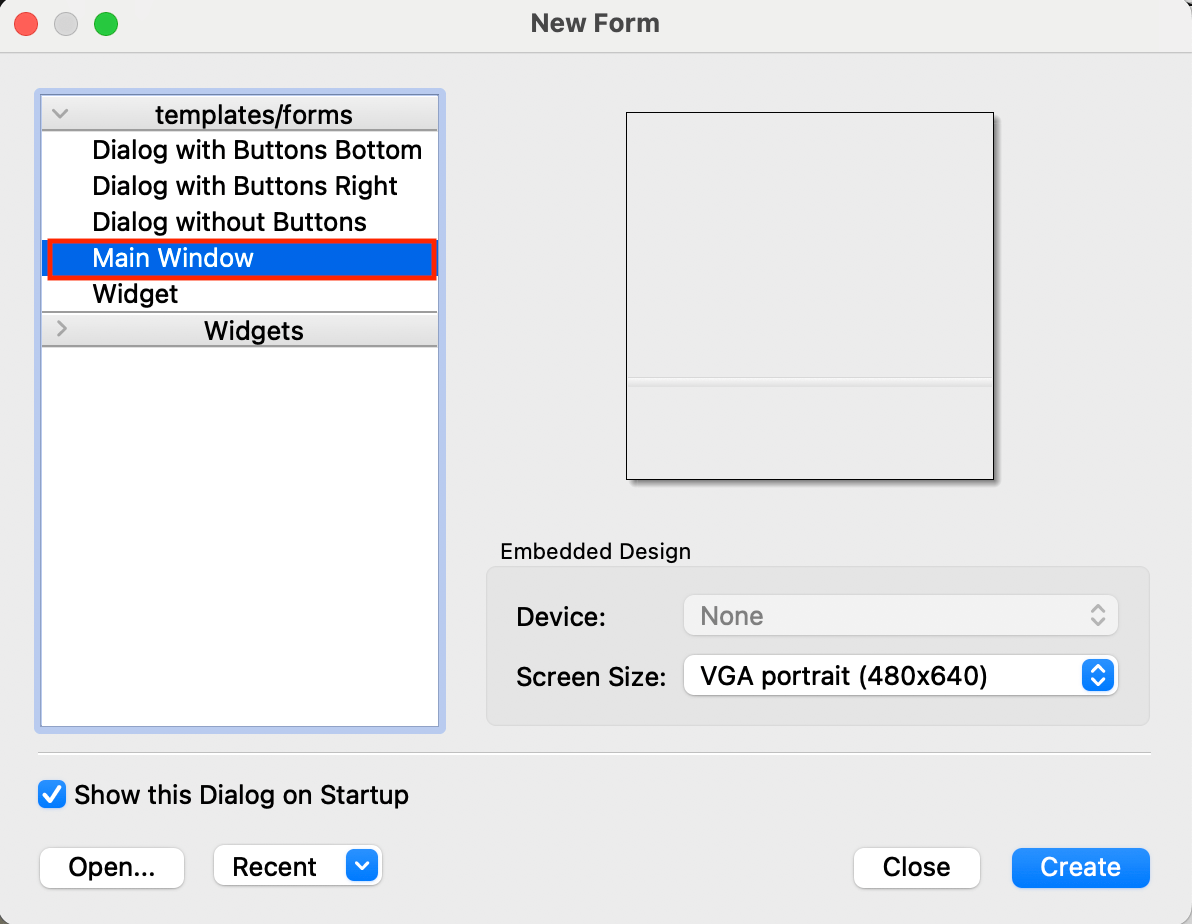
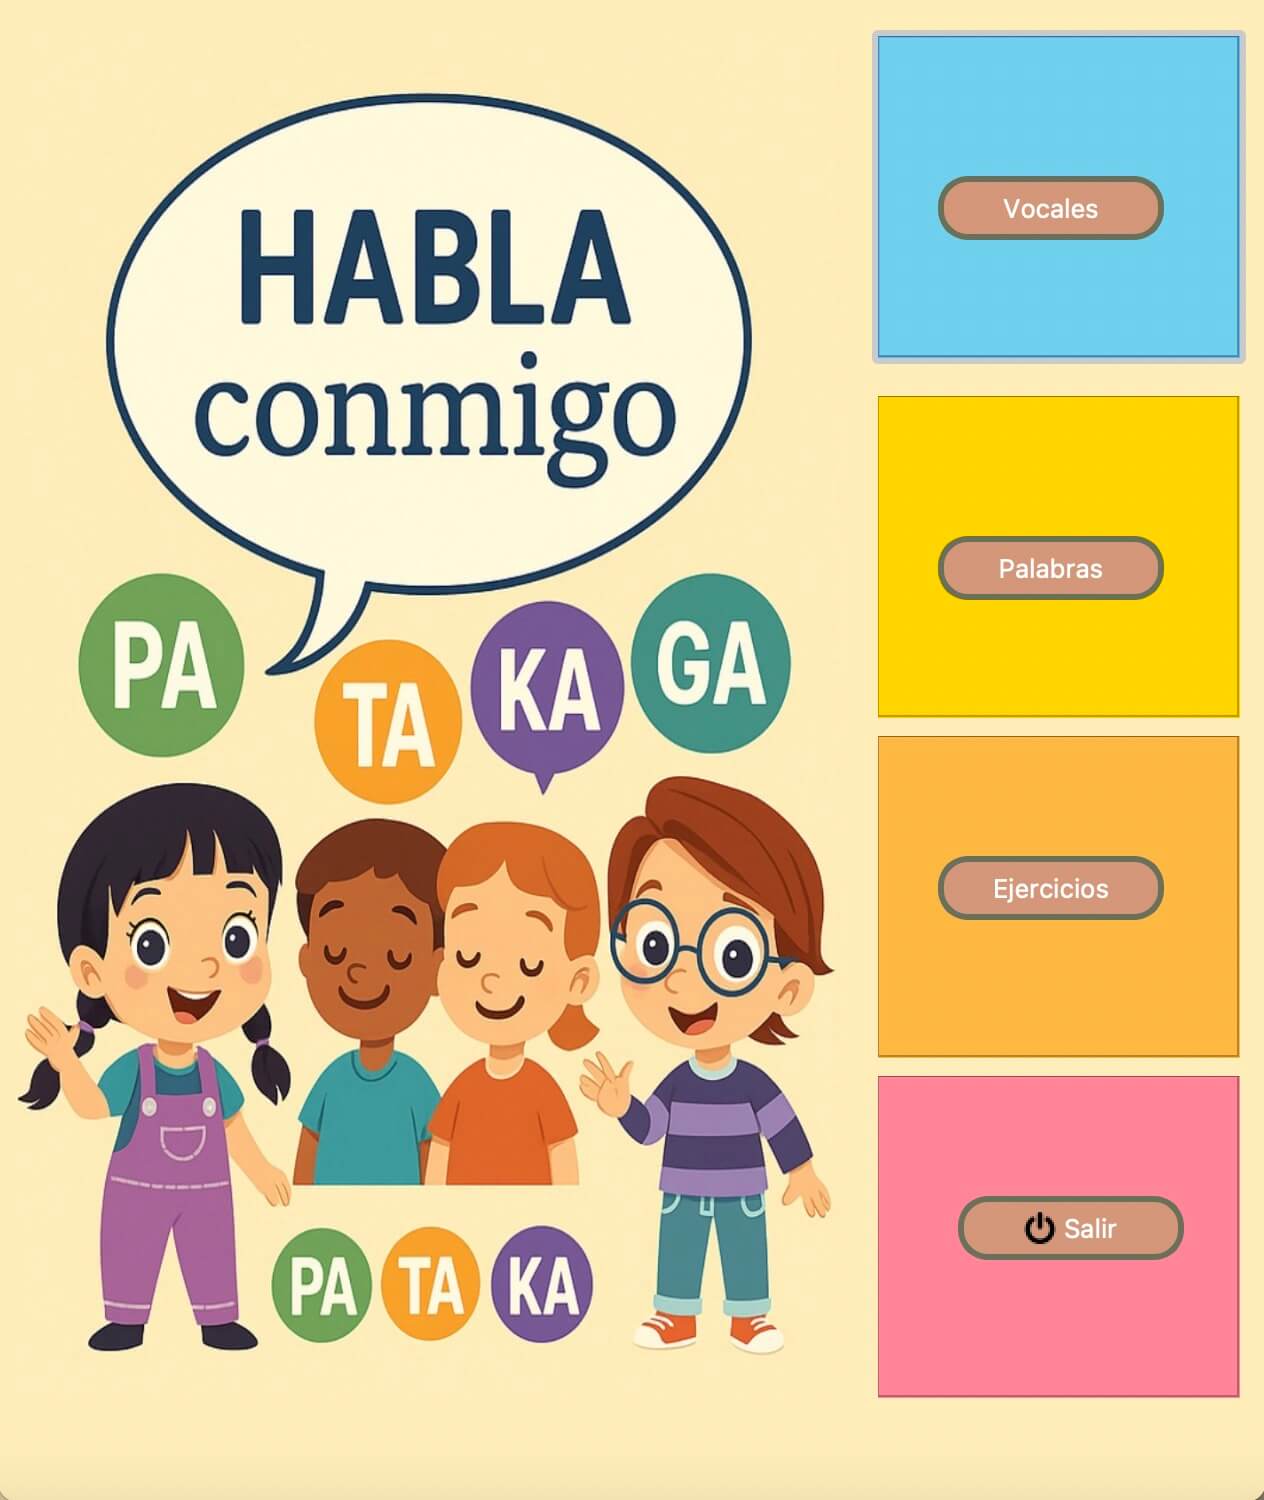
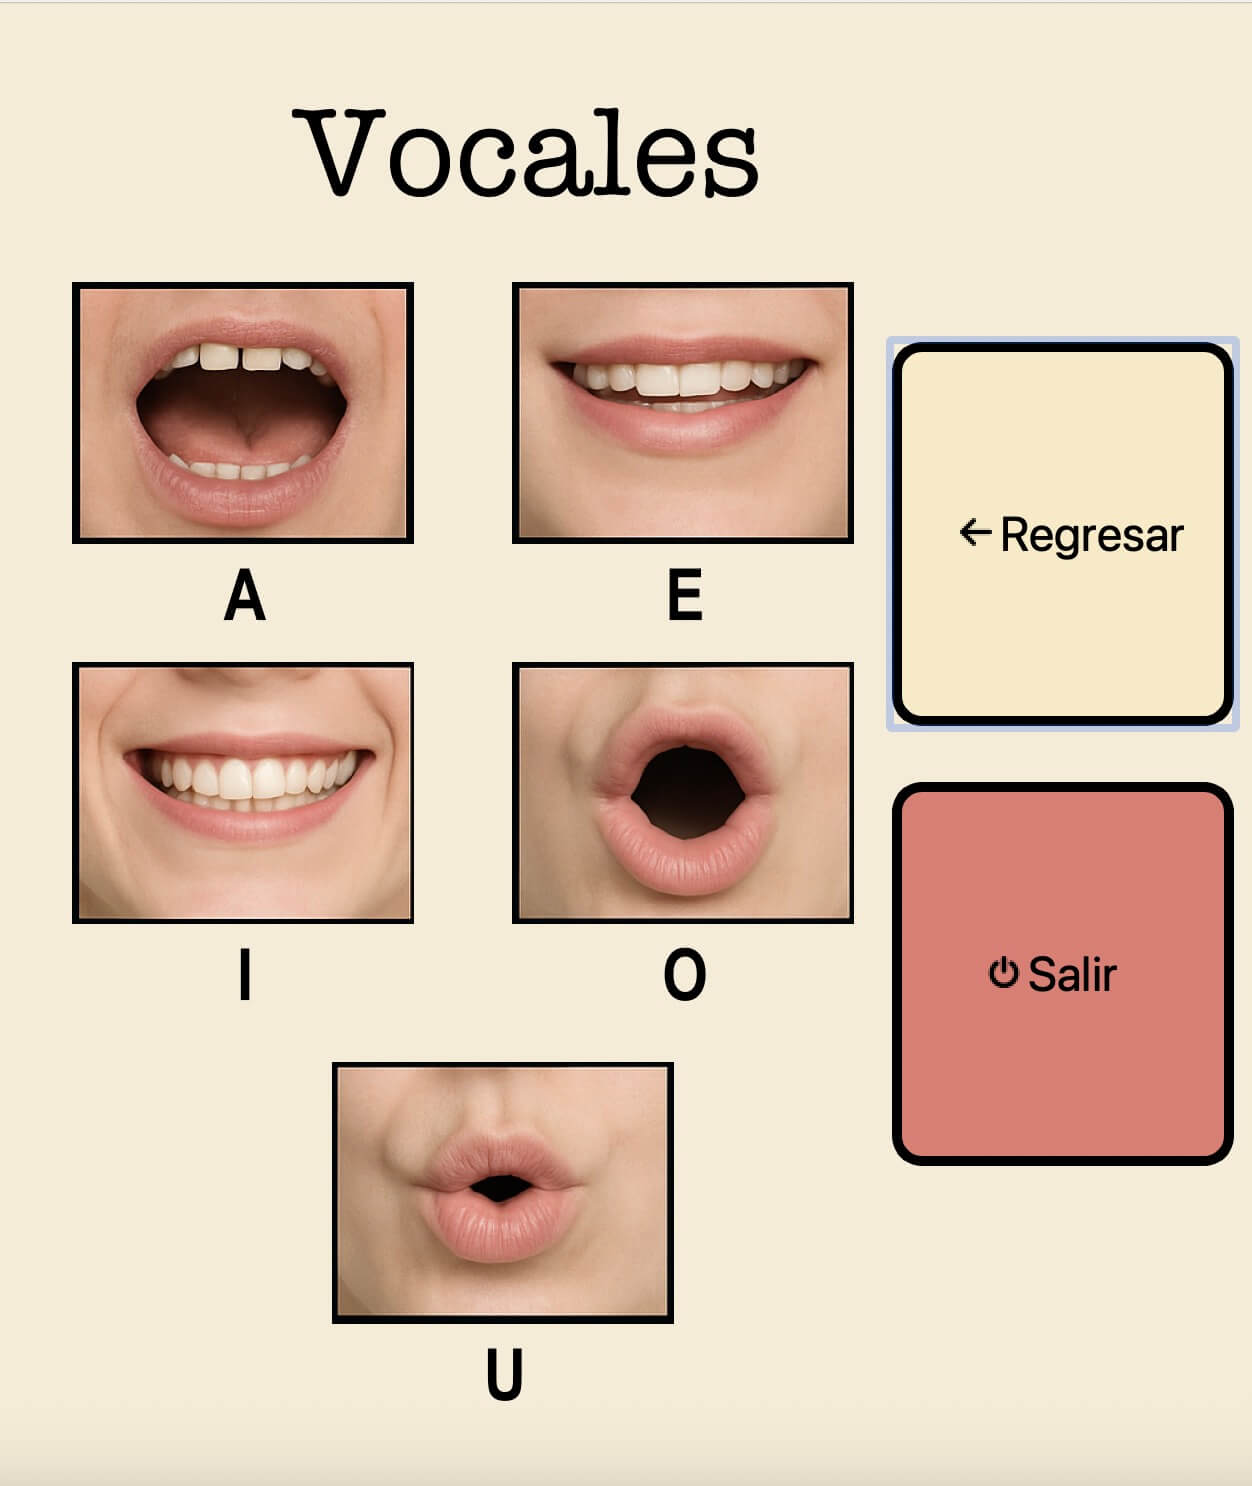
This week we will create an interface oriented toward our final project (an animatronic for childhood apraxia). The objective is to
establish a link between a Graphical User Interface (GUI) and the animatronic that allows us to control our project in a friendly,
intuitive, and easy-to-use way.
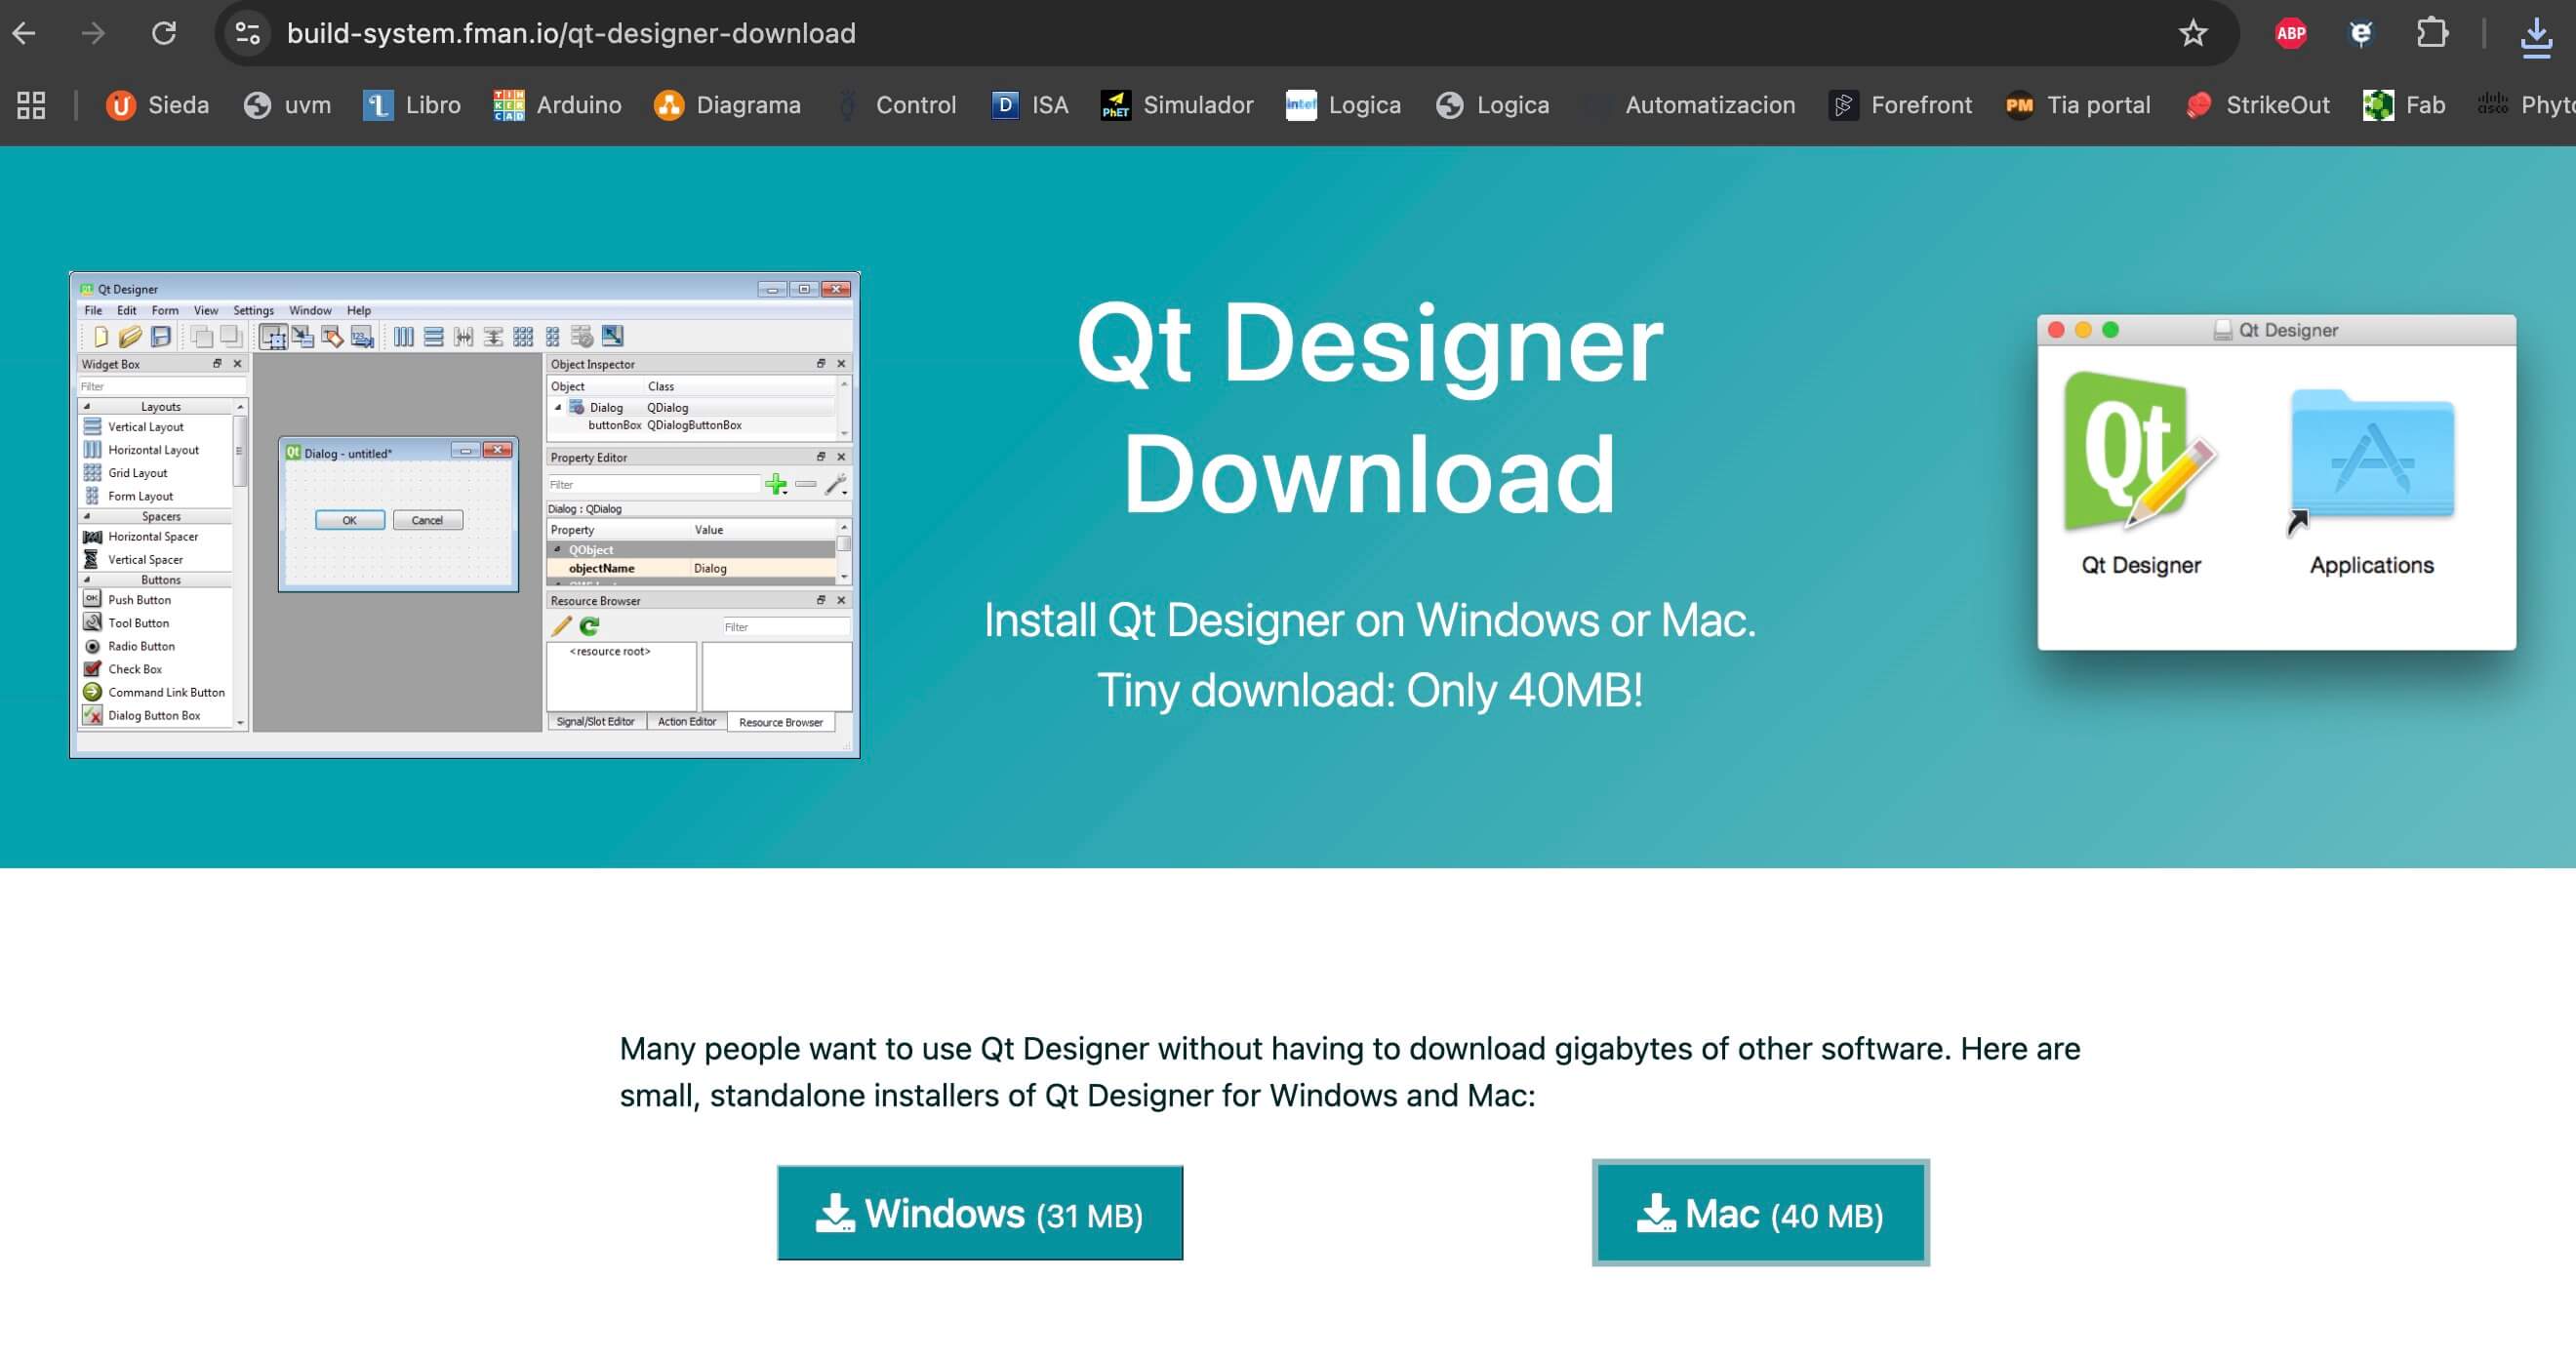
qt designer
Before starting, it is important to download " Qt Designer " .
Once installed, we open the program. When we do so, a window appears where we must choose "
Main Window" and click "Create".
This causes a window to open.
As seen in the image, there are 3 basic components.
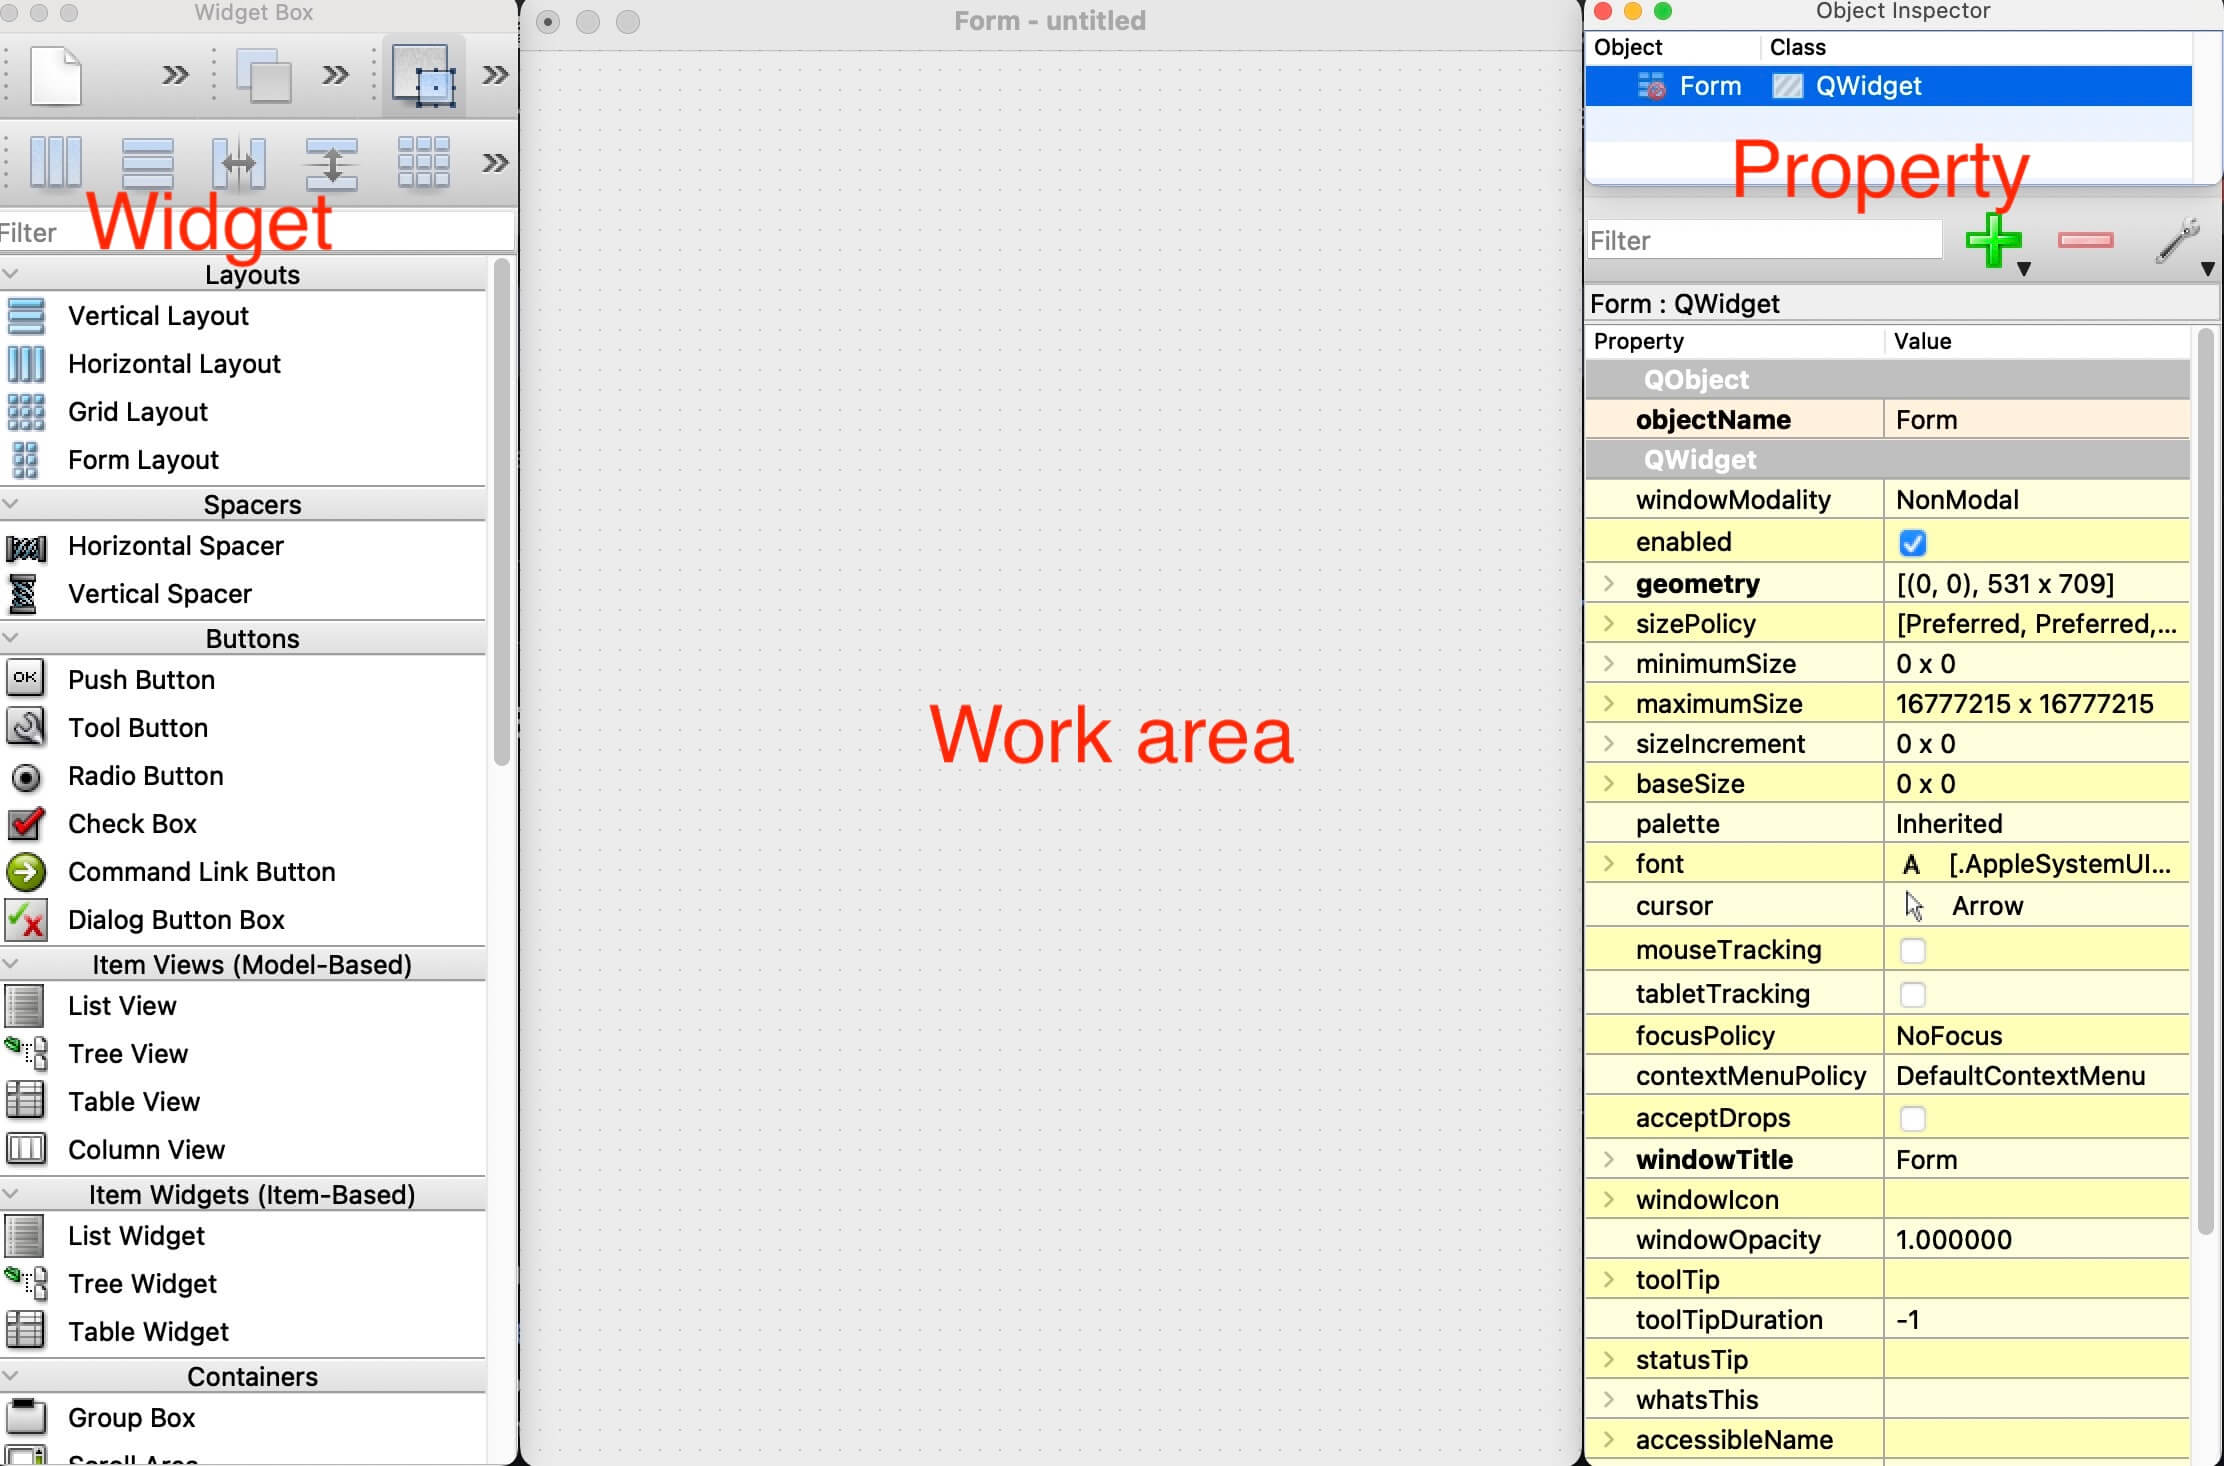
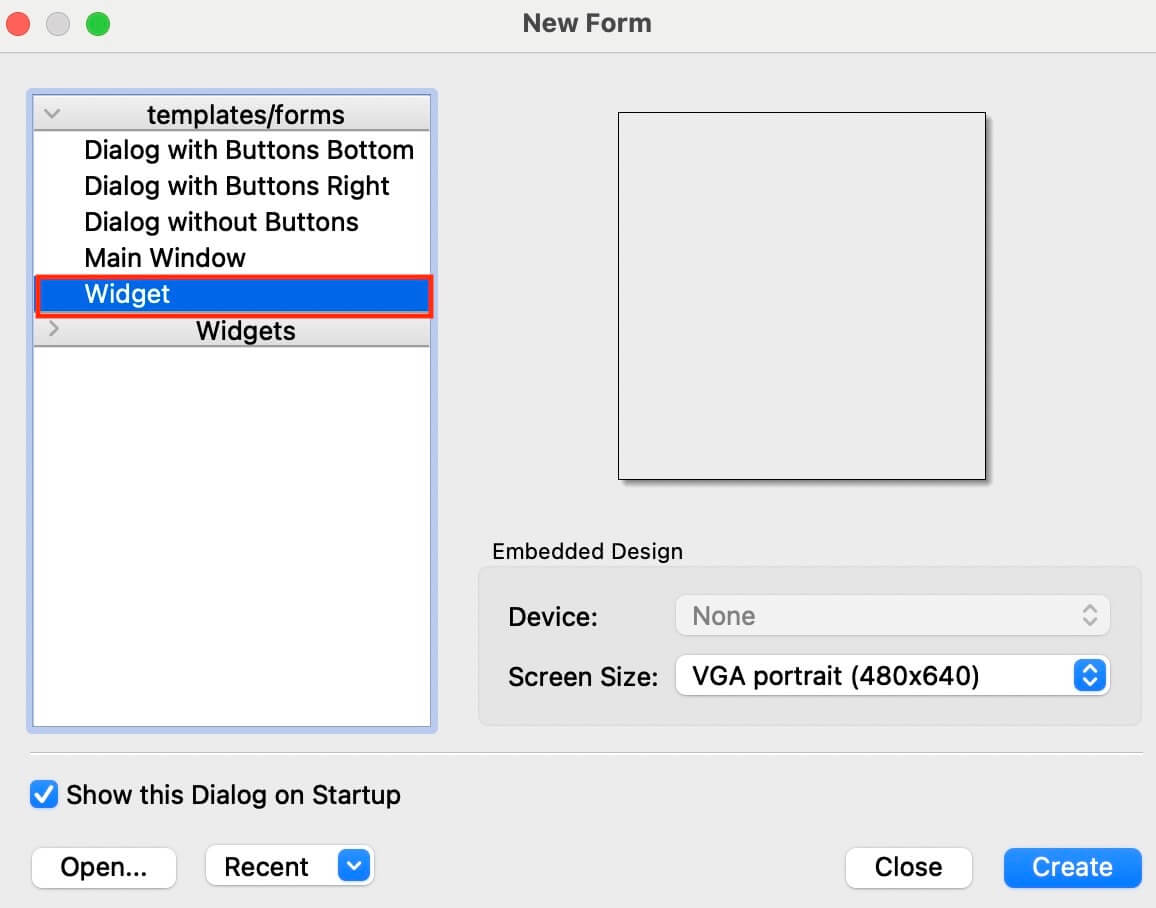
- Widgets. Here we find all the elements that we can add to our main screen (buttons, labels, inputs, etc.).
- Work area. This is the place where we will design our interface. The widgets are placed here.
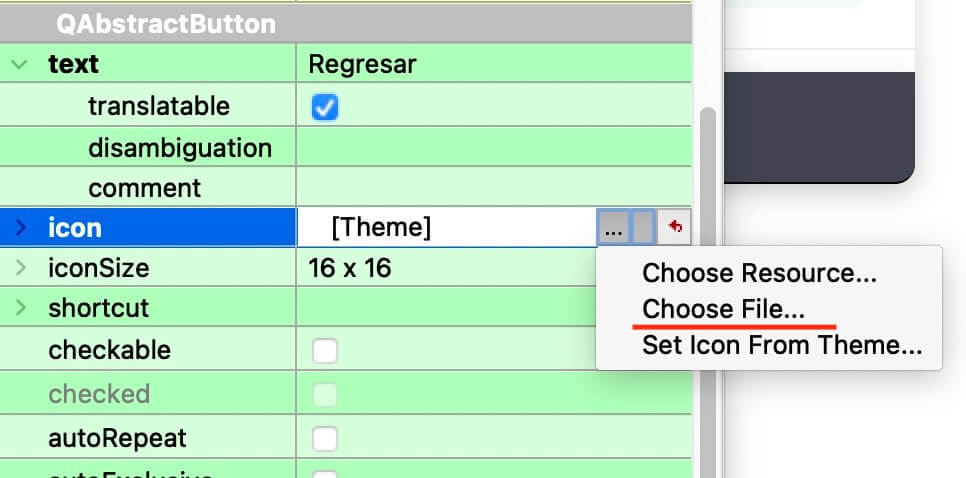
- Property. Each element that we place in the work area will have properties that can be configured in this section.
To change the background color, right-click on it and a new window with different options will open. Select "Change StyleSheet".
The above opens a window where we have different options. It is recommended to click the arrow instead of the name to view the full menu. If
we only want to change the background, we must enter "
background -color", which places the instruction in
the box along with a color palette.
If we repeat the above, but now on a button, we will be able to change its format.
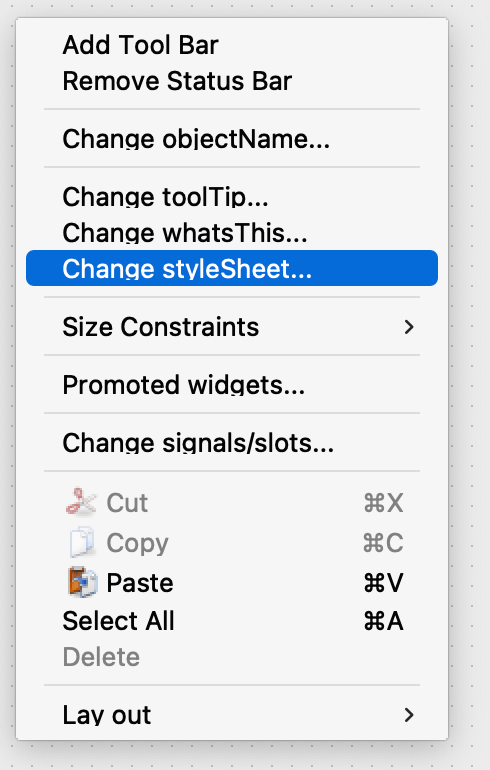
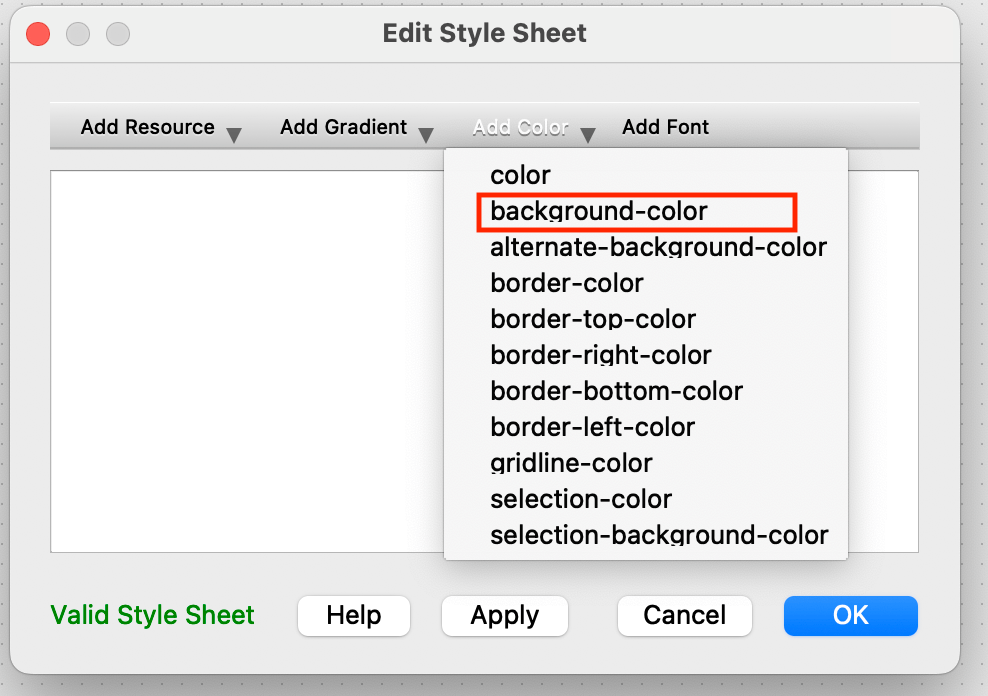
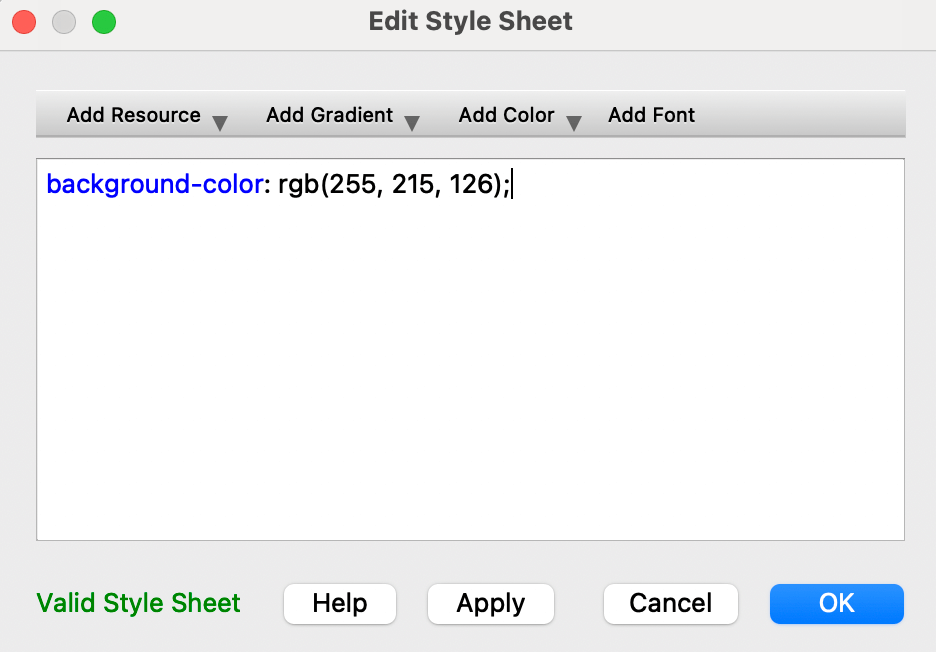
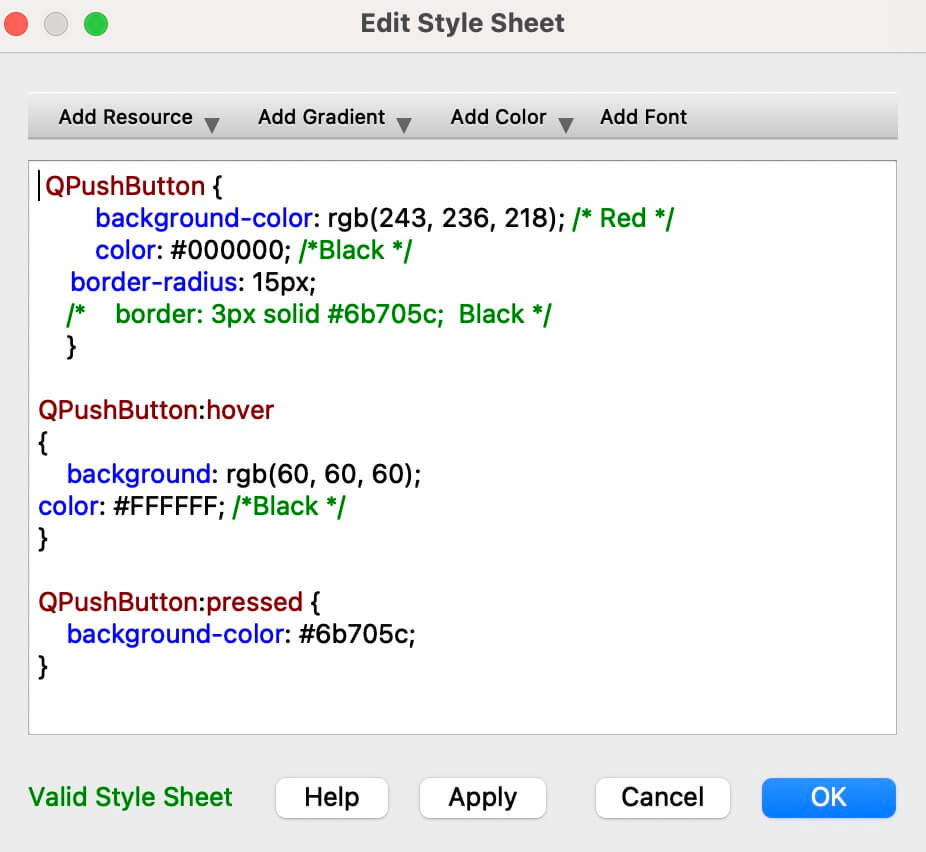
- background -color: Color can be expressed in RGB (rgb(R, G, B)) or hexadecimal form (e.g., #12F321).
- color: Font color.
- border-radius: Expressed in px; .
- QPushButton:hover: Changes the button and text color when you hover the mouse pointer over it.
- QPushButton:pressed: Changes the button and text color when the button is clicked.
Likewise, we can add icons to the buttons. To do this, we go to
" Flaticon"
to download them in PNG format.
To add an icon, we go to the "
Property" section, and in the "QAbstractButton" (green section), we select
icon → Choose File..., which opens a new window where we select the file we want to use.
It is important that all the images, icons, or resources included in the design of our interface are located in the same folder
where the project file is saved.
The result of our main page is shown below.
The image shown on the main page was generated using ChatGPT with the prompt
“Give me an image of children talking for an interface,” which was then edited until reaching the final version.
Now we need to create the secondary windows. For that, it is necessary to create a new form and select "Widget".
Below is the final result. Note that on this page, emphasis is placed on the position of the mouth.
Python
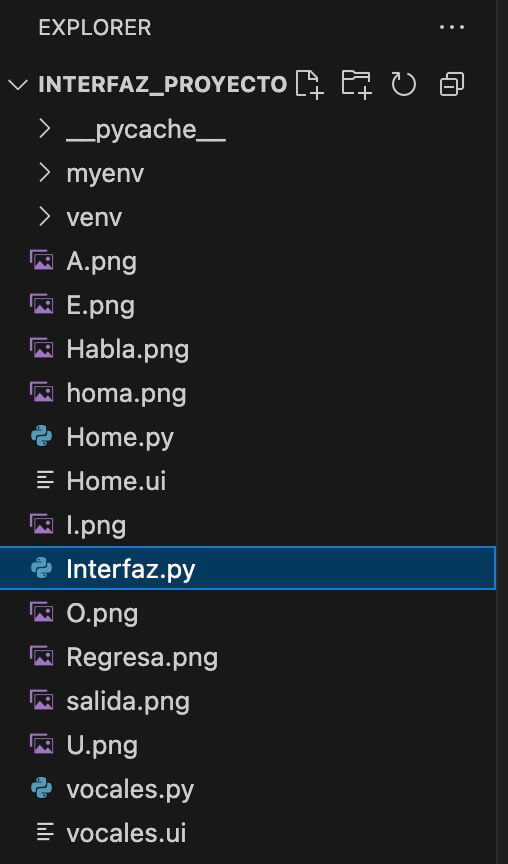
Once the designs are finished, we will notice that the file has a .ui extension (file.ui), in order to work with it,
it is necessary to convert it into a "file.py". For this, we will use Visual Studio Code.
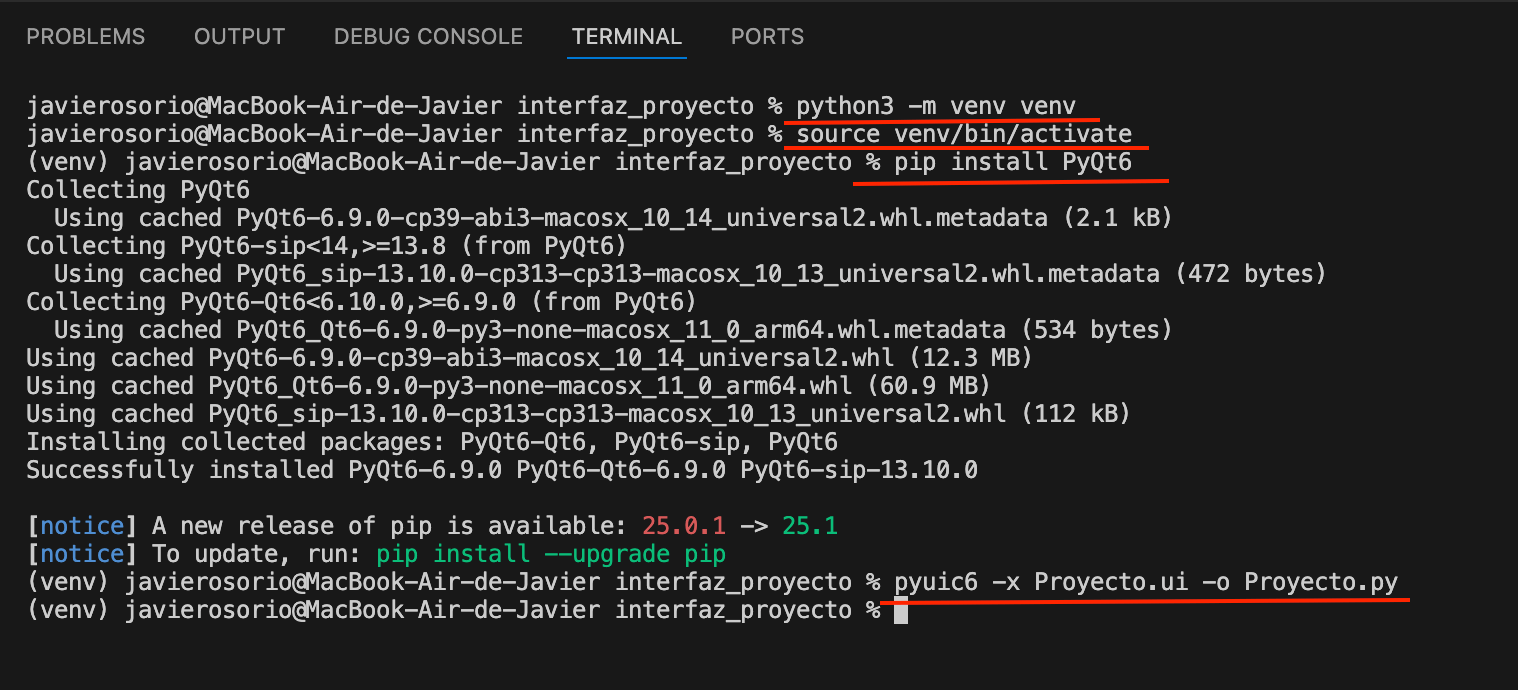
From the Terminal terminal, we navigate to the folder where our files are located. From there, we follow the steps below.
- python -m venv venv Creates a virtual environment.
- source venv/bin/activate Activates the virtual environment.
- pip install PyQt6 Installs PyQt. PyQt is a set of Python bindings that allow you to use the Qt framework in Python.
Finally,
to transform a Qt file (file.ui) into Python, we use the following command.
pyuic6 -x file.ui -o output.py
Note that we must first specify the file.ui and assign a name that we want our output file to have, with a .py extension. It is necessary
to perform this last step every time a modification is made to the Qt file (file.ui).
Once the transformation is complete, it is recommended to run the following command in the terminal to verify that everything has been done correctly.
python output.py
PROGRAM STRUCTURE
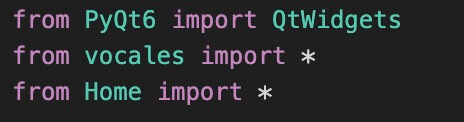
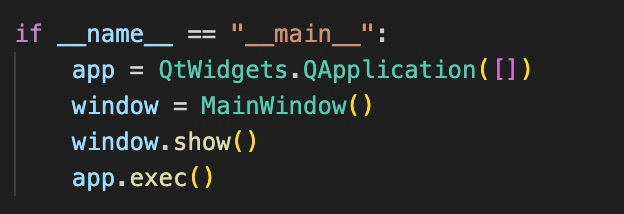
The first thing we will do is create a new “file.py” in our project folder, where all the Qt-generated programs will be linked. This is
done with the purpose of not altering the original design files.
It is not recommended to carry out our programming in the generated file.py, since if we make a modification in Qt, when transforming
from .ui to .py, it will be overwritten. Therefore, it is suggested to create a new file.
When creating the new file.py, the first thing you should do is import the scripts.
Afterwards, it is necessary to create the main “class” with inheritance.
Finally, you need to instantiate "MainWindow class"
The complete program is presented below.
The interaction of all the windows is shown in the following video. Note that when clicking on the vowels, the selected letter is printed in the
terminal.
XIAO RP2040
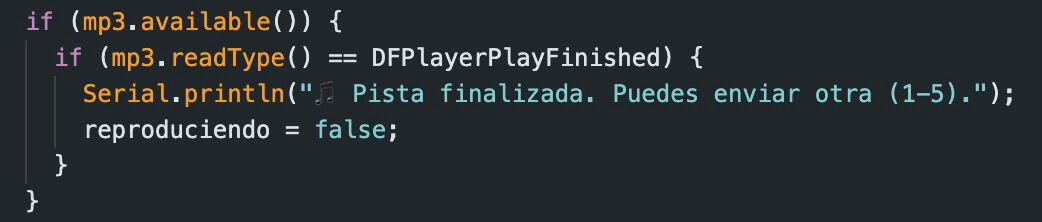
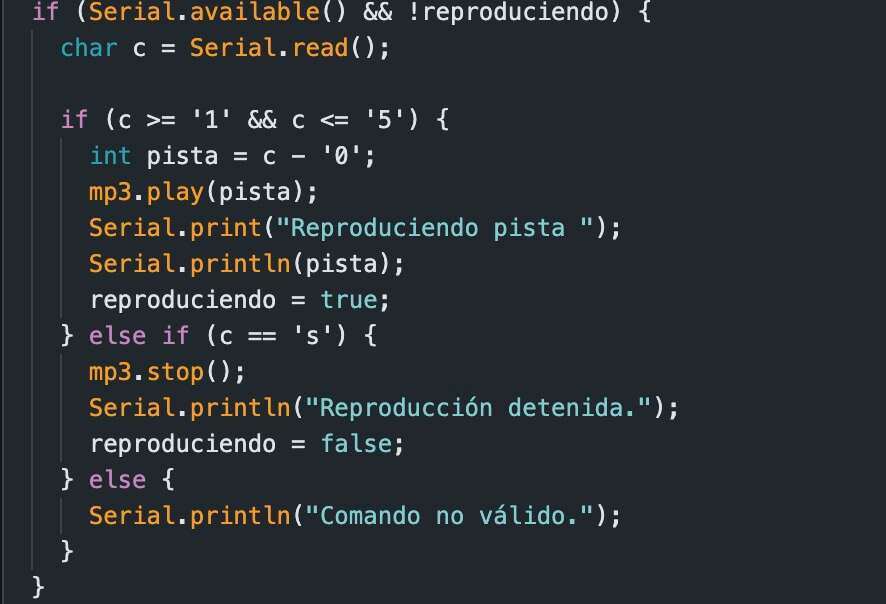
The objective of using the XIAO is to play audio using the " MP3-TF-16P "
module. This module has the advantage of including a class D amplifier, allowing to connect a 4Ω and 3W speaker, enough for our needs.
Below is a description of the program developed in the XIAO RP2040, which plays the corresponding track when receiving information through
the serial port. It should be noted that communication between the module and the XIAO is done via UART.
PROGRAM STRUCTURE
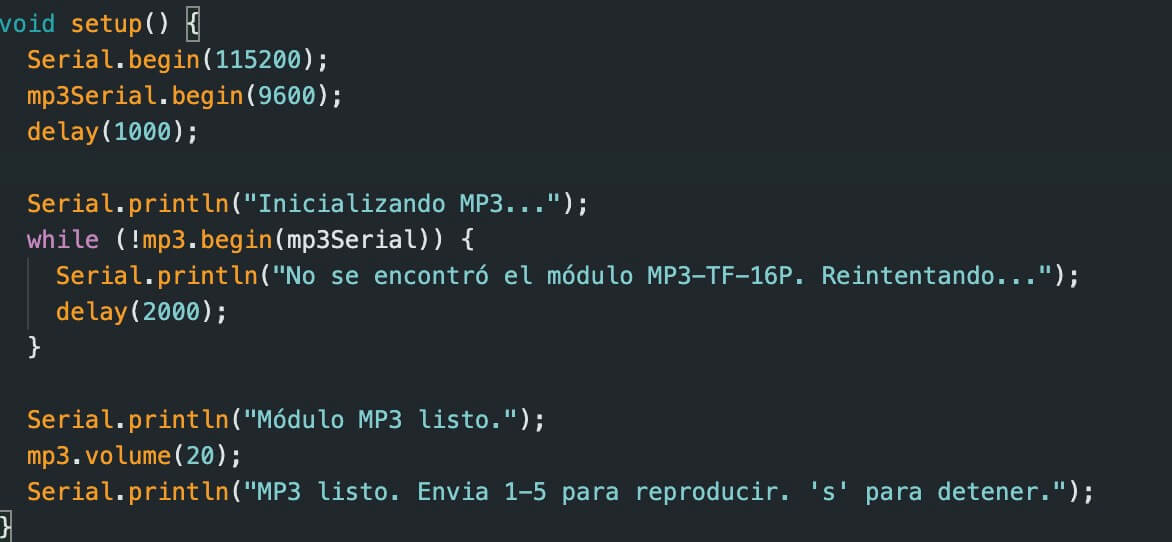
The first thing to do is to declare our libraries.
- #include . Allows you to establish serial communication
- #include "DFRobotDFPlayerMini.h" . Allows you to control the DFPlayer Mini / MP3-TF-16P module.
The
SoftwareSerial mp3Serial(1, 0); ; declares the software serial communication between the XIAO and the MP3 module (RX, TX).
For its part
DFRobotDFPlayerMini mp3;
Creates a control object that allows you to control the module (play, volume, stop, etc.).
Inside the
void setup , we start communication with the serial monitor (115200) and with the MP3 module at
9600 baud, which is the default speed of the DFPlayer.
The
while (!mp3.begin(mp3Serial)) instruction allows us to verify if the module is connected. If it is not, it
enters a loop until the module works.
On the other hand, in a range from 0 (minimum) to 30 (maximum),
mp3.volume(20); allow us to set the module volume to level 20.
Once inside the
void loop, the first thing we do is ask if the track has finished playing. Note that the first “if”
statement asks if there's data available from the MP3-TF-16P module, while the second checks if
DFPlayerPlayFinished
has finished.
Finally, it performs comparisons to check if the number or character on the serial monitor is valid.
The complete program is presented below.
Below is a video of how it works.
Results
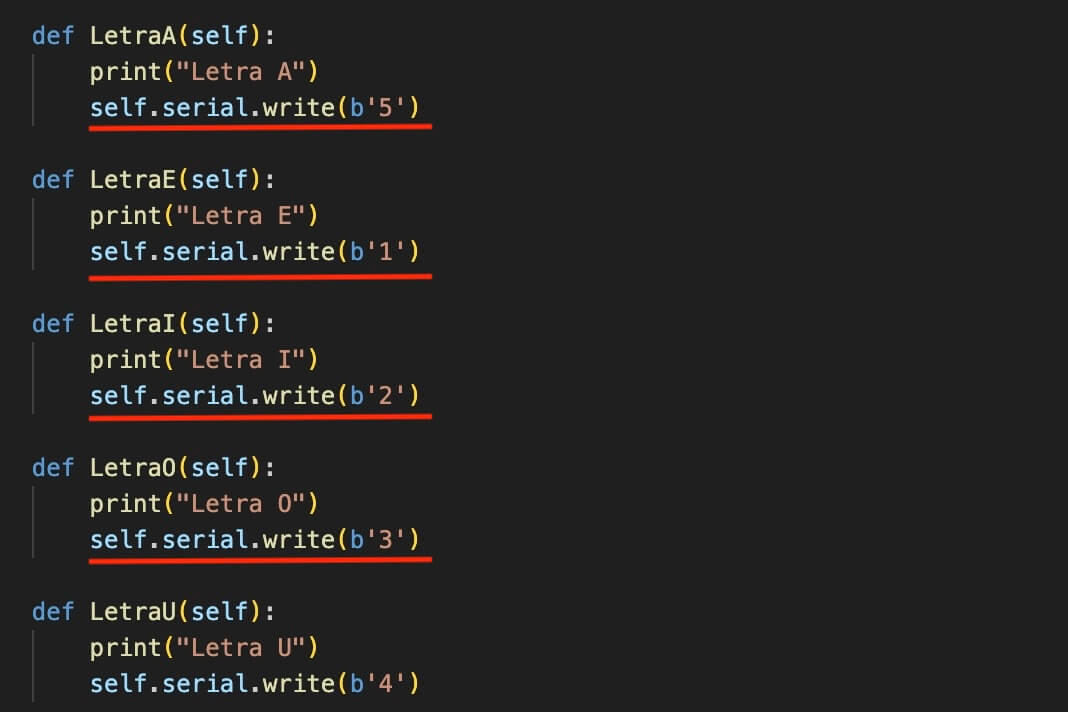
Finally, we need to connect the interface generated in Python with the audio output using the
XIAO RP2040.
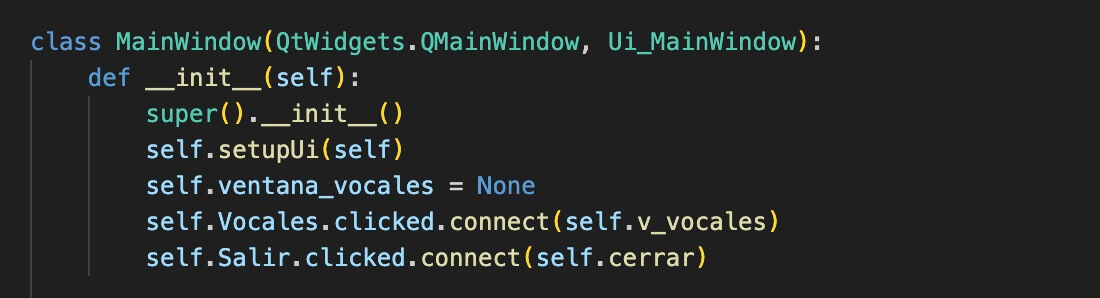
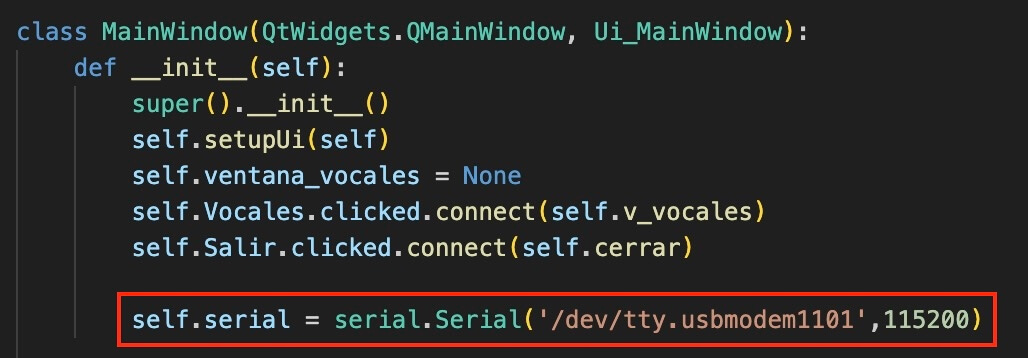
From Python, you need to add serial.Serial()
with the address of the port being used on the computer to communicate; all of this within the
class MainWindow.
If you have any doubts about what your port is, you can enter the following instruction from
Terminal.
ls /dev/tty.*
Finally, within the "
def" functions, we send a value depending on the condition through the serial port by means of the instruction.
self.serial.write()
The result is shown below.
Learning outcome
This week we learned how to develop an interface using “Qt” and Python, using a XIAO RP2040 to interact with the outside world.
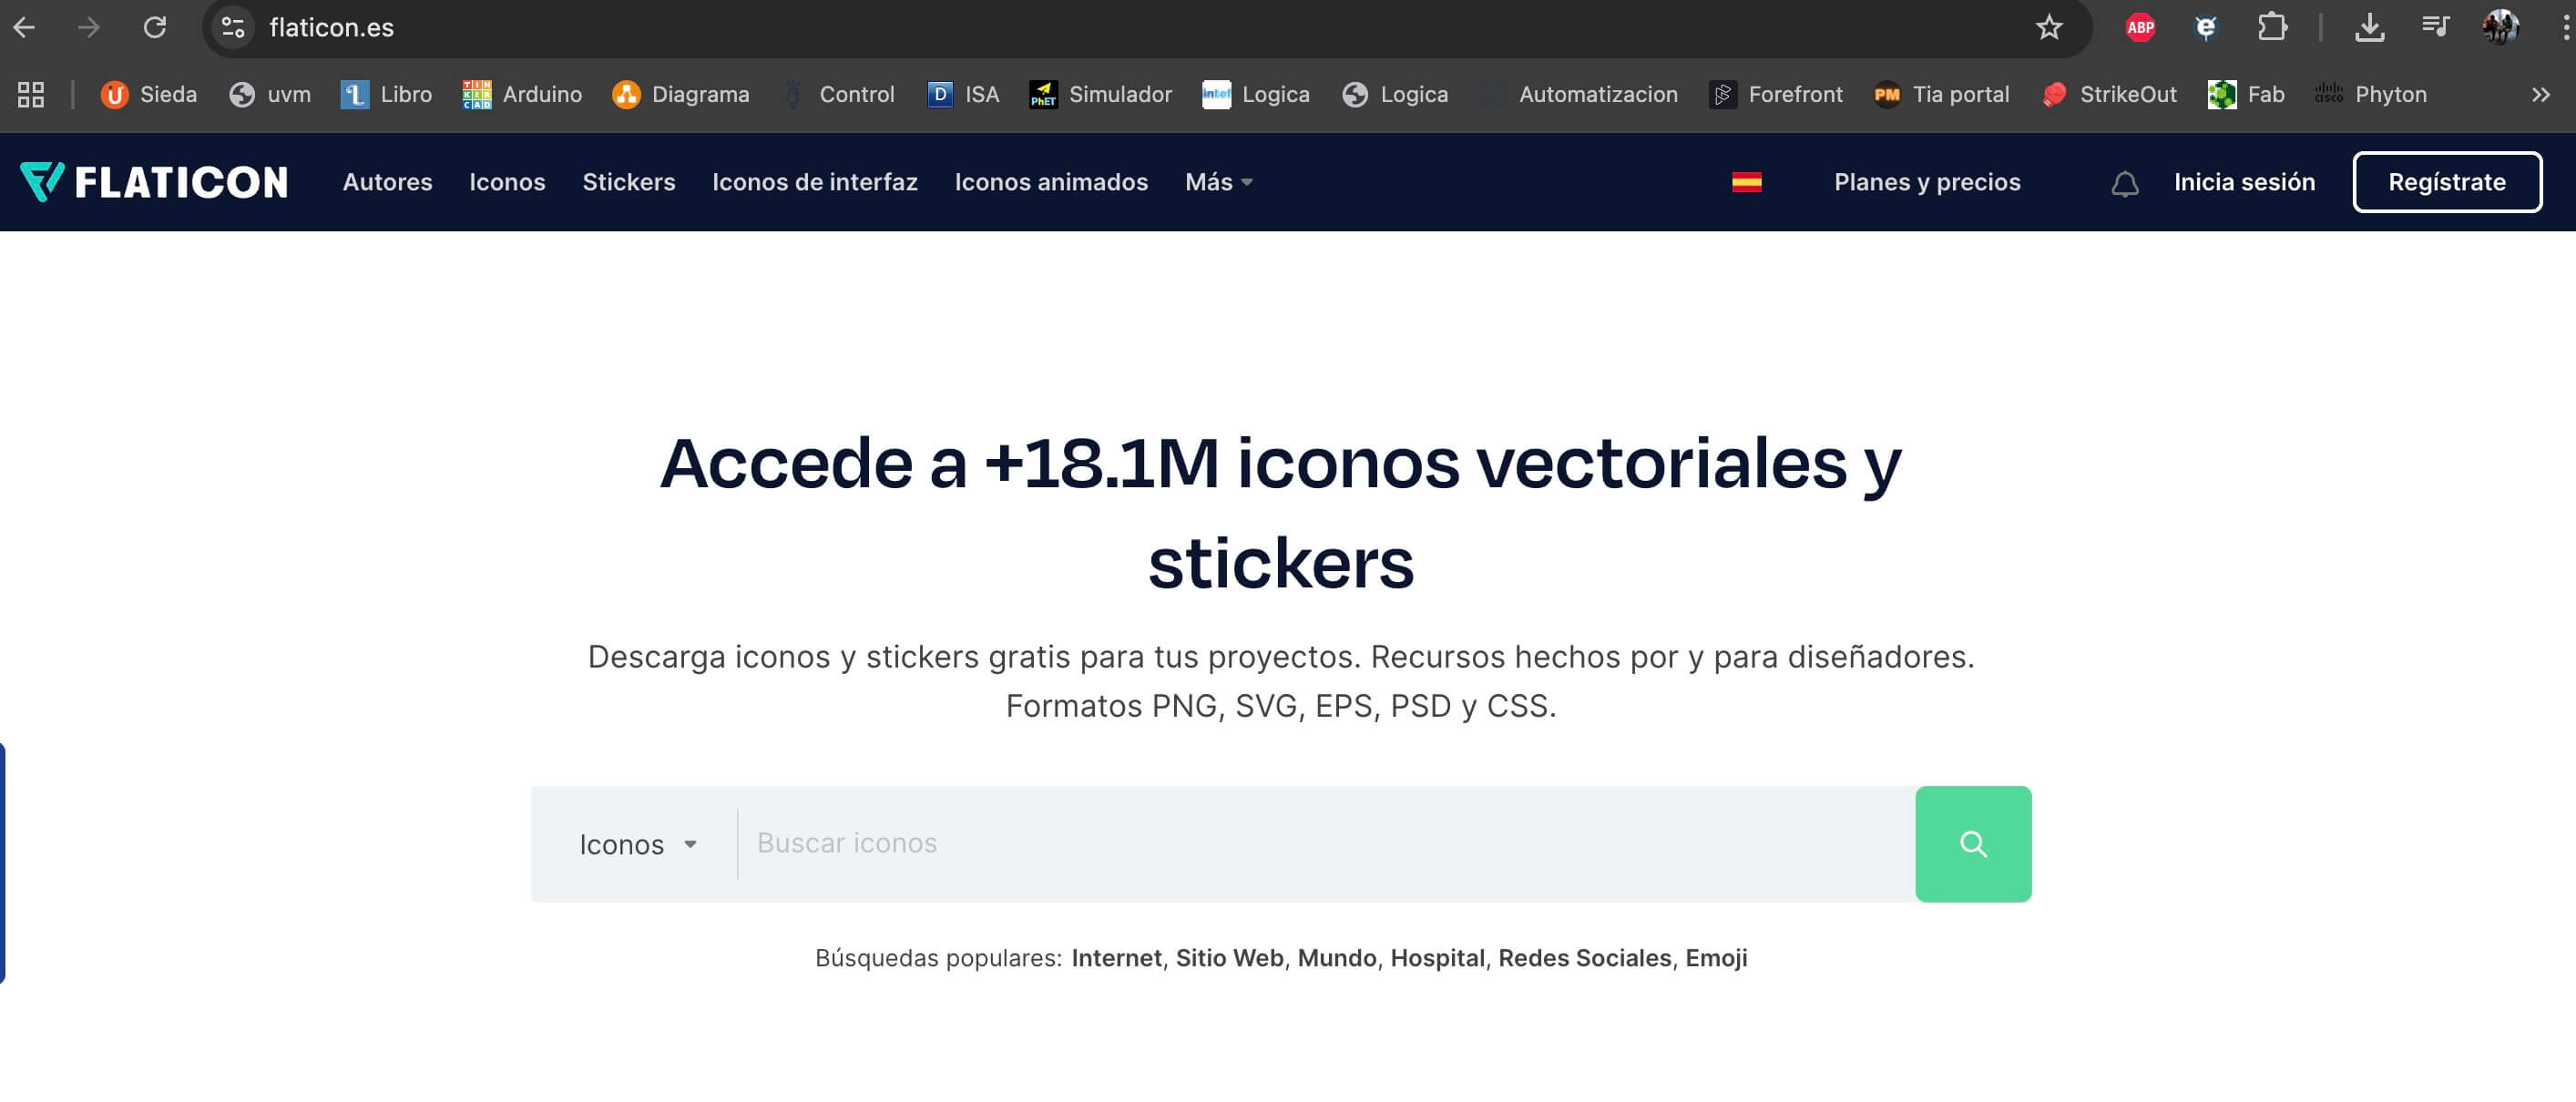
It's important to consider certain things, such as who the app is intended for, so information from the internet is very useful, as it can
help us come up with design ideas to develop a customized prototype.
Group Task
Files