16 - Wildcard
This week we will take advantage of our 'Wildcard Week' to work with the thermoformer and create a mold based on the head of the animatronic we want to build.
BASIC CONCEPTS
The thermoforming machine is a device used in the industry to shape plastic sheets through the thermoforming process. This process involves heating the sheet until it becomes malleable, then adapting it to the shape of a mold. Once cooled, the plastic permanently retains the shape of the mold used.
The most commonly used materials for thermoforming are:
| Material | Properties | Common Applications |
|---|---|---|
| PET (Polyethylene Terephthalate) | Transparent, strong, recyclable | Food and beverage packaging |
| PVC (Polyvinyl Chloride) | Chemical and mechanical resistance | Blister packs, cards, medical uses |
| PS (Polystyrene) | Rigid, low cost | Trays, disposable cups, packaging |
| HIPS (High Impact Polystyrene) | Impact-resistant, easy to form | Signage, toys, electronics |
| ABS (Acrylonitrile Butadiene Styrene) | High impact resistance, thermal stability | Automotive parts, appliance housings |
| PP (Polypropylene) | Flexible, heat and chemical resistant | Reusable containers, medical products |
| PETG (Polyethylene Terephthalate Glycol) | Easy to form, transparent, food-safe | Food packaging, displays |
| PLA (Polylactic Acid) | Biodegradable, renewable source | Eco-friendly packaging, disposables |
PREPARING THE MOLD
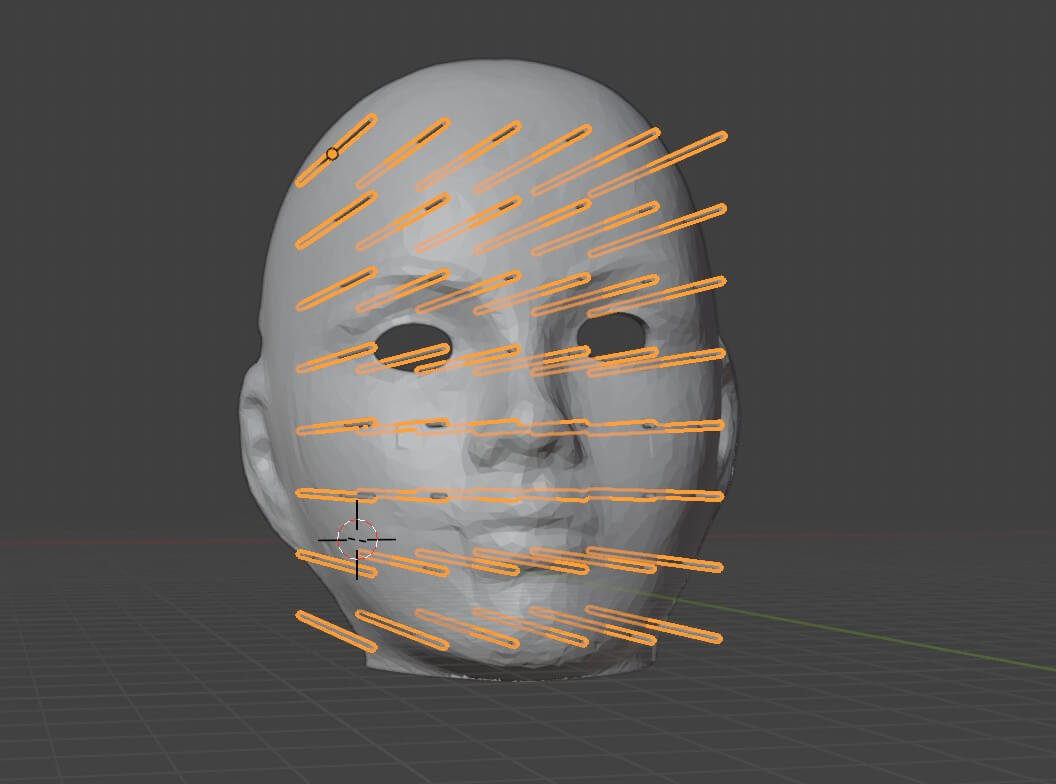
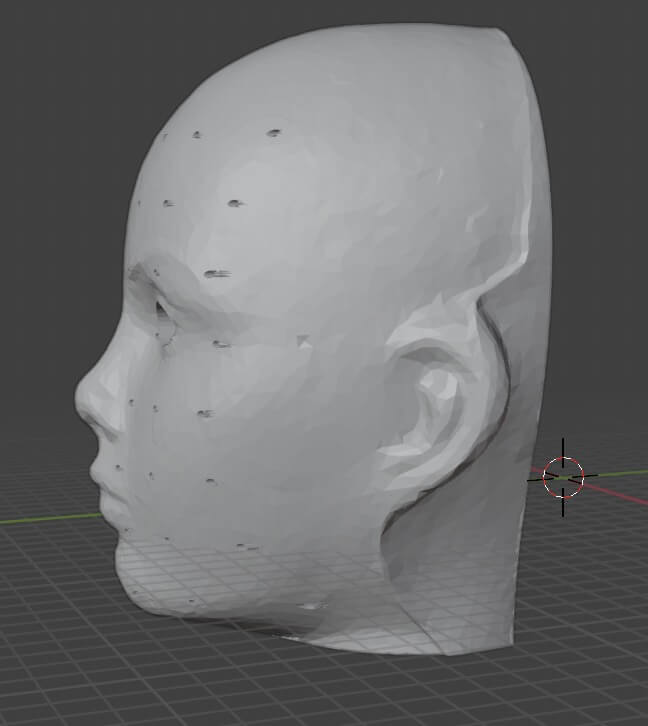
Before carrying out the thermoforming process, it is essential to have a mold that will serve as a base for the copy. In our case, we decided to use the 3D model of the animatronic face that we scanned during the " Week 5 - 3D Scanning and printing ". Later, in Blender software, we added a matrix of holes distributed across the entire surface of the face. This modification aims to ensure that, when applying suction from the thermoformer, all the details of the mold are captured more precisely. Each hole has a diameter of 1.5 mm and is spaced 10 mm apart.
MY FIRST STEPS WITH THE THERMOFORMER
Before getting started, it is essential to understand the material that will be used for thermoforming. In our case, we will use styrene sheets. You can find more information about this material at the following link.
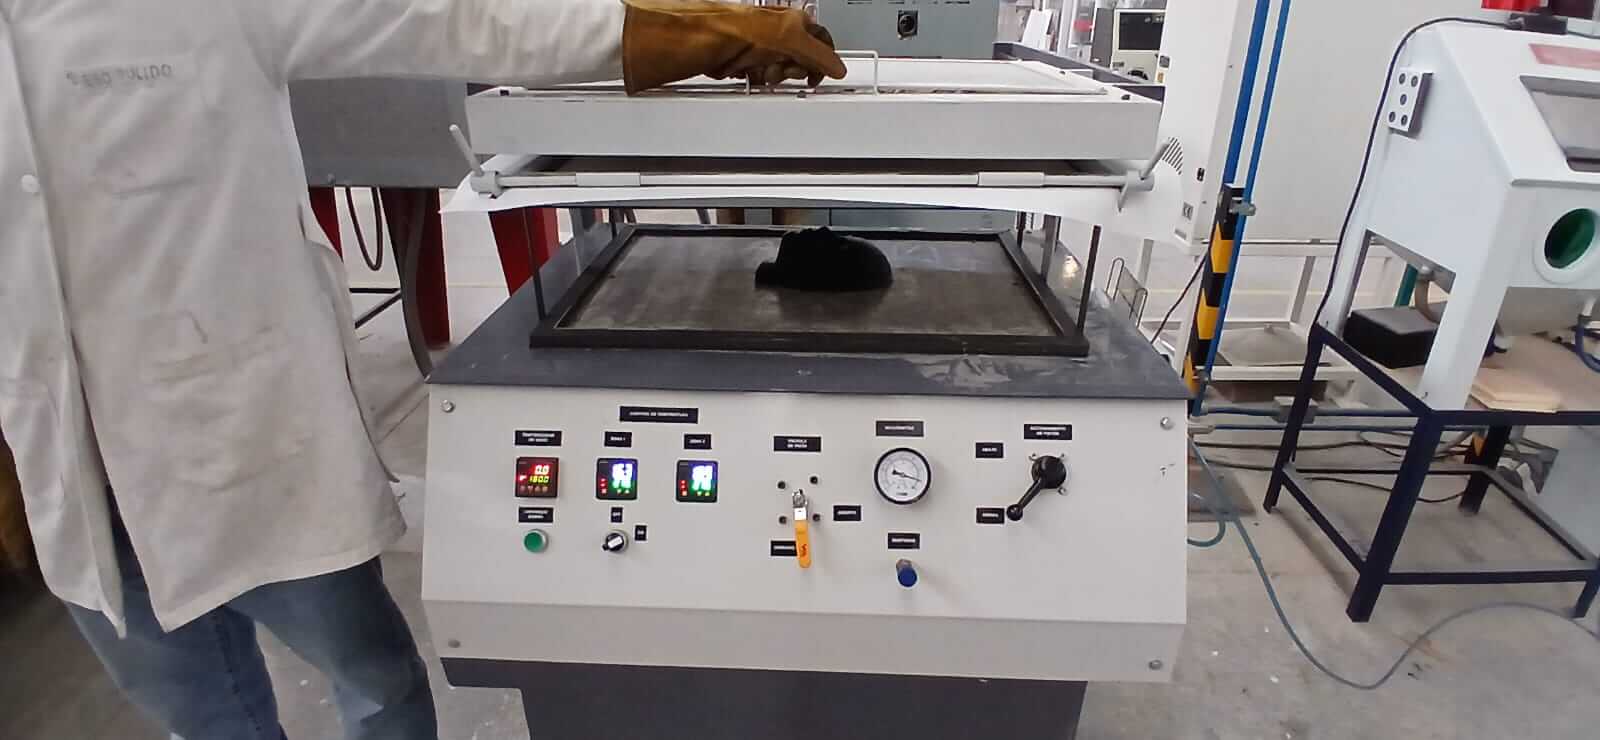
PARTS OF THE THERMOFORMER
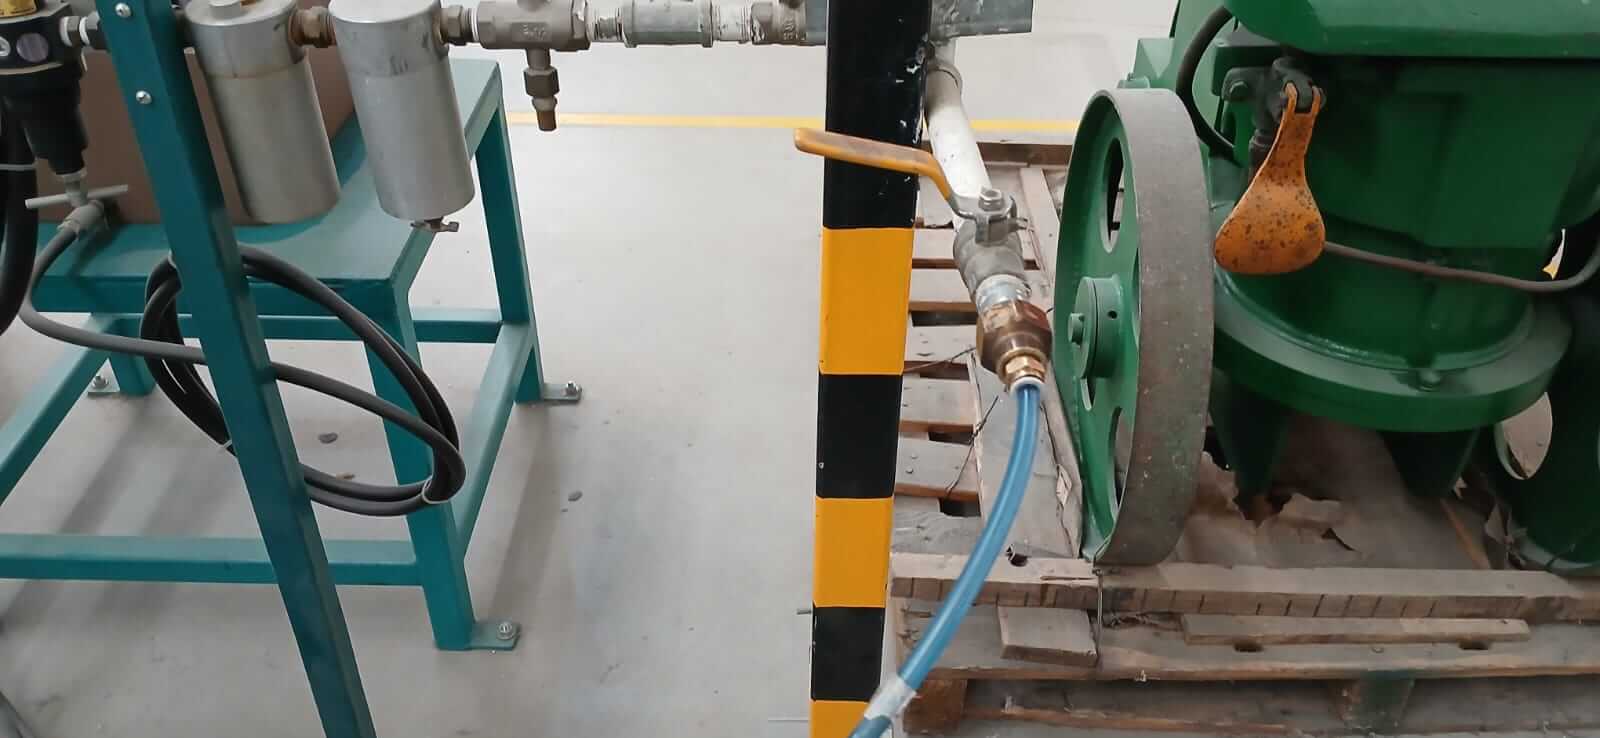
The first step is to connect the air supply for the vacuum valve and the piston operation.
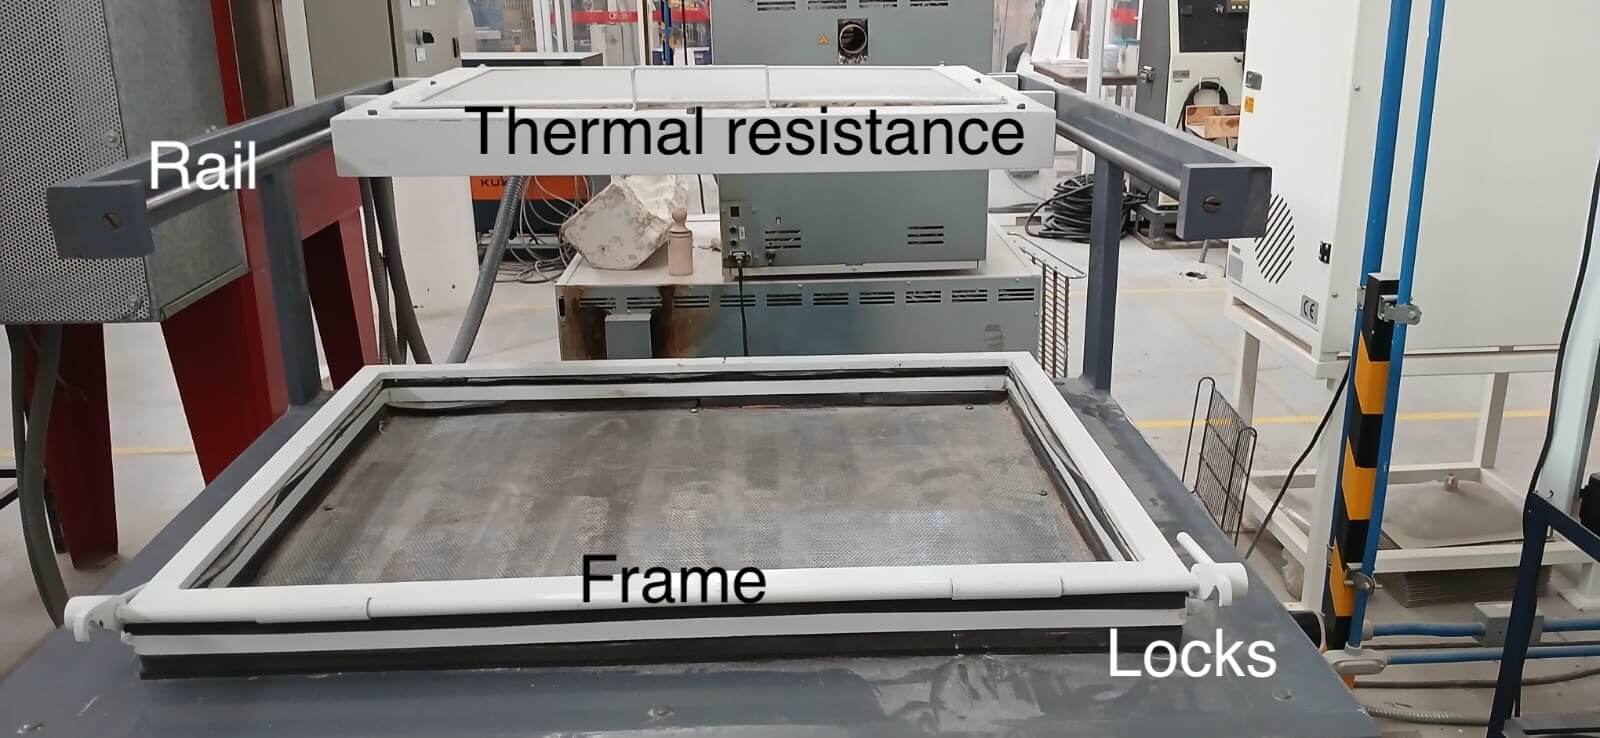
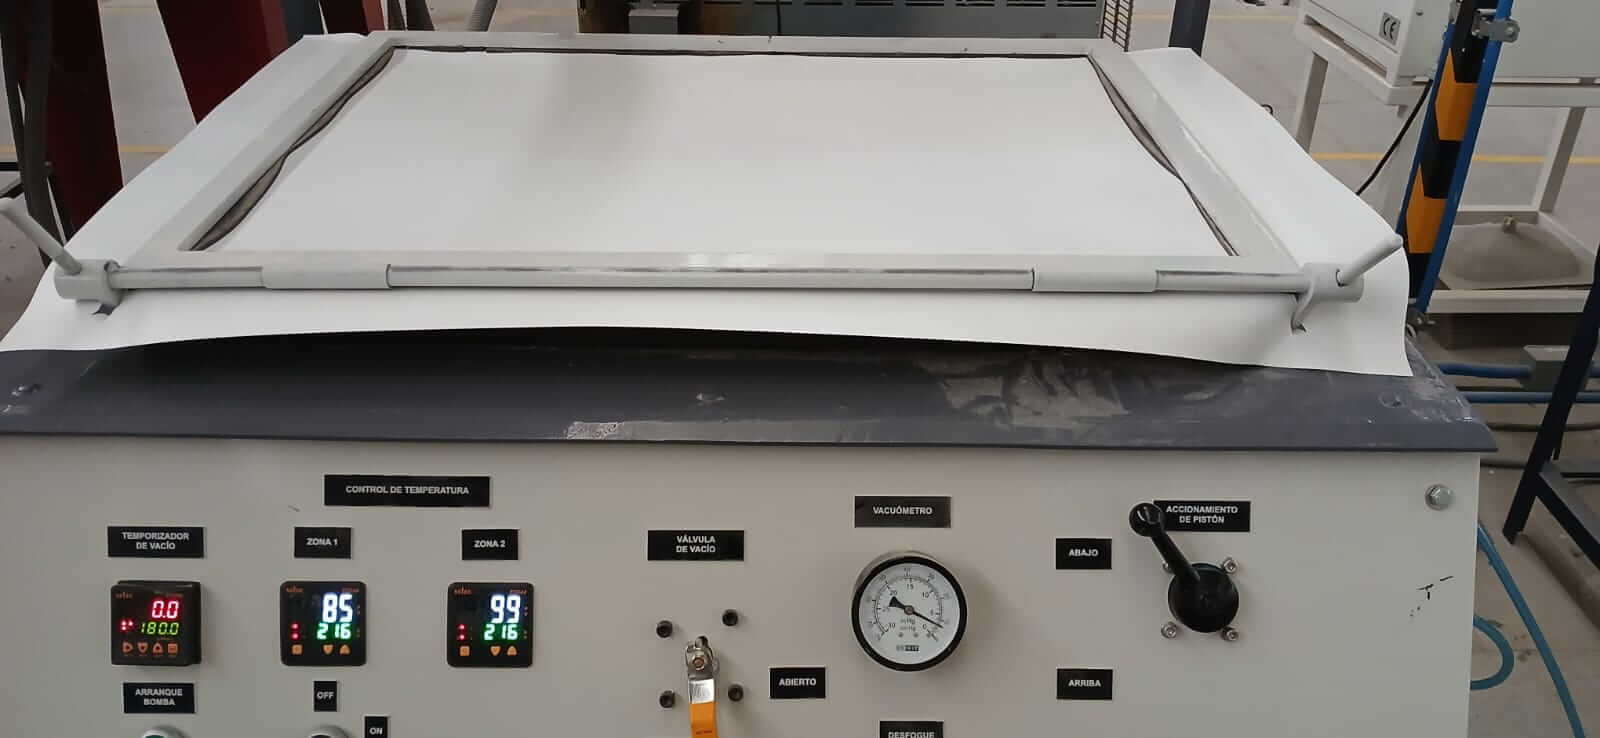
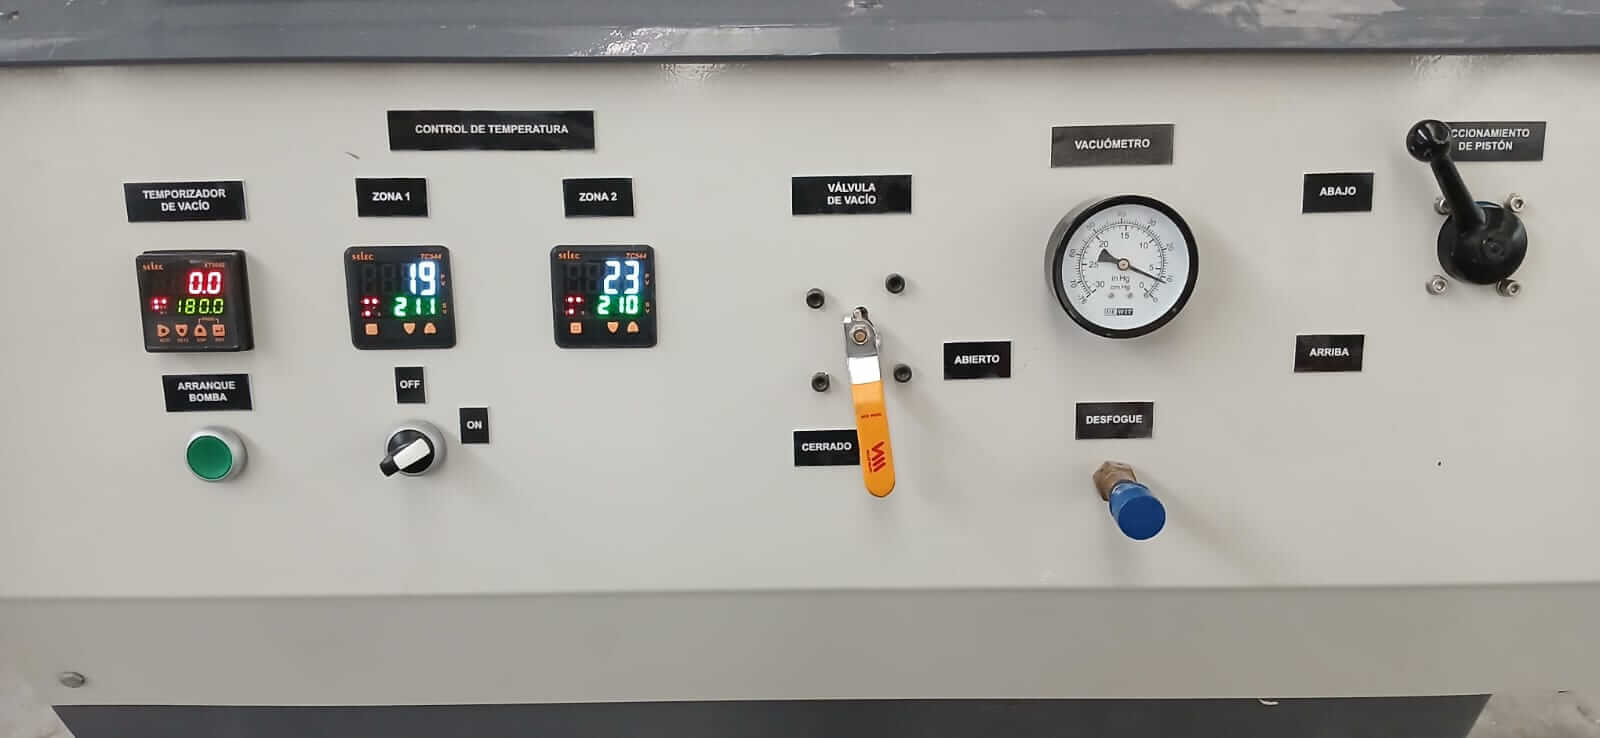
- Vacuum pump timer. It is important to have the pump turned on in order to perform the suction
- Machine power switch. Rotary knob that turns on the equipment.
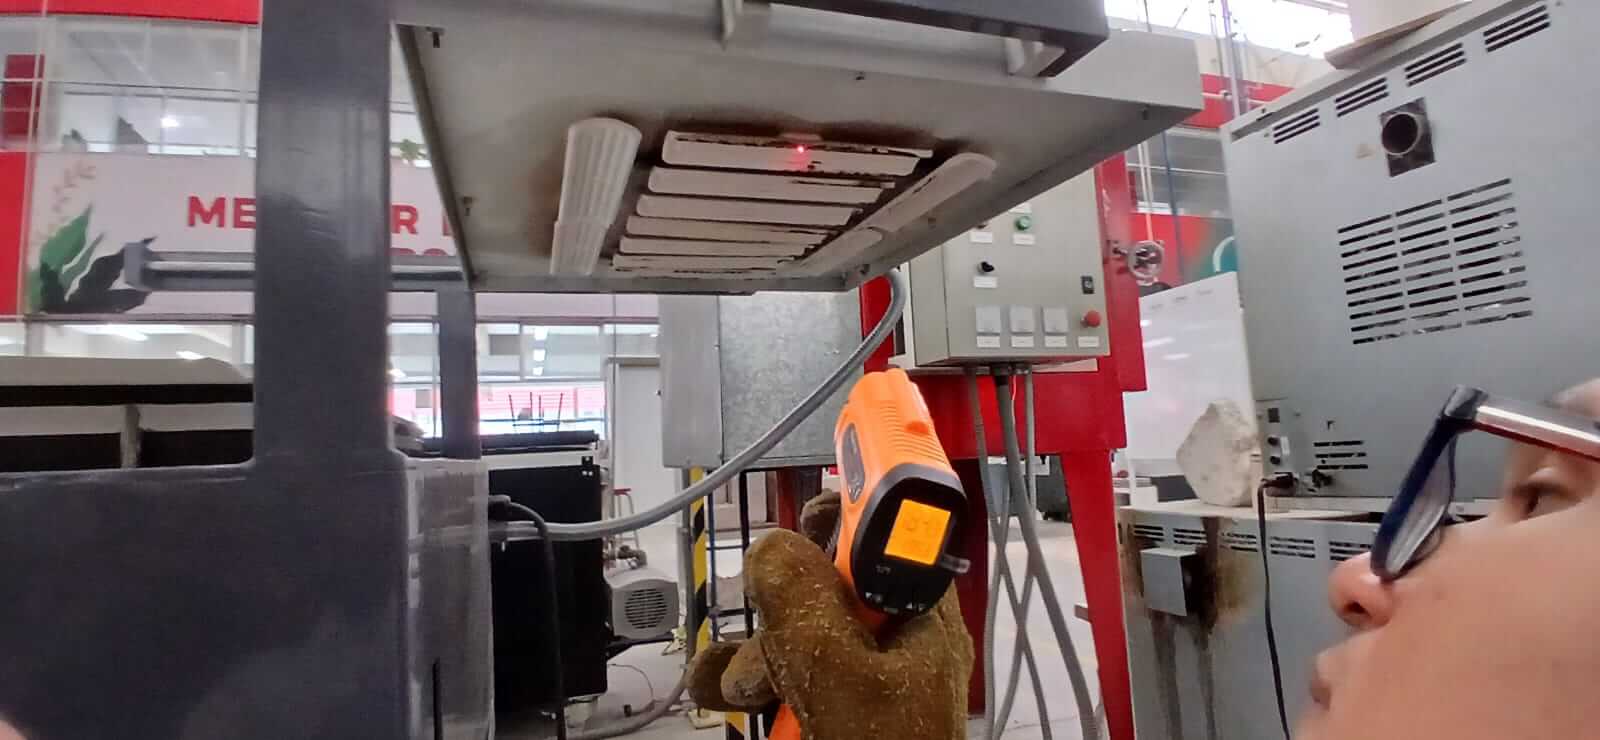
- Temperature control. There are two zones; the temperature of each zone is controlled using the buttons.
- Vacuum valve. When the sheet is lowered and covers the piece to be formed, it is important to activate the vacuum valve so the suction can occur.
- Piston actuator. Responsible for raising or lowering the frame where the sheet is placed.
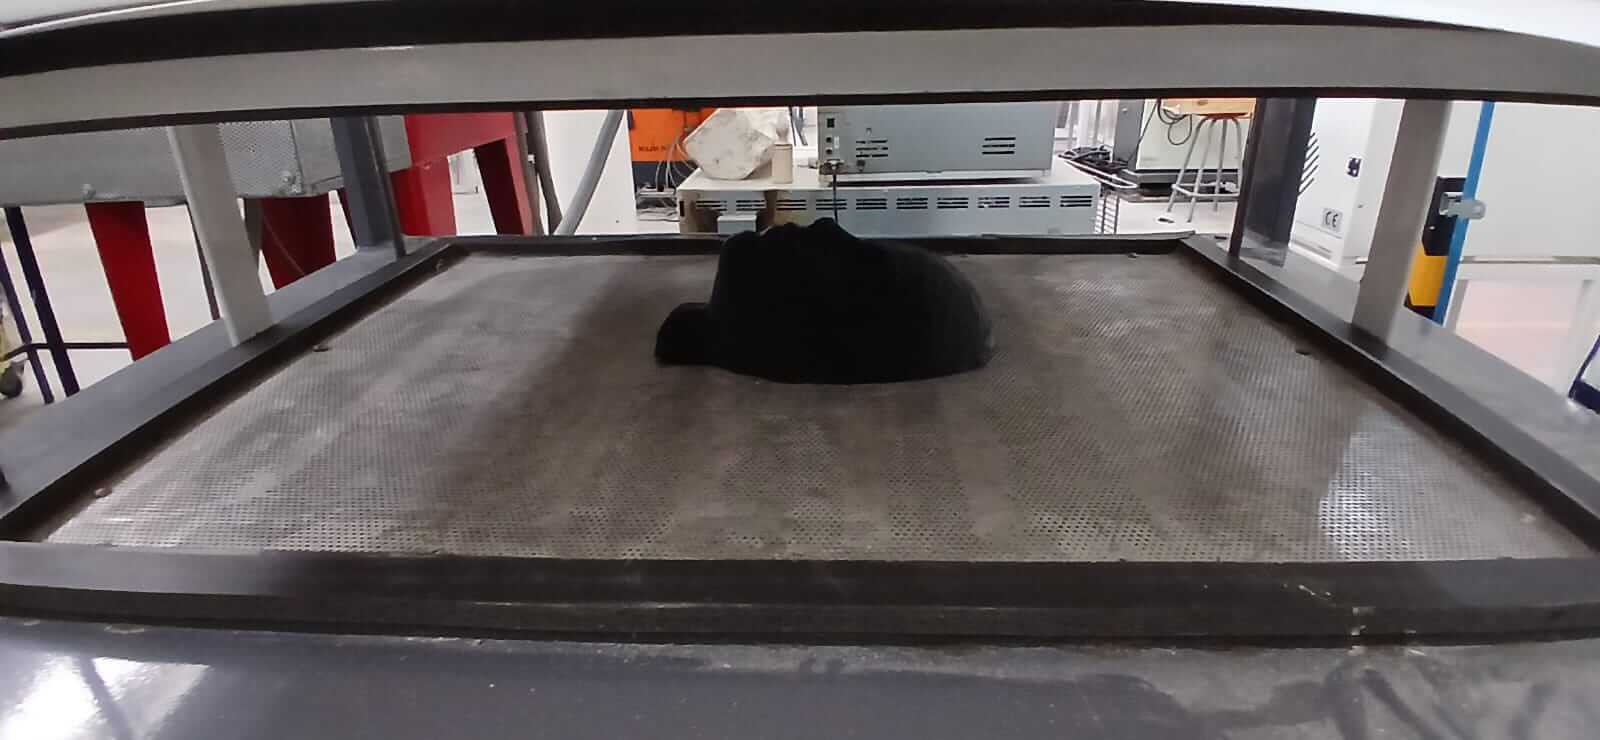
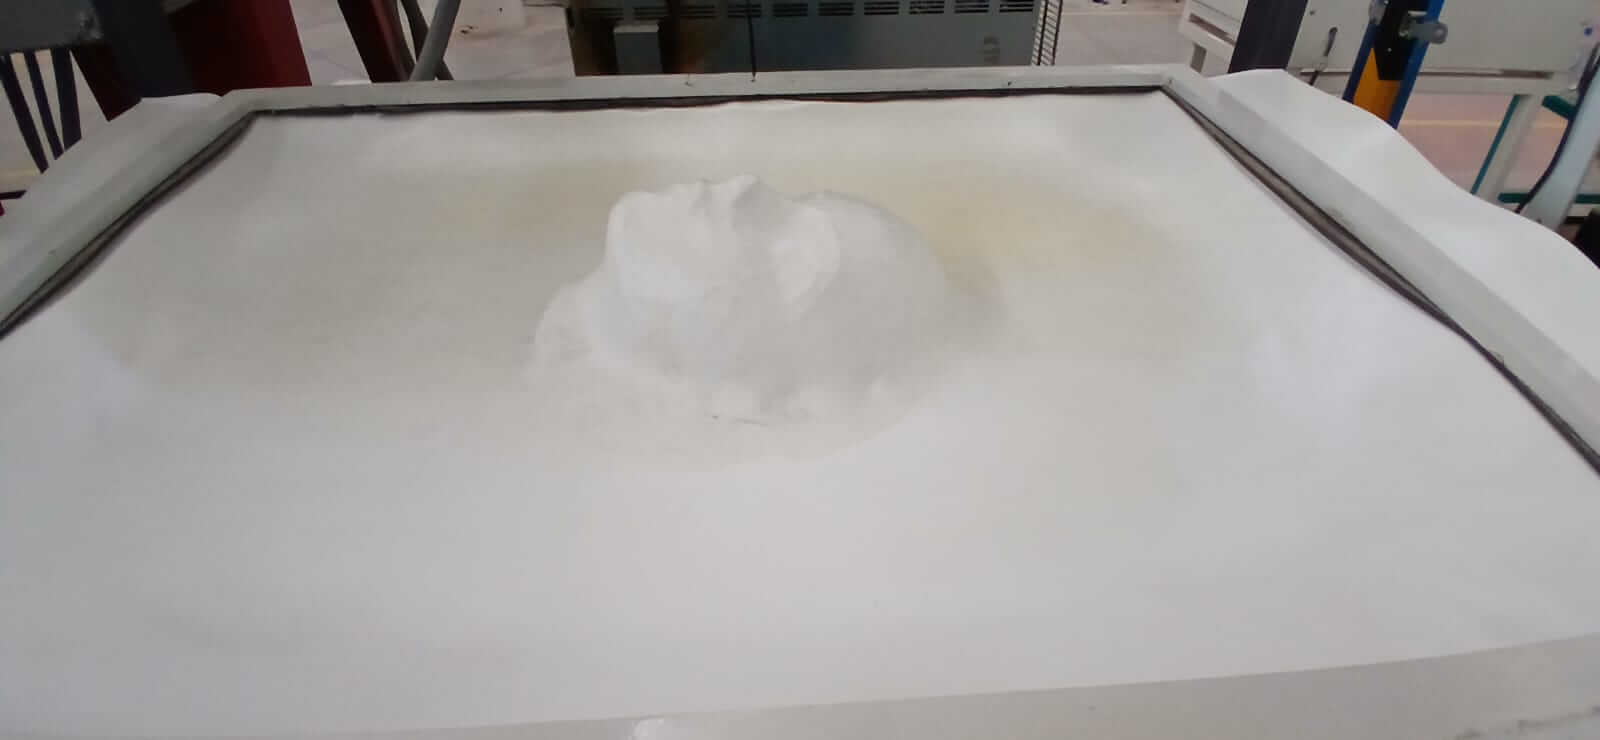
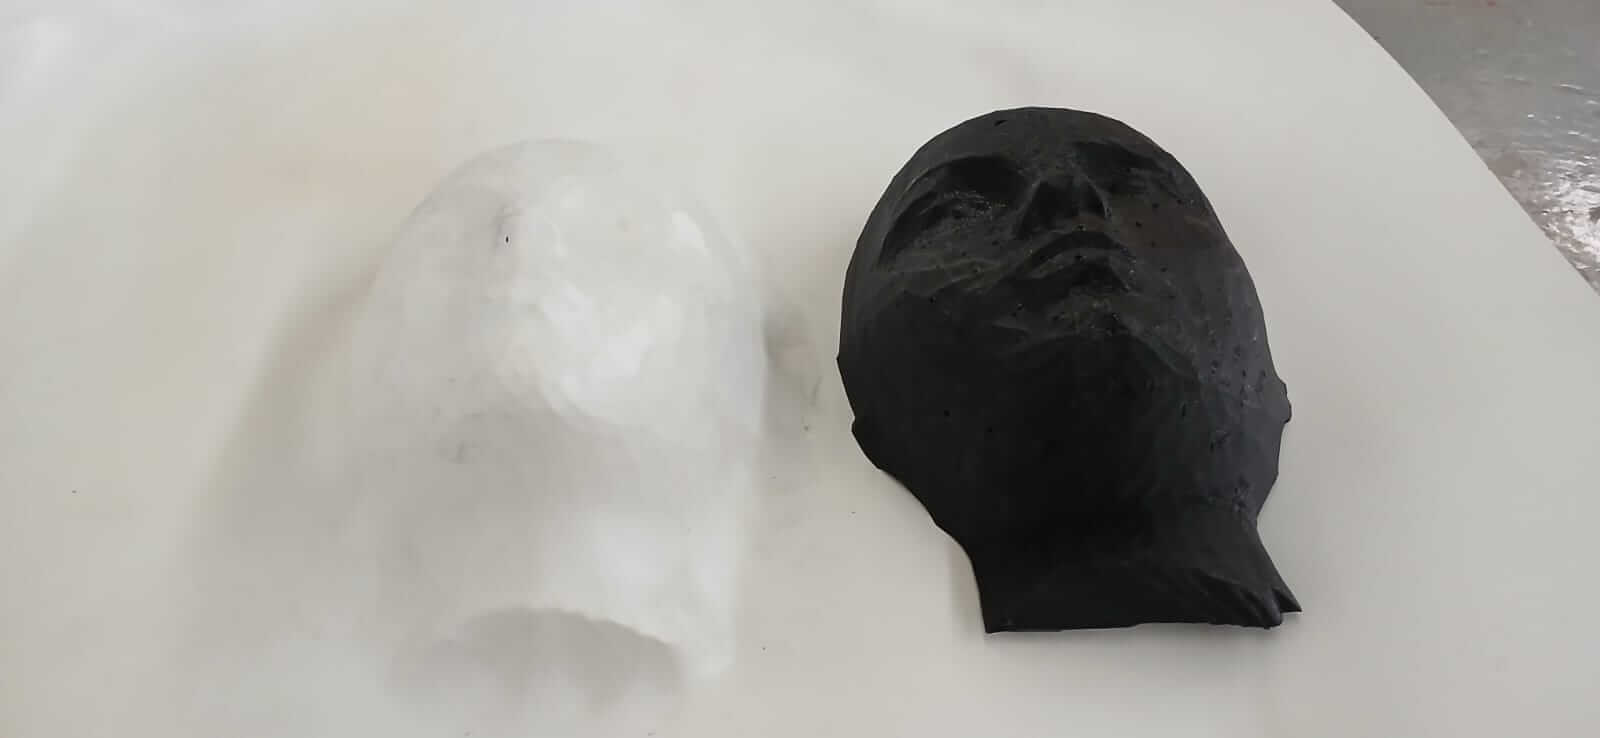
RESULTS
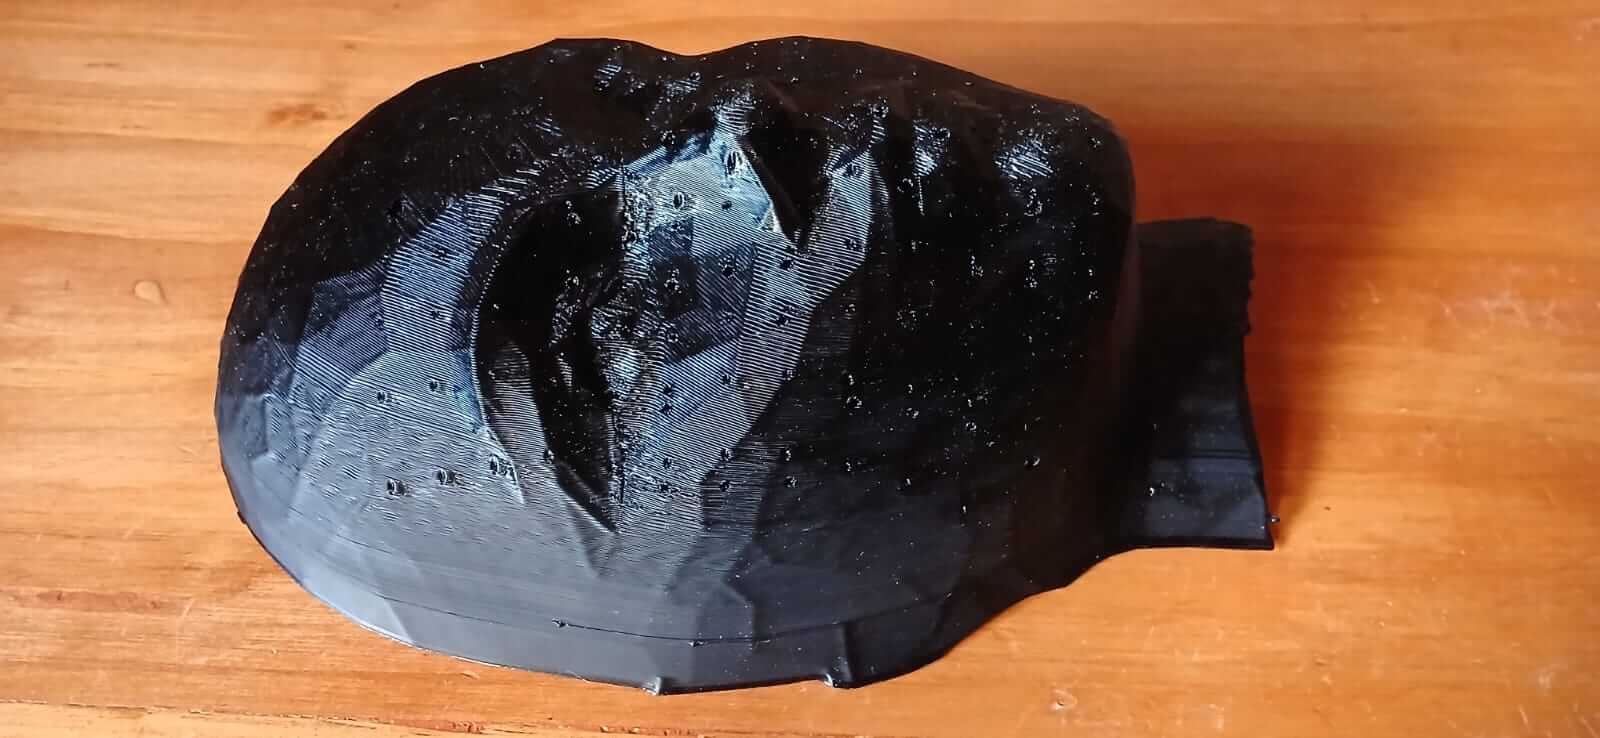
As can be seen in the images, the holes distributed across the mask allowed the thermoforming to faithfully reproduce the details of the mold. However, these same holes also appeared in the resulting surface. This presents an important trade-off: the better distributed and more numerous the holes are, the greater the fidelity of the replica; however, if the hole diameter is too large, they will also be visibly reflected on the molded surface.


Learning outcome
During this week we learned to use the thermoformer, an extremely useful tool for mass-producing parts from a mold. This process not only allows for precise shape replication, but is also very practical for creating molds that can be used in other manufacturing methods.