13 - Molding and Casting

This week we'll learn about the use of molds, as well as how to choose the right type of mold depending on the manufacturing process we're going to perform.
The types of molds that will be used in this work are:

  • Negative molds: They have a cavity with the shape of the piece to be manufactured.
  • Positive molds: They have a shape that reproduces the piece to be manufactured, not a cavity.
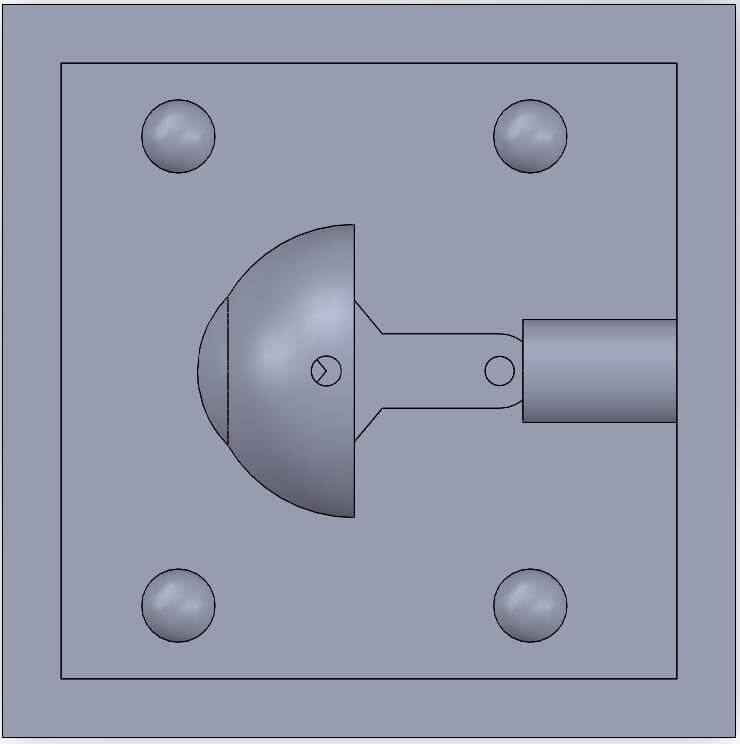
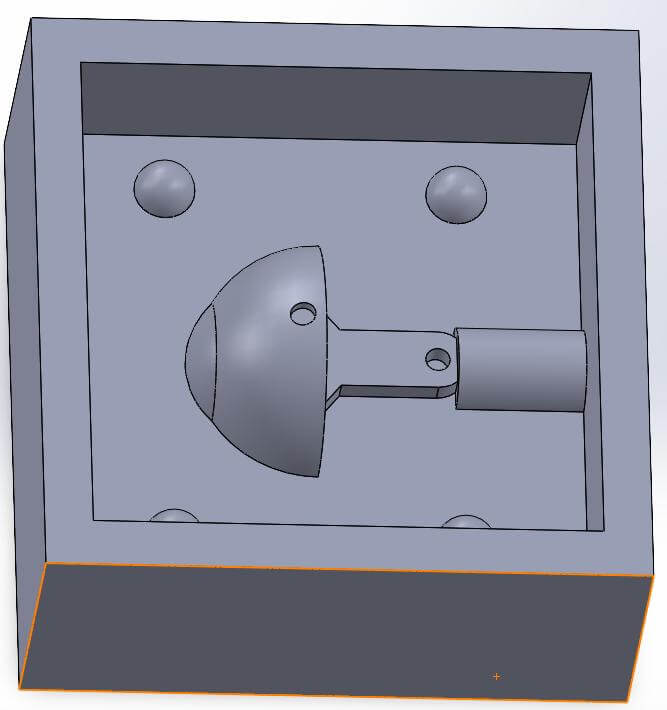
Pieces design

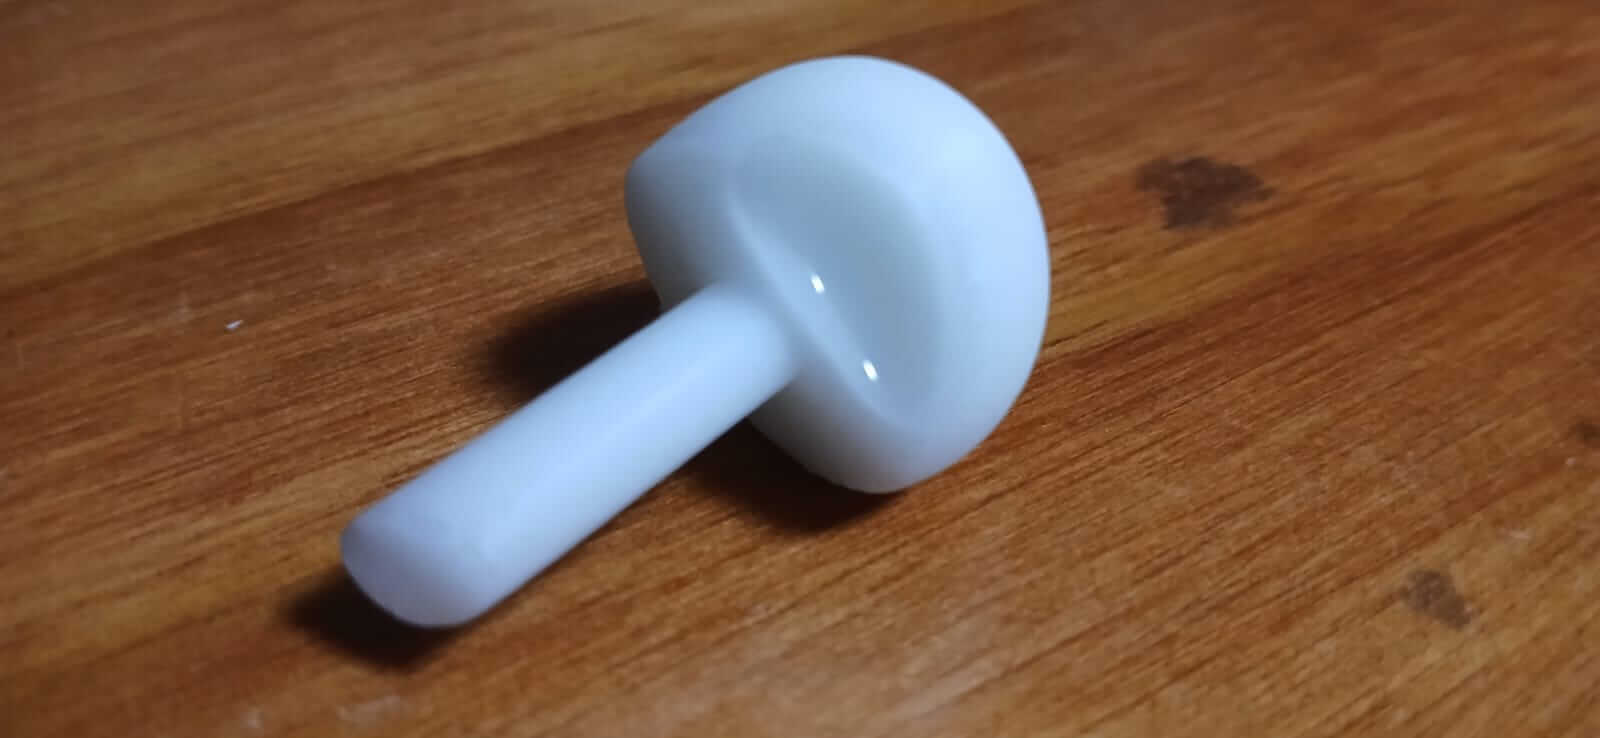
We will use this assignment to advance the development of the final project, for this we will design the eyes of our animatronic.
For experimental purposes, it was decided to make negative and positive molds.
All designs are made using SolidWorks; some parts are shown below. Downloadable files are at the bottom of this page.

It is important to include walls to contain the resin when designing molds.

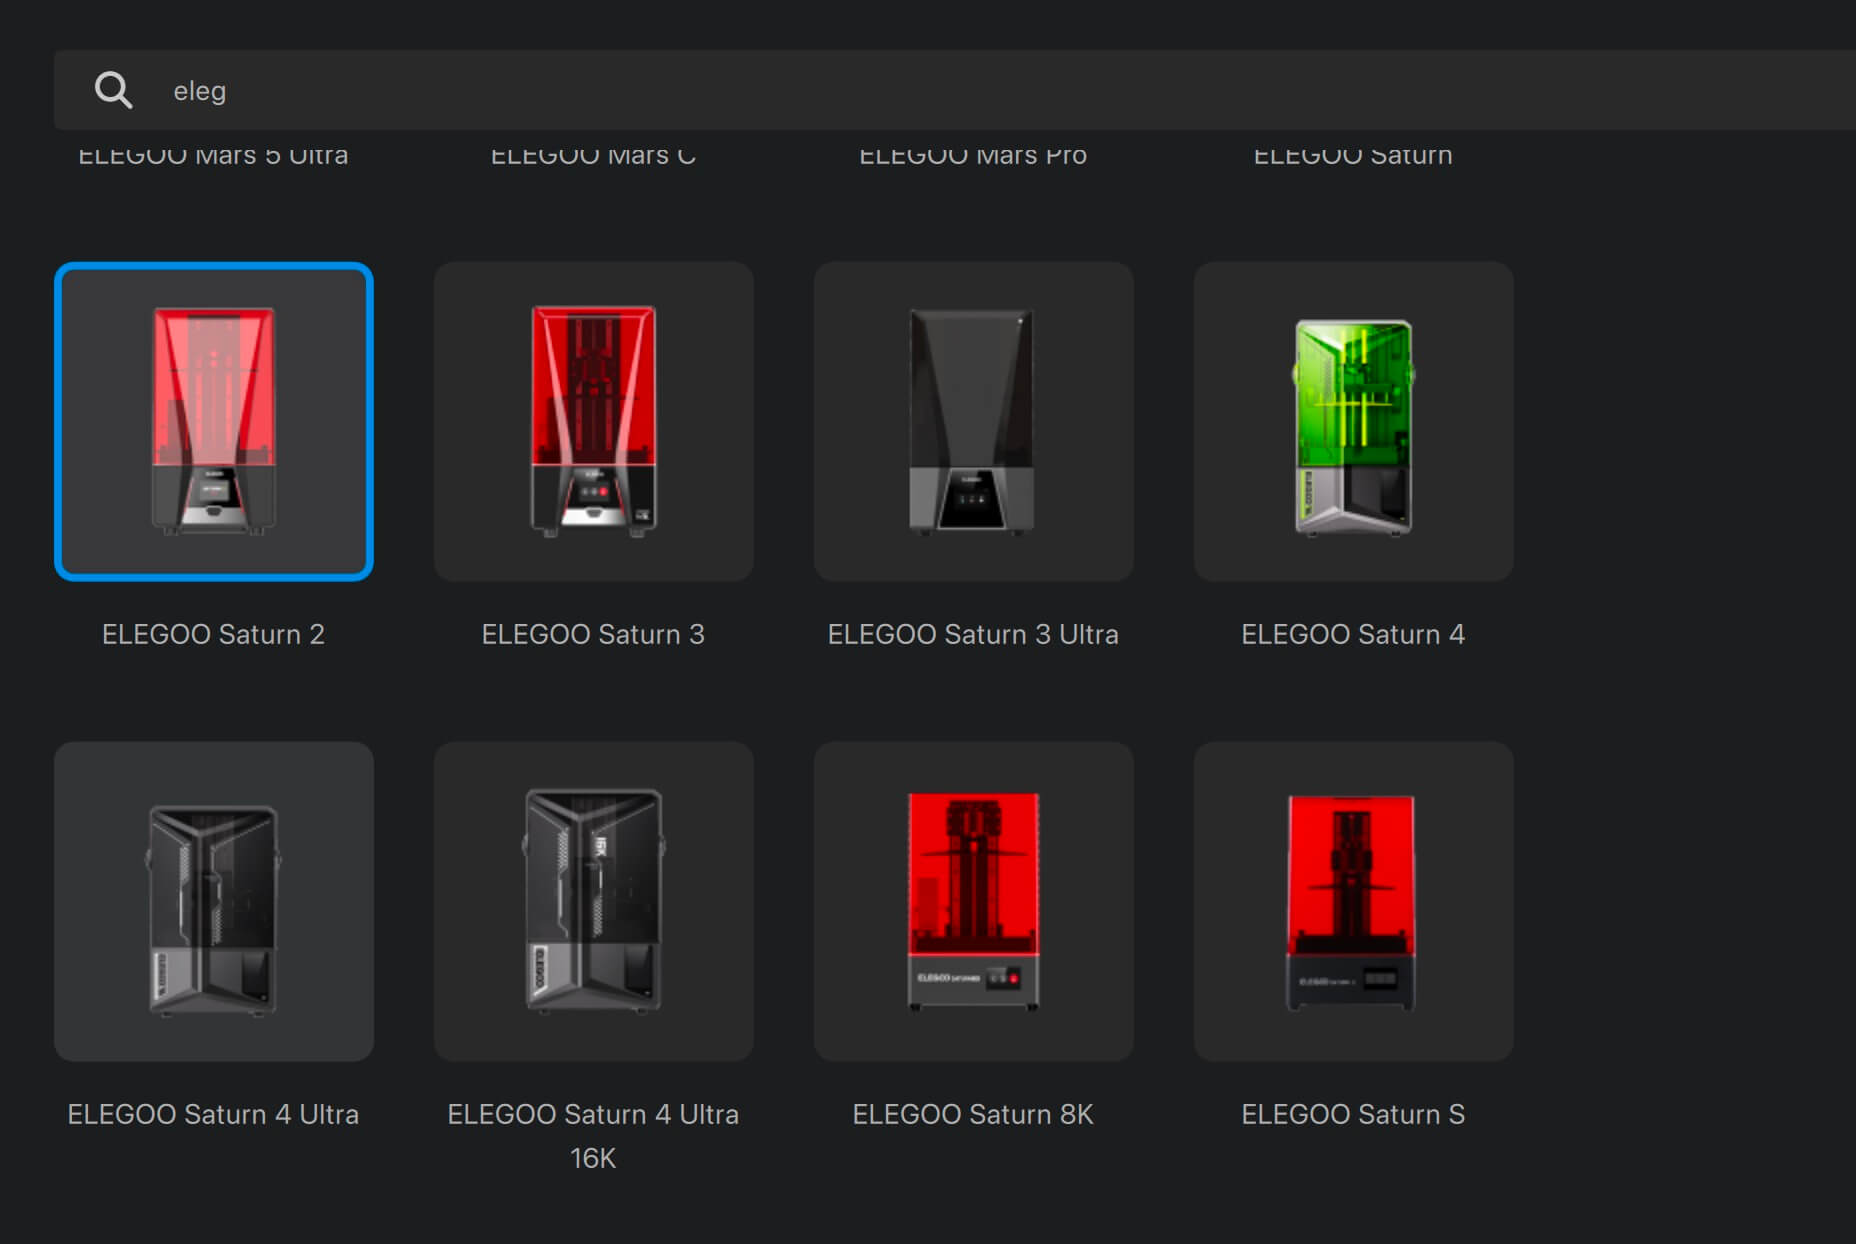
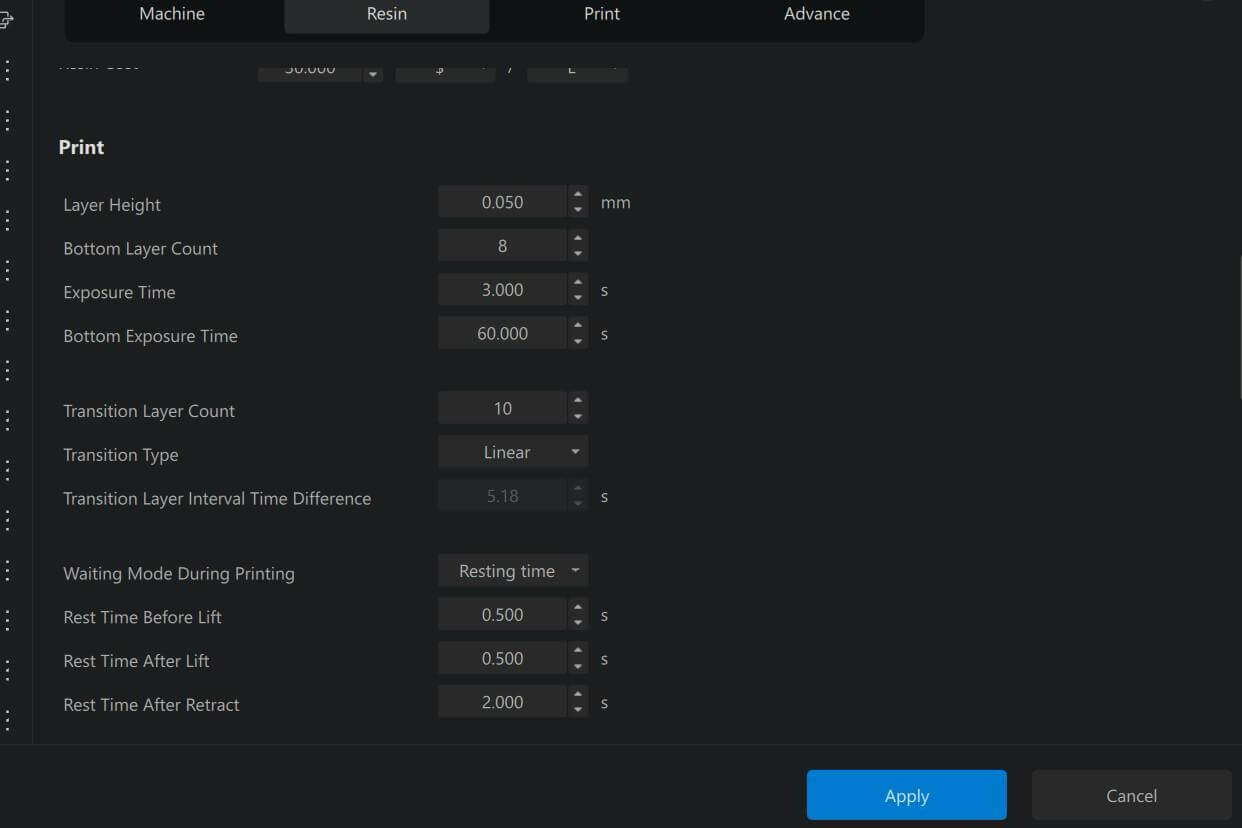
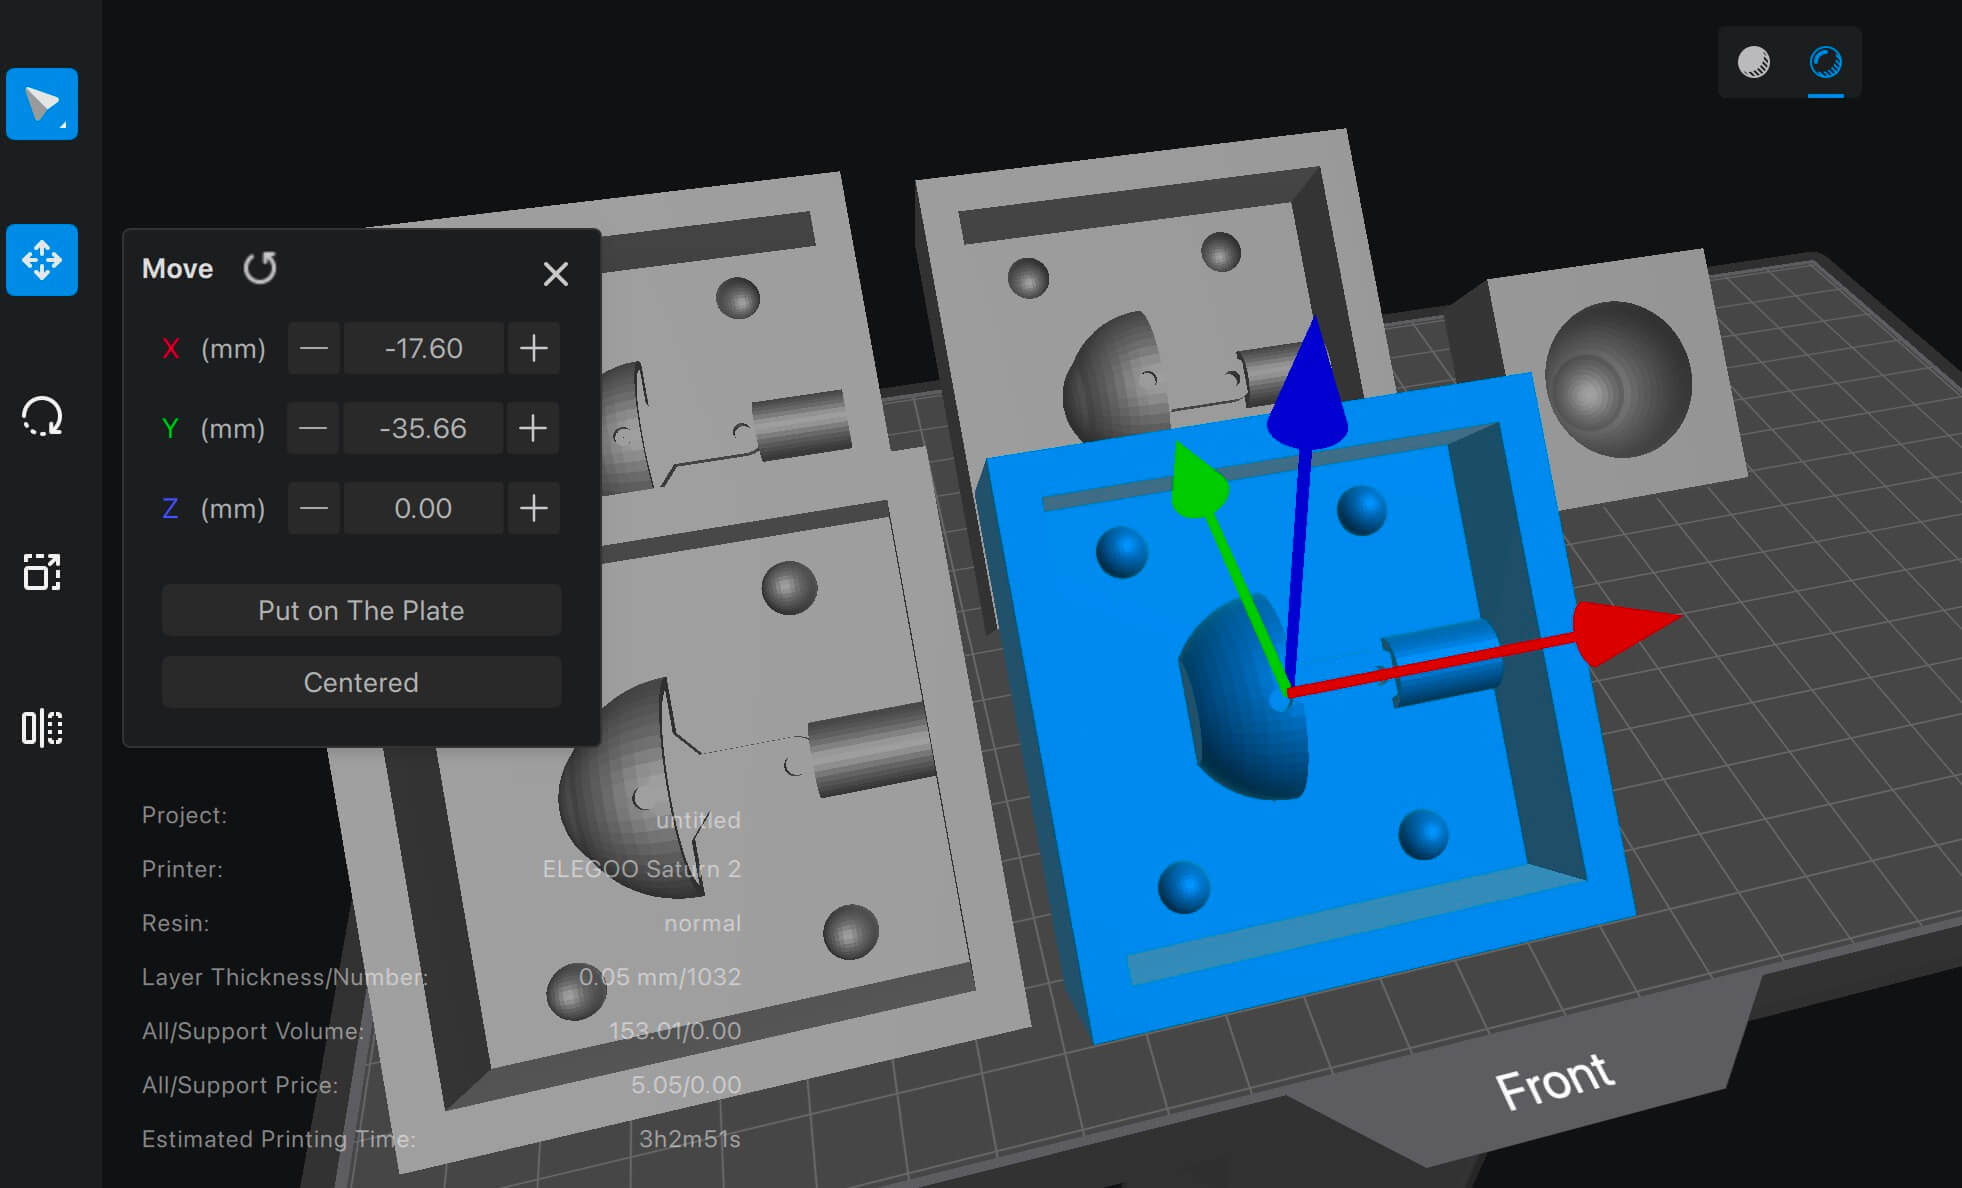
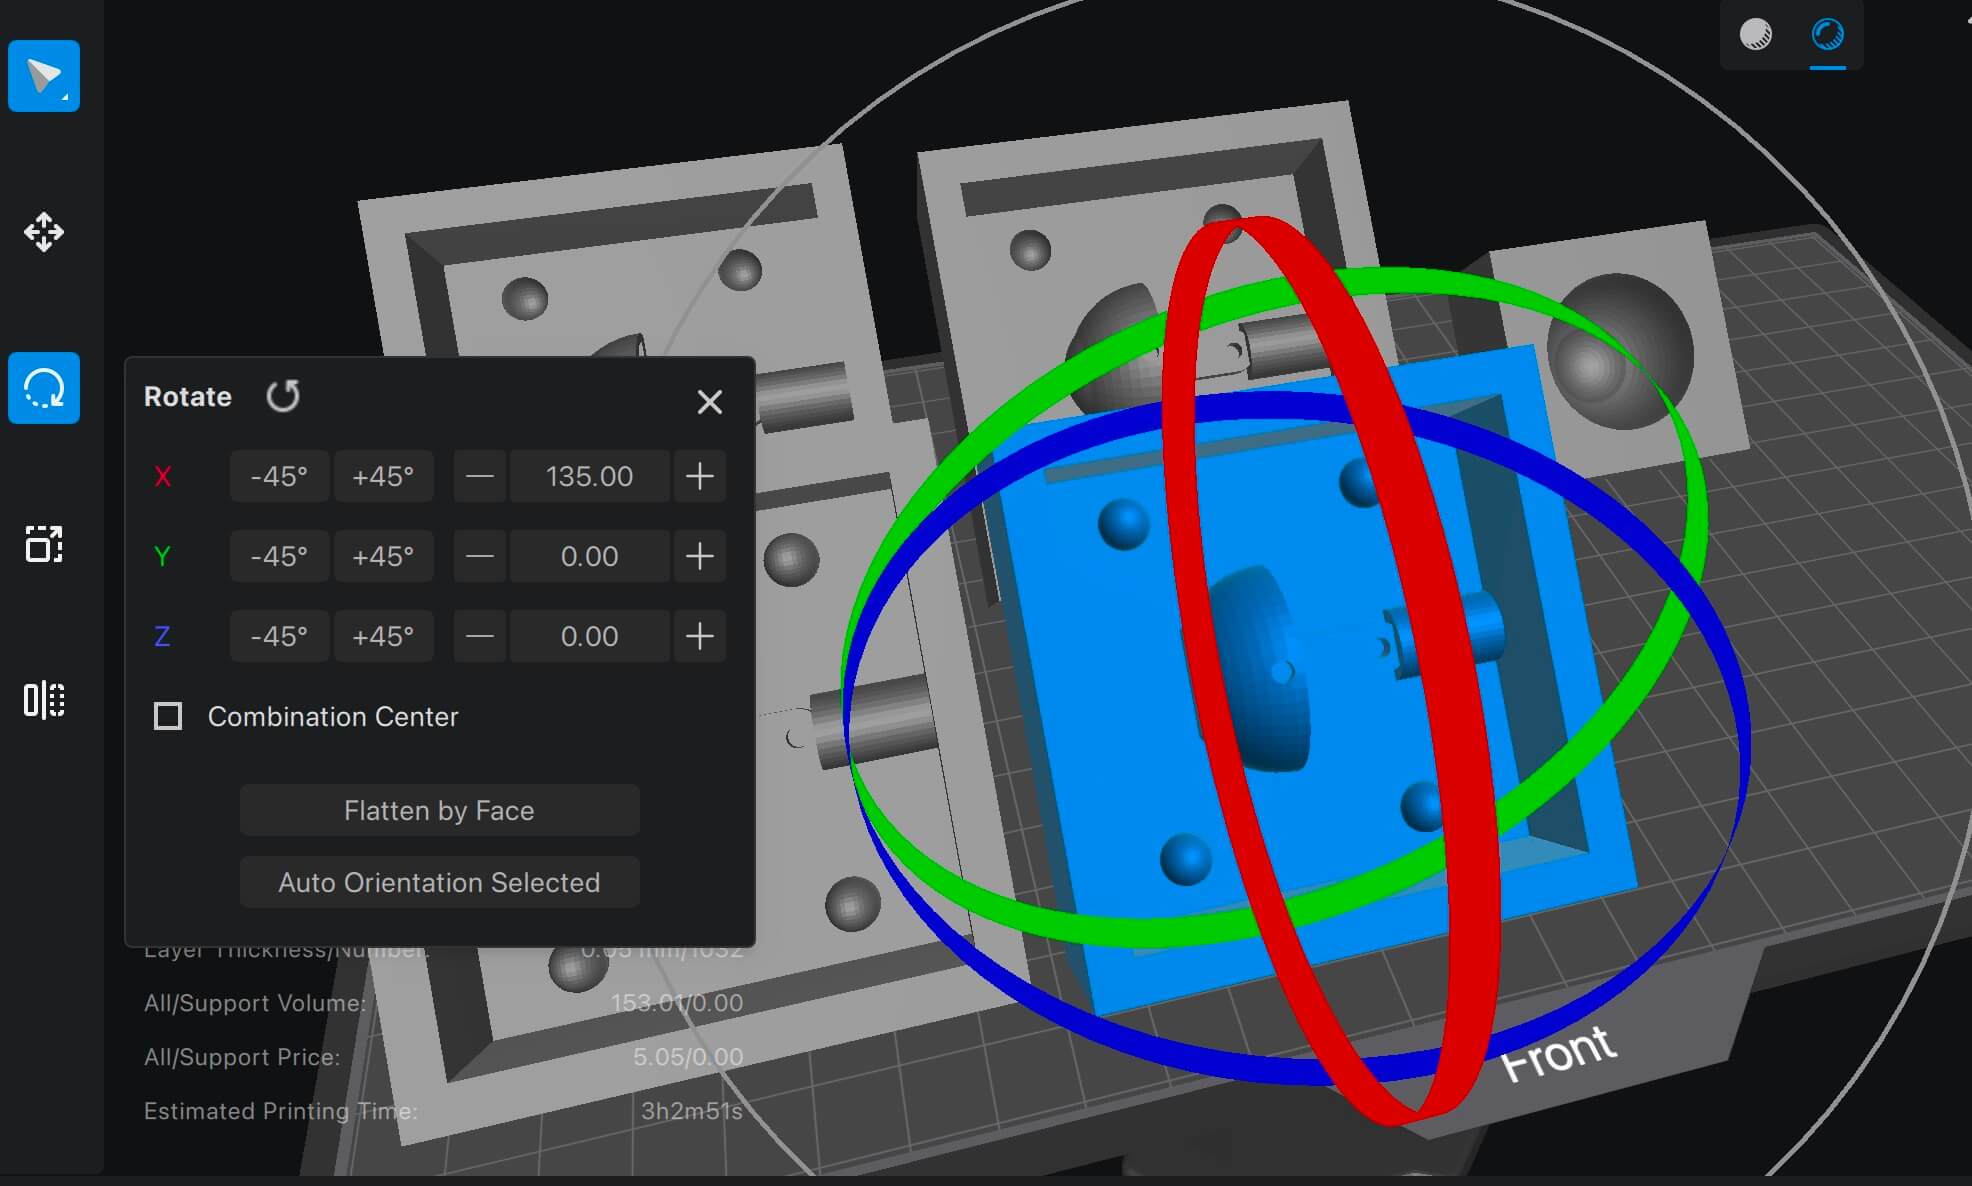
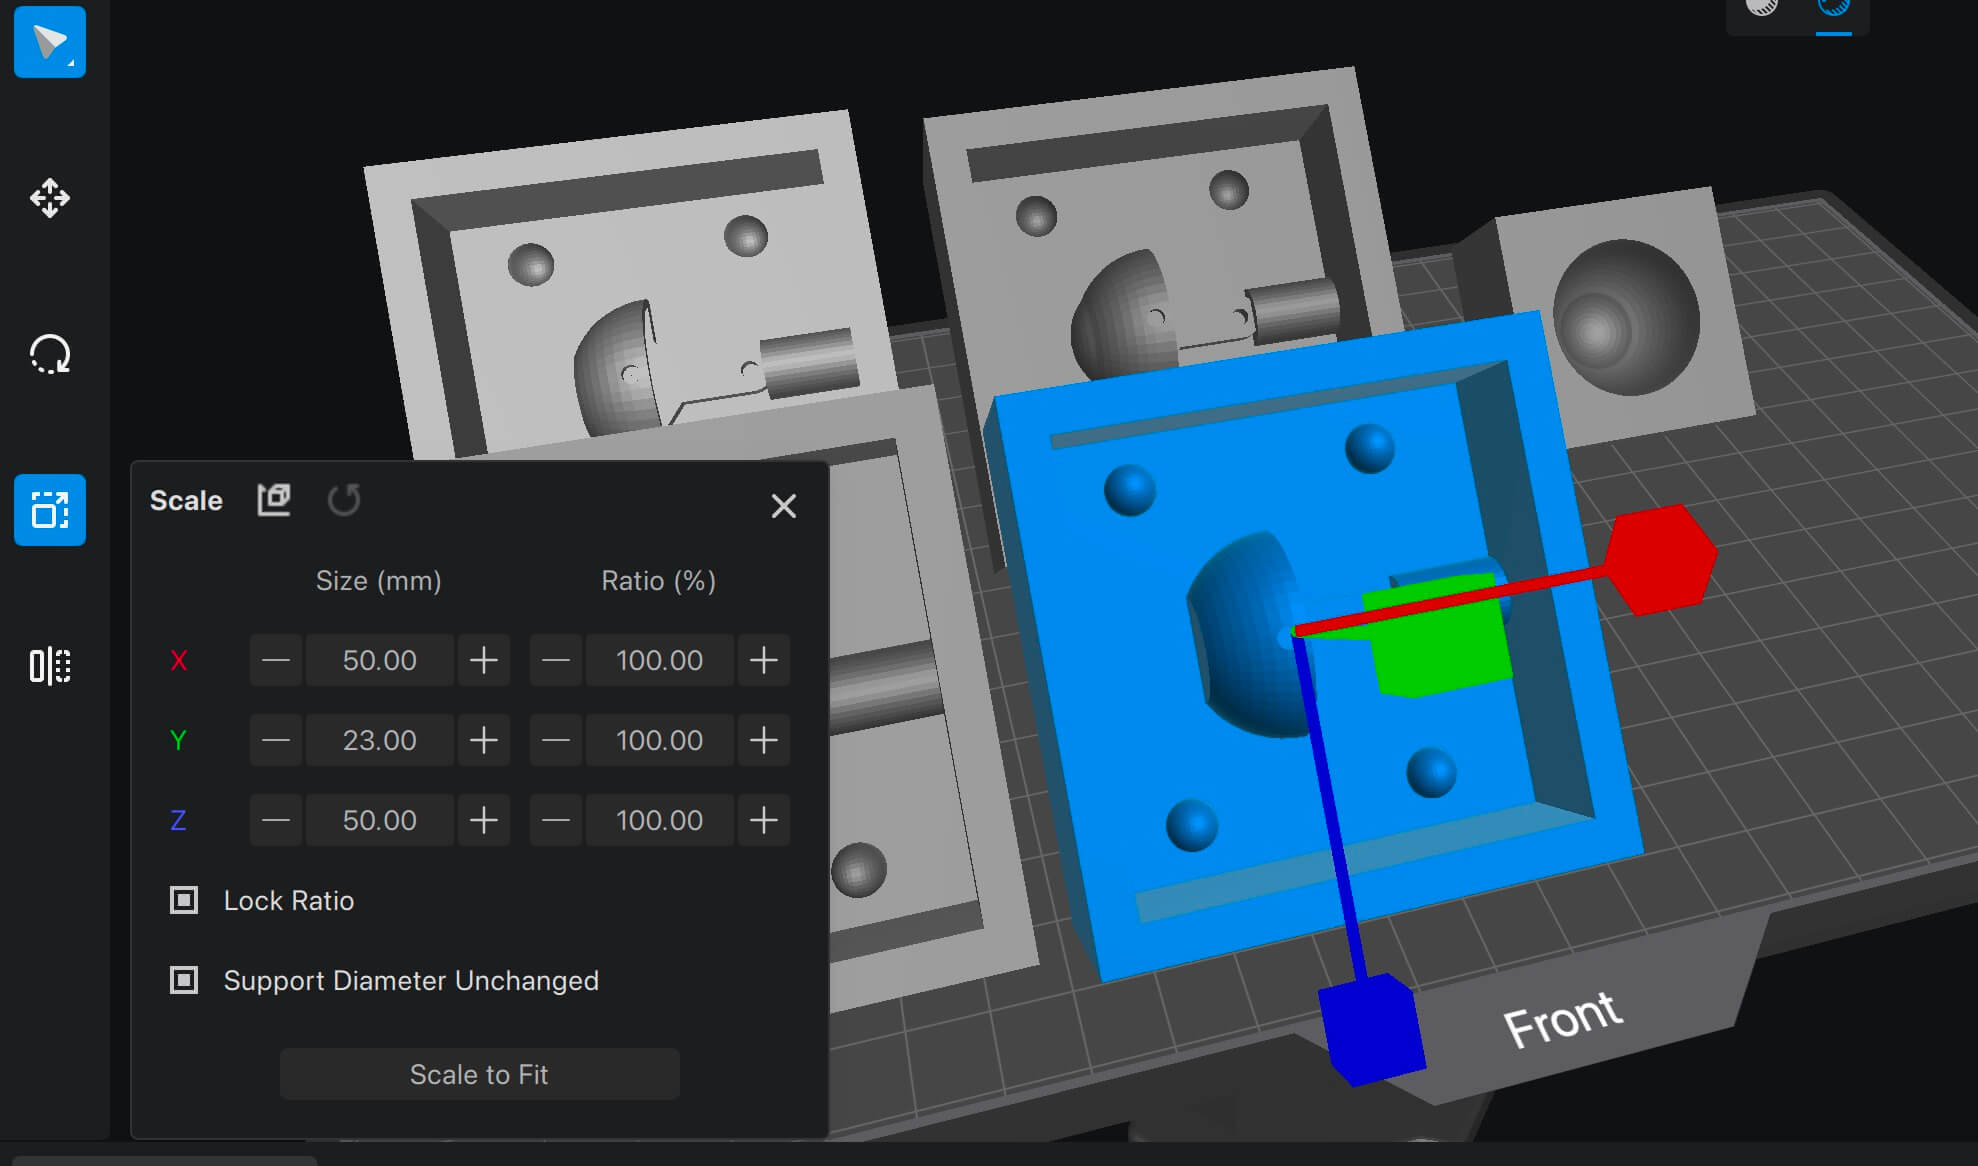
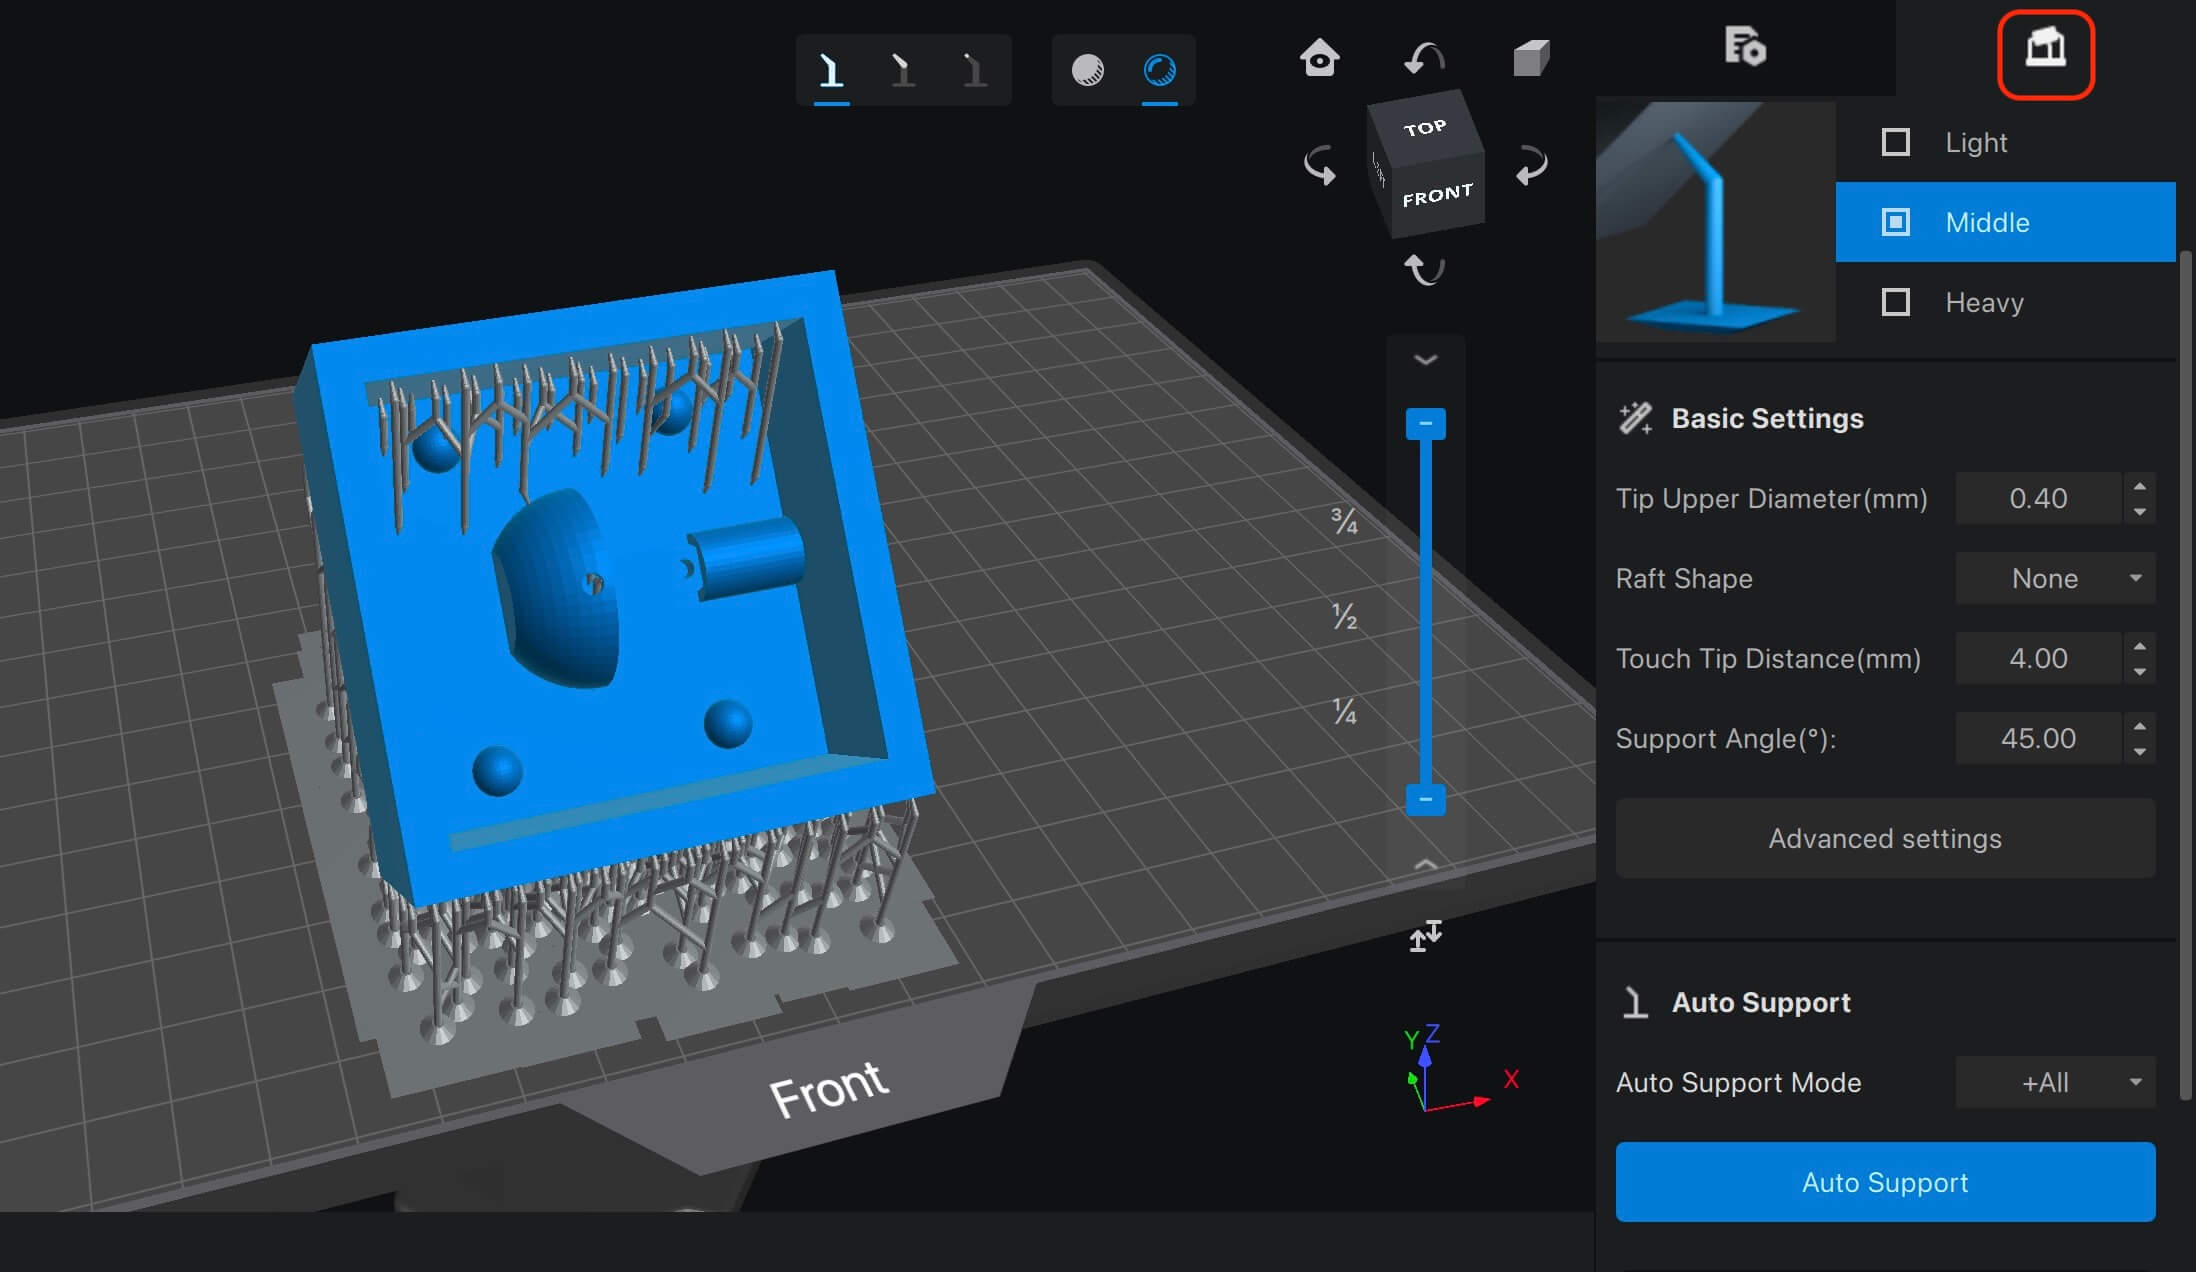
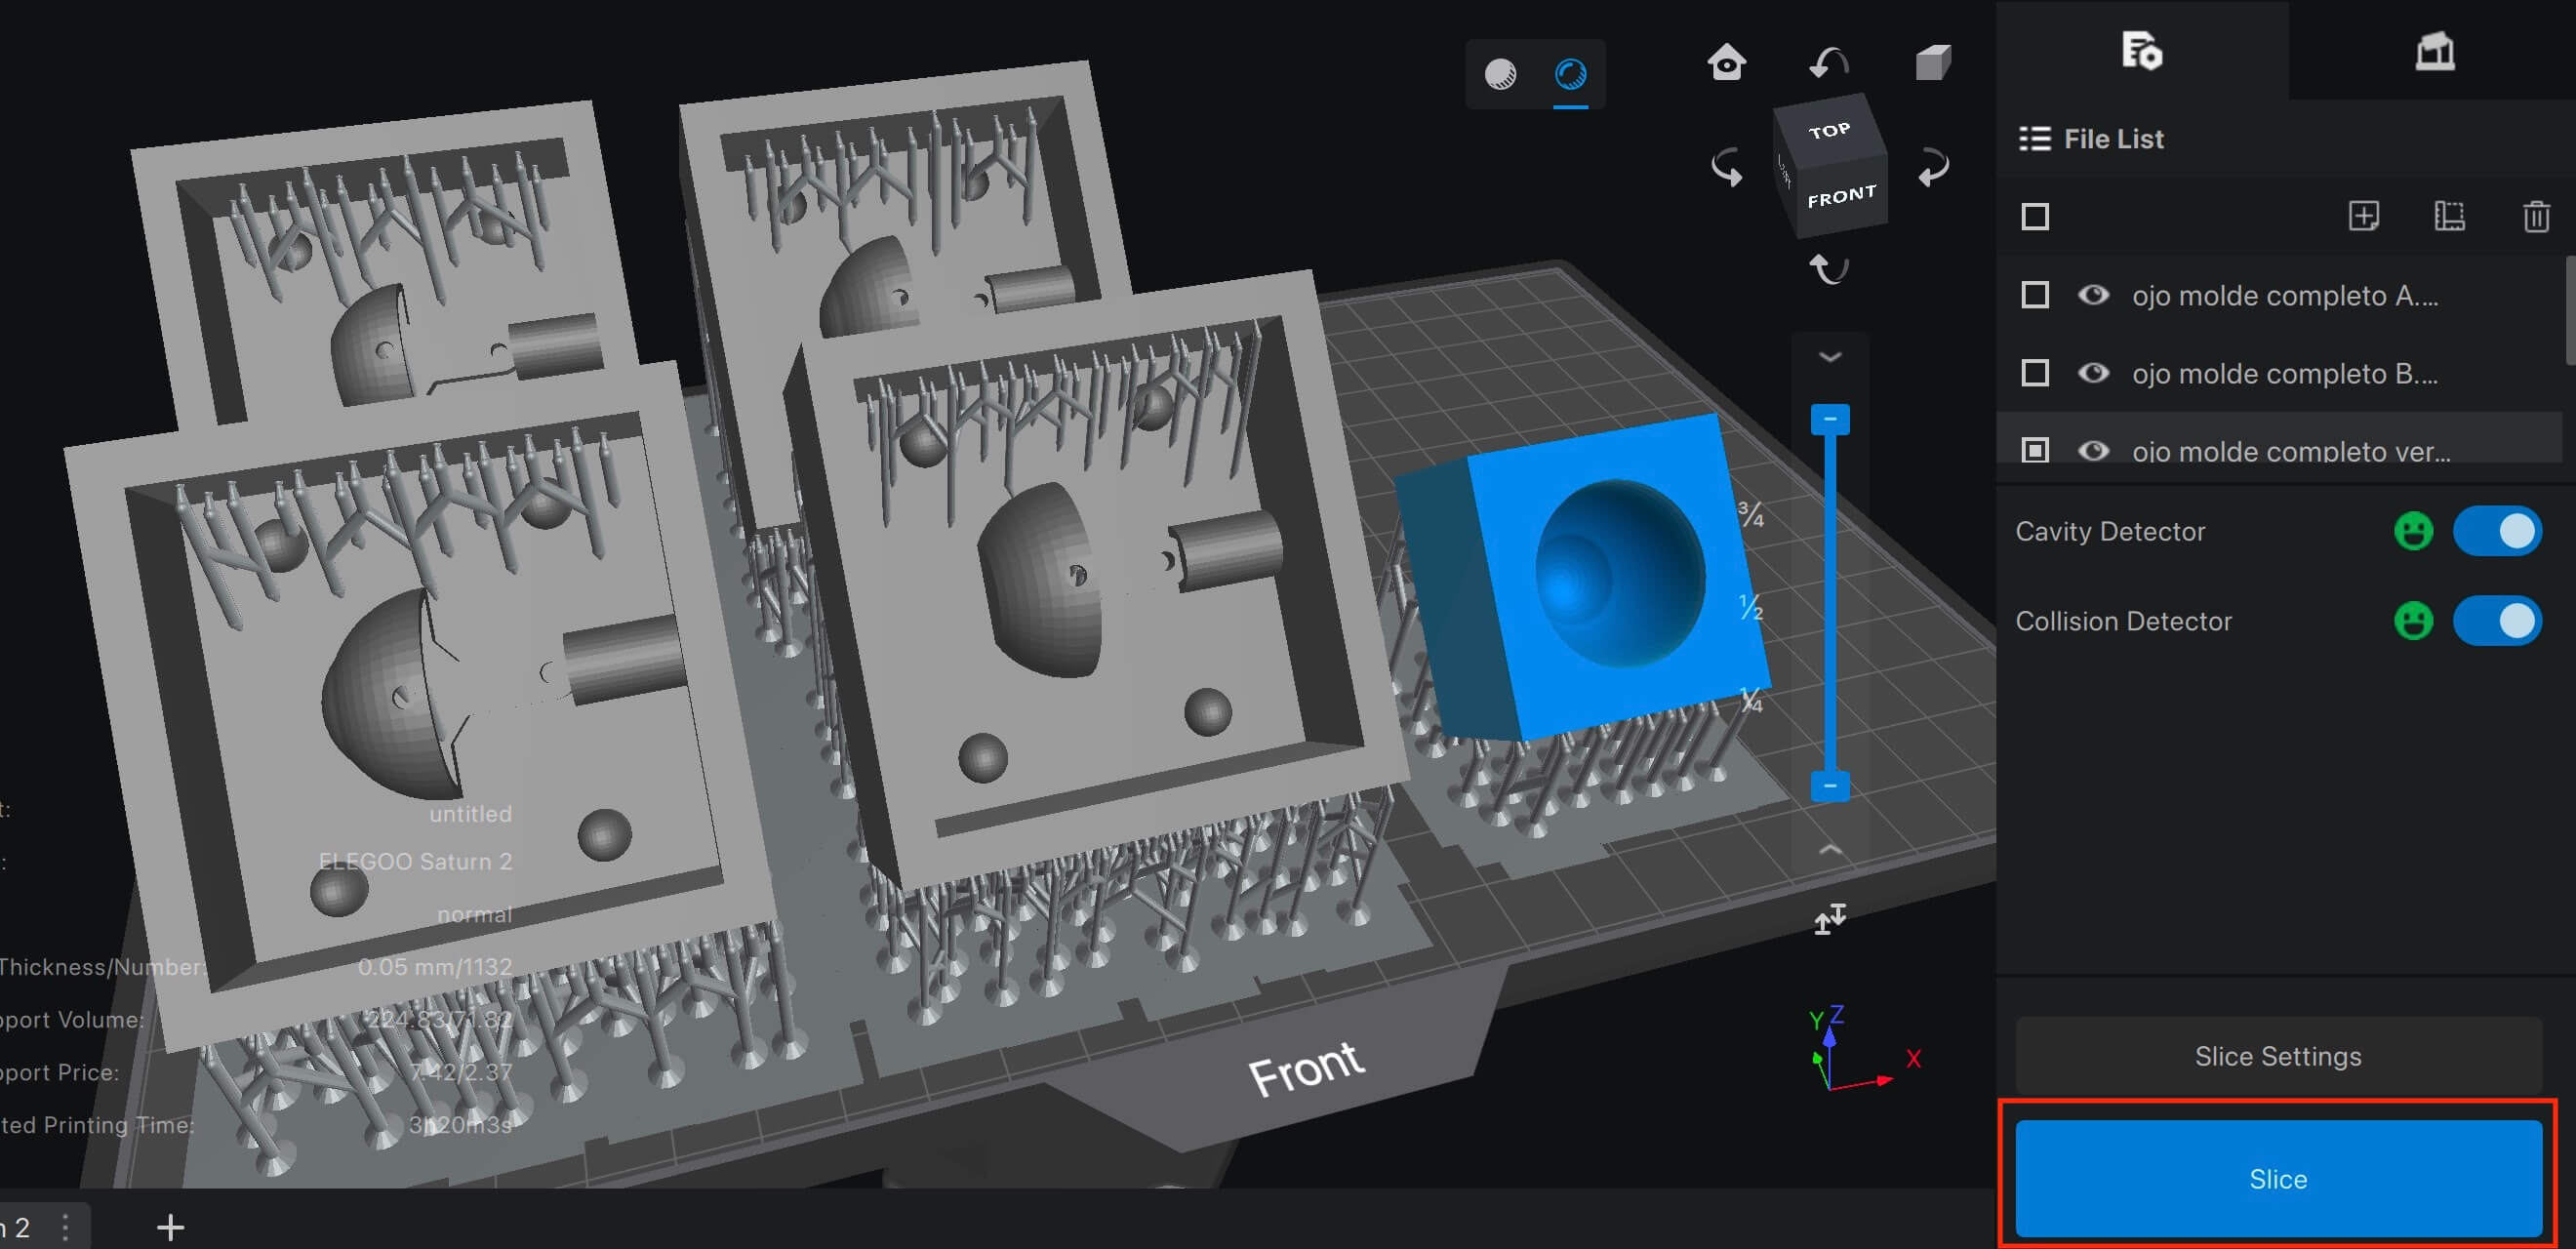
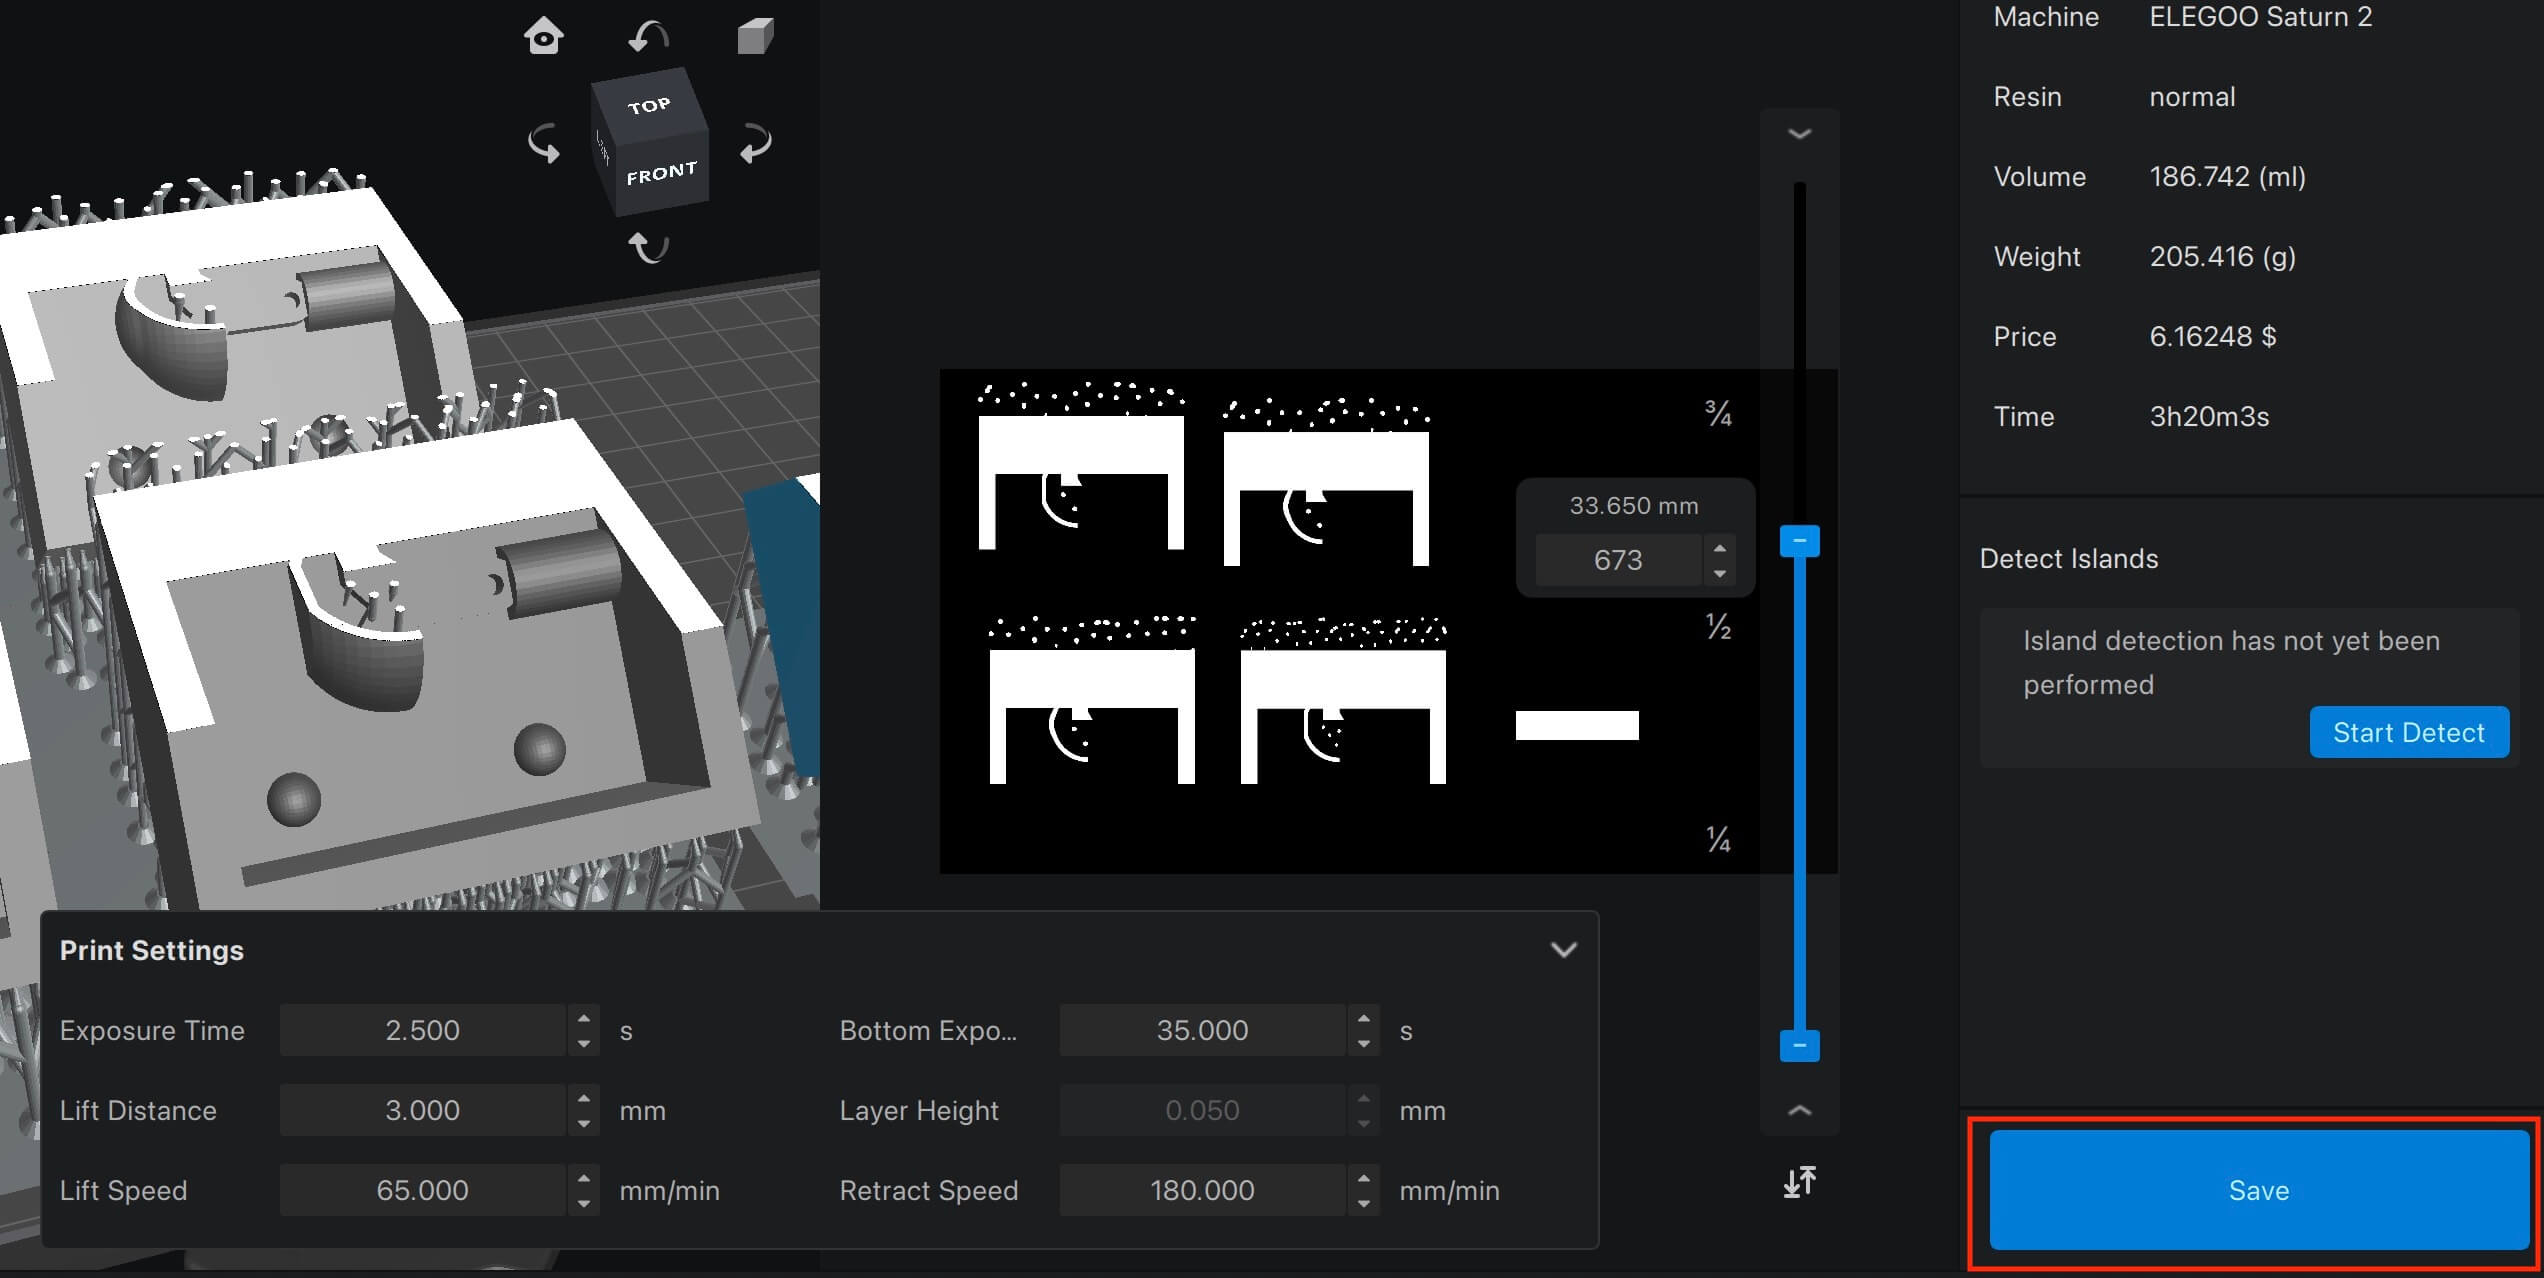
MY FIRST STEPS IN CHITUBOX

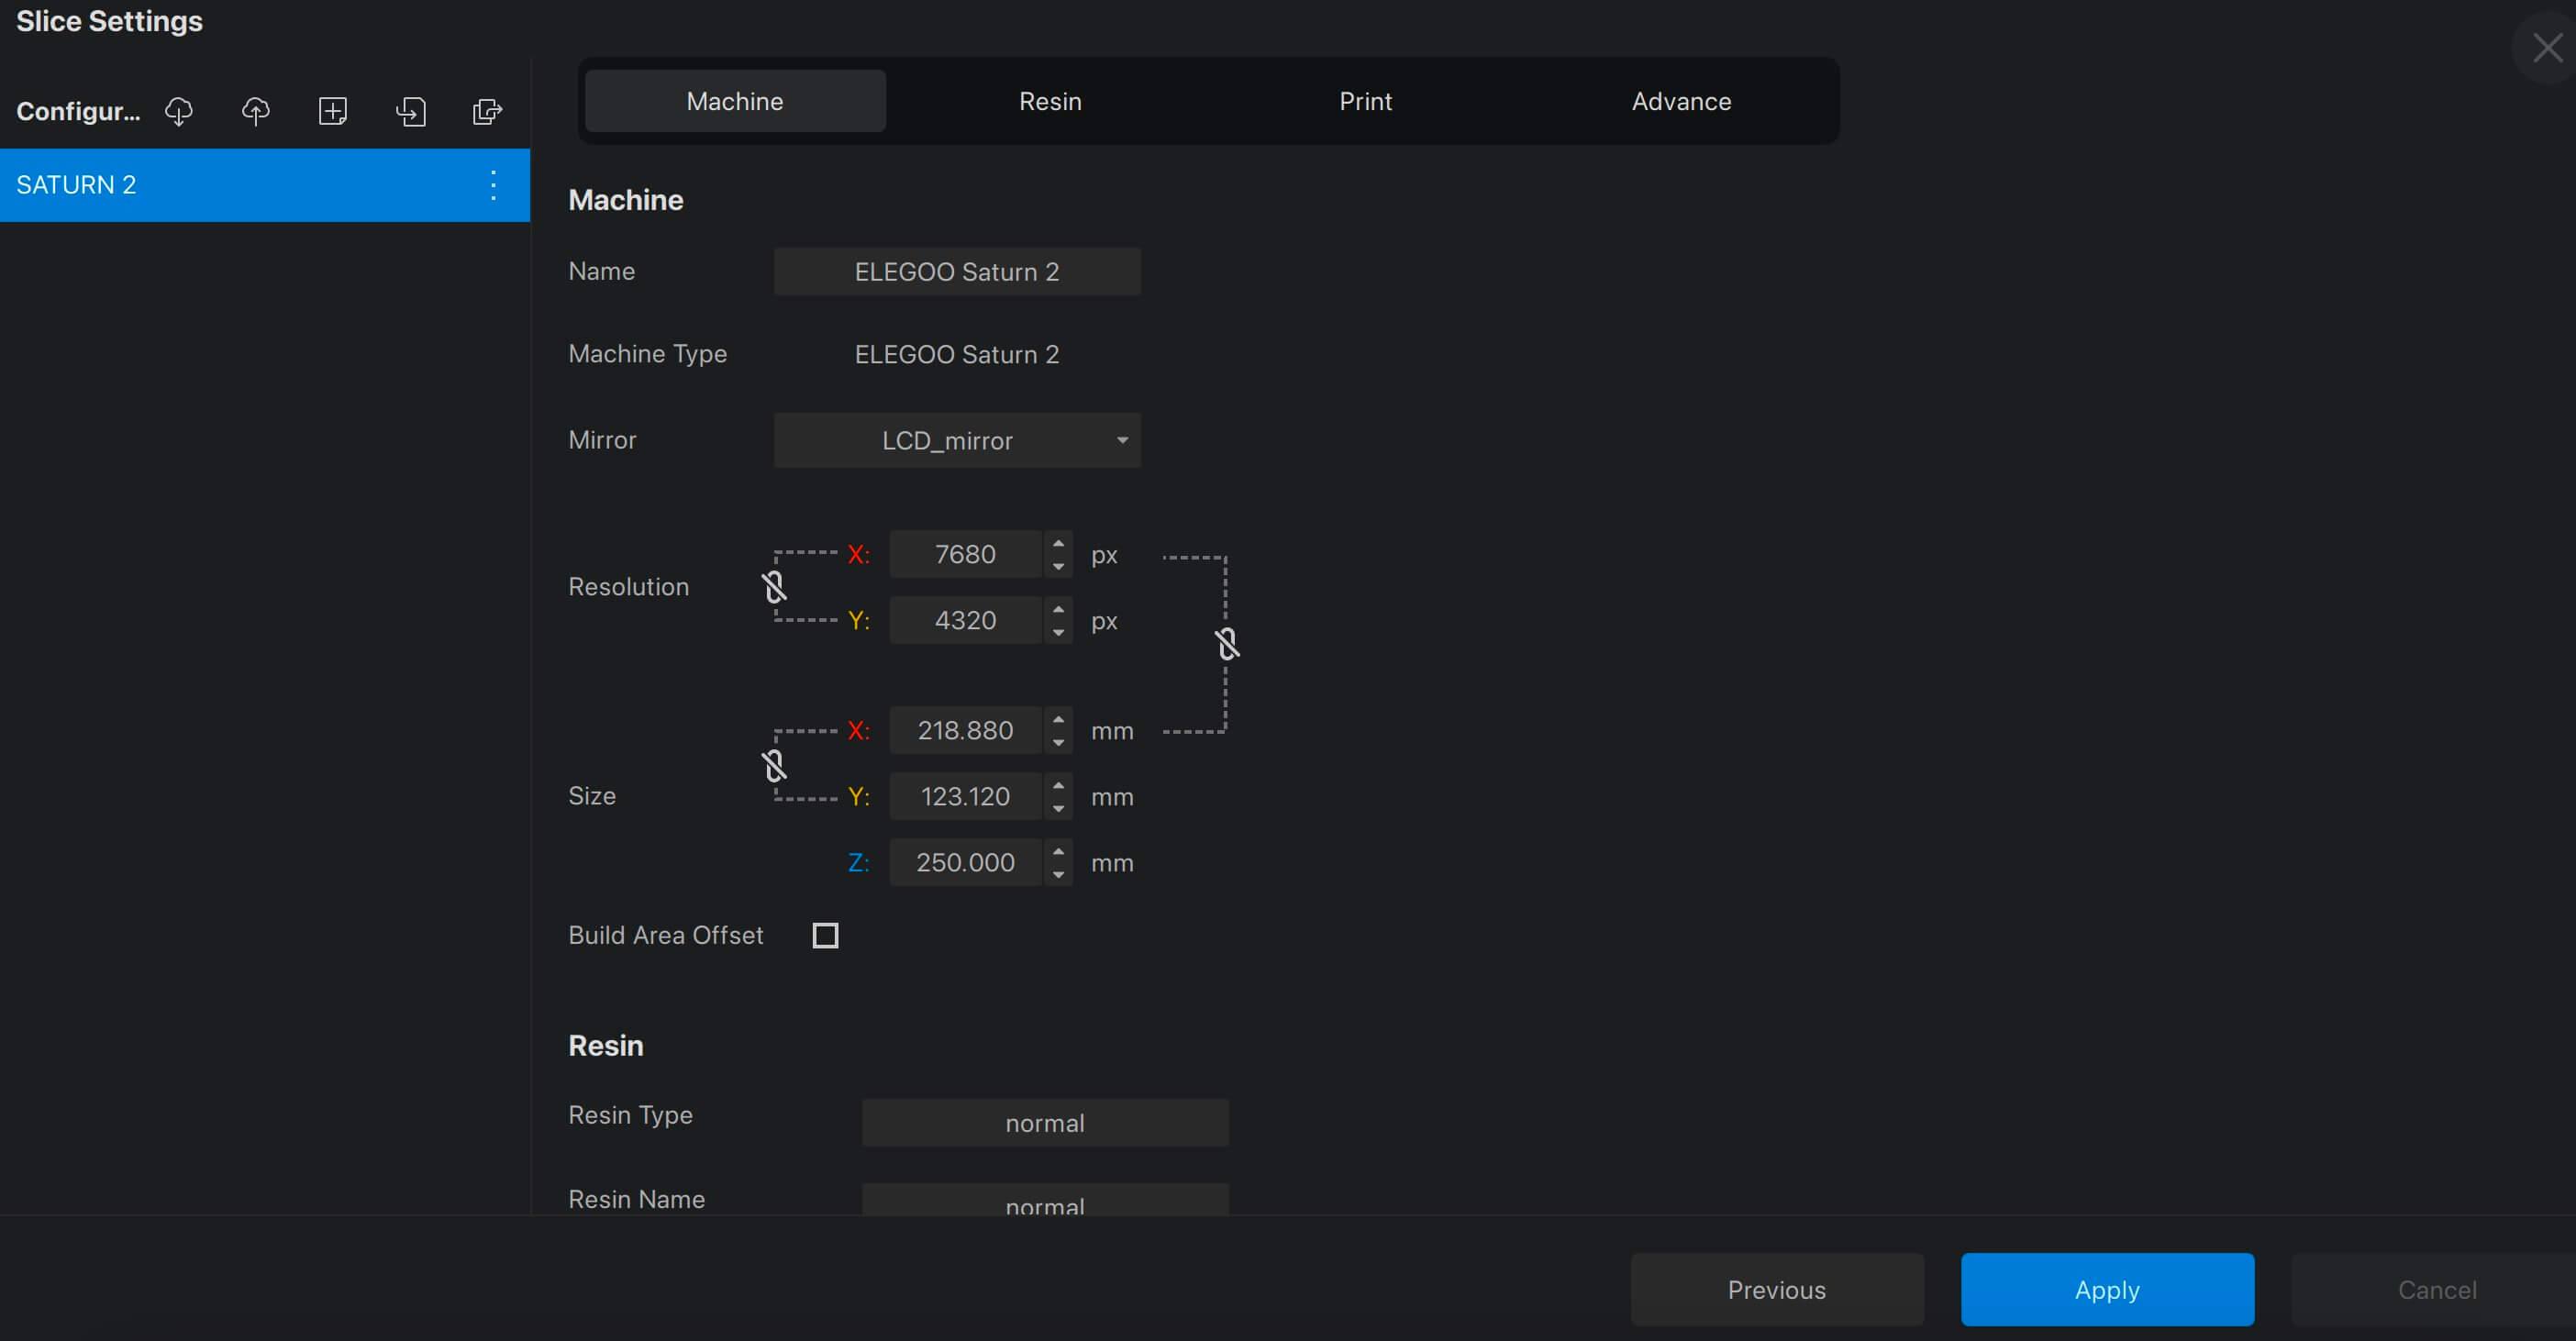
To begin, you need to install "CHITUBOX" , once the software is installed, we will choose the type of printer to use, in our case it will be the "ELEGOO Saturn 2" .

When you select the printer model, a new window opens with all the printer settings. In this window, you can access the different tabs and make the necessary changes.
It's important to check the data sheet for the type of resin you're going to use, as it will determine some of the parameters you need to set. The data sheet is shown in the following link. According to the data sheet, the following "Settings" are placed as shown in the image.
If we are unsure of the settings, we can do so at the end by pressing "Slice Settings"
Once you've applied the settings, the main window opens, where you'll place the pieces. To do this, drag the .STL files and drop them into the workspace. Once the pieces are placed on the bed, you can move, rotate, or scale them as needed. To do this, you'll find icons that perform the functions described above in the toolbar on the left.
Once the pieces are in the correct position, you need to add supports for printing. To do this, go to the top right corner. Clicking the icon opens a new window where you can add the support specifications.
If all the settings are correct, press "Slice".
When you press "Slice," a window opens with everything required for printing (volume, weight, price, and time). There's also a bar you can slide to view each of the layers your print will have. If everything is correct, press "Save," which opens a new window where you can enter "name.ctb".


RESIN PRINTER

Before starting, it is necessary to ensure that the bed is clean of any residue from previous work. If necessary, apply isopropyl alcohol.

If the bed is clean, we proceed to apply resin. In our case, we used "3D Printing UV Sensitive Resin"
It is important to use safety equipment such as gloves and glasses when handling the resin.

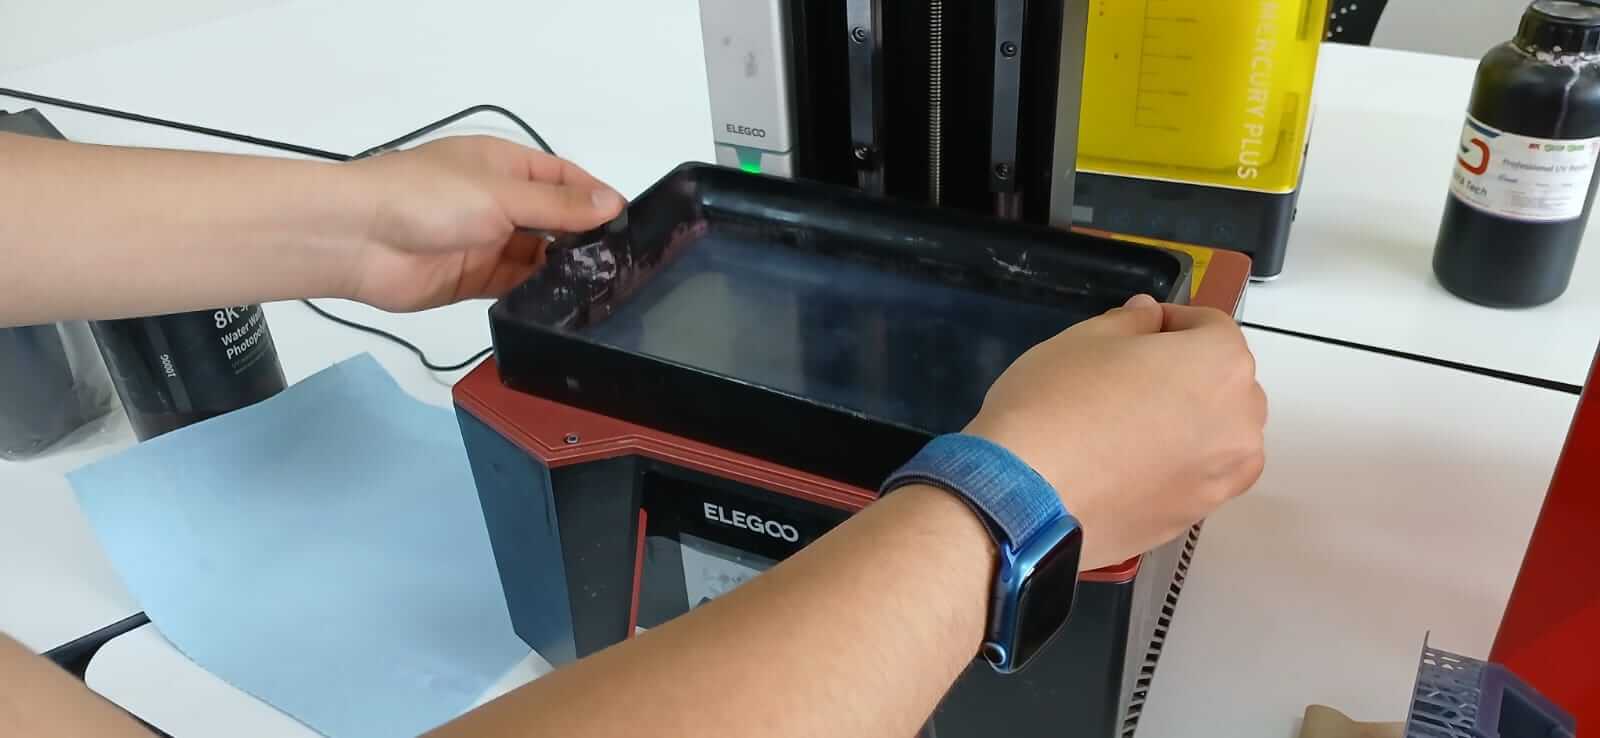
Once the tank is full of resin, insert the USB flash drive. On the printer's main screen, press "print" and search for your file. Before pressing "play," it's important to replace the protective cover.
The above steps are shown in the following video.

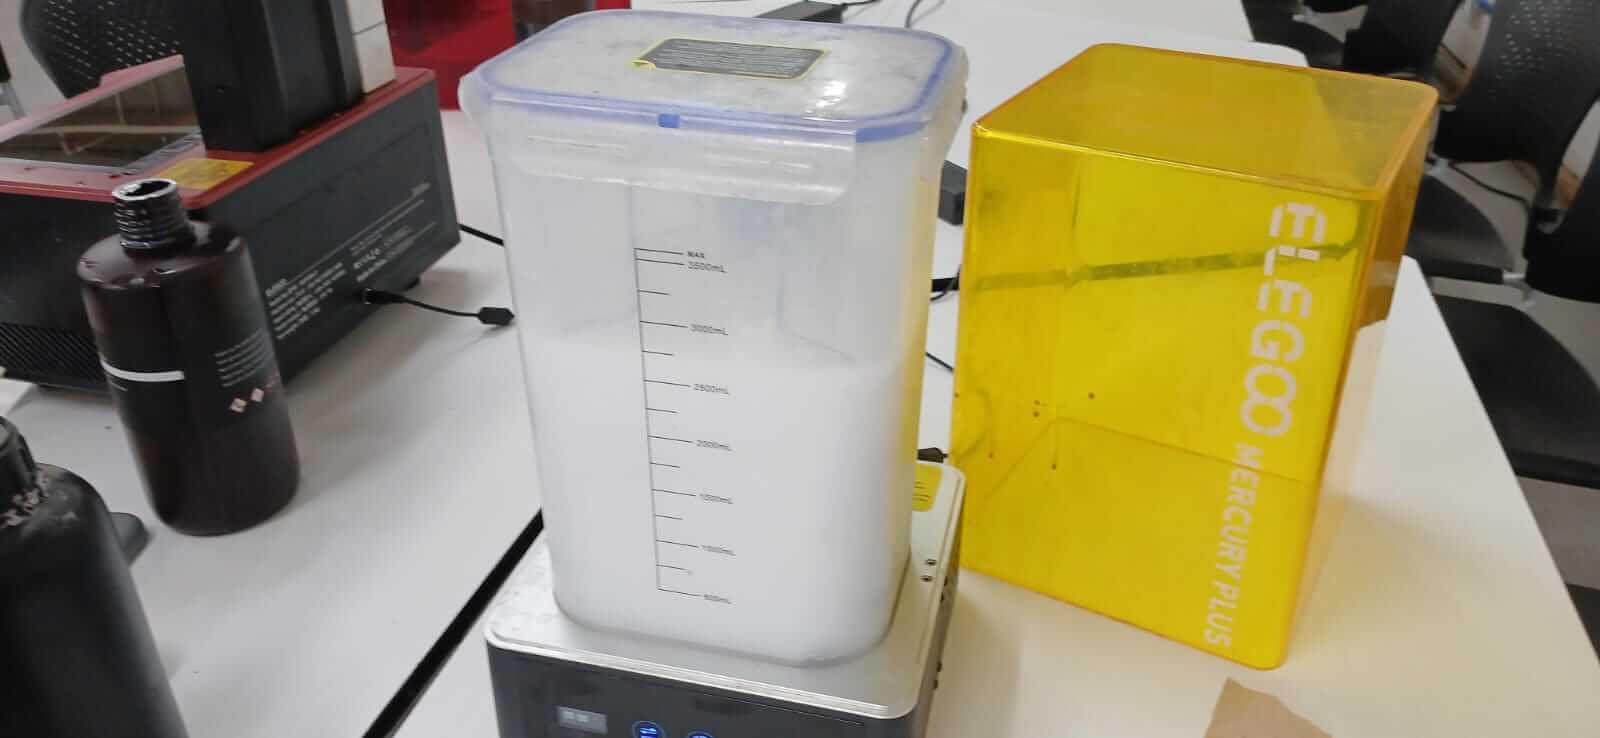
Once the piece has finished printing and draining (removing excess of resin), it is important to remove all supports and after that "washing" is necessary, for that, the pieces are immersed in "isopropyl alcohol" in the "Elegoo Mercury PLUS 2.0".

When placing the cover, you must select the operating mode (at this point is "washing"), then set the time, which ranges from 30s to 30s. The washing time will depend on the size of the parts. The purpose of washing is to remove all resin residue.

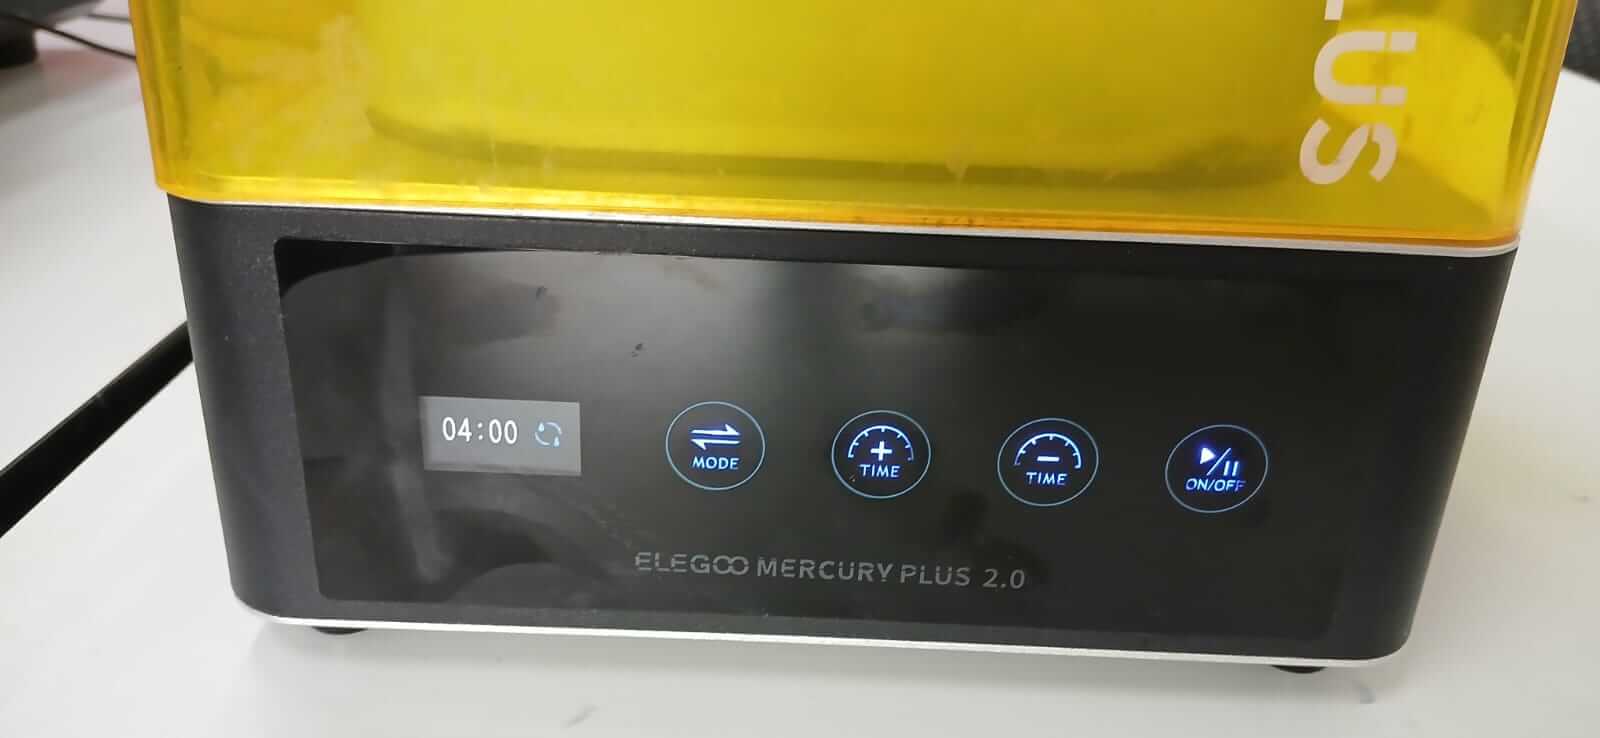
Finally we press "play" to start the process.

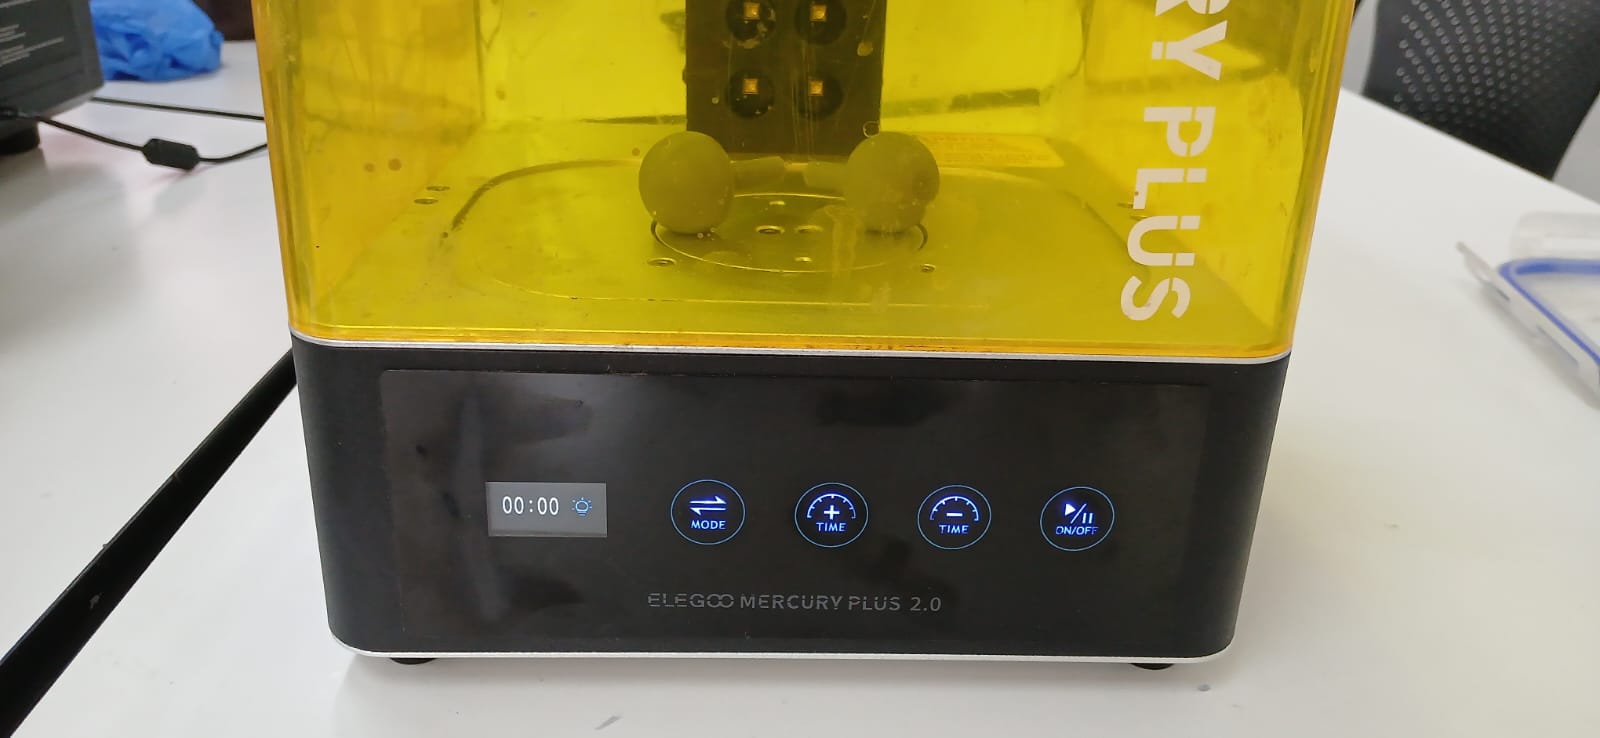
At the end of the wash cycle, the pieces are removed and dried so they can be "cured." The curing time is set just like the previous step, but now we change the mode (a light appears in curing mode).
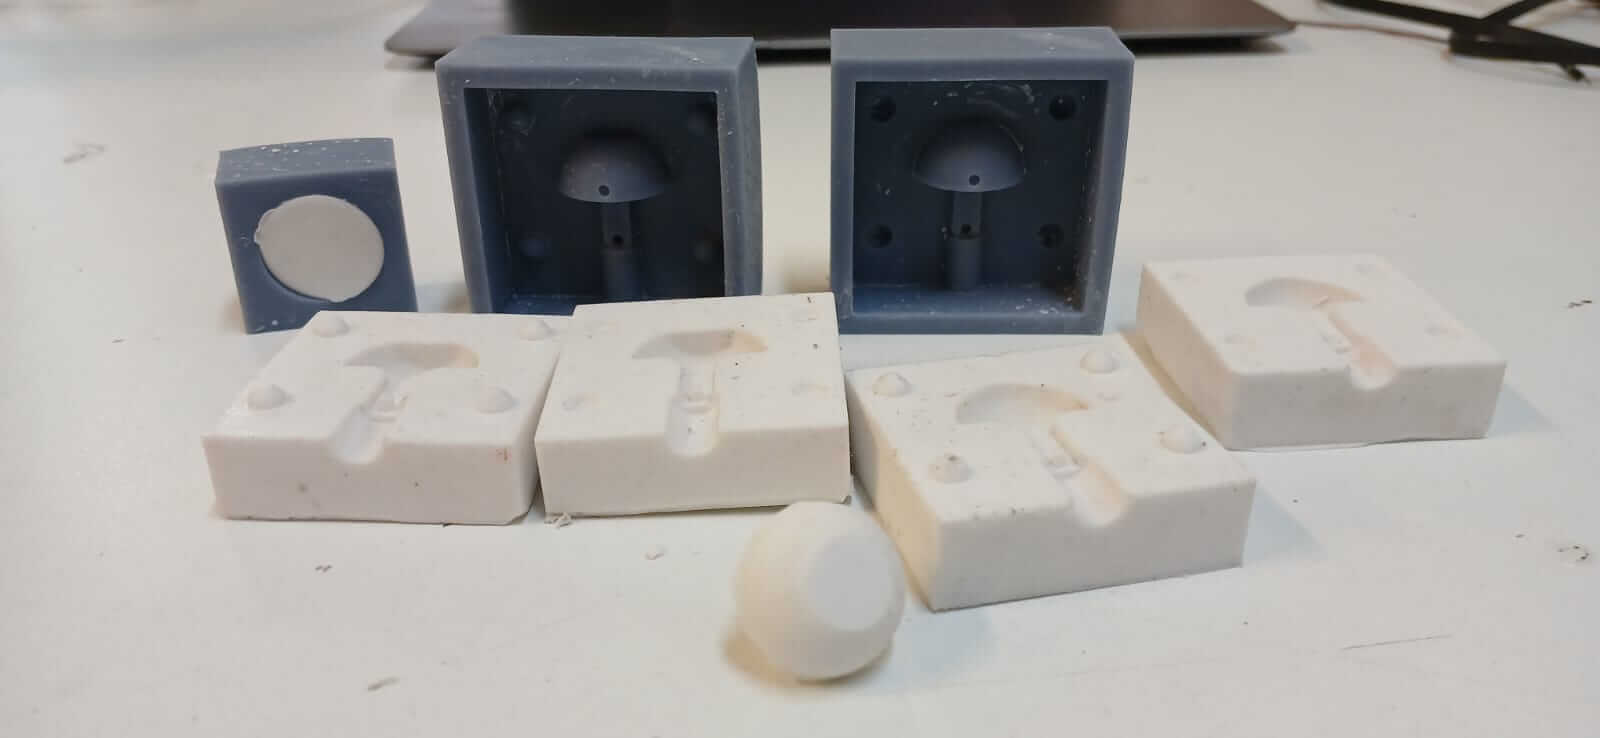
We will know the pieces have been cured because they change color, "they become opaquer"..


Molding

After we have our molds, we need to apply "Silicone." We'll use "Smooth on Silicone 3030."
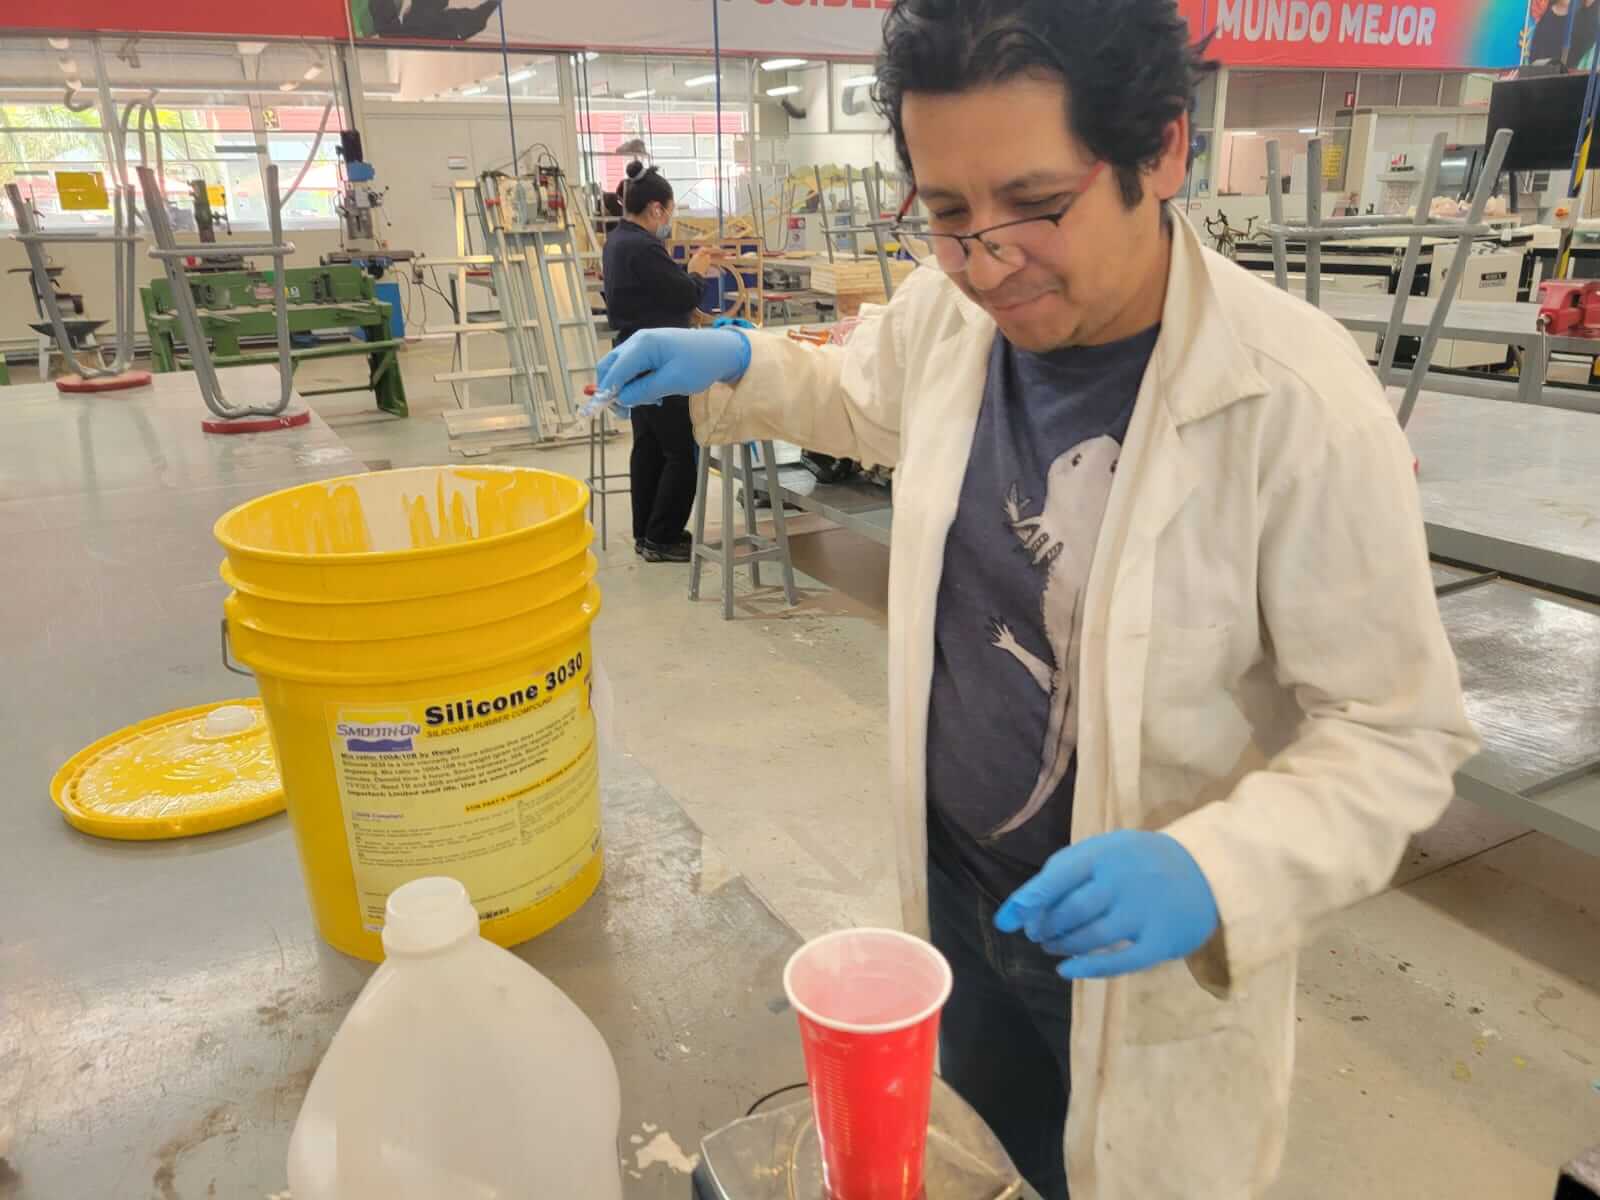
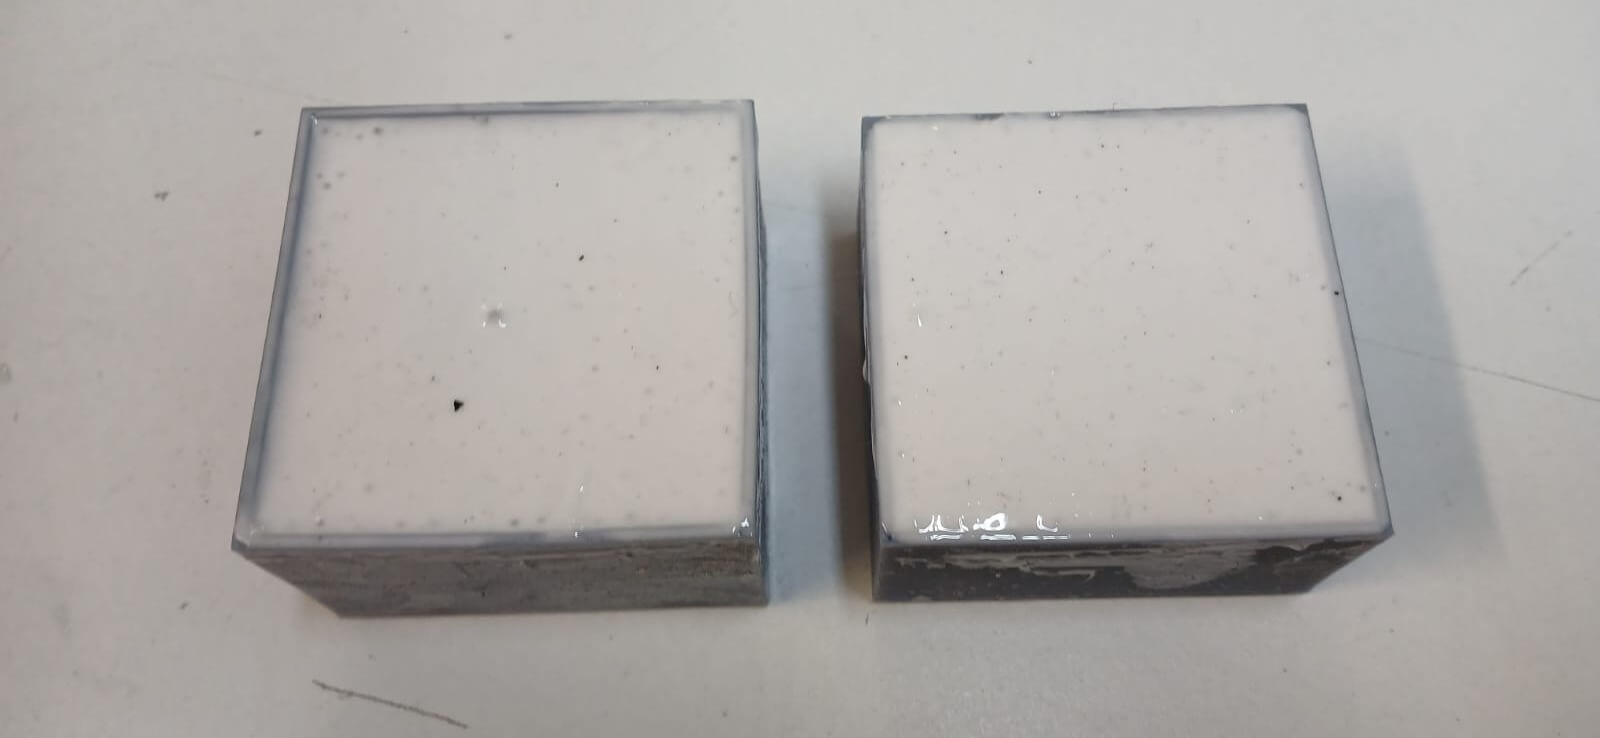
The silicone data sheet can be found at the following link. Before starting to use the silicone, it's important to know the volume of our mold, so we use water to perform calculations and avoid wasting material. To determine the volume, a scale is necessary. Since resin density is higher, it's recommended to multiply the weight of the water by 1.18. With this in mind, we divide the result by 11, where 10 parts are A and one part is B. We use the scale to take our measurements.
Once we have the portions of component "A" and "B," we slowly pour the component "B" into the "A" glass, taking care not to create bubbles and stirring gently, ensuring a uniform mixture (this process takes about 3 minutes). We pour the uniform mixture into our mold and let it sit for 24 hours.
After the time has elapsed, we unmold.
The final step is to "cure" the molds, for this they are placed in the oven for 5 hours at a temperature of around 60°C.


Casting

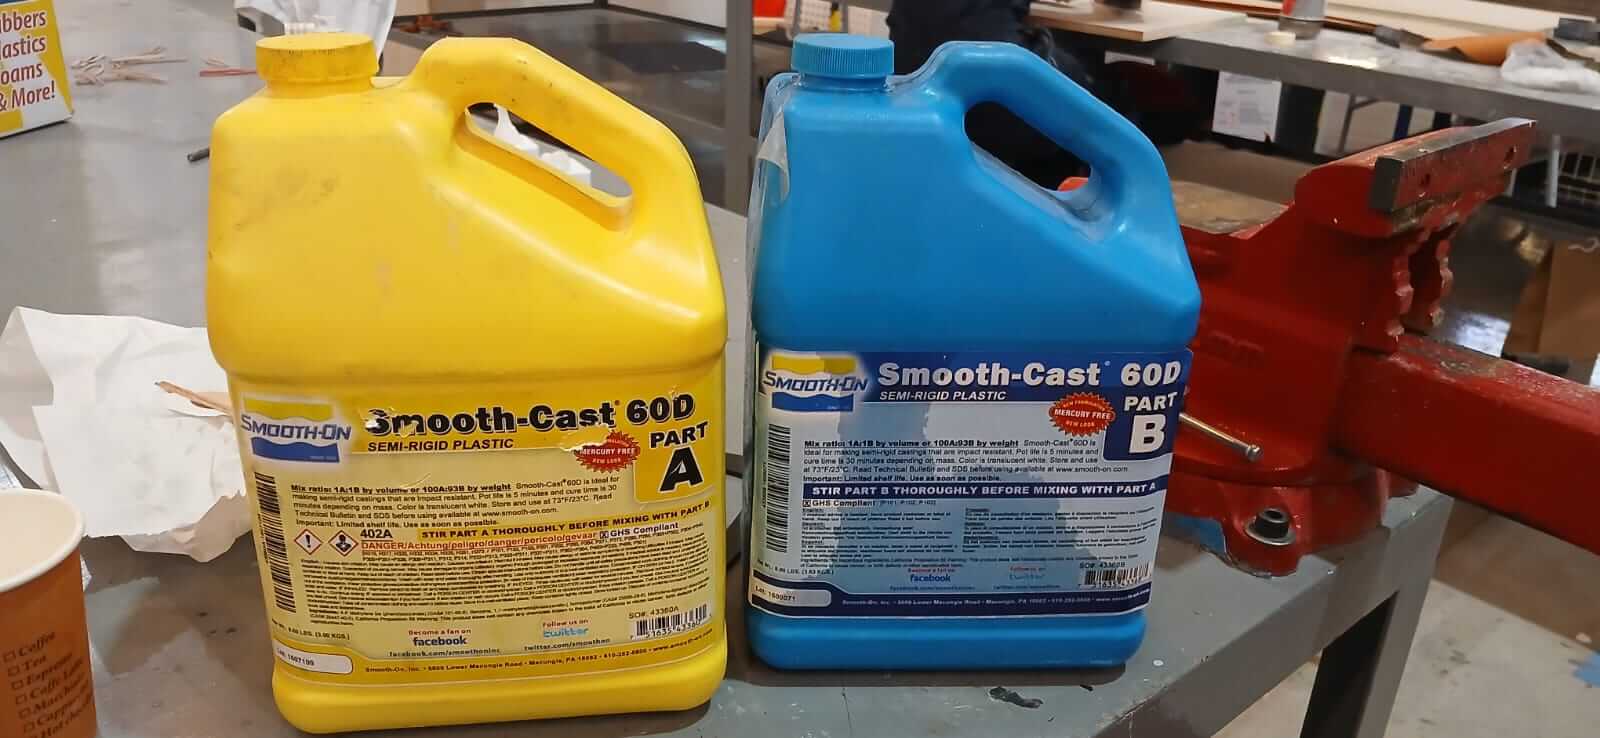
The first test performed is with a "Semi-rigid pastic 60D", which is mixed in a 1:1 ratio between part "A" and "B".

More information on the use of "Semi-rigid pastic 60D" can be found at the following link. The advantage of working with “Semi-rigid pastic 60D” is that it dries quickly; however, a vacuum chamber of around 60 PSI is required throughout the curing process of the material. The following images show the result, where the effect of an air bubble can be seen due to the lack of a vacuum chamber.
It is important to be careful with the material, as it gets hot and can irritate the skin.
Another test was carried out with "wax" to make a small eye-shaped candle.
Be careful when removing from the mold, as the eye parts are very thin, and the wax becomes brittle.


Learning outcome

The success or failure of creating parts from molds depends on two factors: good mold design and proper pouring of the material (techniques), since if either of these two elements fails, the result will not be ideal. Likewise, the purpose of the manufactured piece must be considered, as this will allow for the proper selection of the mold construction material and “casting”.

Group Task


Files