3. Computer-Controlled Cutting
This week I worked on parametric setting and cutting.
Assignment
- Group assignment:
- Do your lab's safety training
- Characterize your lasercutter's focus, power, speed, rate, kerf, joint clearance and types
- Document your work to the group work page and reflect on your individual page what you learned
- Individual assignments
- Design, lasercut, and document a parametric construction kit, accounting for the lasercutter kerf,
which can be assembled in multiple ways - Cut something on the vinyl cutter
Learning OutCome
- Demonstrate and describe parametric 2D modelling processes.
- Identify and explain processes involved in using the laser cutter.
- Develop, evaluate and construct a parametric construction kit.
- Identify and explain processes involved in using the vinyl cutter.
Weekly Summary
Group Work
Individual Work
- Make parametric construction kit
- Vinyl cutting
1. Make Parametric construction kit
(1) Check the Clearance size
I searched what kind of design is good for this week..
After I saw several alumni works, I got a rough idea.
I started drawing in Fusion.
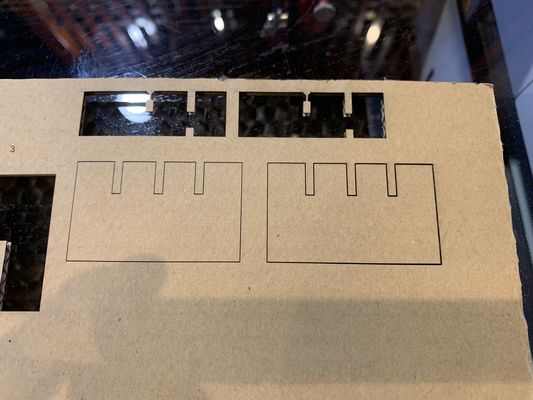
First I made simple model in Fusion for checking the kerf,
and cut it by laser cutter.
I exported the fusion file to Illustrator and all line color are changed to red(RGB:255:0:0)
and line width 0.001mm.
laser cutter is on and put the material on it. Then adjust the cutter to the right place and material position.
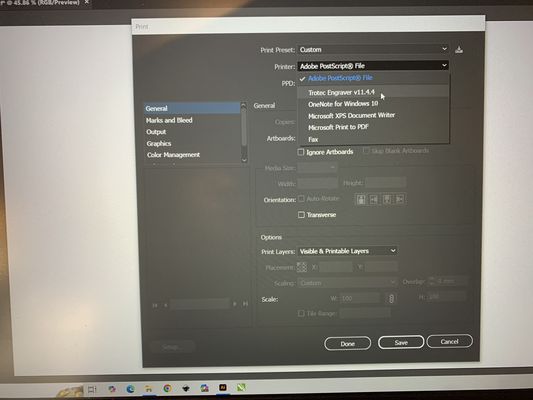
Then select Print from File menu and choose Trotec from Printer menu.

When Trotec application is started, push the connect button for connecting laser cutter①.
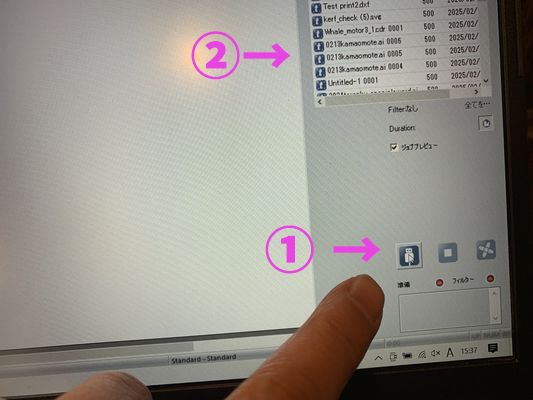
After confirming the connect with a laser cutter,
select the file and move to the screen.②
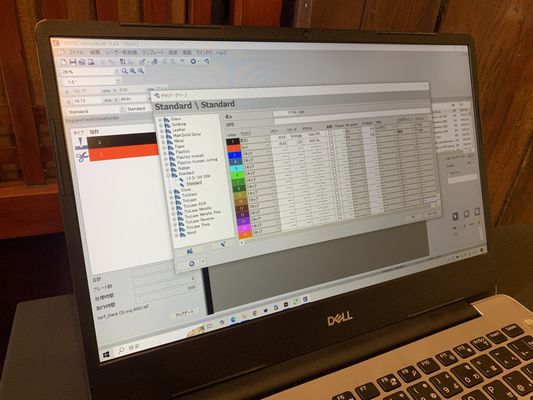
Click white space and set cut power and speed, Then click start.
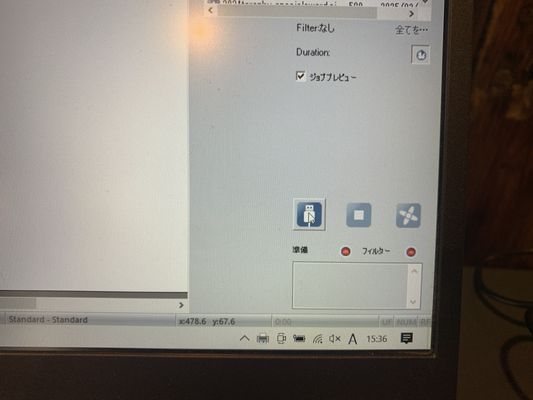
I wanted to make one more object, choose "re-do" on the right click and select menu.
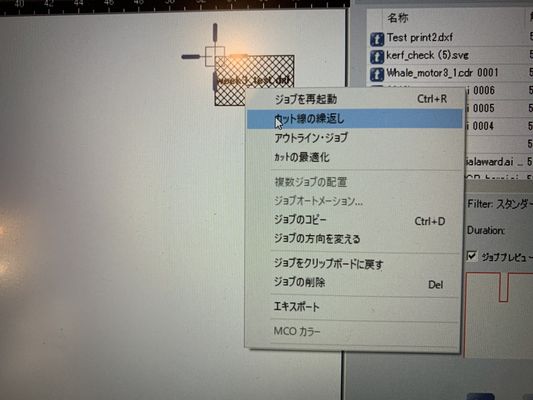
|
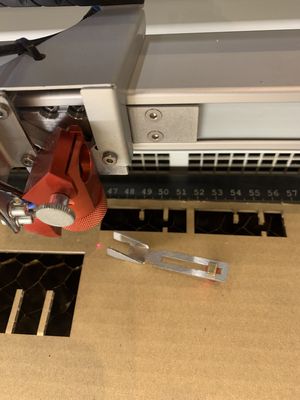
Now I need to be clear about the joint clearance and kerf.
(As I don't understand it clearly yet...) My cardboard is 3mm thickness, and we found the best joint clearance is 2.5mm by checking handmade estimating comb. Then we measured the space of joint directly. That is 2.7mm. That means this kerf is 0.2mm(2.7mm - 2.5mm) 
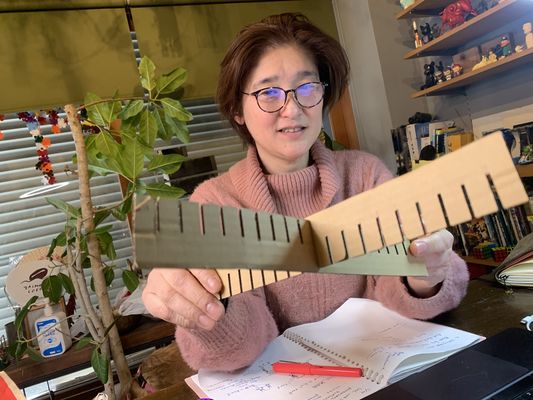
|
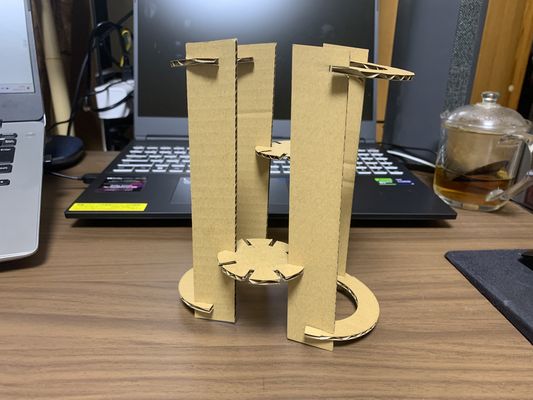
(2) Make construction kit
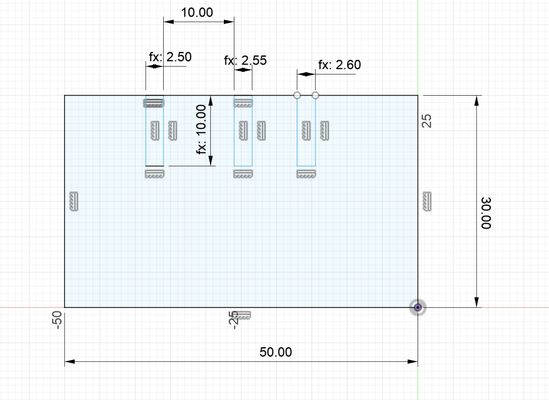
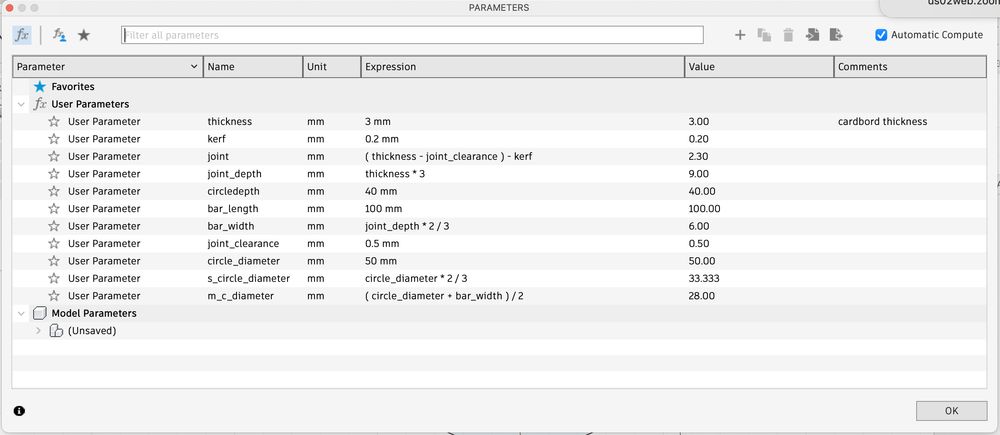
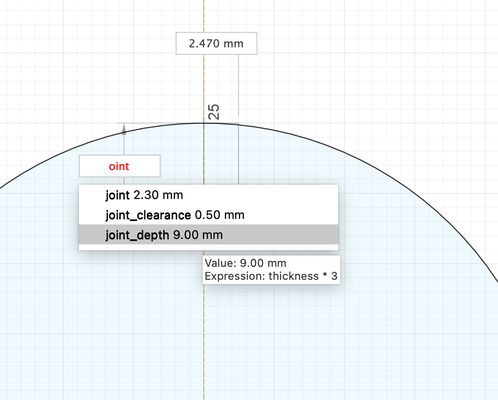
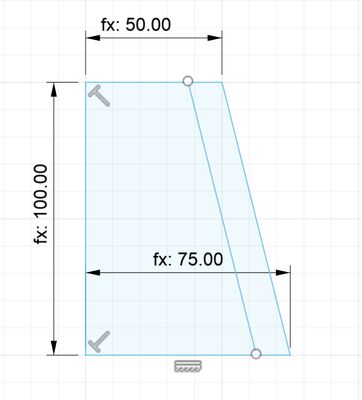
First, I set the parameters.
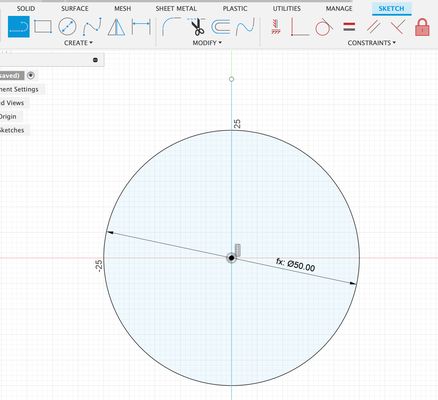
I draw a circle with a size of "circle_diameter" in diameter.
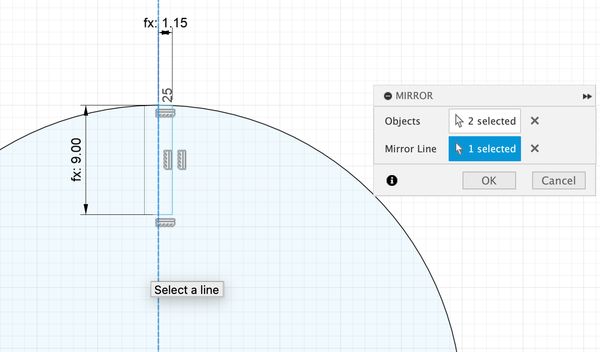
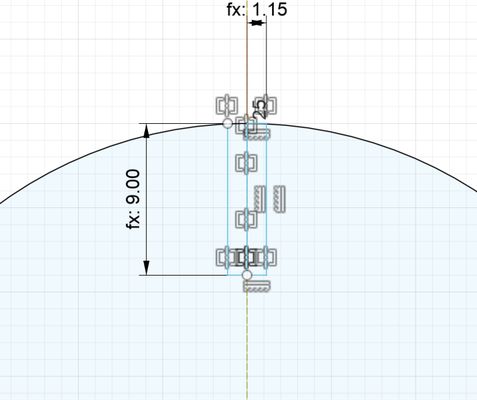
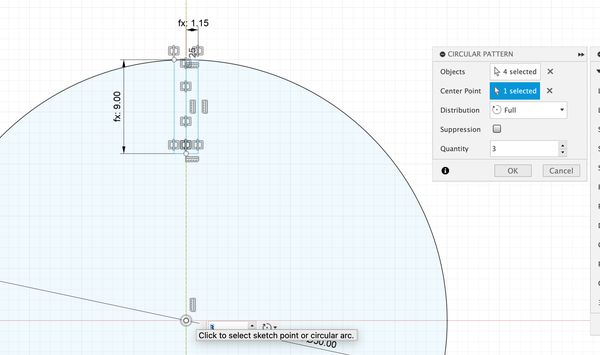
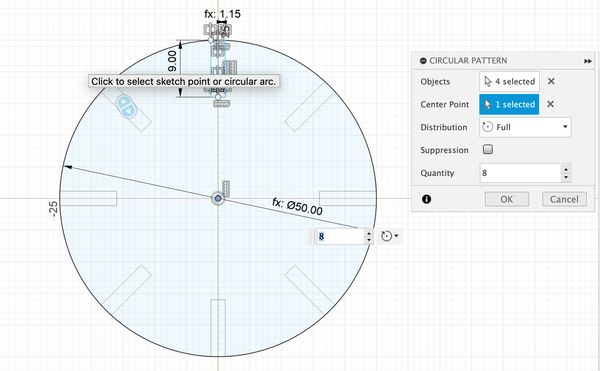
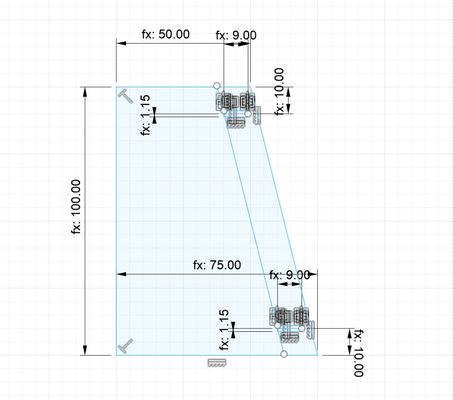
And make a joint, first I draw a half-size joint and copy other half by a "mirror".
Once joint hole is made, I made 8 holes by using "circular pattern".
Then I put a second circle for circle pillars.
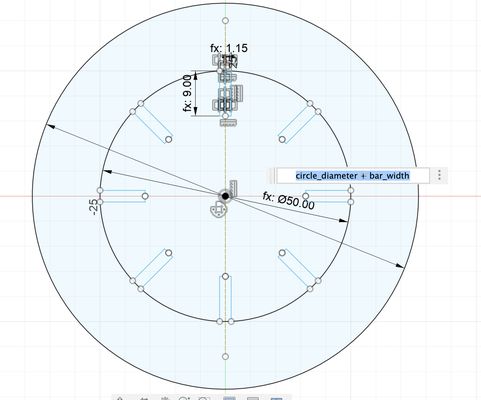
And make joint holes at the big circle and cut lines.

Copy the same joint hole to other side
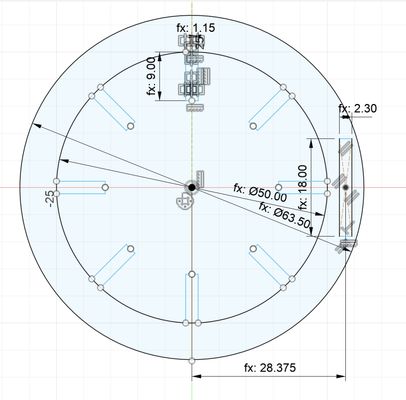
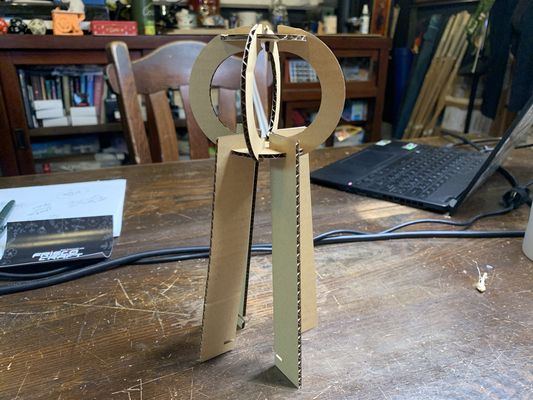
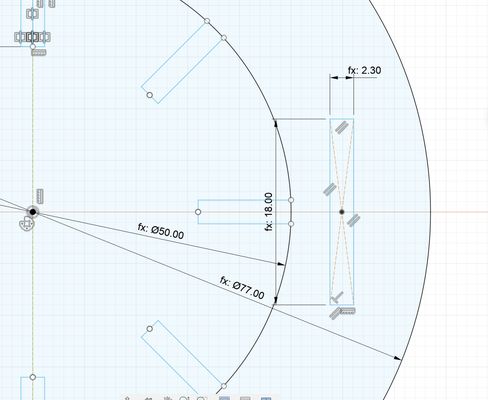
I made another circle(bigger one).

Then I made bars and joint holes in there.

The design was arranged so that it can be cut efficiently with a laser cutter.
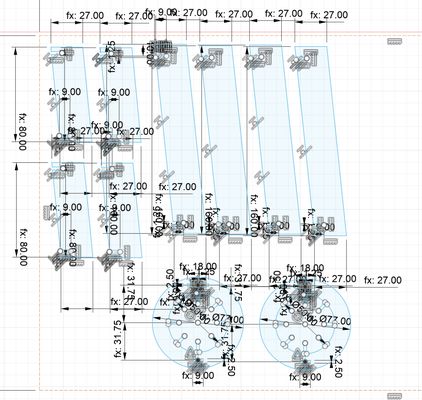
(3)Laser cutting
The file is exported to Illustrator.
All the lines are changed to red(RGB 255:0:0) and line-width to 0.001mm.
and did the same procedure to cut by laser cutter above.
I made another model(shelf) from the same parts.
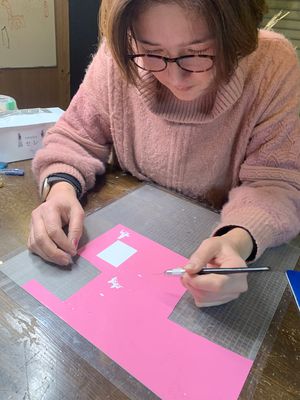
2. Vinal Cutting
(1) Design
At first, I made the design by hand.

I tried to scan and modify it for vinyl cutting but didn't work well.
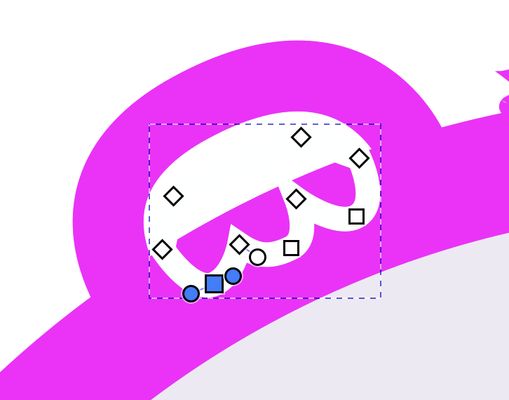
So I draw one directly by the Inkscape.


When the instructors checked my design, told me that line at the hands are too thin for cutting.
So I made hands again.


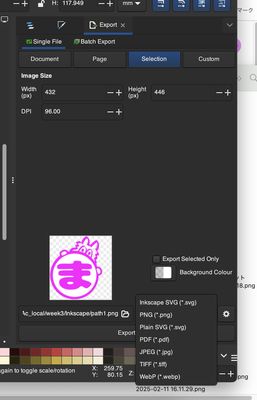
As I have to make this design file to .svg style, export it and choose "svg" and push Export button.
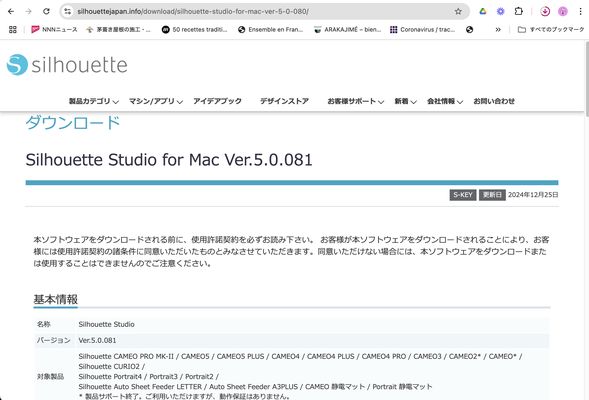
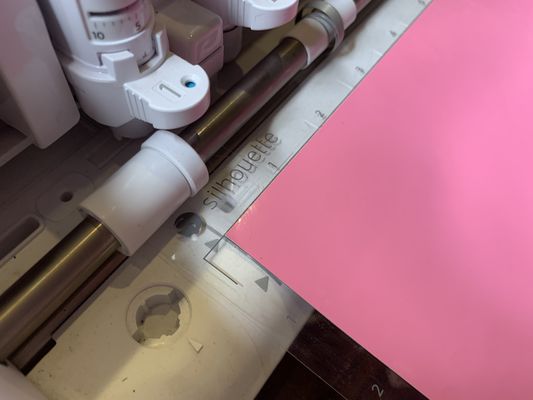
I use the "Cameo Plus" vinal cutter.
I installed the vinyl cutter application called "Silhouette Studio"
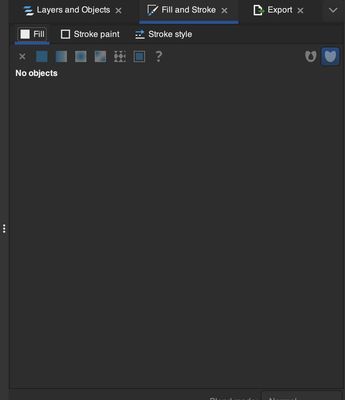
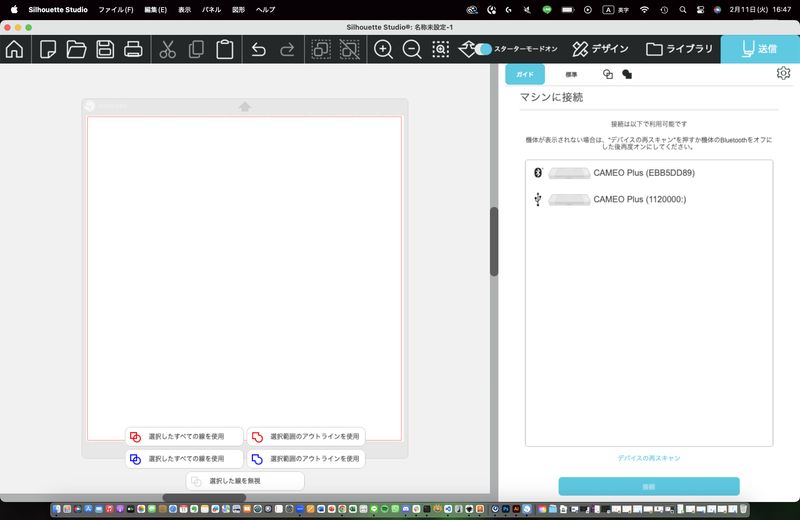
Silhouette Studio is opened, import the data file into it.

Adjust the position and size
Then connect with a vinyl cutter.
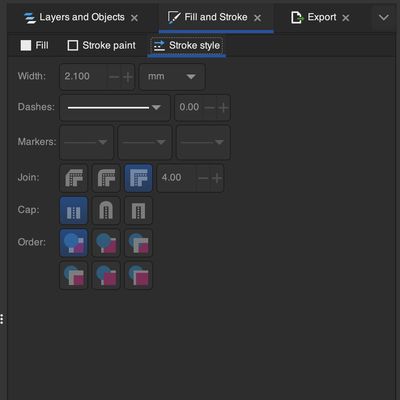
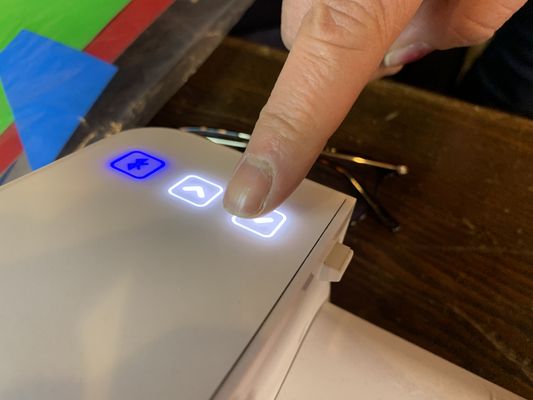
Select ①(standard) and set the power②, speed③ and how long a blade comes out④
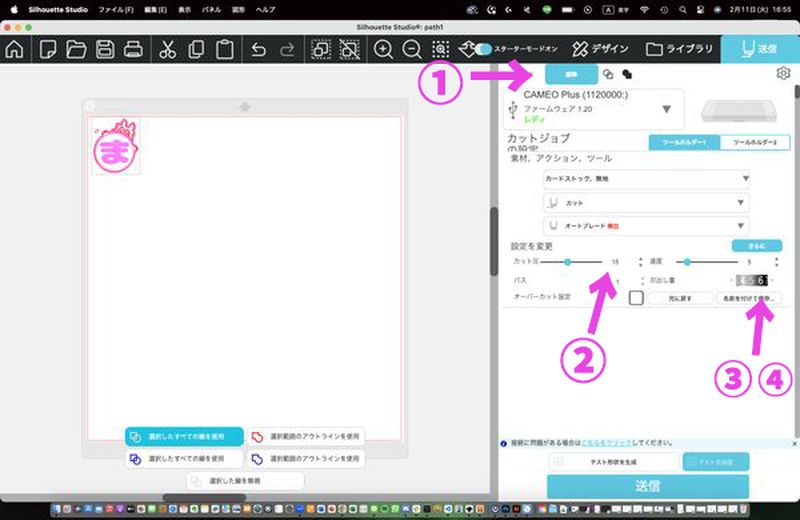
set the paper into the machine.

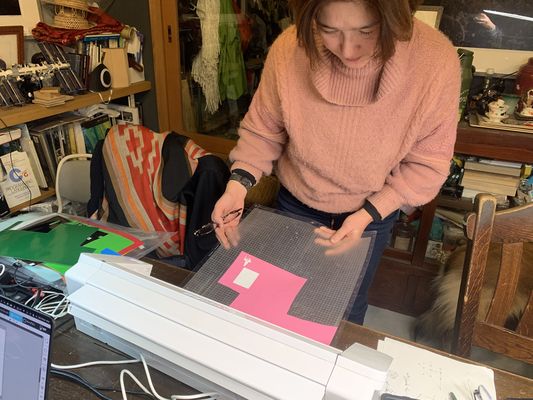
Then push start(送信) button.
I tried to cut several times for best position on a paper.
At last, I found best position.
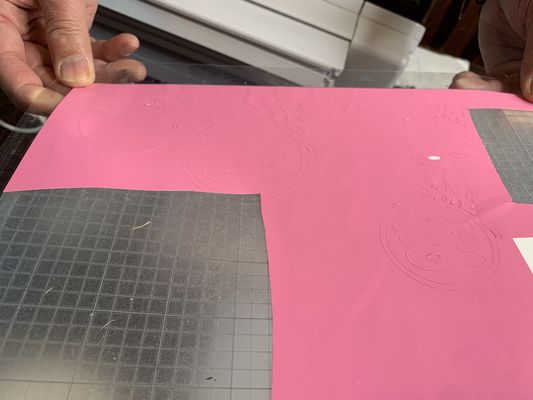
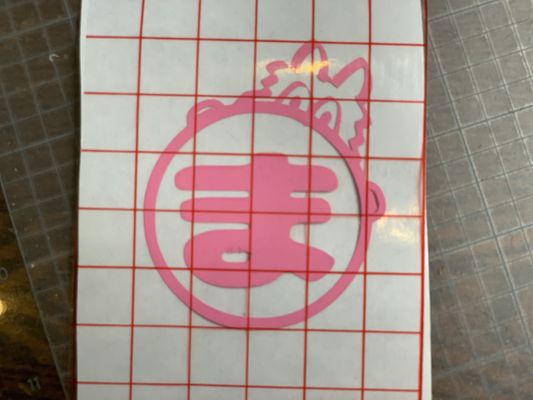
And peel off the unnecessary part.
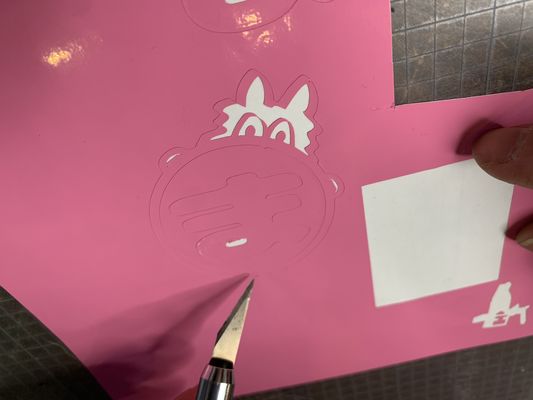
Done!

We had first group work and used machine to make something. It was really fun to produce something from my thought! At the same time, I understand that we have to move my hand to draw my thought not only in my head. We also realize that we as a group have to communicate as much as possible for each roles.
OUTPUT
- Laser Cutter
- vinyl Cutter
Research
As I couldn't have an idea for the laser cutter, our instructors showed us alumni works and inspired the this week's idea.