Week3 - Vinyl Cut
File Sharing
The image file is here.
Vinyl Cut Machine
We will complete the vinyl cutting assignment by Brother ScanNCut SDX-1200.
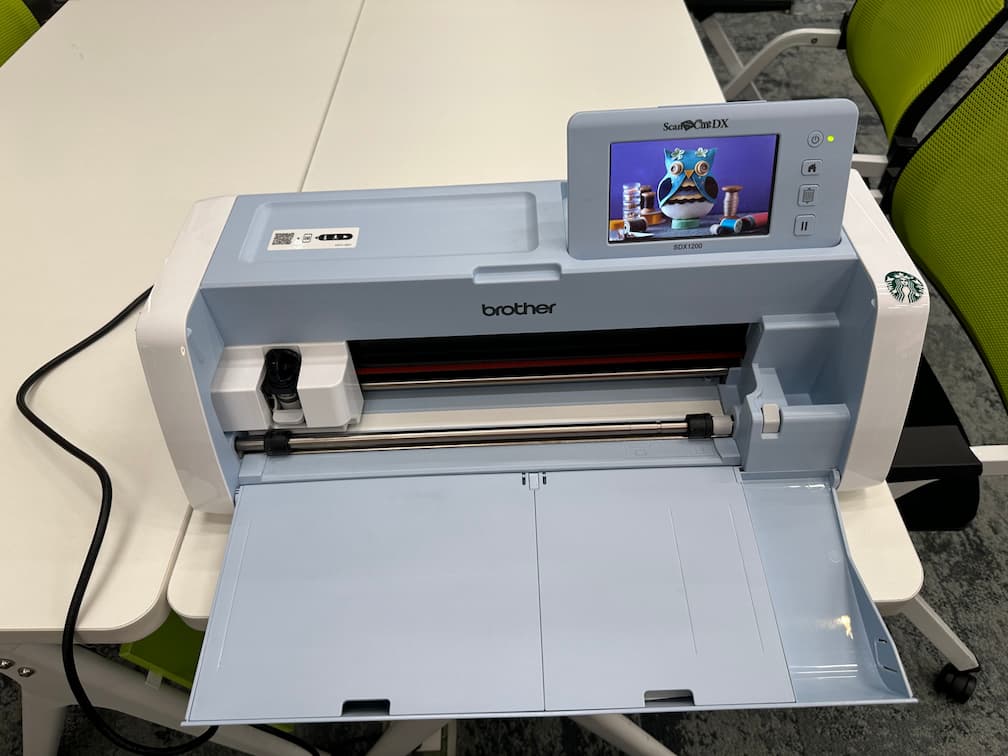
This is a cutter with a built-in scanner which allow to scan any image or sketch and then precisely cut the shapes or outlines, with no need for design cartidges or a PC. It's very simply to operate.
The basic user manual can be found here.
Step of using the vinyl cut machine
First, some images are found for cutting the outlines.
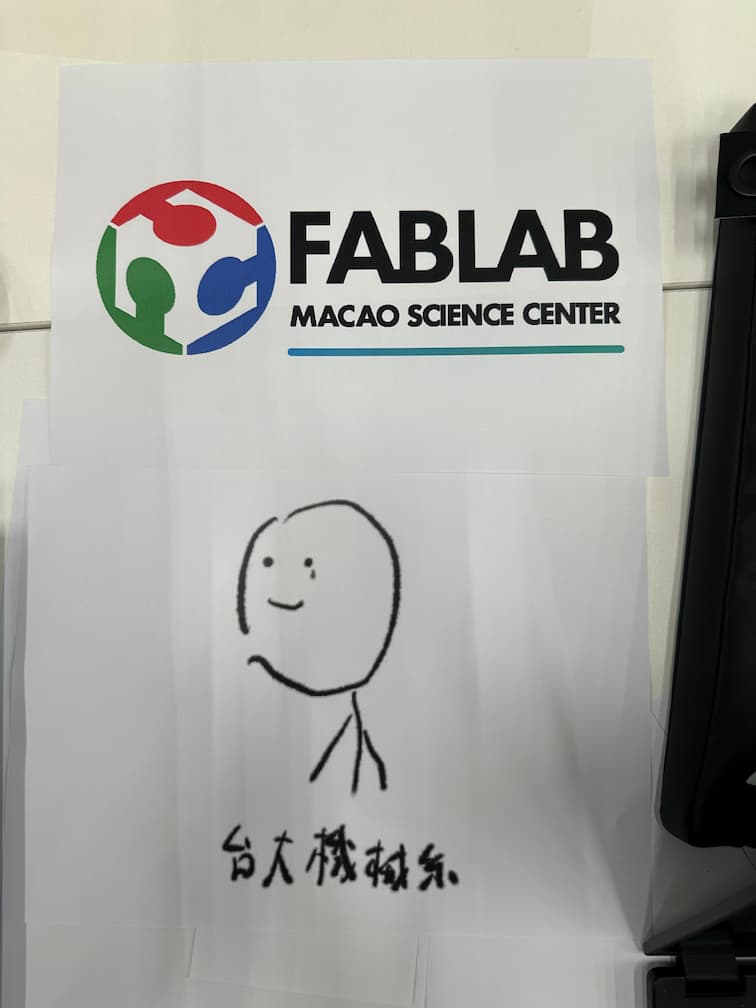
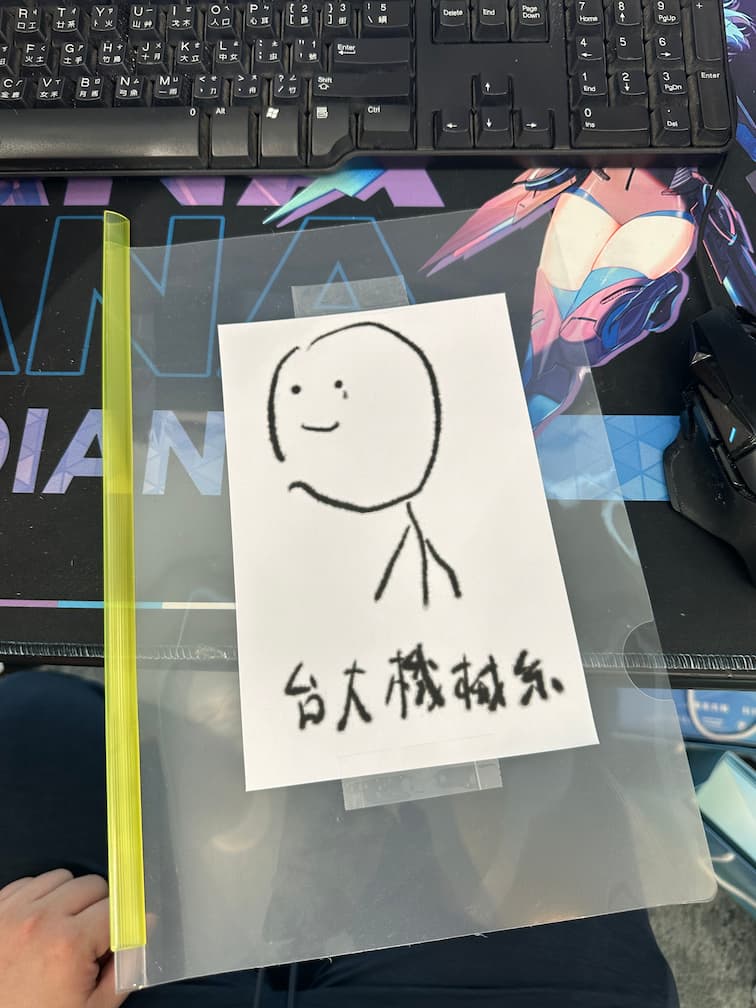
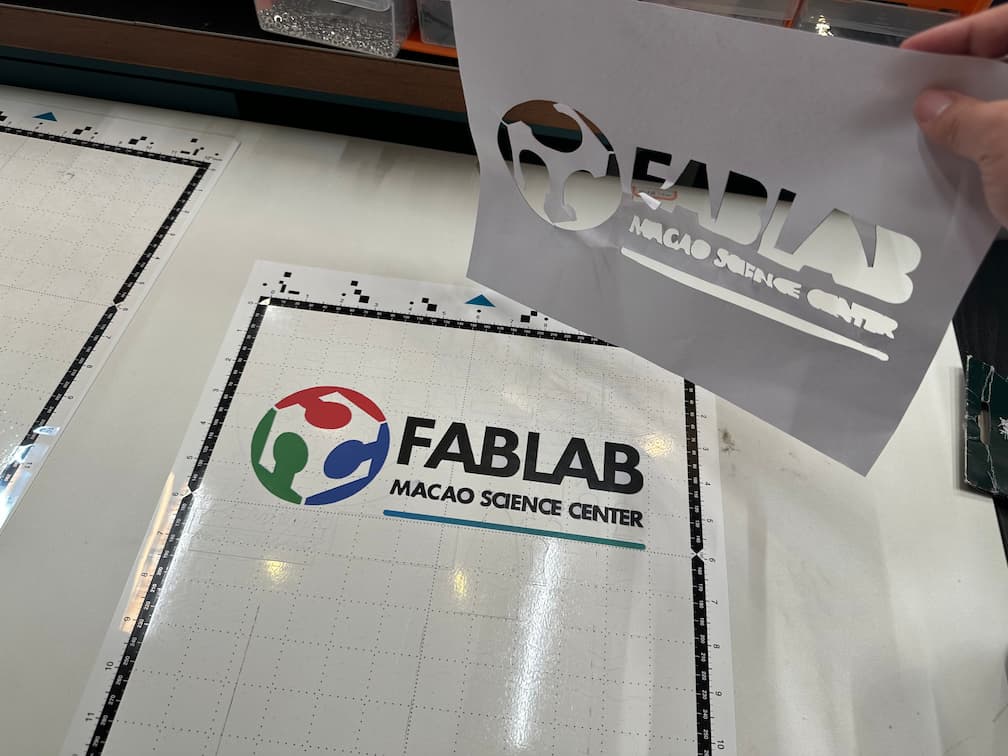
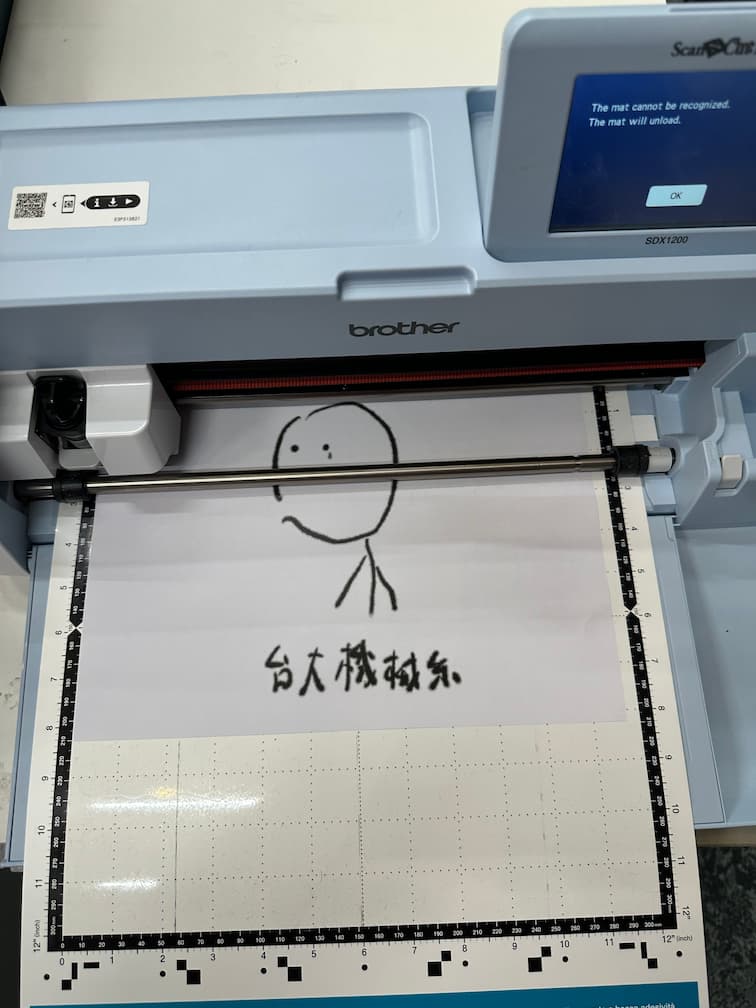
I choose the logo of our lab and a T-shirt logo of Mechanical Engineering - National Taiwan University.
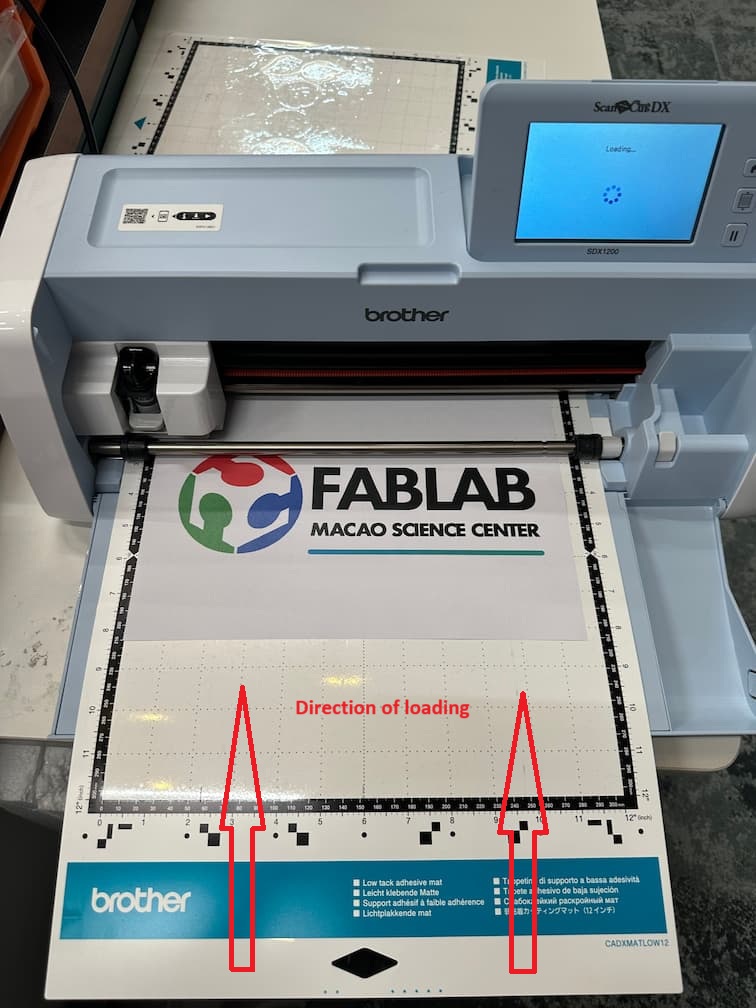
Let's us start from the fablab logo. A mat is needed for positioning the image on paper or sticker.
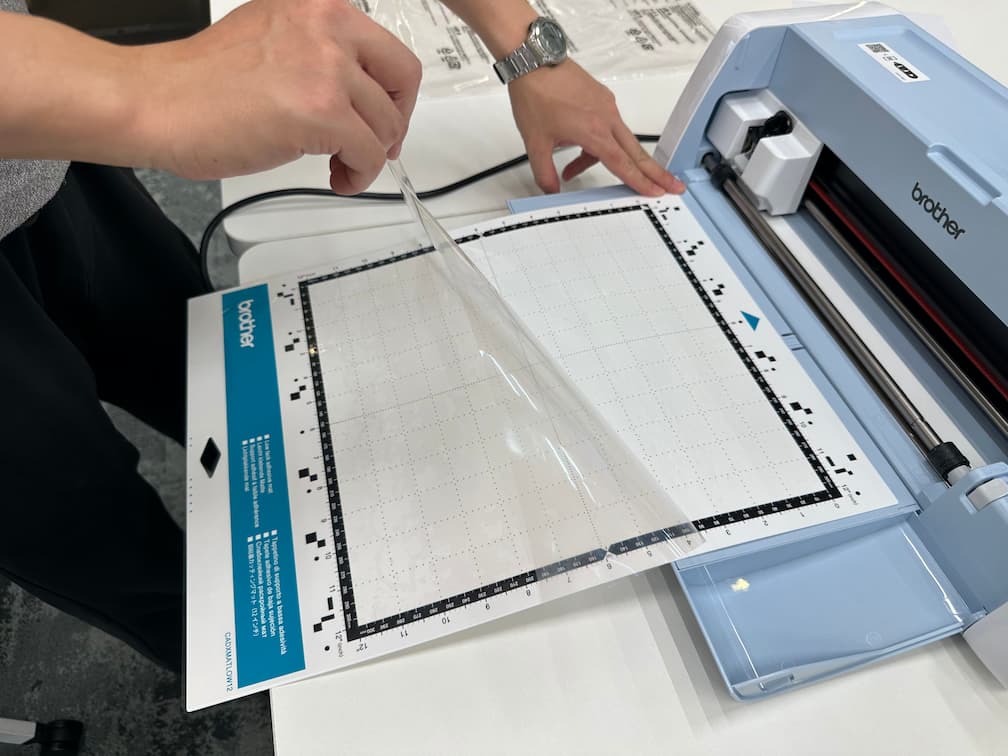
There's stickiness on the mat. Now we can stick a A4 paper with printed image onto the mag. Then, press the load button to load the mat.

In this machine, we can cut the pattern figure or scan the image.
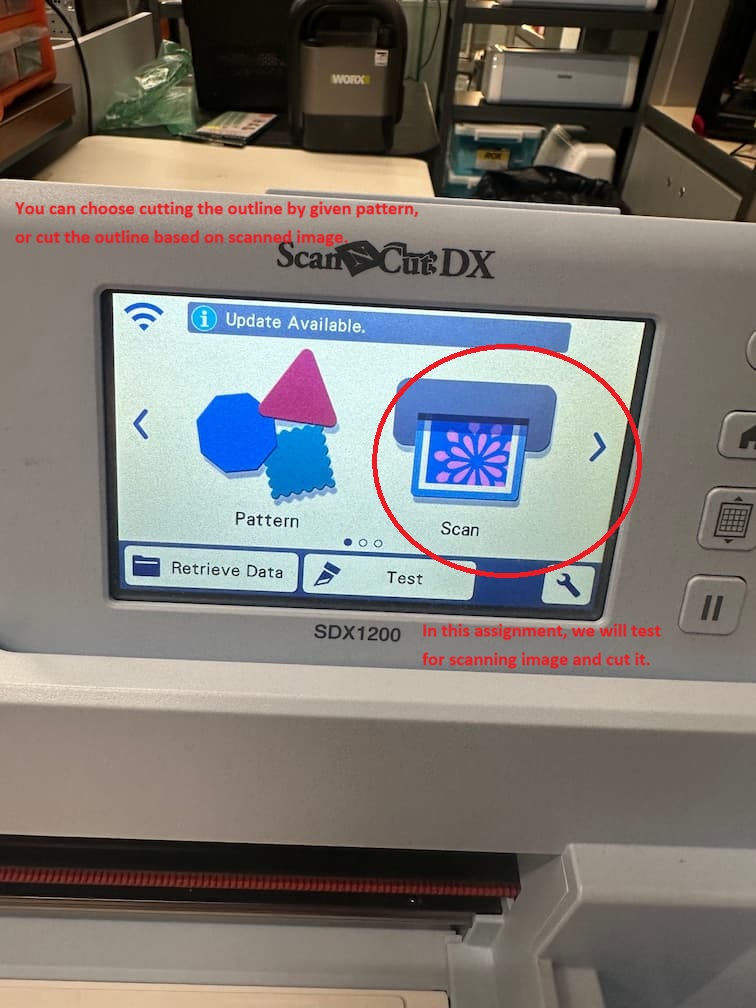
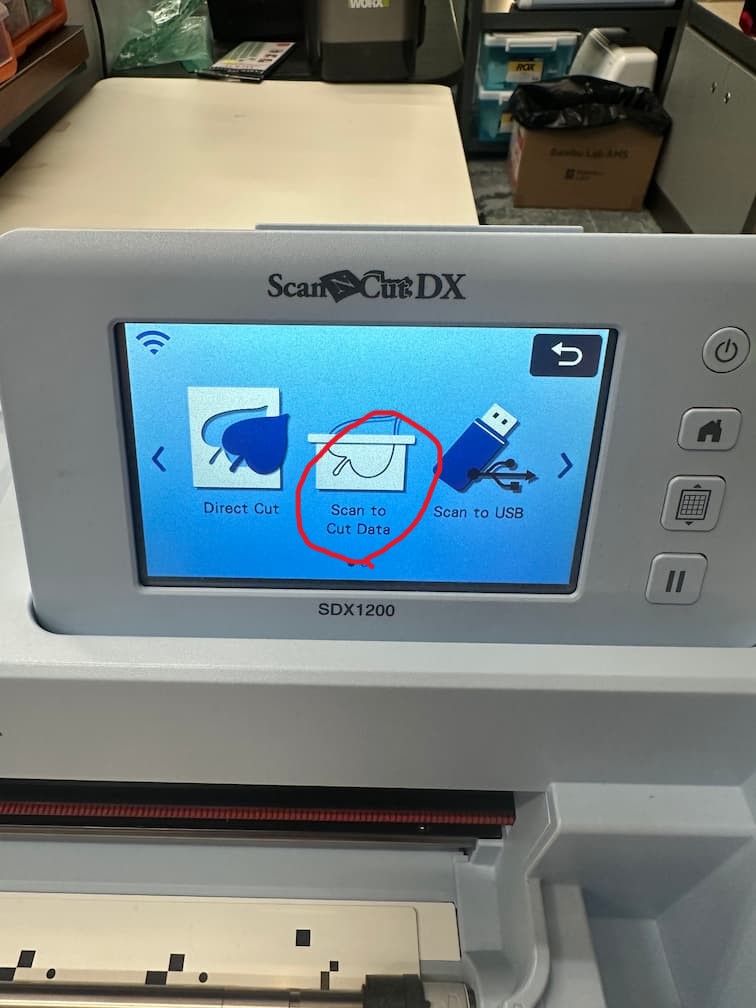
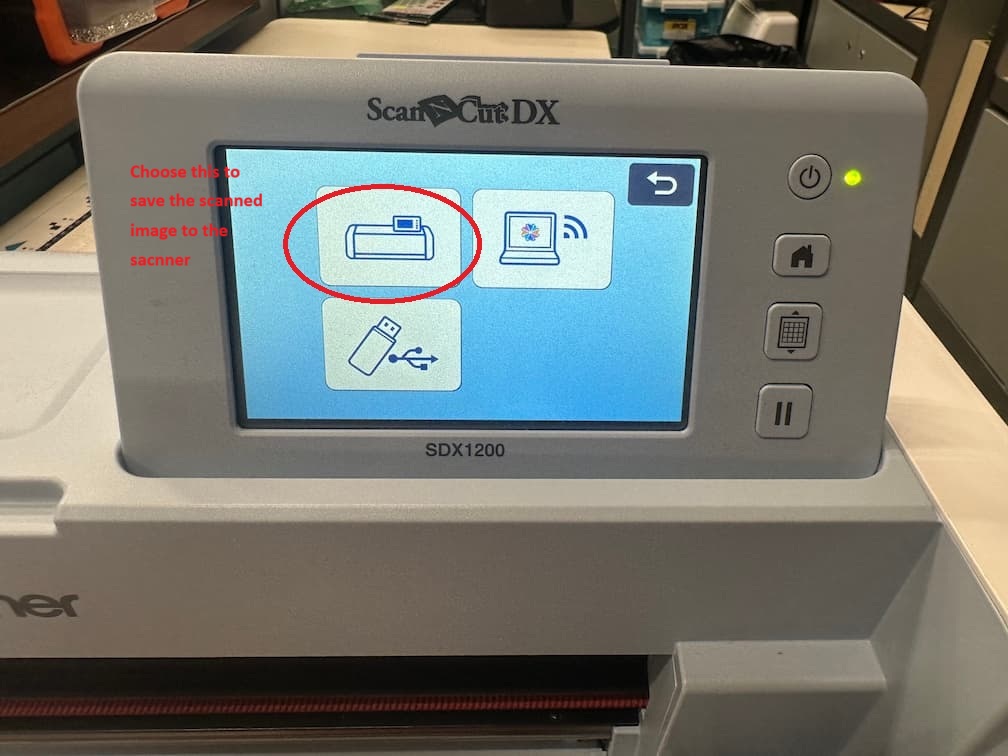
Then, we choose "Scan", and we choose "Scan to Cut Data" and start scanning.
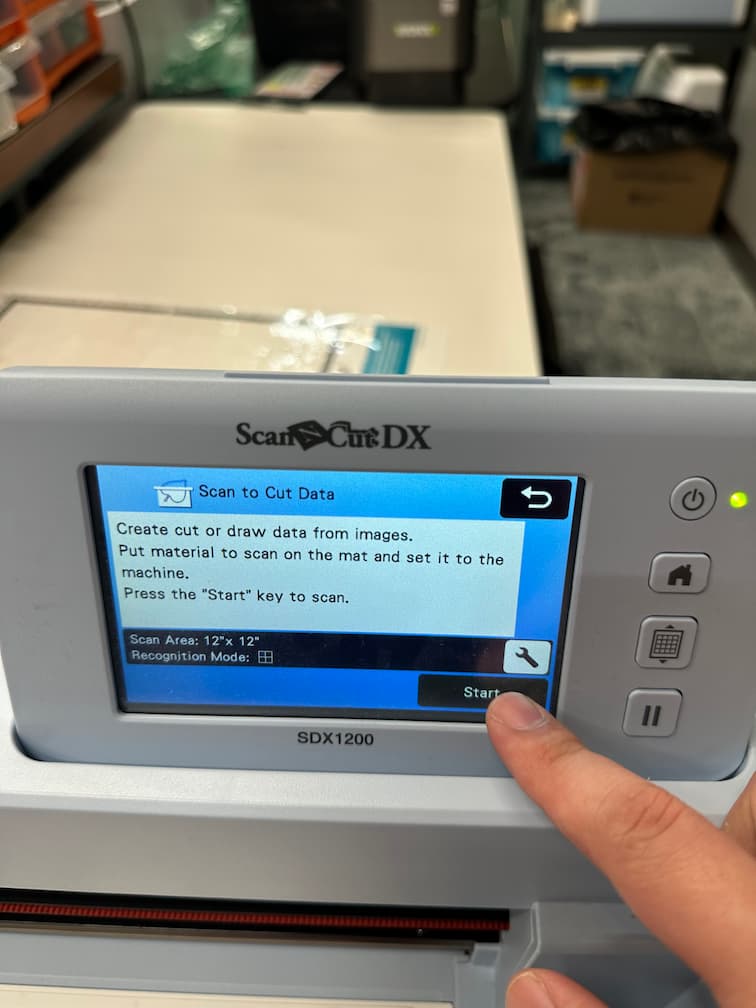
Put the scanning material on the mat and set to the machine(which will be shown in the following video), and press "Start" for scanning image.
After scanning the image, the scanned result will be displayed on the screen.

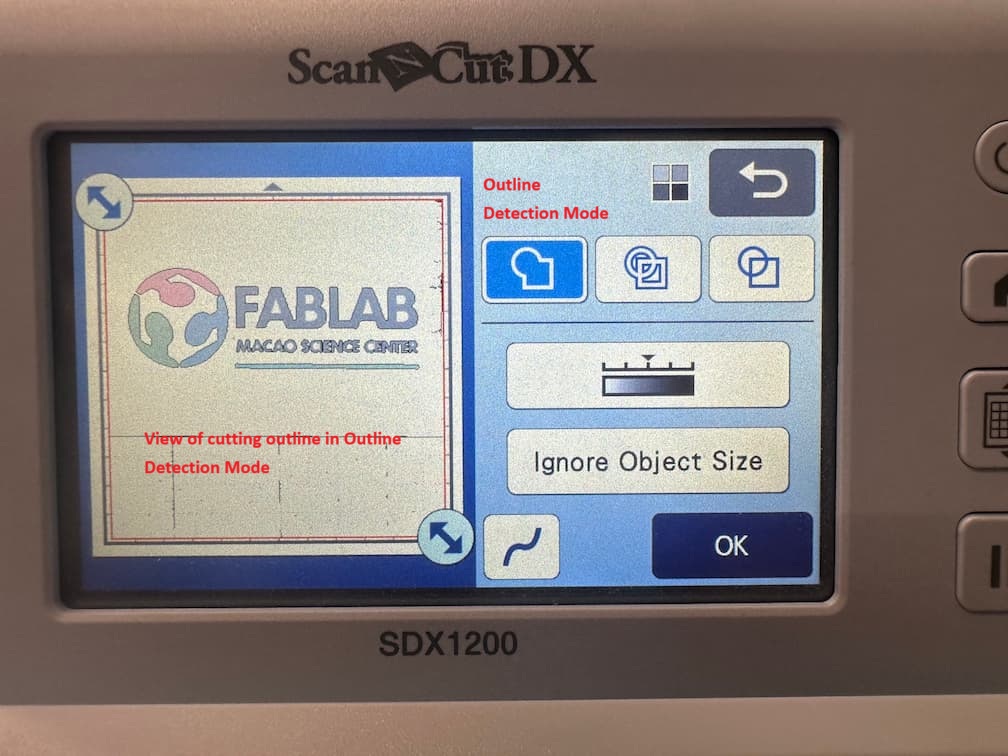
There are 3 grayscale recogition mode to determine the cutting route: The results are shown as below:
- Outline Detection
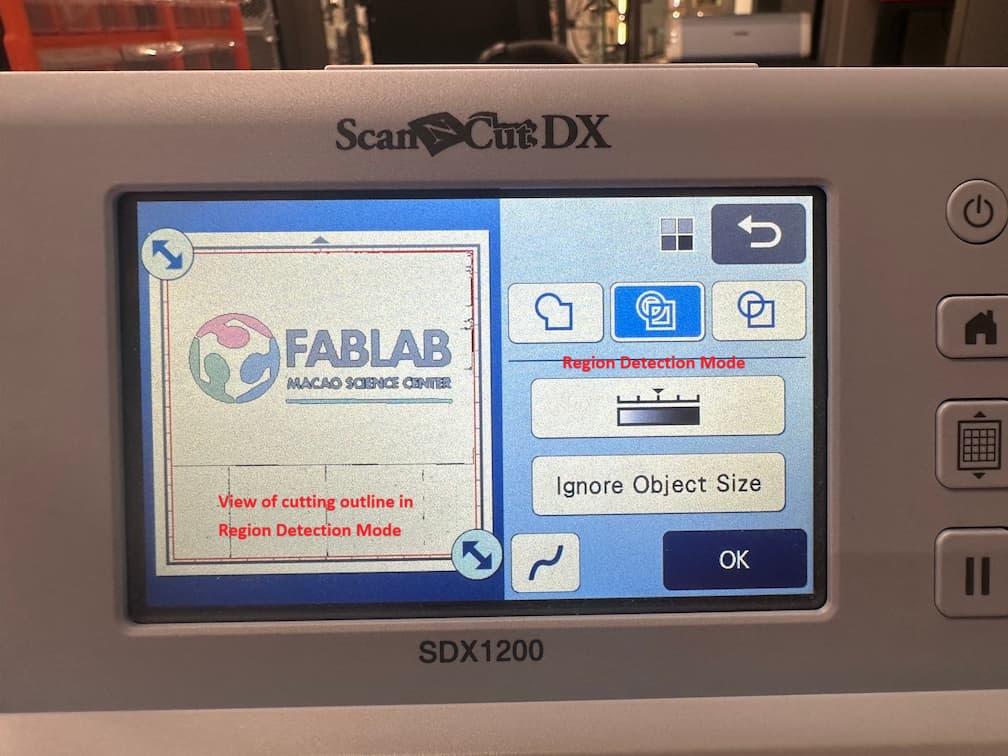
- Region Detection
- Line Detection
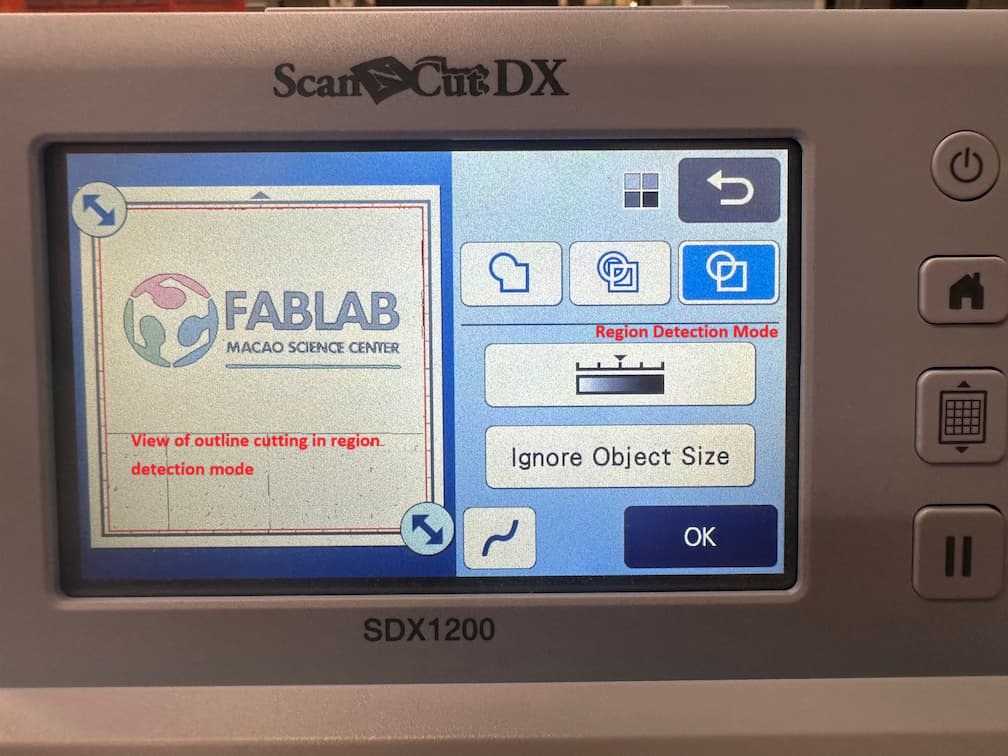
We can see the cutting route (Black thin line in the image) are different.
In this case, we choose Region Detection mode. Then, we save the scanning data to the machine.

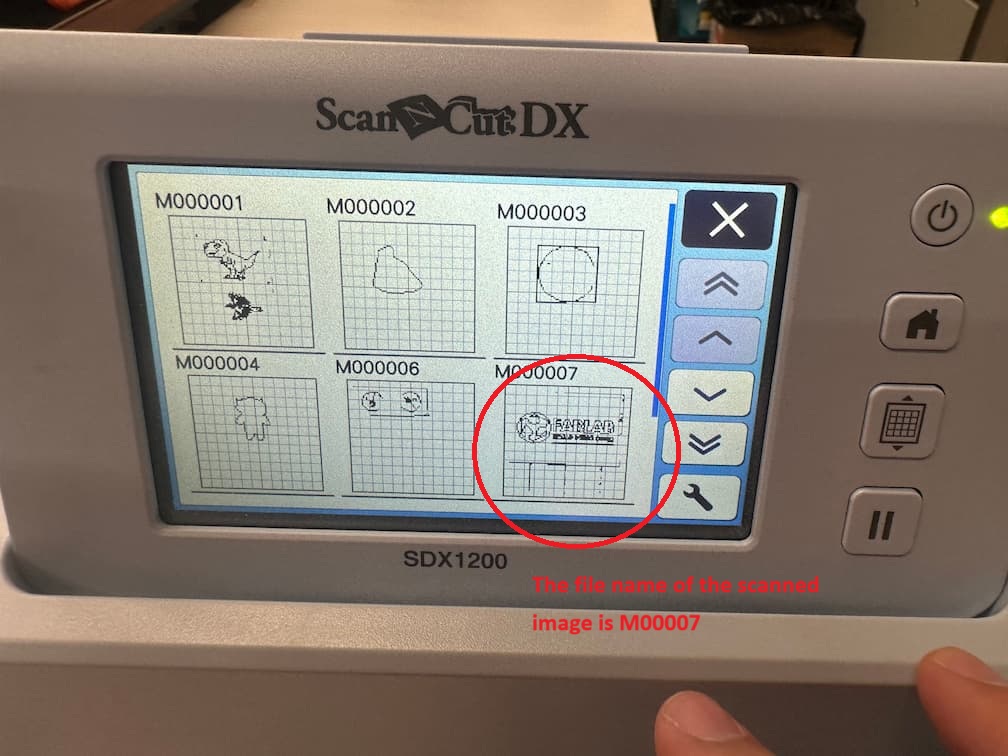
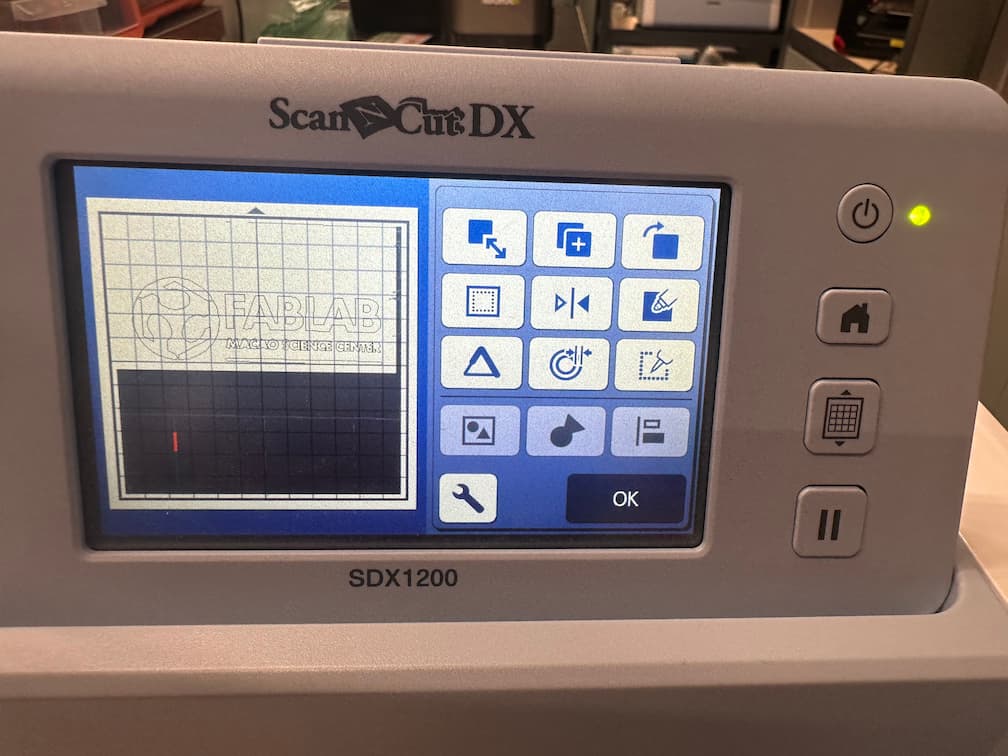
We load the saved data and choose the cutting file.
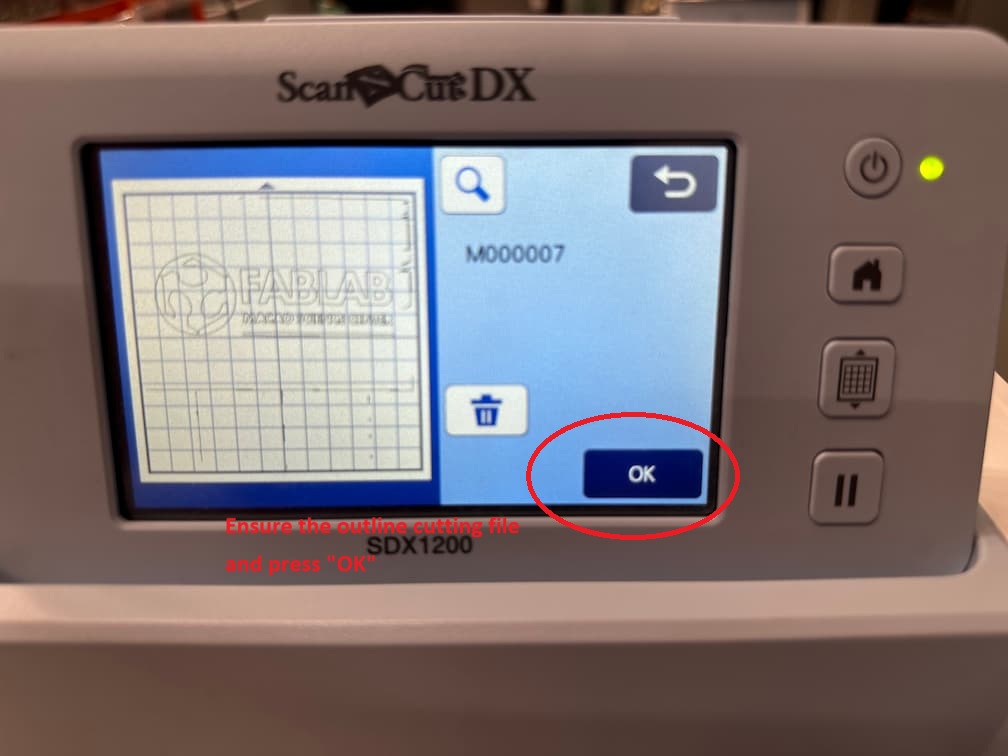
Ensure the outline cutting file and press "OK".
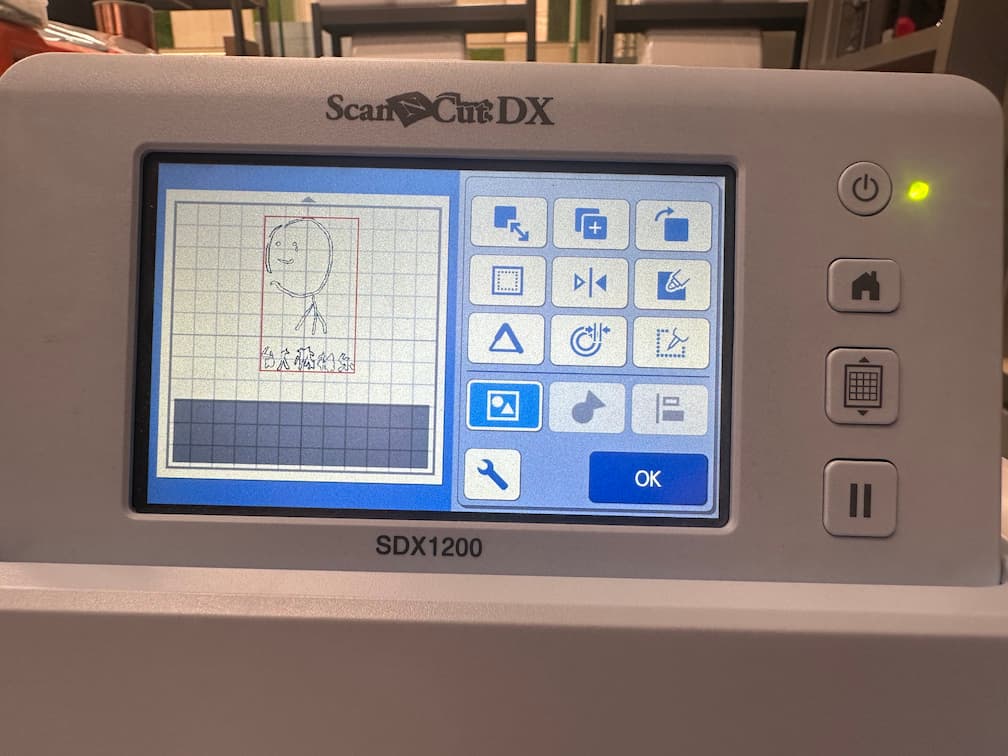
Modify the cutting area.
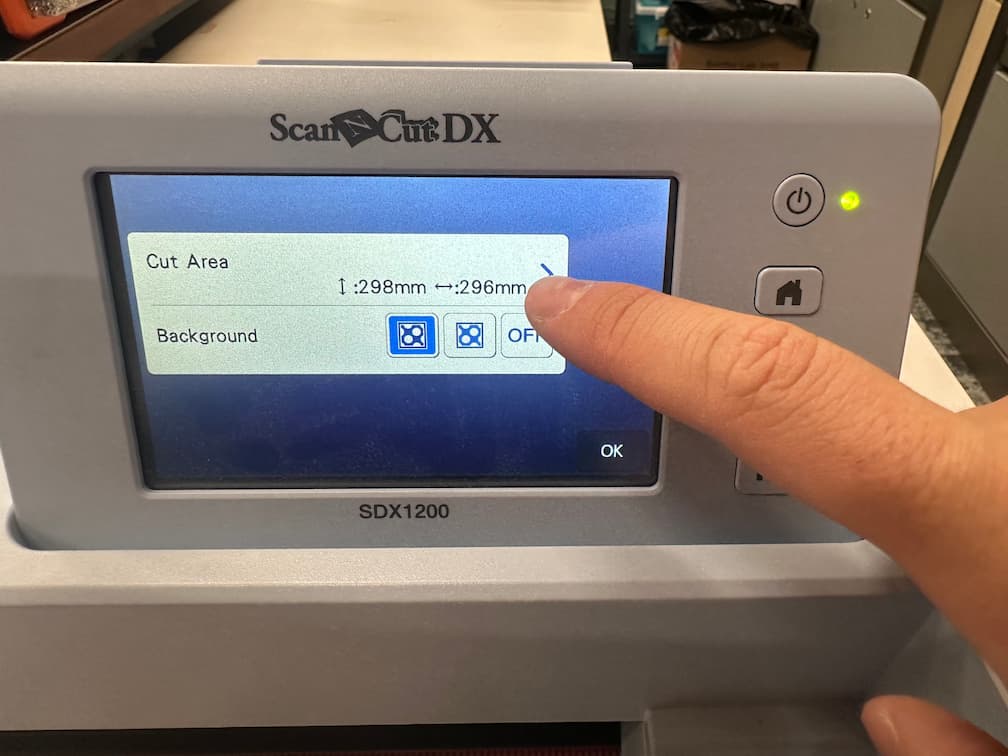
As the raw image is located to the upper part of the paper, we just choose the upper part as cutting region.
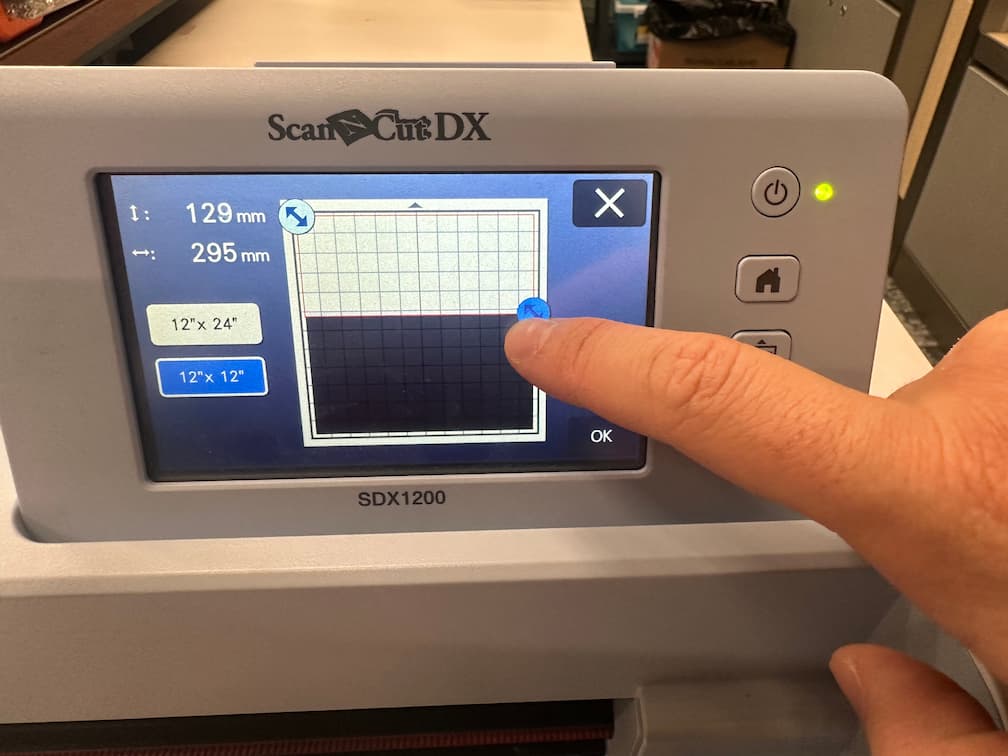
Ensure the selected region include the image outline.
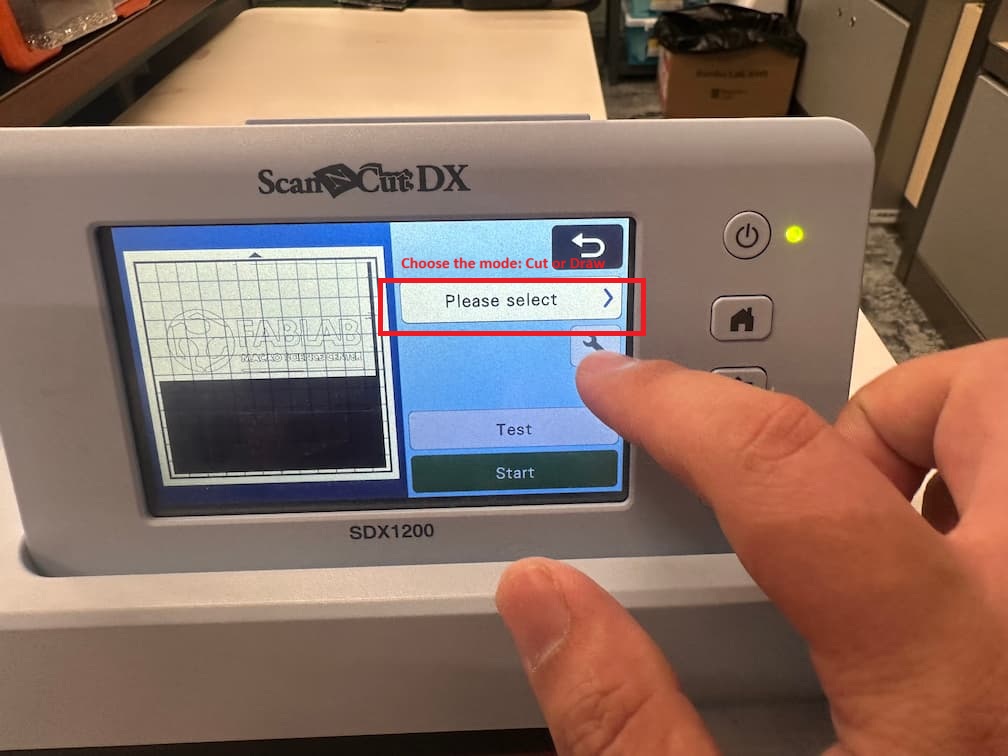
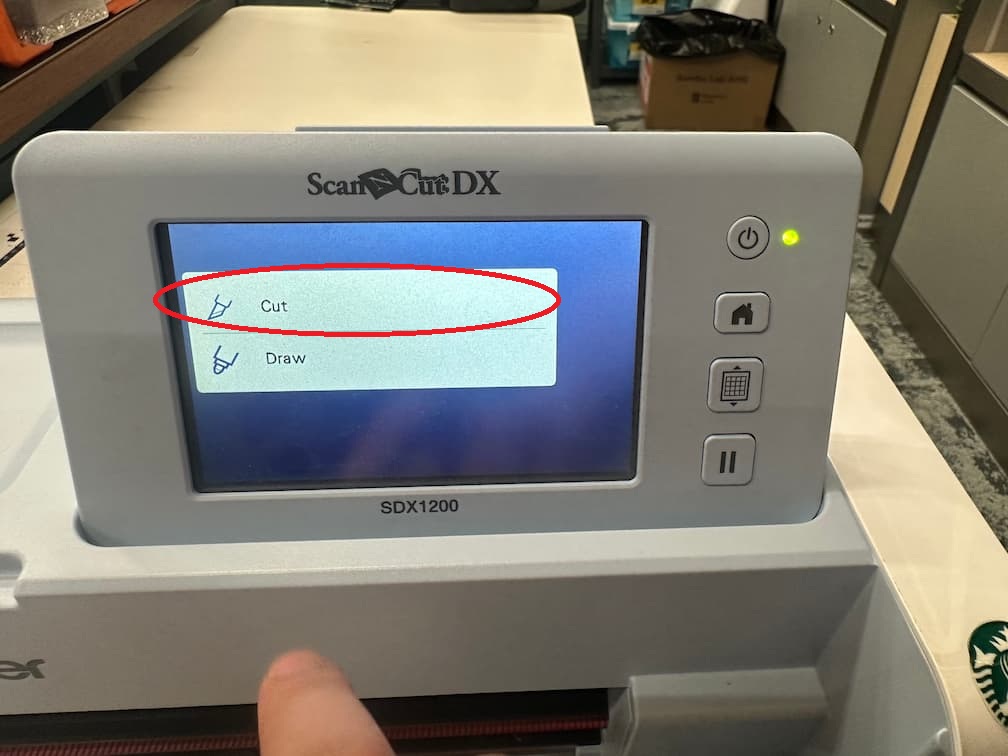
We can choose the mode : Cut or Draw. Now we choose cut.
Choose "Cut" .
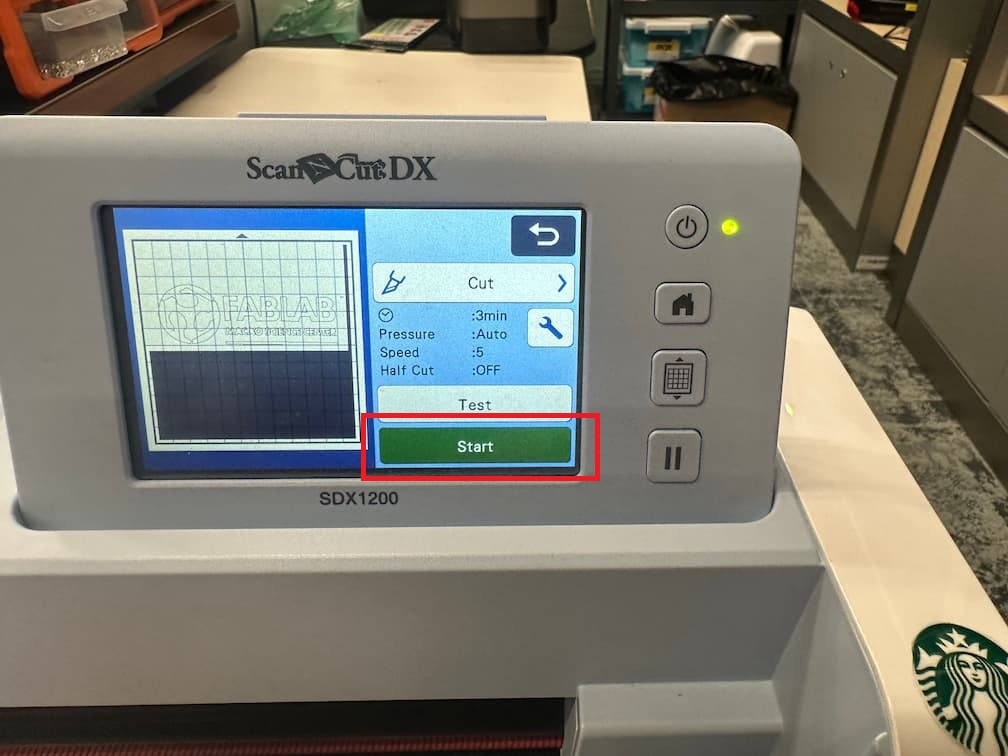
Finally, press start button to start cutting!
Remove the clout, the needed image still sticks on the mat. It can be made as a sticer!!
I also tried the other image. Scan the image first.
After I scanned the image, setup the outline detection mode.
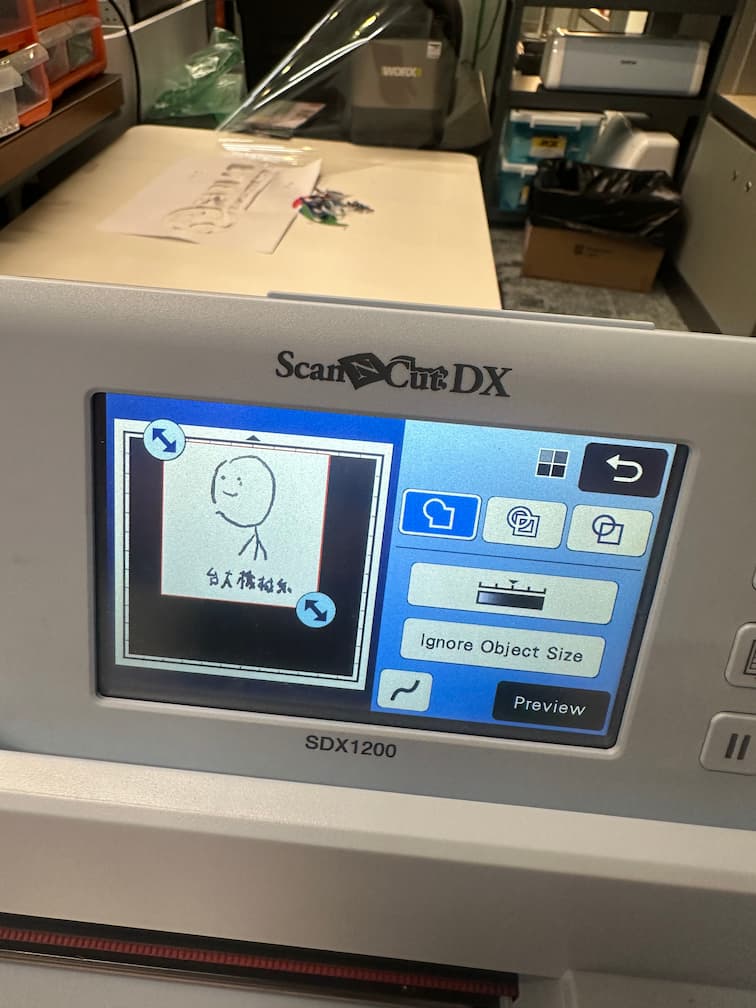
In case of outline detection, the vinyl cutter will cut all outline of black pixel and becoming interpretation of the image.

So I want to change the cutting outline as a rectangle for sticking to a file folder.
Let's start cutting!!
I hang up the final product on my bookshelf.
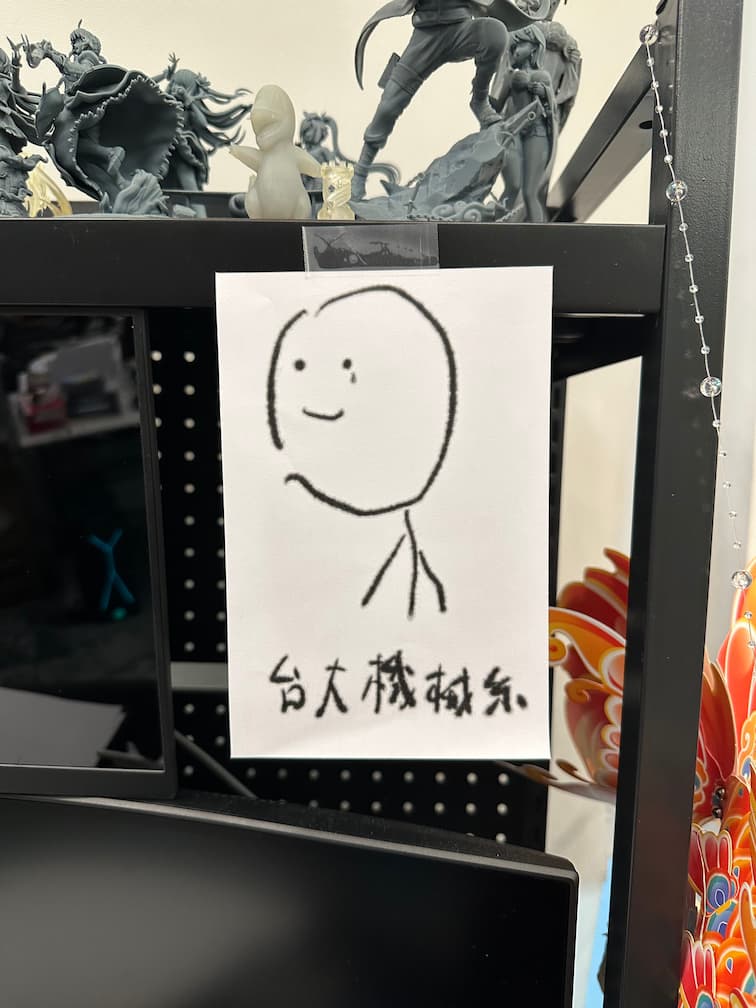
Maybe it can stick onto a file folder.