Week3 - Group Assignment
About the laser cutter in Macao Science Center
There's a long distance between Macao and Shenzhen, we will take a remote course and finish our group assignment by the machine in our company - Macao Science Center.
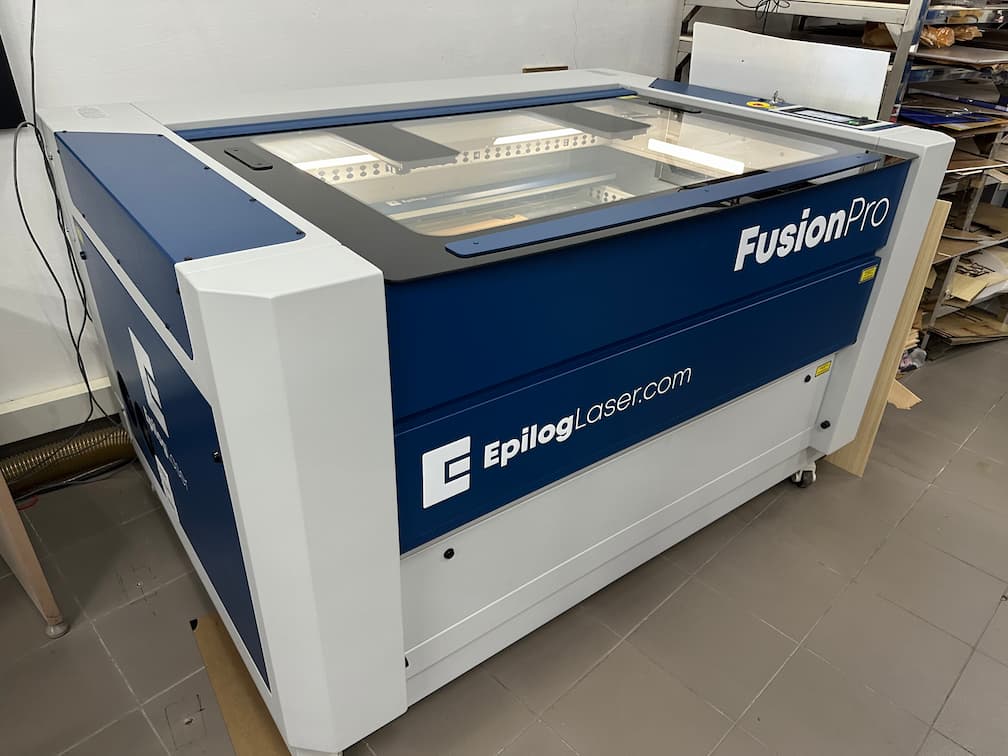
The model of laser cutter in my lab is Epilog Laser Fusion Pro 48.
What are we going to do this week
The assignment is including tasks as below:
- Characterize your lasercutter's focus, power, speed, rate
- Determeine the kerf, joint clearance and types
Test the machine and get the curf
In the following works, we will use 3mm acrylic board to do the cutting. To ensure the thickness of acrylic board is 3mm, we measure the acrylic board by caliper.

After ensuring the thickness of acrylic board, we model a testing tool for testing the curf.
We design a board from 2.5mm to 3.2mm.
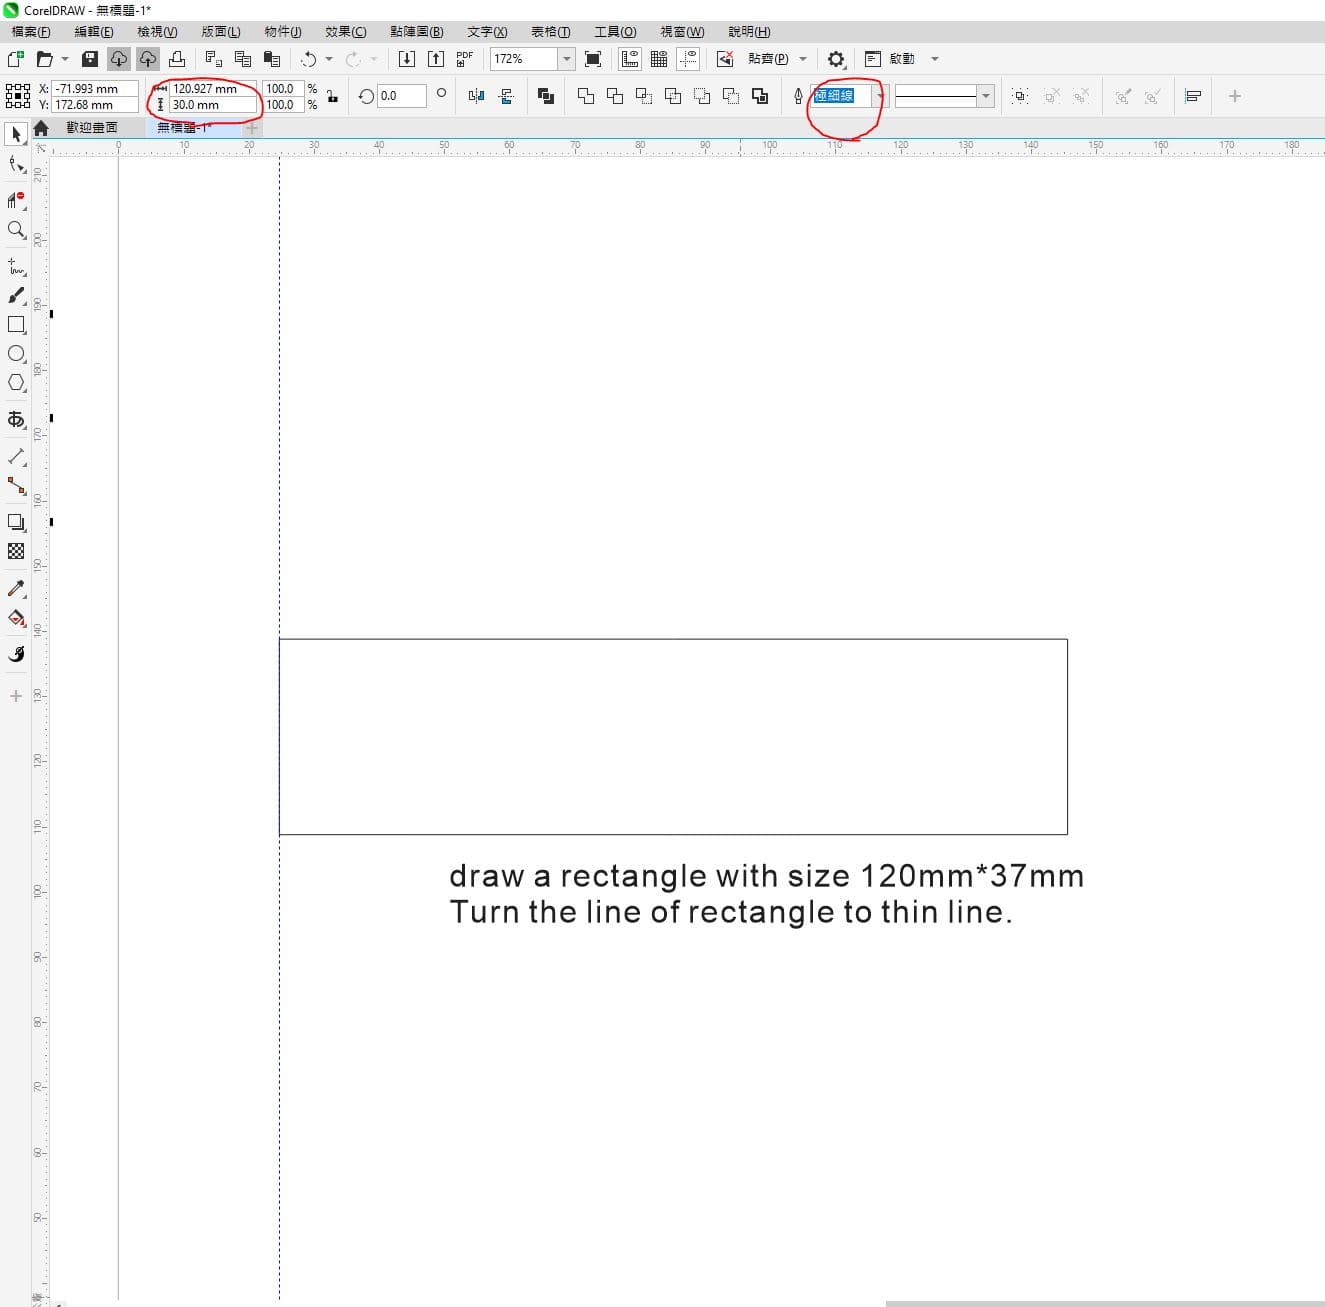

We draw the curf with 15mm.
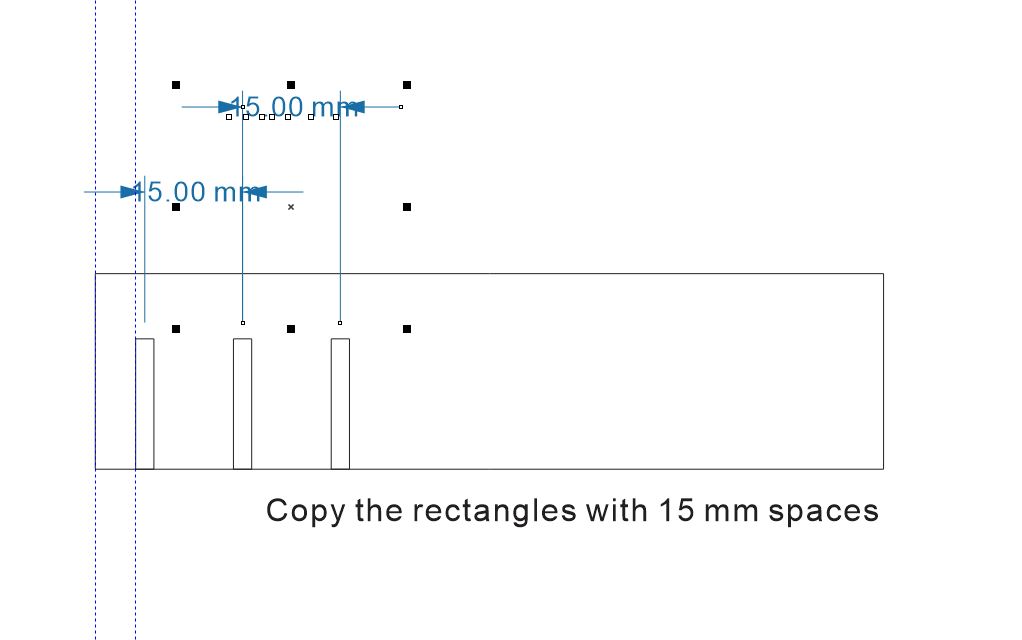
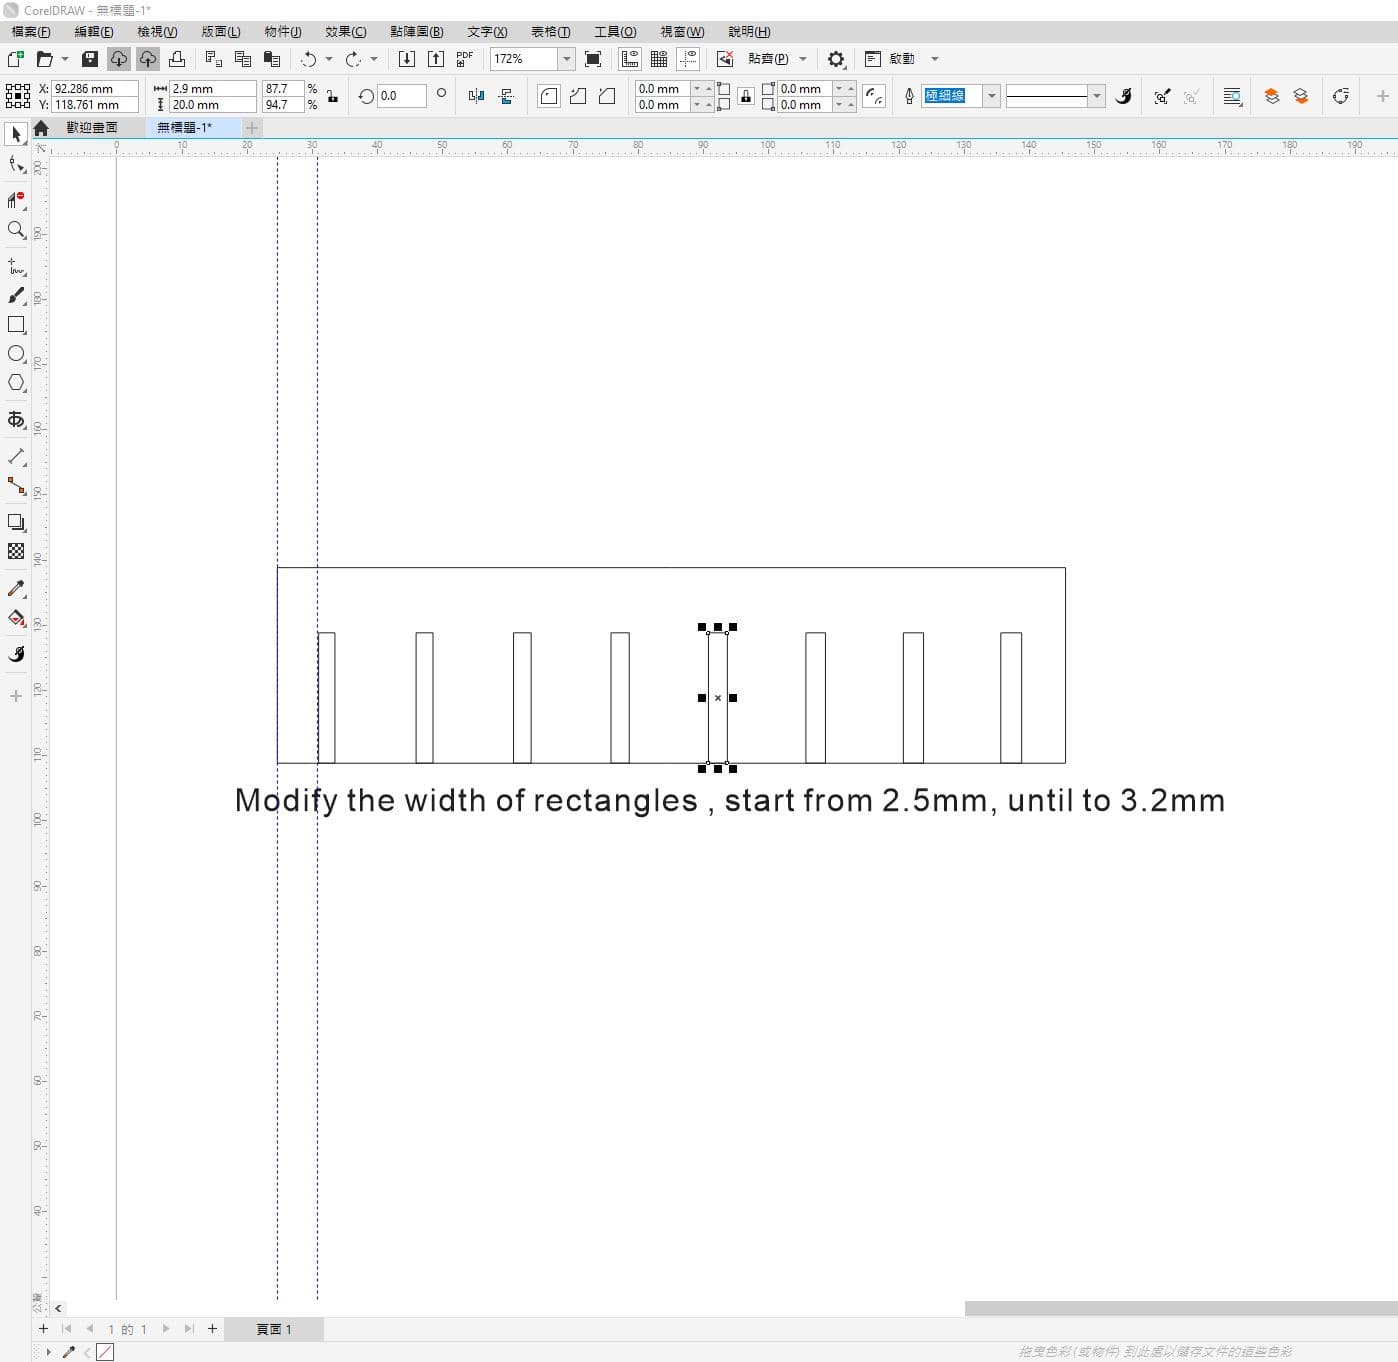
After finishing the sketch, add the marker on the sketch.

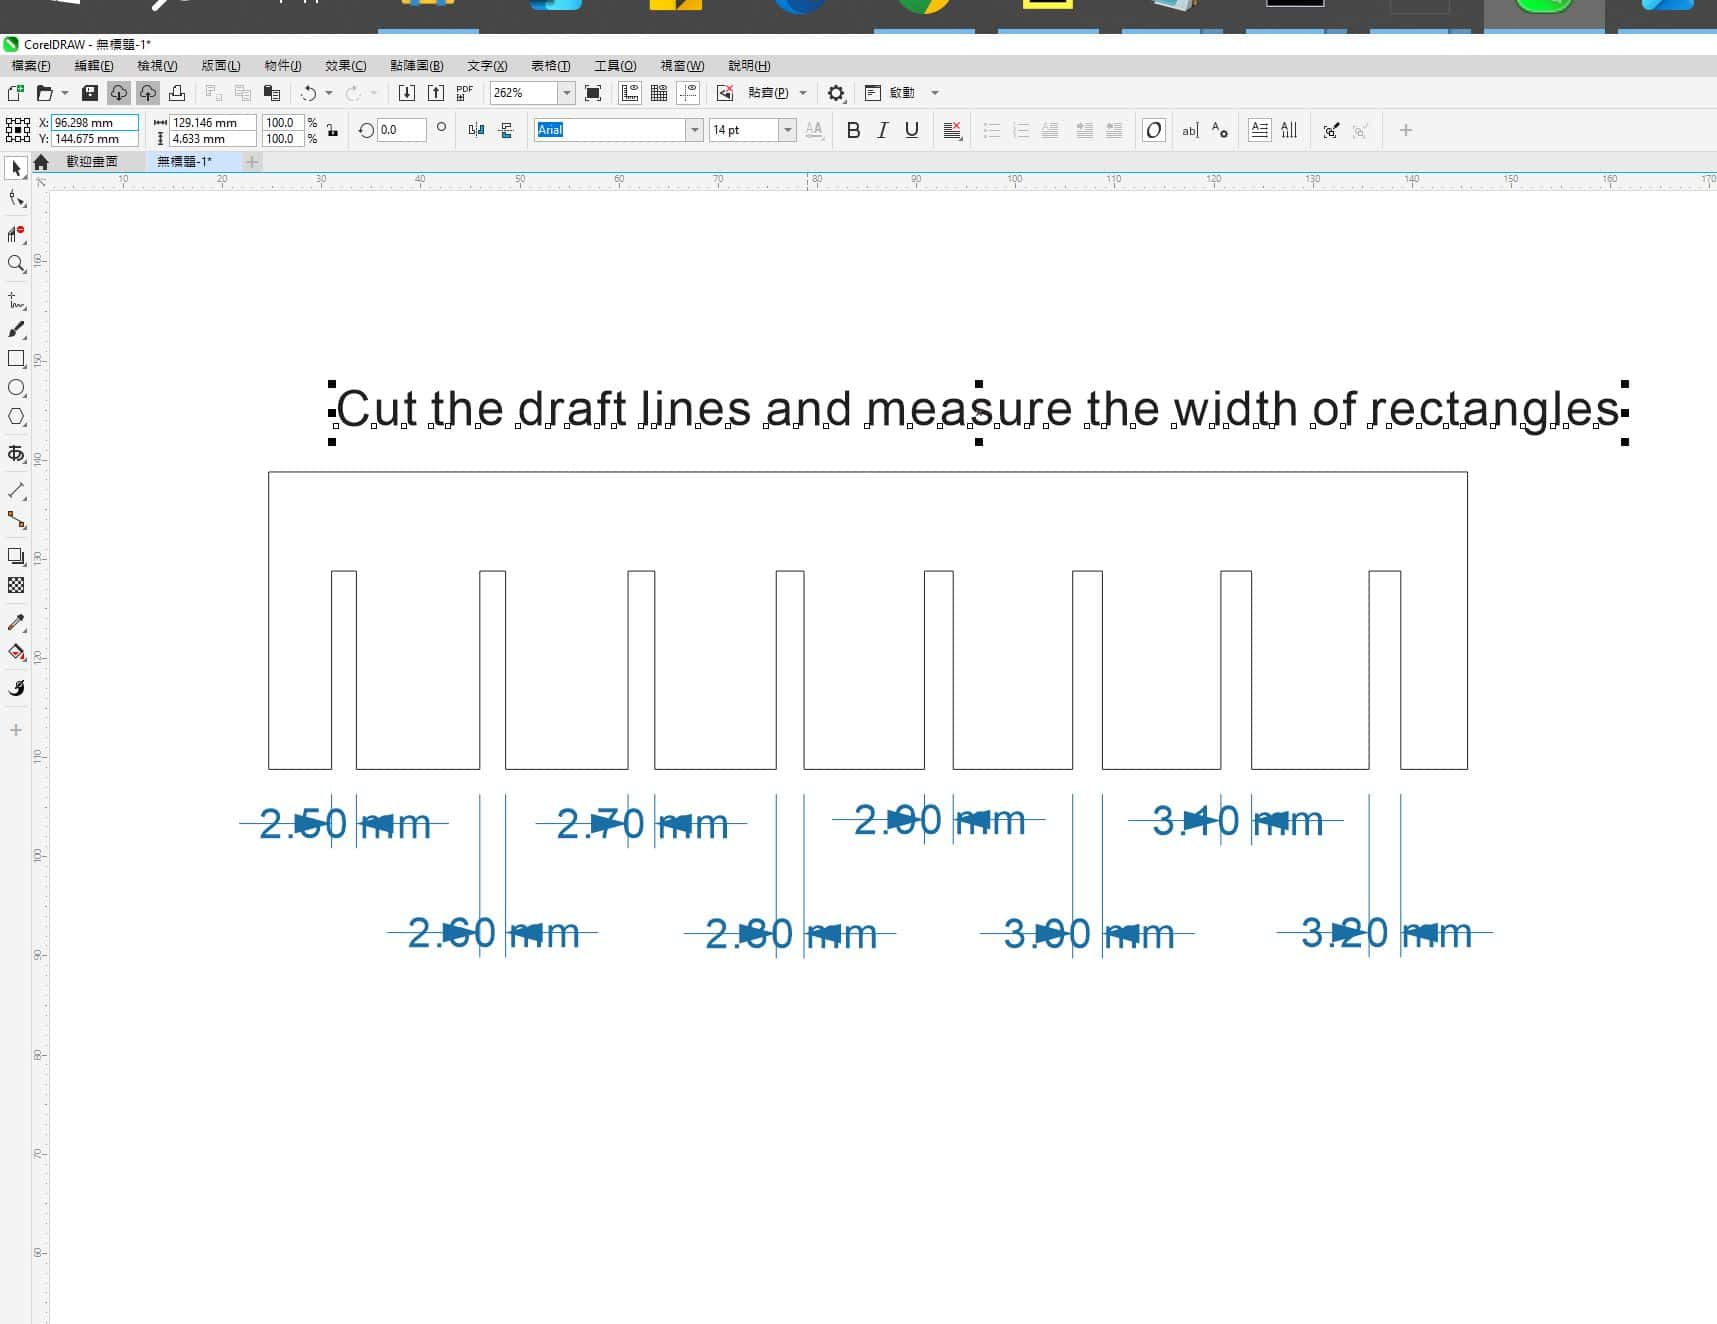
In order to get more accuracy of the error, we update the testing tool as below:

Then, export to DXF files or CDR files.

In the following steps, we will setup a laser cutter and cut the board.
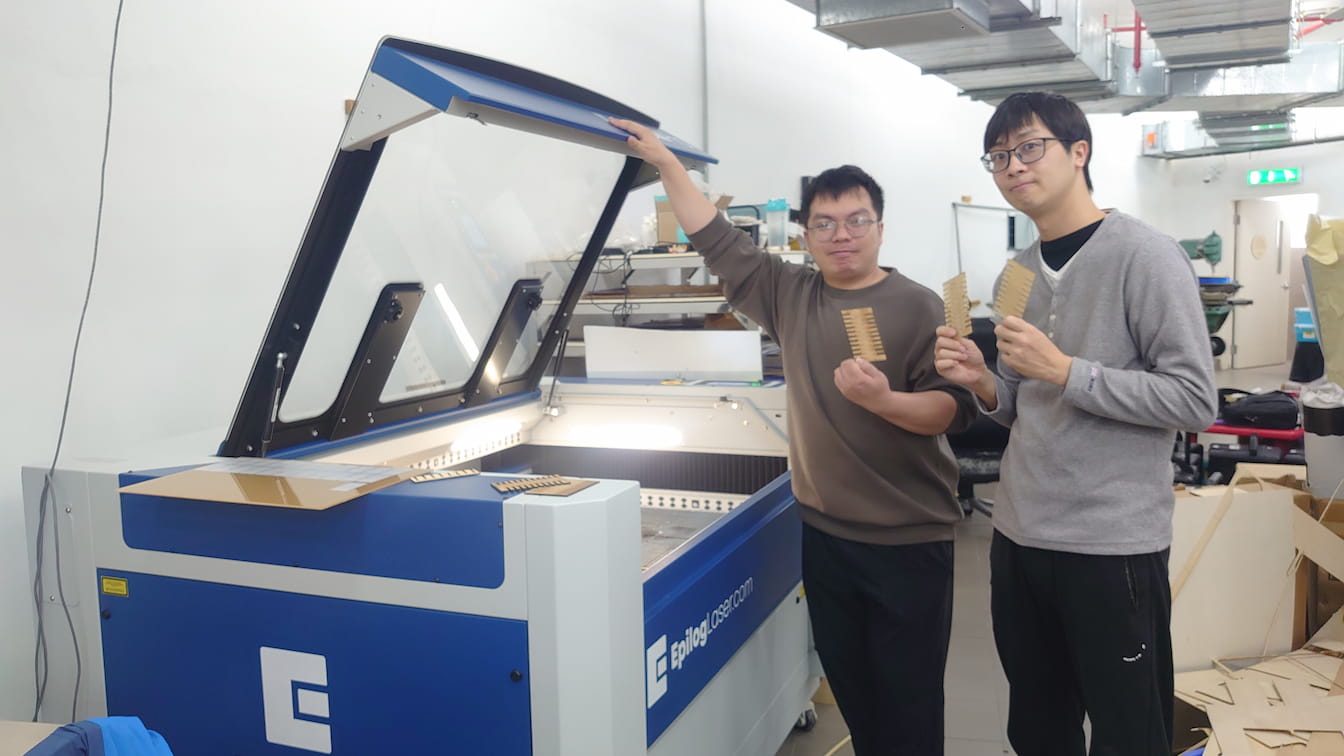
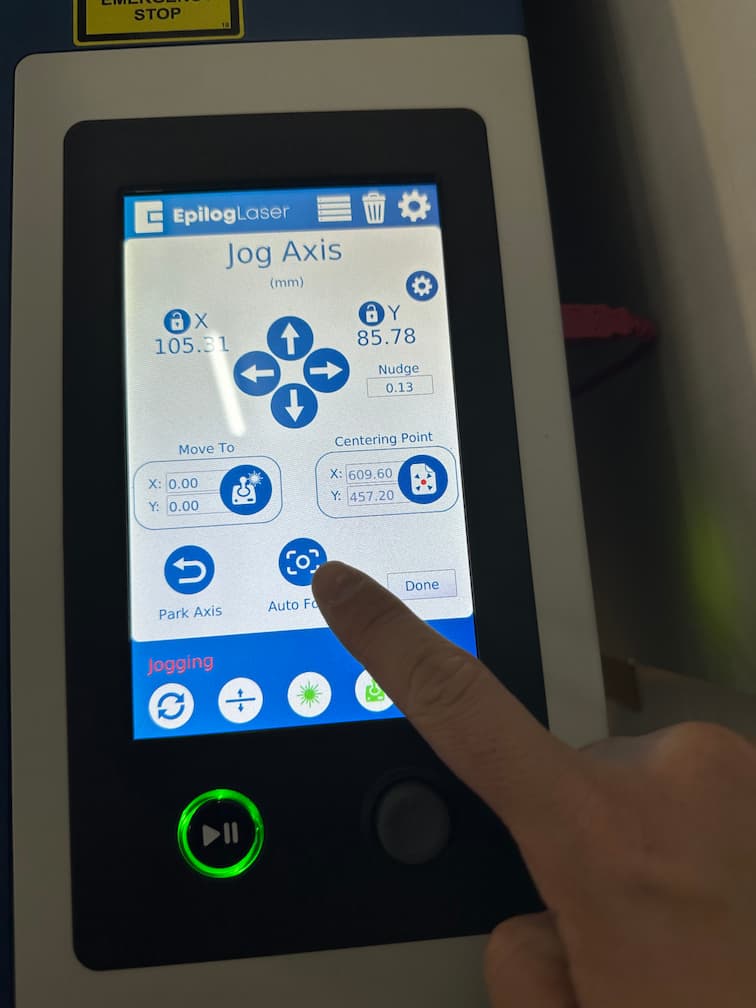
First, we place a acrylic board into the laser cutter and focus it. We will press the auto focus button to finish this step.
The cutting power variables is shown as below:
The parameter of laser cutter is maximum 80% cutting power. When doing the engrave function, set the cutting speed
Then we can send any files from Coreldraw to the machine:
Then, we get a testing tool the measure the curf of the laser cutter. We will cut the wood and acrylic by our laser cutter, so we finish 2 tools by different material.
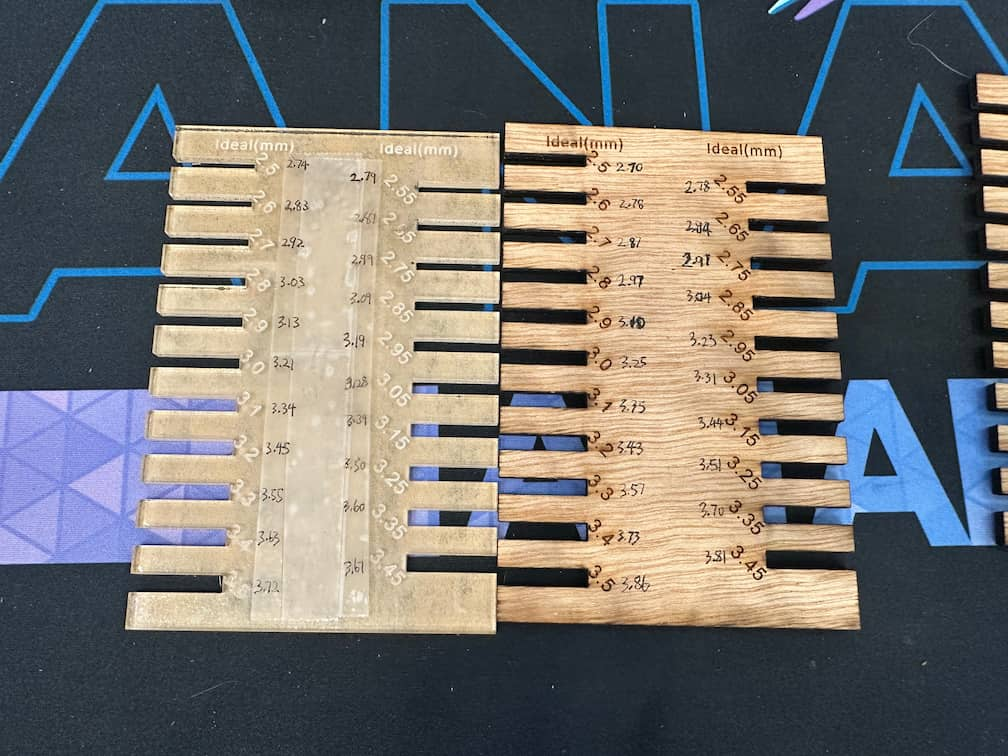
Then, we mark down the actual size of curf and calculate the error of the laser cutter. The error of tools is shown as below:
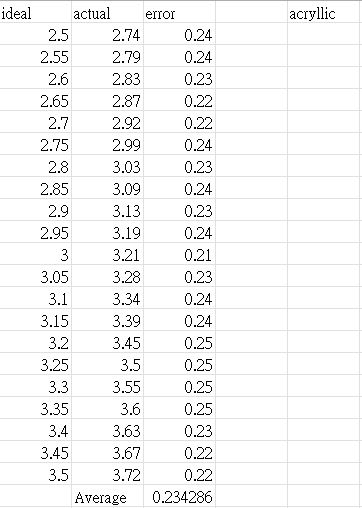
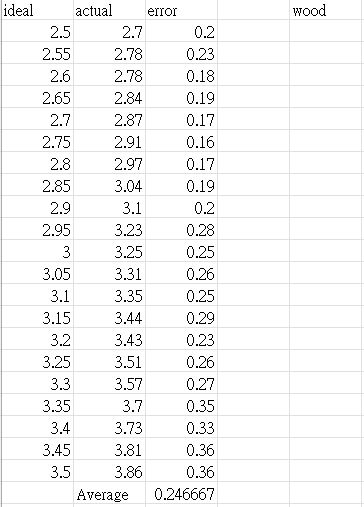
The average error of curf with acrylic is 0.234286mm, and the average error of curf with wood is 0.246667mm.
We test a acrylic board with thickness 2.92mm by the testing tool. It can be fixed in the curf 2.65mm(actually 2.87mm). If the assembled curf want to be interference fitted, fixed in 2.6mm(actually 2.83mm).
After tests, we get the reference error as about -0.234mm in acrylic, -0.247mm in wood. If we want to case interference fit between parts, get the reference error about -0.229mm in acrylic, -0.242mm in wood.
About Carving
Besides cutting, the laser cutter can also doing carving. To generate the image on the materials. So we will do the tests for carving.
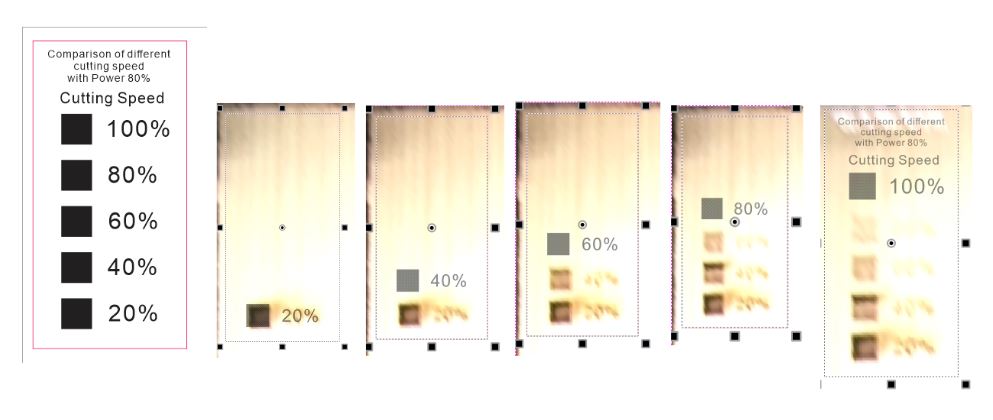
First, we draw the image shown as below:
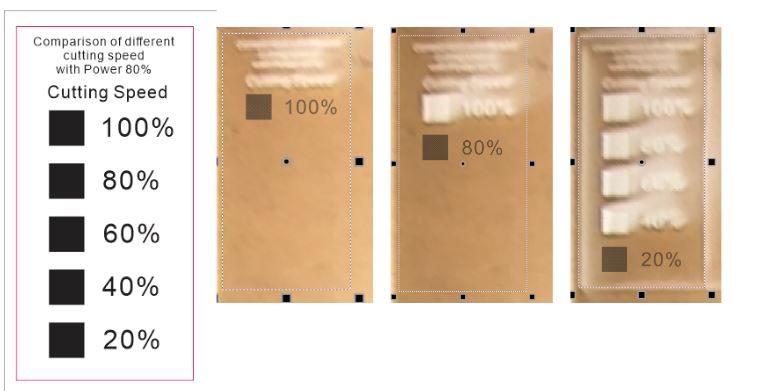
Then, we setup the cutting power as 80% and modify the cutting speed as 100%, 80%, 60%, 40% and 20%. We test the carving with two materials: acrylic and wood.
We set the carving region as black region in CorelDraw.
In acrylic board, there's no different in view of appearance. But we find out the depth is different.
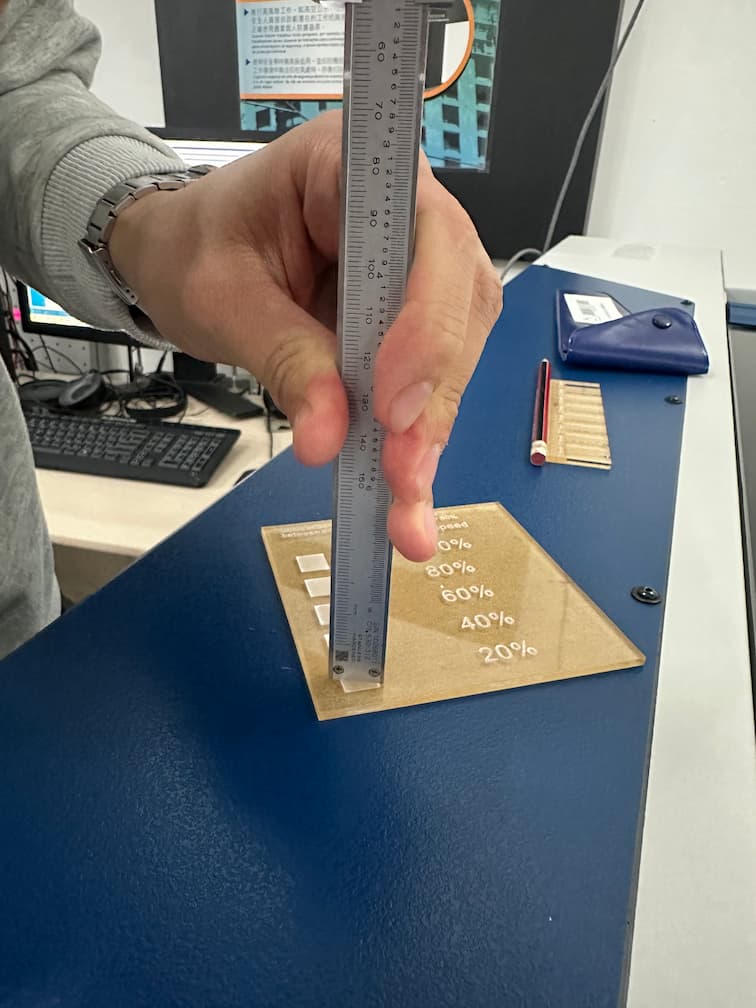

We can measure the depth in each carving region: 0.2mm when cutting speed is 100%. 0.3mm when cutting speed is 80%. 0.4mm when cutting speed is 60%. 0.6mm when cutting speed is 40%. 1mm when cutting speed is 20%.
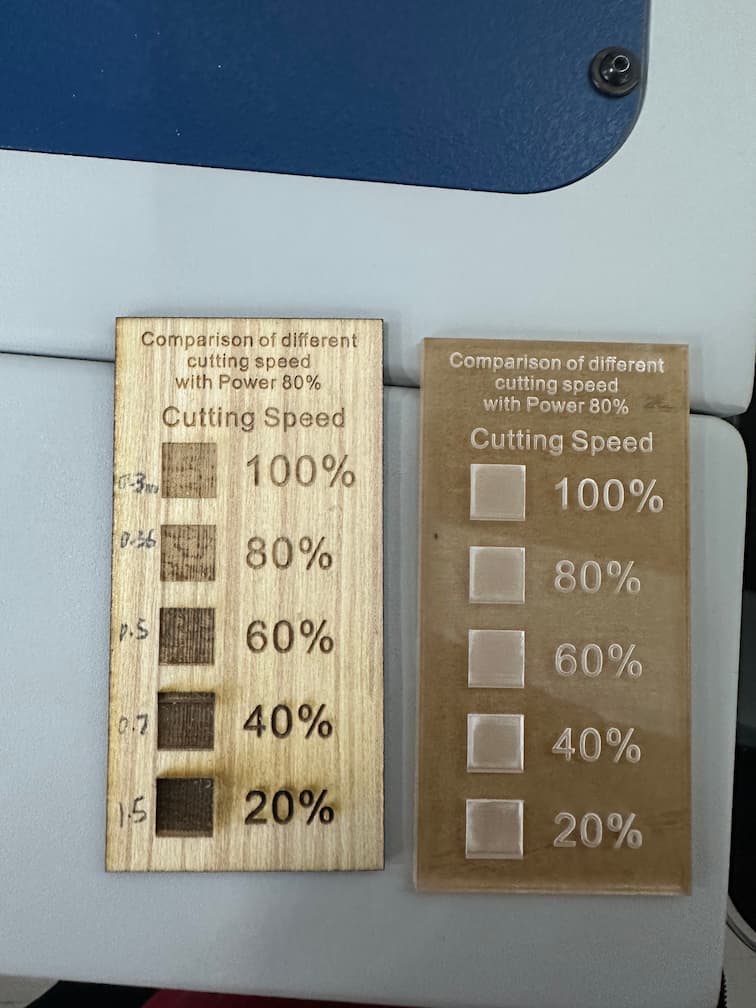
Then, the carving on the wood is shown as below:
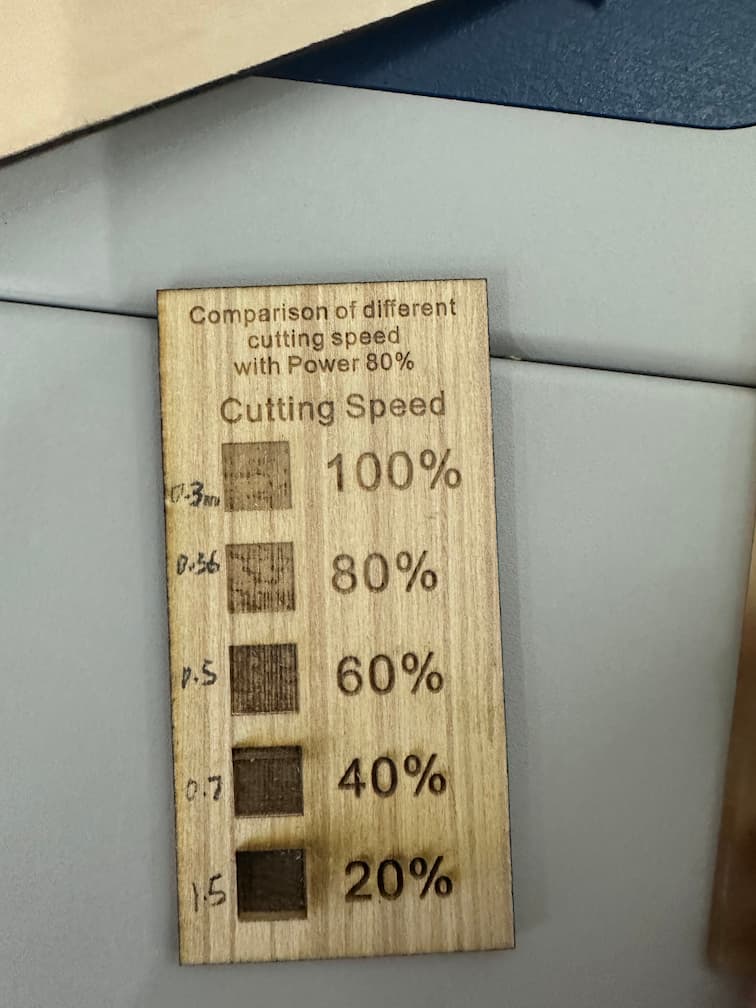
When we set the carving region as black image region in CorelDraw, the carving region becomes more black when lower down the cutting speed.
When we setup the carving region as different colors, the grayscale of the carving image on the wood board will be shown as below:
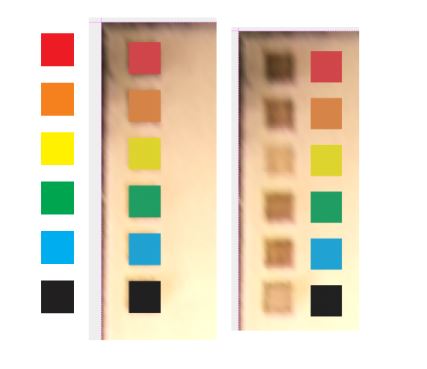
The grayscale are different in different colors.