2D Software
Shared Files
About criterion that I choose the 2D software
In our lab, lots of machines such as laser cutter or UV printer, the reading files format are PDF or DXF. These files contains vector.
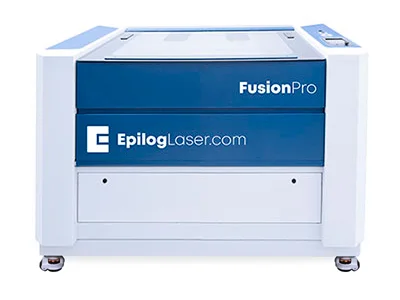
The model of Laser cutter in my lab is Epilog Laser Fusion Pro 48.
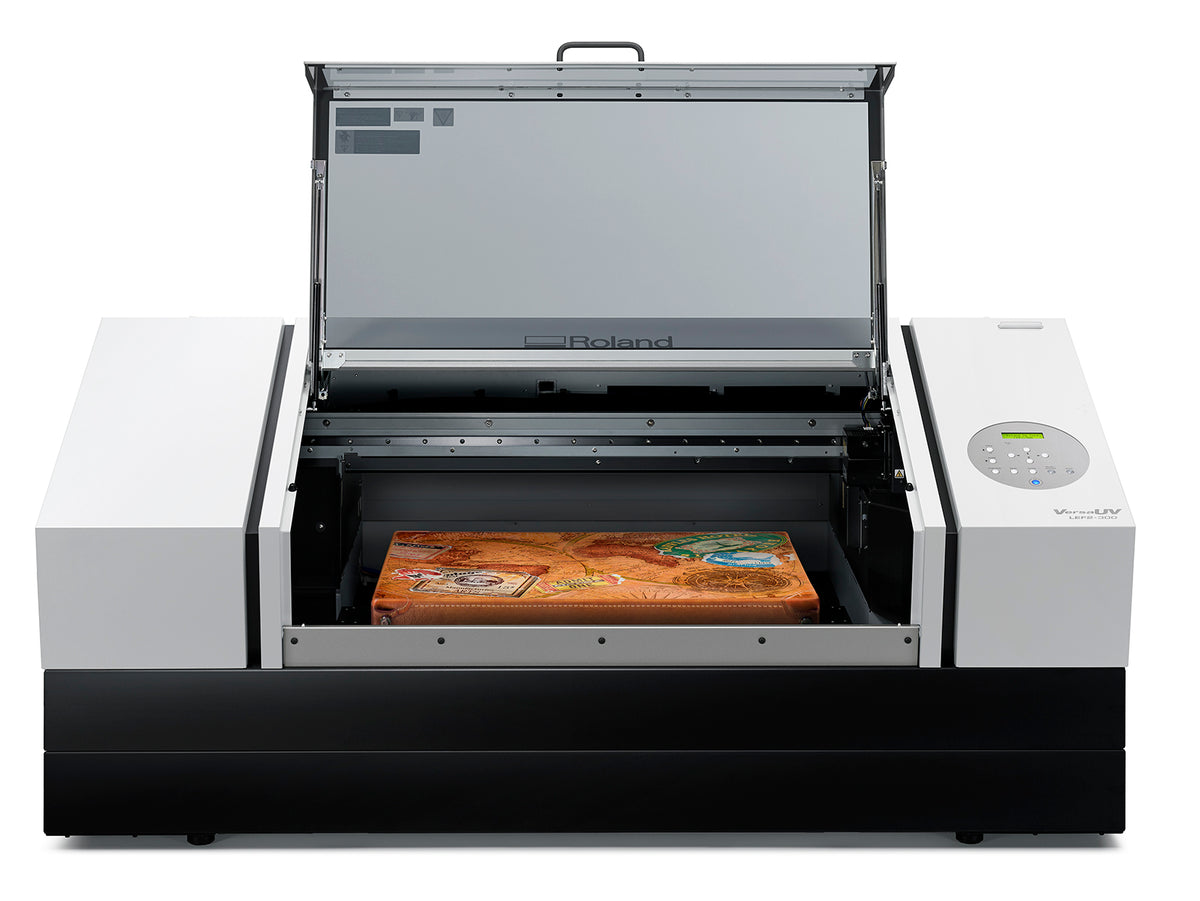
The model of UV printer in my lab is VersaUV LEF2-200.
For example, I want to make a keychain which contains a image on it:
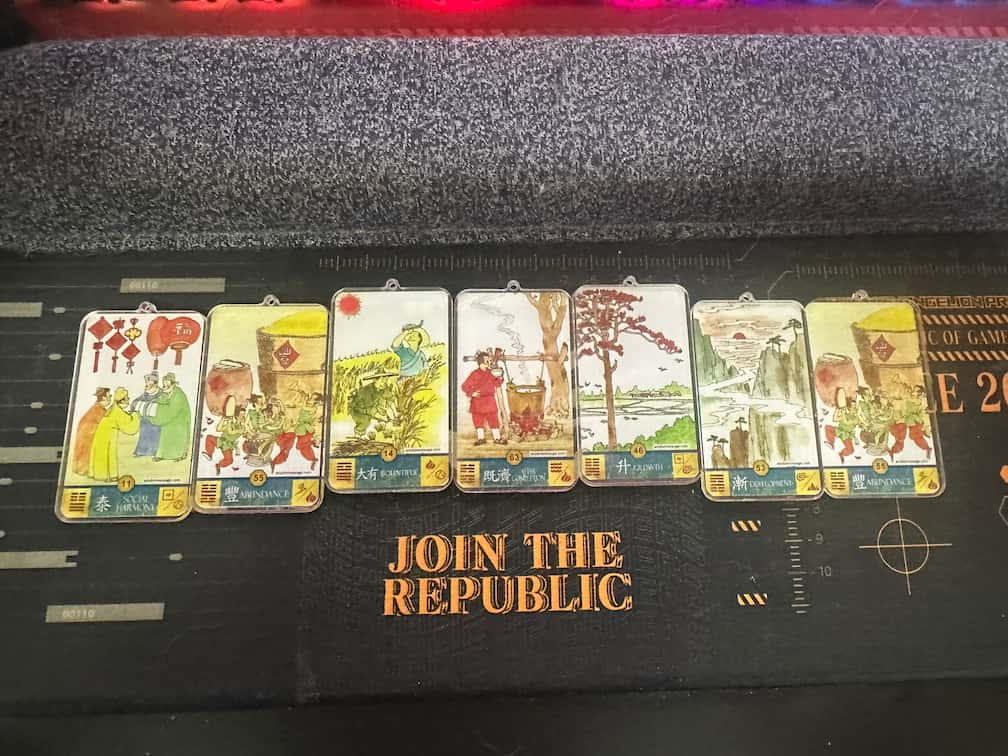
The layout step of the keychain is:
- Print the image on an Acrylic board.
- Locate the outline of the keychain and cut the keychain by laser cutter.
My consistently use 2D Software - CorelDRAW
Before layout, a digital image file should be edited. We use CorelDRAW as my 2D software.
I choose this software as my 2D software because
- The software is compatible with 2 machines.(CDR or PDF)
- Lots of function such as drawing vector, edit the image file(contain similar function to Photoshop)
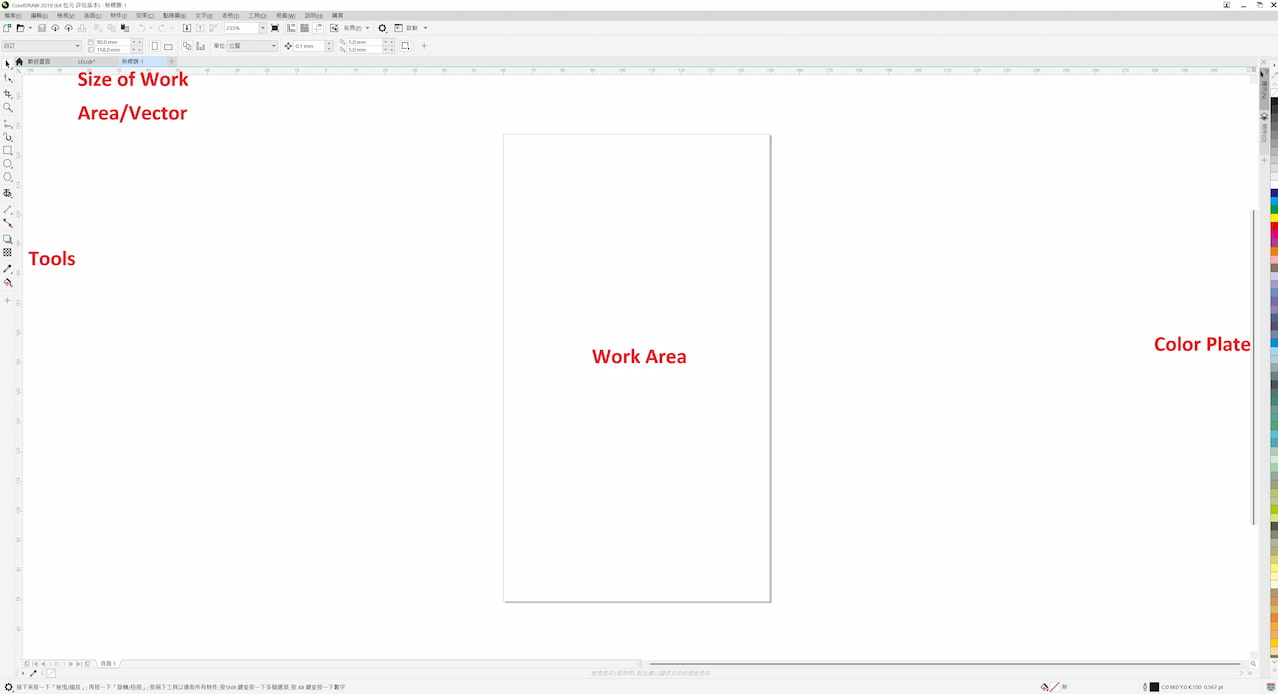
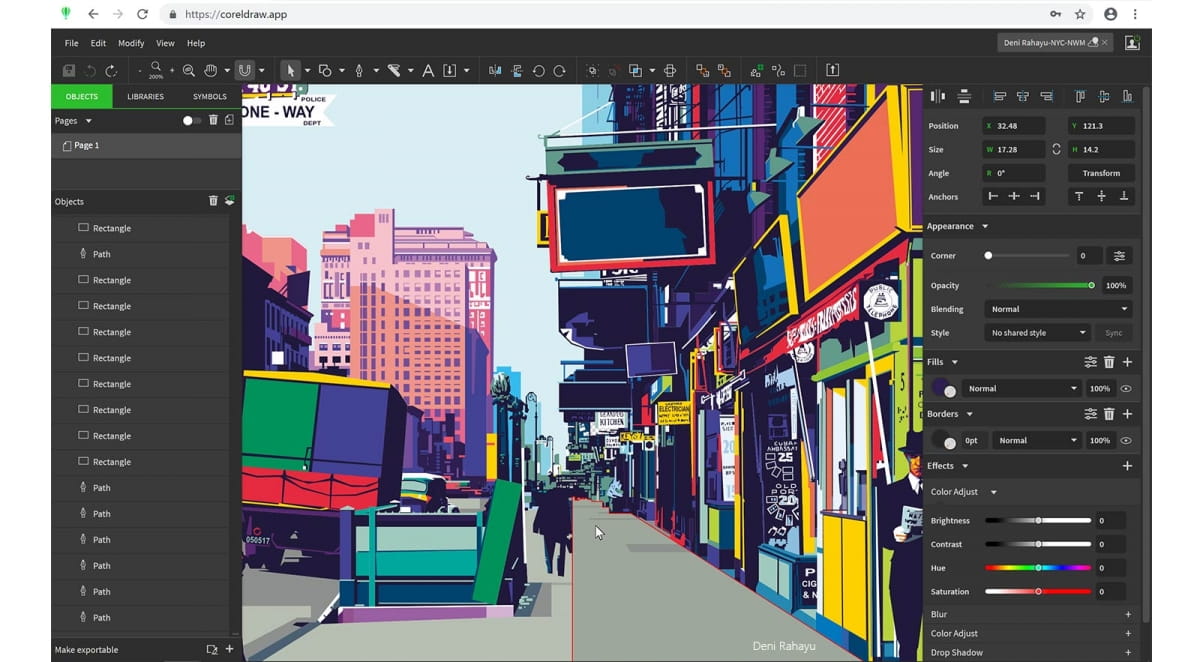
This is the GUI of CorelDraw. It contains the basic functions such as drawing straight lines, curves, cirles, etc. Or typing text.
2D modeling example
For example, I introduced my self-made keychain which is modeled by CorelDRAW. The model is shown as below:

The layout step is divded into two parts: Color printing and laser cutting. The red vector part is the cutting part (outline of the keychain) and it can be drawn by basic tools.

In this case, I use the tools for drawing outlines:
- straight line/rectangle
- circle
- 3 points curve
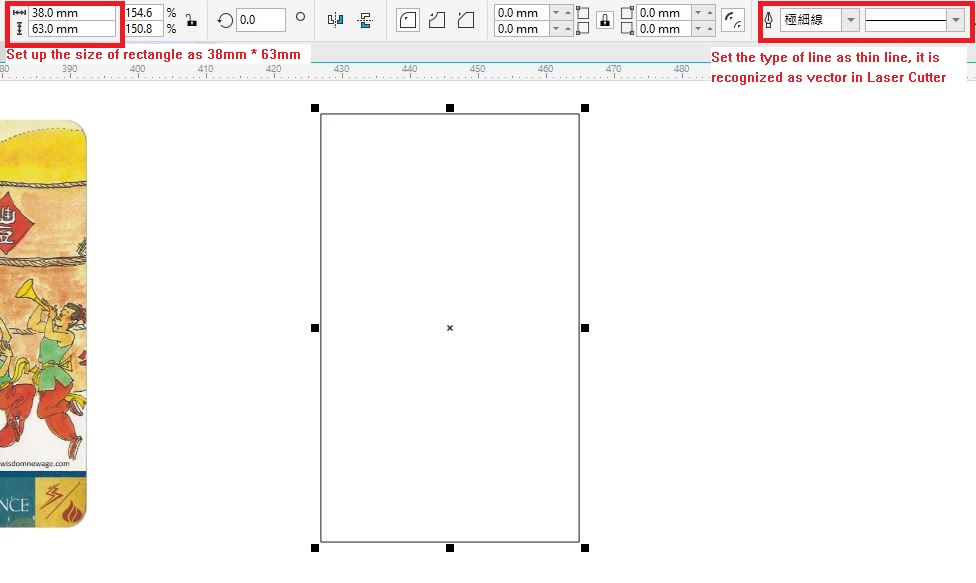
First, I draw an rectangle with size 38mm*63mm, and set as thin line(It can be recognized as vector in laser cutter).
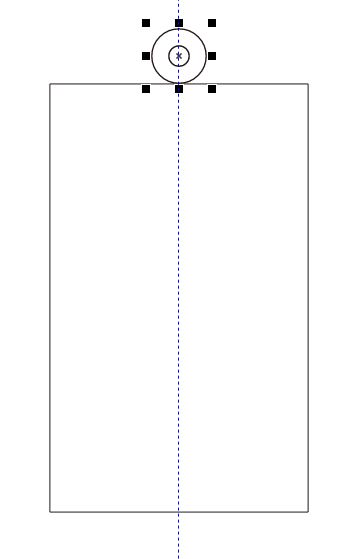
Then, draw 2 concentric circles which's diameter are 3mm and 8mm.
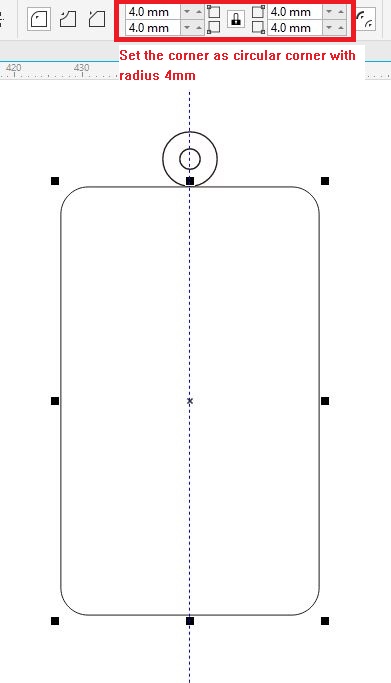
And set the corner as circular corner with radius 4mm.
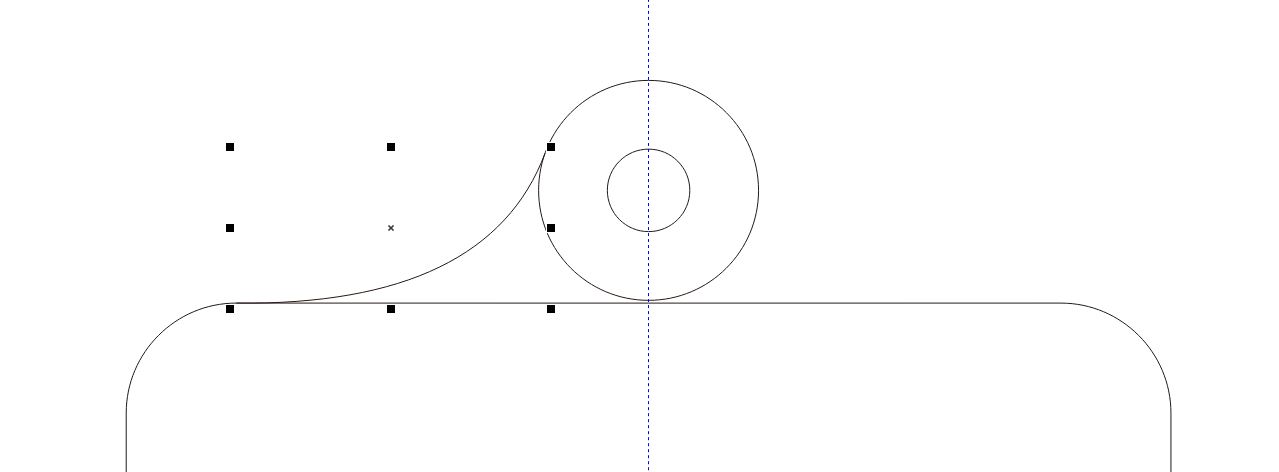
Draw the curve line with 3 points curve tool.
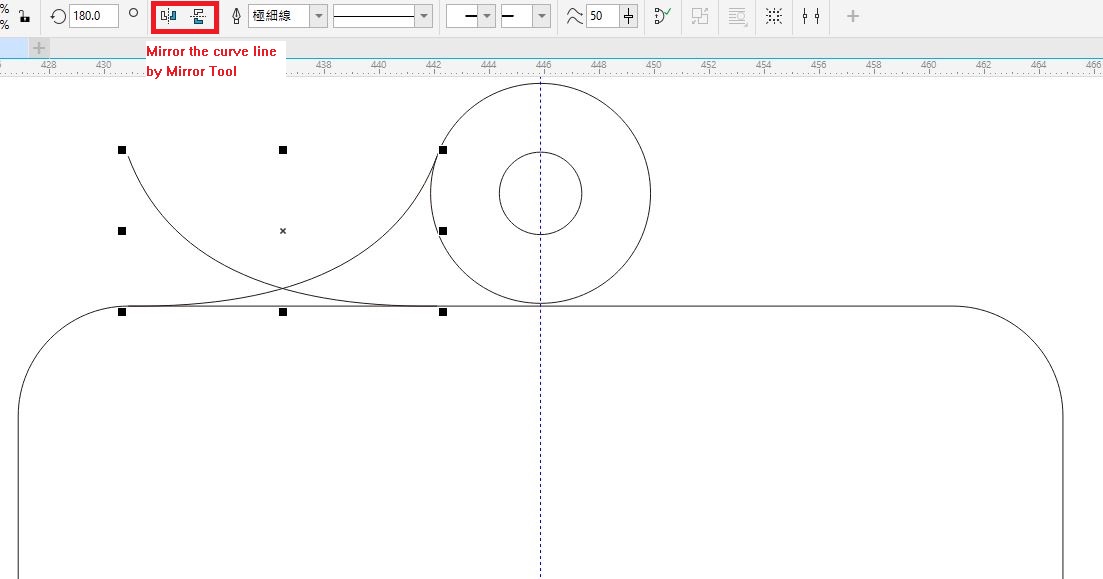
Copy and paste the same curve line. And mirror it.
Move the copy line and set as red line to indicate the outline for laser cutting.
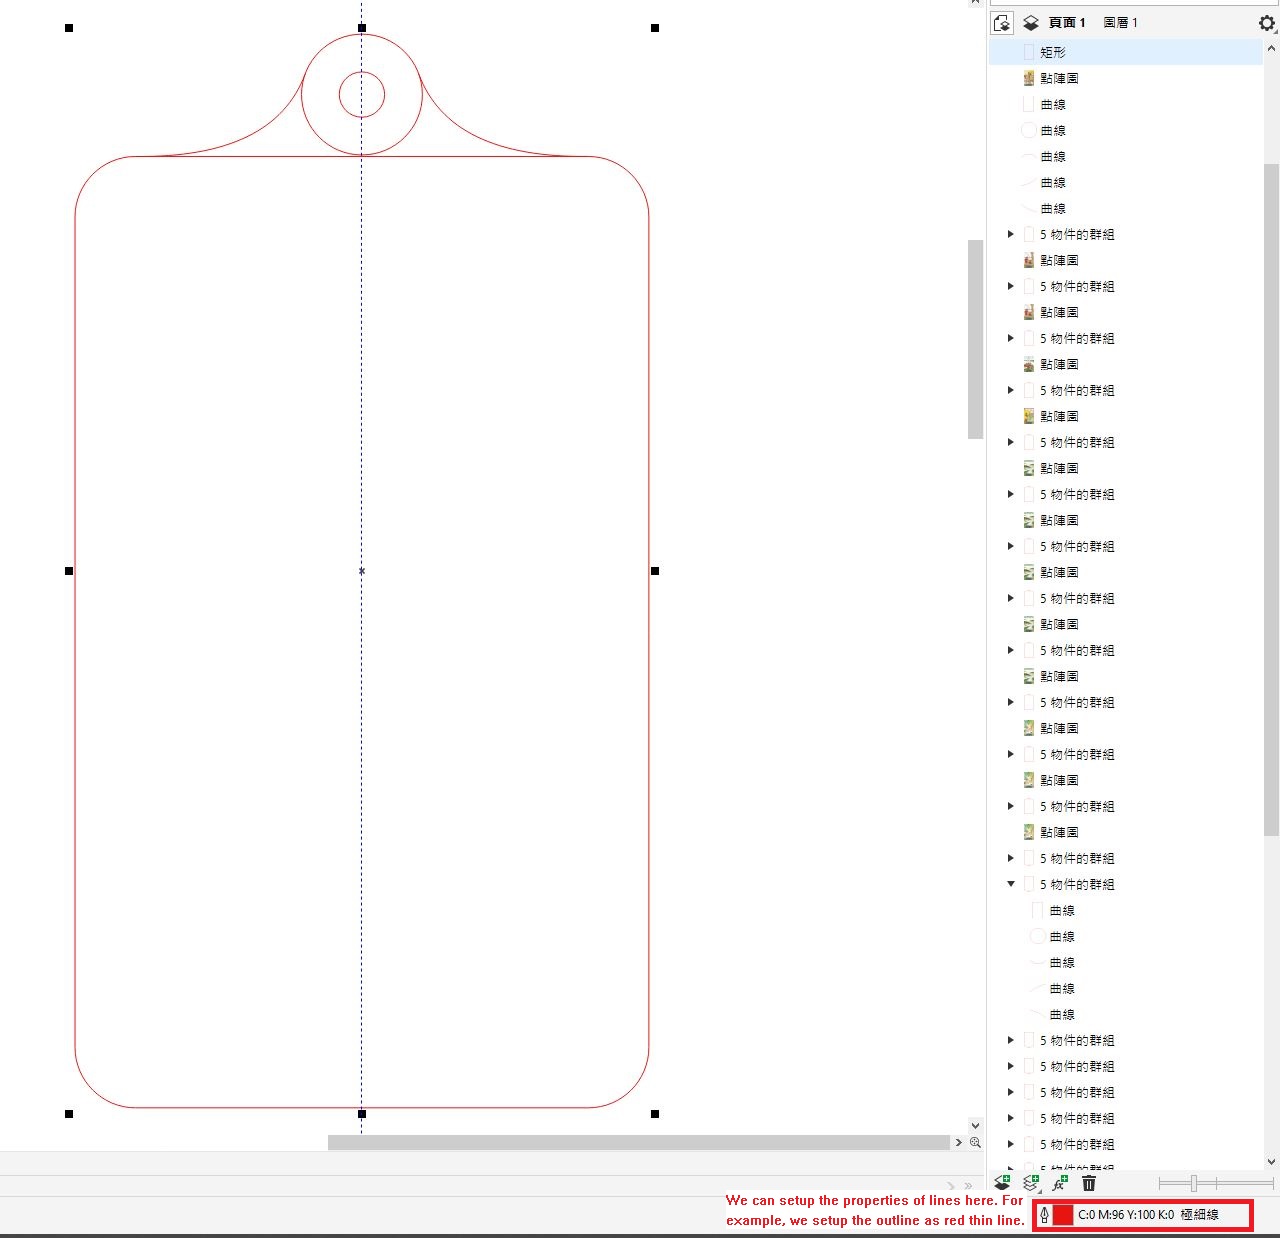
Finally, use virual segment delete tool to delete the non-useful segment. Place the image and the center of outline. The modeling step is finished.


Here's the file, it can be opened by CorelDraw 2024.
It's my basic step to modeling the design project by 2D software, which is layout by laser cutter. Sometimes I need to modeling with 3D software to ensure the size of part which is layout by laser cutter. It will be explained in next part.
Post-processing after 3D modeling
Sometimes I design a project by 3D modeling software, some parts will be modeled and layout by laser cutter. I will show one of my project as below. It is a display box for showing my figures.

My 3D model software is solidworks, which is recommended use in industries. The base will be layout by 3D printing and cover part will be layout by laser cutting. I will explain the processing of transferring the cover file to 2D software.
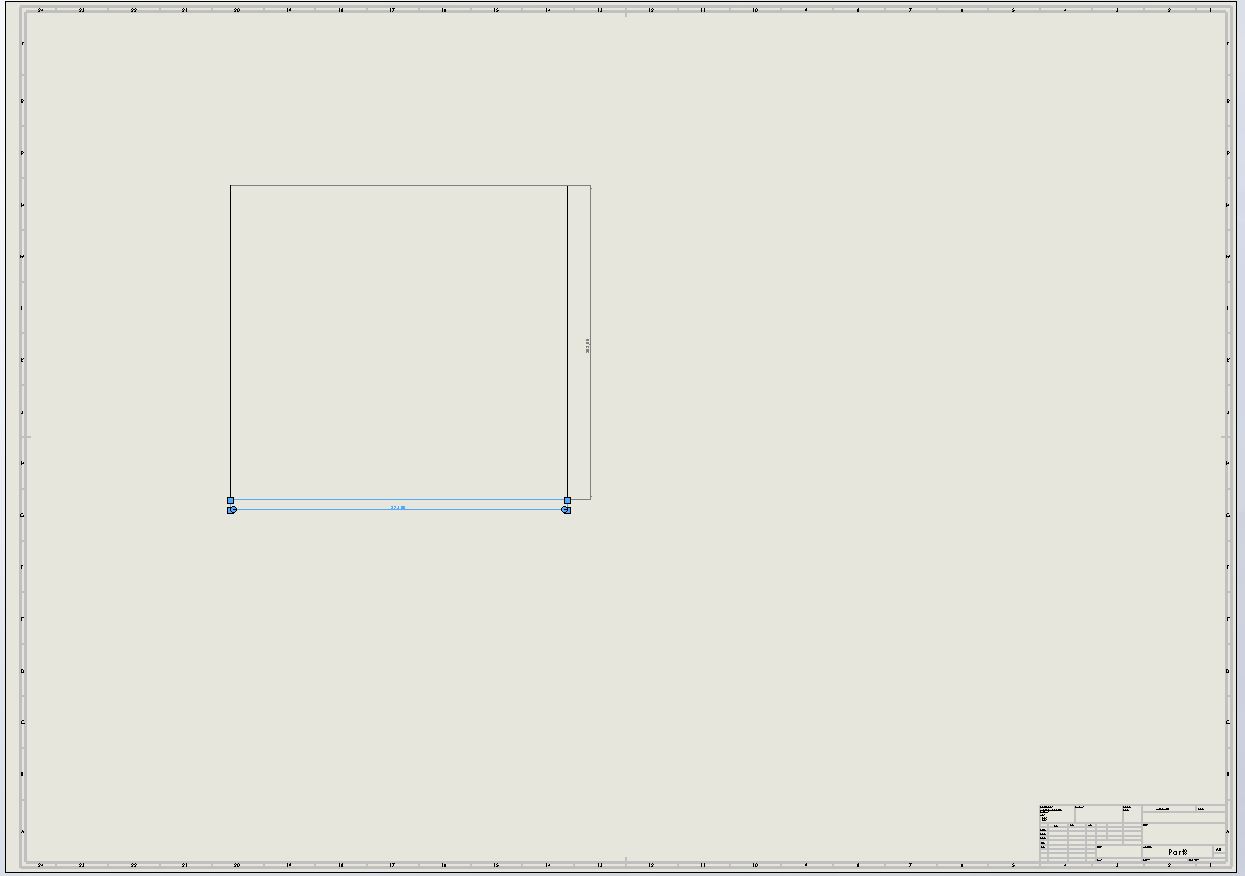
First, the cover in front view is one of parts of the project. We need to transfer from solidworks file to DXF file.
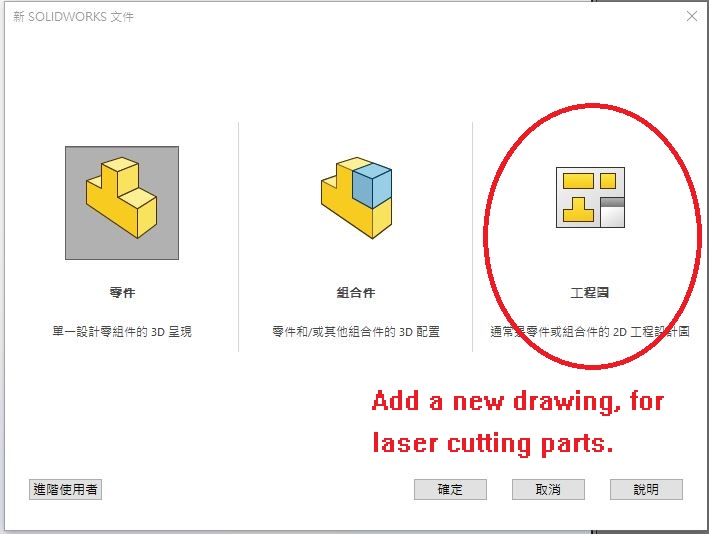
Then, place the front view of cover part to the drawing. You will get the drawing, with the size 326mm*303mm.
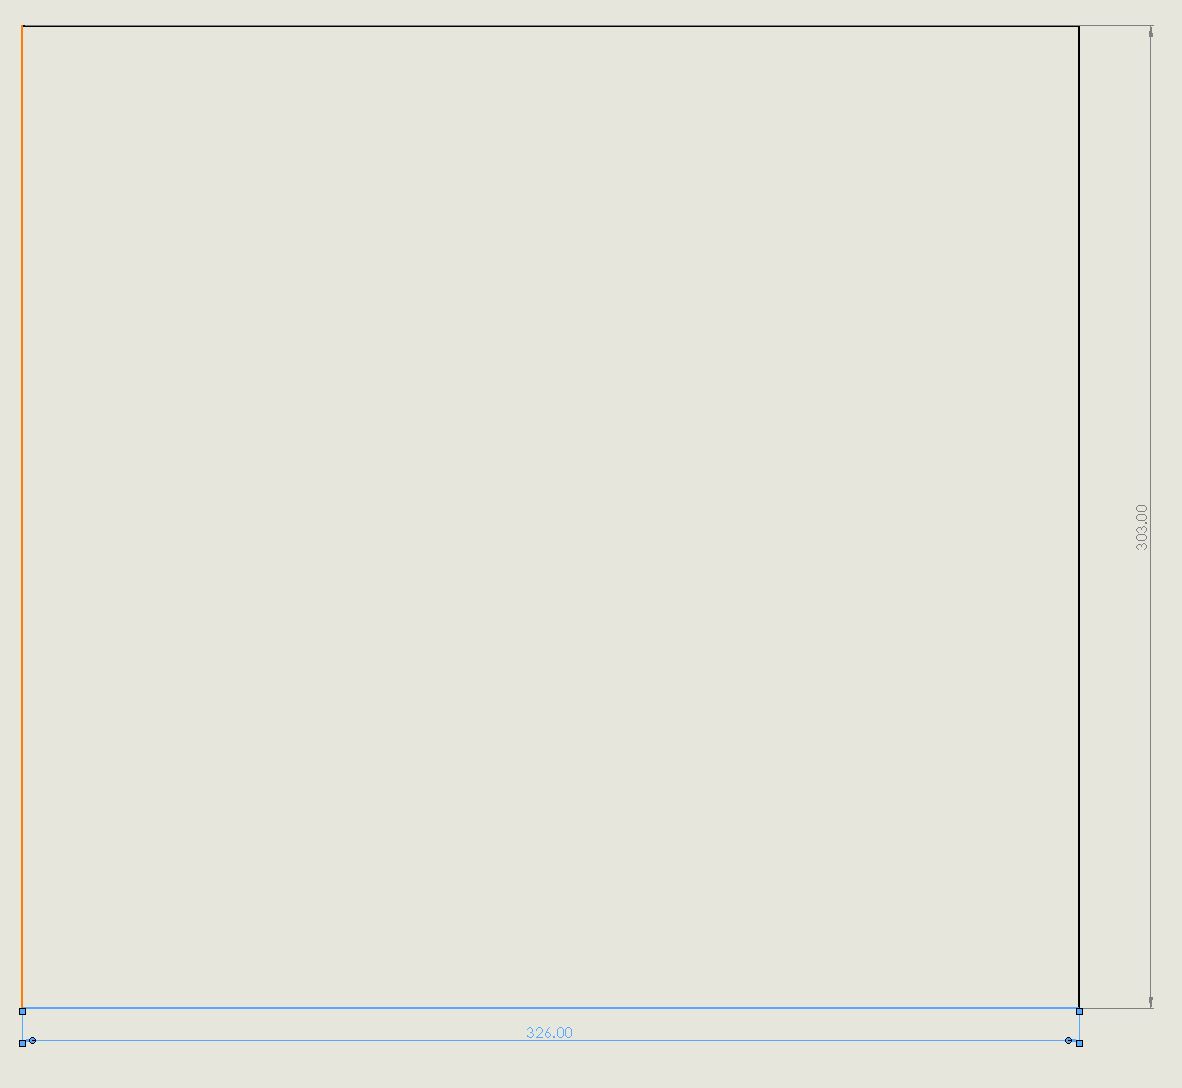
Save as DXF file and import to CorelDRAW.
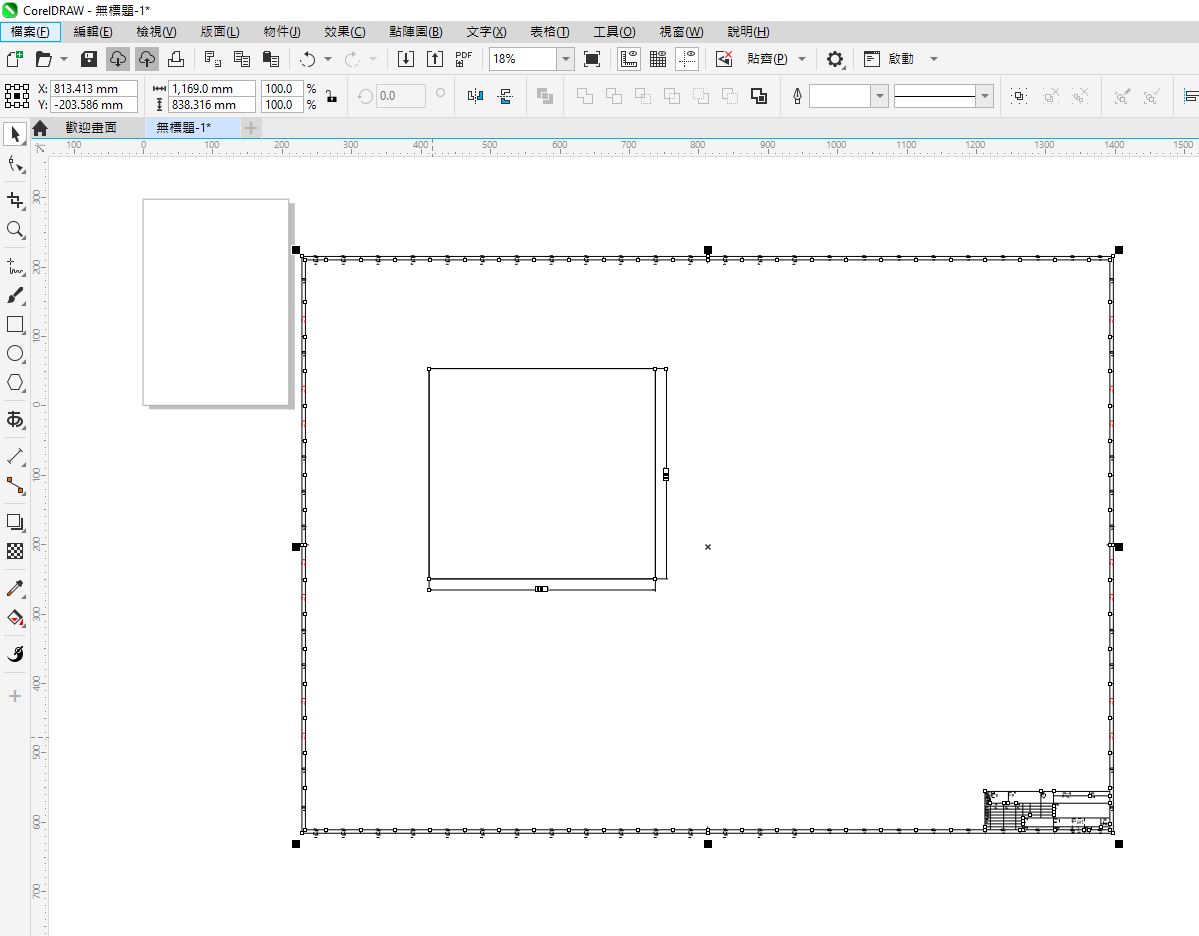
Remove the unessential part and keep the outline of the front-view cover part. You can see the size of the cover part remain to 326mm*303mm.
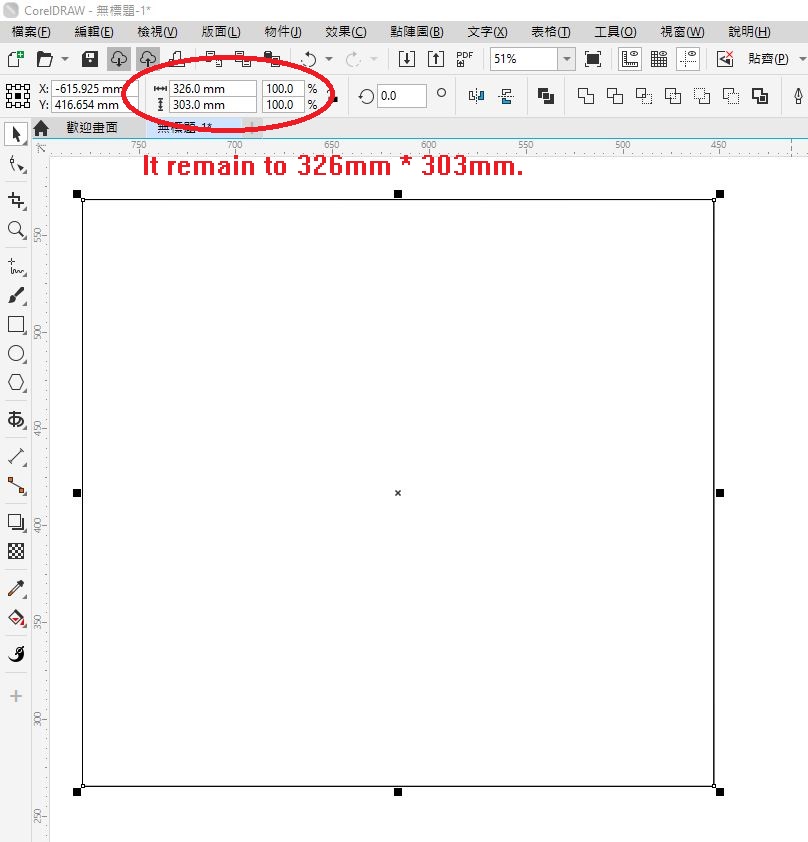
Finally, I can use this vector outline for laser cutting!
Here's my uses of using 2D software - CorelDRAW.
Conclusion
In 3D Software part, CorelDRAW will be also used. The drawing from Solidworks will be captured to CorelDRAW and used for laser cutting. I will use CorelDRAW in my Fab Academy journey.