Designing for 3D printing with the Creality Ender 3 V3 SE involves specific considerations
to ensure successful prints. Here are the detailed design rules and recommended settings for using this printer effectively:
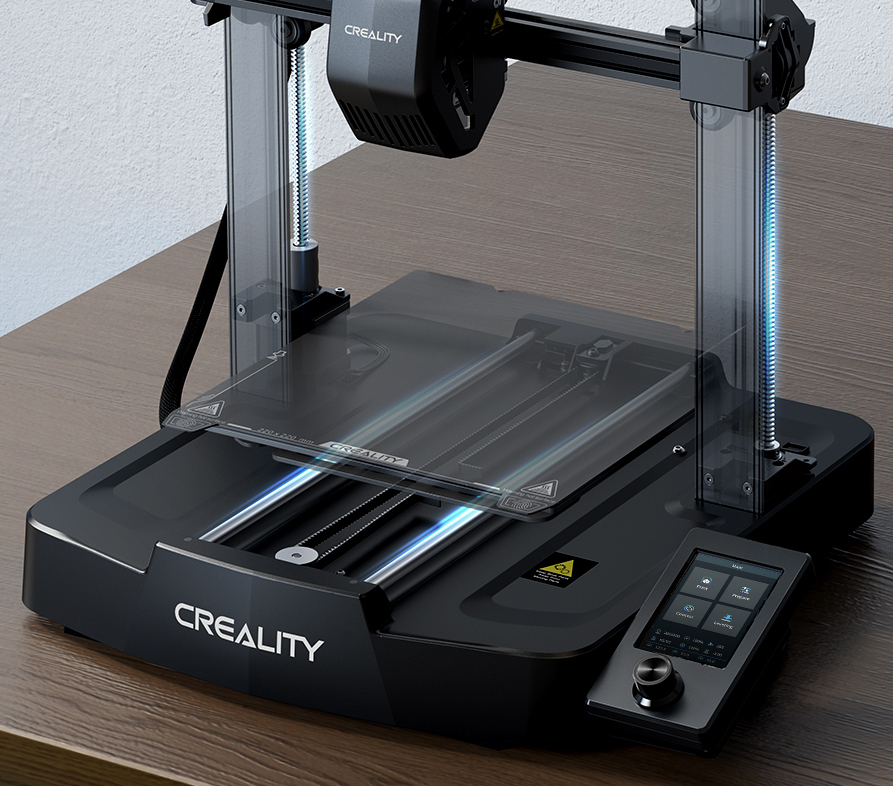
So for my part i worked on printing and tweaking the slicing software settings for a better printing and but also with different type of filaments, here we worked on PLA and
ABS due to the unavailability of other filaments on the local markets, so i was doing this due to the little experience with the 3D printer i had develloped over the time being at fablab.
1.Model Design Considerations
Wall Thickness
-
Minimum Wall Thickness: aim for a minimum wall thickness of 0.8mm to 1.0mm. This provides sufficient strength while maintaining printability.
-
Uniform Wall Thickness: keep wall thickness as uniform as possible to avoid weak spots.
Detail Resolution
-
Minimum Feature Size: for fine details, the minimum feature size should be around 0.4mm. This is based on the nozzle diameter (usually 0.4mm).
-
Text and Embossing: raised text should be at least 0.5mm thick and 0.2mm high, while engraved text should be at least 0.5mm wide and 0.5mm deep for clarity.
Overhangs and Supports
-
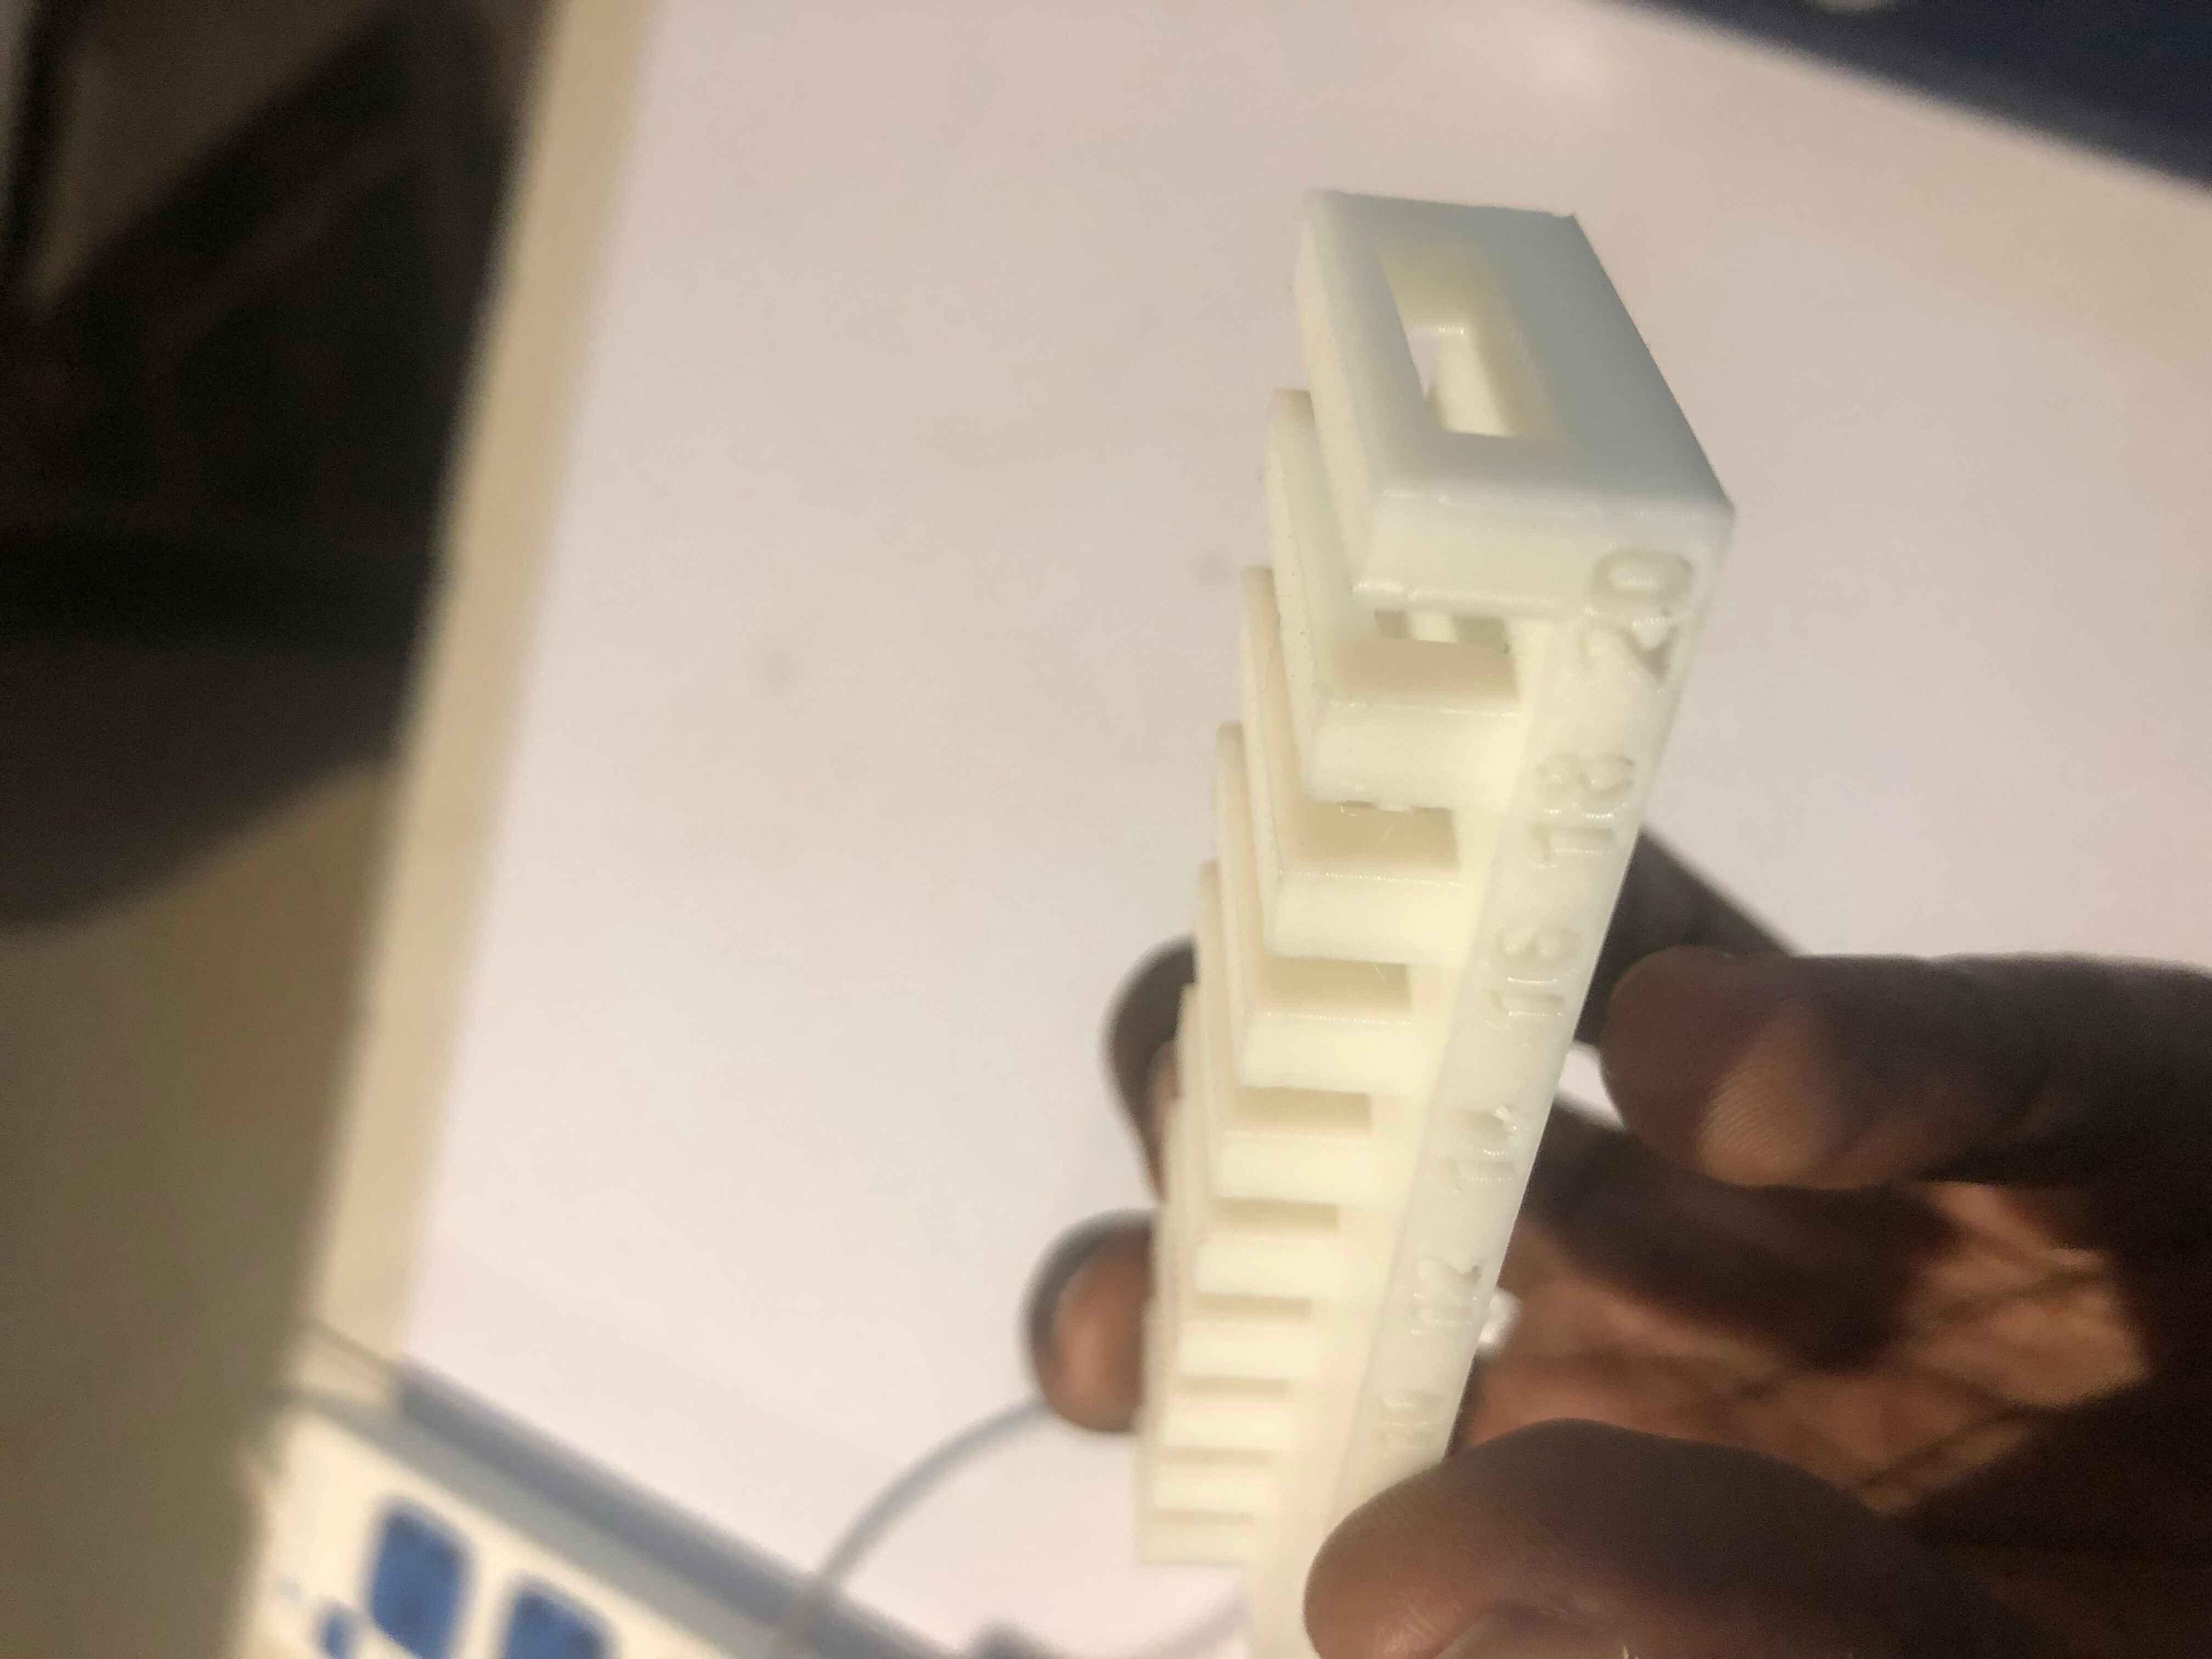
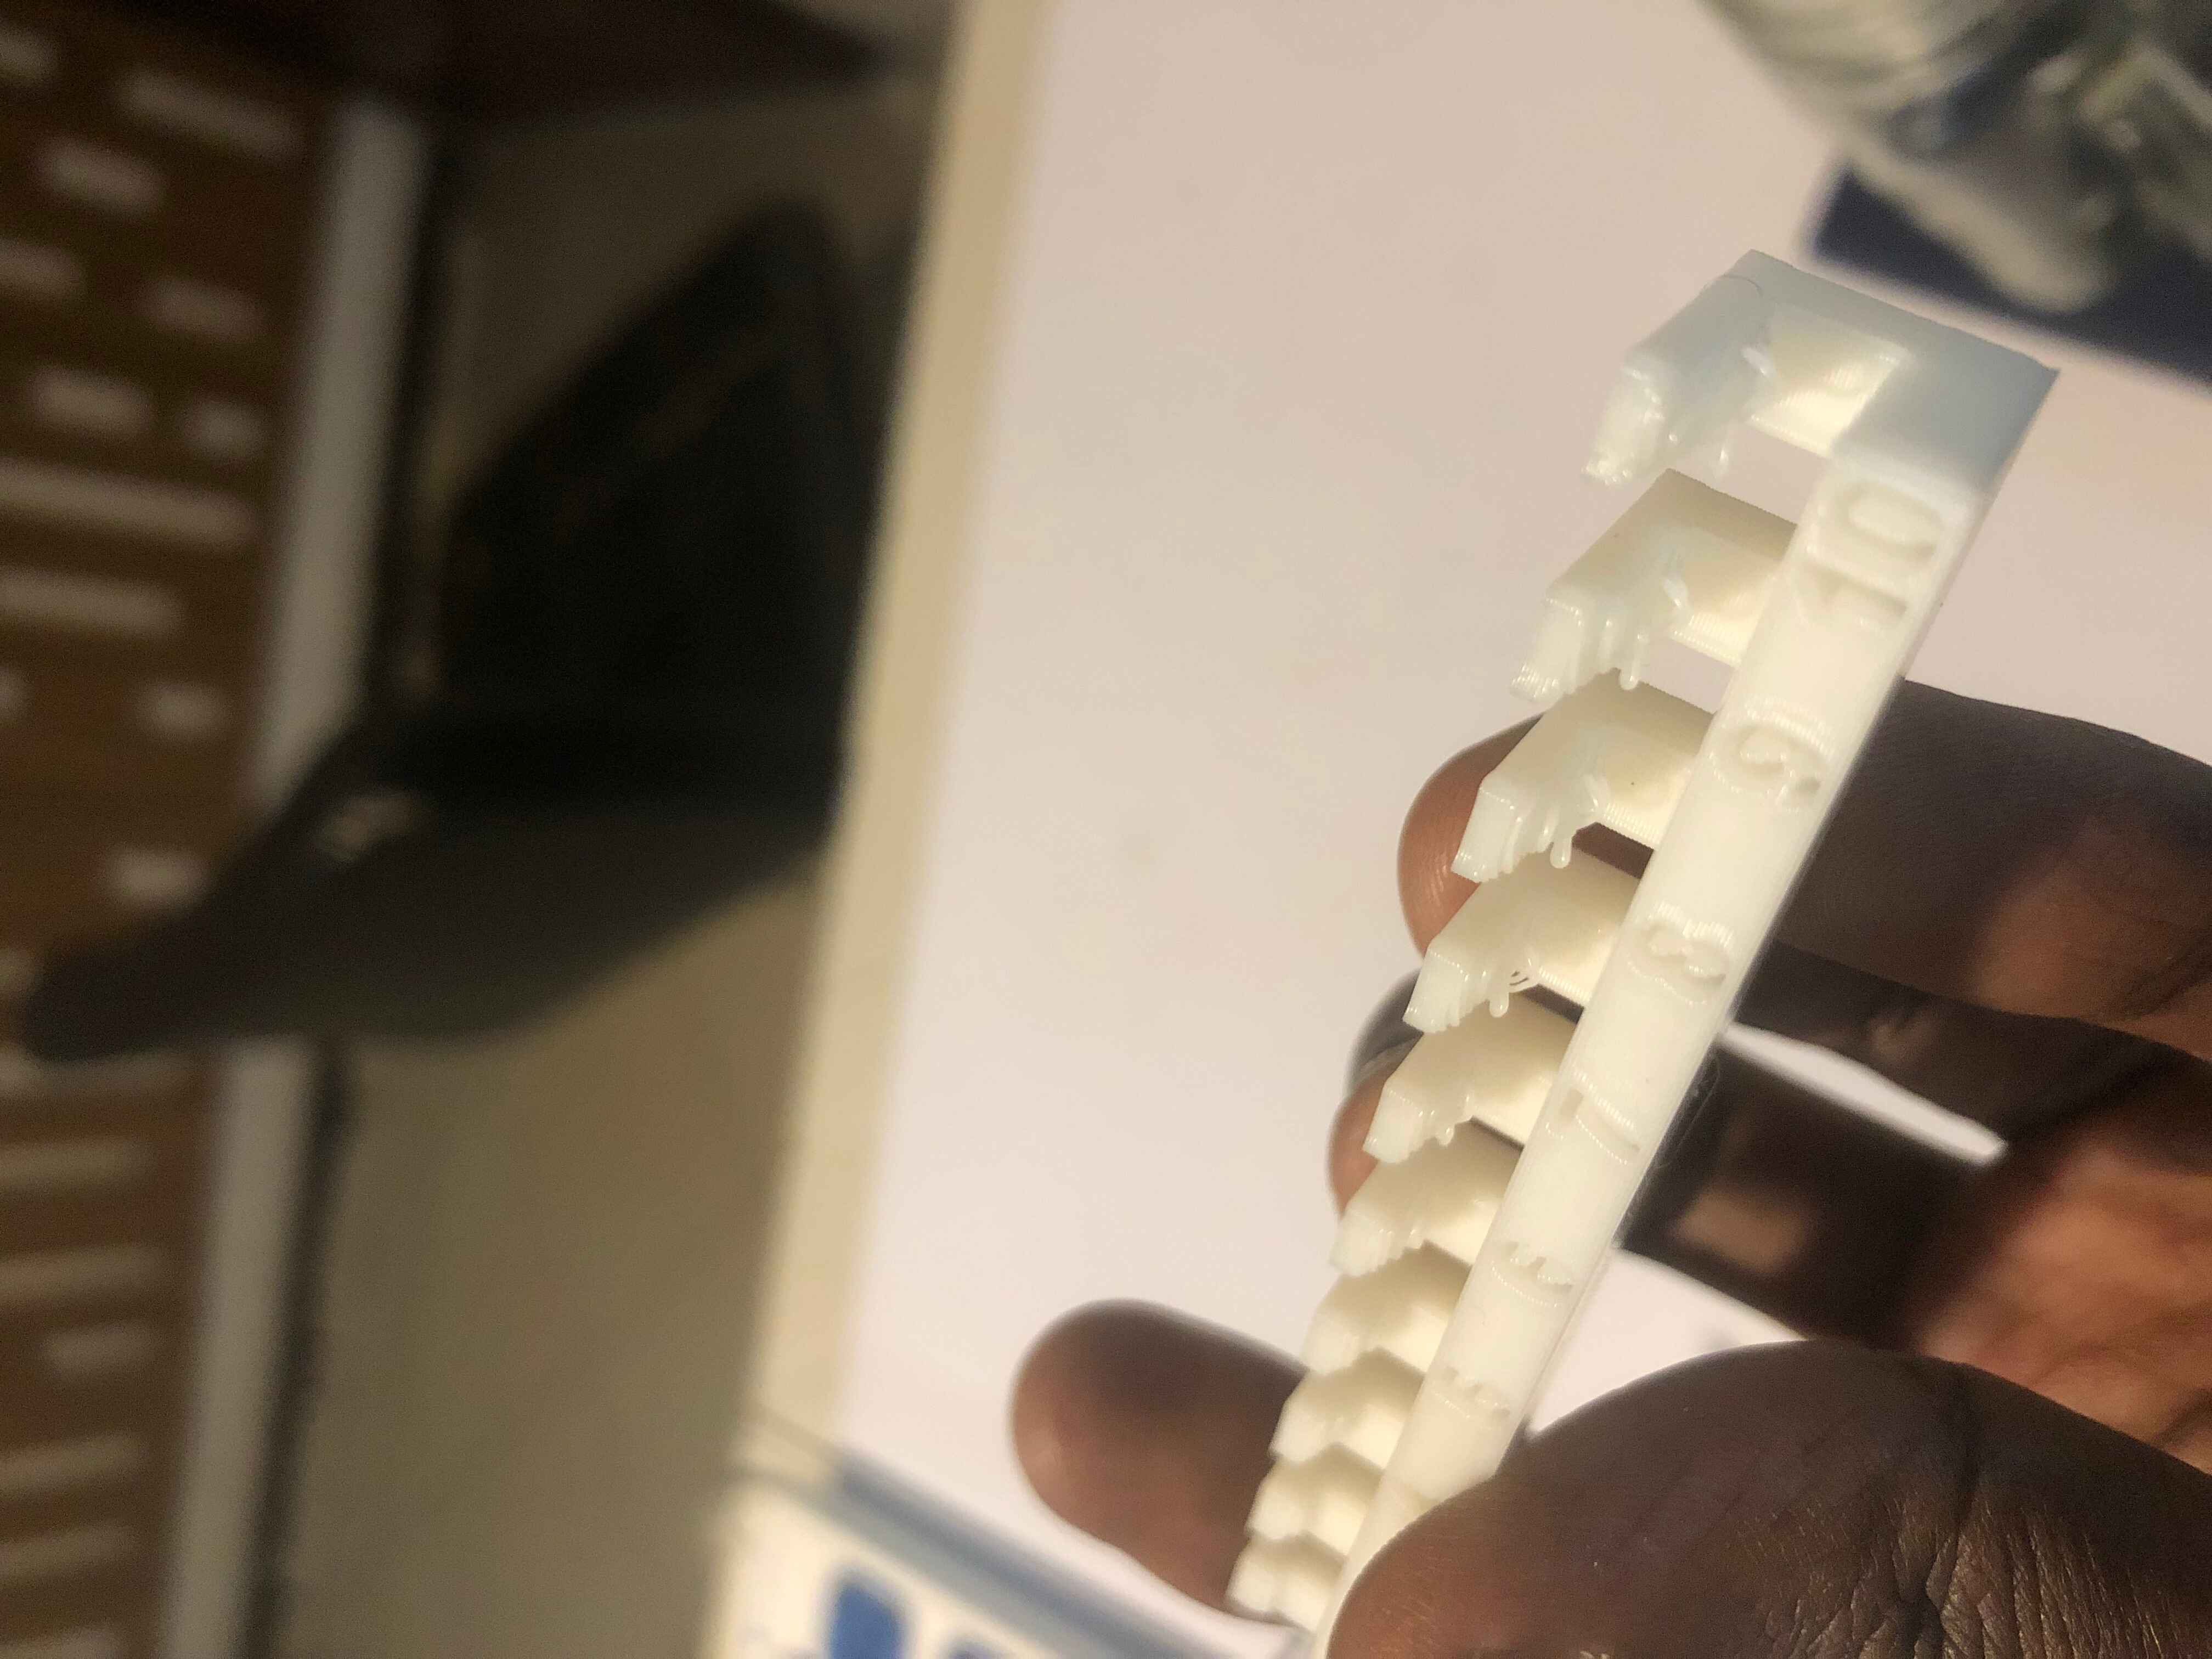
Overhang Angle: for designing overhangs greater than 45 degrees, it starts layering badly the first layers but the top layers are smooth like the normal layering.
-
Supports: use supports for structures with overhangs or intricate geometries that cannot print unsupported. The Ender 3 V3 SE’s slicer software can
automatically generate supports where needed.
2. Printer Settings
Layer Height
-
Standard Layer Height: layer Height Range: 0.1mm to 0.3mm, depending on the level of detail required and the speed of printing.
-
Layer Height Range: 0.1mm to 0.3mm, depending on the level of detail required and the speed of printing.
Print Speed
-
Default Speed: a print speed of 50mm/s to 60mm/s is recommended for most materials but it also depends with how fast you want your work done.
-
Material-Specific Adjustments: adjust speed based on the filament type. For example, flexible materials may require slower speeds (around 30mm/s).
Infill Density
-
standard Infill: 20% to 25% is typical for general prints.
-
High Strength: for parts needing higher strength, infill densities of 50% or more may be necessary.
3. Material Selection
Common Materials
-
PLA; easy to print, minimal warping. Standard temperature: 190-220°C.
-
ABS; strong and heat-resistant but can warp. Requires a heated bed (100-110°C). Standard temperature: 220-250°C.
4. Post-Processing
Surface Finishing
-
Sanding & Painting: use progressively finer sandpaper to smooth out layers and then adding primer and painting can enhance the appearance of prints.
5. Printer Calibration and Maintenance
Calibration
-
Bed leveling; ensure the print bed is level before starting prints to ensure good first layer adhesion and overall print quality.
-
Nozzle Height; adjust the nozzle height to be just above the print bed. Use a piece of paper to gauge the gap (it should just fit between the nozzle
and bed) but with our printer we didn't need this because the printer itself has an automatic Leveling system.
Maintenance
-
Cleaning & Lubricating; regularly clean the print bed and nozzle to prevent clogging and ensure good adhesion and keep moving parts lubricated every now
and then for smooth operation.
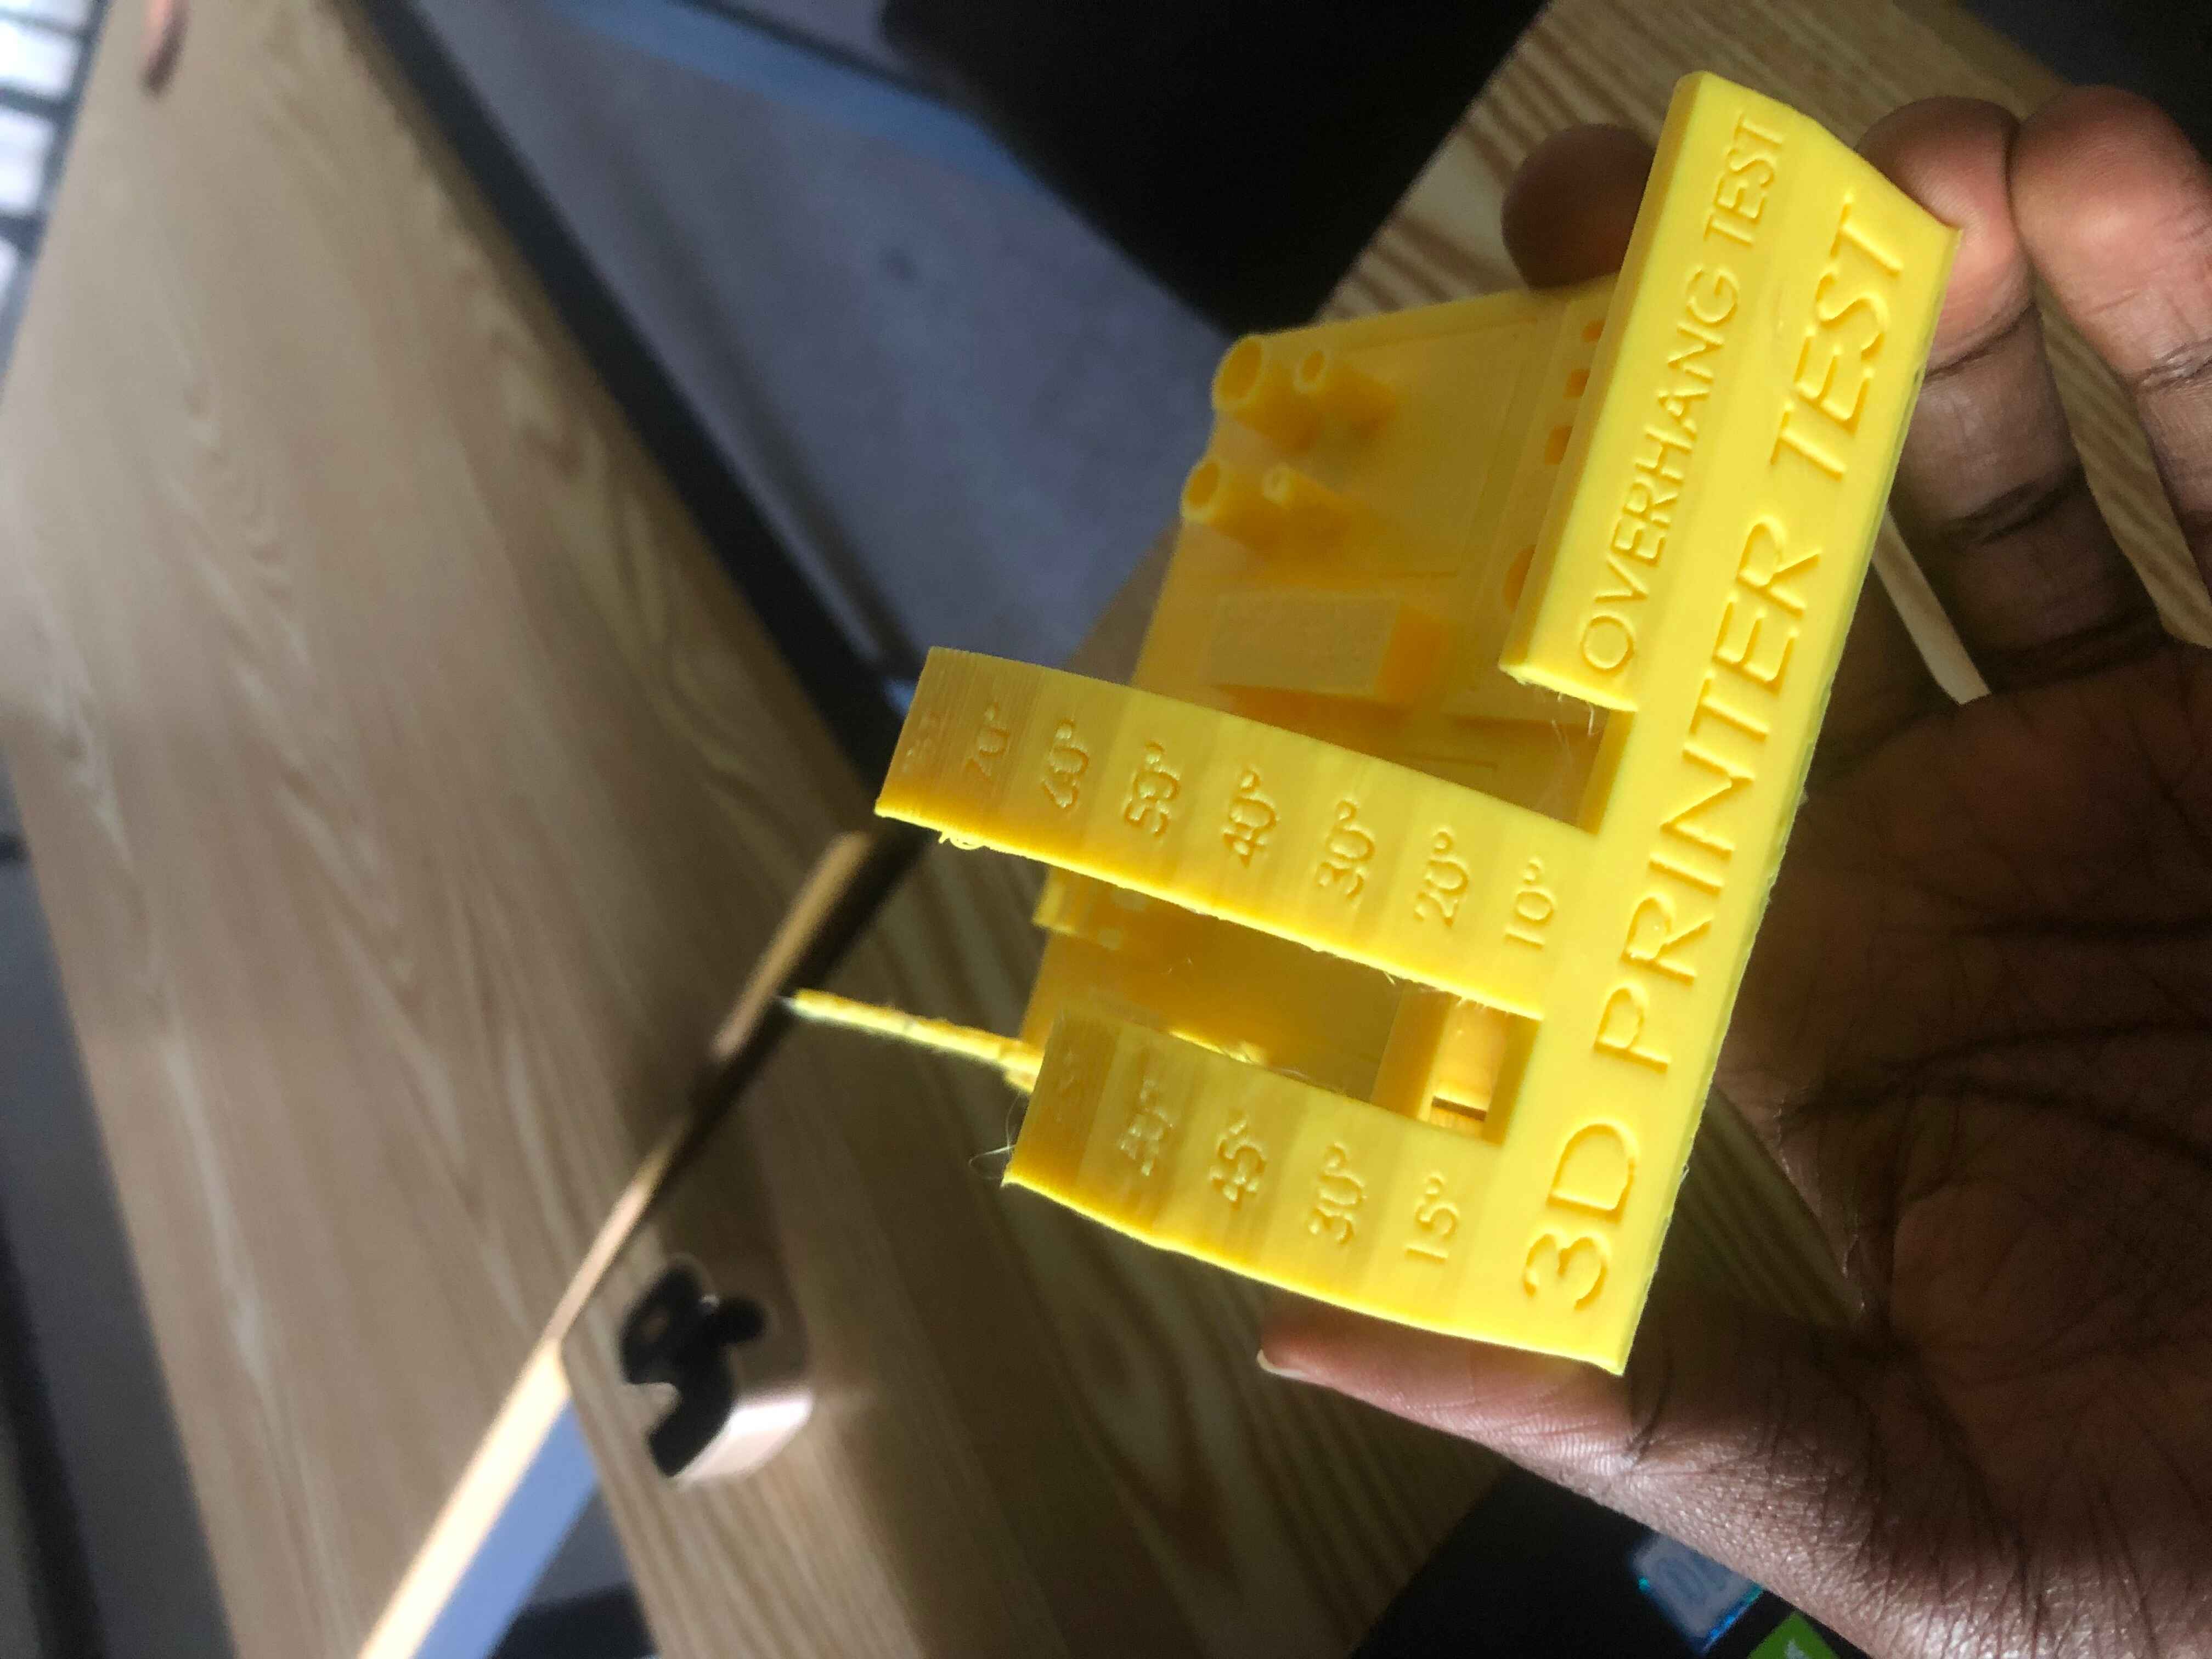
after we did a test to see the capabilitiees of our printer so this is what we came up with
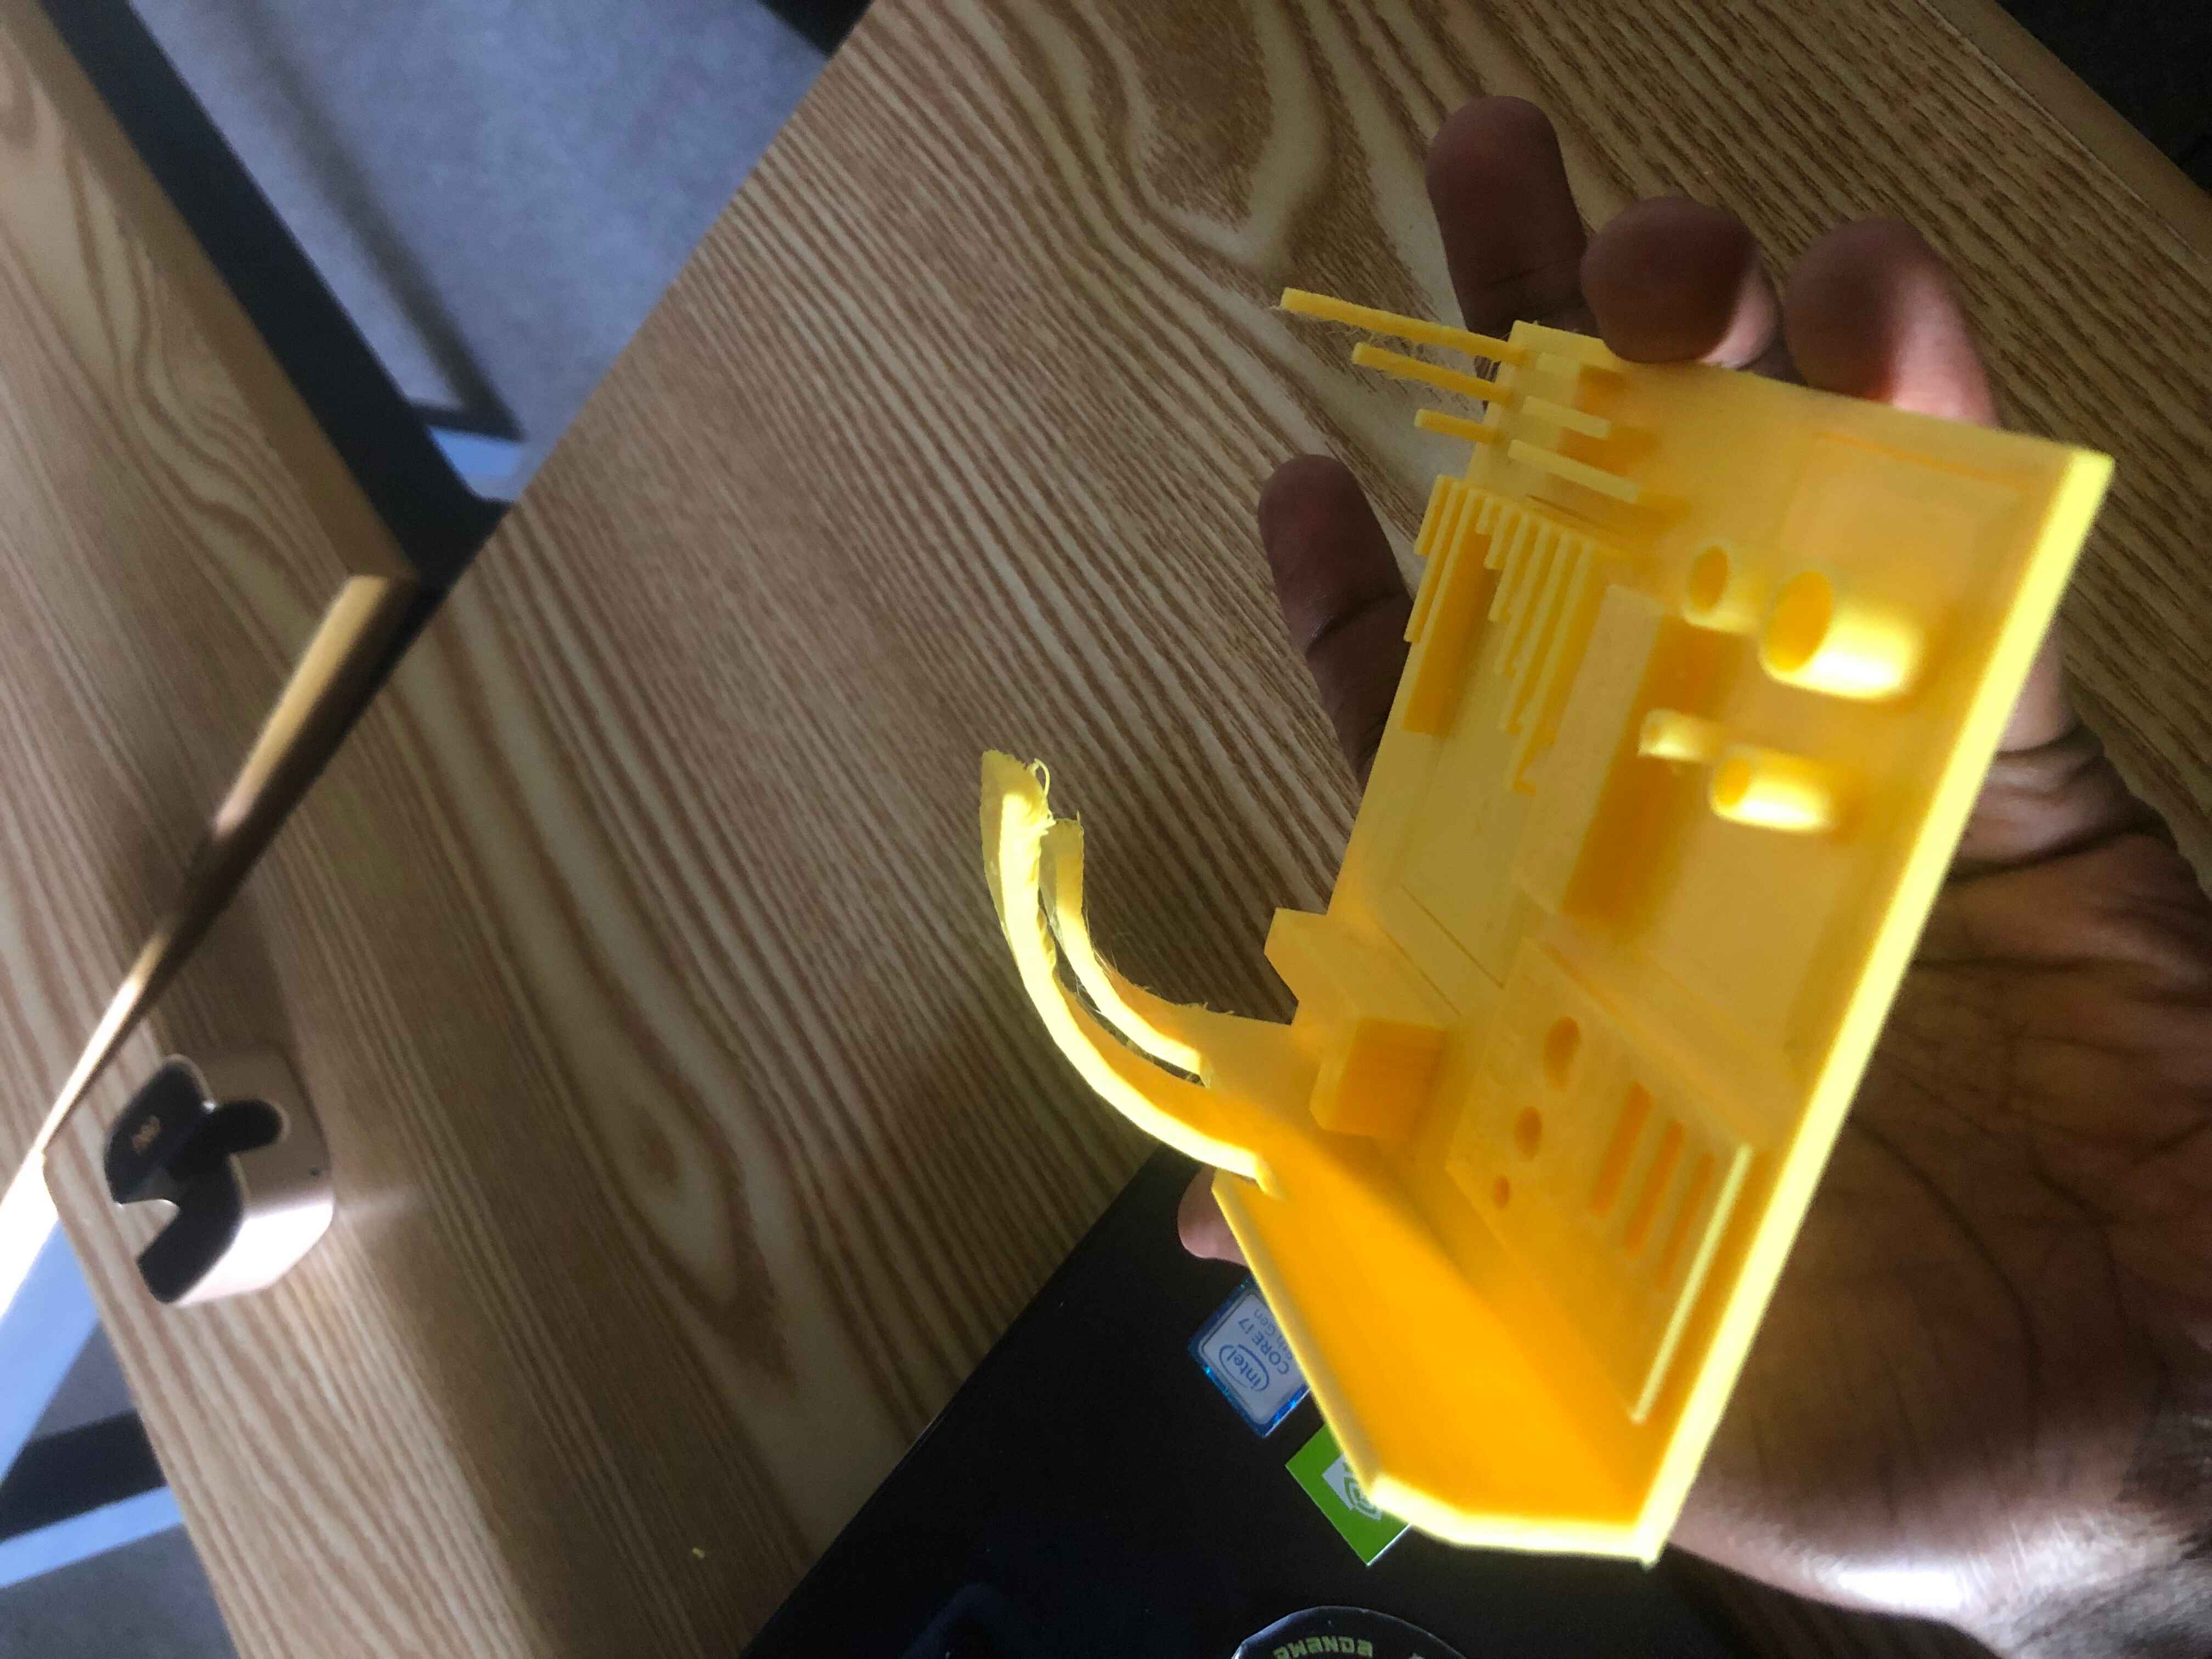
Printer Design Rule.
We made a few test as it was suggested to see how angles, bridging works so i tried printing these to show how the accuracy of our print so we printed them with no support which came out
great to the exceptions of the the first layers when it starts to print are not straight so when they are overstacked they become shapeless but this happens for a few first layers and then
the top layers are smooth as usual

