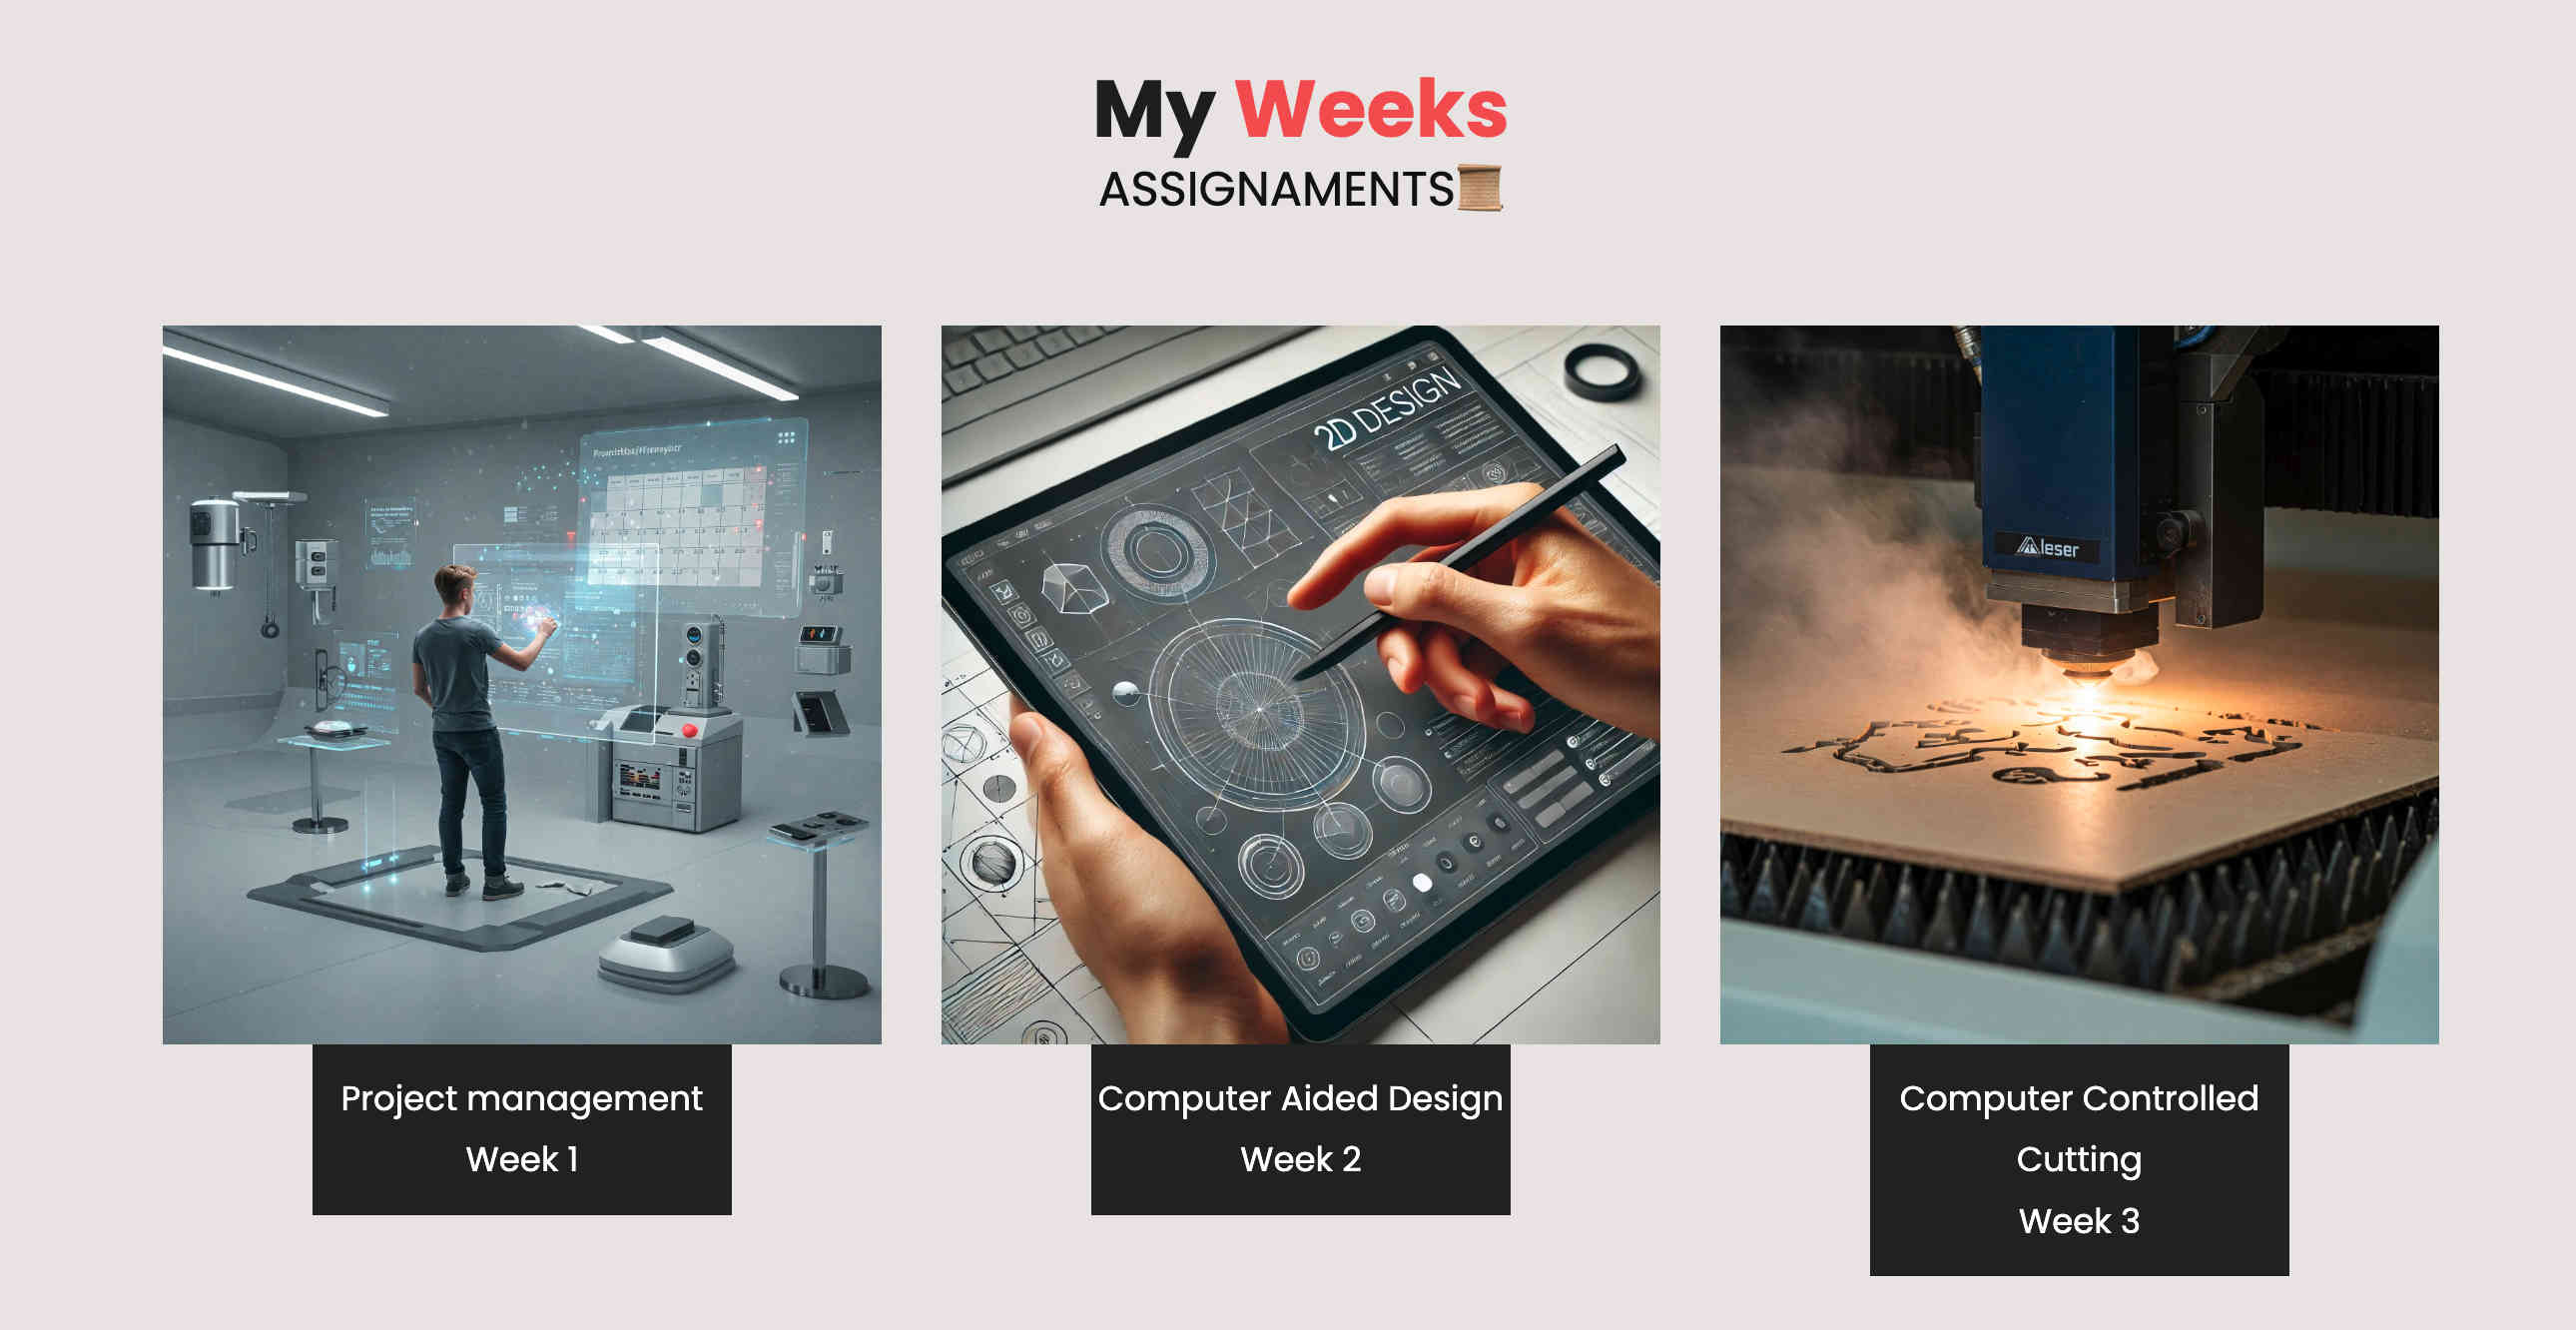
PRINCIPLES AND PRACTICES & PROJECT MANAGEMENT 🖥
WEEKLY ASSIGNMENTS
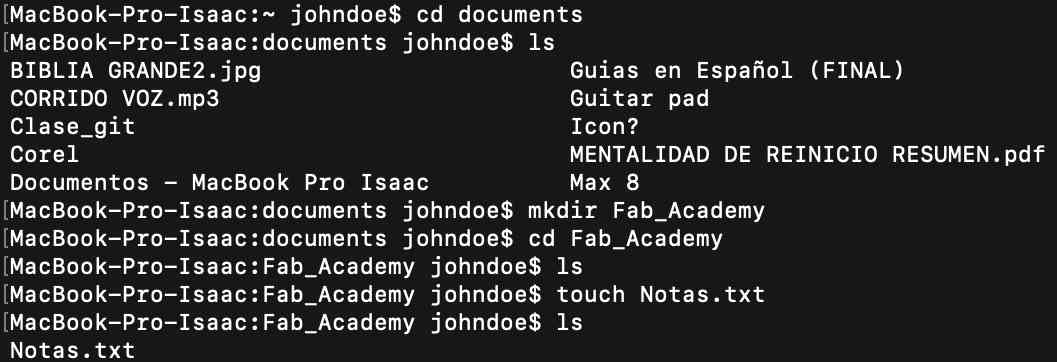
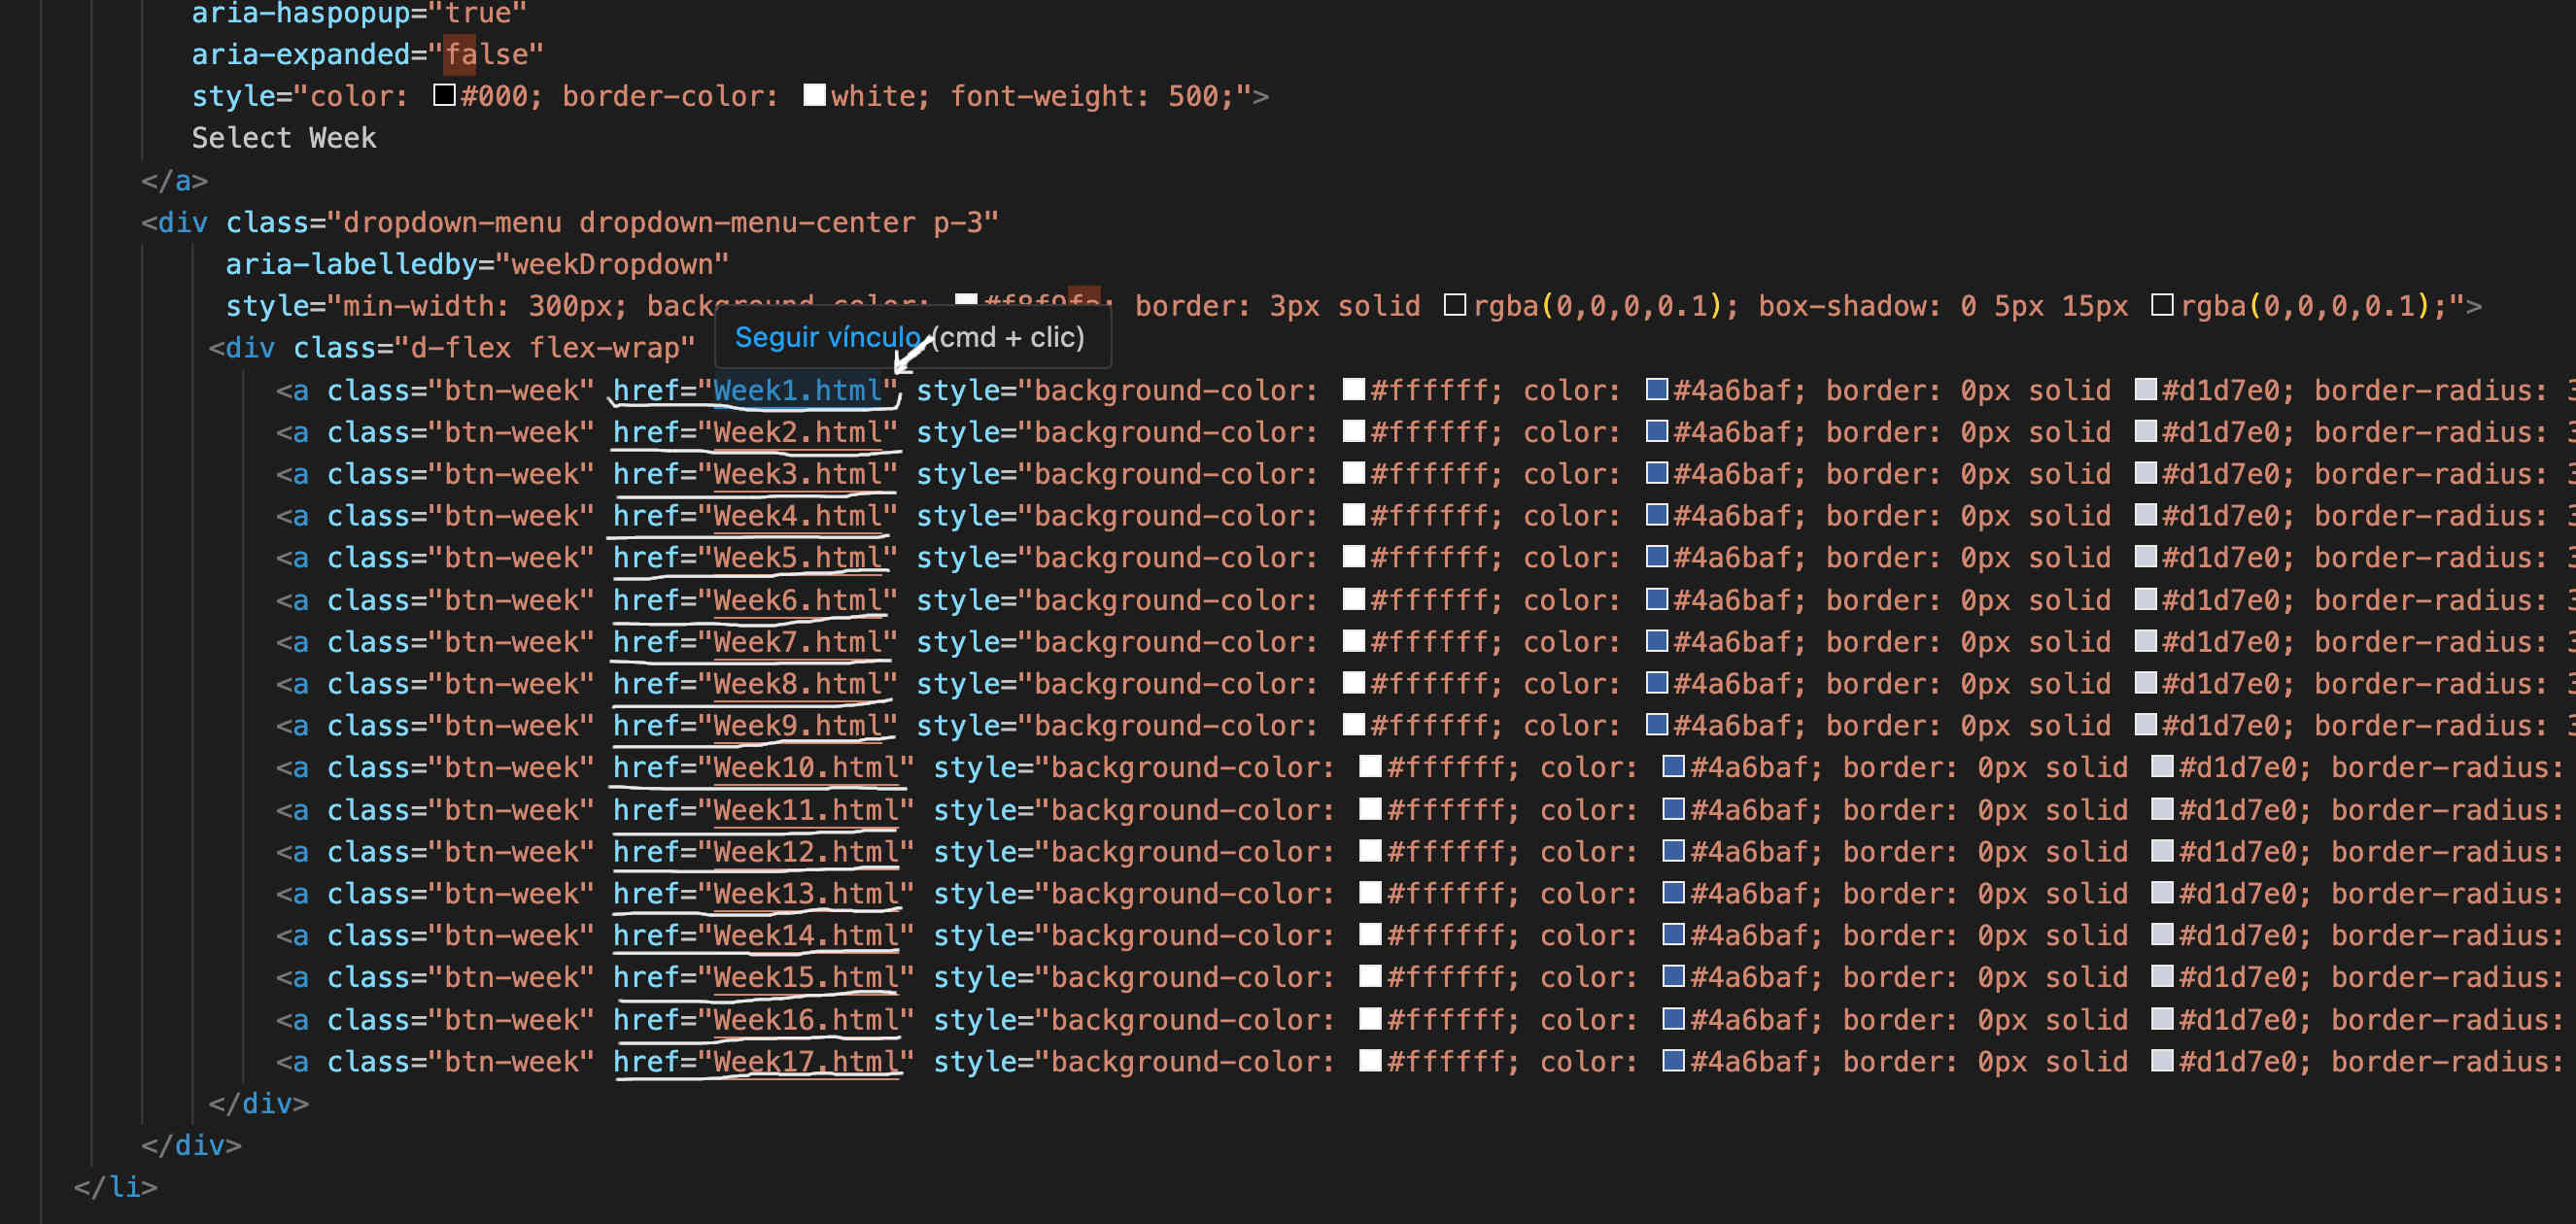
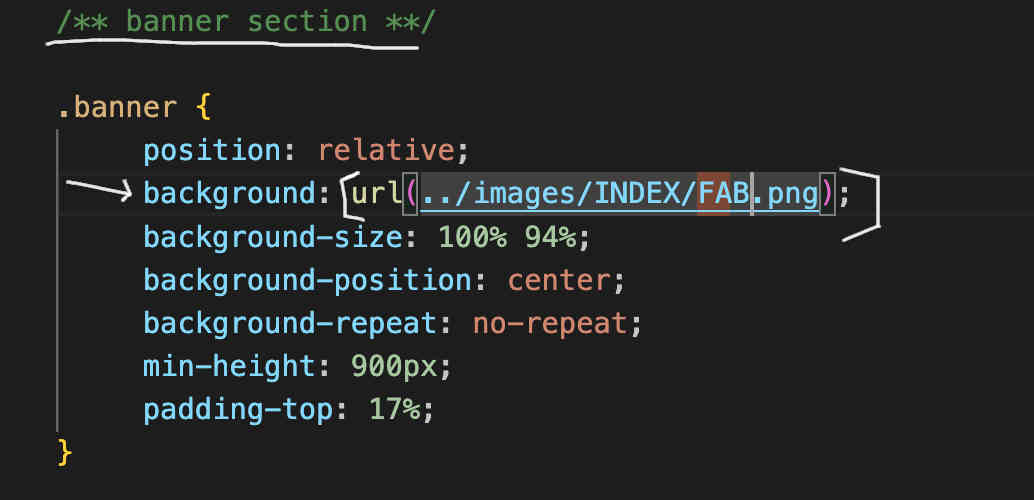
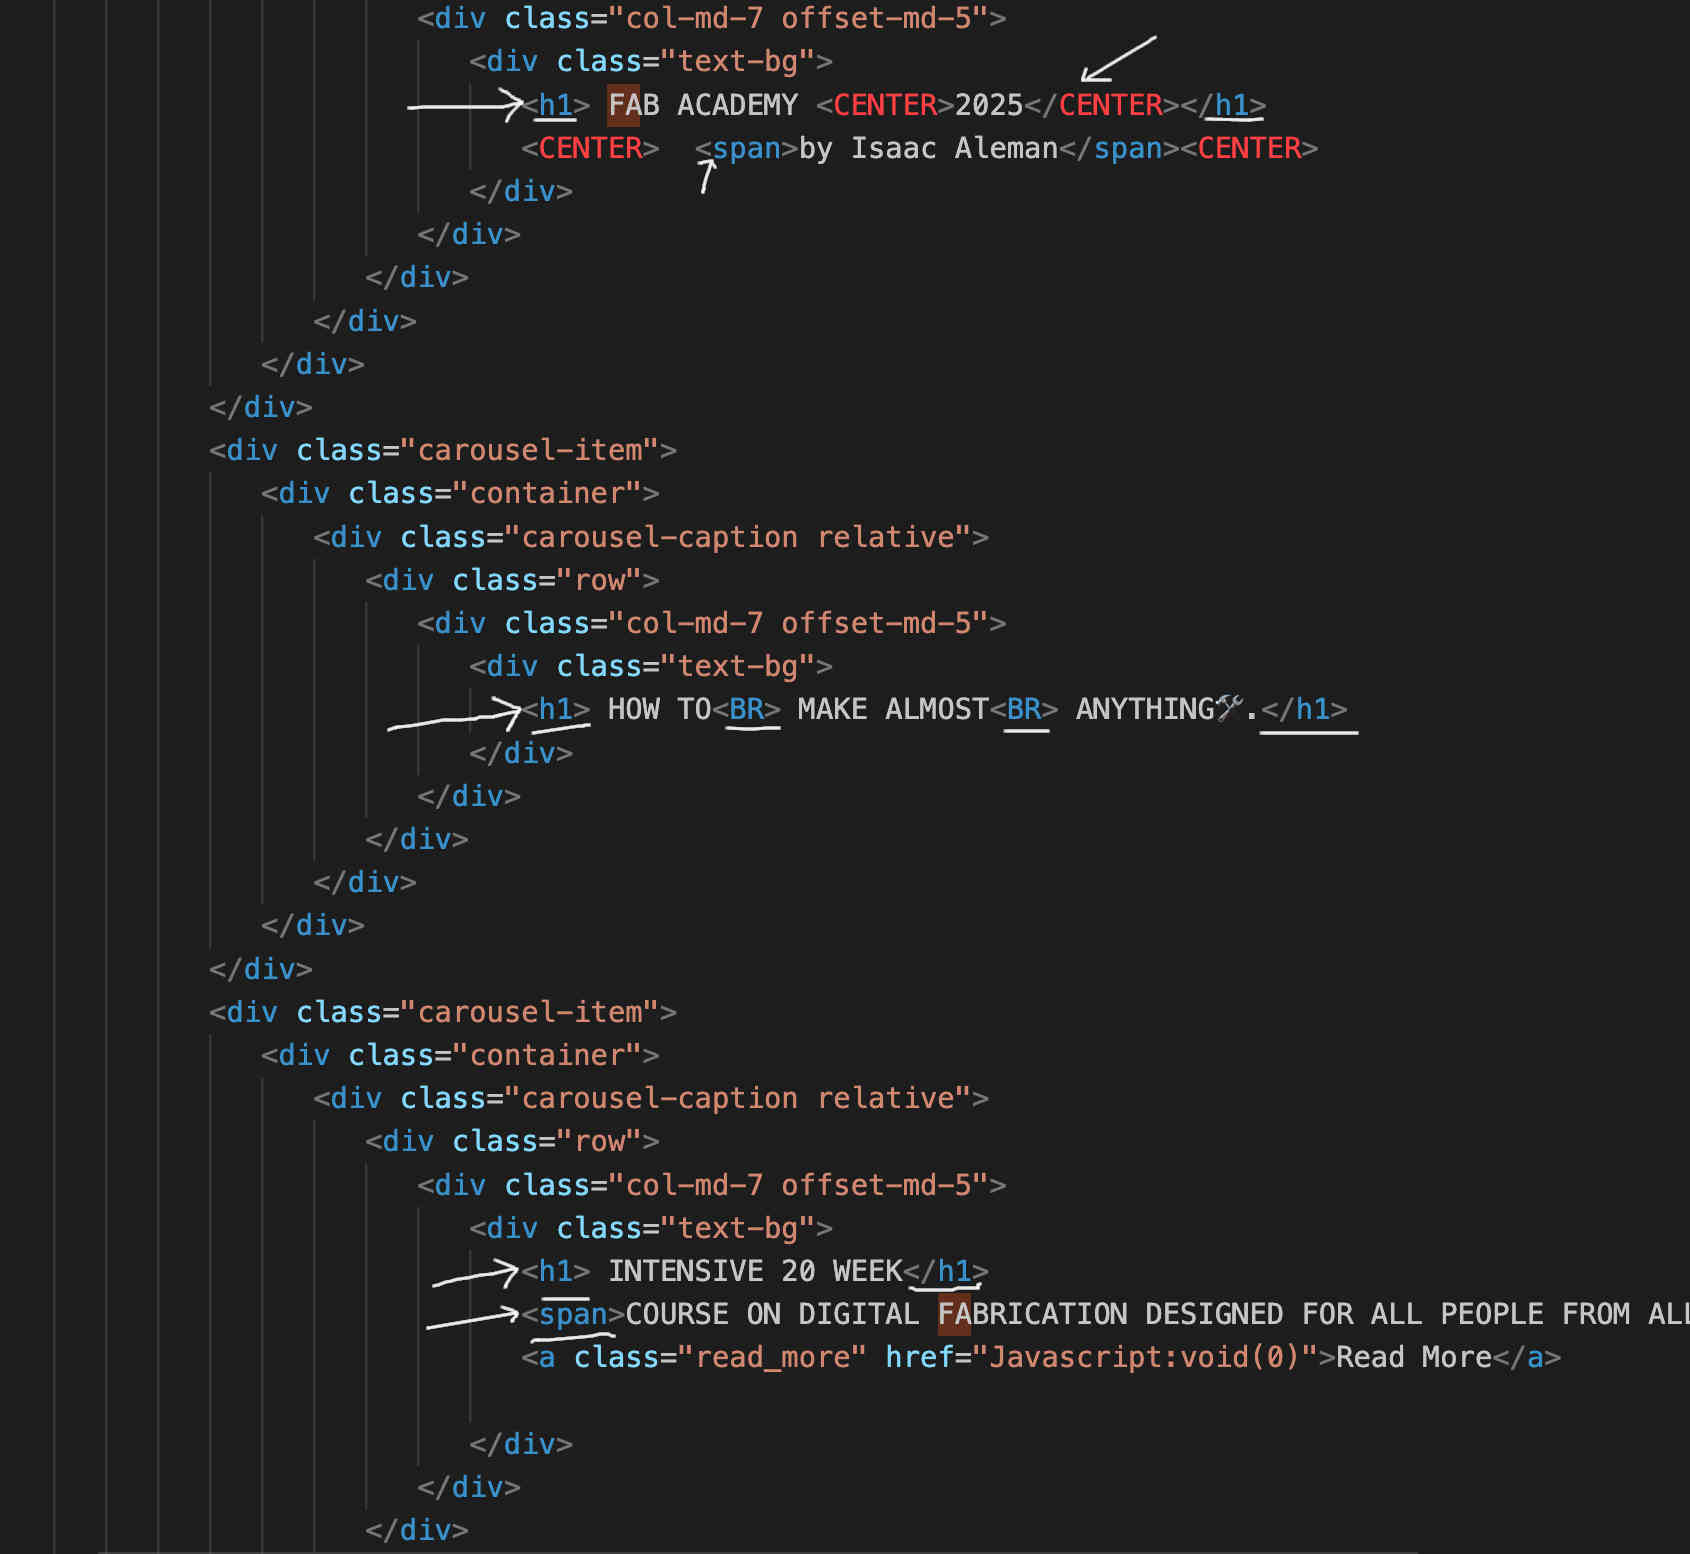
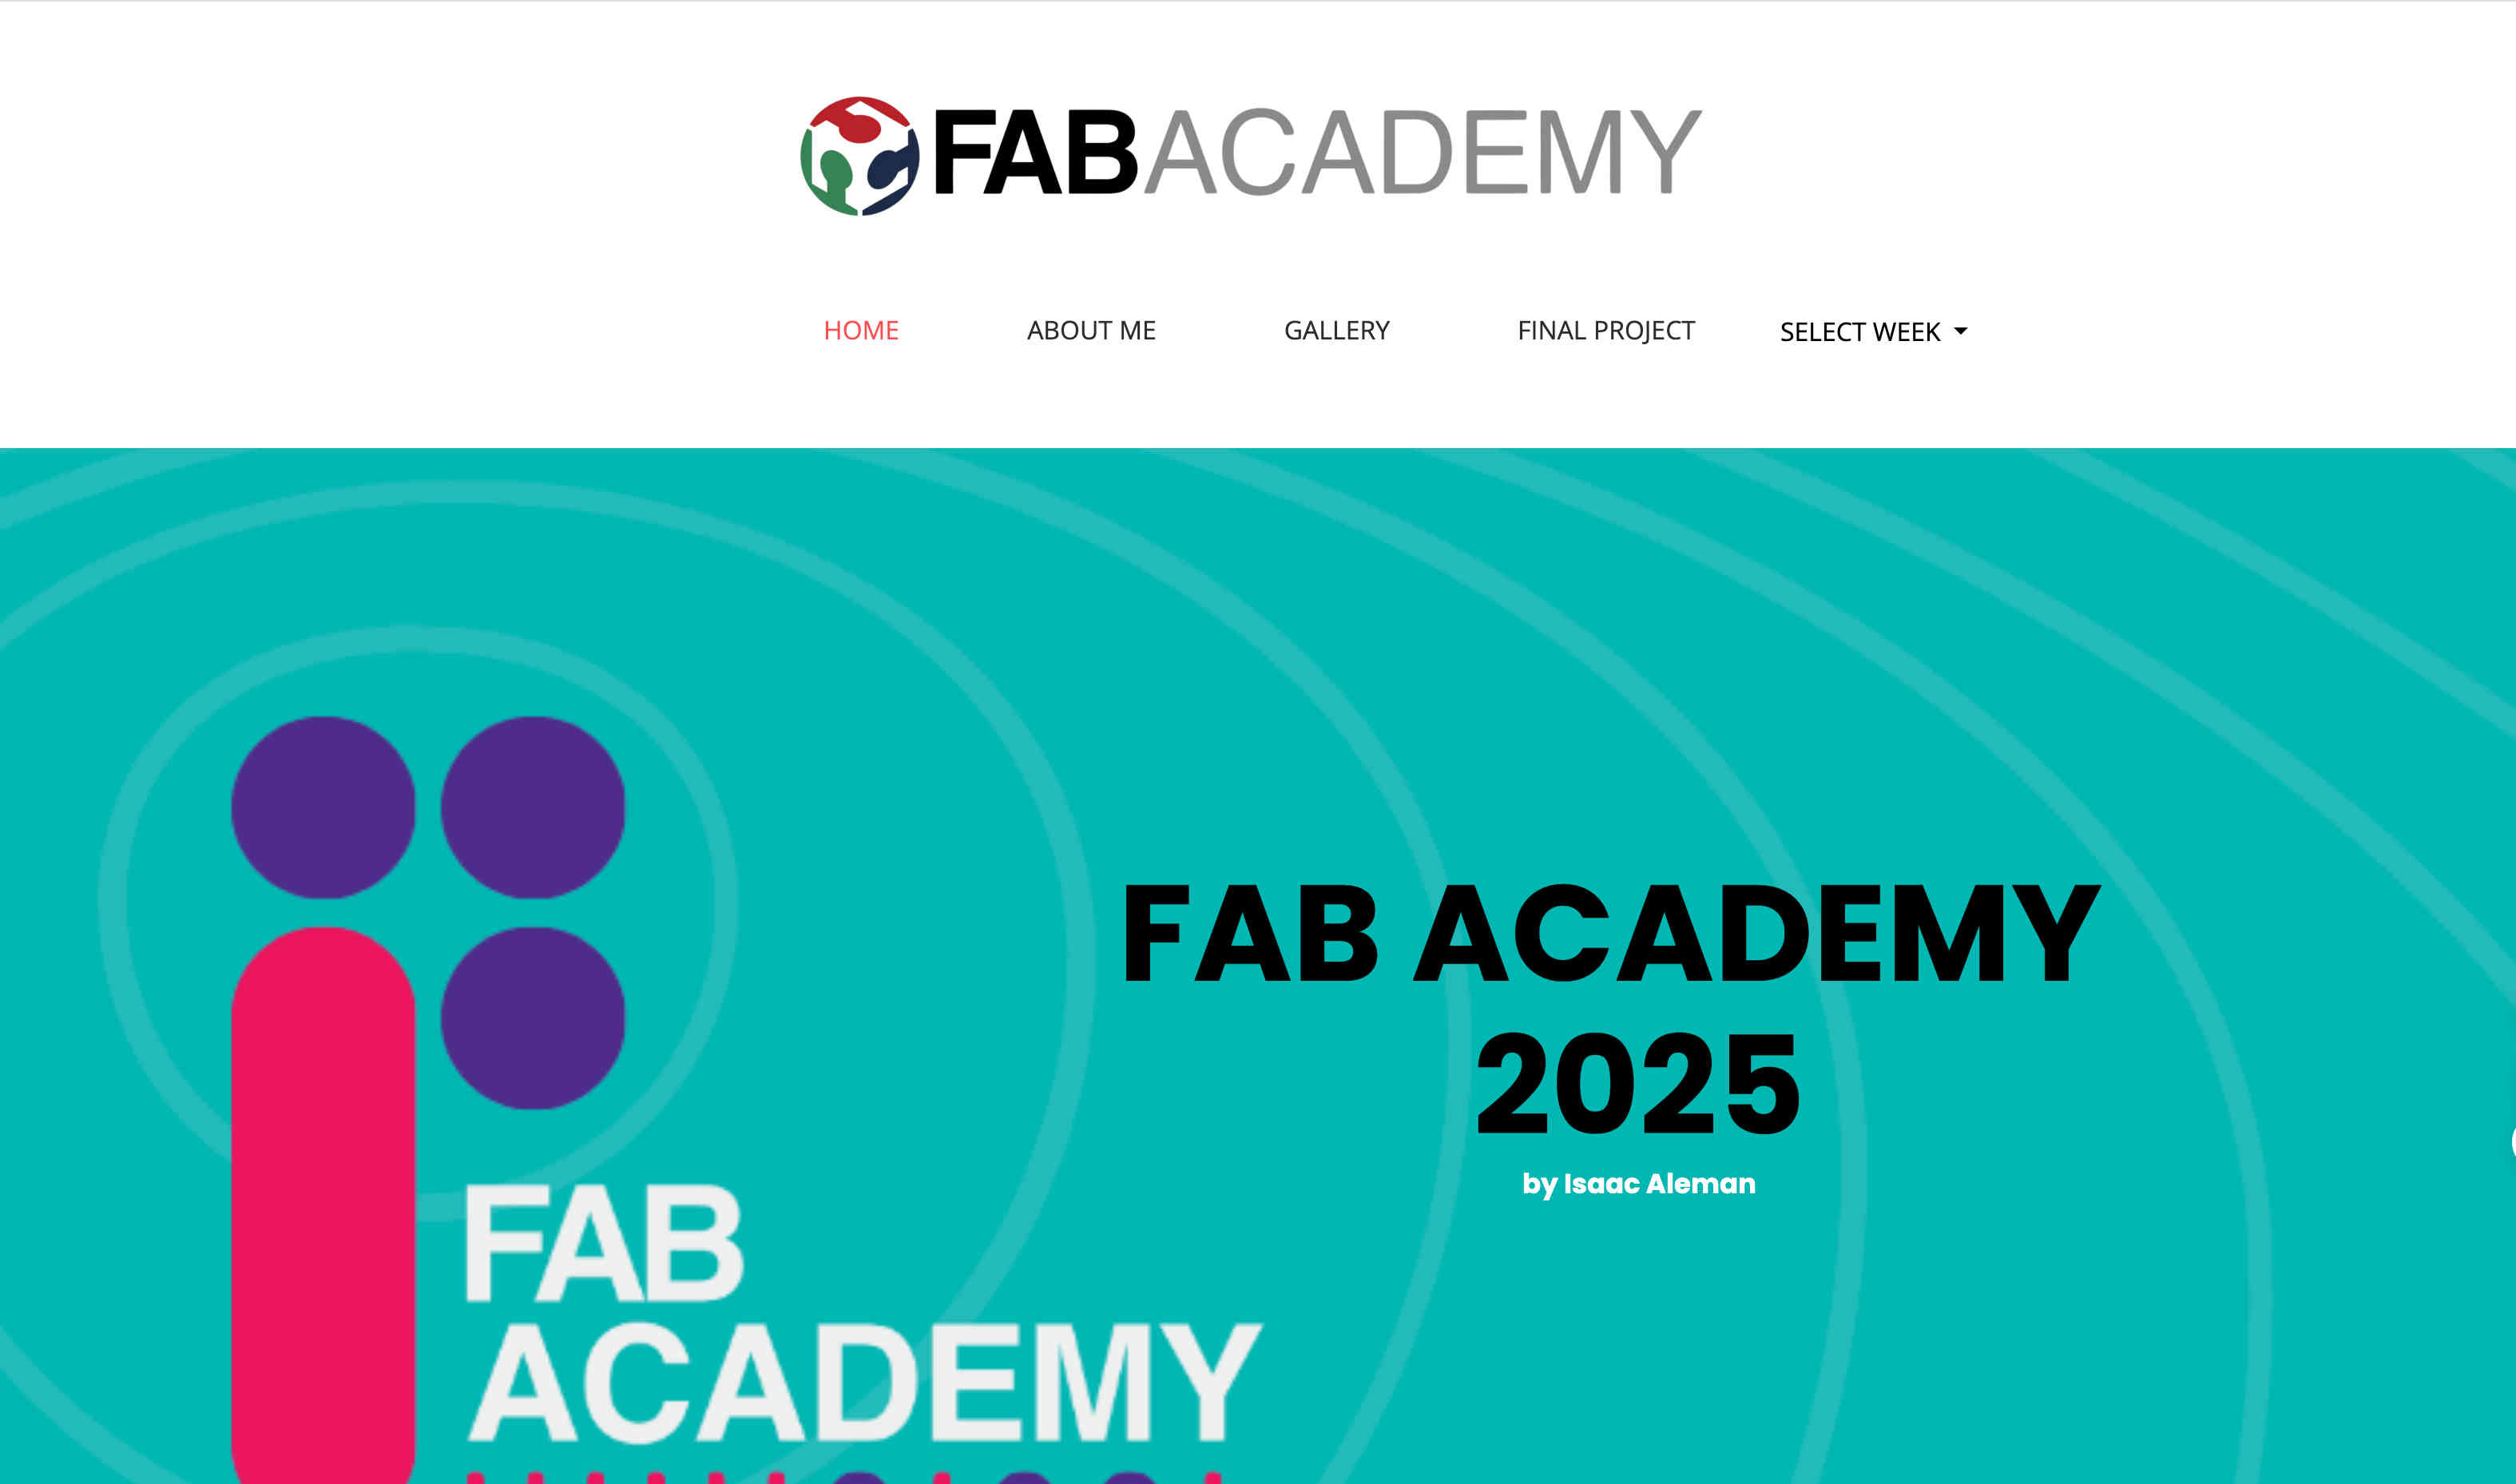
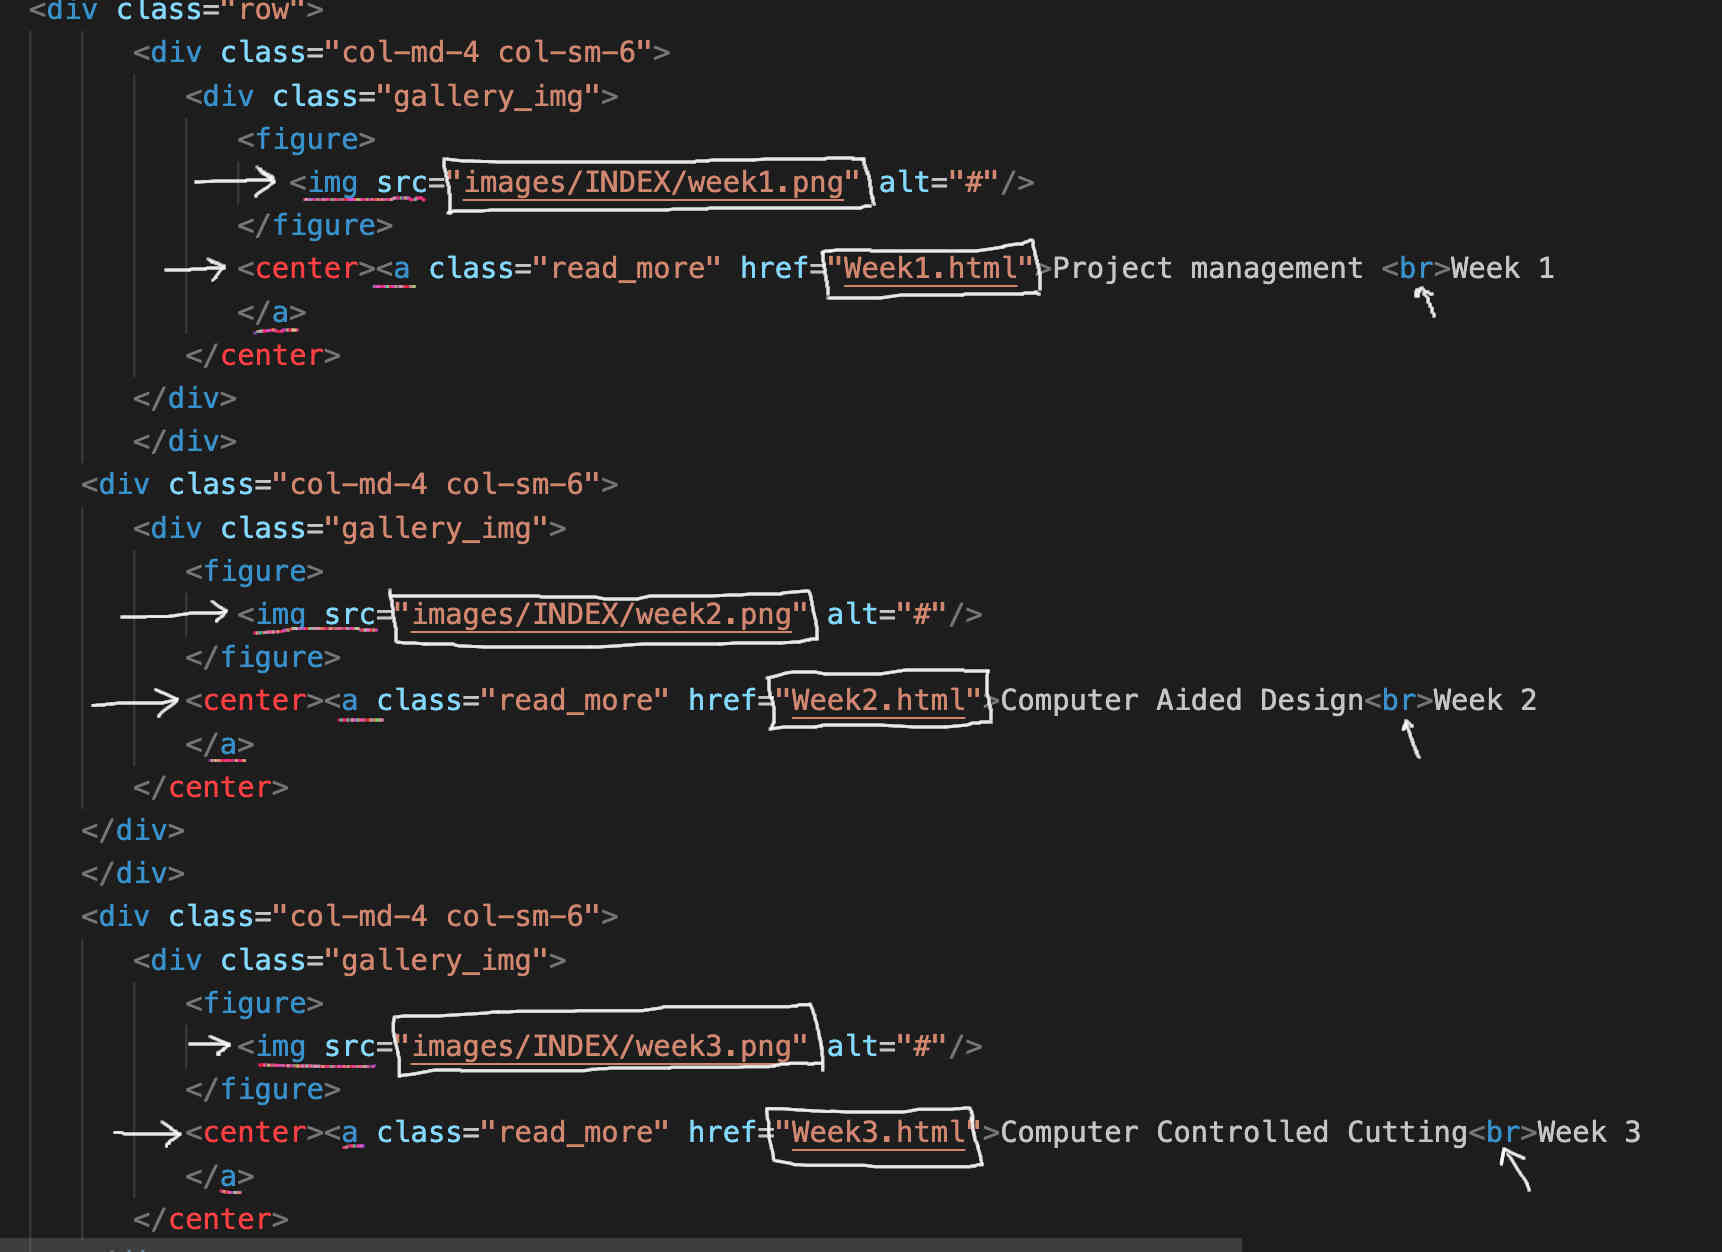
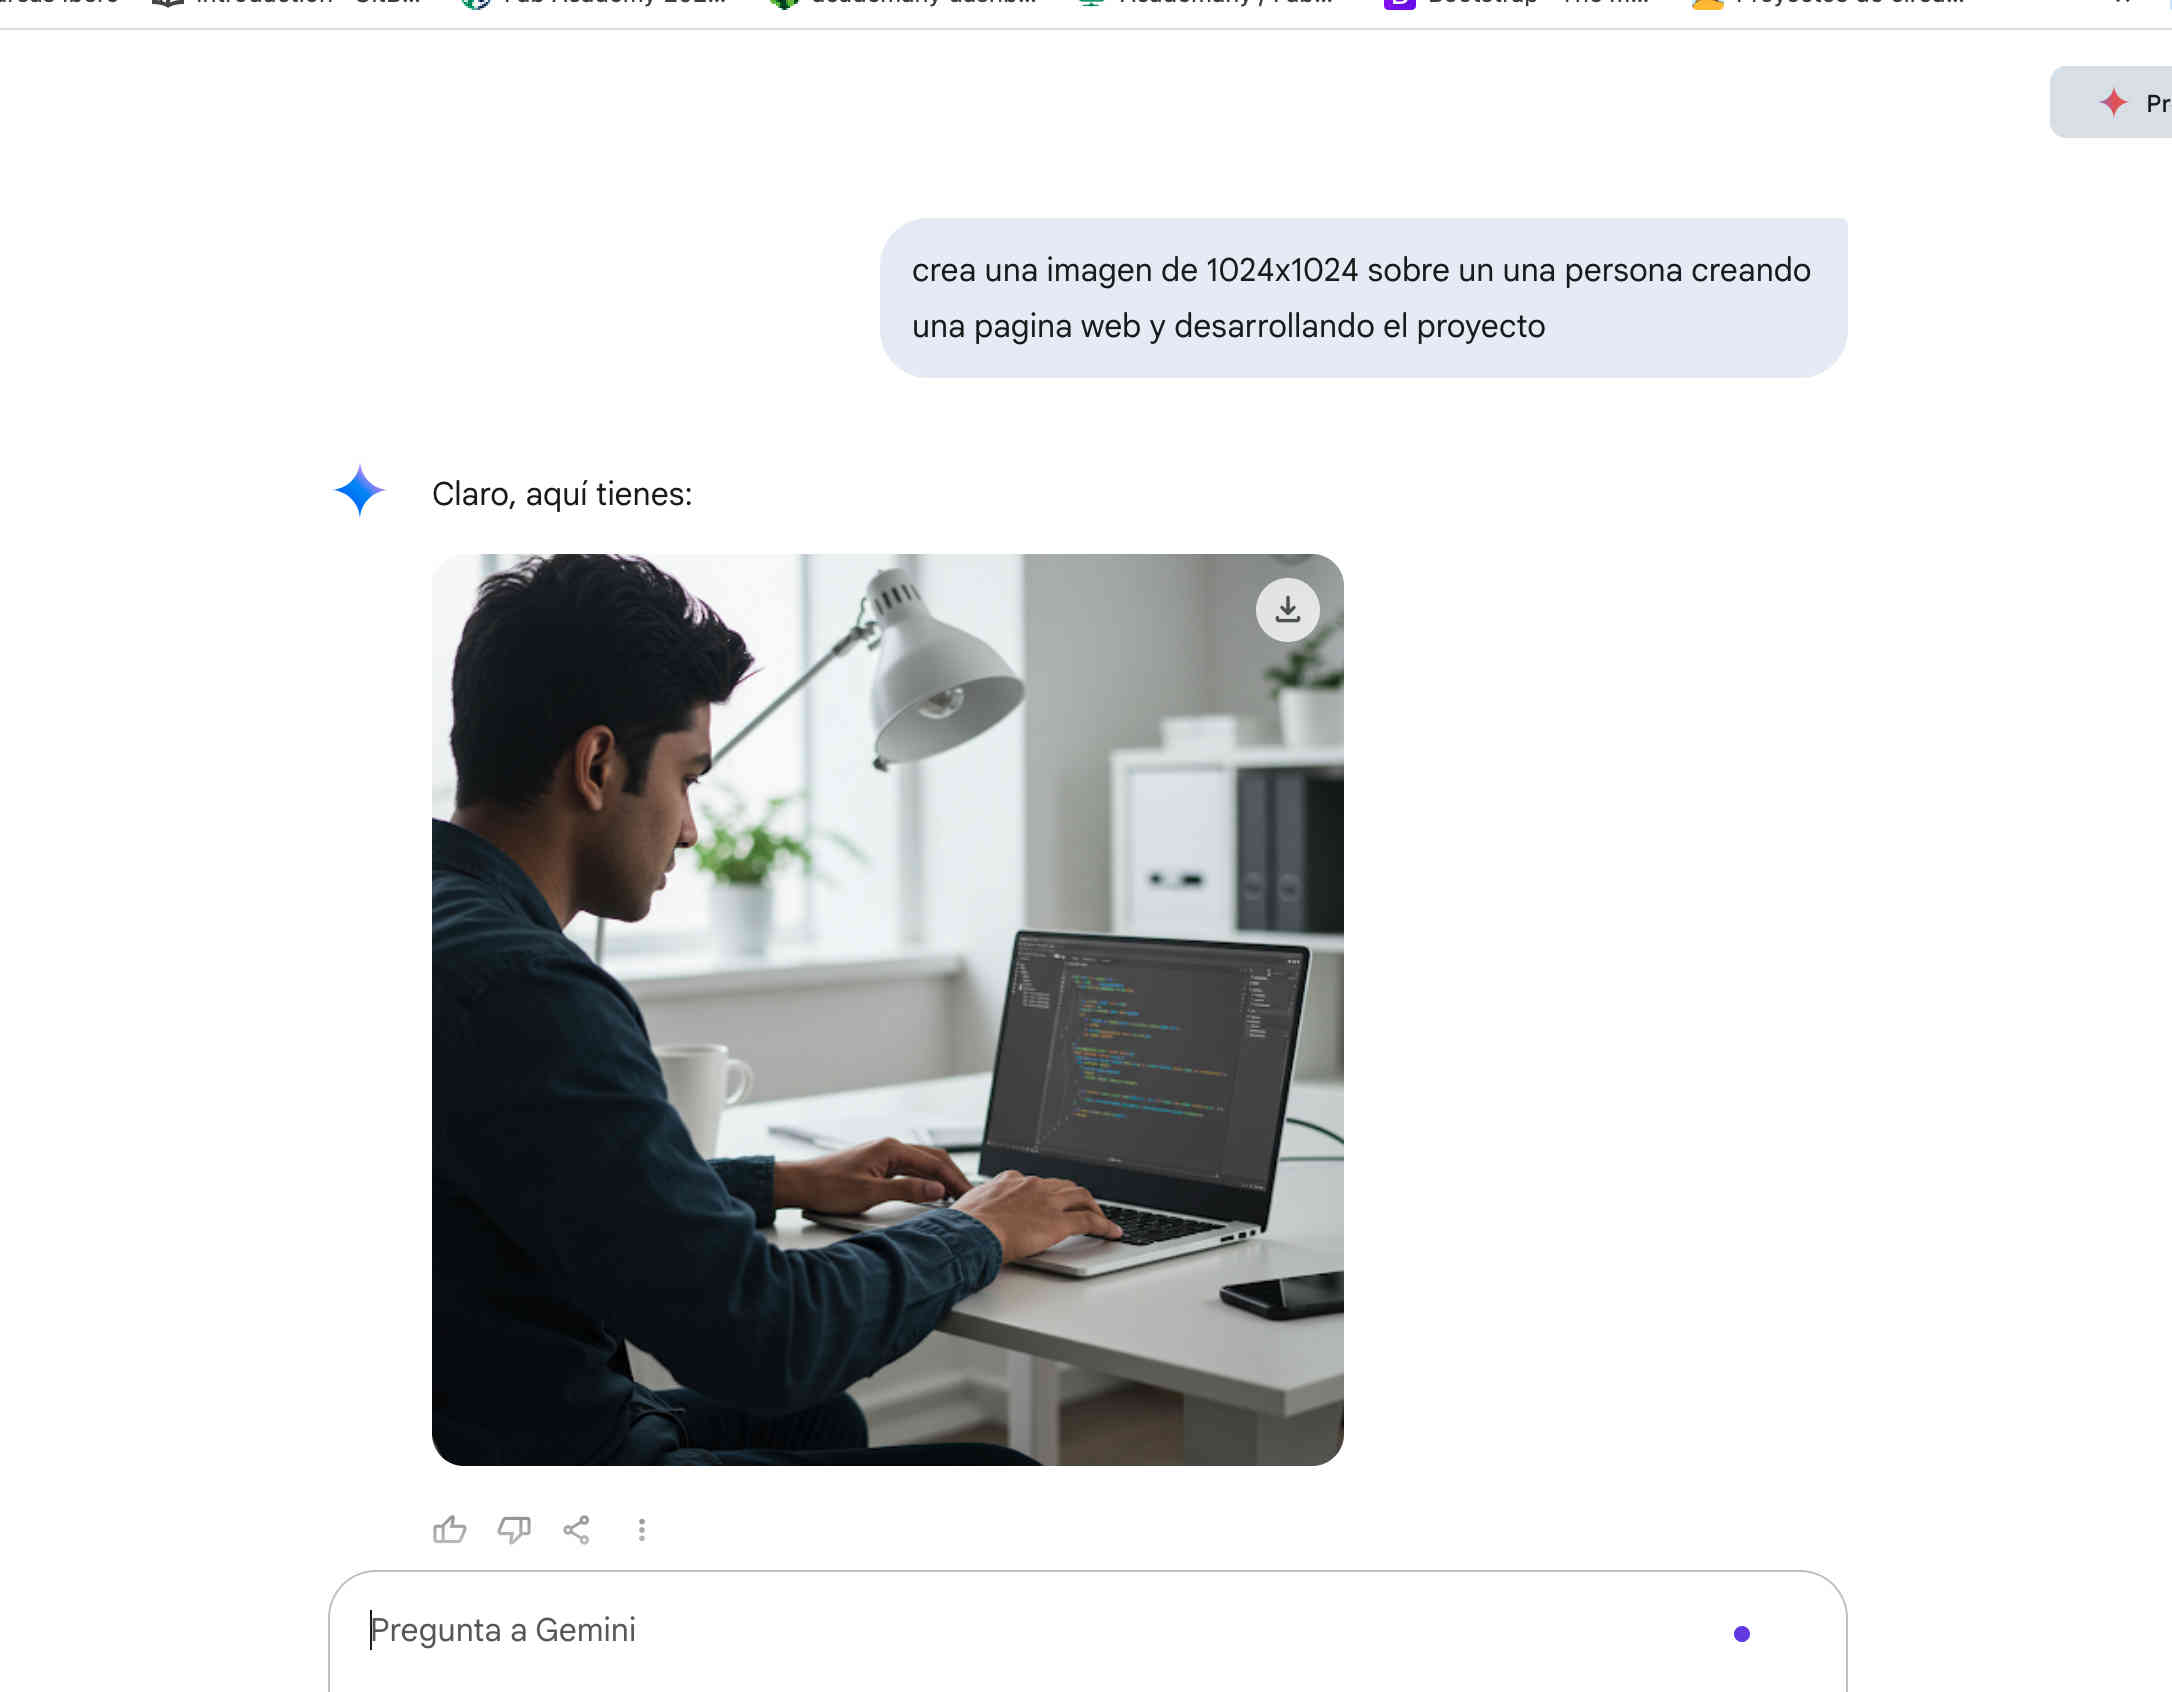
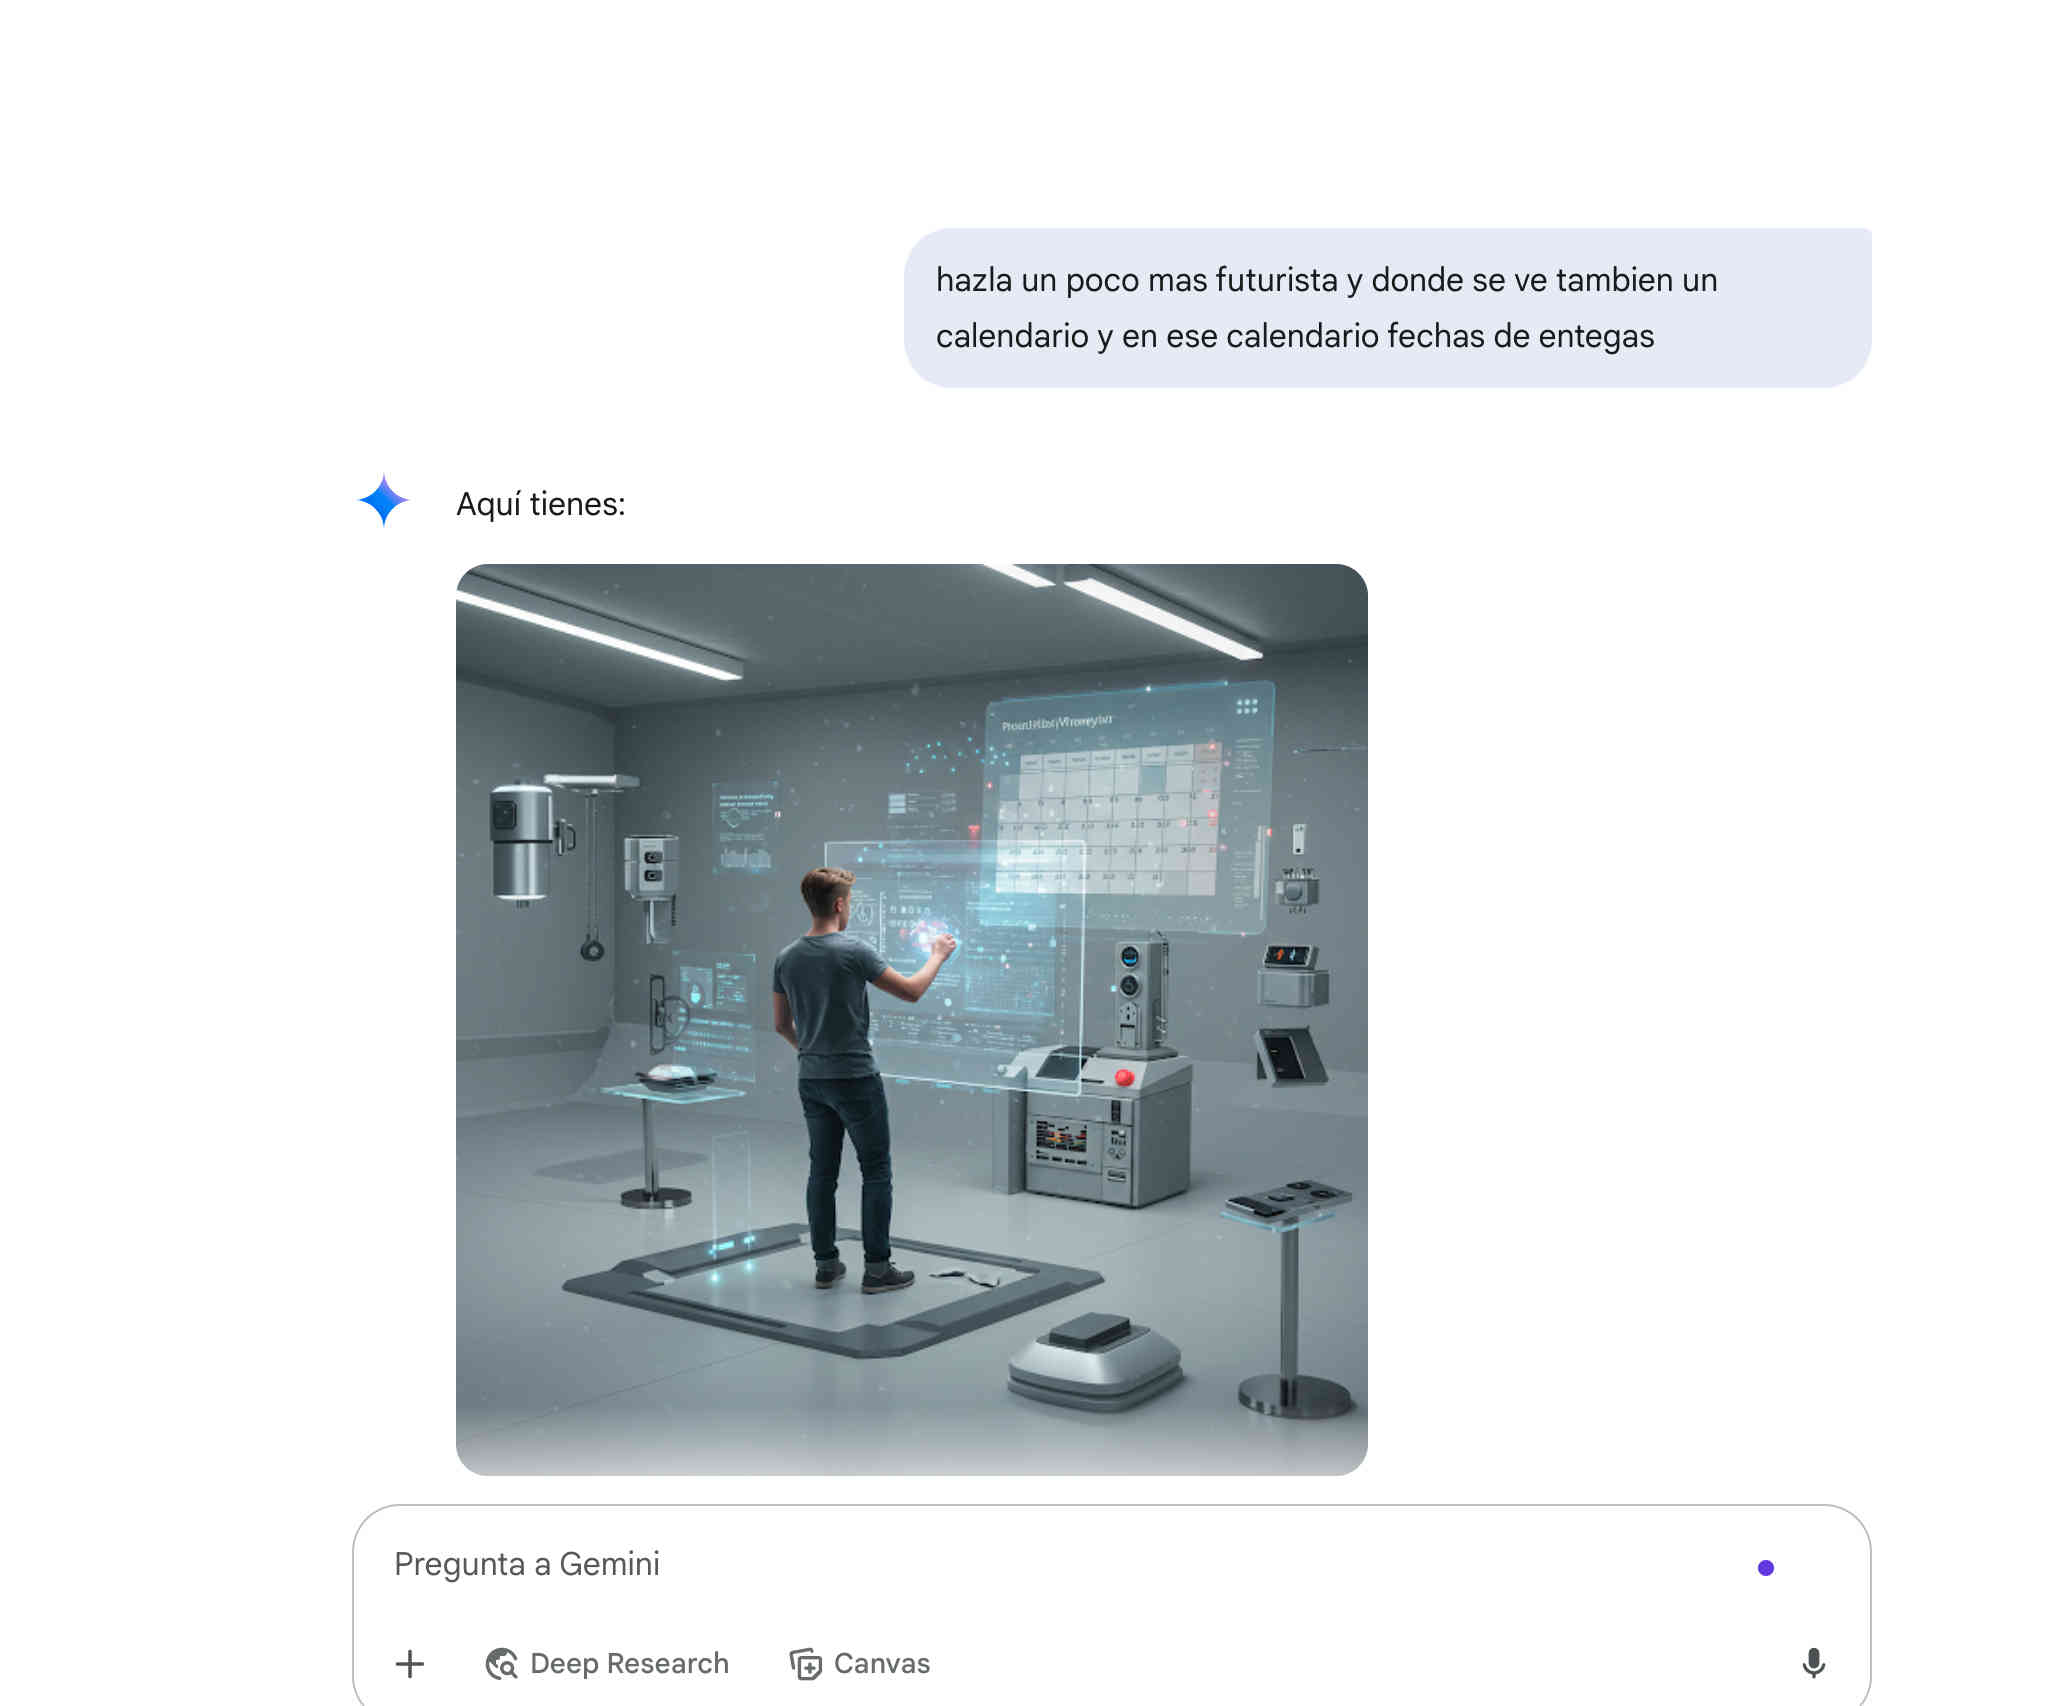
The purpose is to acquire skills in using a version control system such as Git, develop a website and begin to capture the ideas of the final project in visual form.
REFERENCES TO START MY WEBSITE
| LINKS | FUNCTION |
|---|---|
|
|
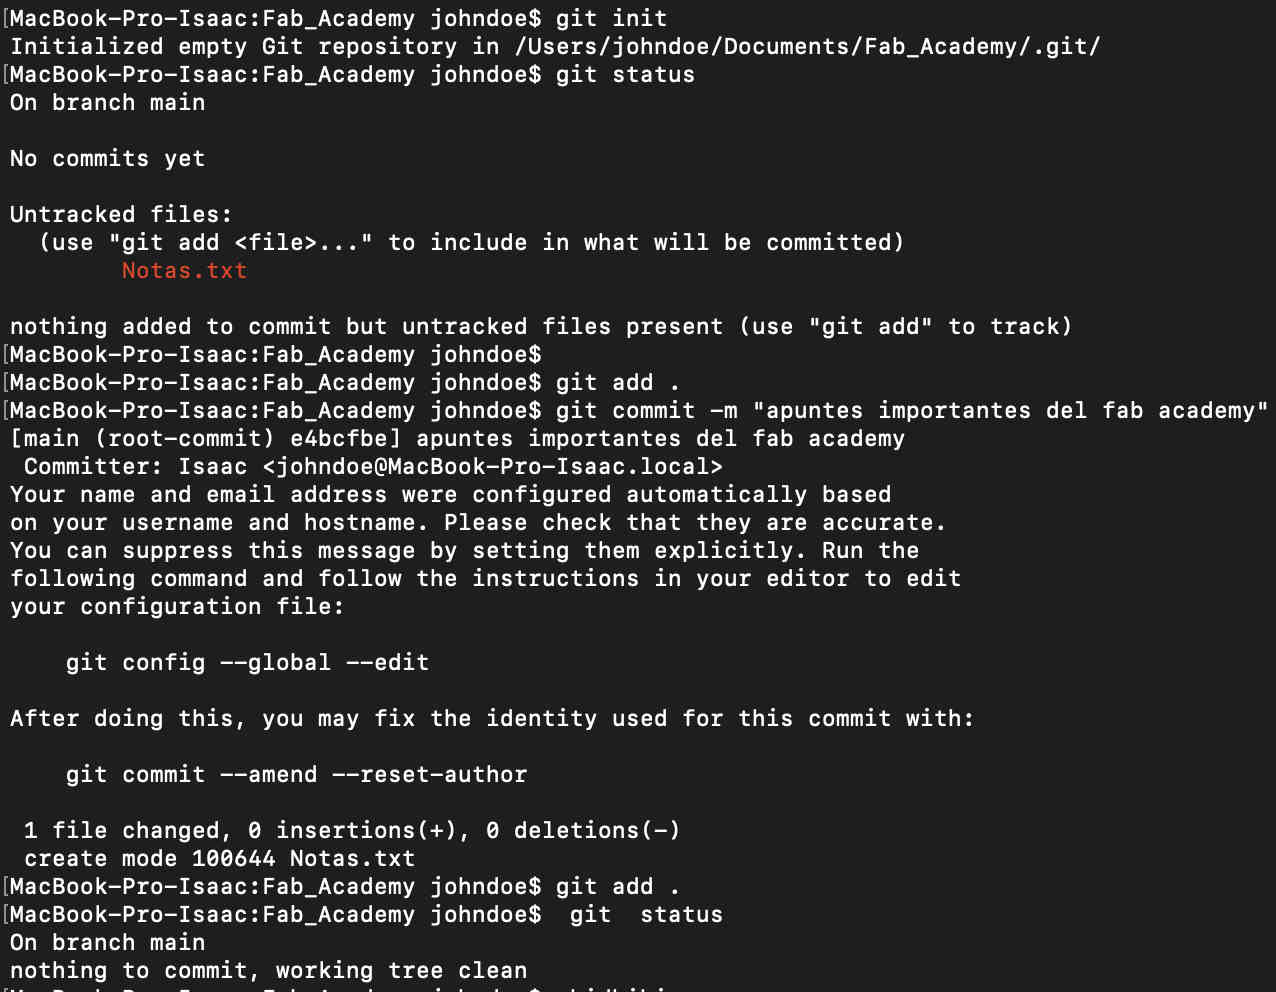
Git is a distributed version control system used to track changes in code files and coordinate work among multiple individuals in software development projects. |
|
|
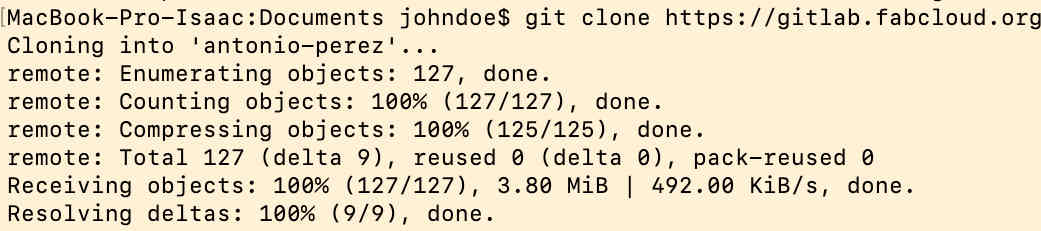
Fab Lab Cloud is a cloud-based platform for managing Fab Labs, enabling users to access and share designs, control machines, manage inventory, and collaborate on digital fabrication projects remotely. |
|
|
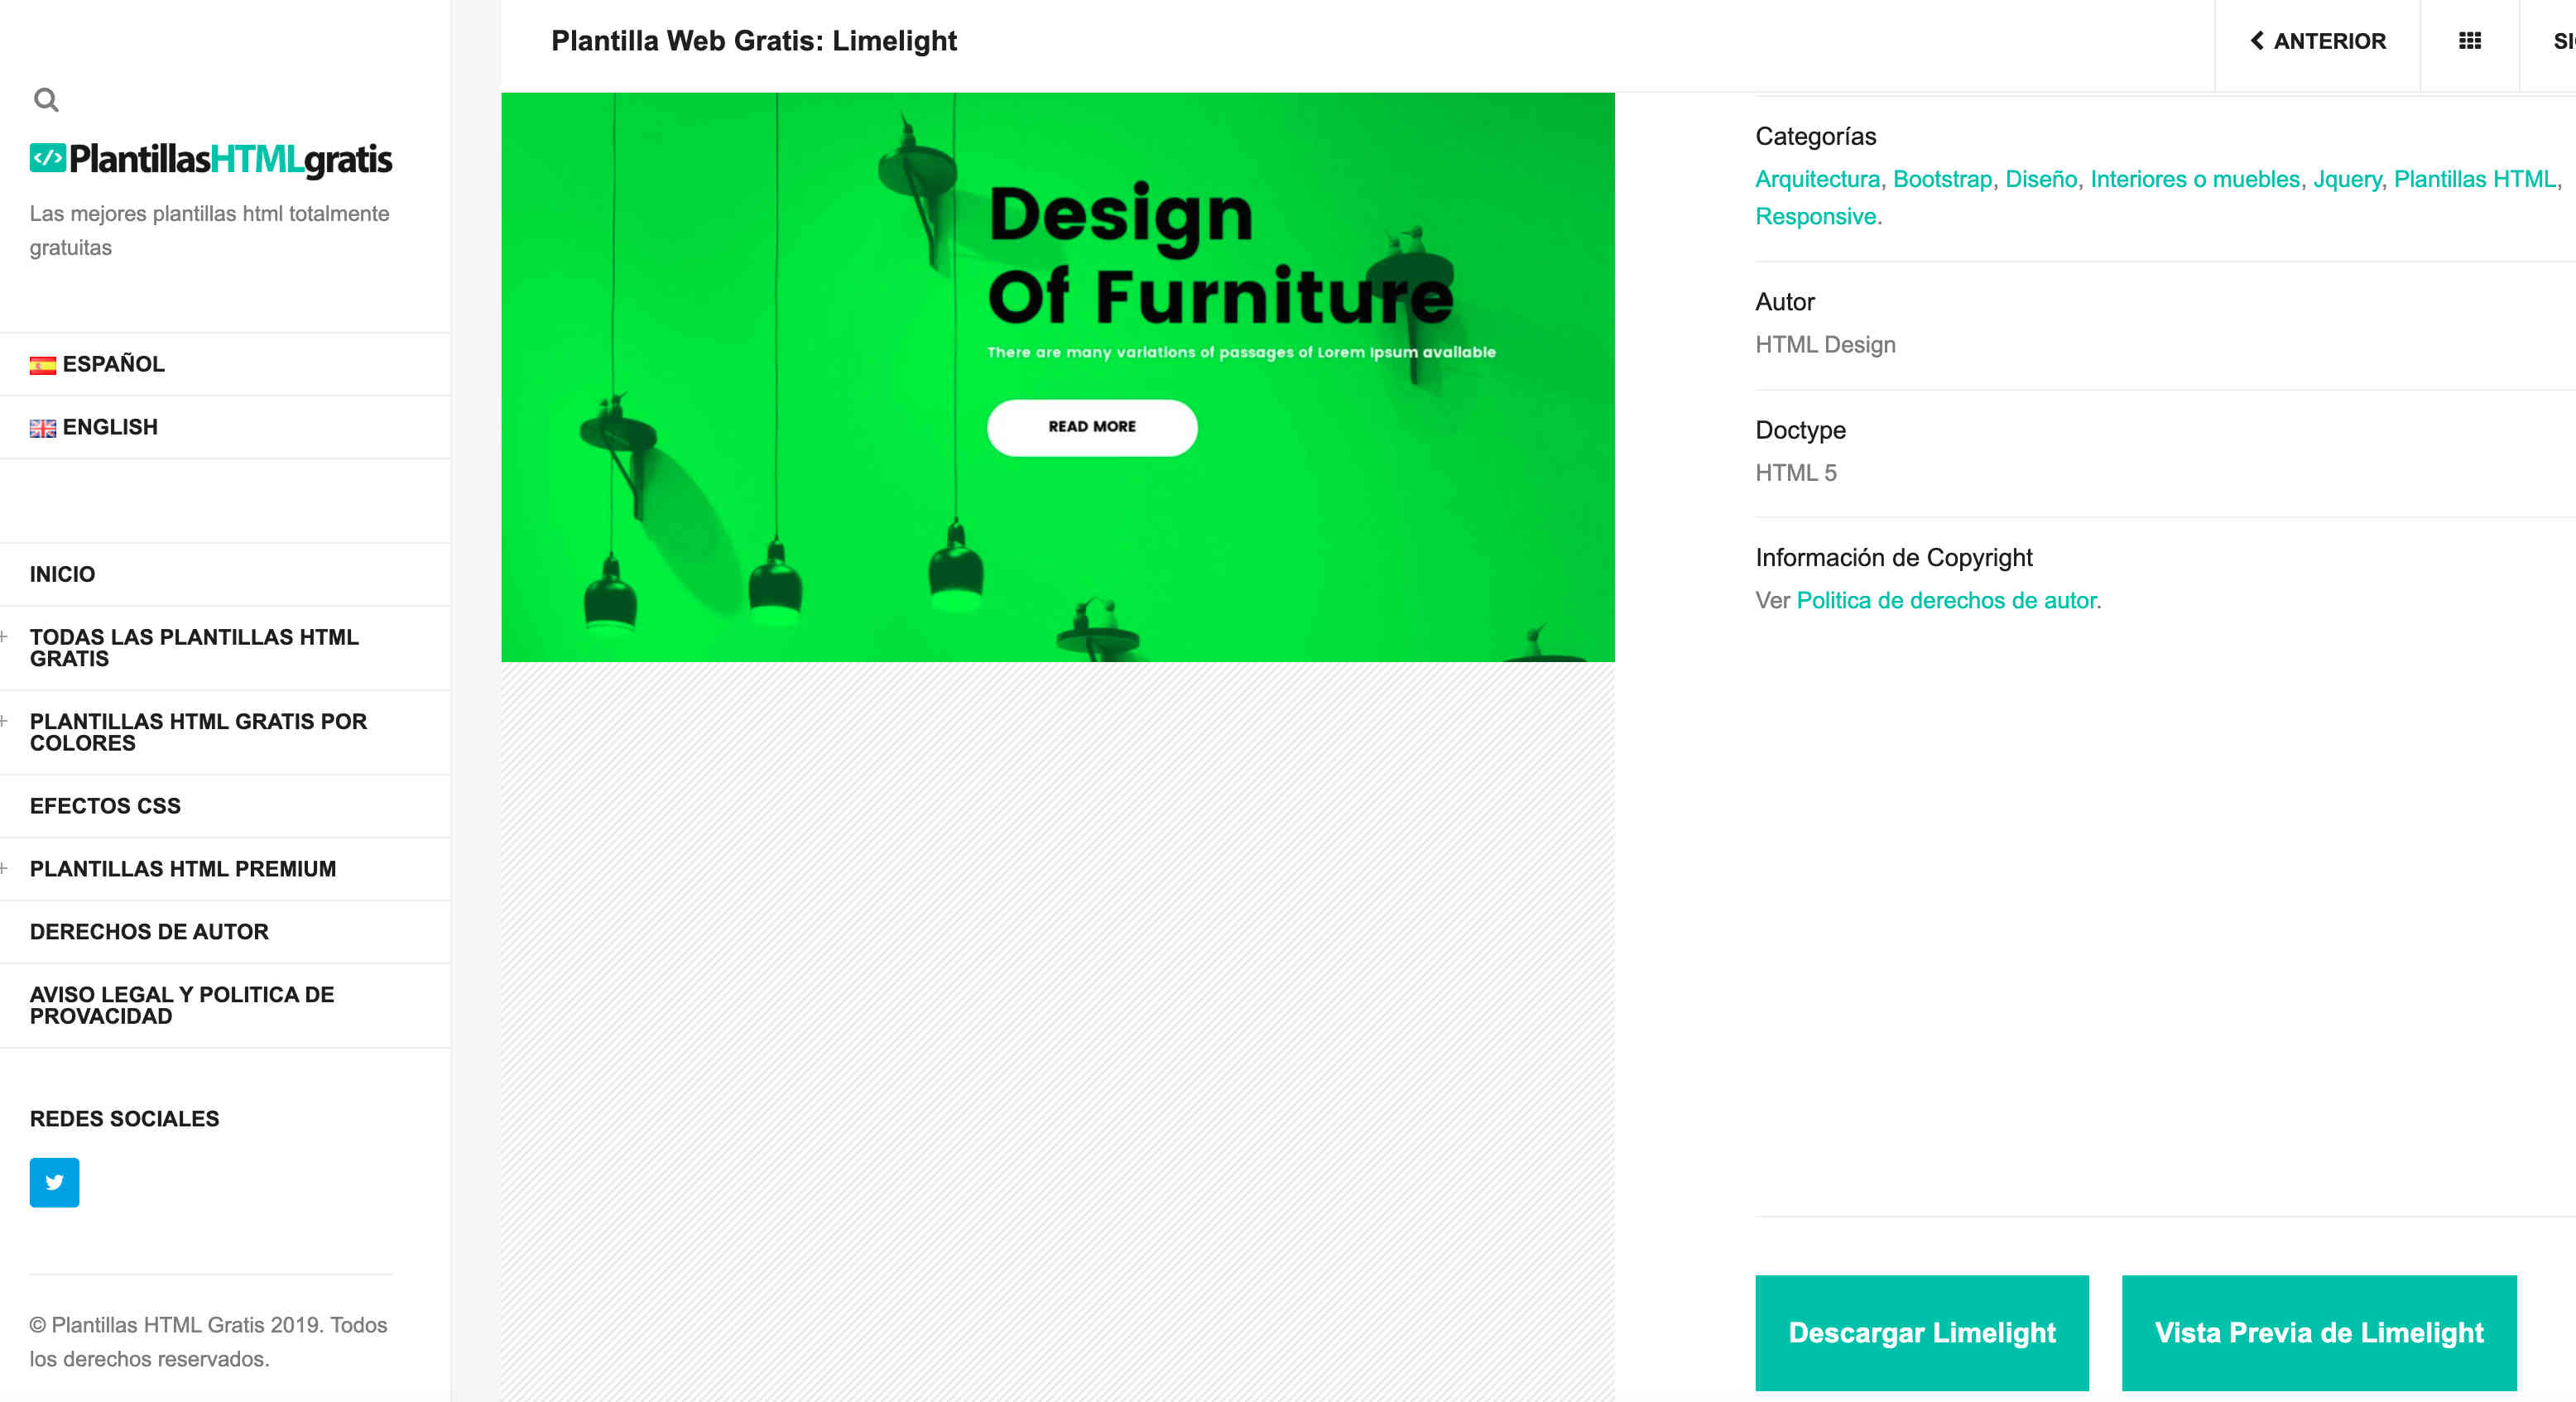
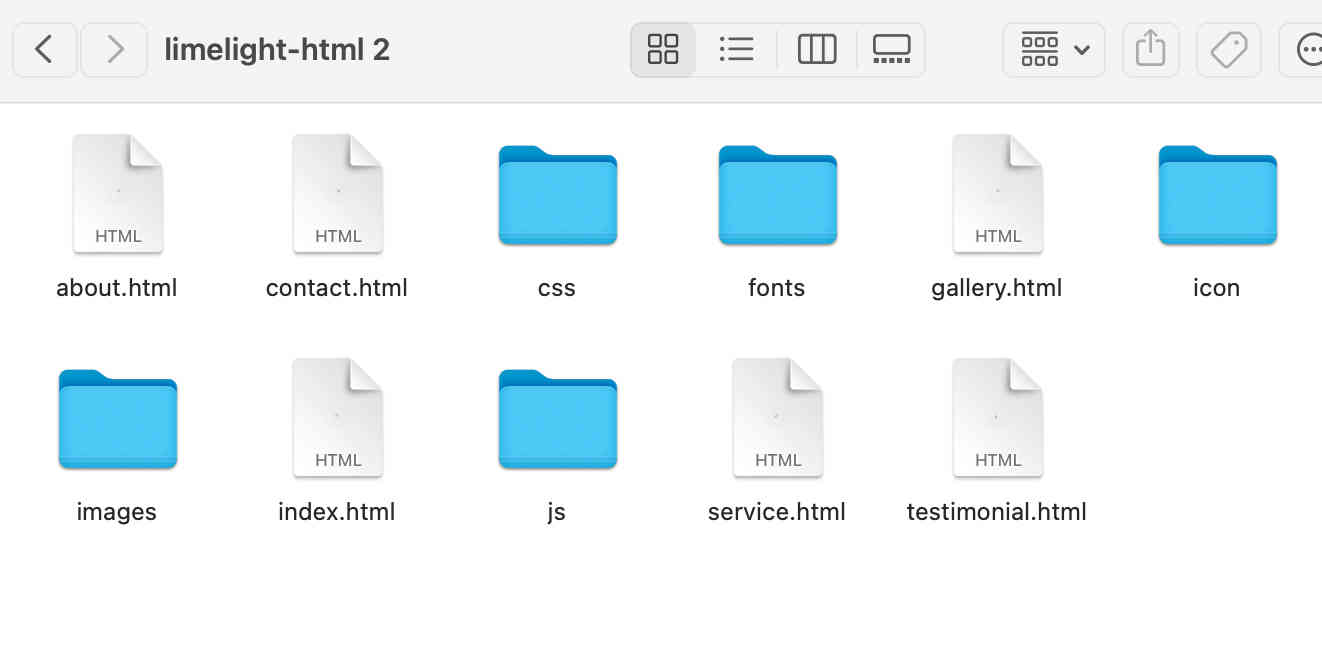
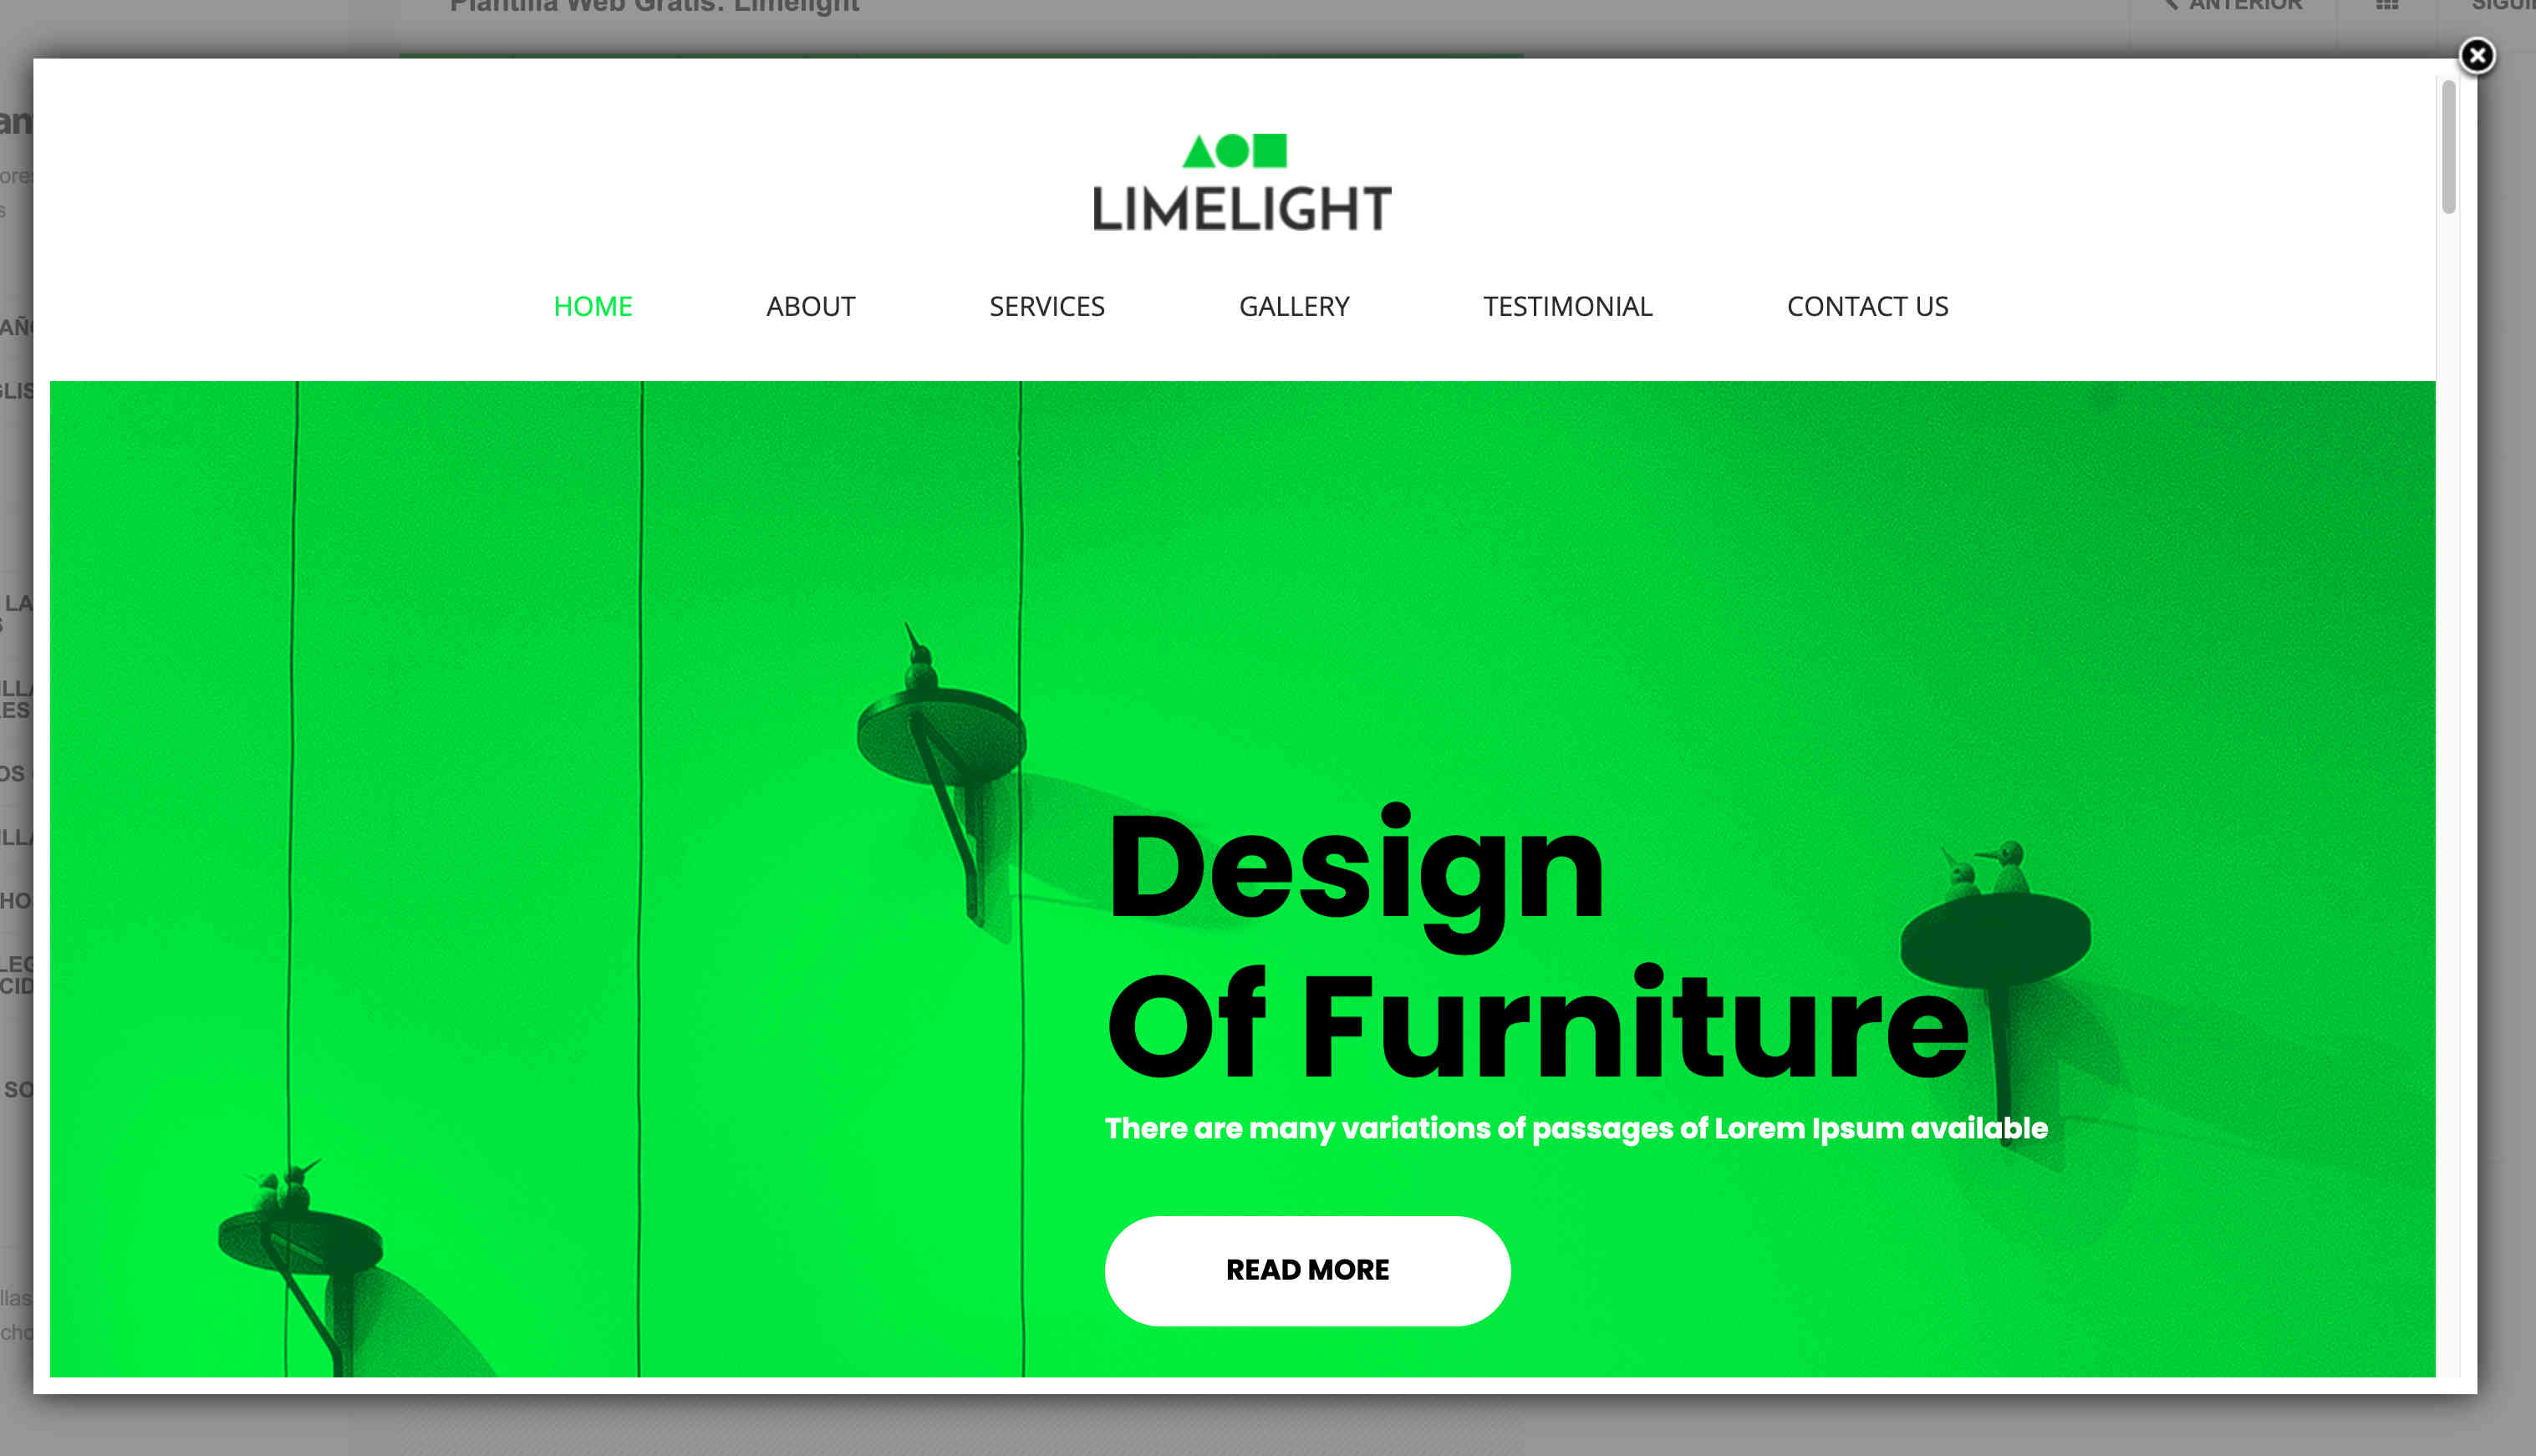
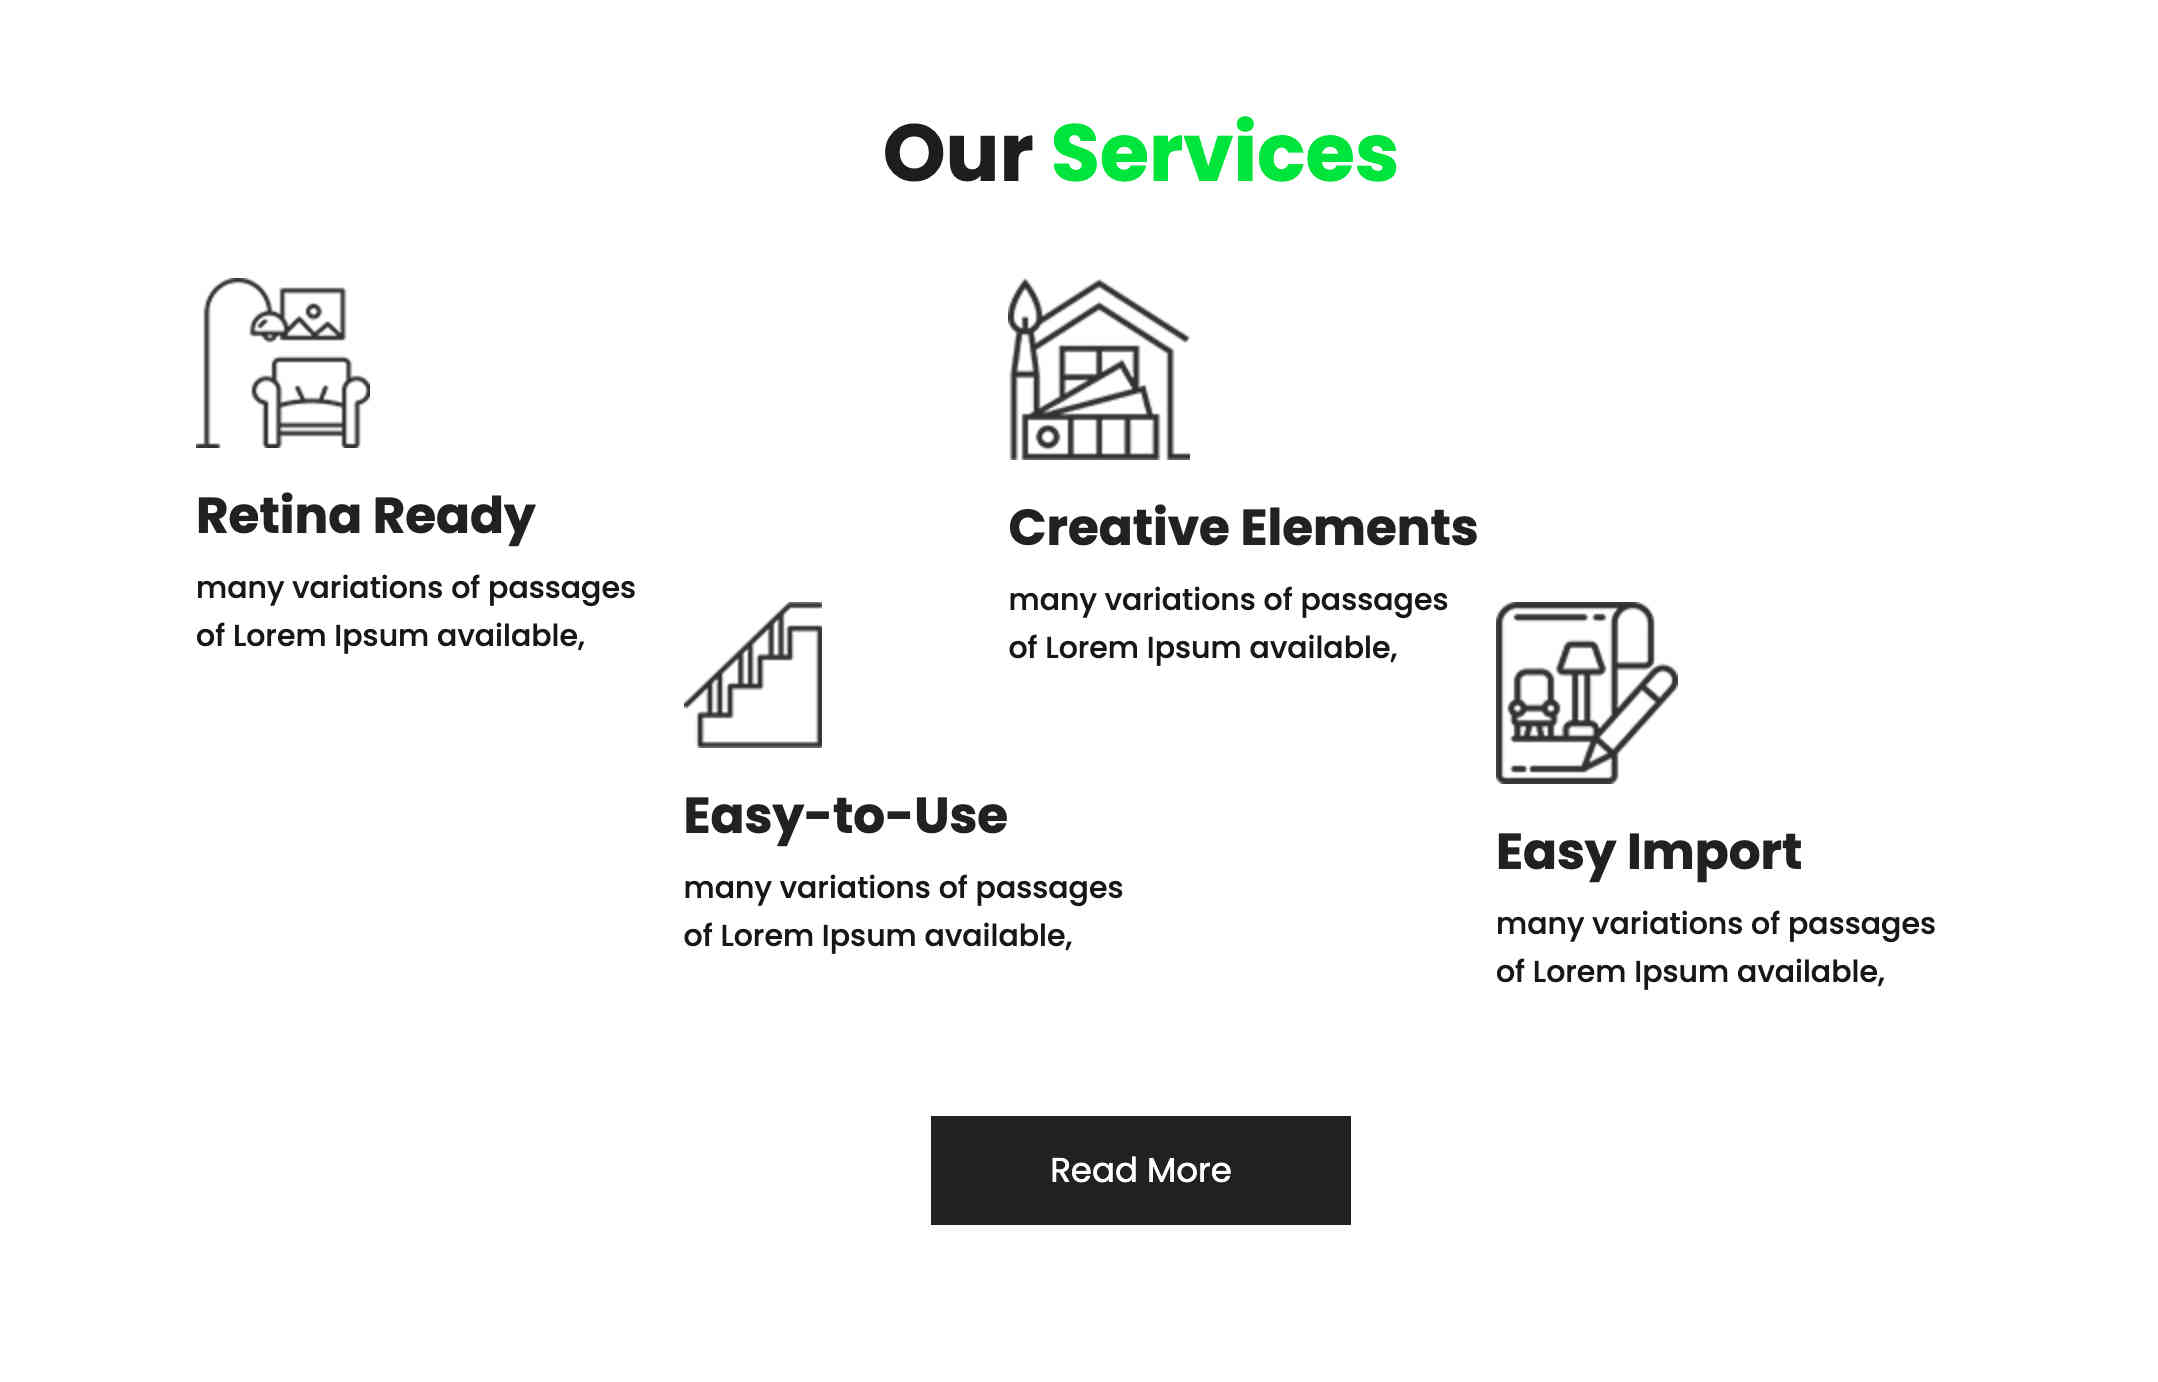
Templates are models I used to create my HTML page, simplifying the process by standardizing formats and enhancing efficiency in all aspects. |
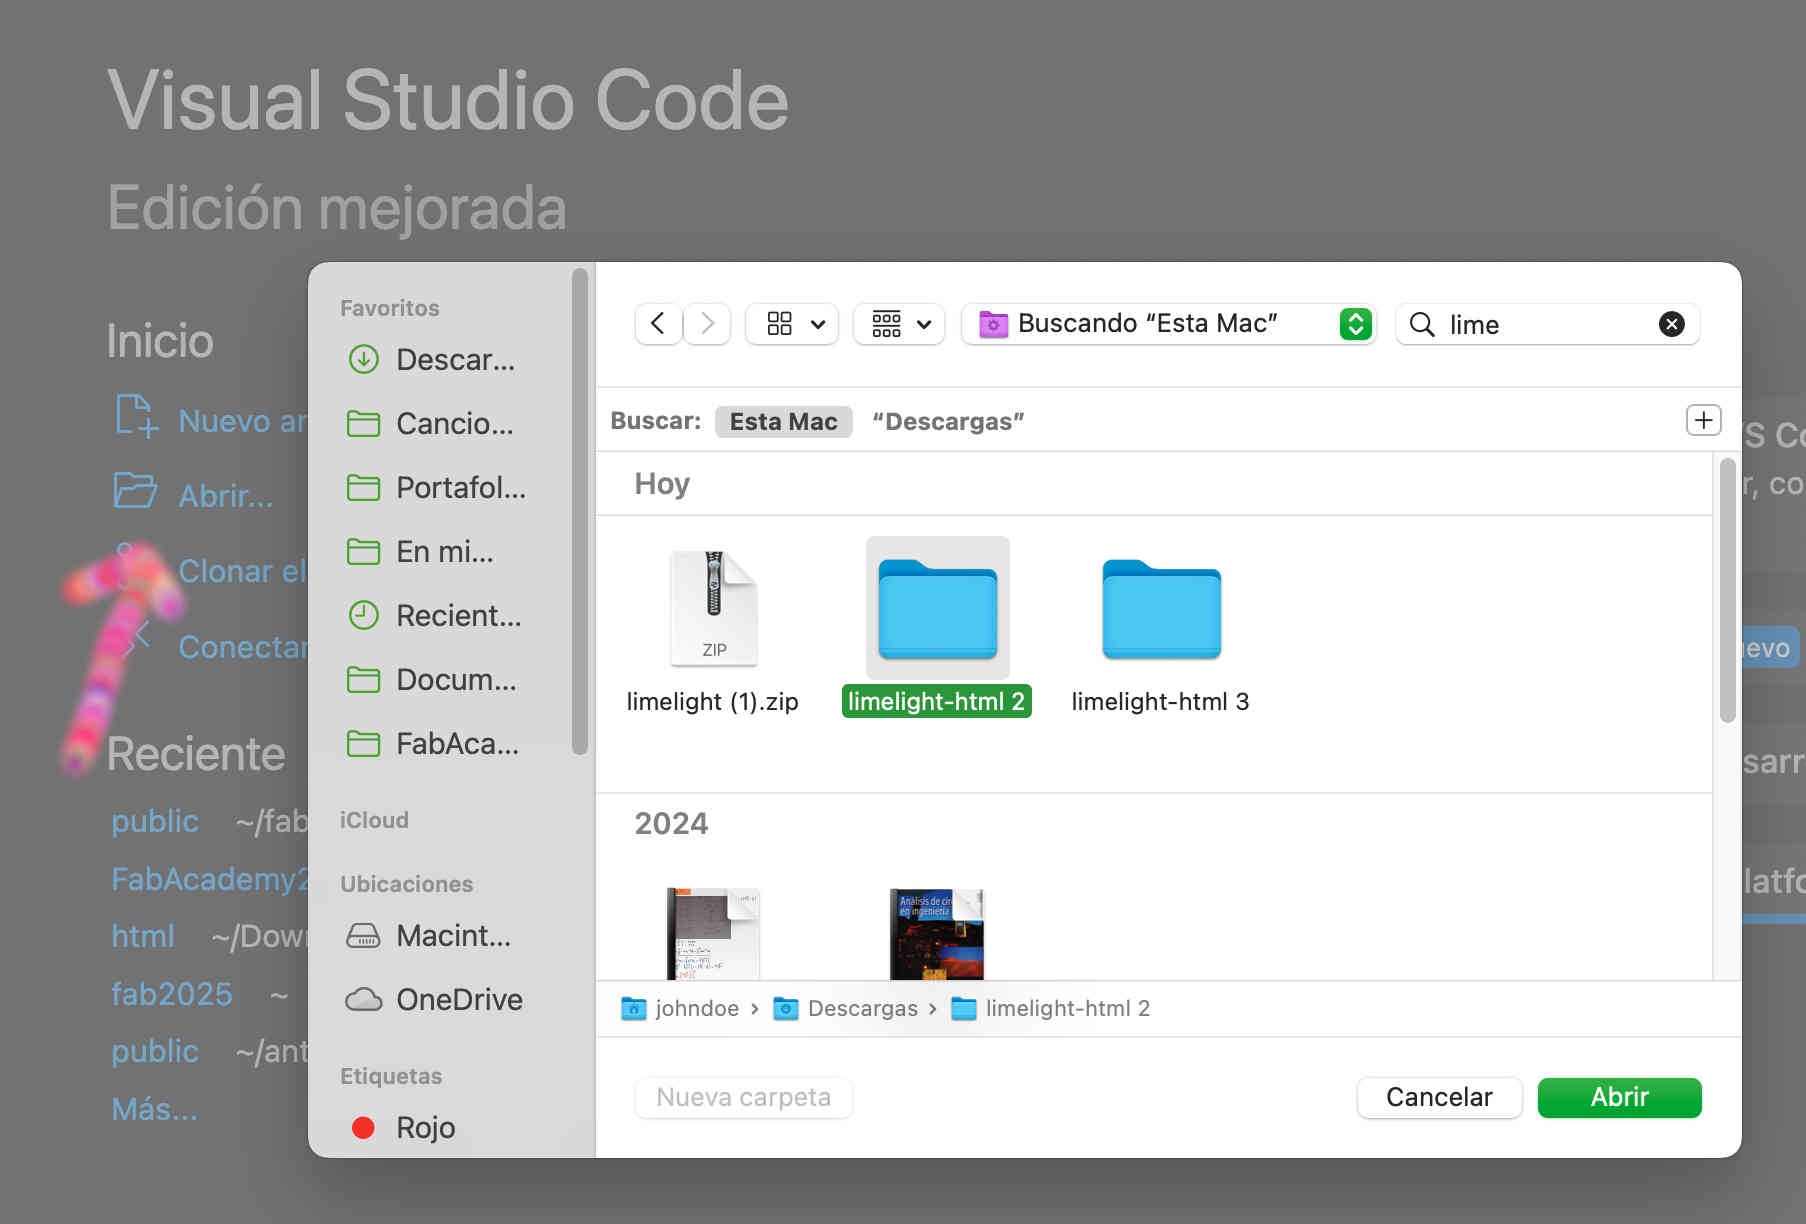
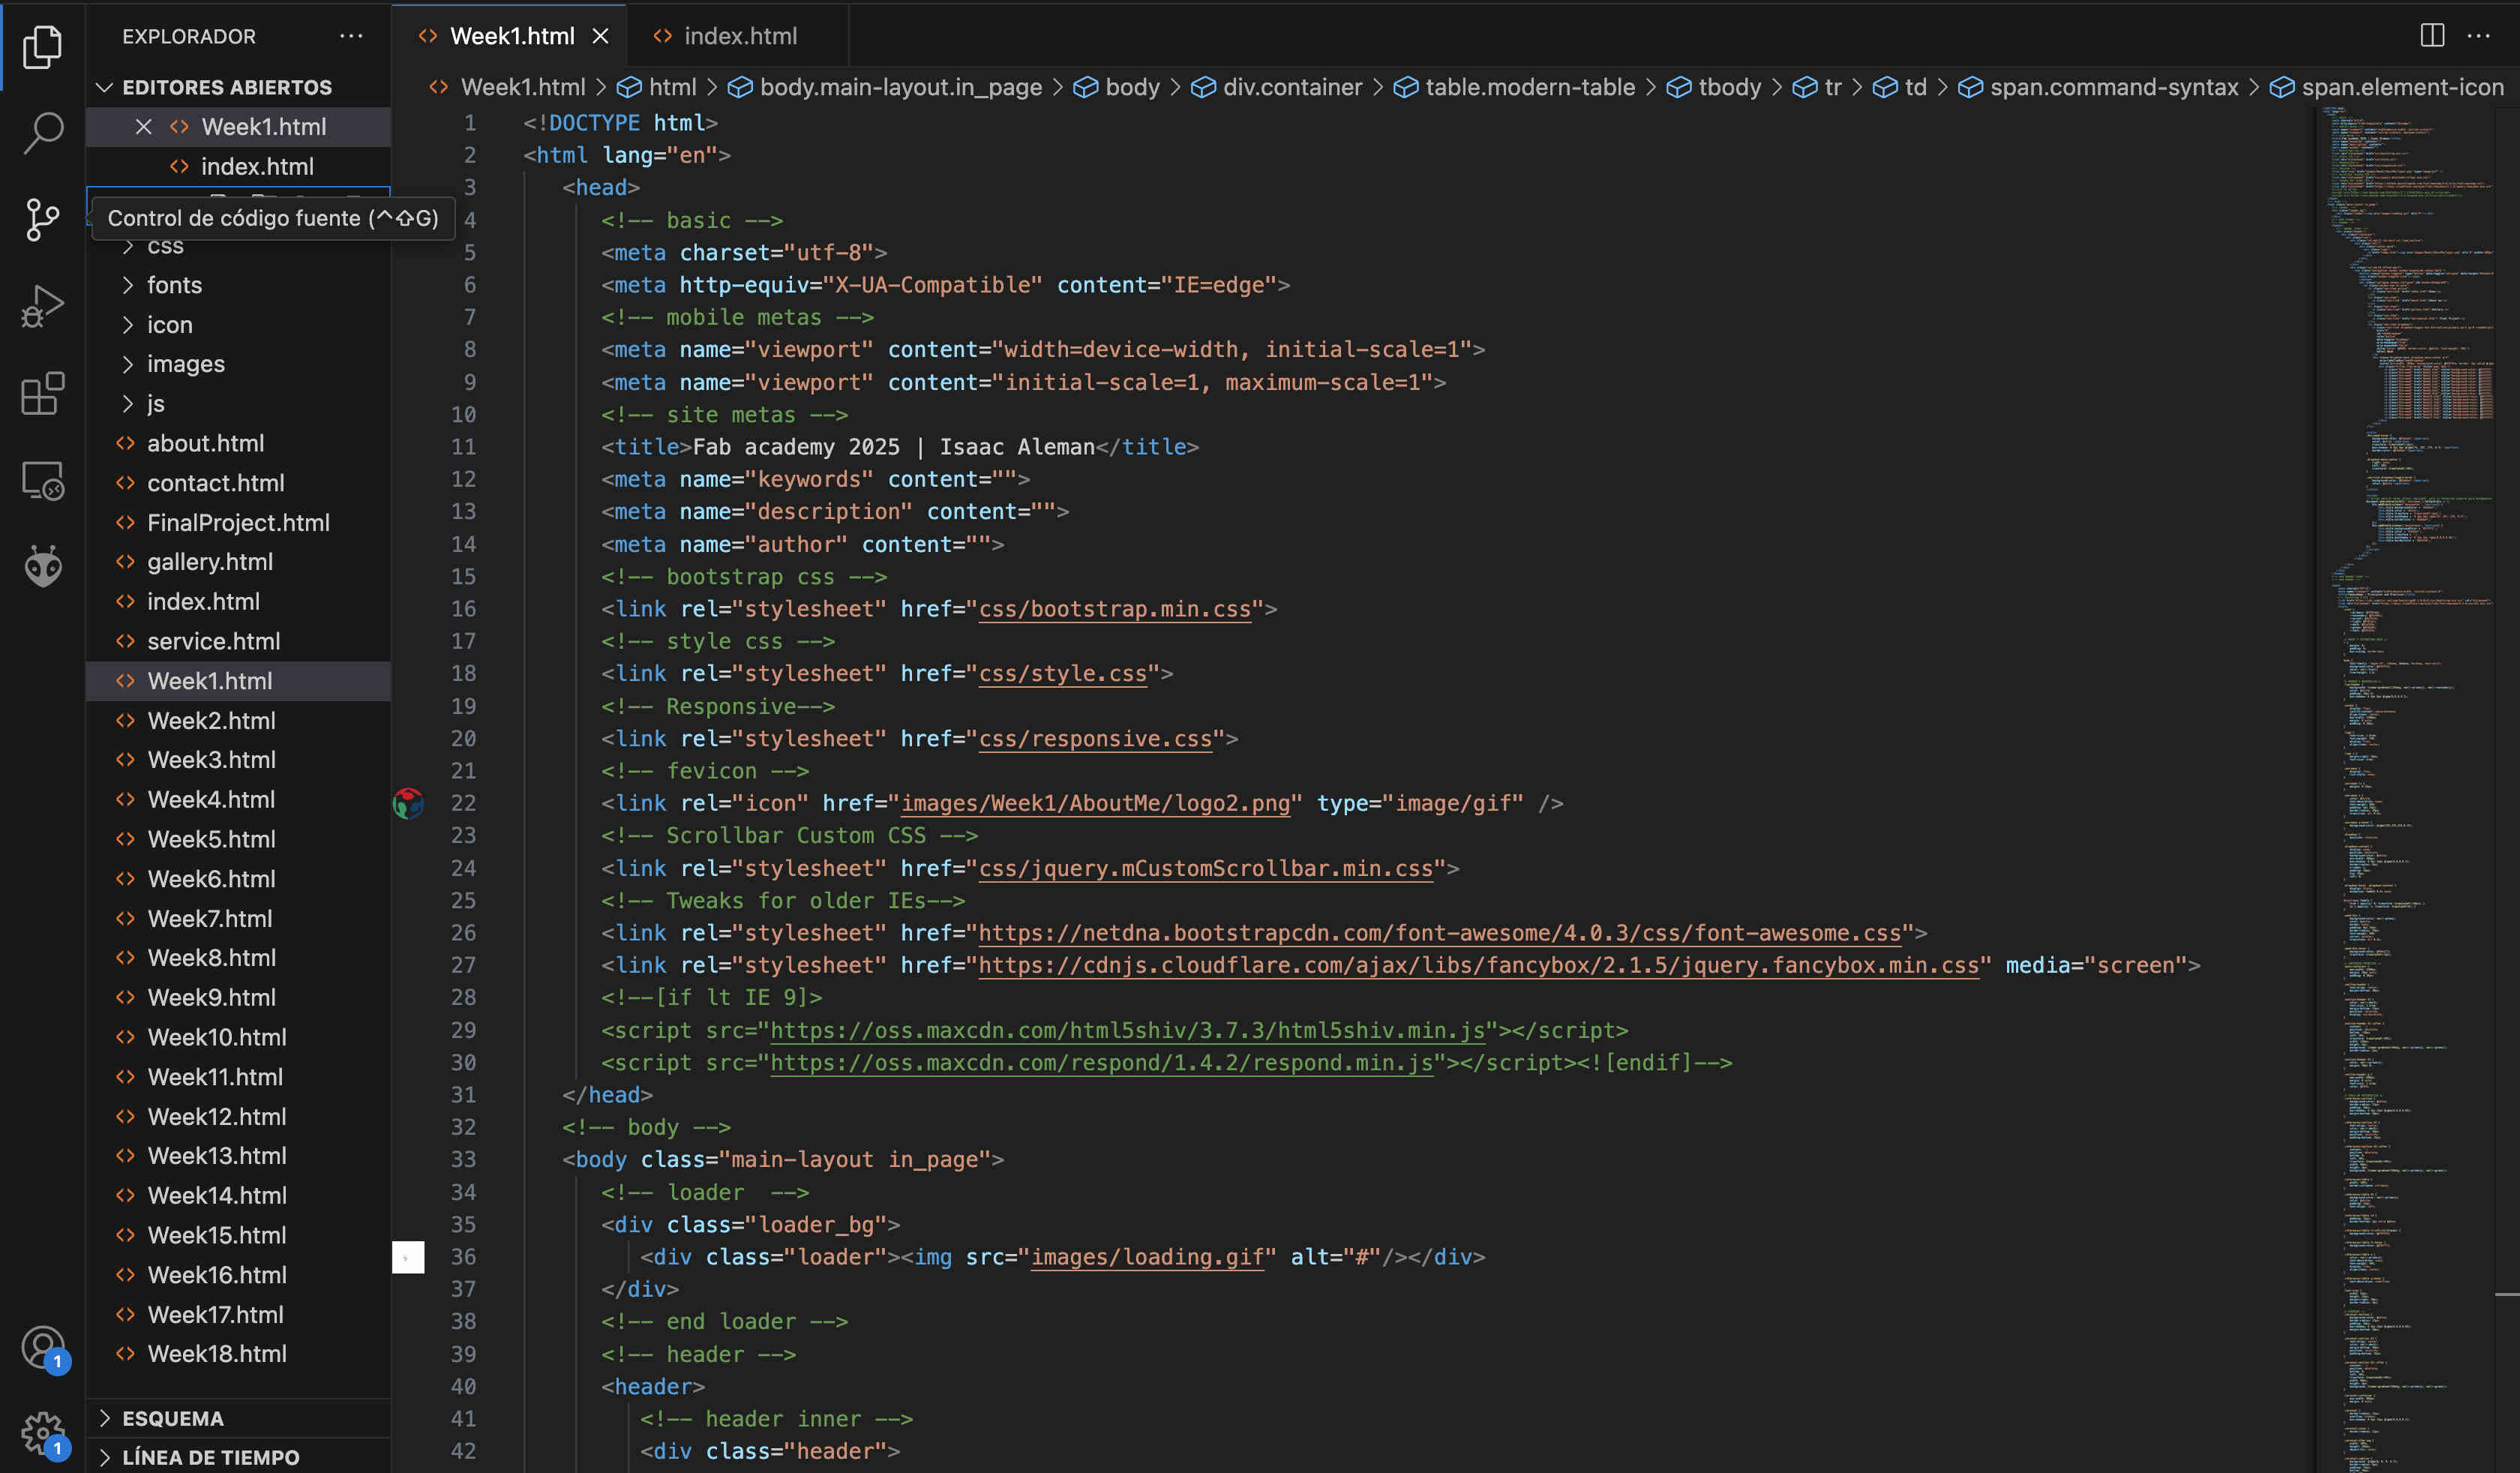
 Visual Studio Code
|
Visual Studio Code is a Microsoft code editor used for programming and software development. It offers advanced editing features, Git integration, and high customization through extensions. |
Git Bash
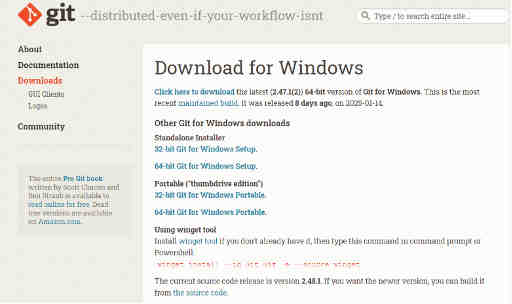
To start with Git, I downloaded and installed Git Bash (64-bit for my laptop) from the official Git website. This setup provides the command-line power I need to manage my projects with Git right from my computer.
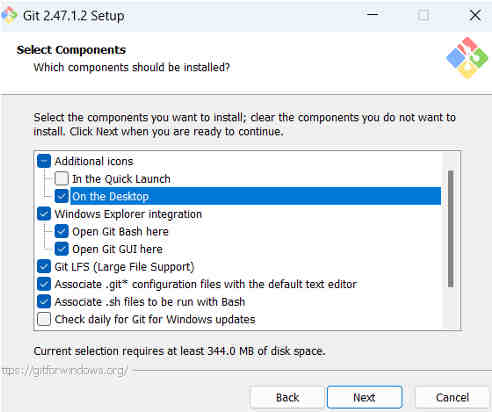
During the Git Bash installation process, I made strategic customizations to optimize my development workflow. Specifically, in the Select Components configuration screen, I enabled the "Create a desktop icon" option to ensure immediate terminal access from my primary workspace.
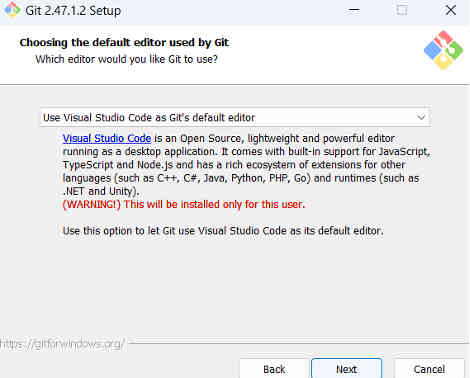
To align with my preferred development environment, I modified Git Bash's default configuration by selecting Visual Studio Code as the primary text editor during installation. This integration enables seamless file editing directly from the terminal using the code command, enhancing workflow efficiency and maintaining tooling consistency across my development ecosystem.