MOLDING AND CASTING
Creating fishing lure molds with CNC machining and silicone casting
Project Introduction
For this week's assignment, I decided to create a fishing lure mold to streamline my hobby and save money in the long run. The process involved designing a 3D mold, machining it from wax using a CNC router, and casting silicone prototypes.
Inspiration
I sourced design inspiration from Pinterest and free 3D models on Cults3D to create a functional fishing lure that would be durable and effective.
Objectives
- Design a two-part mold for fishing lures
- Machine the mold from wax using CNC
- Test silicone casting techniques
- Create functional lure prototypes
Assignment Checklist
Group Assignment
Safety Data Sheets Review
Our group reviewed the safety data sheets for all molding and casting materials:
- Silicone rubber (Part A & B)
- Machining wax
- Release agents
- Urethane casting resin
Key safety precautions included proper ventilation, nitrile gloves, and eye protection when handling materials.
Material Testing
We conducted comparative tests with different materials:
| Material | Cure Time | Detail |
|---|---|---|
| Silicone A | 4 hours | High detail |
| Silicone B | 6 hours | Flexible |
| Urethane | 30 min | Rigid |
Printing vs Milling Comparison
| Criteria | 3D Printed Molds | CNC Milled Molds |
|---|---|---|
| Surface Finish | Layered texture visible | Smooth, machined finish |
| Accuracy | ±0.1-0.2mm | ±0.05mm |
| Material Options | PLA, ABS, Resin | Wax, Aluminum, Delrin |
| Production Time | 4-8 hours | 1-2 hours |
| Cost | Lower material cost | Higher machine cost |
Mold Design Process
Initial Design in CATIA
I started by creating a basic mold block in CATIA with precise measurements:

Creating the initial sketch in CATIA
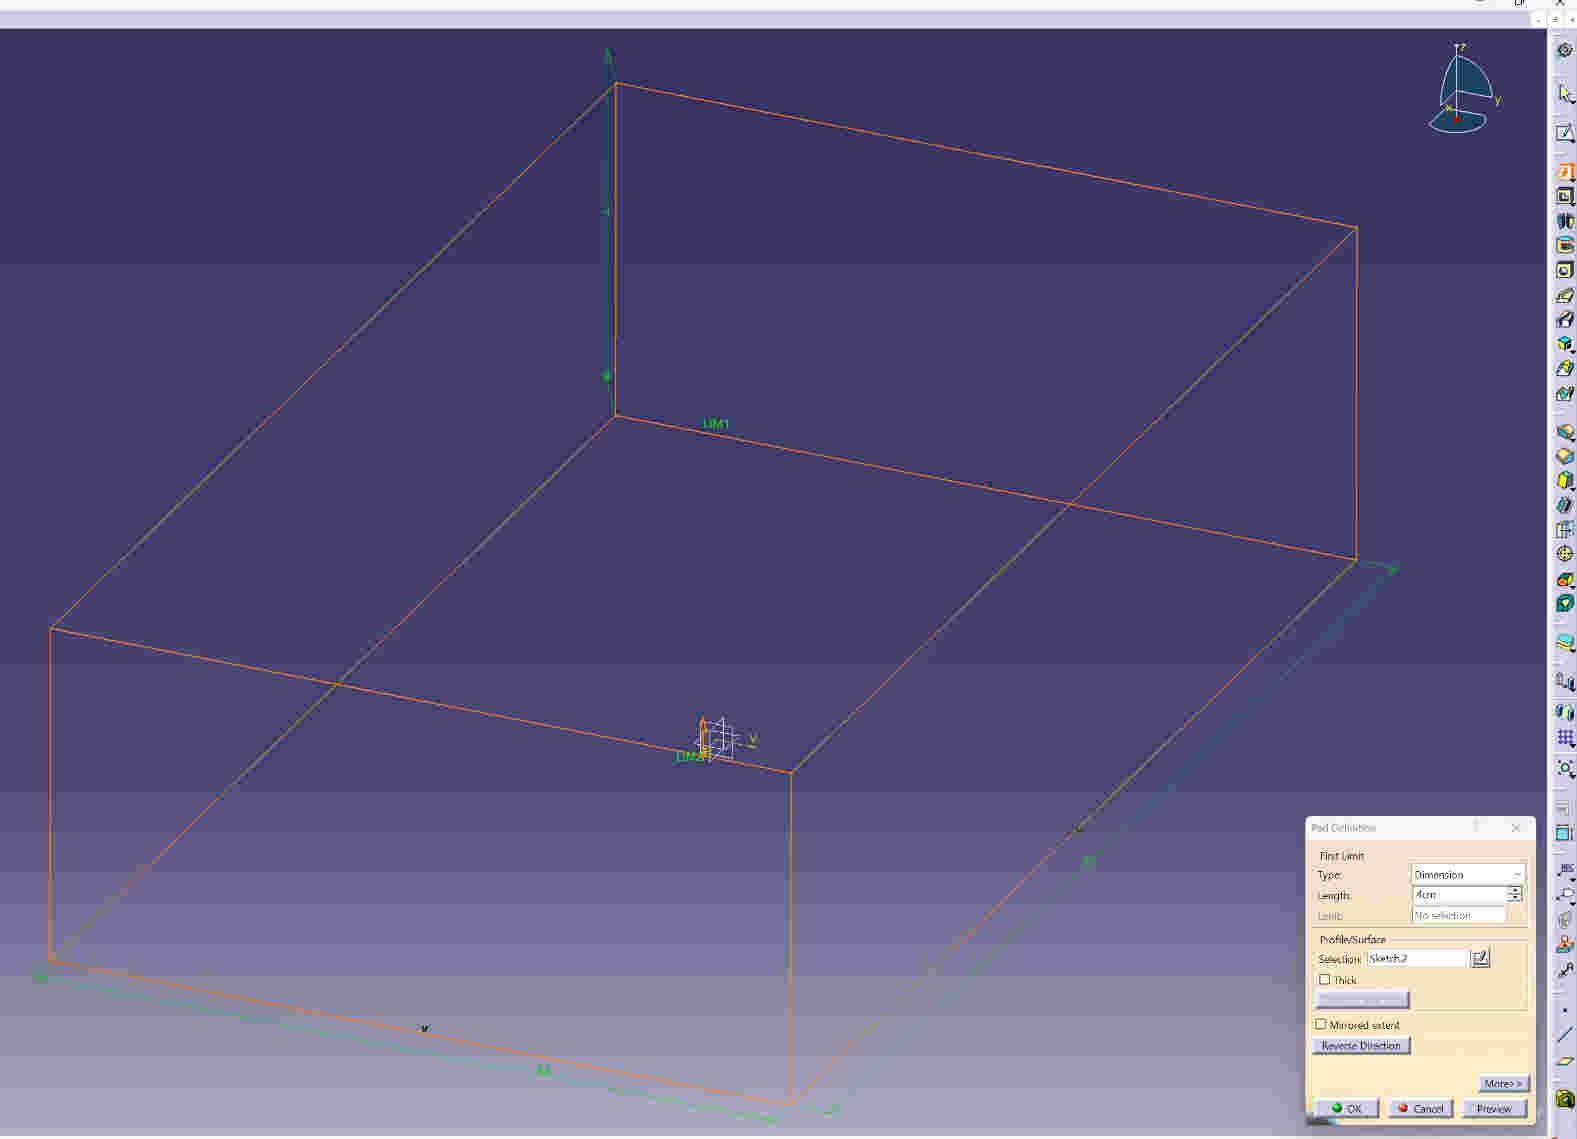
Extruding the 2D sketch into 3D
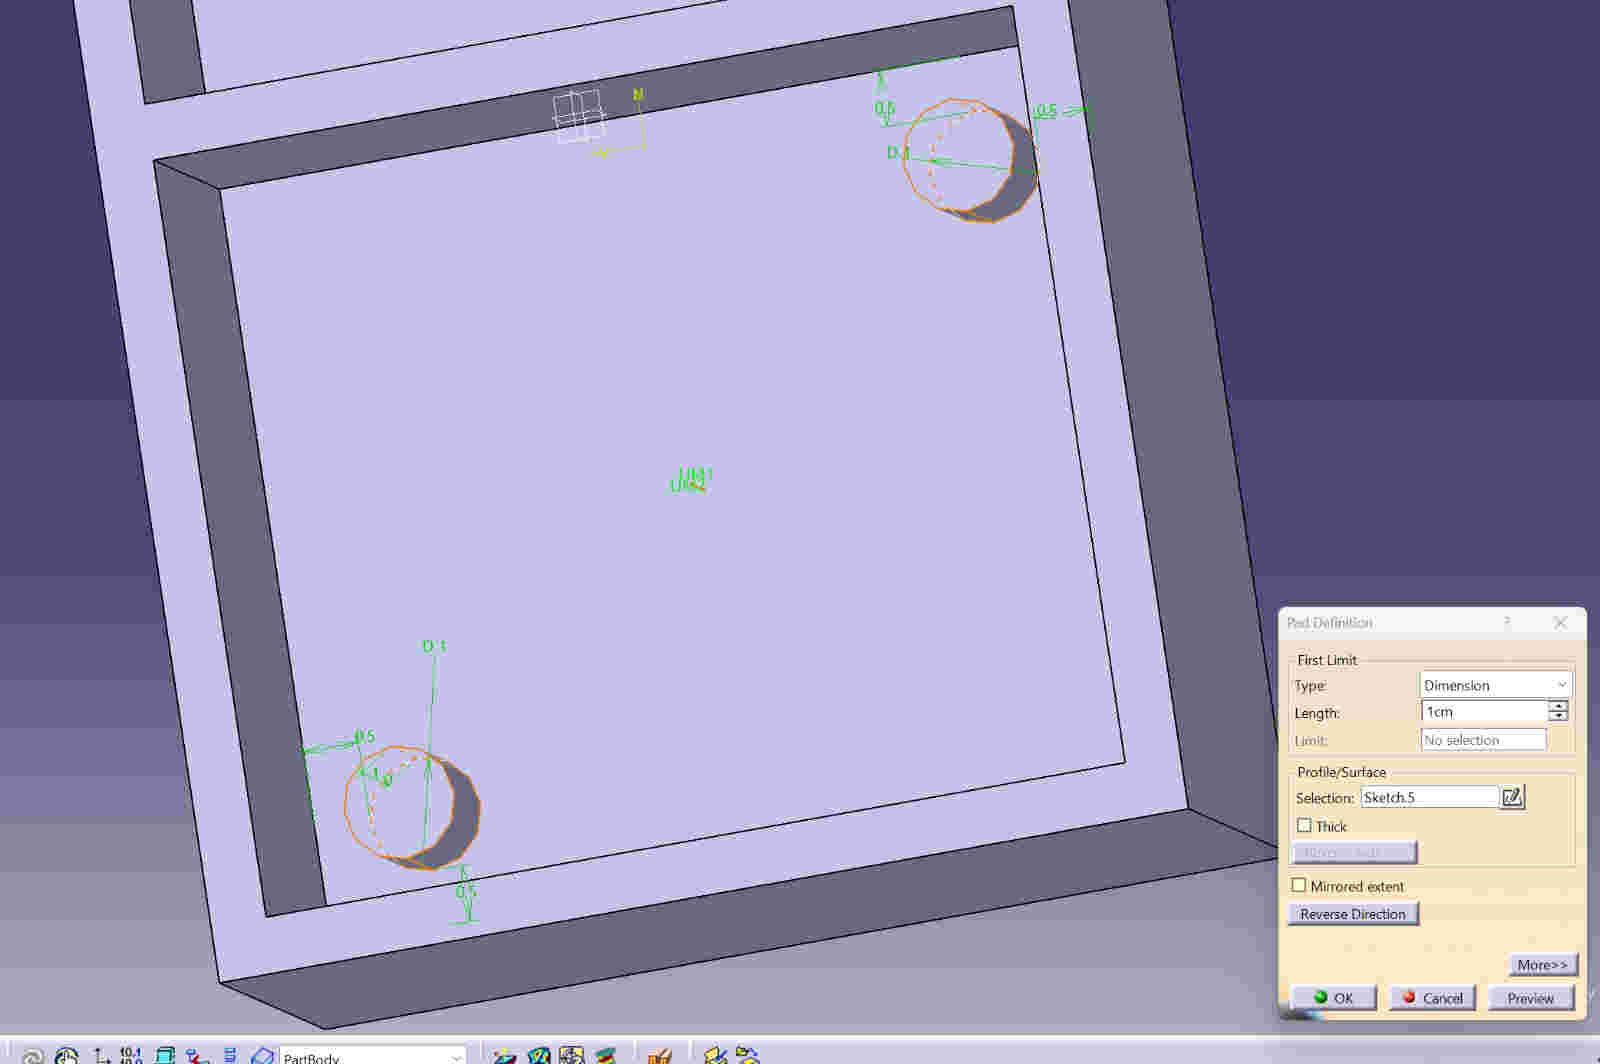
Completed mold base with alignment features
Model Preparation in Blender
I imported the fishing lure model and prepared it for molding in Blender:
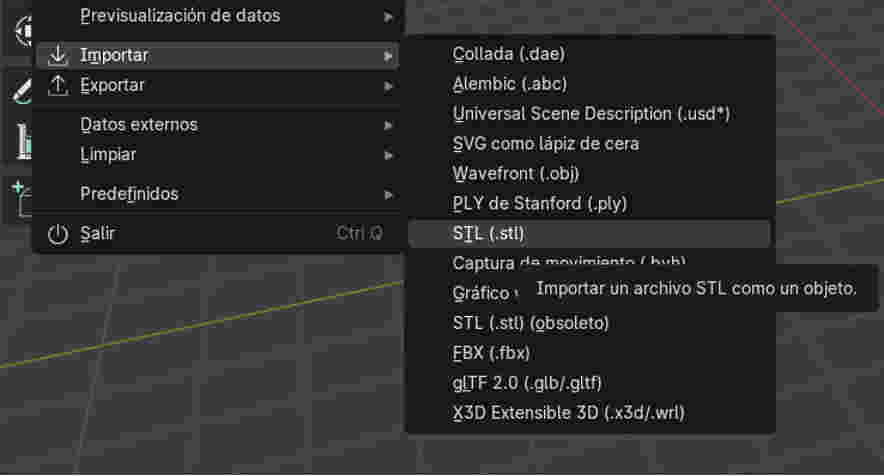
Original fishing lure model from Cults3D
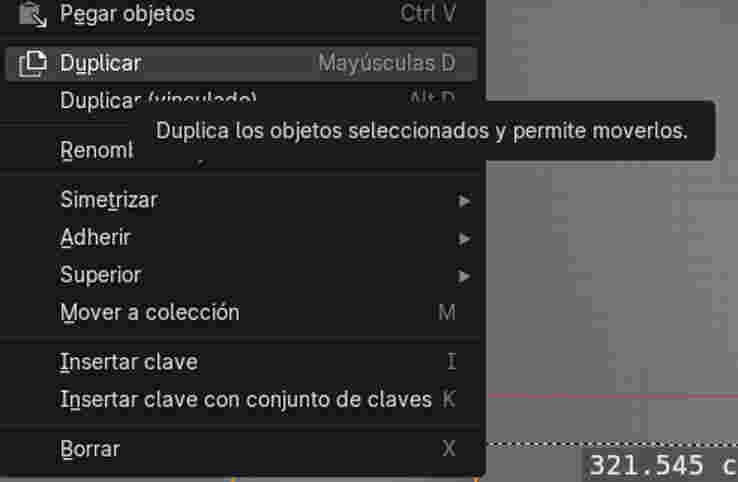
Model positioned in the mold cavity
Key operations included:
- Scaling the model to 0.15 of original size
- Creating symmetrical halves for two-part mold
- Adding registration marks and pour channels
Toolpath Generation in VCarve
I used VCarve to prepare the CNC toolpaths for machining the wax mold:
Setting up the job dimensions
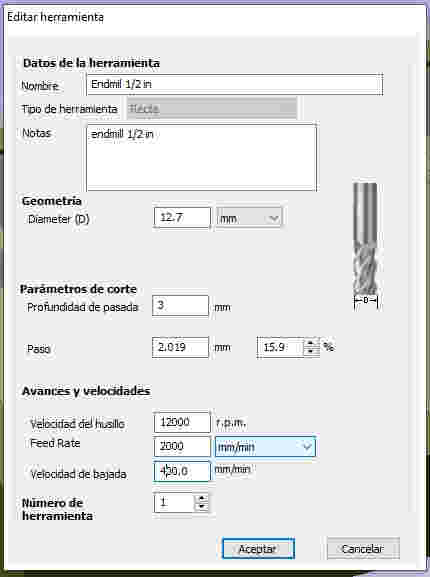
Configuring the roughing tool parameters
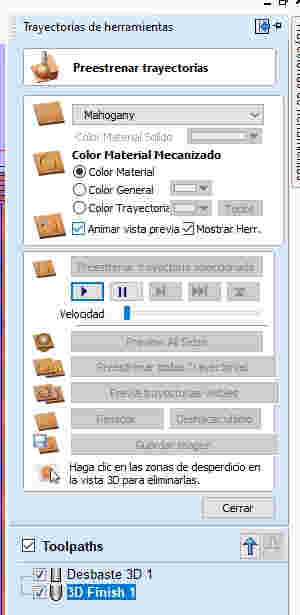
Simulating the finishing toolpath
The process involved creating separate roughing and finishing toolpaths with appropriate stepovers and depths for optimal surface finish.
Mold Manufacturing
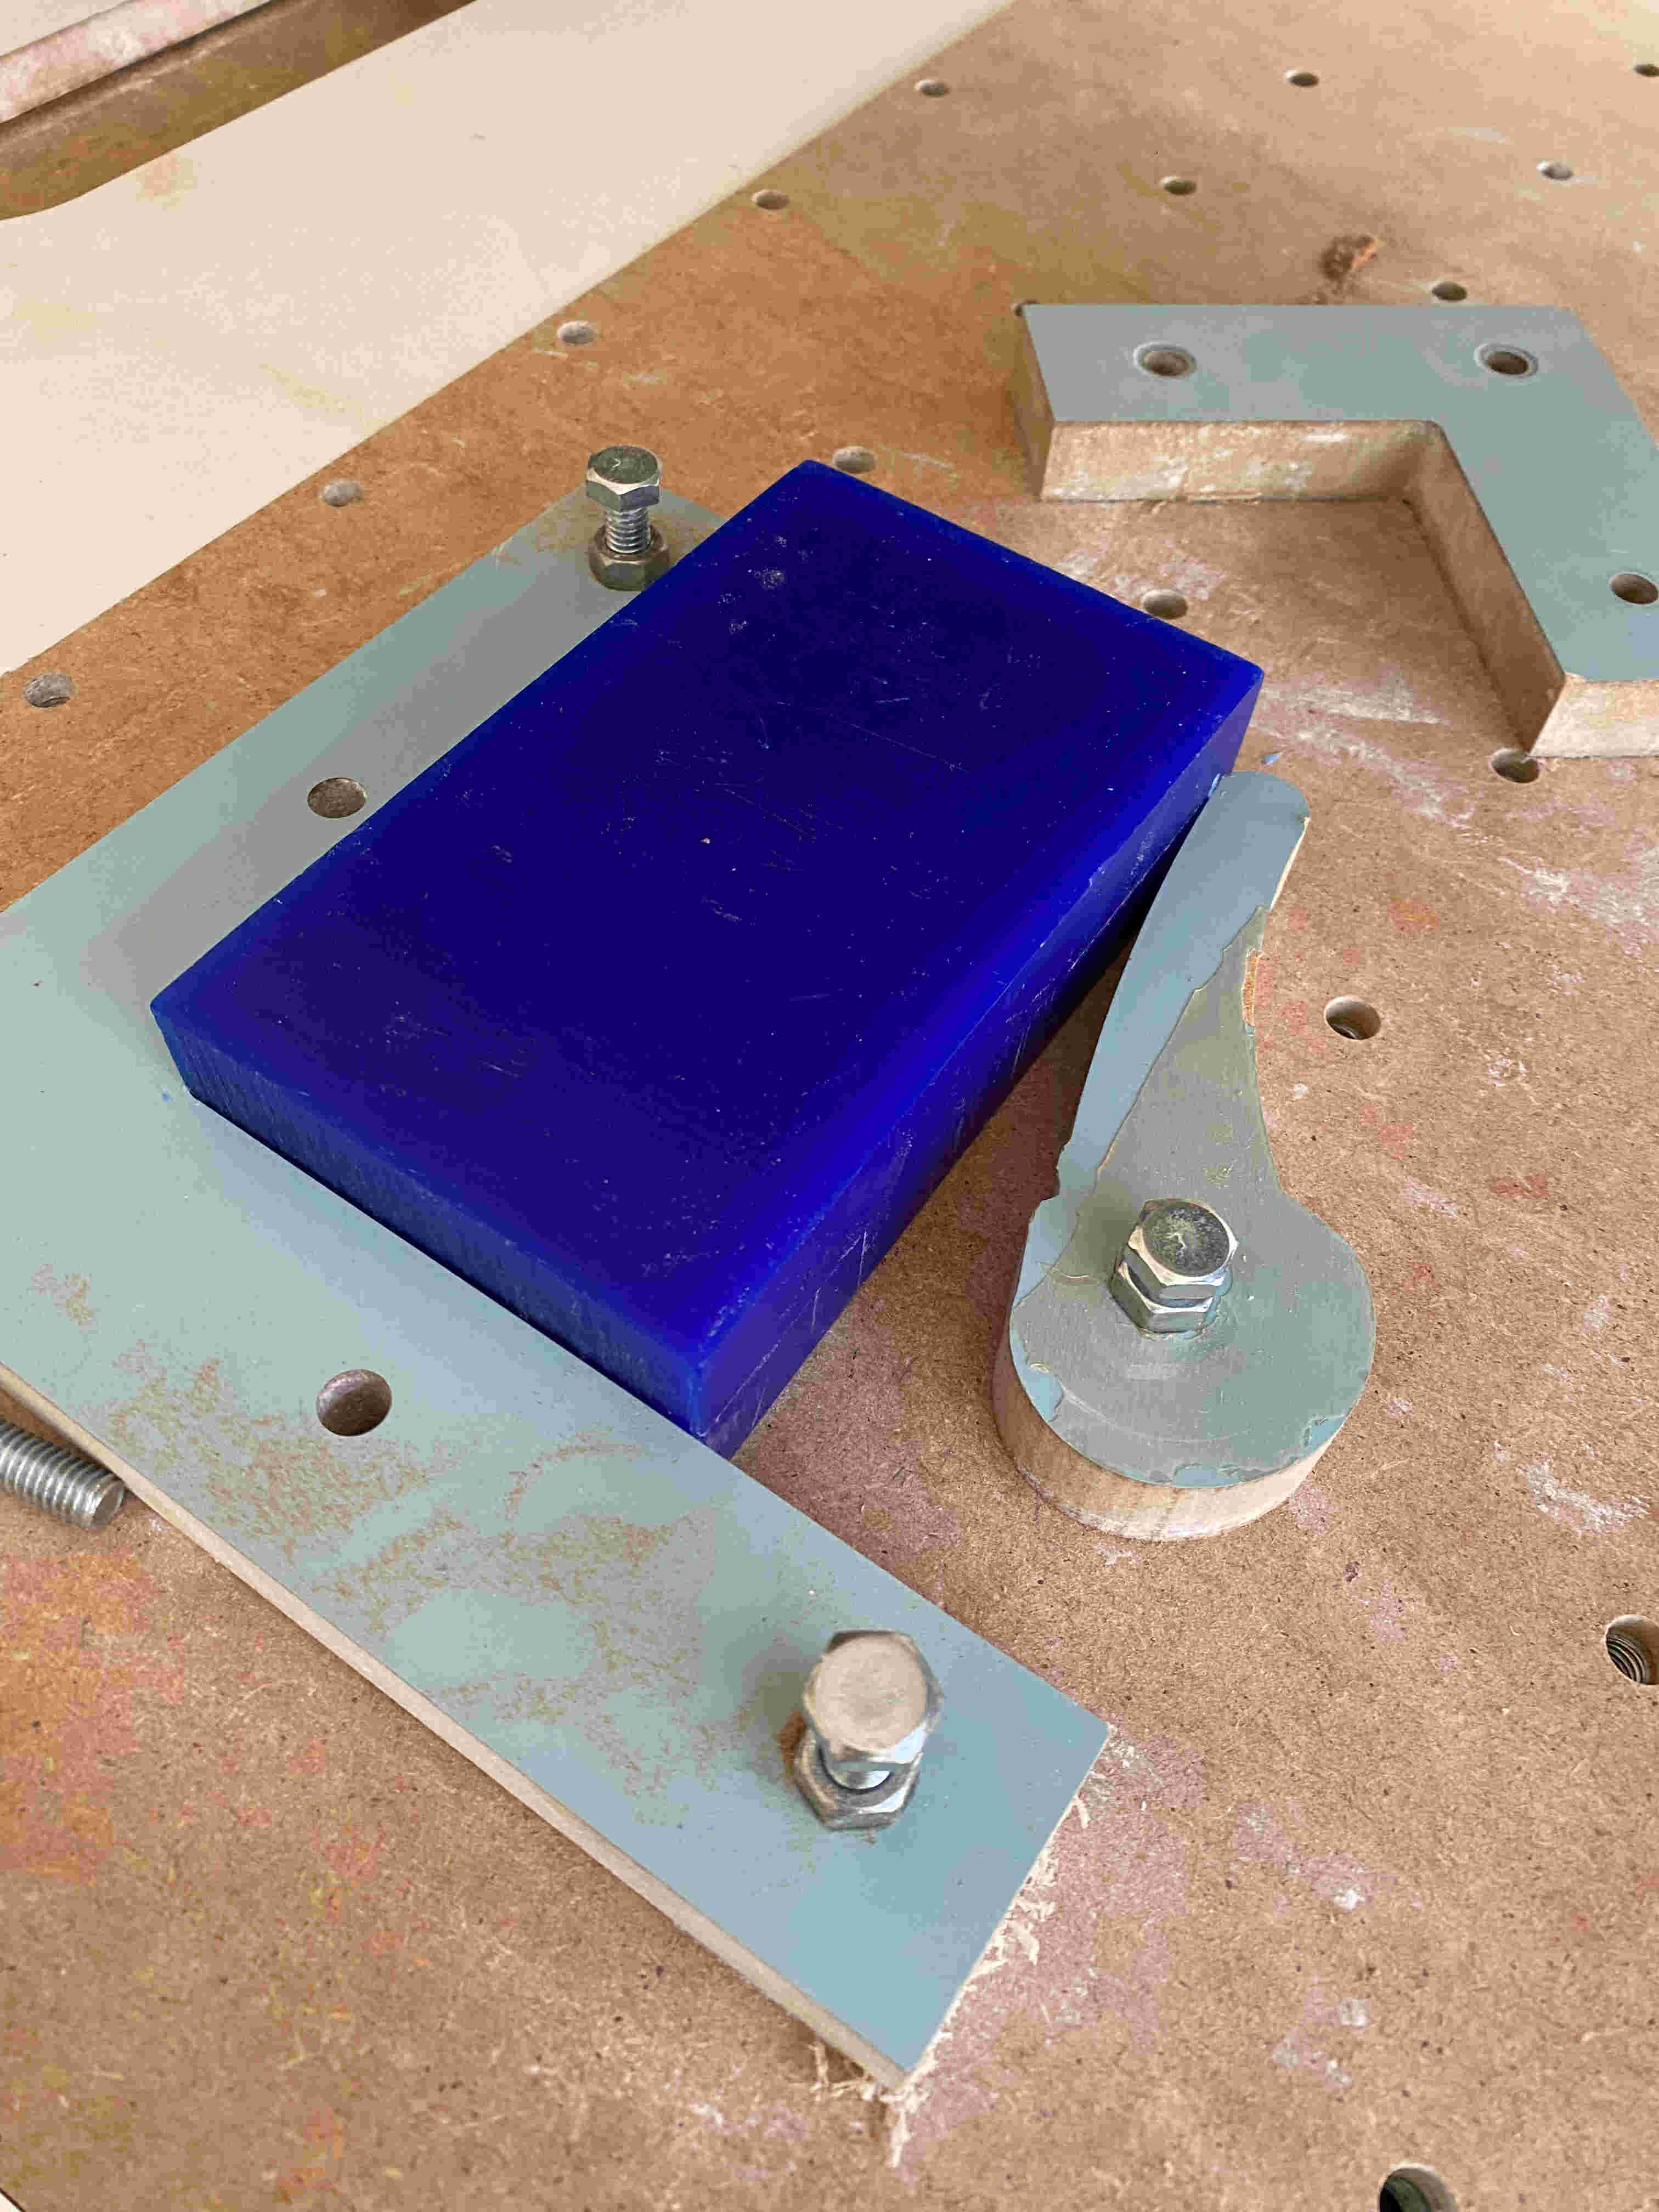
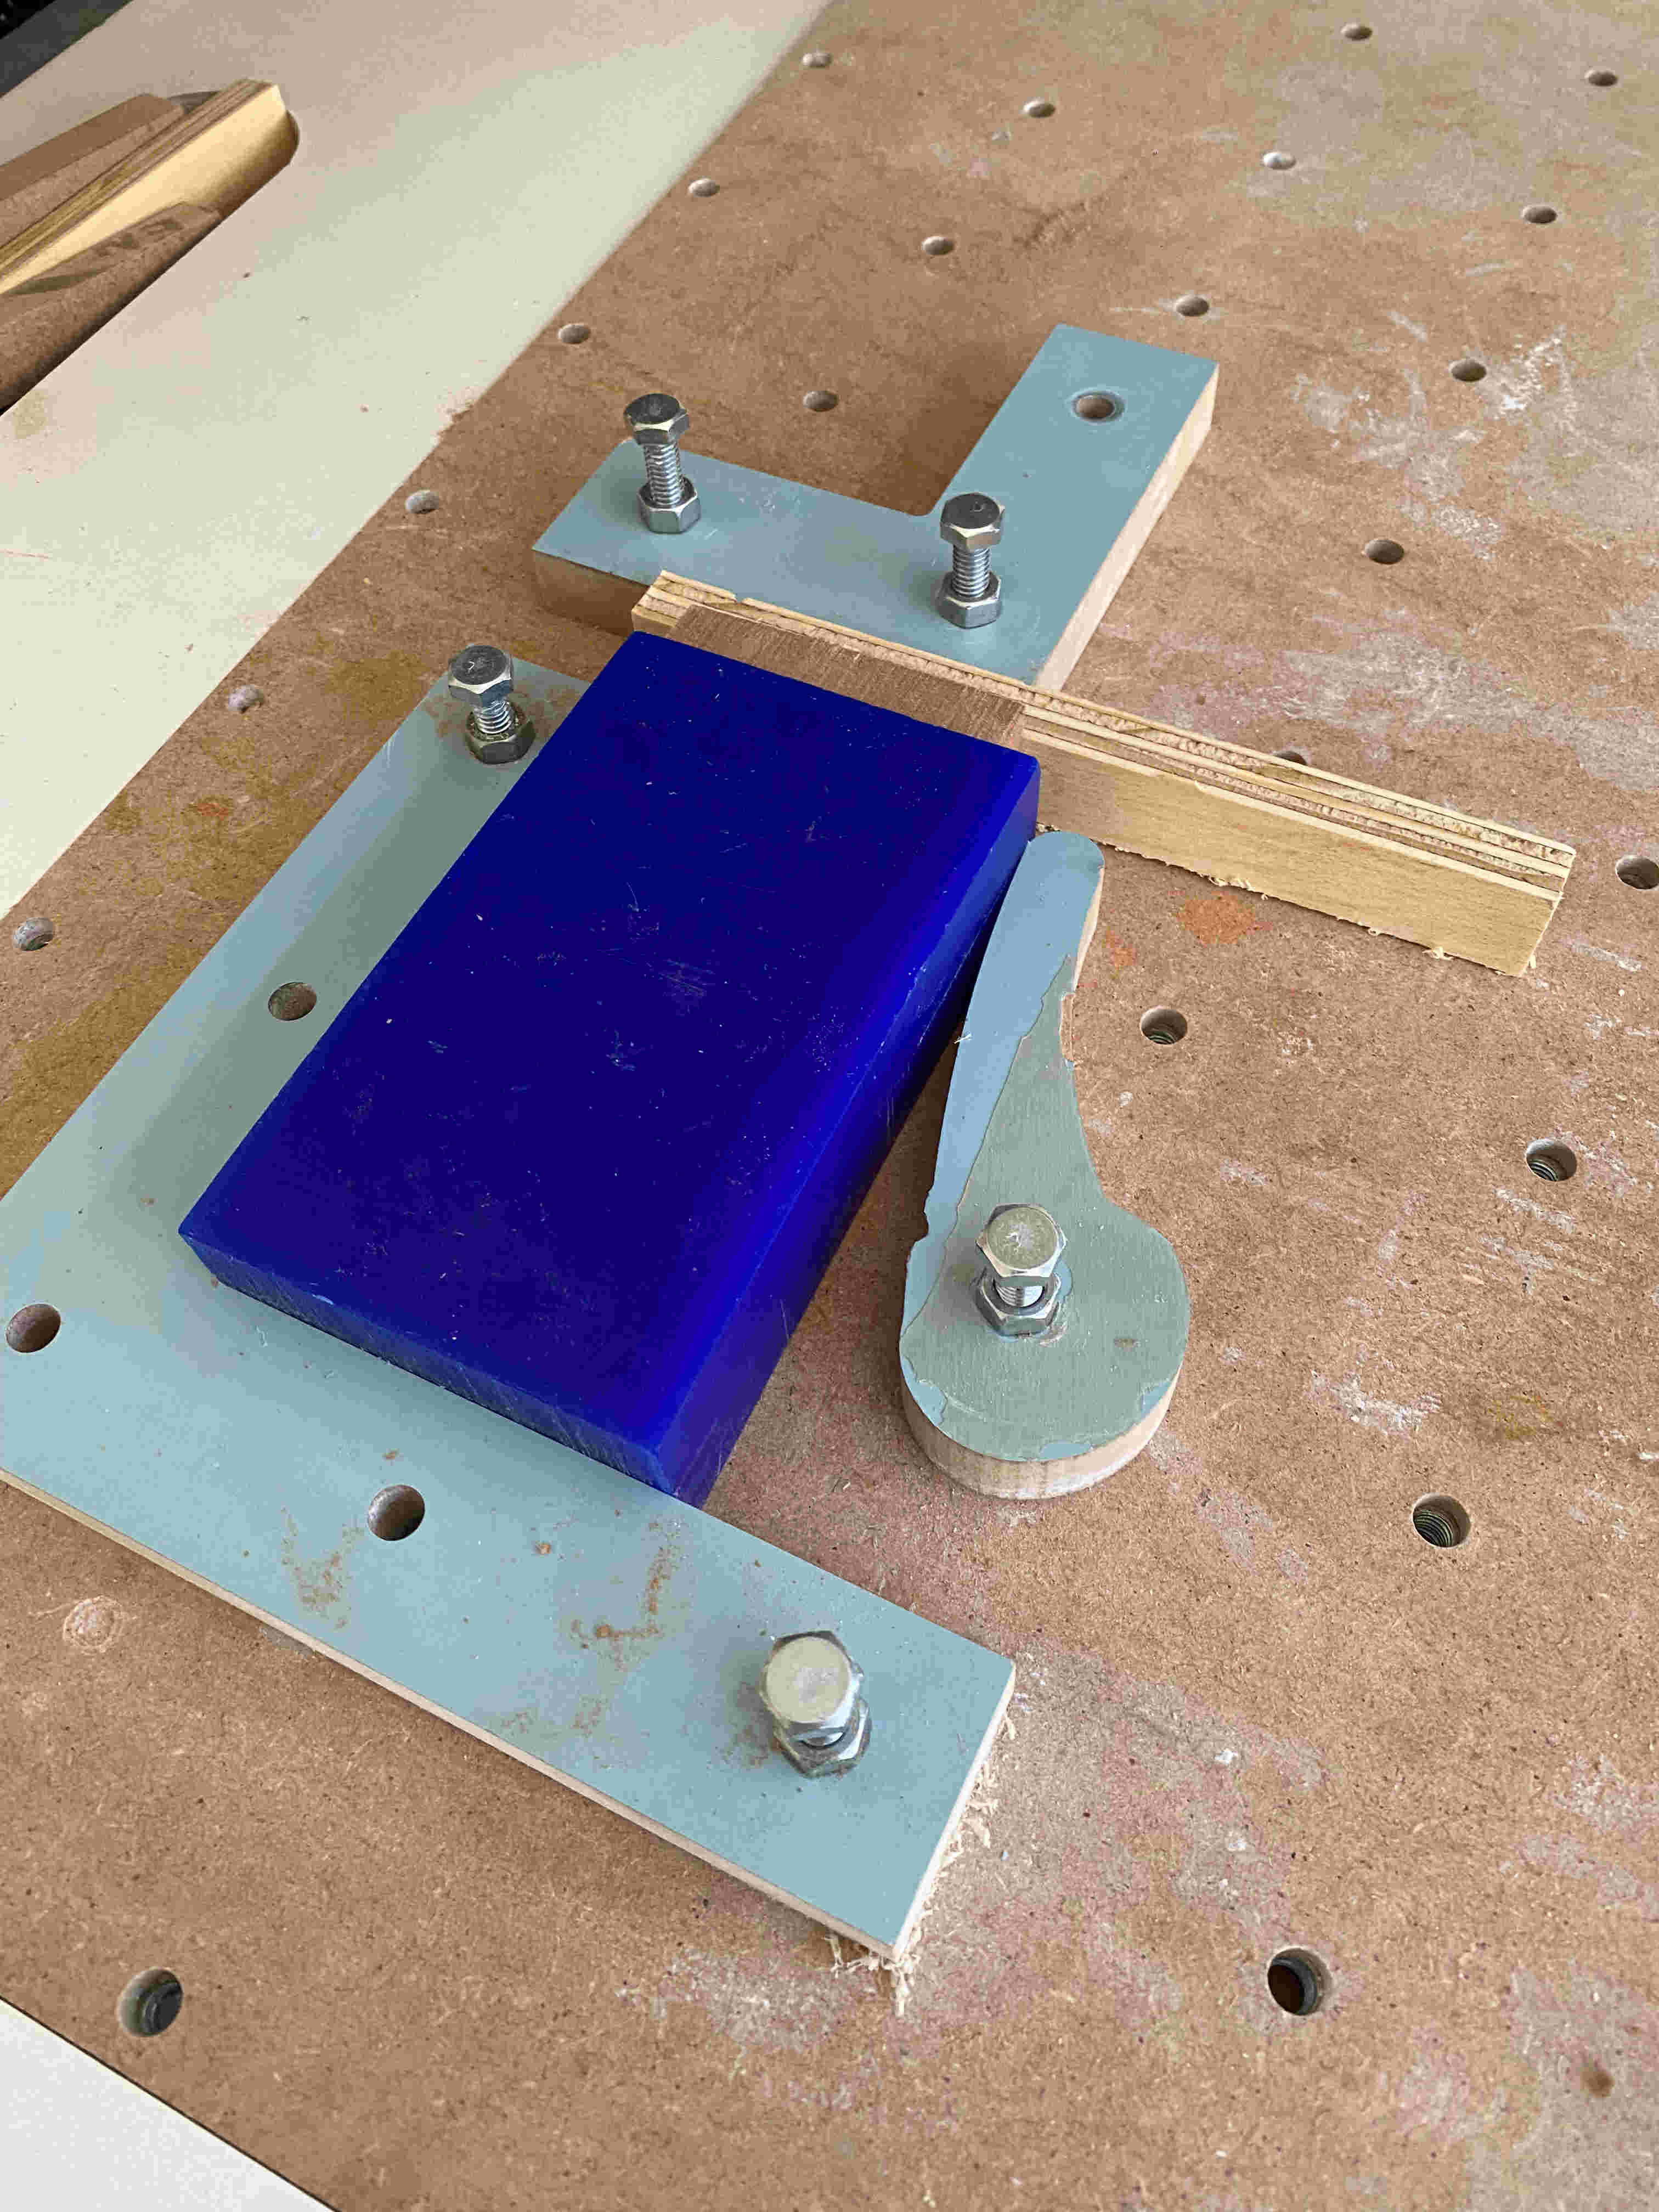
Machine Setup
Securing the wax block to the CNC bed with proper fixturing
Tool Installation
Mounting the appropriate end mill for wax machining
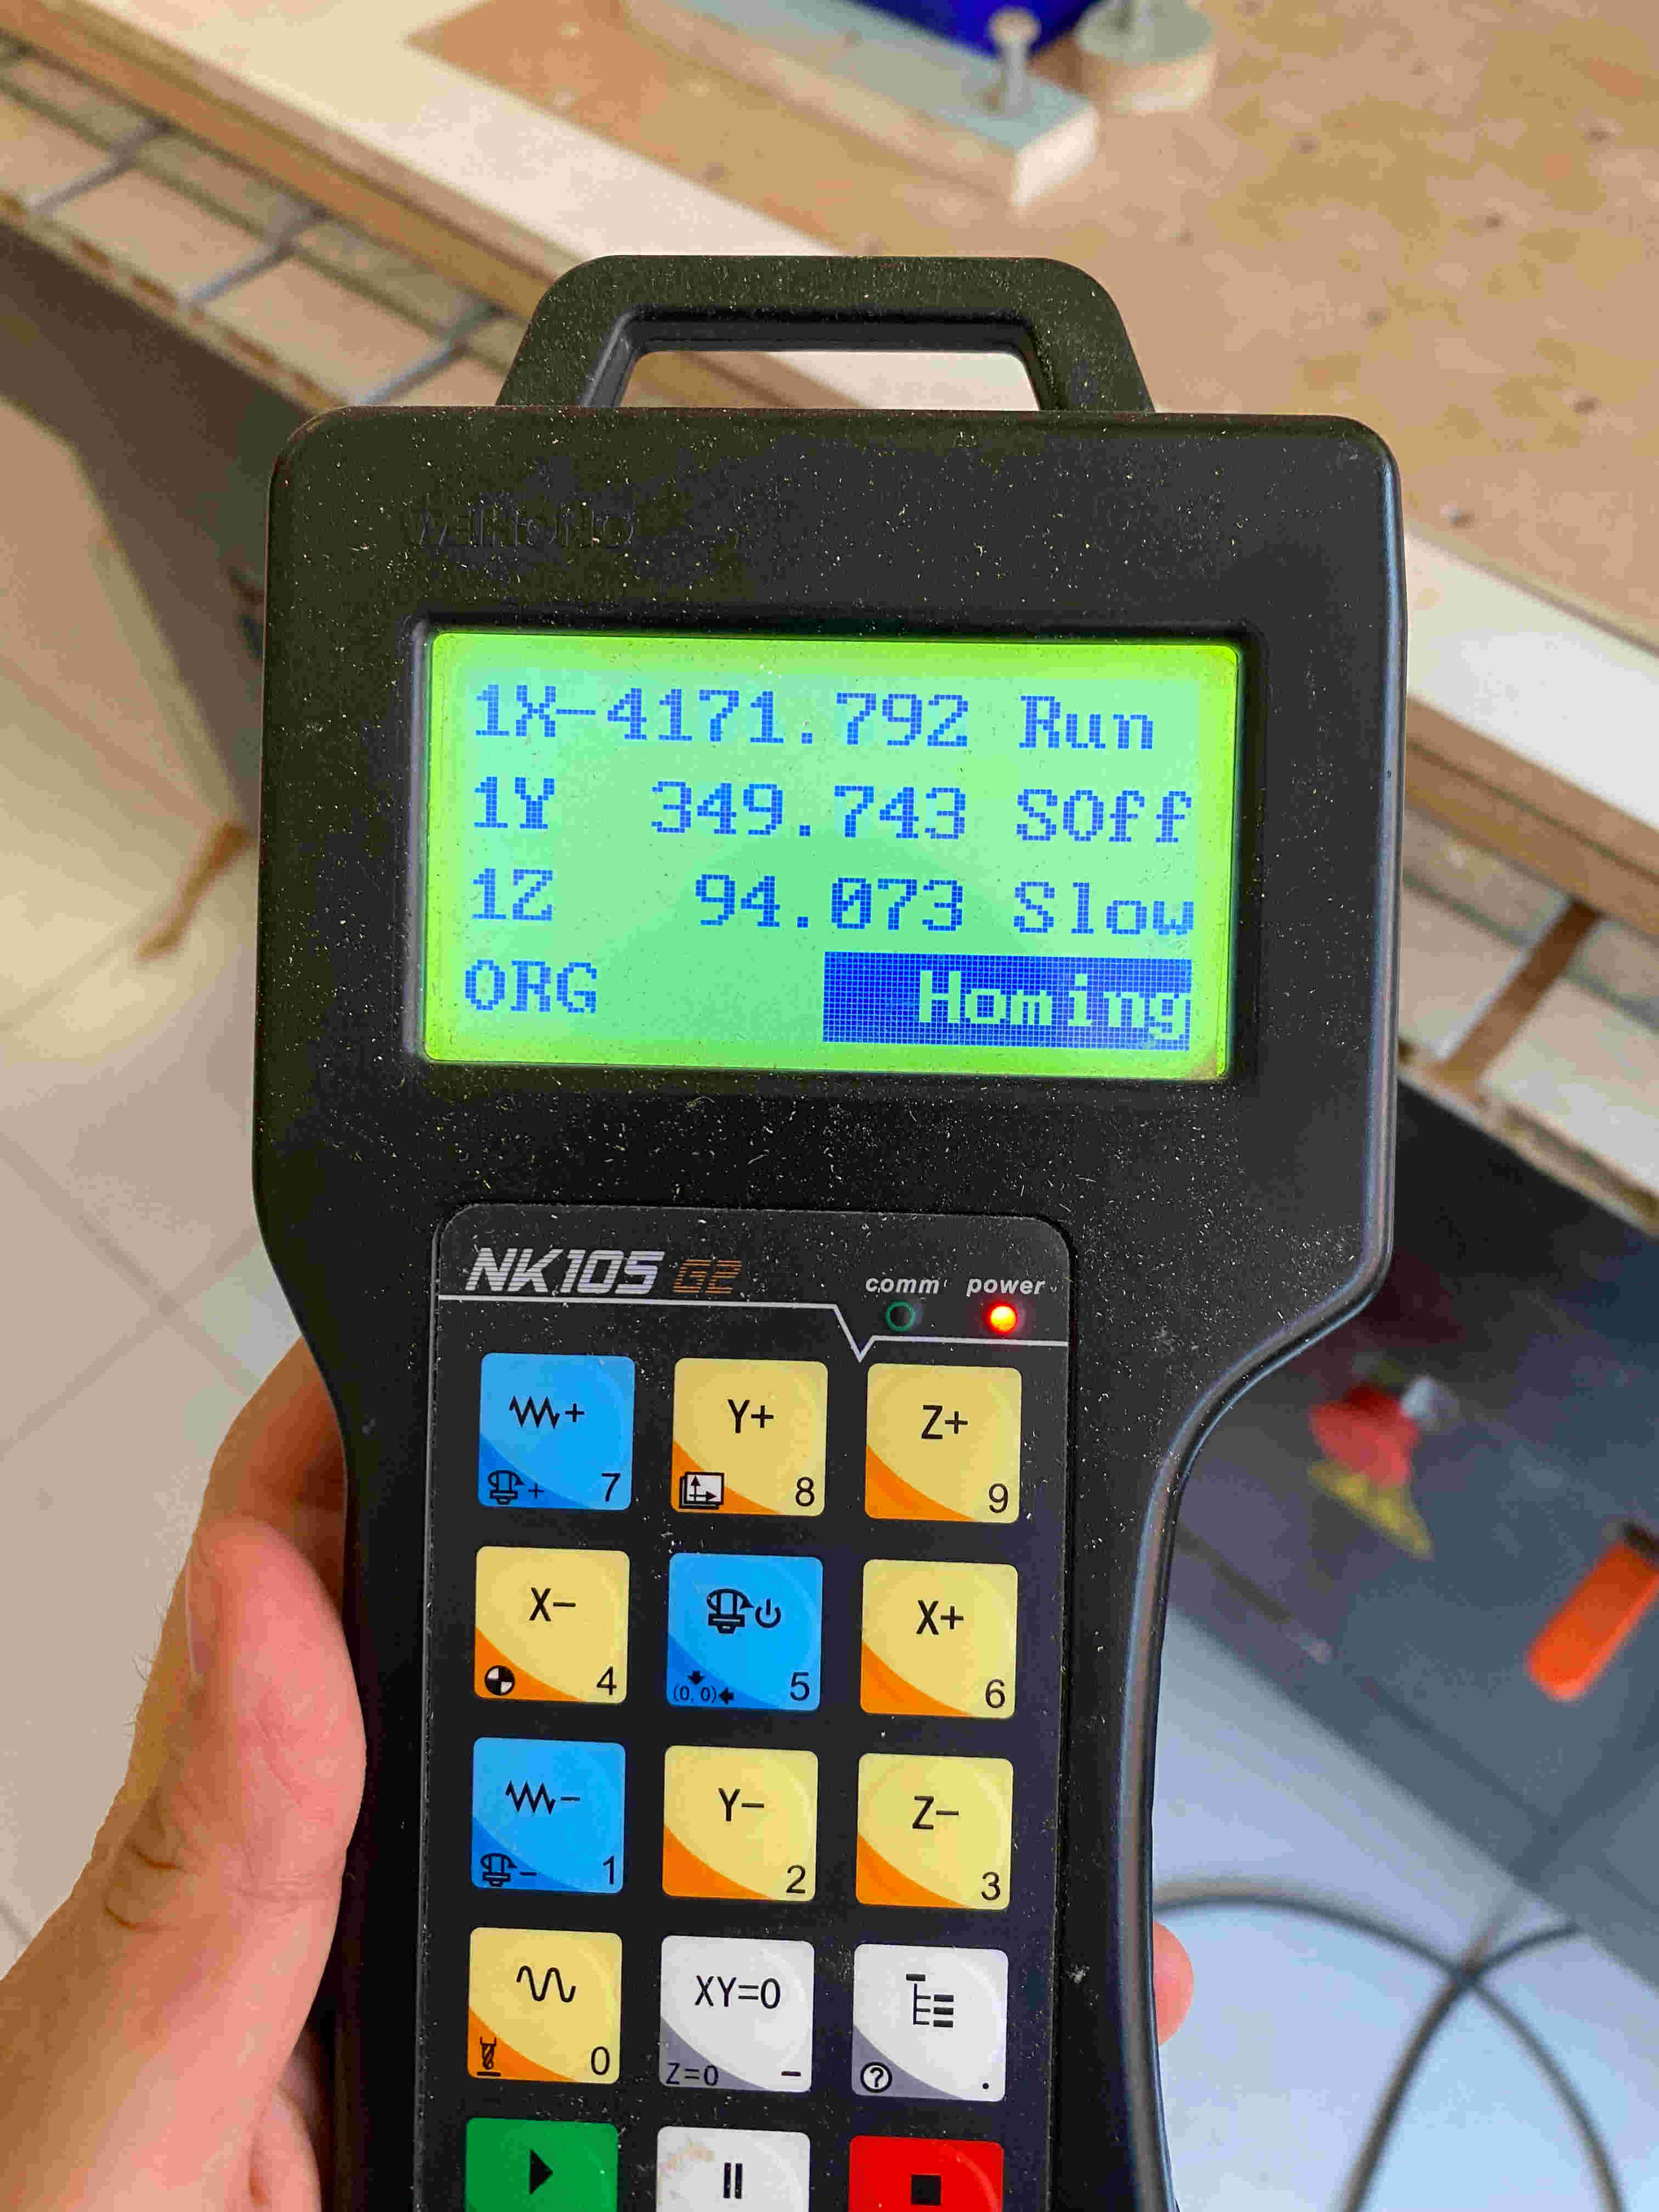
Zeroing Coordinates
Setting the X, Y, and Z zero points for accurate machining
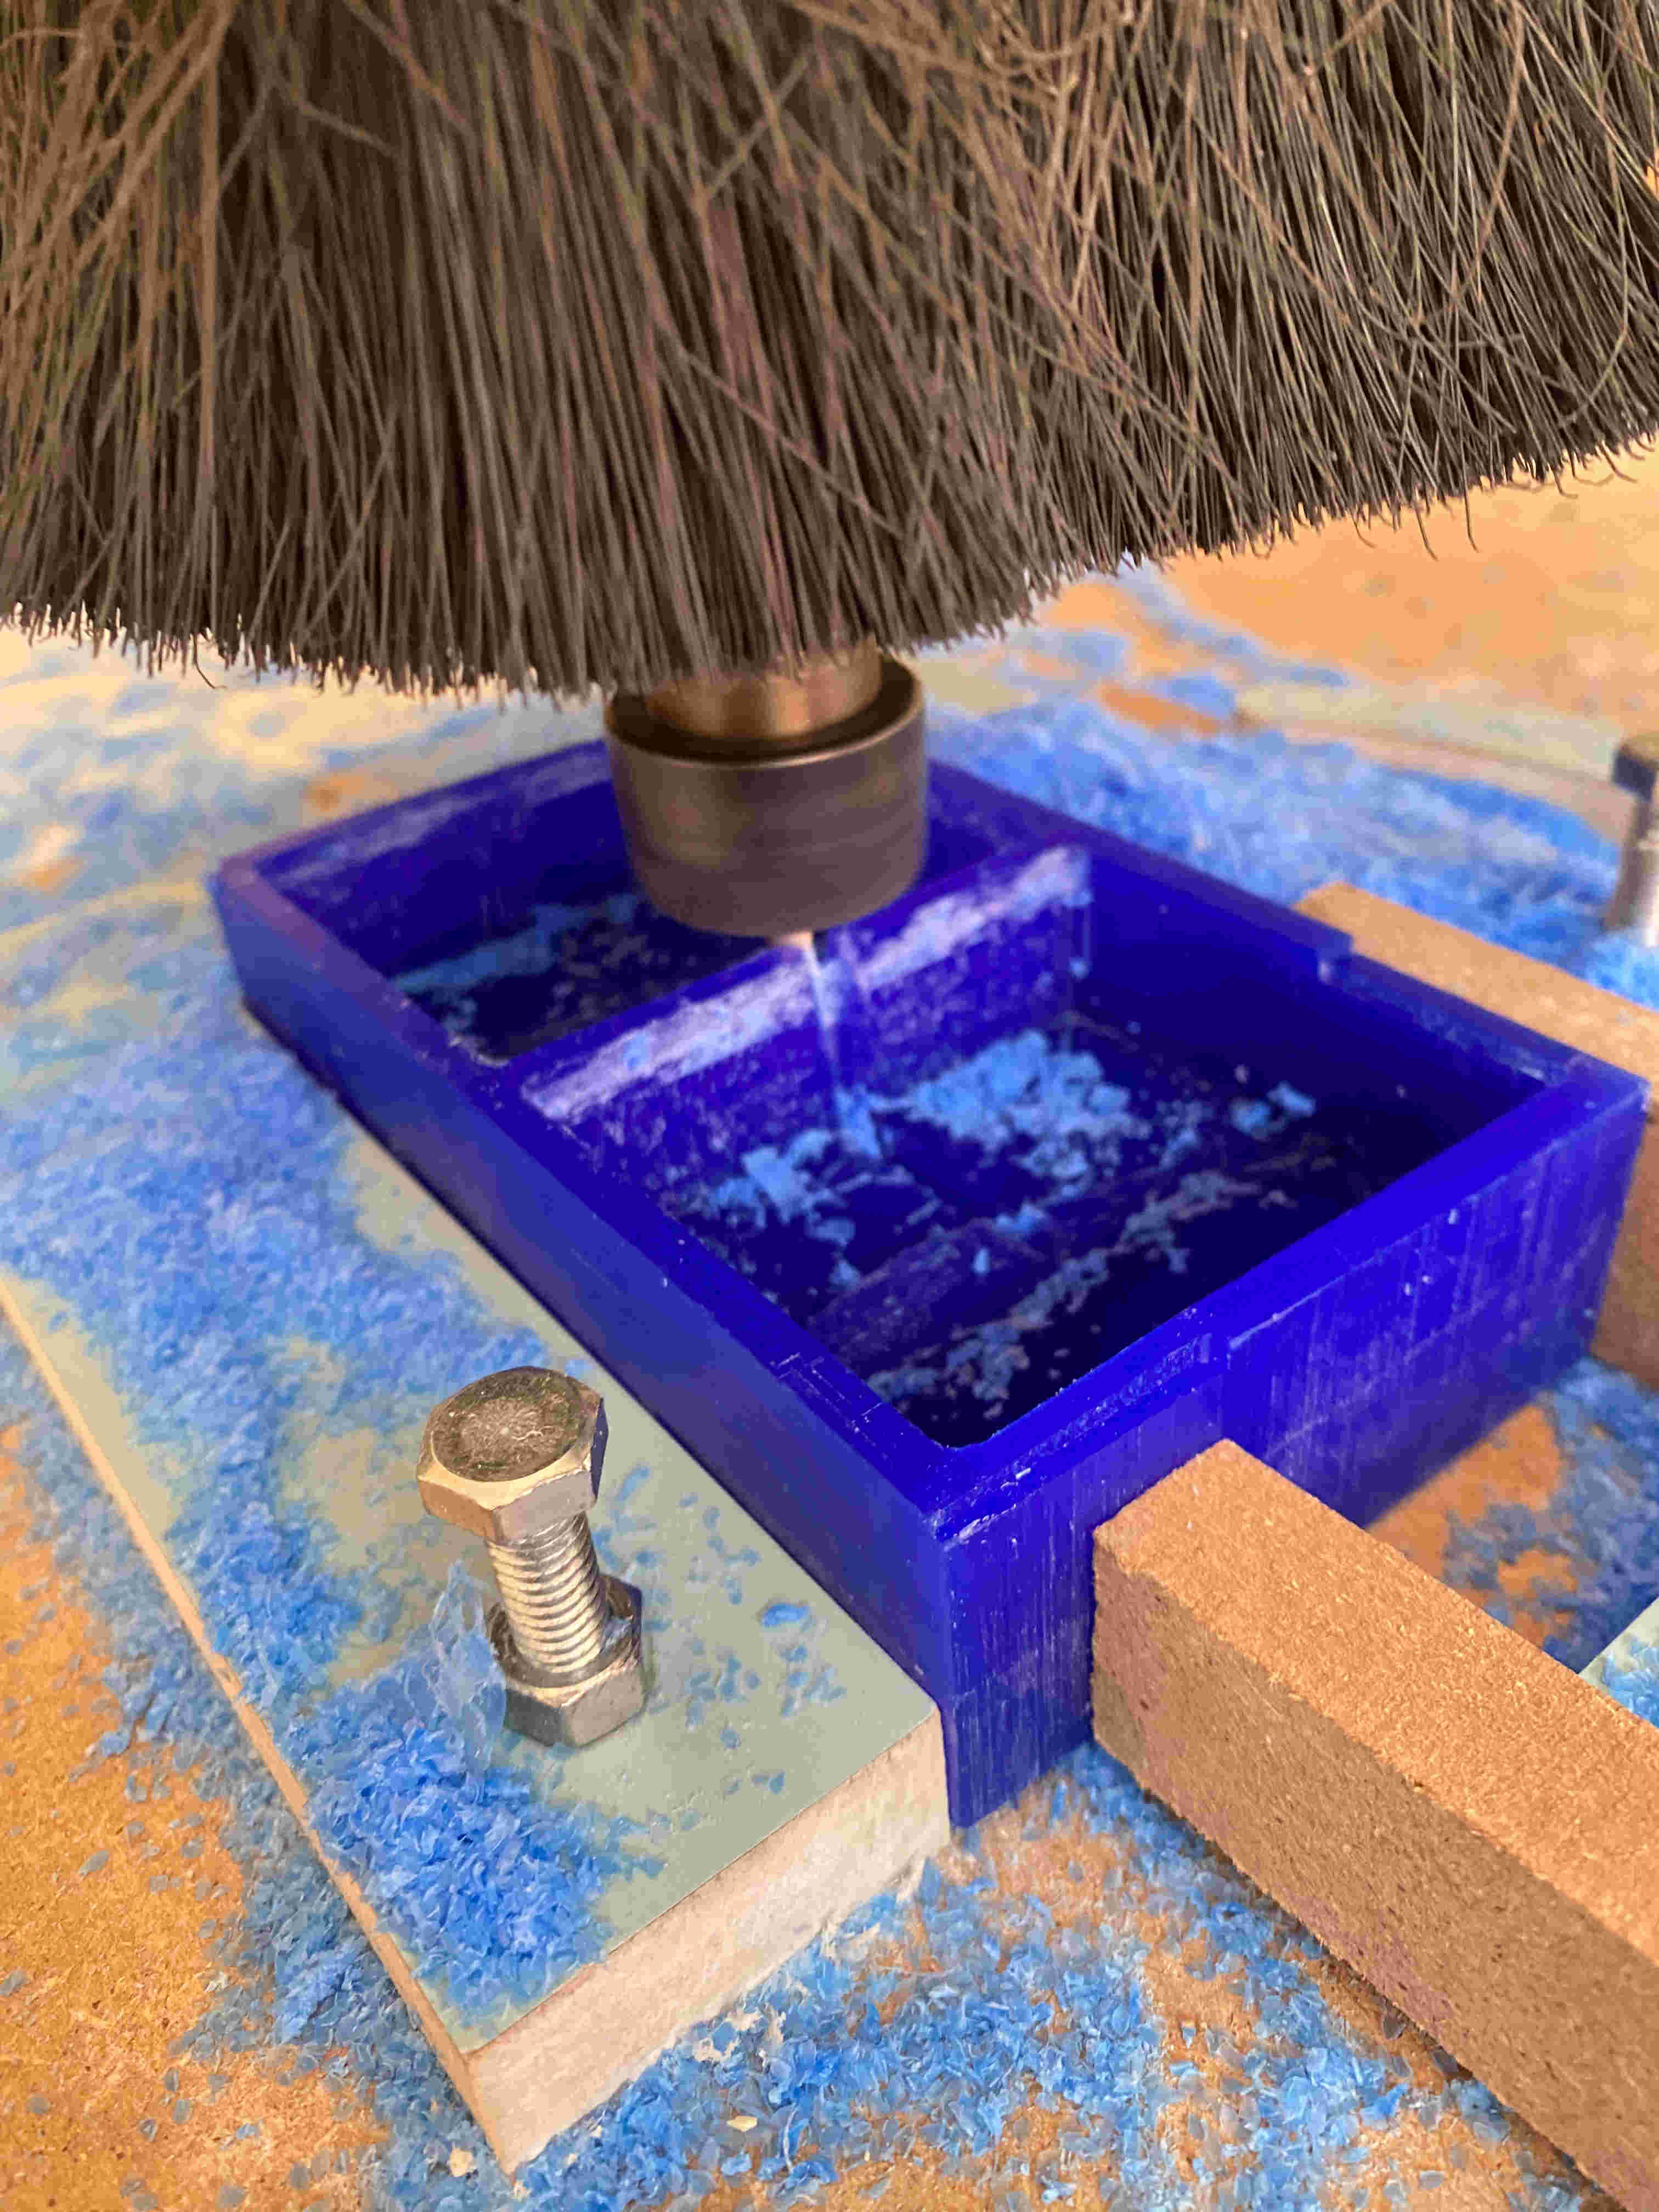
Machining Process
The CNC router carving the mold cavity from wax

Finished Mold
Completed wax mold ready for silicone casting
Key CNC Settings
- Spindle Speed 12,000 RPM
- Feed Rate 1,200 mm/min
- Stepover 40%
- Roughing Tool 6mm Flat End Mill
- Finishing Tool 3mm Ball Nose
- Cut Depth 0.5mm
Casting Process
Material Preparation
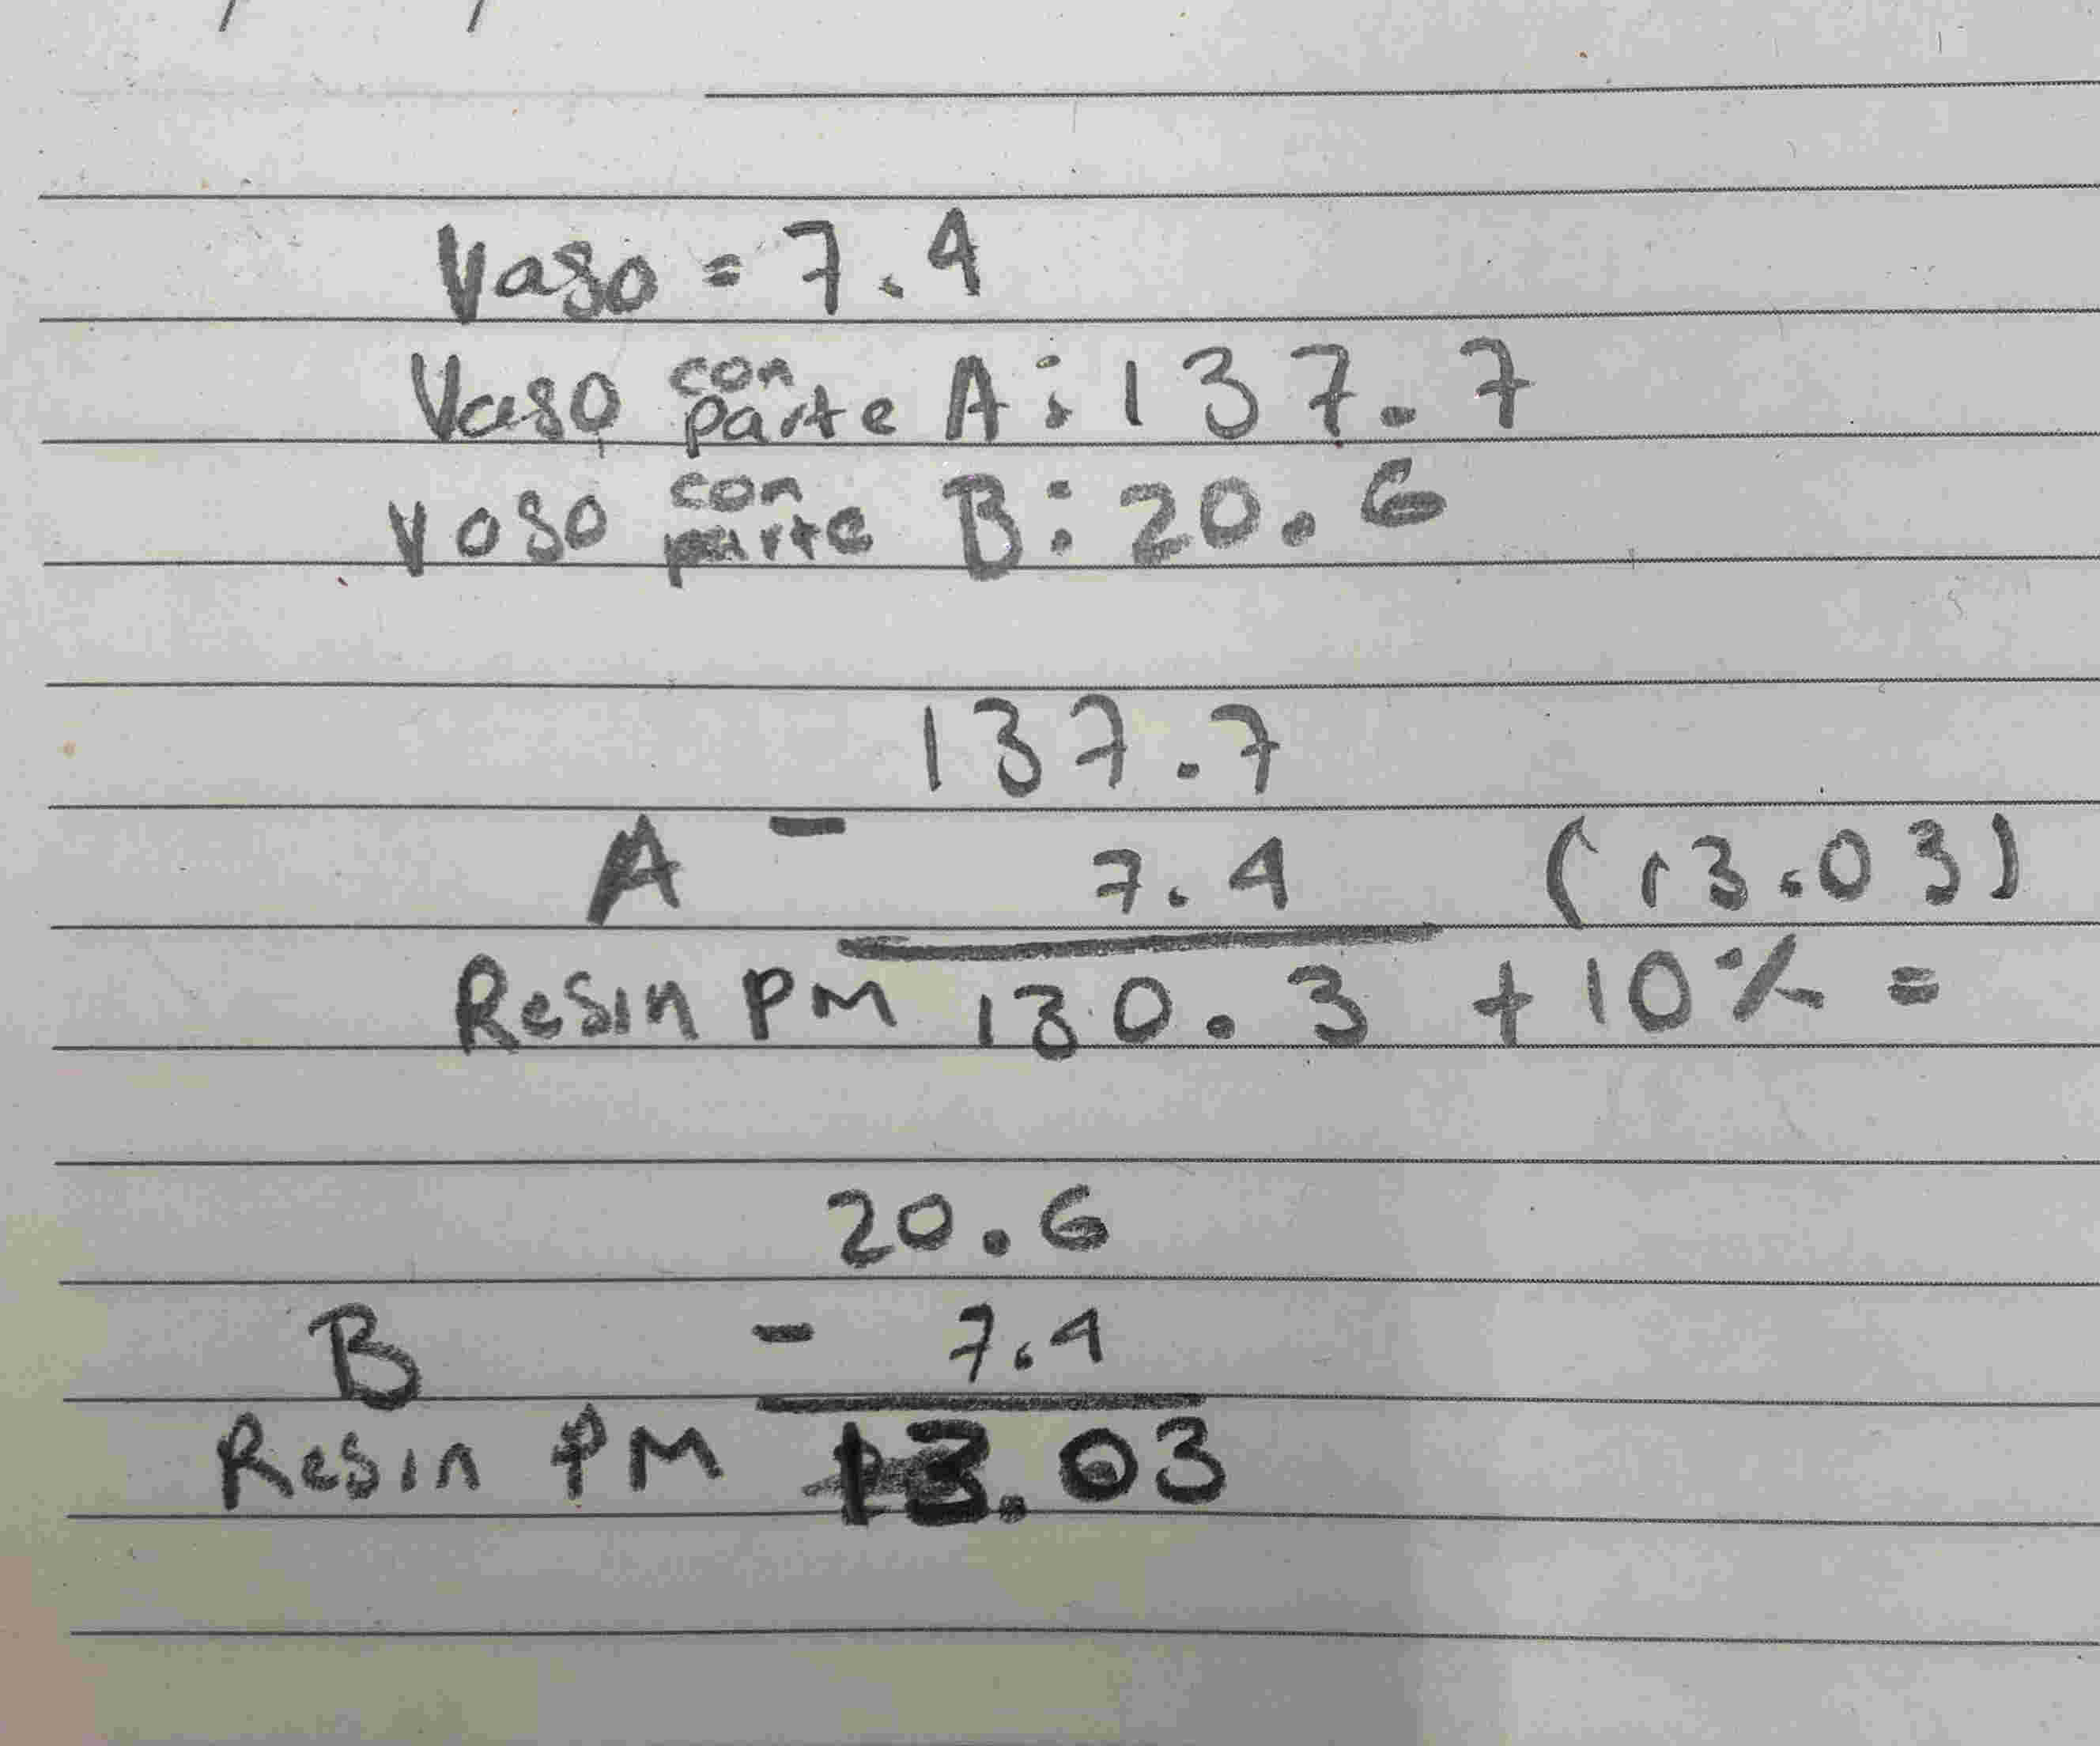
I used a two-part silicone rubber with a 90:10 ratio (Part A to Part B by weight):
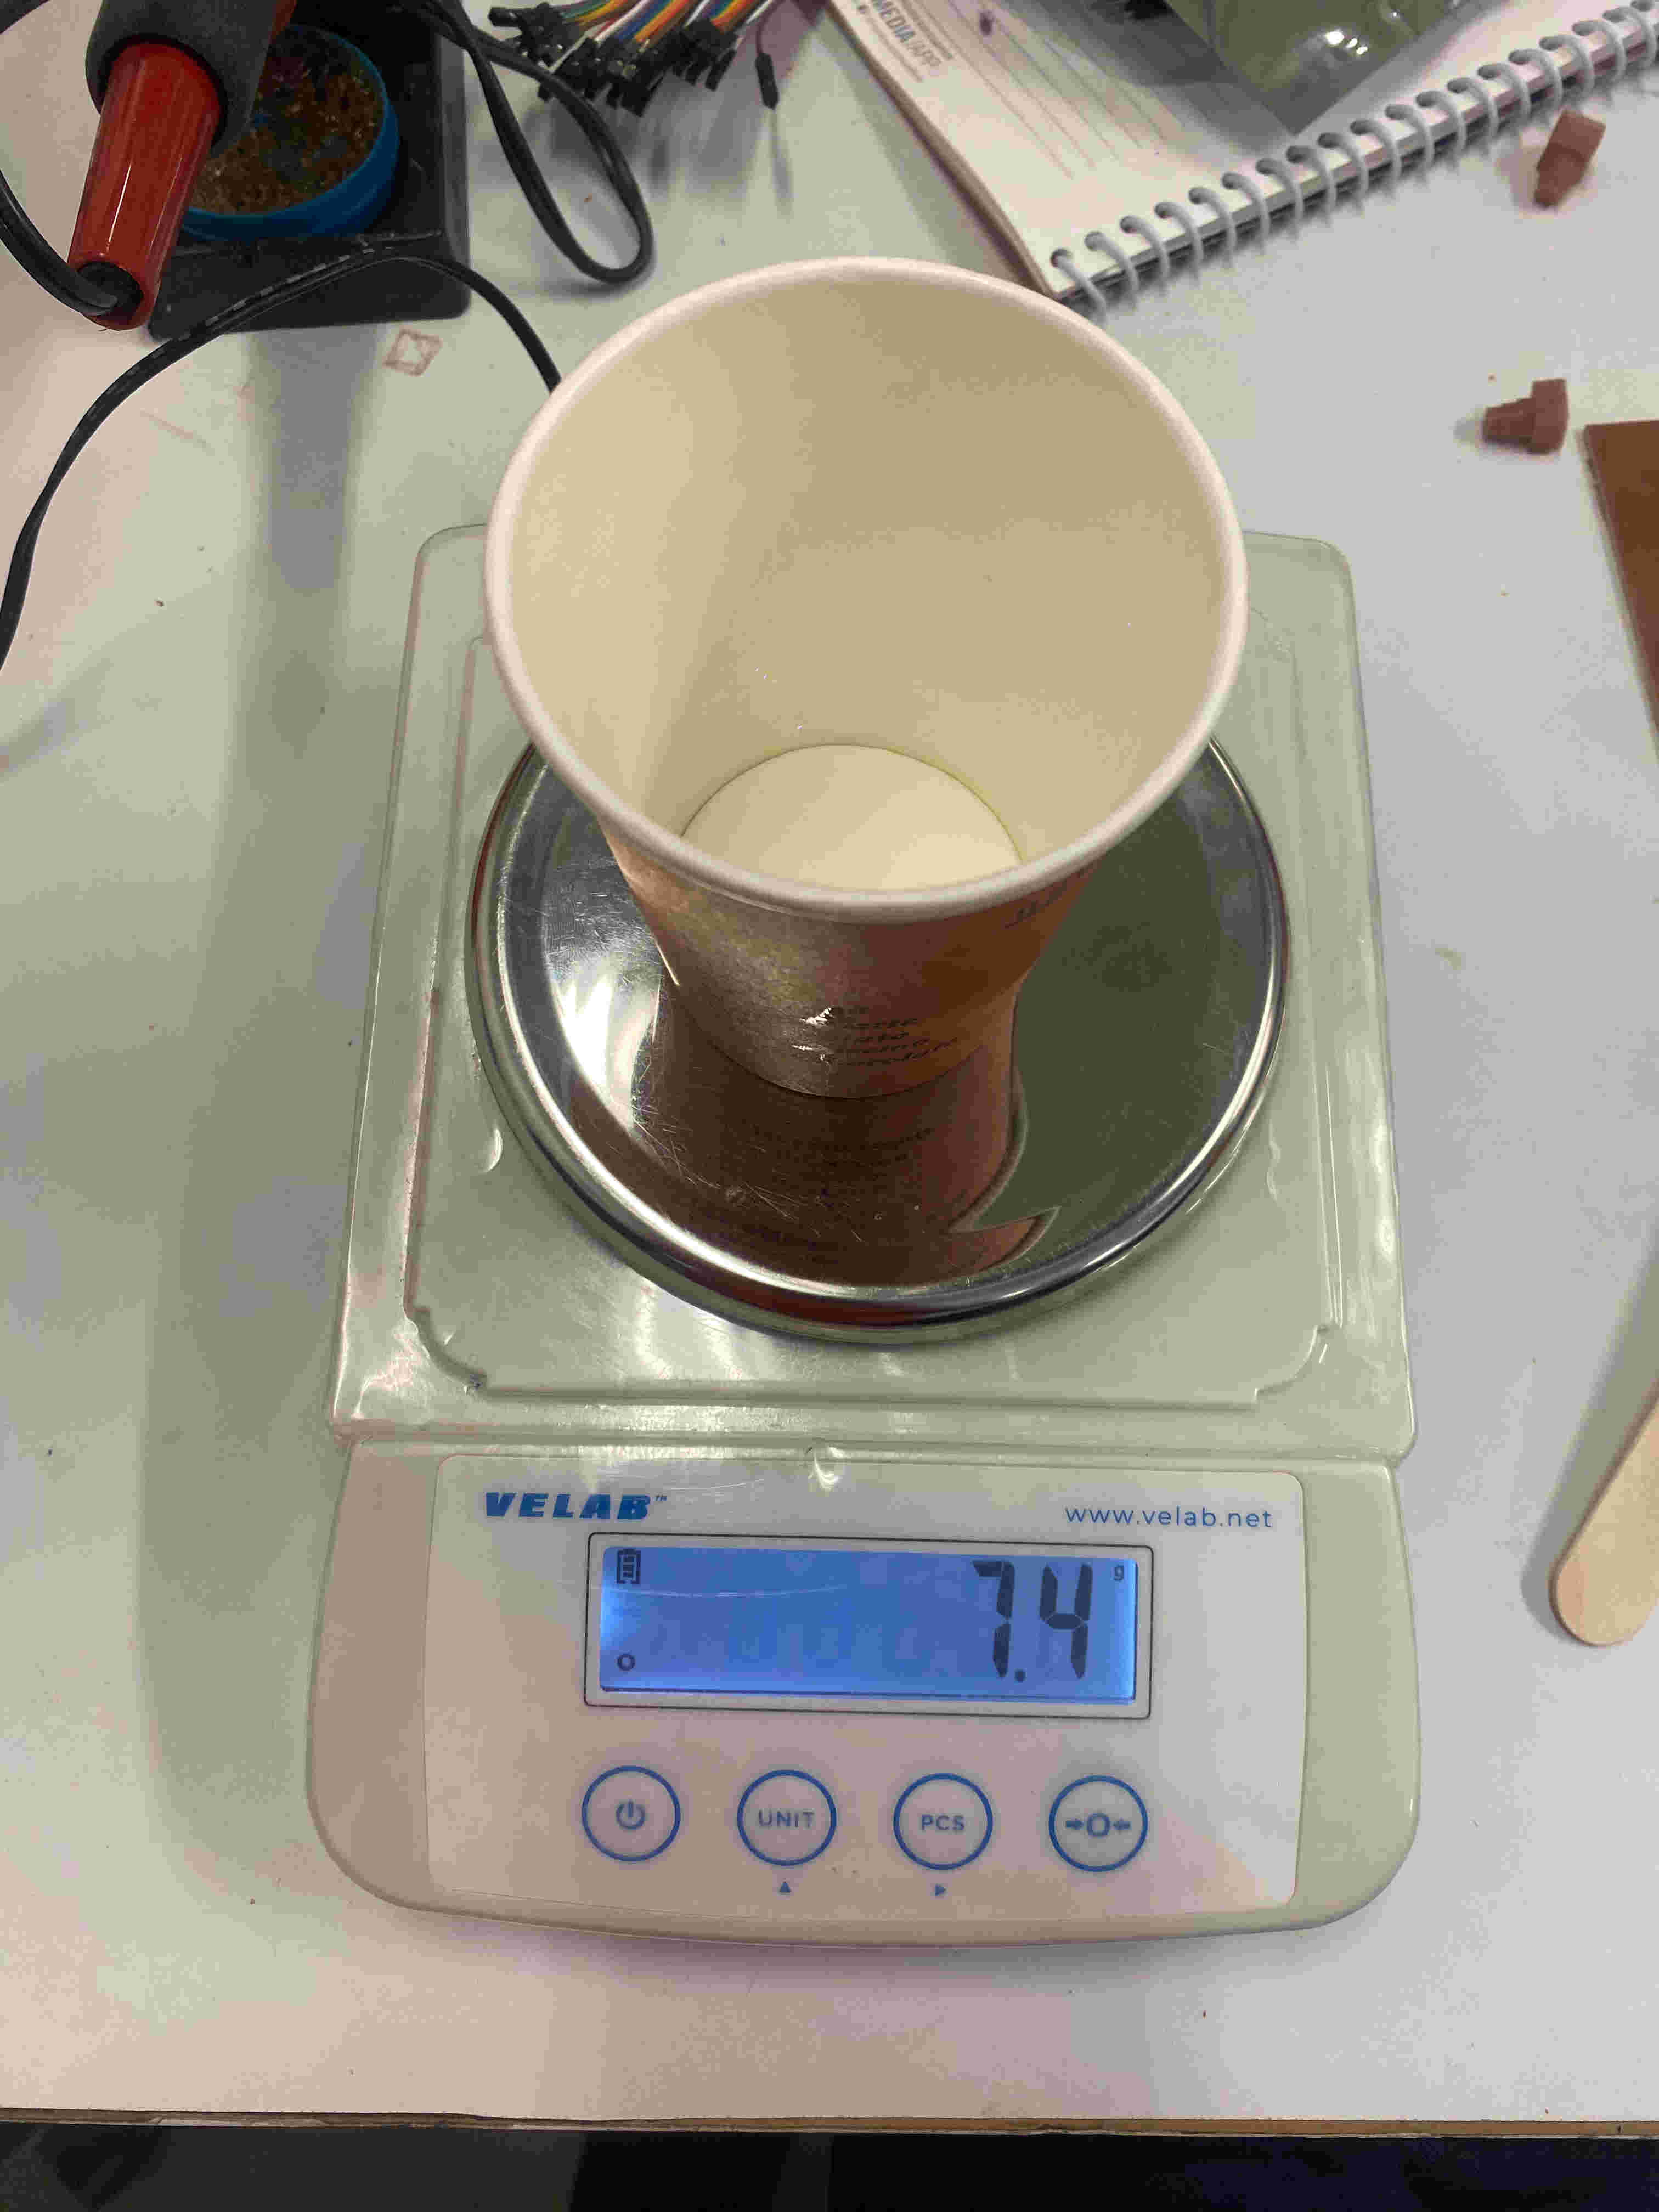
Precisely measuring Part A (90% of total weight)
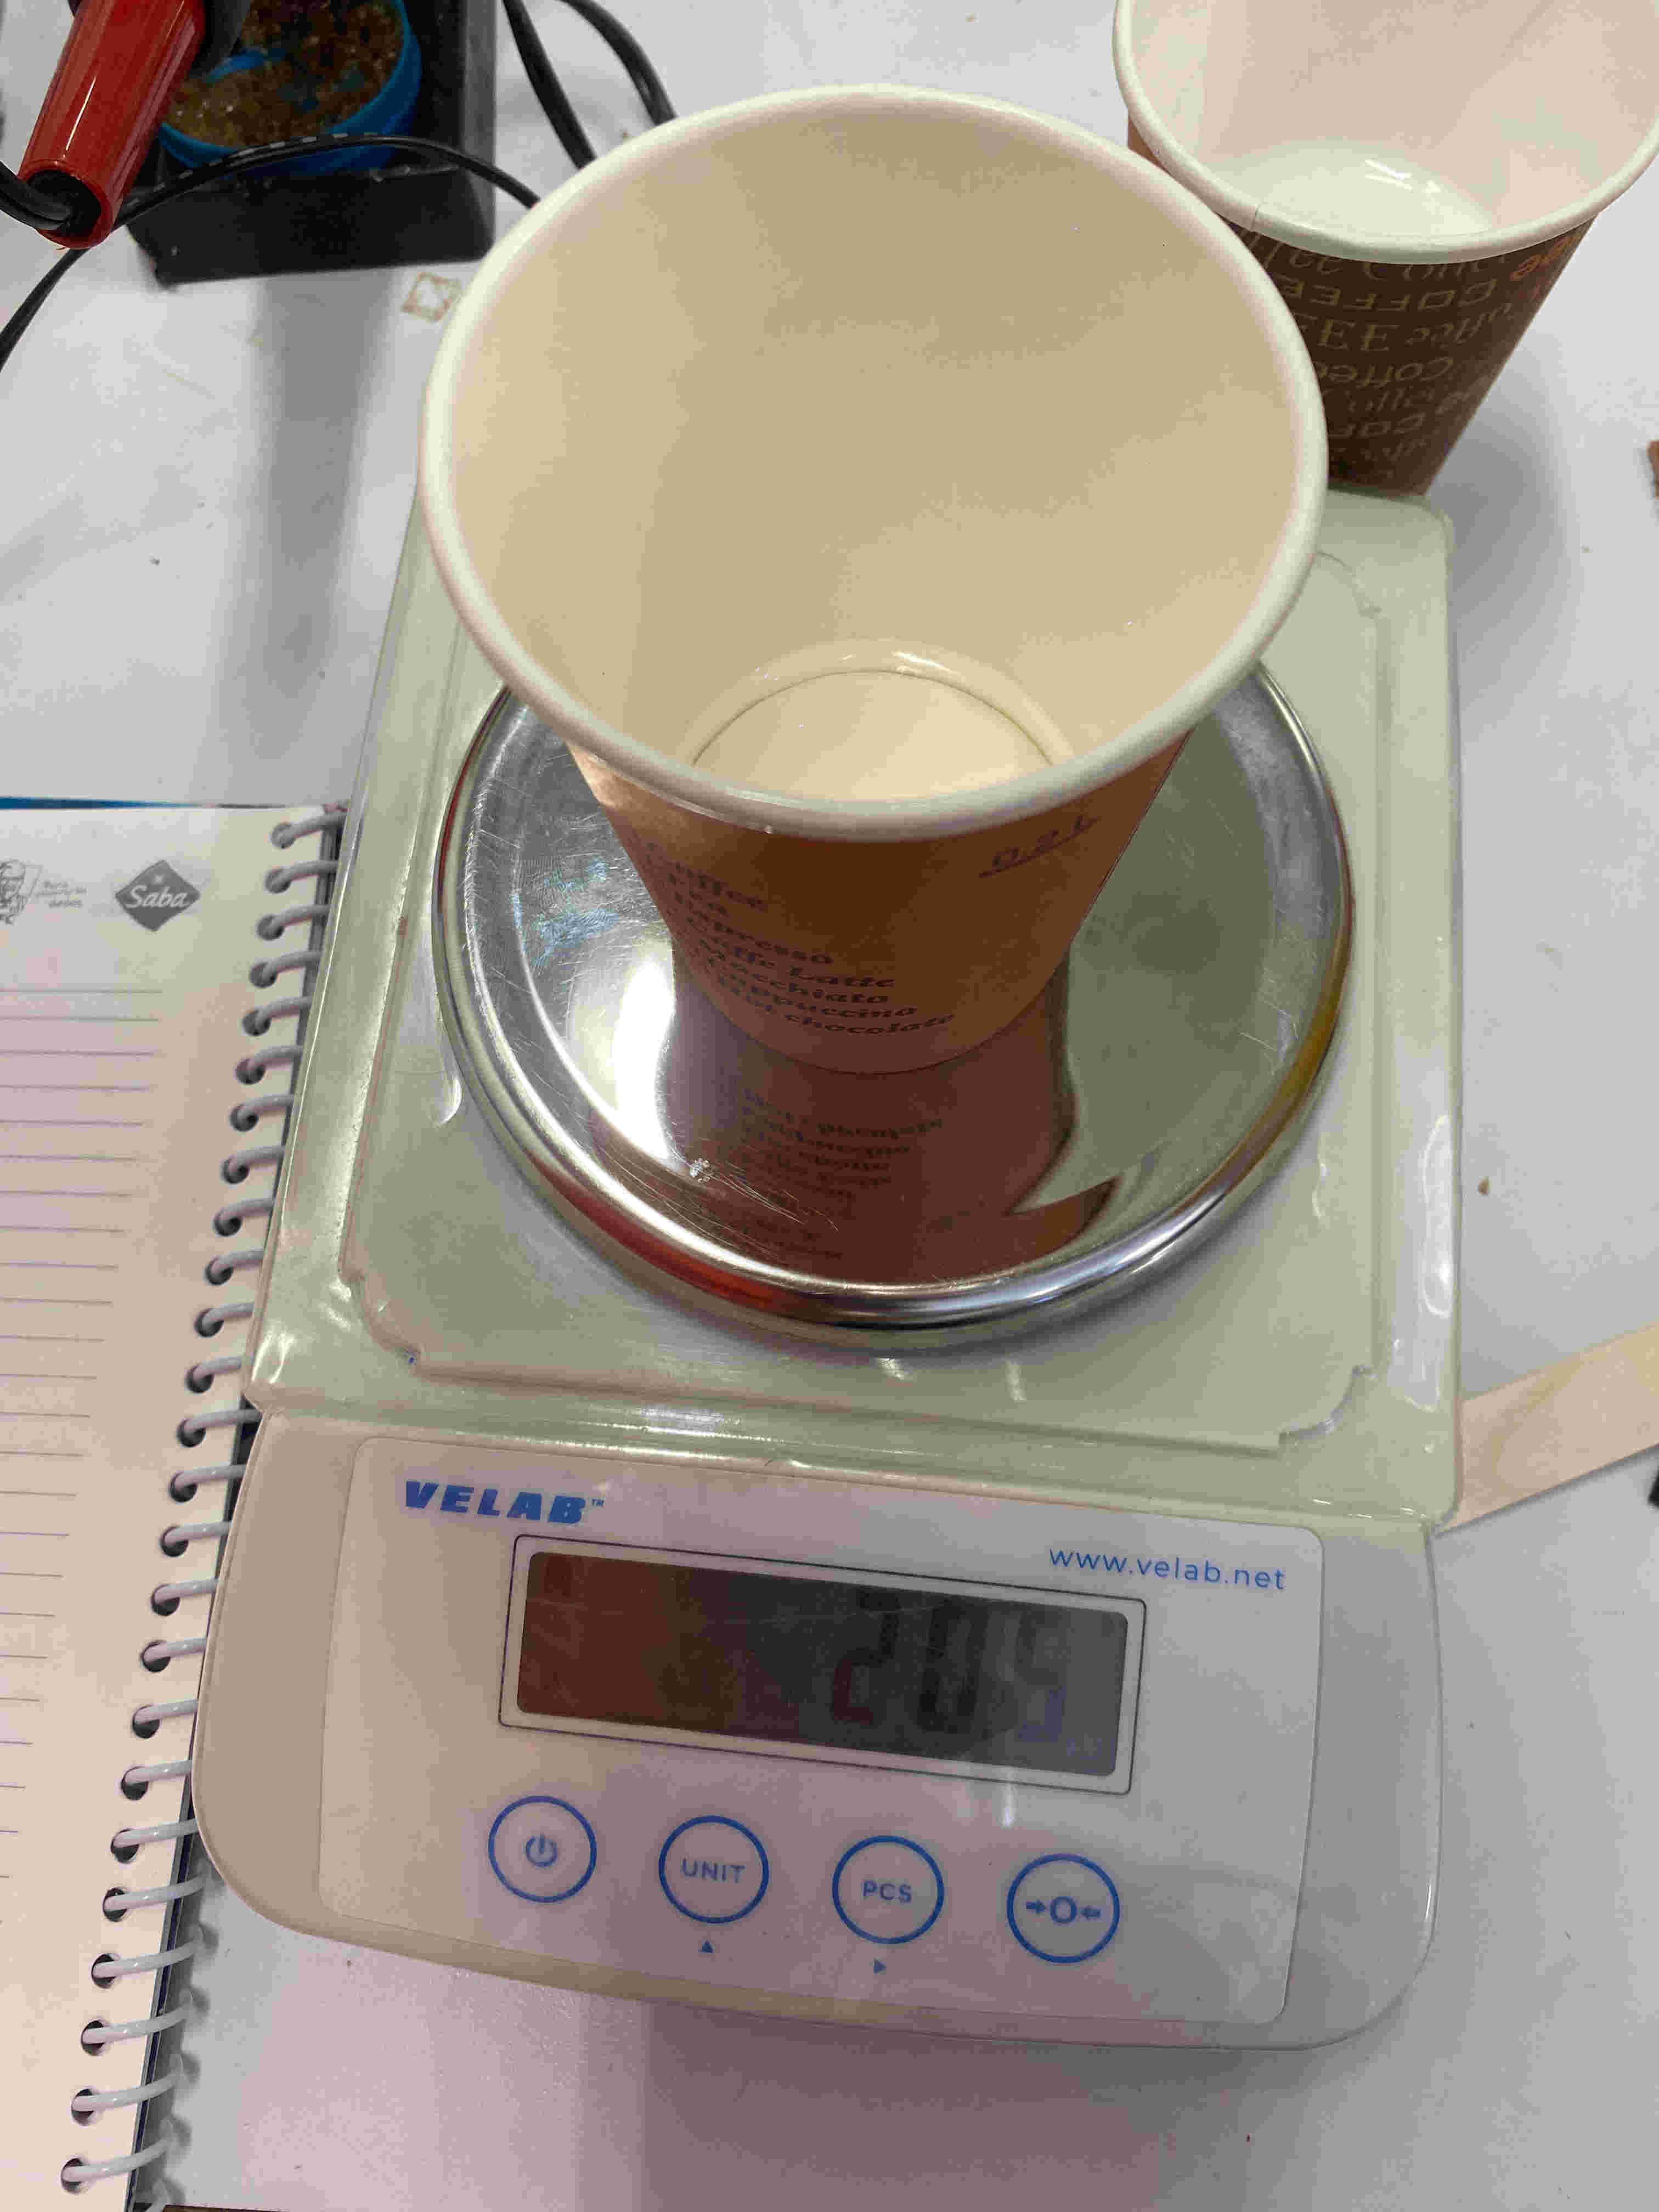
Measuring Part B (10% of total weight)
Thorough mixing for 10 minutes to ensure homogeneity
Initial Test Casts
Before using the CNC machined mold, I conducted test casts with a 3D printed version:
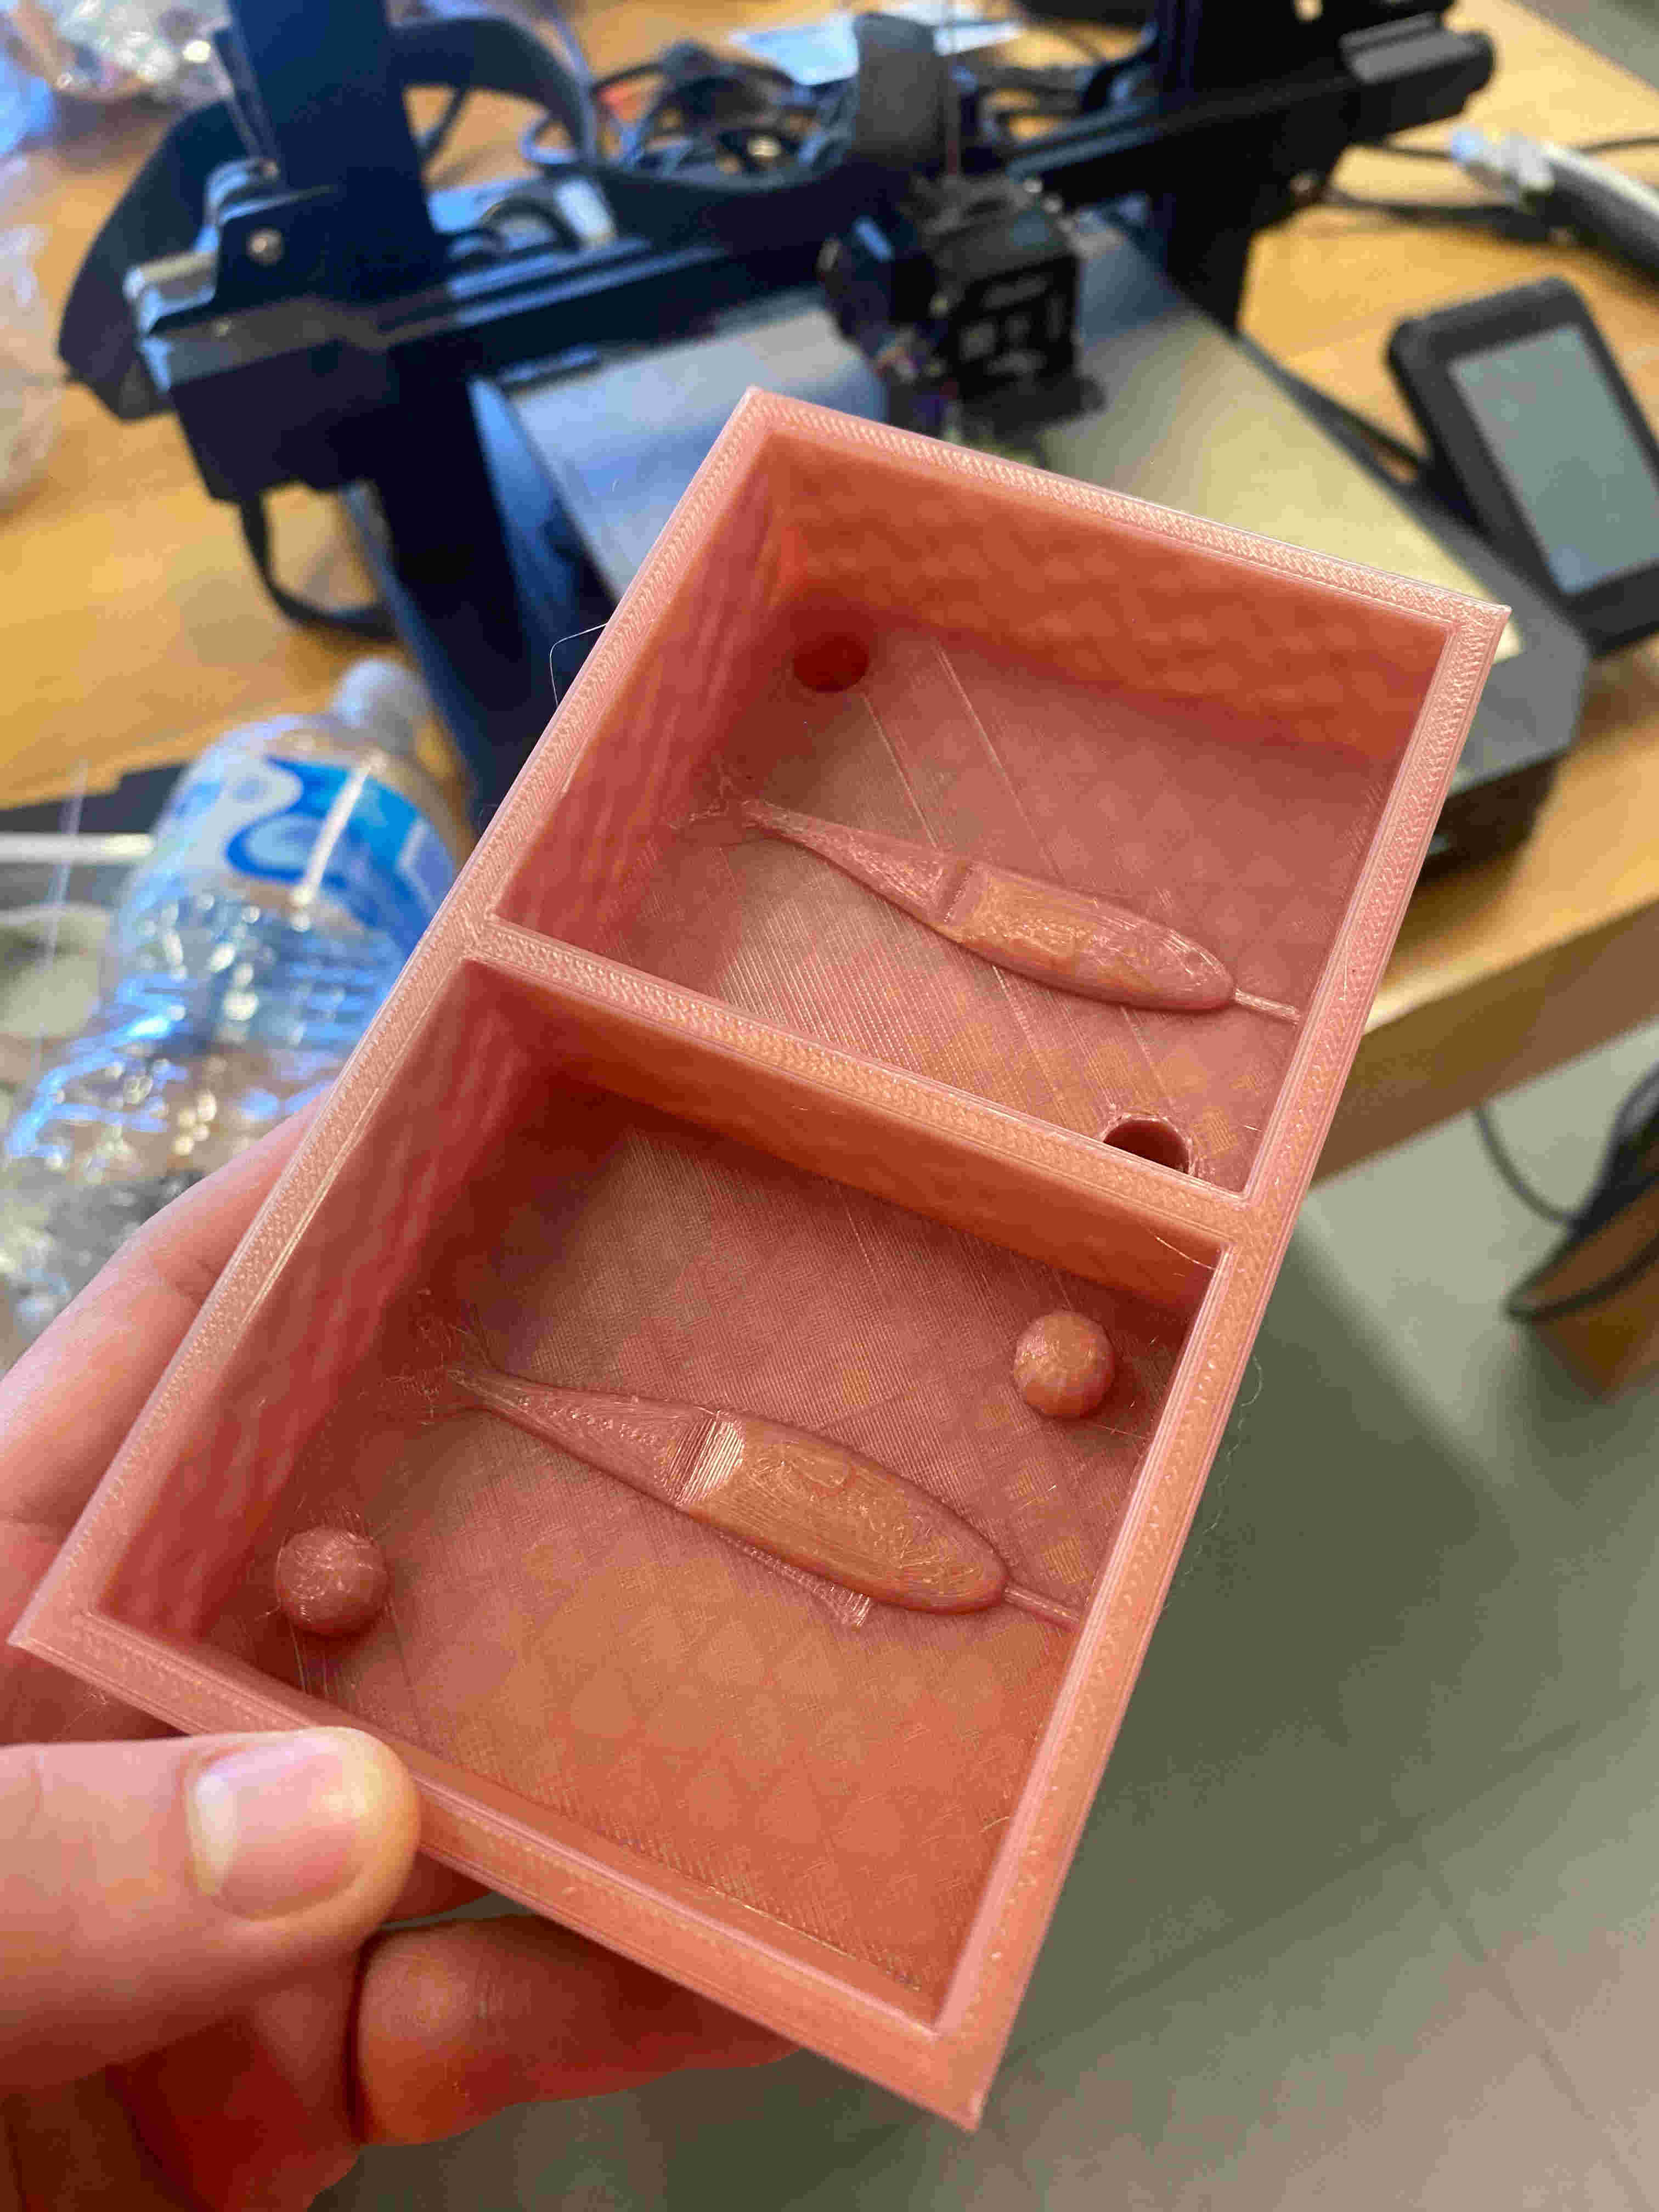
Pouring mixed silicone into the test mold
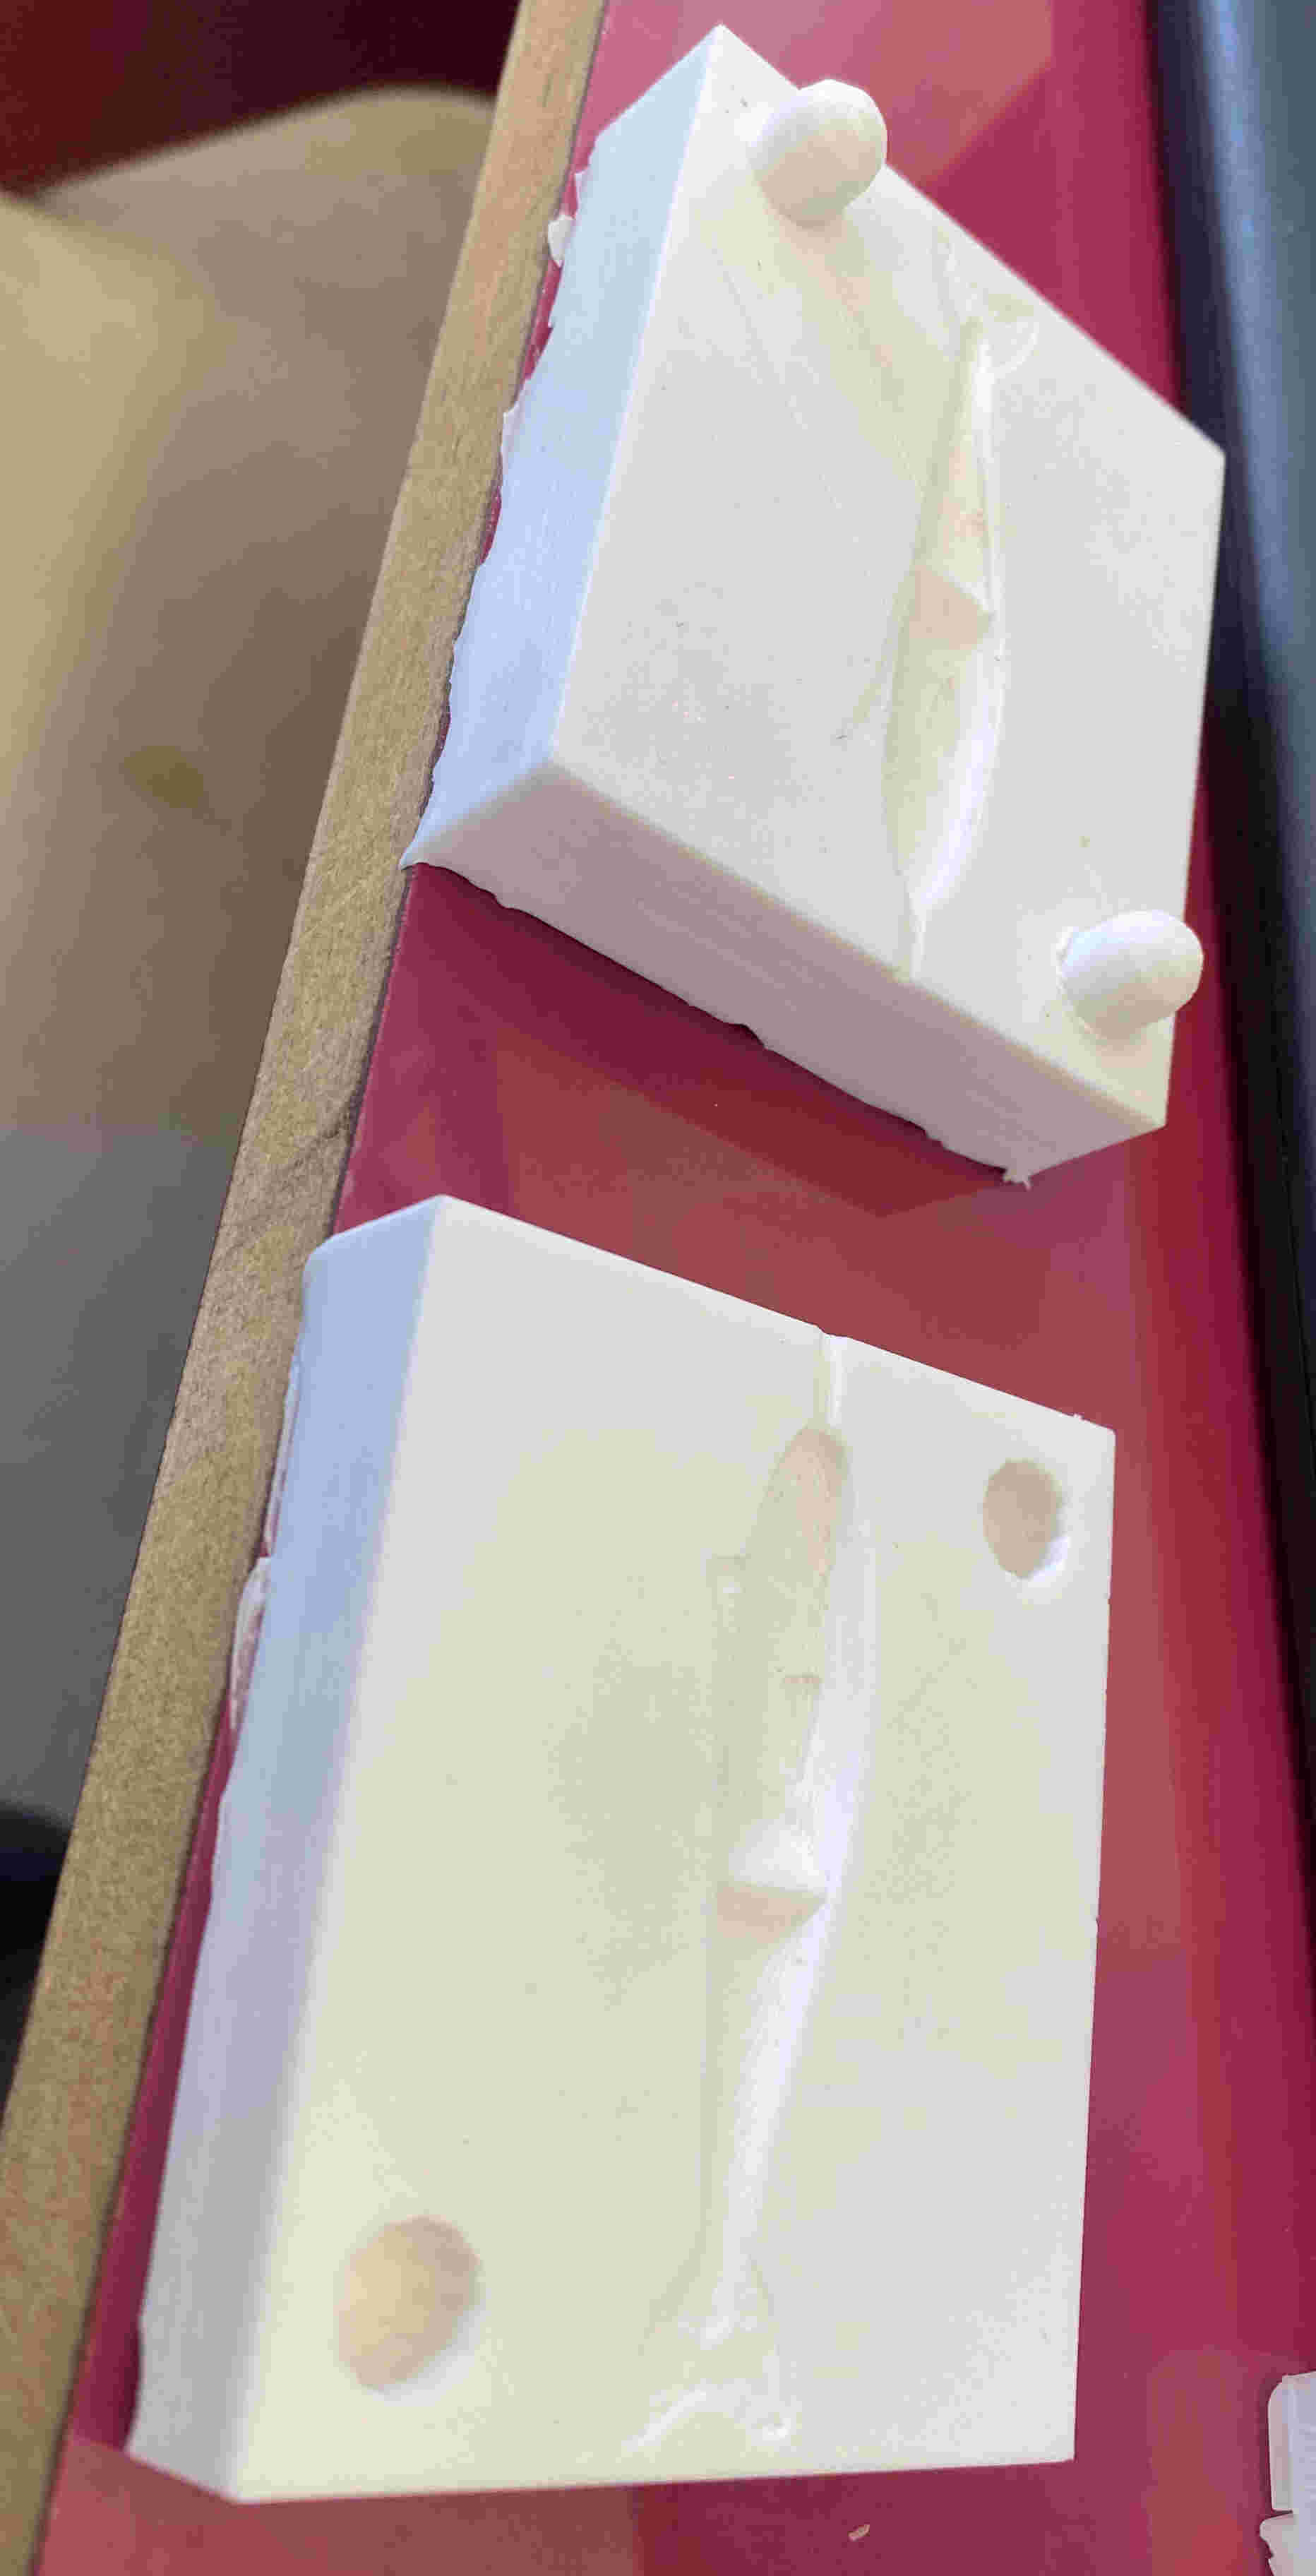
Successful test cast with proper registration
The test helped verify:
- Proper mixing ratio and cure time
- Effectiveness of the registration system
- Quality of detail reproduction
Final Casting
With the CNC machined mold, I repeated the casting process:

Wax mold prepared for silicone pouring

Carefully pouring silicone into the mold

Completed silicone lure after demolding
Final Results & Files

Completed silicone fishing lure prototype
Reflections & Lessons Learned
- Successfully created a functional two-part mold for fishing lures
- Achieved good detail reproduction in the silicone casts
- Developed effective workflow from design to finished product
- Proper mold registration ensured consistent casting results
- Initial difficulty finding appropriate cutting tools for the CNC
- Precision required in silicone mixing ratios
- Air bubbles in initial casts required vacuum degassing
- Complex geometry required careful mold separation design
This project taught me the importance of precision in mold design and the value of thorough testing before final production. The CNC machining process provided superior surface finish compared to 3D printing, though it required more setup. The silicone casting process proved forgiving for small imperfections but demanded exact material ratios.
For future iterations, I would explore adding injection ports for faster casting and consider adding texture to the lure surfaces for better fish attraction. This experience has given me confidence to create custom molds for various applications beyond just fishing lures.