My Final Project
Why
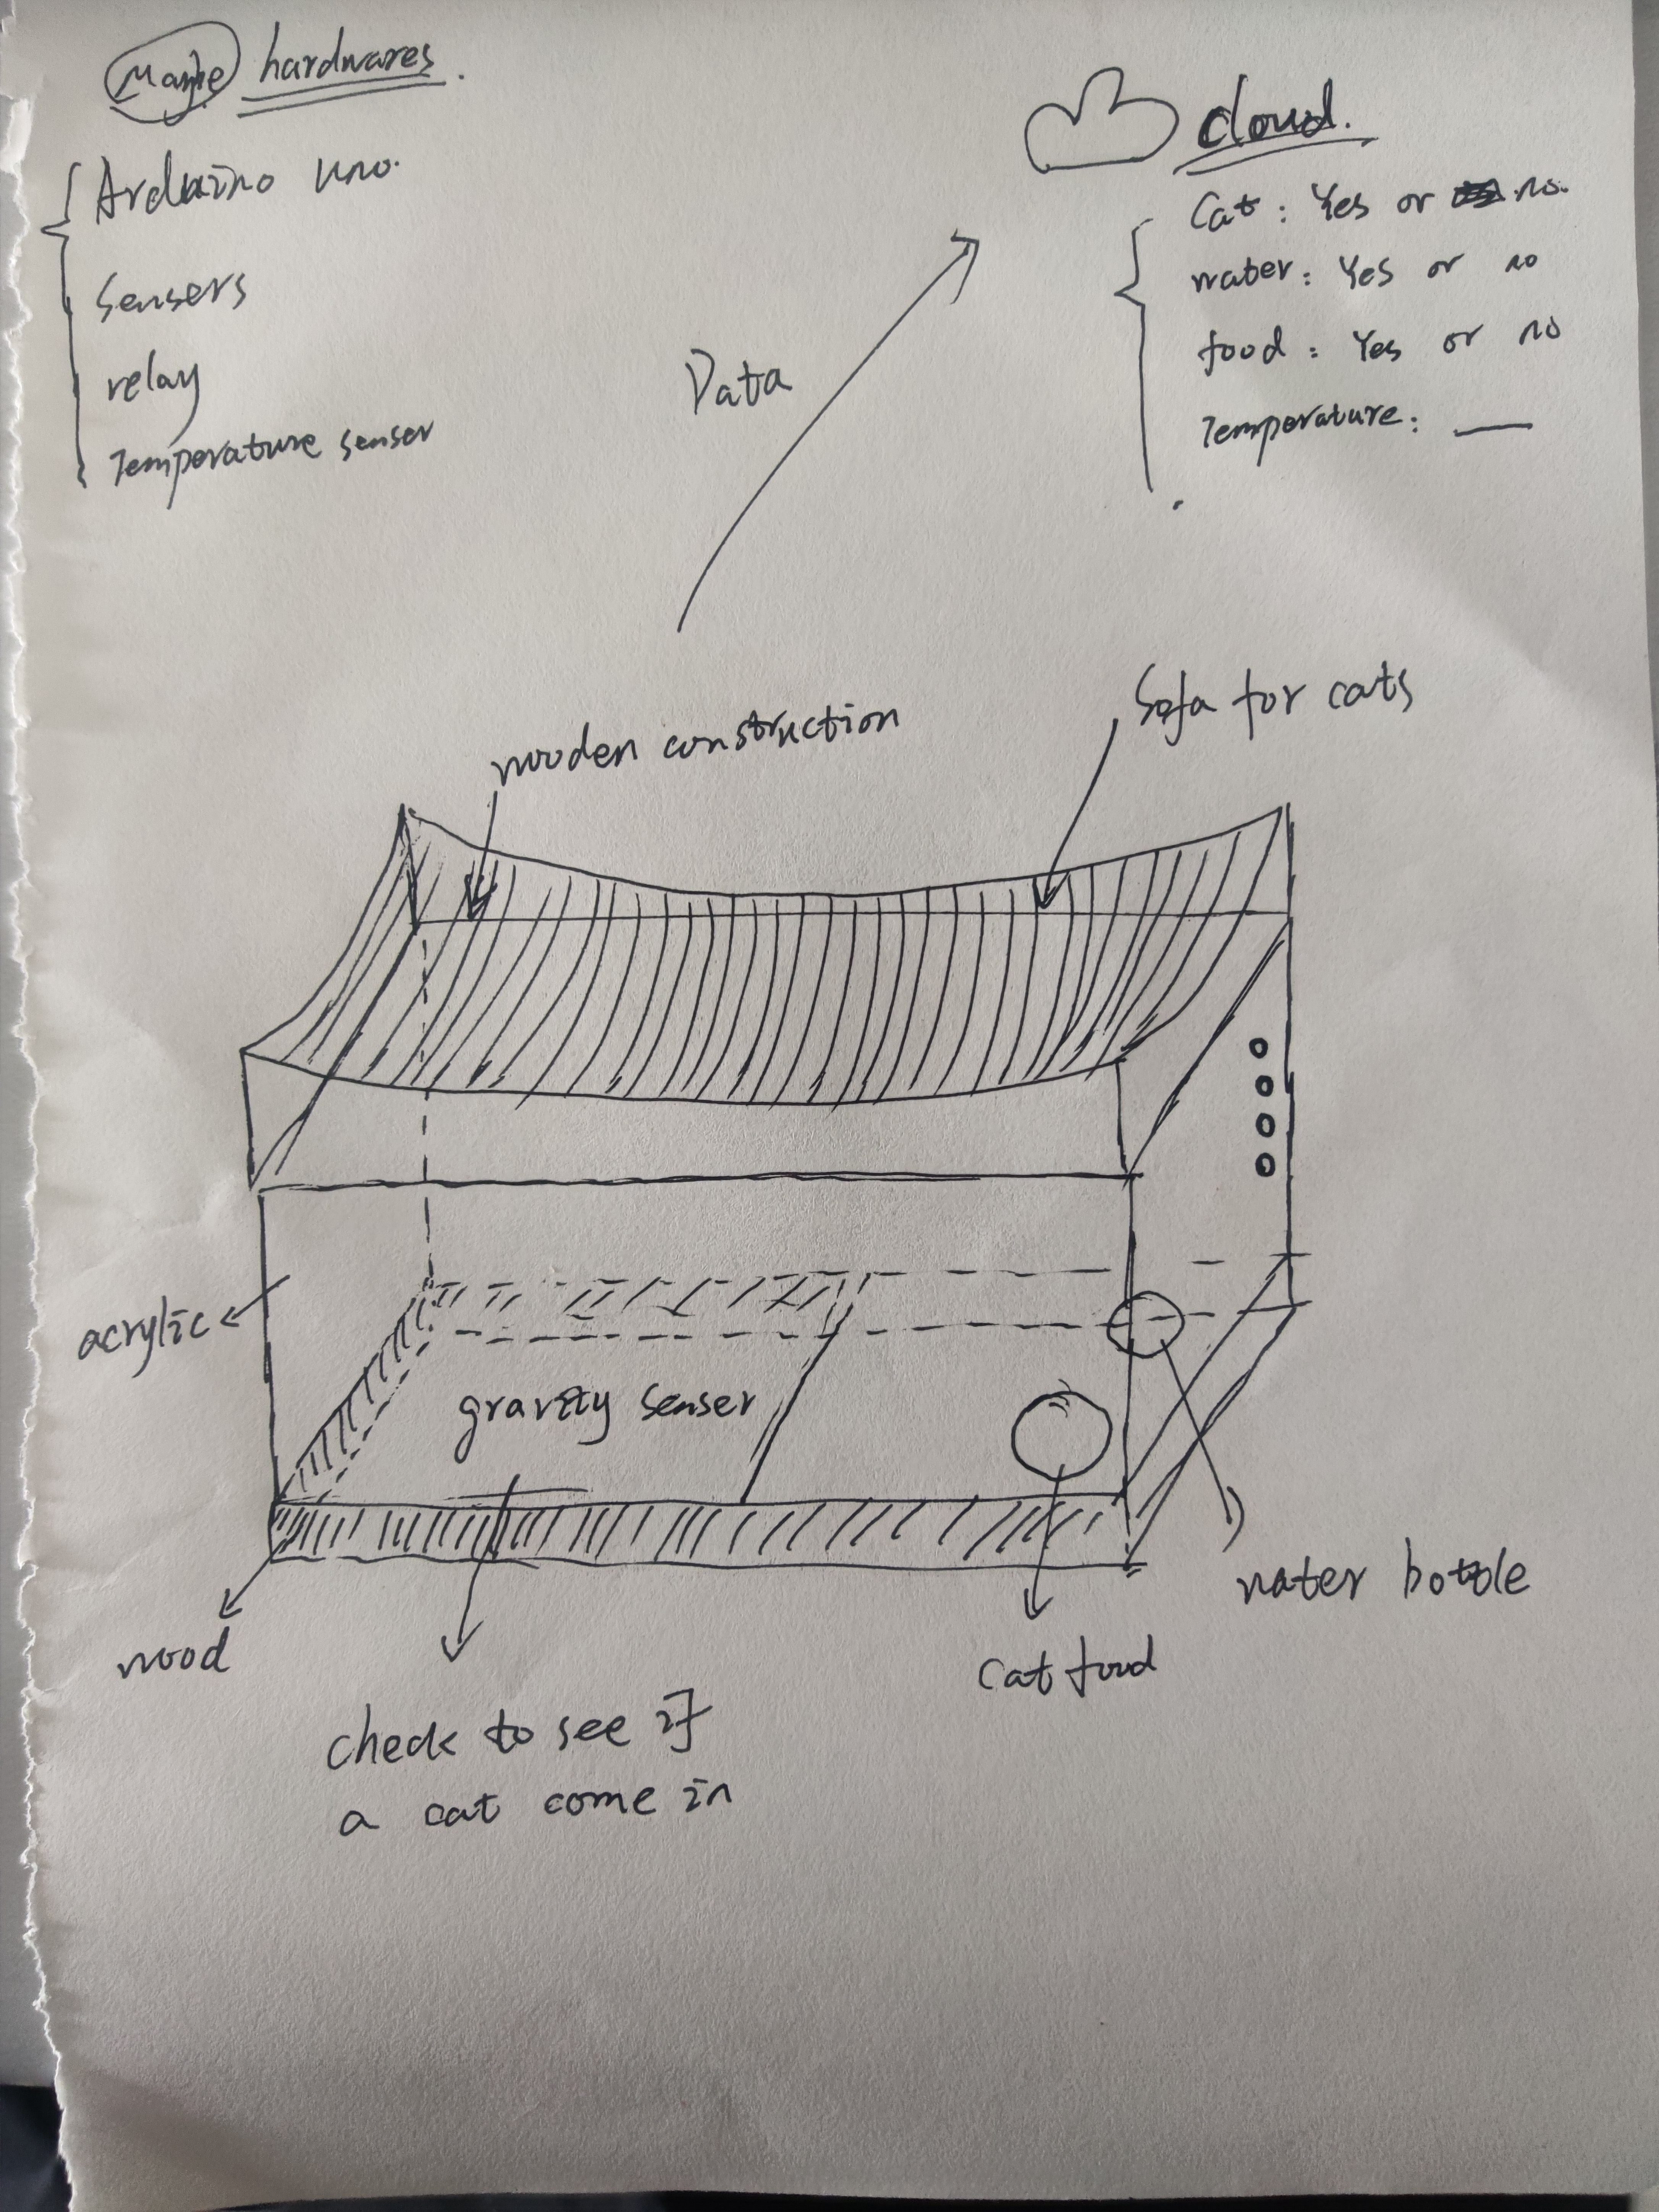
My project is designing a cat shelter for stray cats in my community. As the number of people increased, the conflict between cats and people became more prominent, especially with the rise in the number of baby, children, and the elderly. Now people are increasingly discussing the issue of stray cats in my community. So, I wanted to design a cat shelter that could be placed in a fixed location in the community. It can detect whether the cat is using it, monitor food and water consumption, and connect to a smartphone Bluetooth to display the relevant data.
"stray cats: help us!"
Sketch
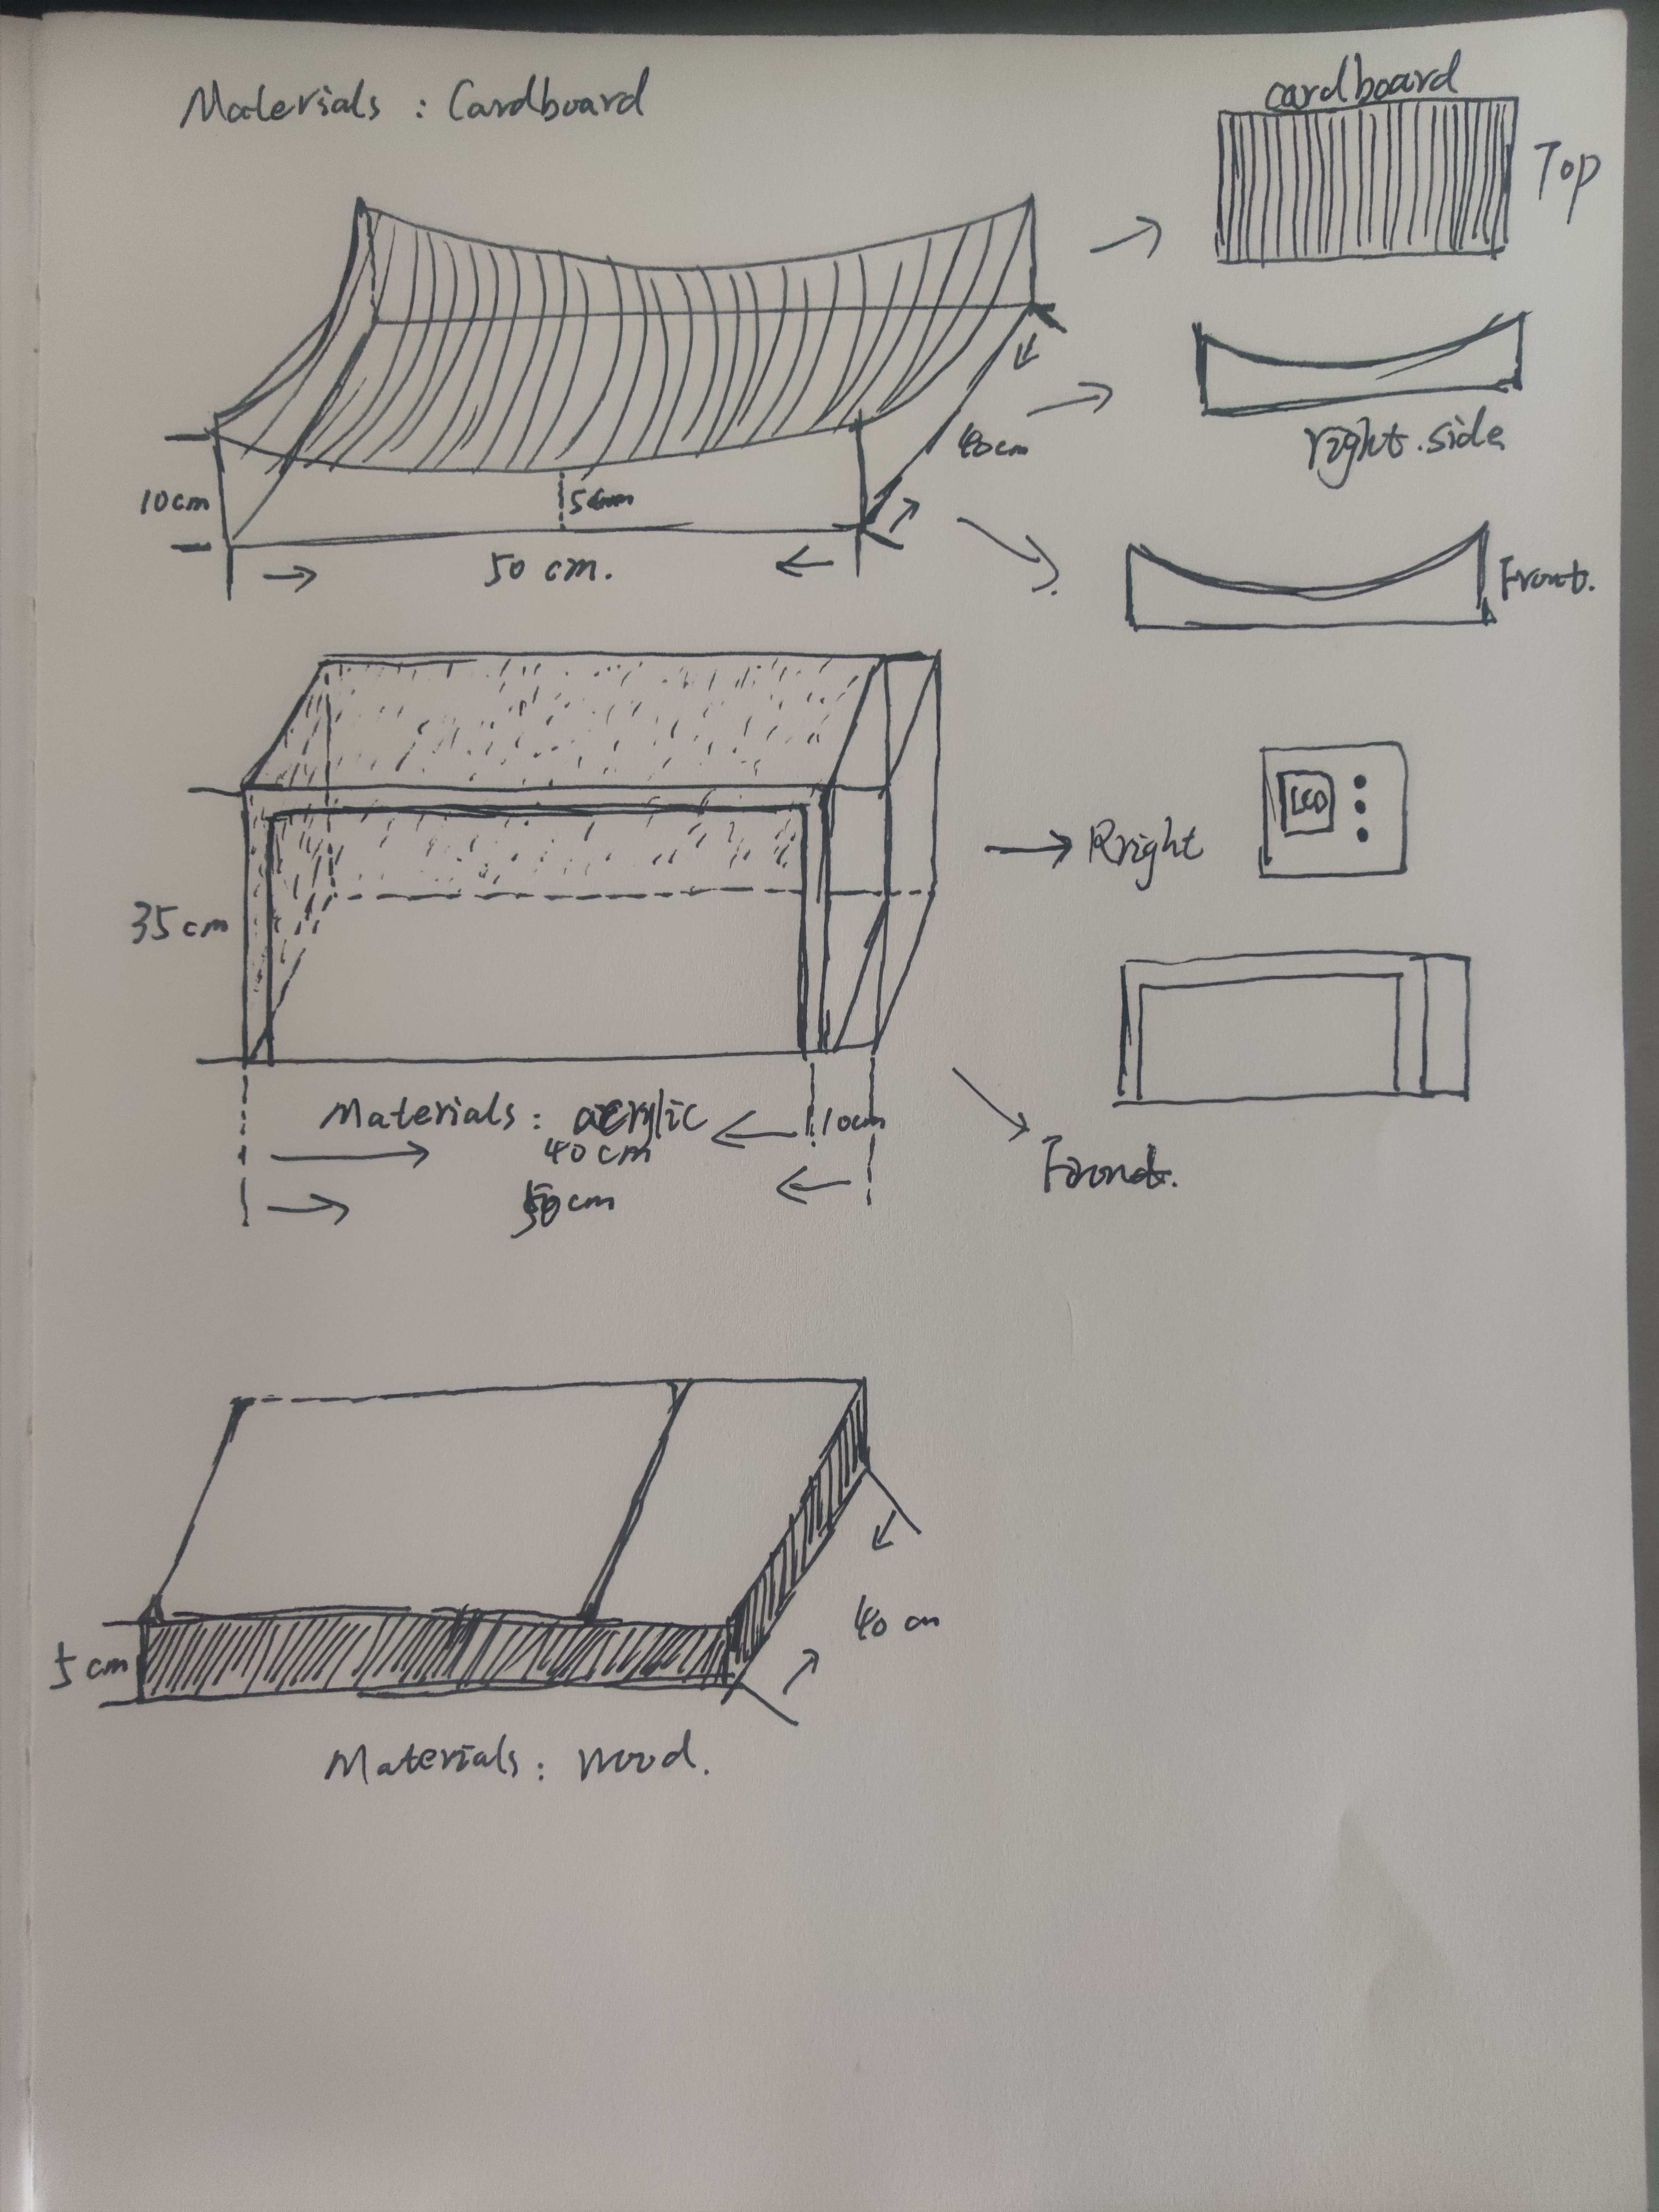
Draws the idea of cat nest on the draft book, and roughly indicates the material, structure, function and other parts
Who has done what beforehand?
At present, there is a shared travel company in China-Haruo Chuxing, launching a market-oriented shared cat nest, including actual cat nest devices and mobile App. When cat nests are placed in areas with a large number of stray cats, users can use mobile APP to watch cat conditions in real time through the Internet, as well as feed and donate money, and the proceeds will be used to assist TNR operations.

Design
Model v1
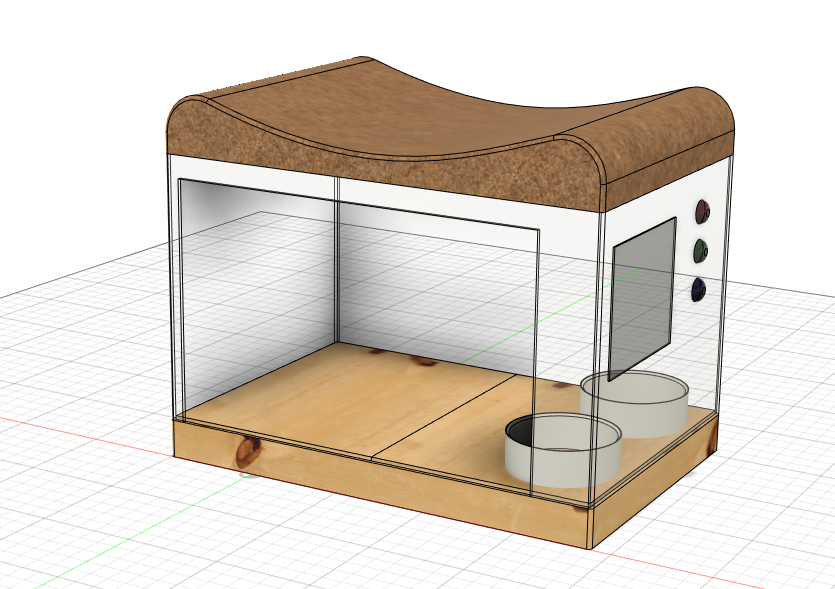
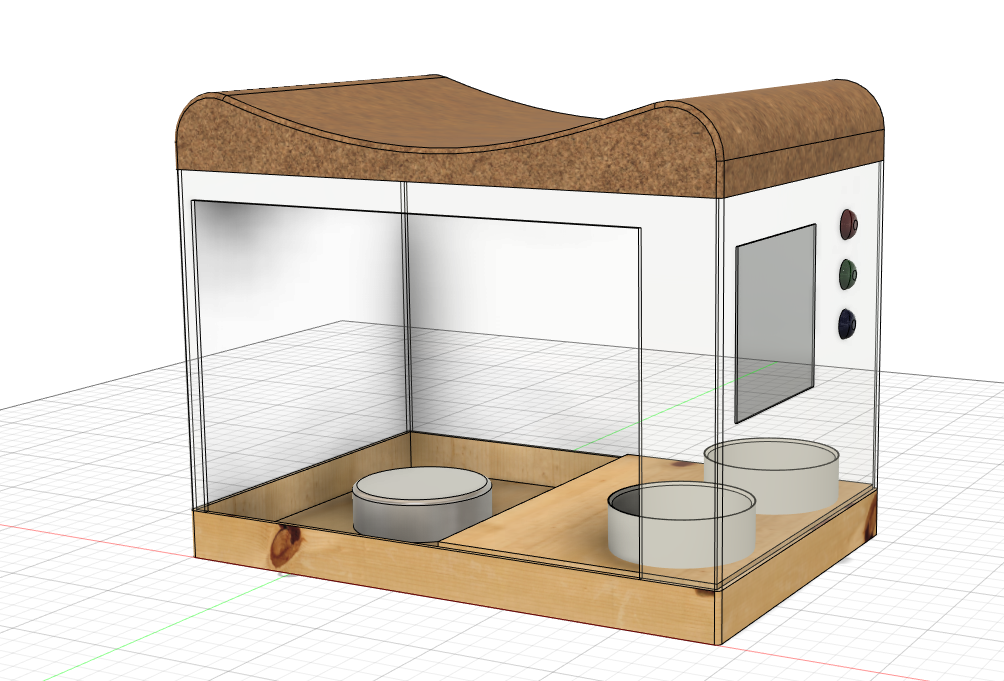
I designed the first version of the model using fusion360 modeling and tried rendering different materials.The uppermost layer was designed to have a certain arc shape as a place for cats to rest and a cylindrical cat bowl. The most important thing is to design a monitoring device that can detect the presence of cats based on weight.
Model v2
In this design, I mainly considered three problems: 1. The lighting conditions of cat nest theme. If acrylic is fully transparent, it will be easily affected by lighting at night. Modify the material to wood board. At the same time, in order to improve the lighting and ventilation conditions of cat nest during the day, design window-like structure;2. The cat bowl is modified from cylindrical to square, considering the shape of cat nest more matching, improving the utilization rate of space; 3. Change the data collection sensor from gravity sensor to thin film pressure sensor, which is lighter and thinner.
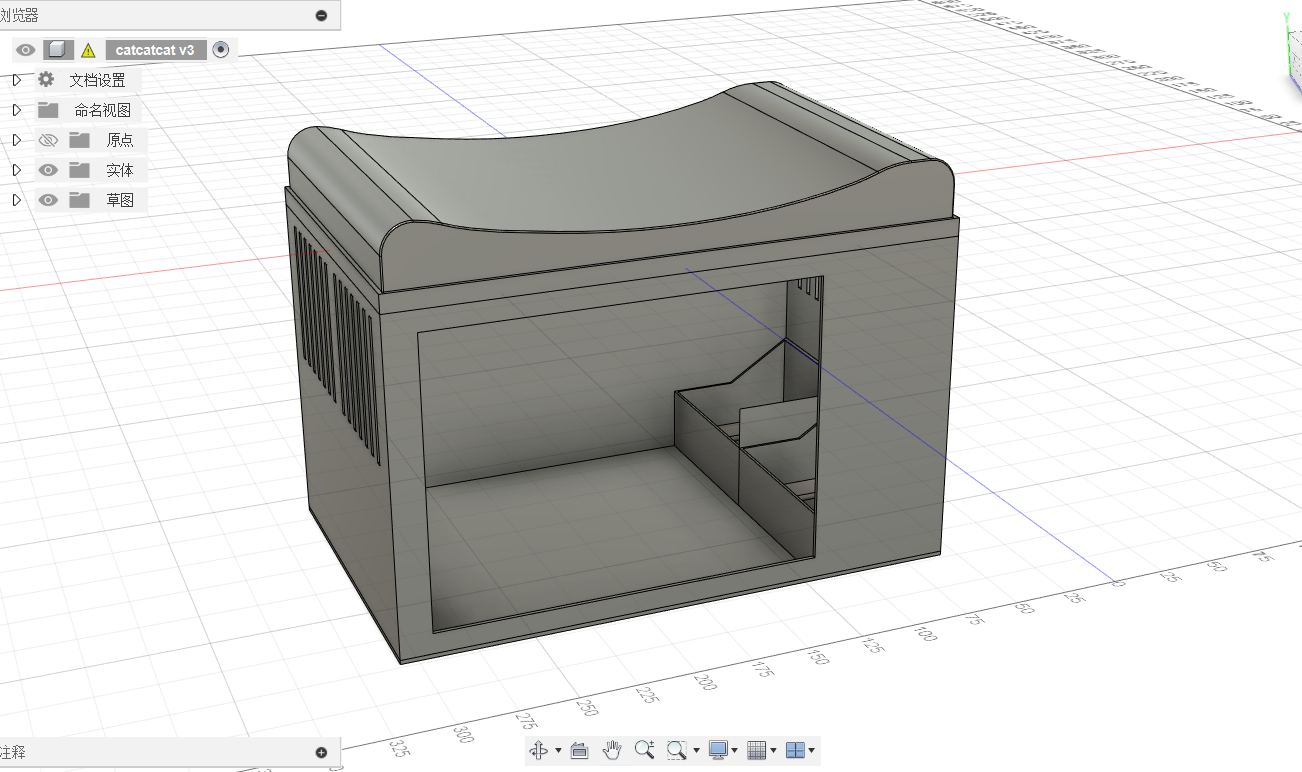
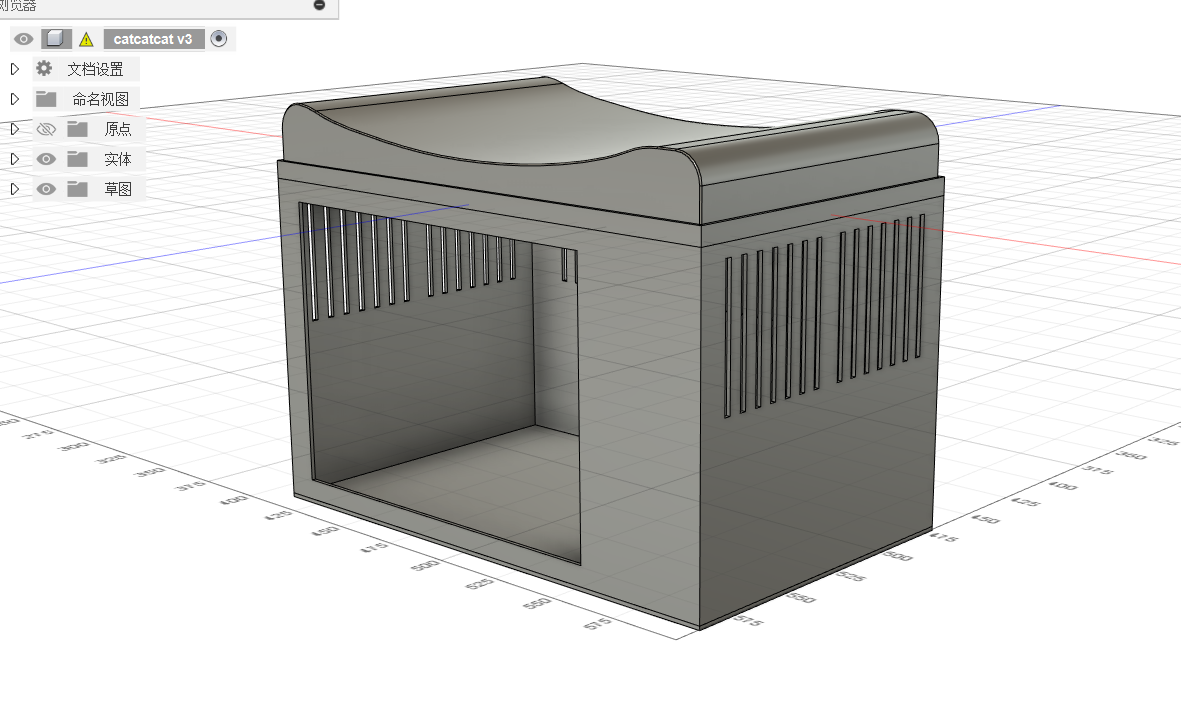
Model v3
In the final presentation,The instructor suggested that materials needed to be improved to increase the likelihood of survival outdoors or outdoors. Existing materials may be less viable. Therefore, combined with the composite materials learned from the previous content, the materials around the cat nest and the window structure were modified to use carbon fiber and colored acrylic respectively.
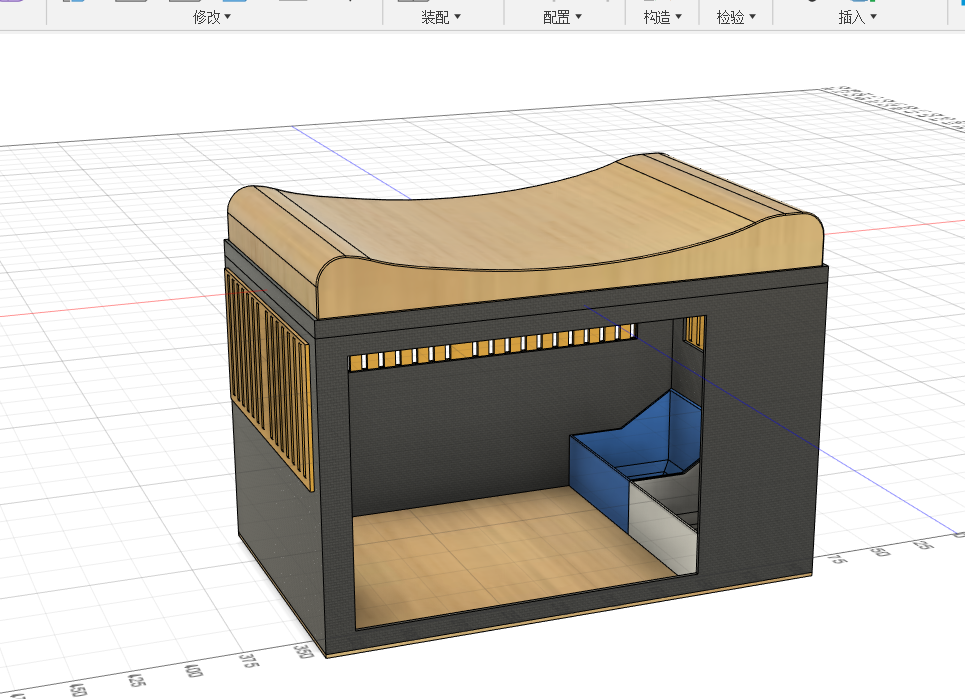
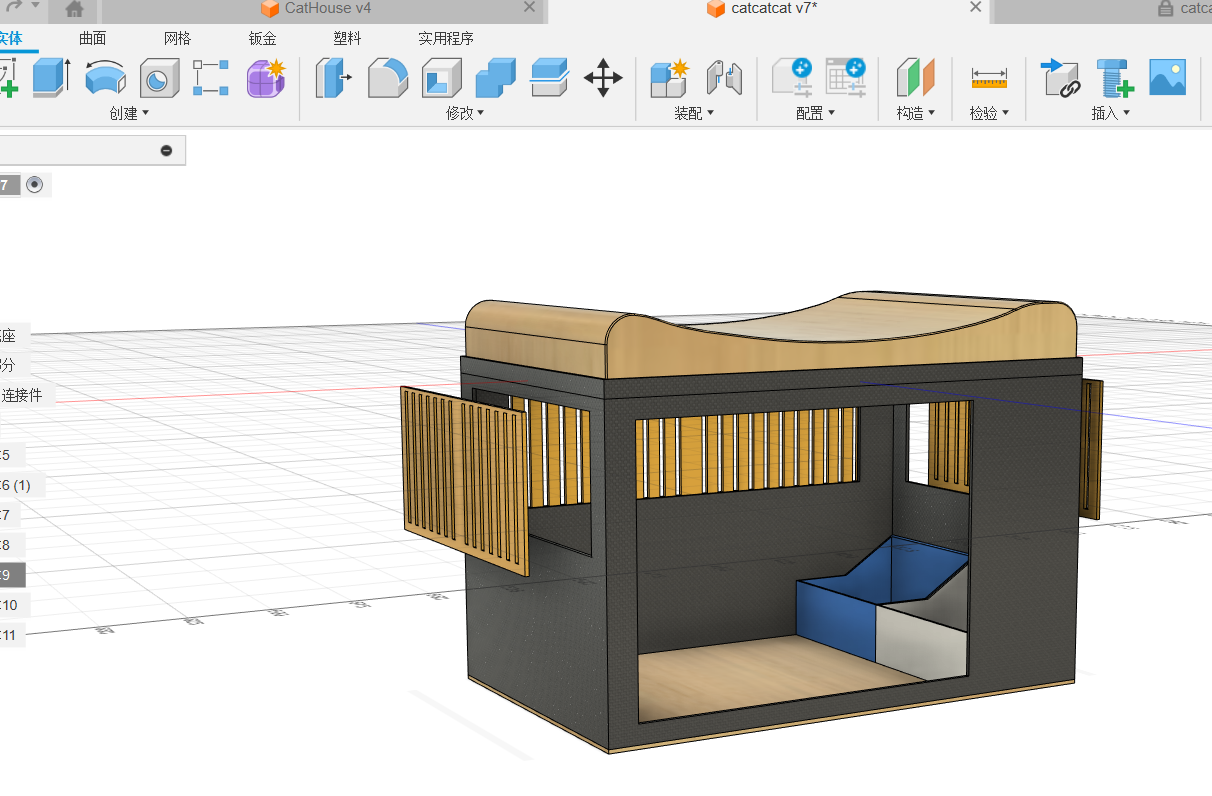
3D Printing & LaserCutting
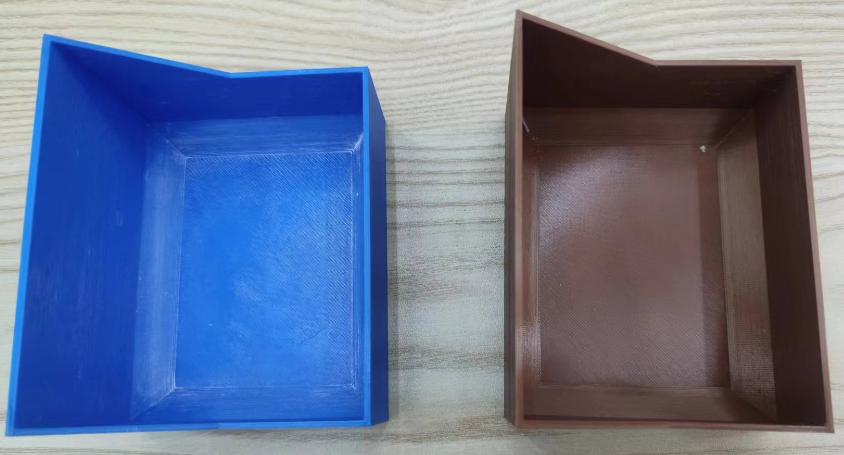
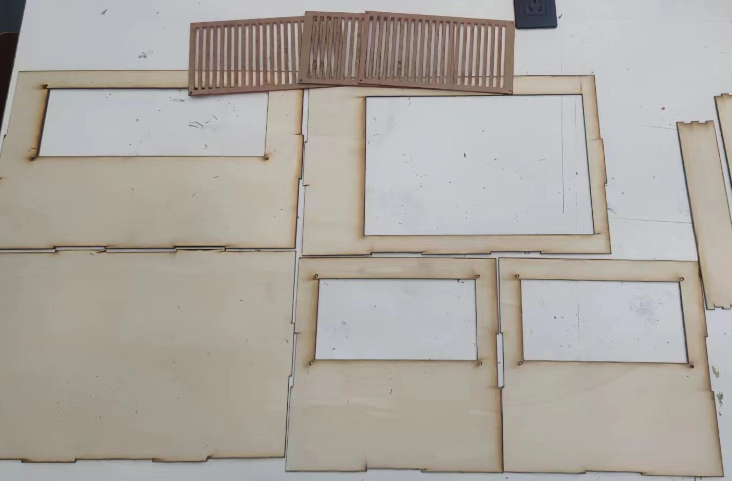
Operation All structural parts are made using 3D printers and laser cutting machines.
Composites
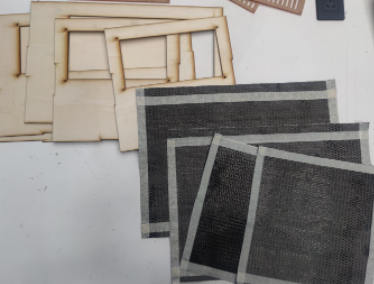
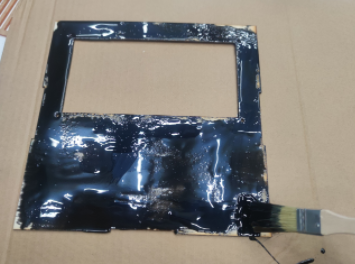
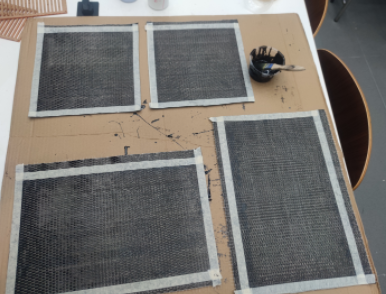
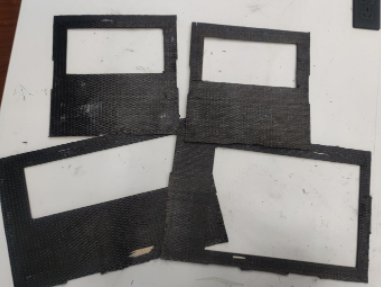
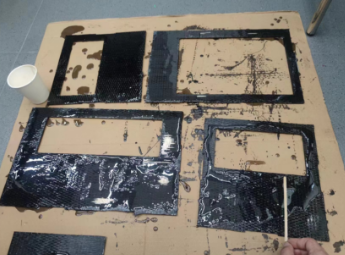
Carbon fiber composites are used to wrap around the wood, thanks to week15. First of all, I need to cut the wood carbon fiber cloth into the corresponding pattern according to the size and shape of the wood board; secondly, apply a layer of primer on the wood board, and the primer needs to stick and fix the carbon fiber cloth according to the ratio (A: B=3:1); finally, after waiting for the setting, apply a layer of transparent glue on the surface of the carbon fiber cloth to play the role of waterproof and scratch-proof, and wait for 6 hours to set.
More information about composite testing can be found at week15 Wildcard Week--Composites.
Electronic Design
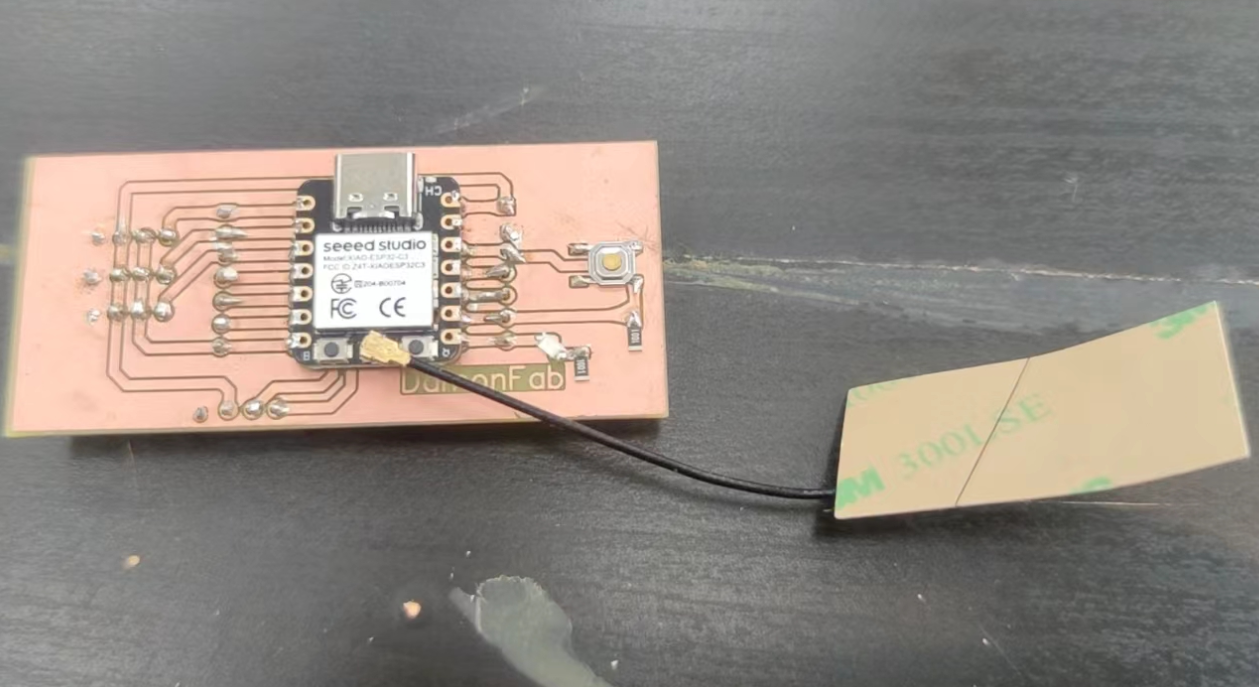
In order to adapt to the needs of the project, I re-fabricated the PCB circuit, here using Garitron EDA design.
More ways to communicate can be found in My Week13 Networking and Communications.Complete PCB design with the support of week8 Electronics Design, including learning how to use EDA tools, milling and soldering components.
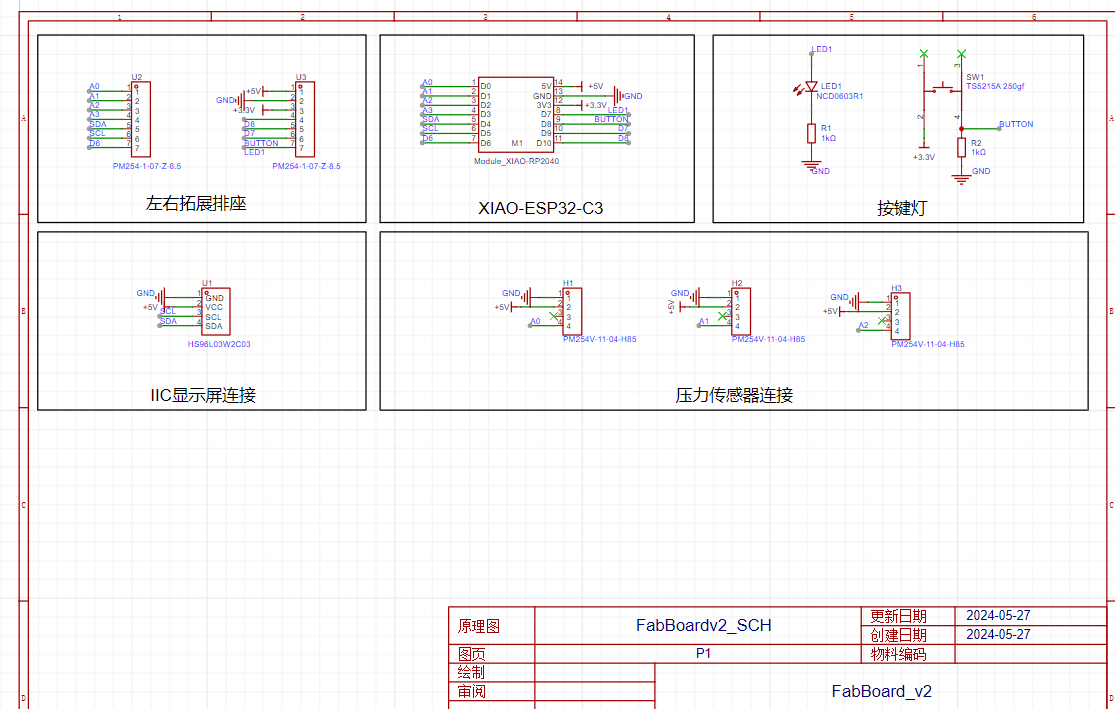
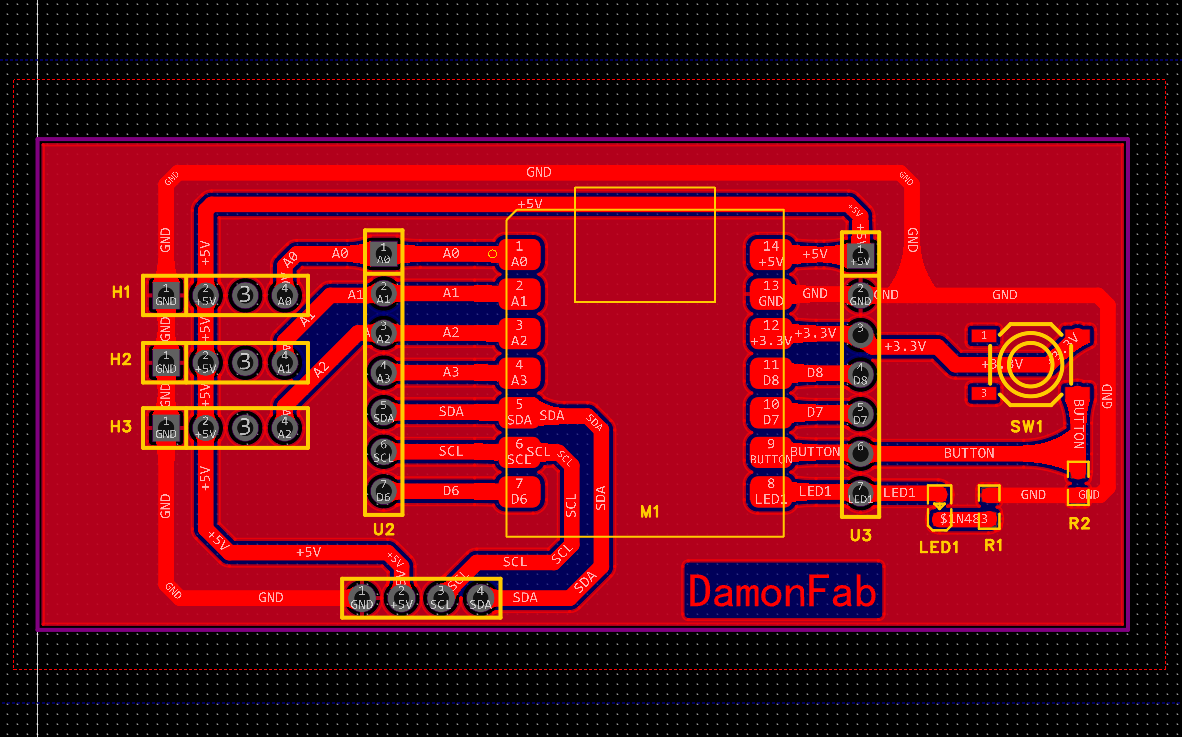
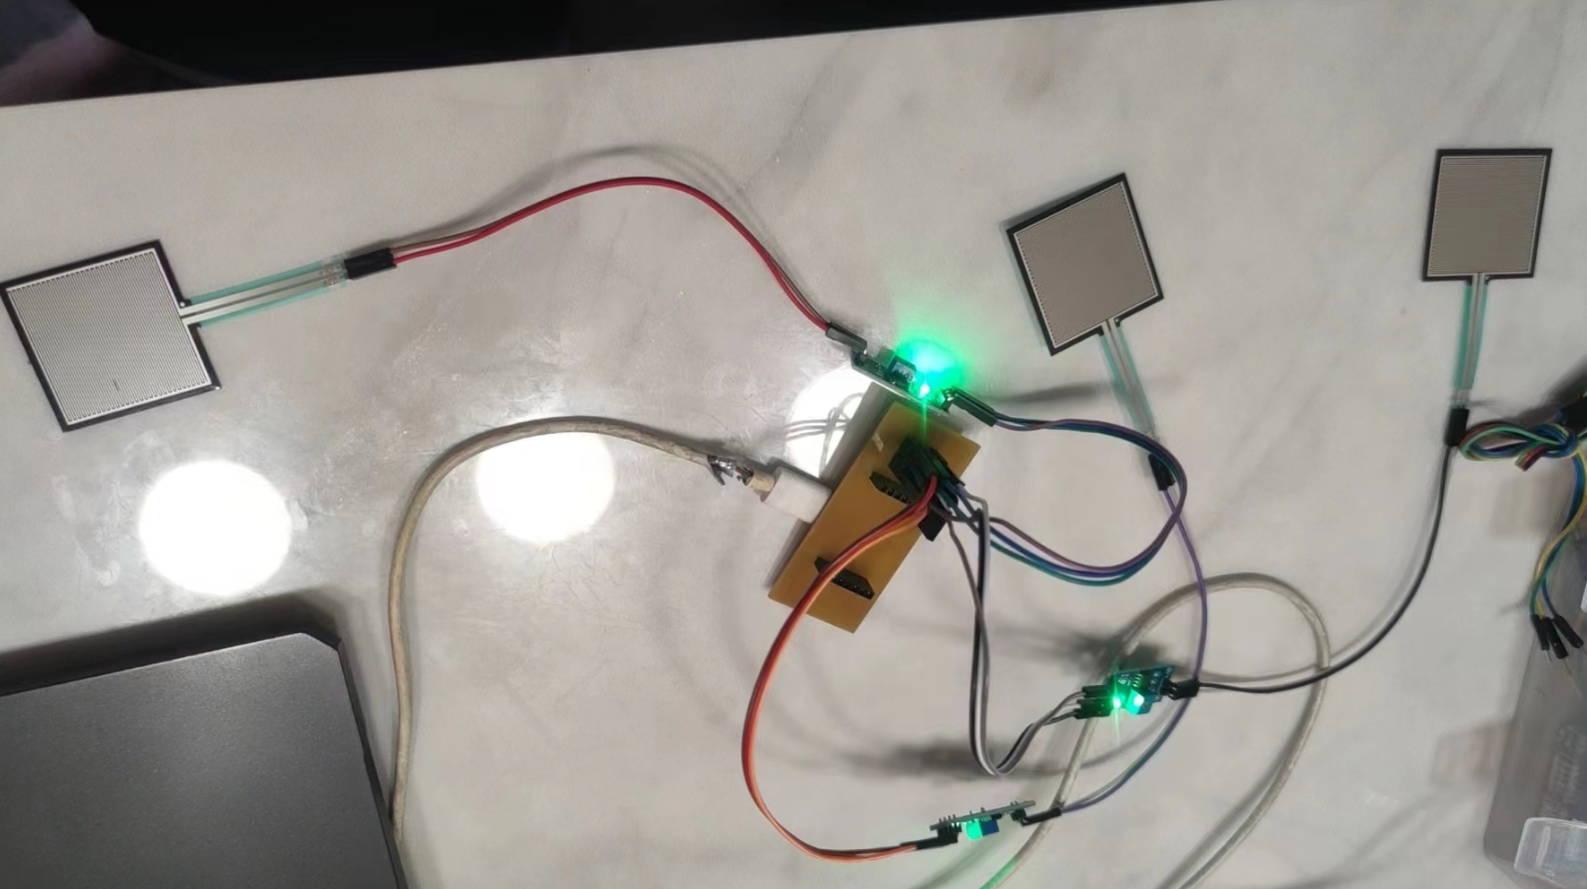
After soldering the circuit, I started writing the program. First of all, I wrote a program that can measure the value of the pressure sensor and output the measured data on the serial port monitor; secondly, I wrote the display function to control the OLED display screen. On the basis of the previous work, I have learned to control the display screen to display characters, so this part mainly allows the display screen to display the pressure value.
              //Pressure Sensors
              #include
                int sensorPin1 = A0;
                int sensorPin2 = A1;
                int sensorPin3 = A2;
                #define PRESS_MIN 20
                #define PRESS_MAX 6000
                #define VOLTAGE_MIN 0
                #define VOLTAGE_MAX 5000

                void setup() {
                  Serial.begin(9600);
                }

                void loop() {
                  long Fdata1 = getPressValue(sensorPin1);
                  long Fdata2 = getPressValue(sensorPin2);
                  long Fdata3 = getPressValue(sensorPin3);
                  Serial.print(Fdata1);
                  Serial.print(",");
                  Serial.print(Fdata2);
                  Serial.print(",");
                  Serial.println(Fdata3);
                  delay(50);

                }

                long getPressValue(int pin)
                {
                  long PRESS_AO = 0;
                  int VOLTAGE_AO = 0;
                  int value = analogRead(pin);
                  int reversedValue = 1023 - value;

                  VOLTAGE_AO = map(value, 0, 1023, 5000, 0);
                  if(VOLTAGE_AO < VOLTAGE_MIN)
                  {
                    PRESS_AO = 0;
                  }
                  else if(VOLTAGE_AO > VOLTAGE_MAX)
                  {
                    PRESS_AO = PRESS_MAX;
                  }
                  else
                  {
                    PRESS_AO = map(VOLTAGE_AO, VOLTAGE_MIN, VOLTAGE_MAX, PRESS_MIN, PRESS_MAX);
                  }

                  return PRESS_AO;
                }
              //OLED Display
              #include
                #include
                #ifdef U8X8_HAVE_HW_SPI
                #include
                #endif
                #ifdef U8X8_HAVE_HW_I2C
                #include
                #endif
                // OLED Display
                U8G2_SSD1306_128X64_NONAME_F_SW_I2C u8g2(U8G2_R0, /* clock=*/ SCL, /* data=*/ SDA, /* reset=*/ U8X8_PIN_NONE);

                // pressure pin
                int sensorPin1 = A0;
                int sensorPin2 = A1;
                int sensorPin3 = A2;

                // P and V
                #define PRESS_MIN 20
                #define PRESS_MAX 6000
                #define VOLTAGE_MIN 0
                #define VOLTAGE_MAX 5000

                void setup(void) {
                  Serial.begin(9600);
                  analogReadResolution(12);  // ADC解析度为12位
                  u8g2.begin();
                }

                void loop(void) {
                  long Fdata1 = getPressValue(sensorPin1);
                  long Fdata2 = getPressValue(sensorPin2);
                  long Fdata3 = getPressValue(sensorPin3);

                  Serial.print(Fdata1);
                  Serial.print(",");
                  Serial.print(Fdata2);
                  Serial.print(",");
                  Serial.println(Fdata3);

                  u8g2.clearBuffer();
                  u8g2.setFont(u8g2_font_ncenB08_tr);
                  u8g2.setCursor(0, 30);
                  u8g2.print("P1: ");
                  u8g2.print(Fdata1);
                  u8g2.setCursor(0, 40);
                  u8g2.print("P2: ");
                  u8g2.print(Fdata2);
                  u8g2.setCursor(0, 50);
                  u8g2.print("P3: ");
                  u8g2.print(Fdata3);
                  u8g2.sendBuffer();
                  delay(10);  // delay 10 mm
                }

                long getPressValue(int pin)
                {
                  long PRESS_AO = 0;
                  int VOLTAGE_AO = 0;
                  int value = analogRead(pin);

                  VOLTAGE_AO = map(value, 0, 4095, 5000, 0);
                  if(VOLTAGE_AO < VOLTAGE_MIN)
                  {
                    PRESS_AO = 0;
                  }
                  else if(VOLTAGE_AO > VOLTAGE_MAX)
                  {
                    PRESS_AO = PRESS_MAX;
                  }
                  else
                  {
                    PRESS_AO = map(VOLTAGE_AO, VOLTAGE_MIN, VOLTAGE_MAX, PRESS_MIN, PRESS_MAX);
                  }
                  return PRESS_AO;
                }
AppInventor
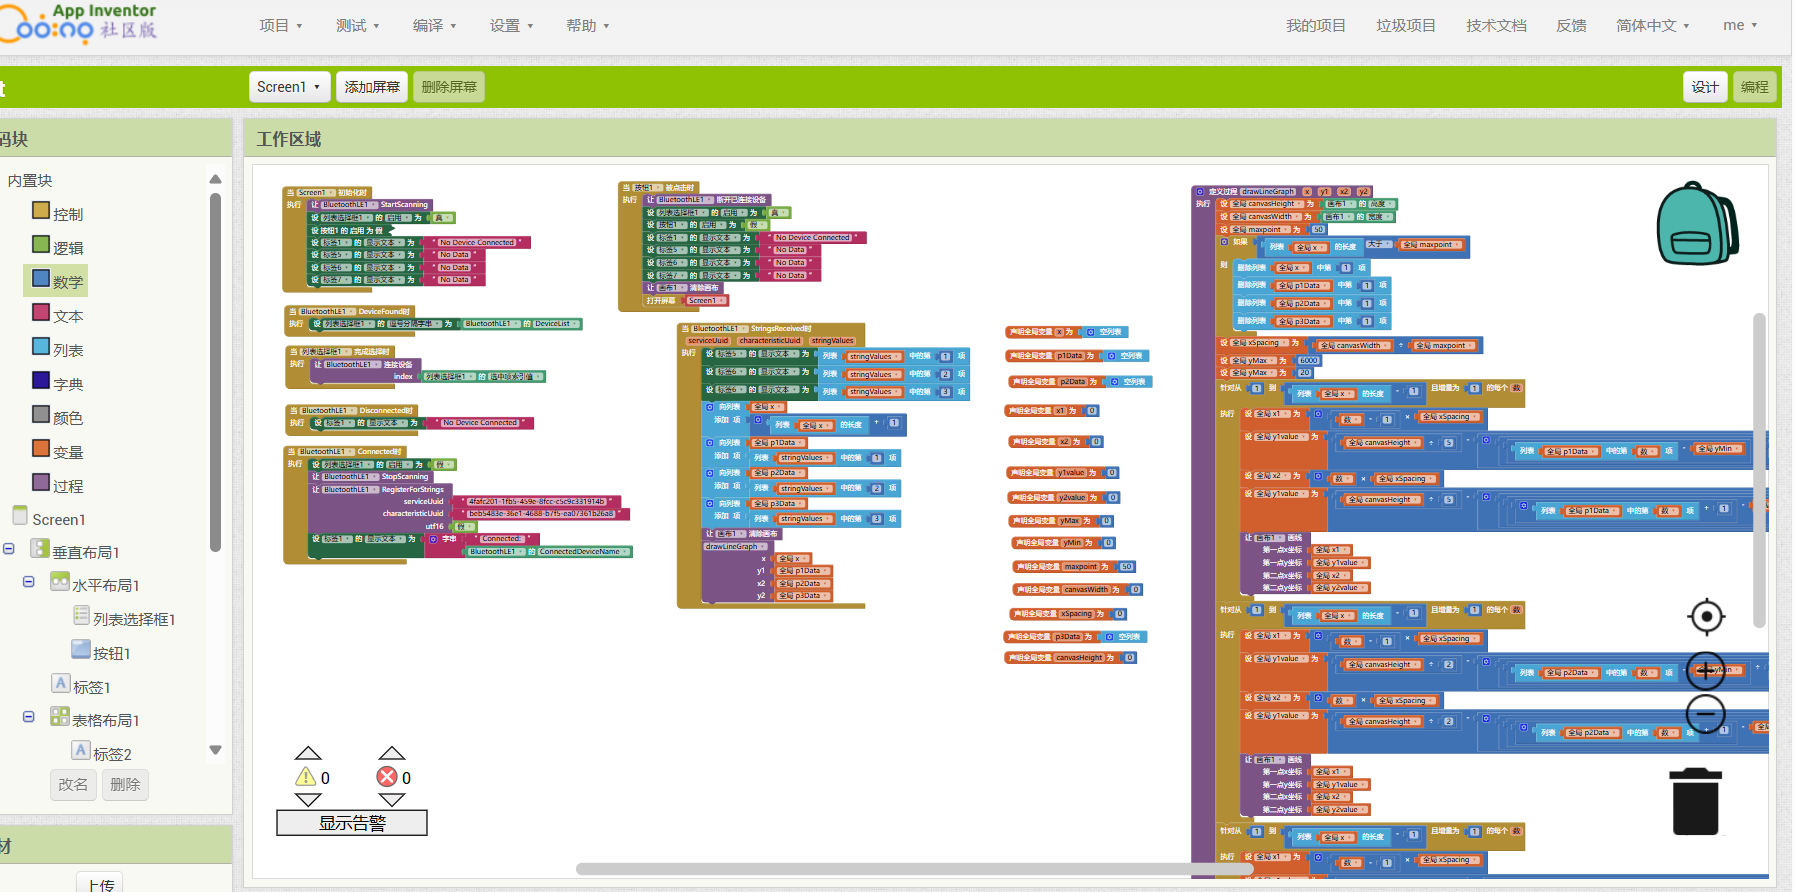
Bluetooth is one of the best ways to communicate. In the community scenario, residents can connect to Bluetooth through the app to view the cat nest data near their community and decide whether to add food and other supplies. Since I have no app development experience, but I know AppInventor in my work experience, I tried to use it to design an App that connects to Bluetooth, connects to Bluetooth in cat's nest, receives data and displays it on my phone.
The following is a local development tool for development in china, please download the aia file below. The pain also lies in the local, it is precisely because of the local server, did not save in time led to redo twice. Fortunately, I eventually downloaded and uploaded the project to MIT's APP Inventor account.
Test and apply
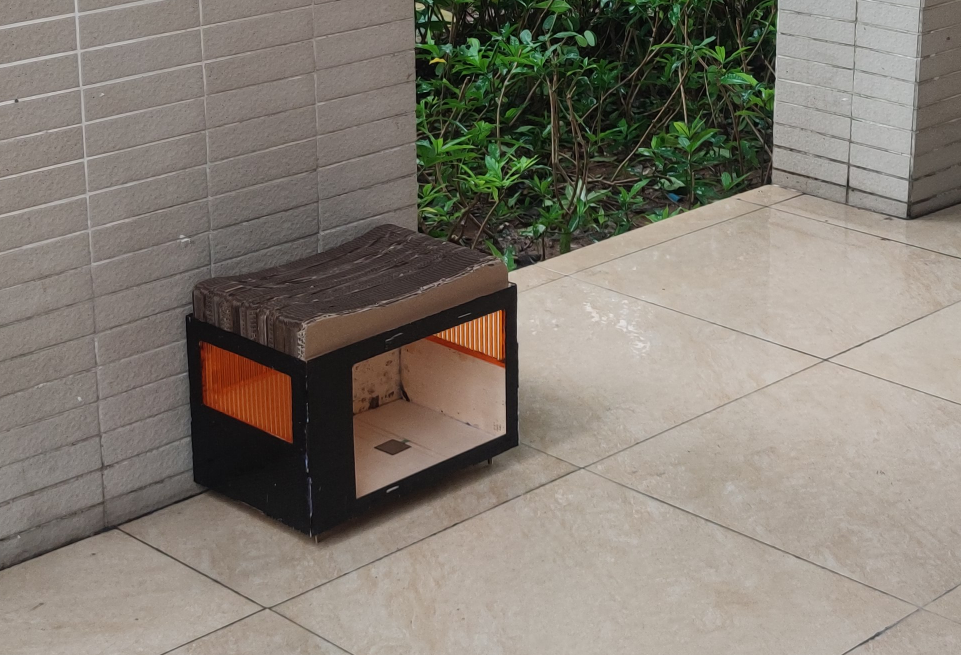
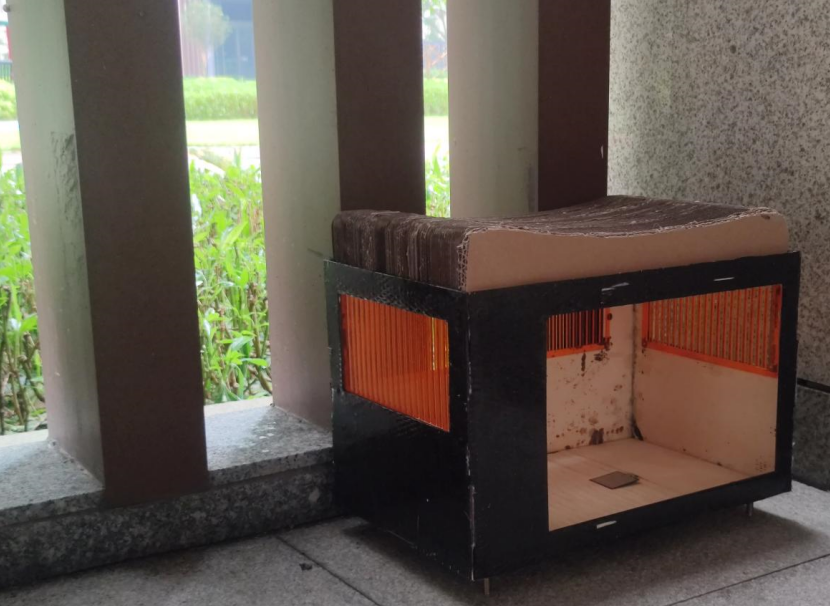
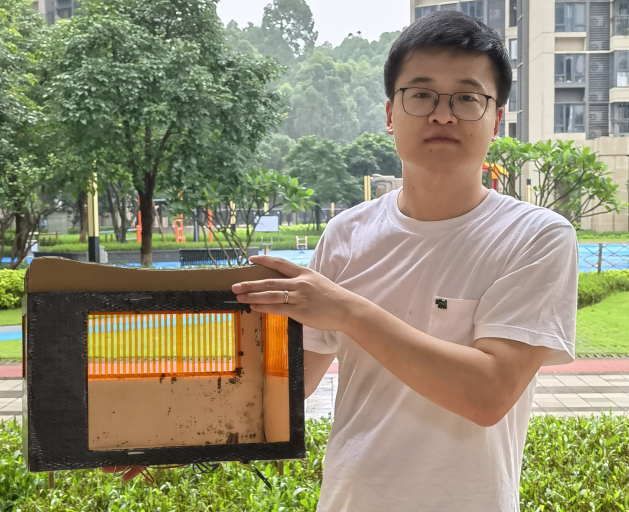
After reworking the exterior materials, I assembled it and brought it back to the community, and put it in a good position--a good position to provide exercise equipment for residents to use, but also connected to the community grass, where stray cats often appear from the rain.
Slide-Presentation

Video-Presentation
Thanks
For my project, I also want to thank everyone who has helped me over the past six months and the work they have done. I appreciate my advisor who continuously supervised and guided my work, sharing project experience and methods, and providing equipment and resources to help complete the weekly assignments. I am grateful to Chaihuo Makerspace for offering the CNC machine for free, enabling the completion of the entire design. I also want to thank everyone who provided technical guidance, teaching me how to use the machines correctly and safely to complete the project.
This video will show you all the work I've done, and I've accelerated some of the footage to make it small enough.
Materials
| Name | Specification | Quantity | Unit Price(RMB) | Total Price(RMB) |
|---|---|---|---|---|
| Wood Board | 45×45cm*3mm | 8 | 5.25 | 42 |
| Paper Board | 40×60cm*3mm | 14 | 1.05 | 14.72 |
| PLA Material | 1.75mm | 1 | 28 | 28 |
| Pressure Sensor | When force is applied, the resistance value of the sensor decreases; when no force is applied, the resistance value is infinite. RP-S40-LT; effective area: 36.5 square mm; range: 20g—20kg; size: 85×40mm; pin length: 5mm; with pressure conversion module | 3 | 46 | 138 |
| XIAO Controller | XIAO-ESP32-C3 | 1 | 35 | 35 |
| PCB Board | Copper Clad Board | 3 | 4 | 12 |
| DuPont Wire | Male to Male, Male to Female, Female to Female | 1 | 5 | 5 |
| LED Light | 0603 | 3 | 0.2 | 0.6 |
| Button | 1206 | 3 | 0.2 | 0.6 |
| Resistor | 0603 | 6 | 0.25 | 1.5 |
| 4P Connector | 2.54mm 4P | 12 | 0.1 | 1.2 |
| 7P Connector | 2.54mm 7P | 6 | 0.2 | 1.2 |
| Carbon Fiber Cloth | 300g,30cm*200cm | 1 | 42 | 42 RMB |
| Glue | Base glue 400g, surface glue 500g | 1 | 107 | 107 RMB |
| 428.82 RMB |
Community Cat Nest by Damon is licensed under CC BY-NC-SA 4.0