Molding & Casting
Assignment 12 - Fab Academy Barcelona

This week I:
- Molded with wax & silicone, cast in pewter
- Made large mold with foam, cast in concrete
- Participated in Group Assignment
Molding and Casting with Silcone & Pewter
Table Top Design
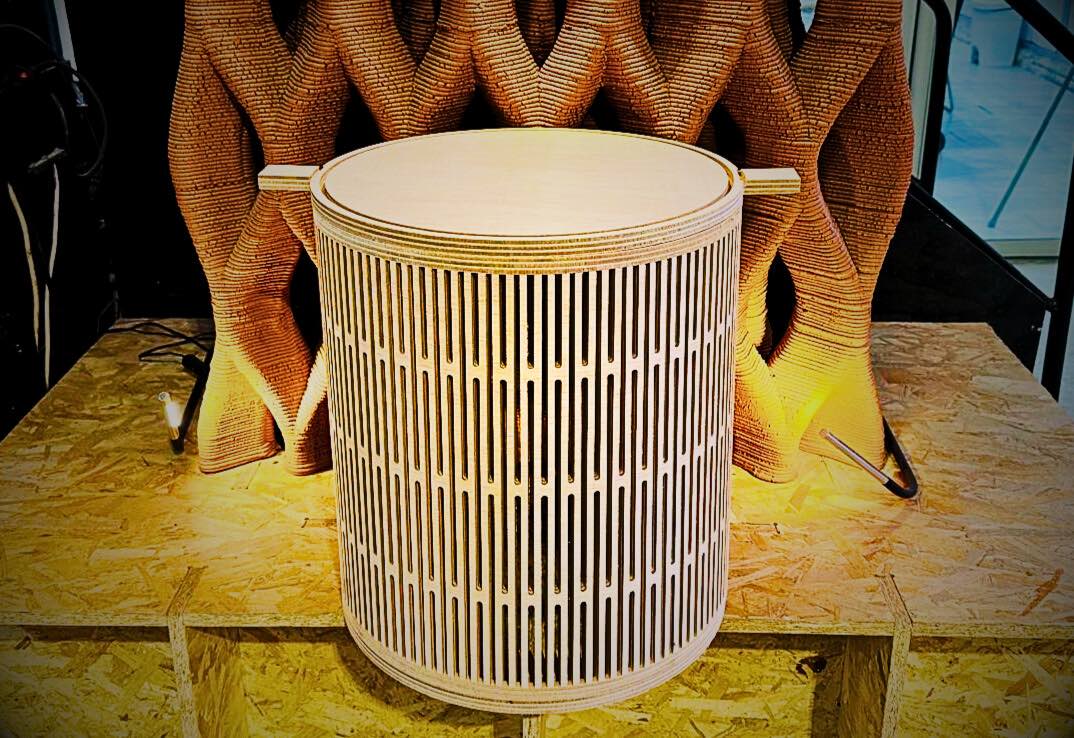
In class we were introduced to the basics of molding and casting with several different materials. I decided to continue to work on the stool / end table I had created in CNC week.
I designed a top for the end table I made in week seven (originally I intended it to be a stool, but it seems better as an end table). The top itself is XXcm in diameter, so too big for molding and casting with the wax blocks and small SRM-20 milling machines. I therefore designed a top that would have a centerpiece cast in metal milled using wax, silicone, and pewter. The larger portion of the table top would be molded using the large CNC to create a foam mold and cast using concrete. I liked the combination of concrete and metal as juxtaposed materials.
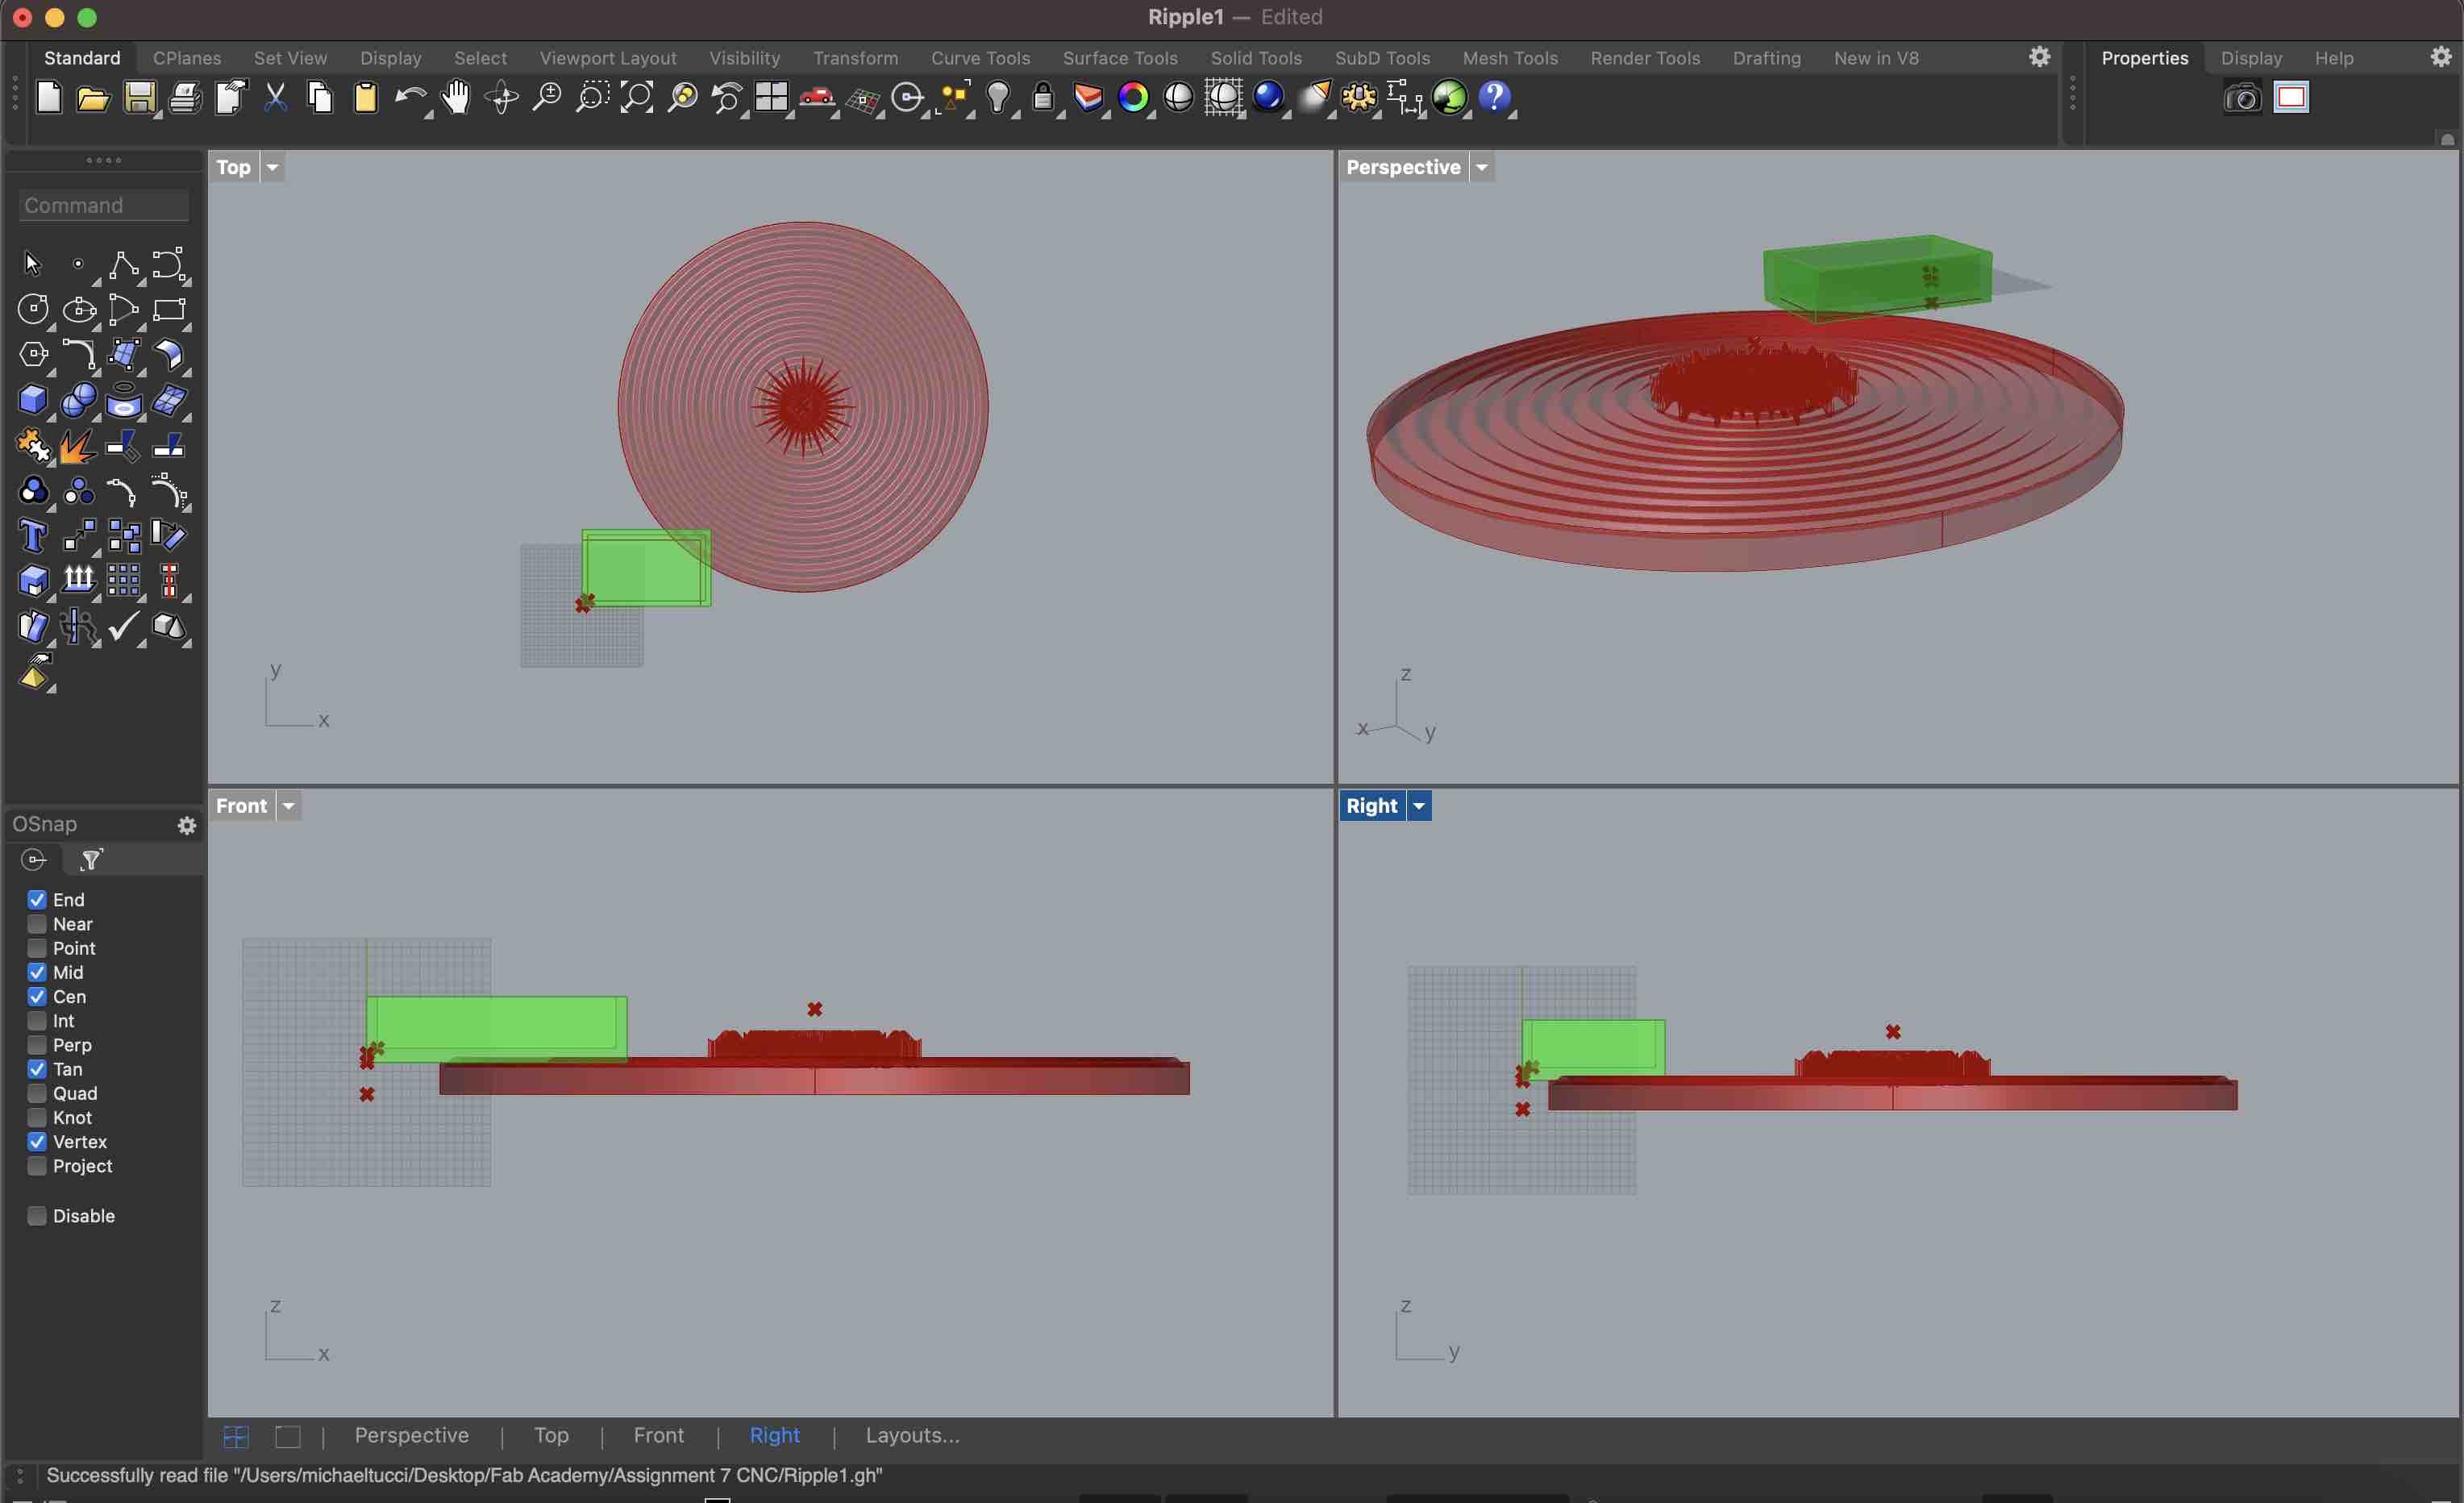
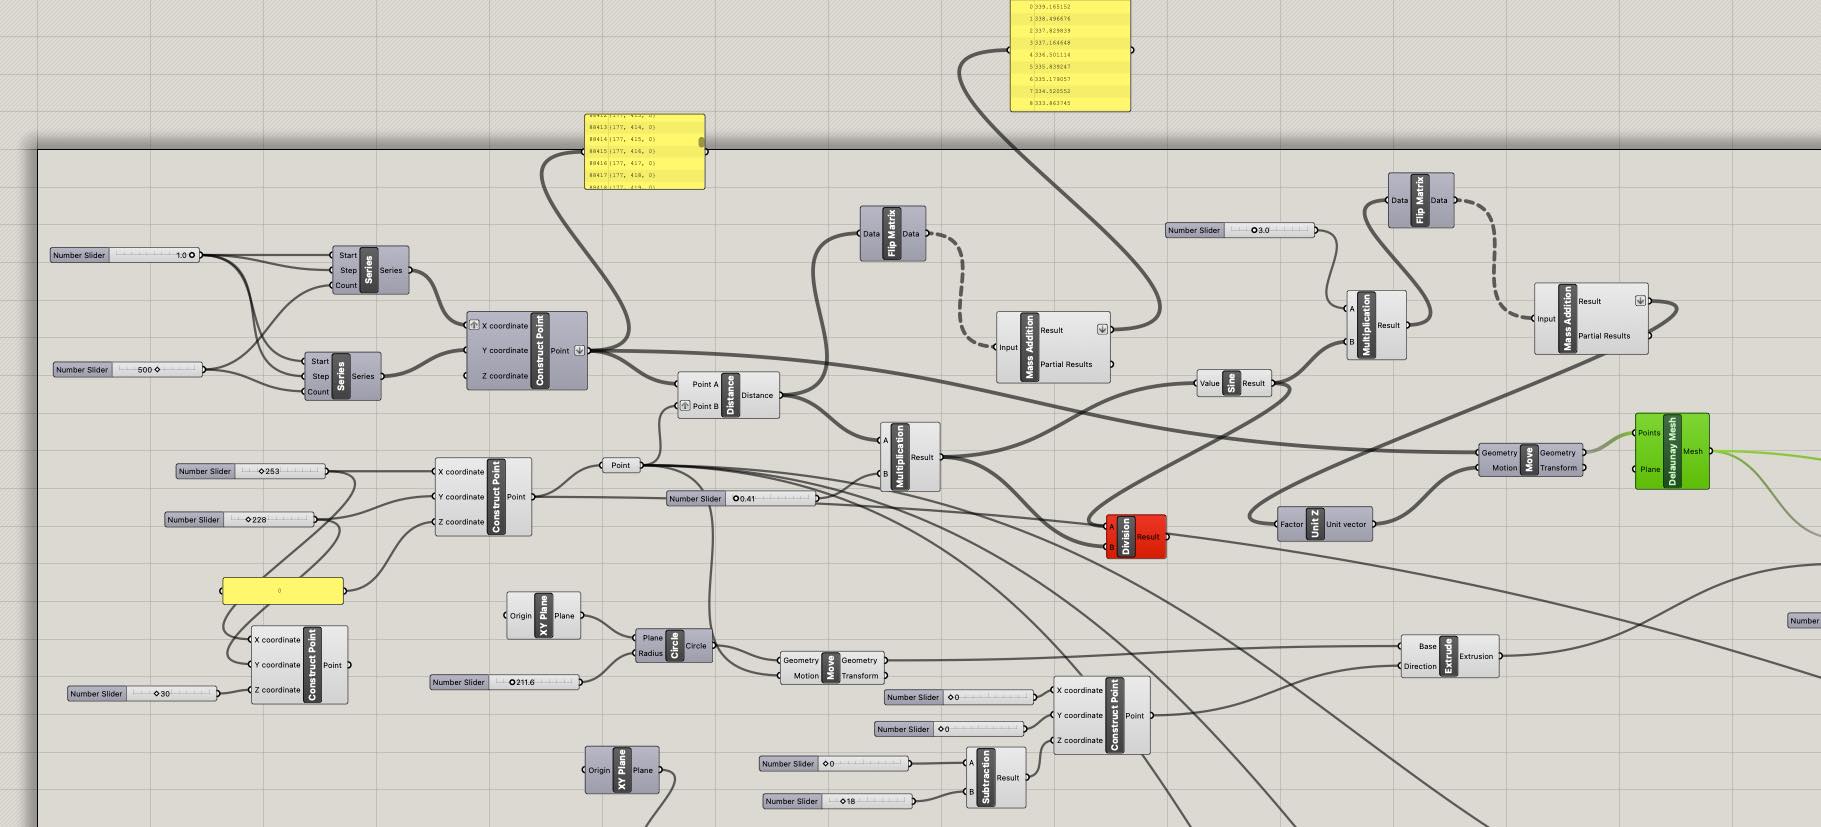
I created the design in Rhino using Grasshopper. I first created a wave pattern for the table top that would ripple outward from the center. I then divided this into two sections. The center section would be a sunburst to be cast in pewter, the large section I planned to cast in concrete.
ORIGINAL STOOL
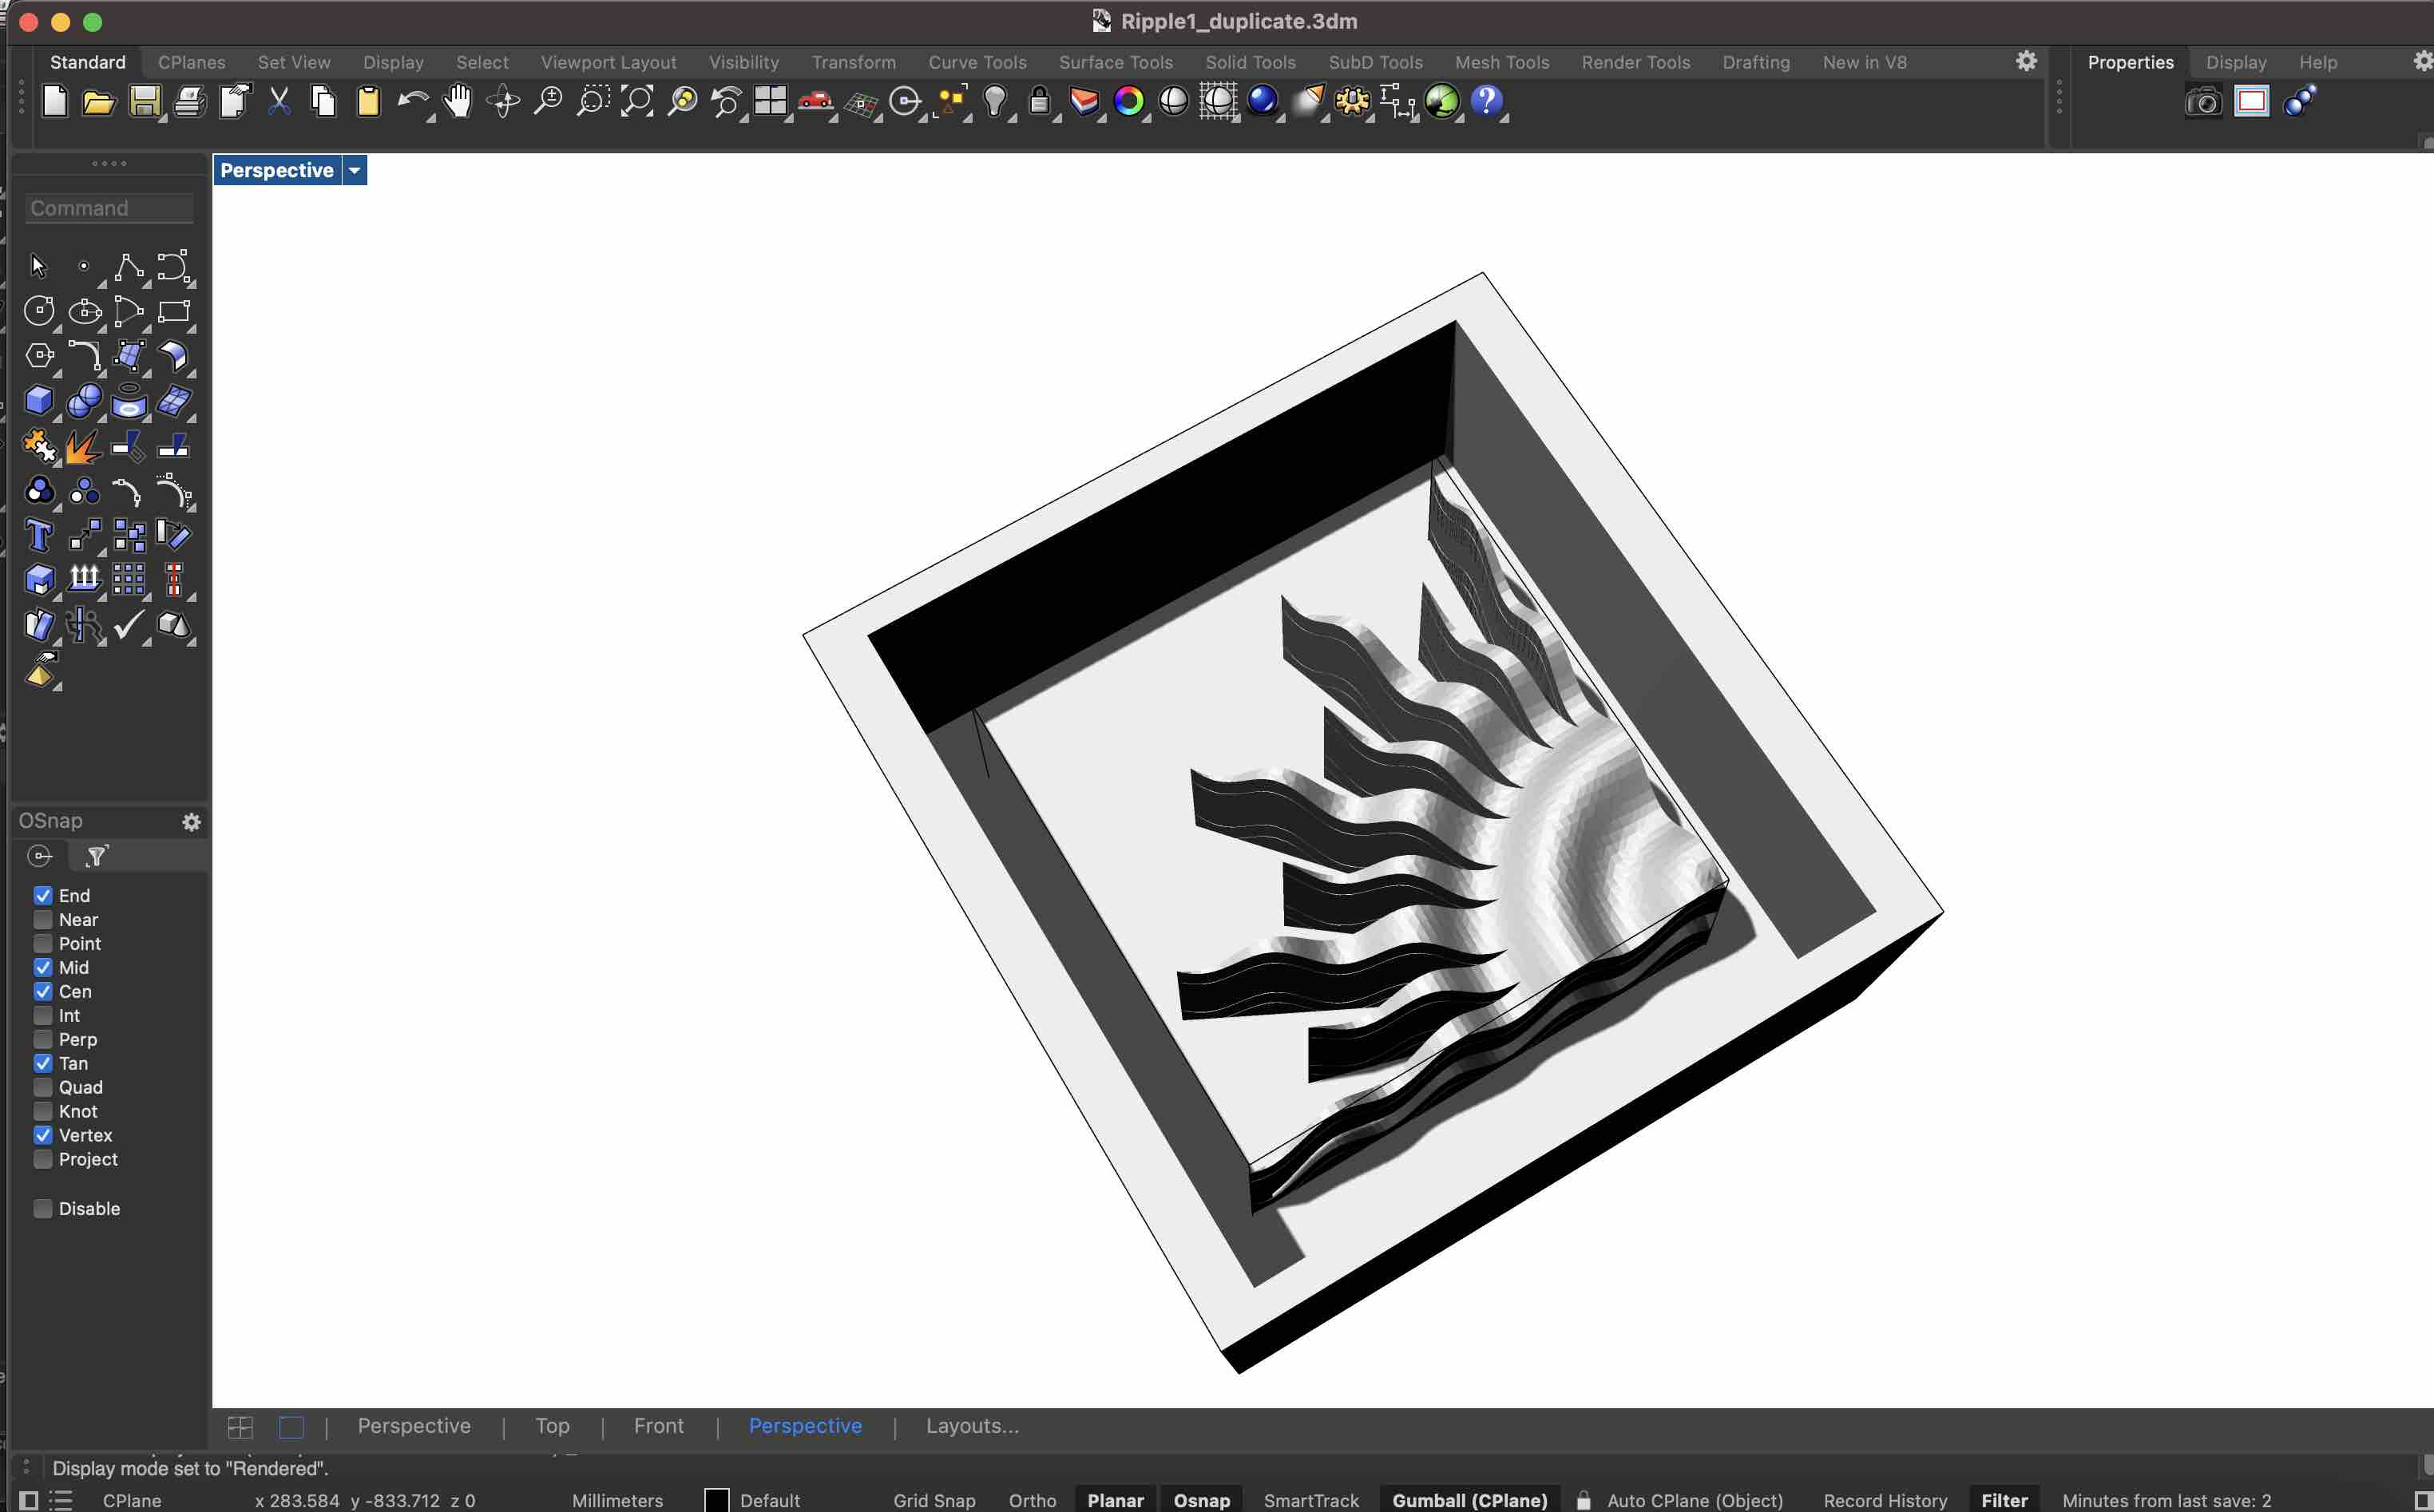
RENDERED TABLE TOP
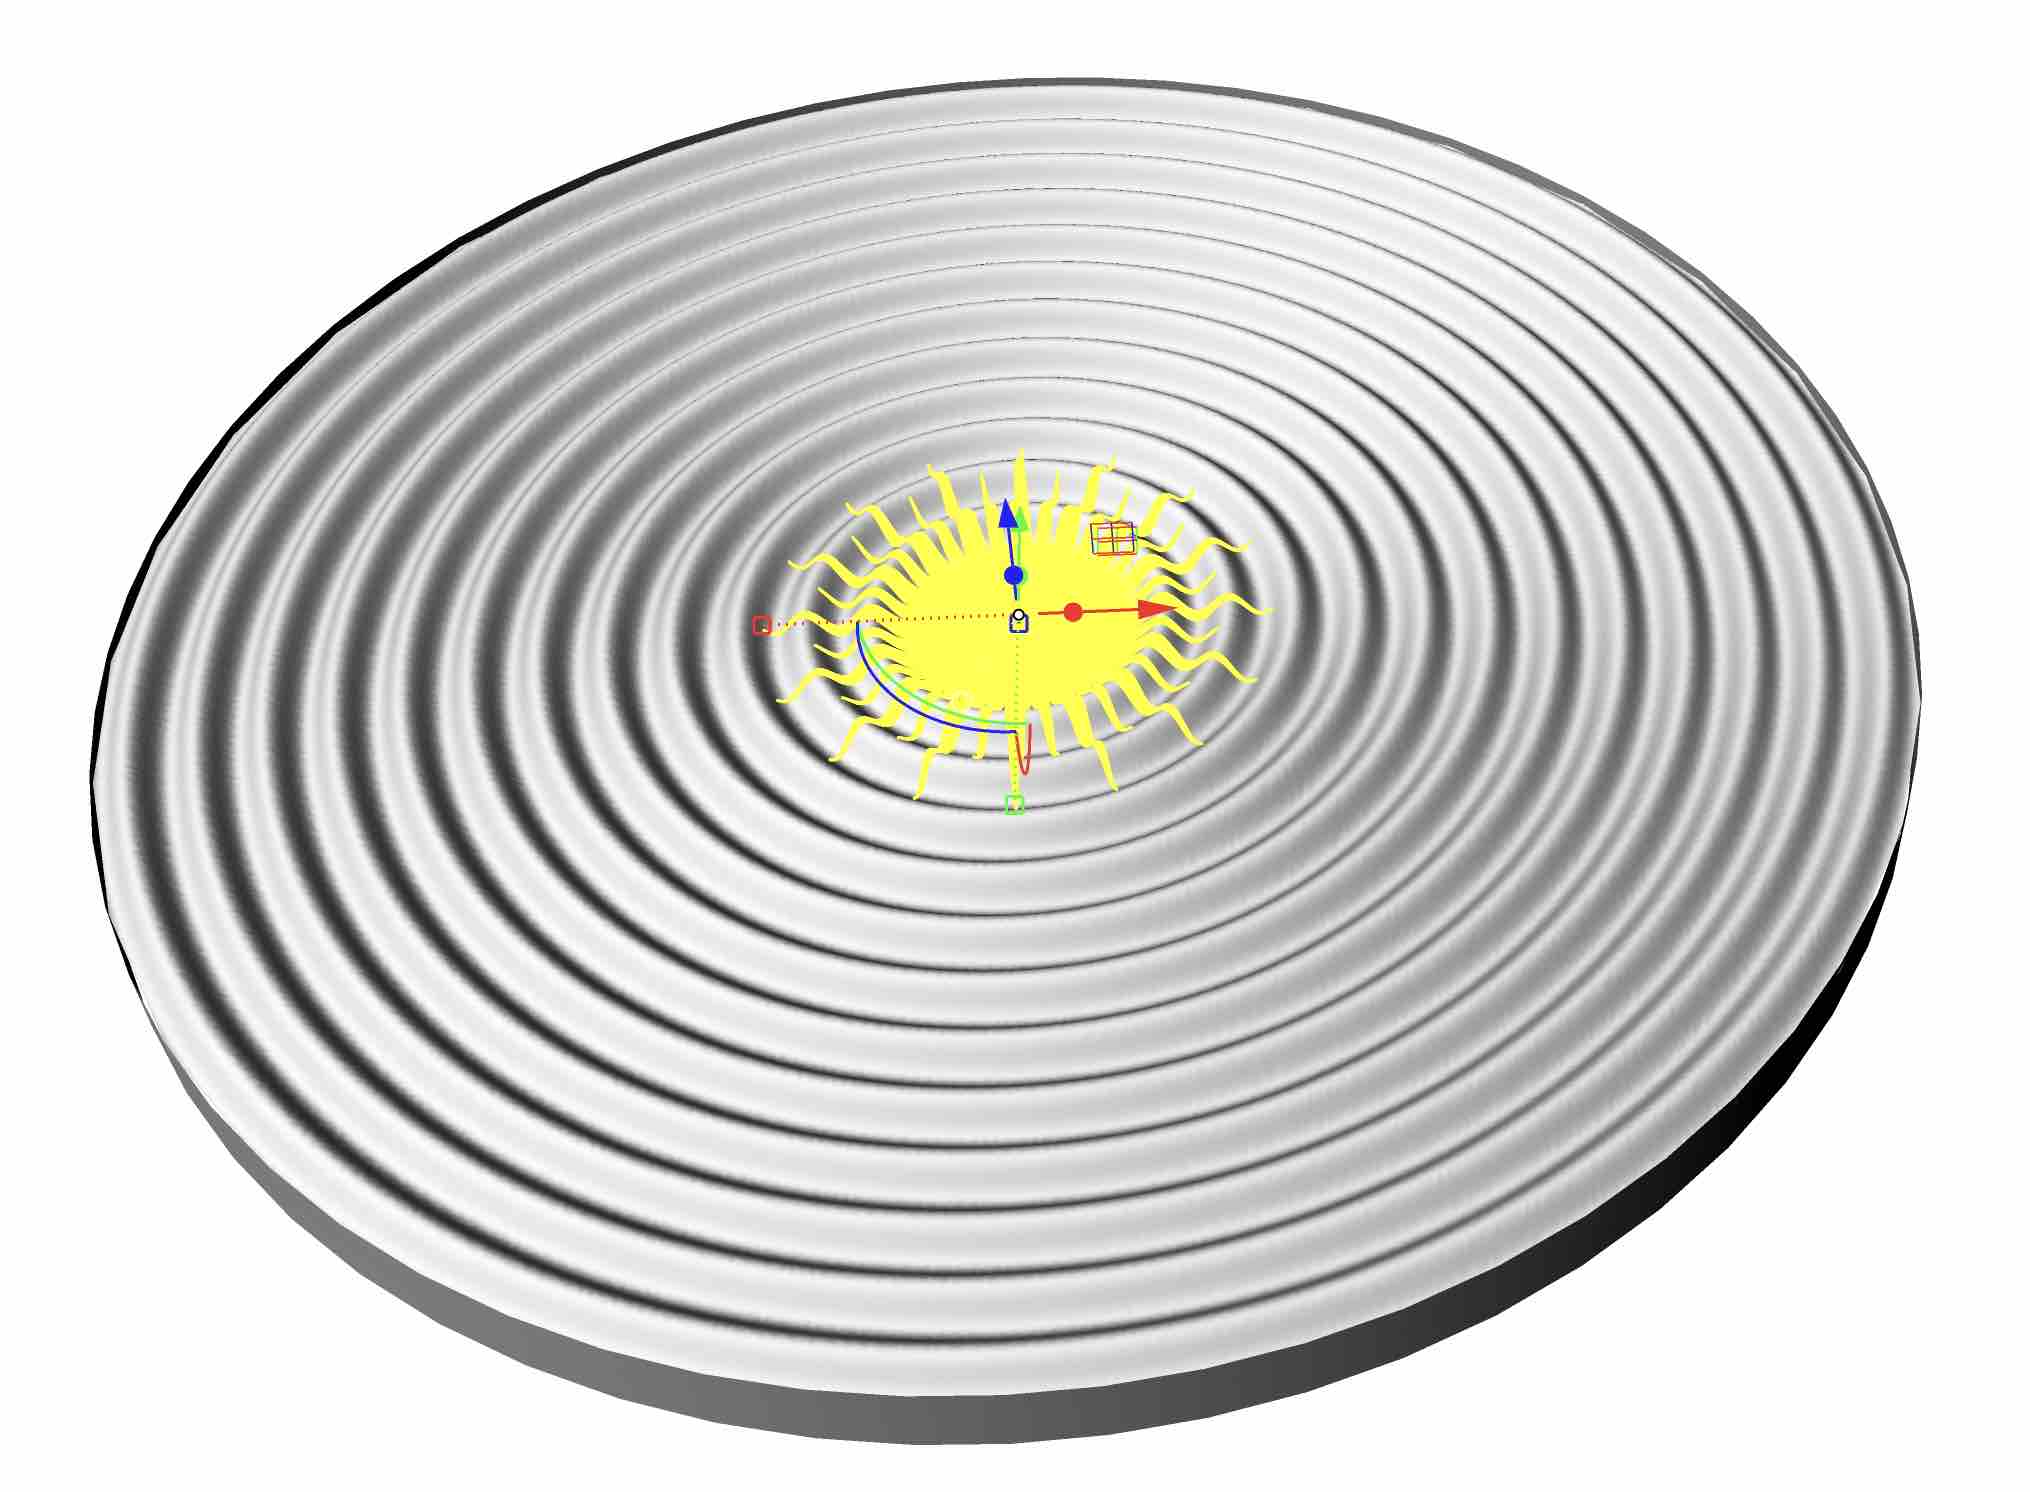
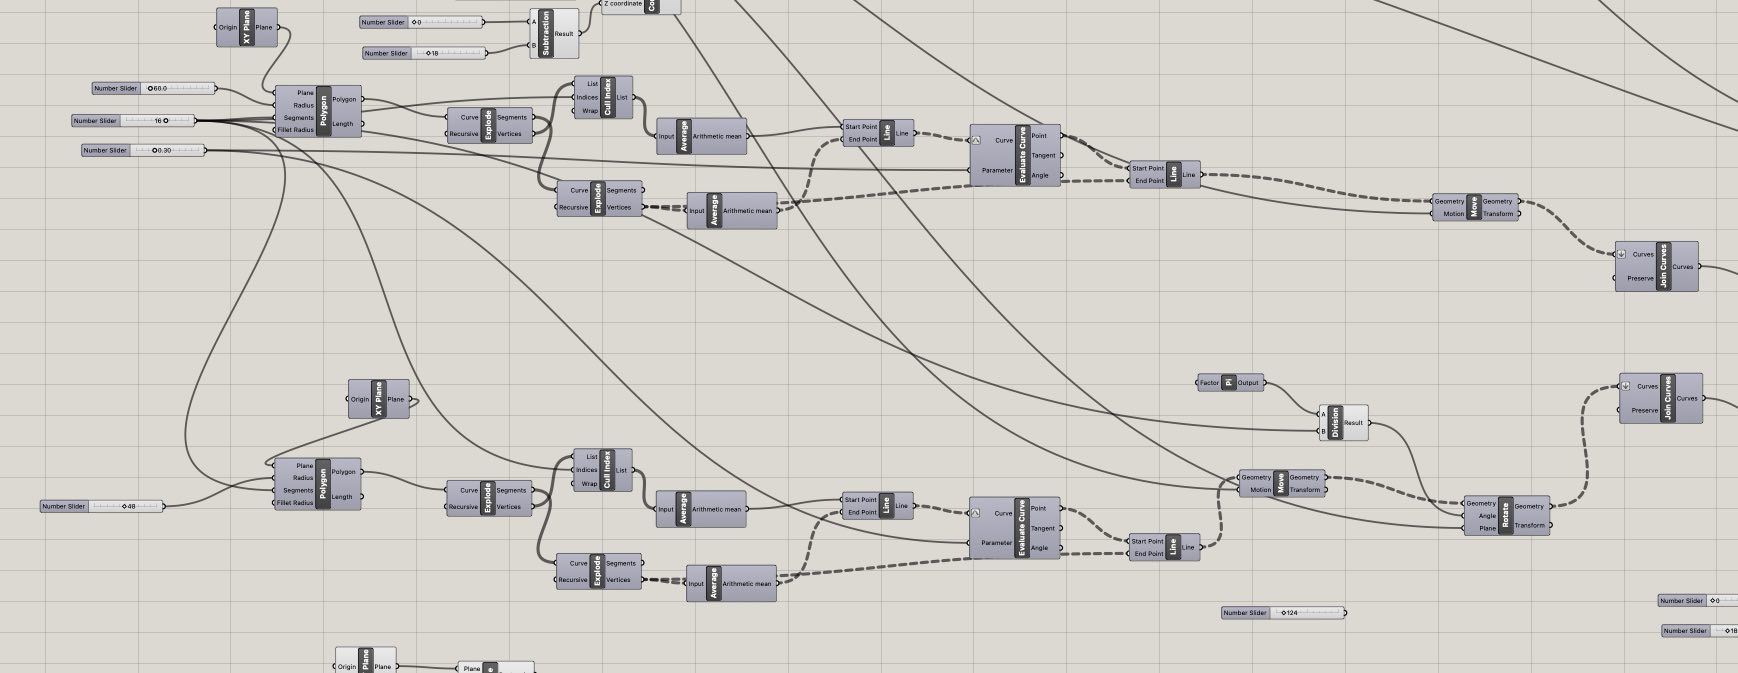
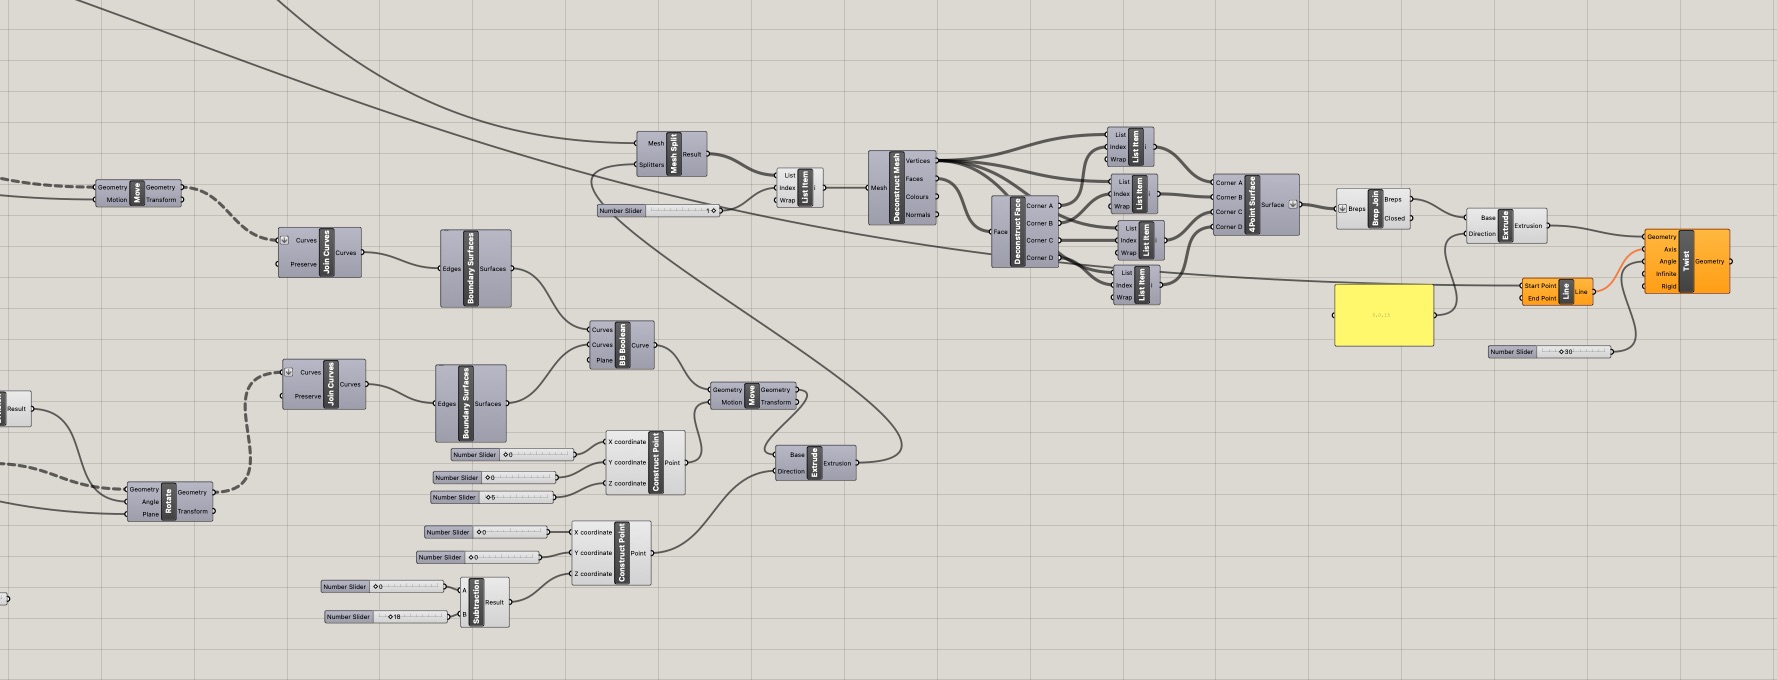
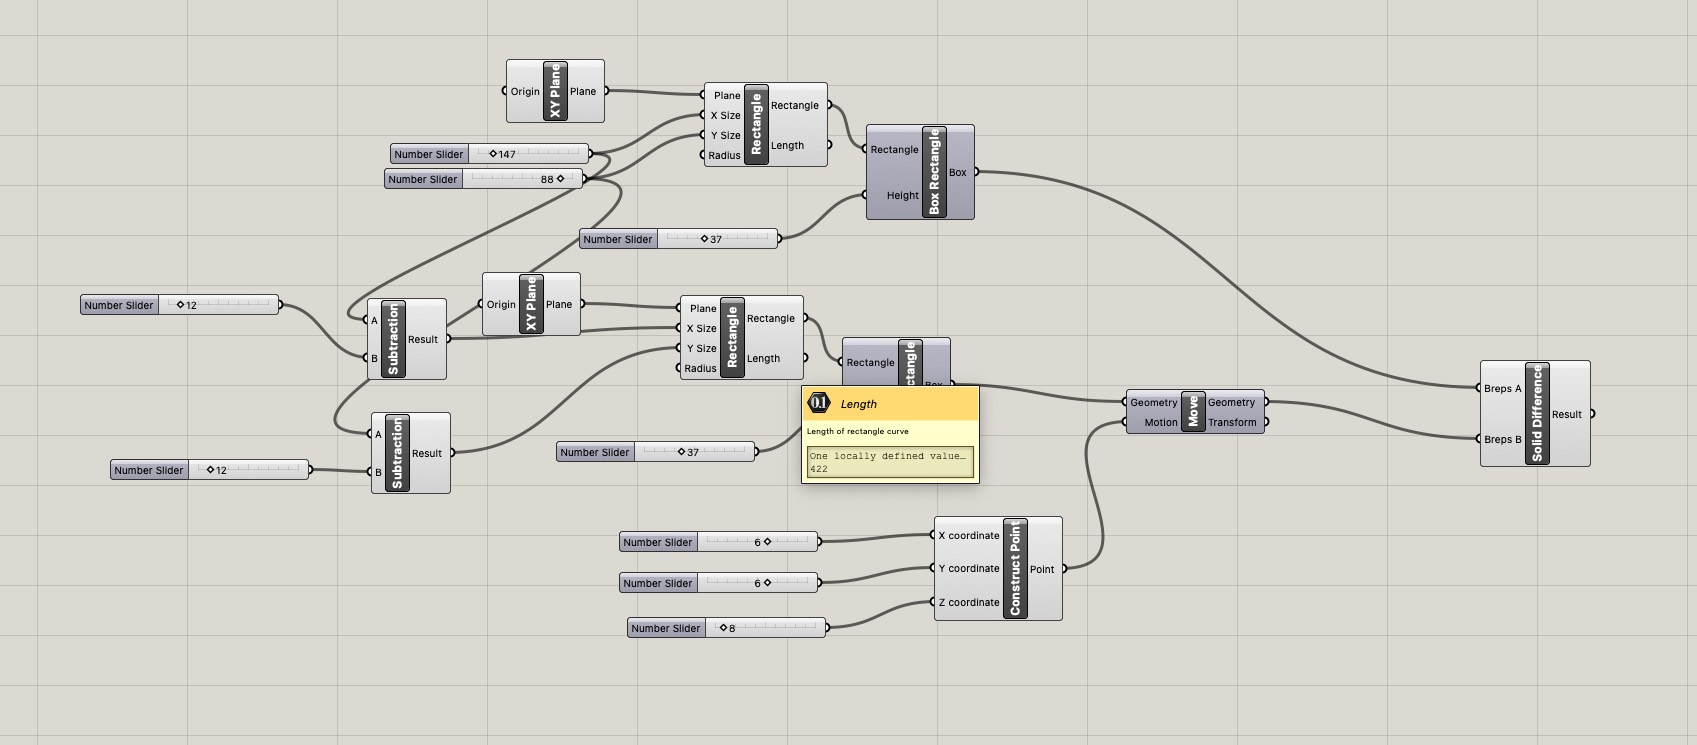
RHINO & GRASSHOPPER DESIGN WORK
3D Modelling Mold for Metal Centerpiece
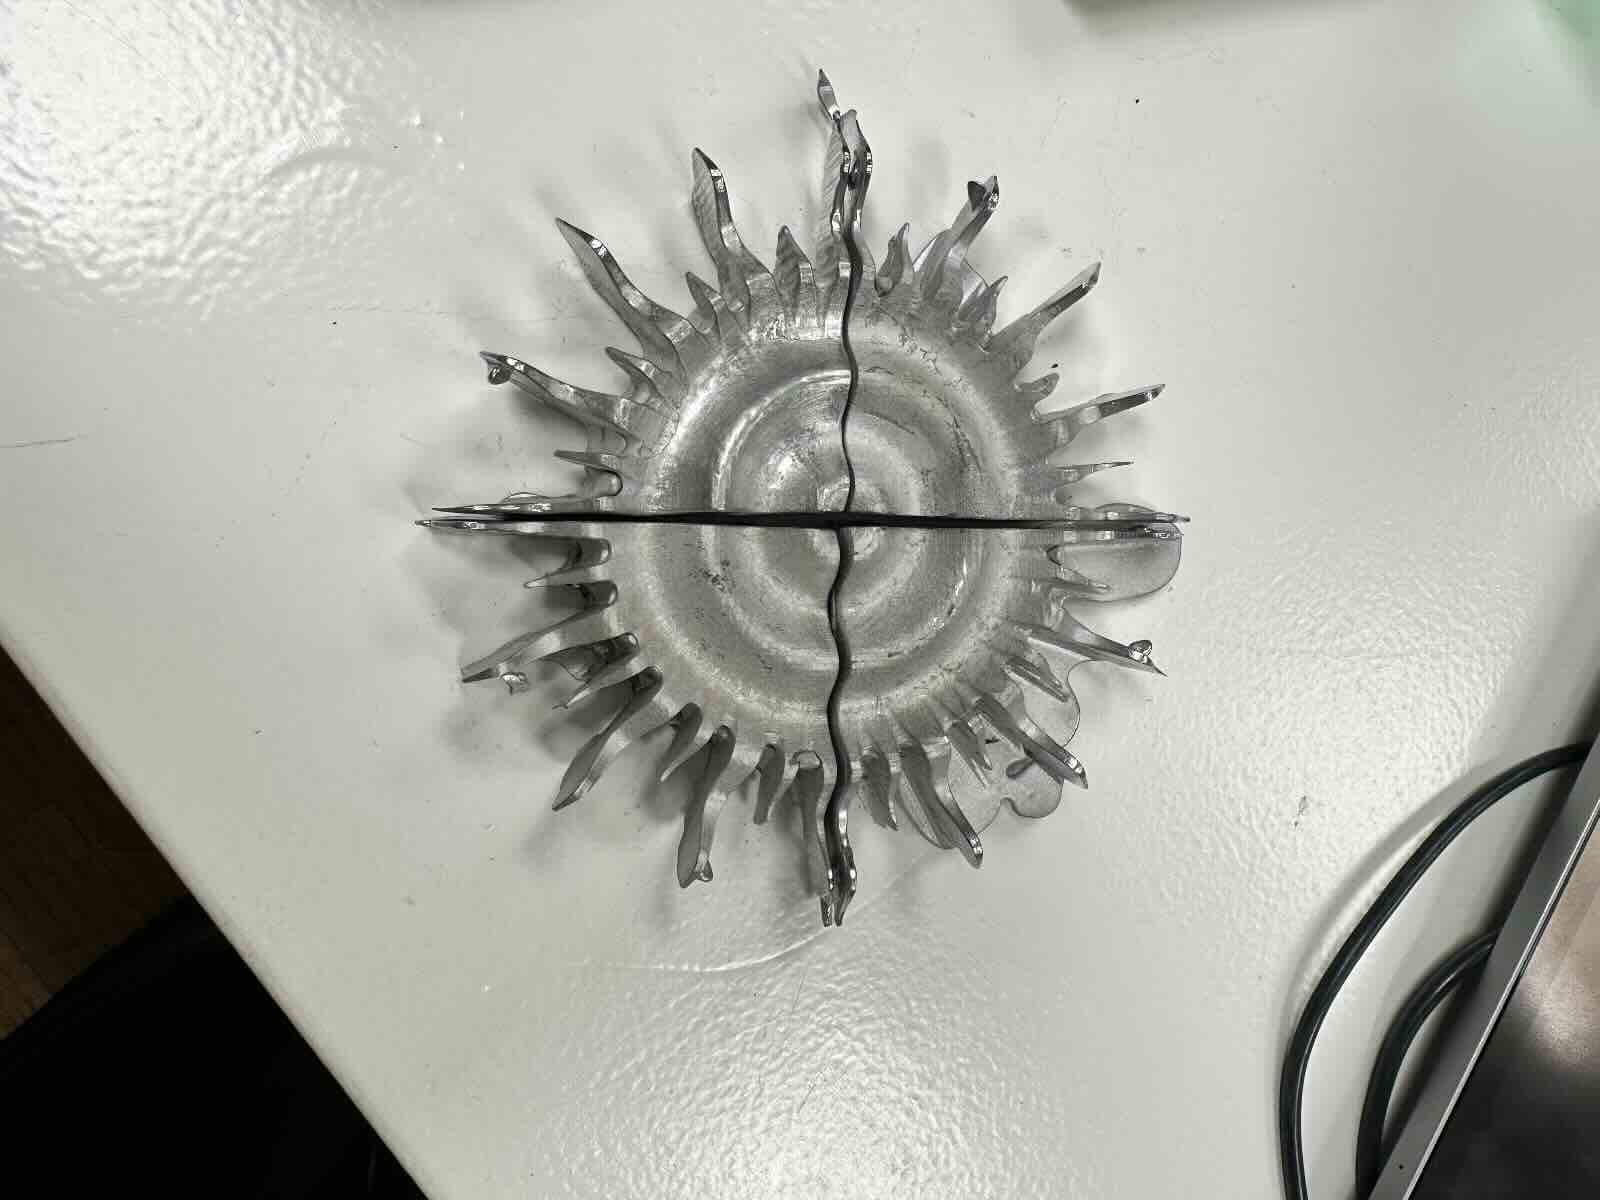
I was limited in the size of the center piece by the wax blocks we had available for casting. To make the center larger than a single block would allow, I decided to only create a mold for a quarter of the sunburst. I would then cast 4 of these to create the centerpiece.
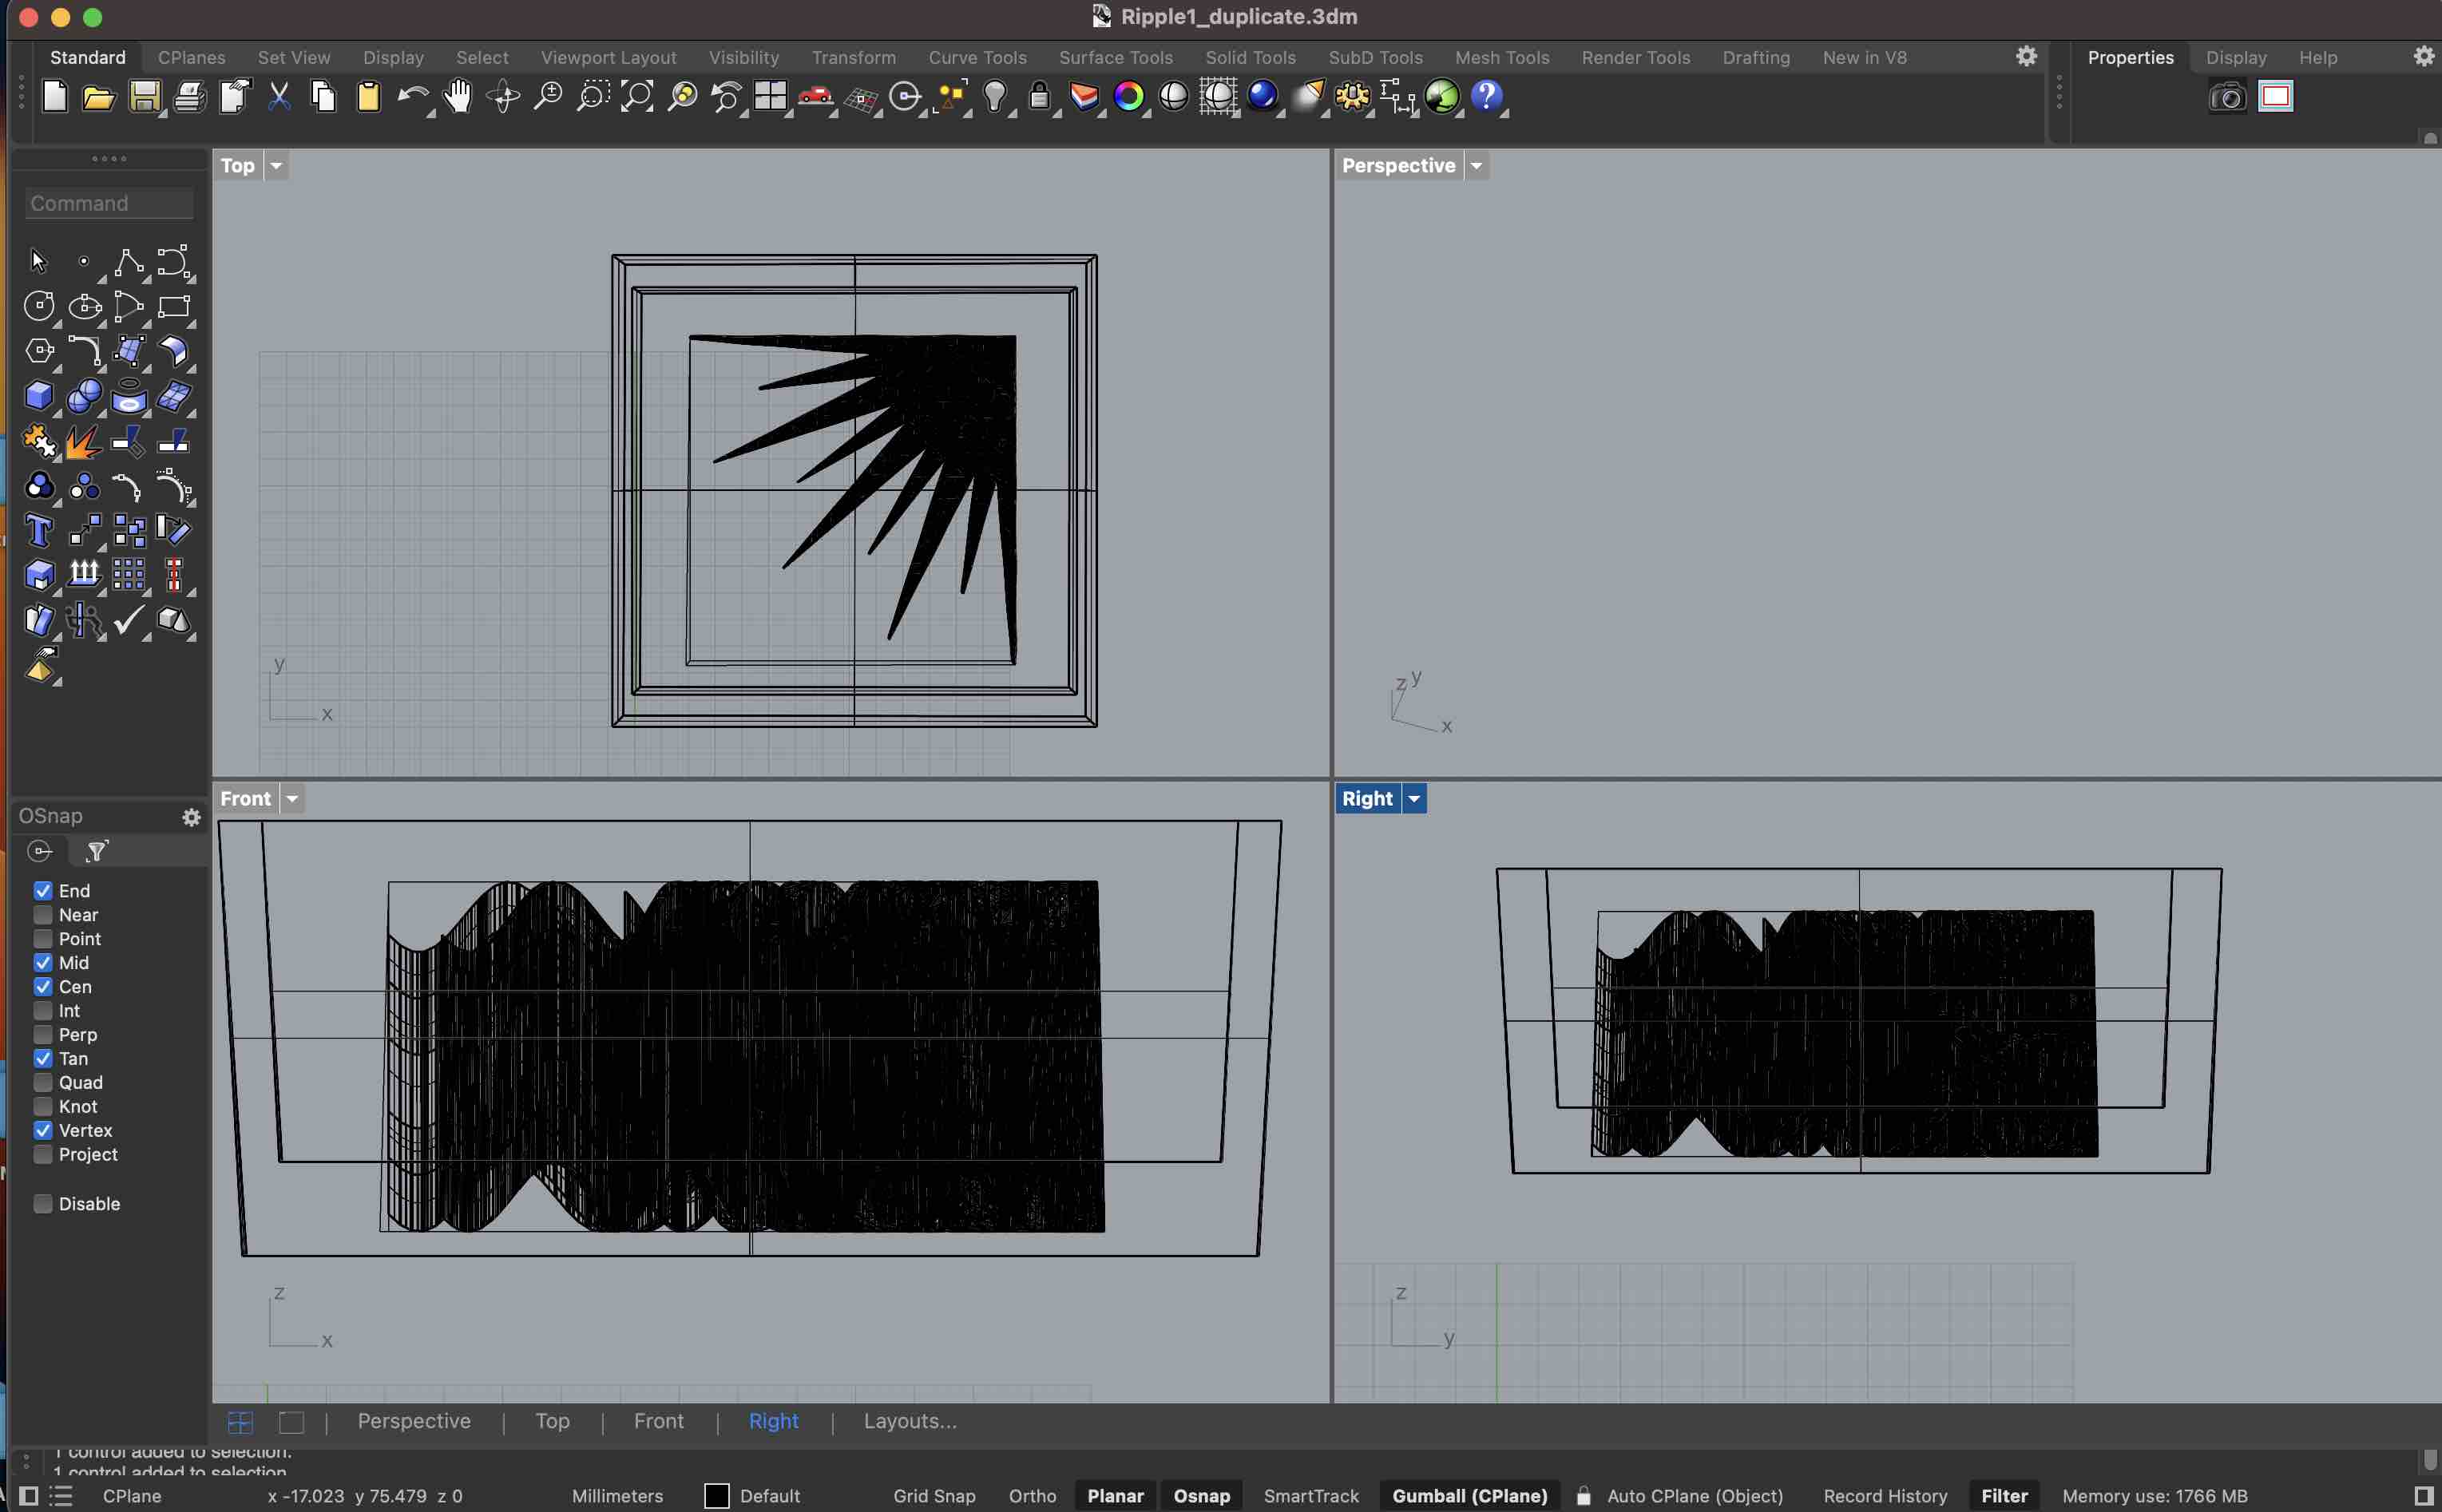
I also created the mold in Rhino. Once I had the shape of the center piece I extruded it downward. I then created a rectangular prism the size of the wax block I was working with, and cut with another rectangle (using Boolean Difference). This was all done parametrically in Grasshopper. I then baked the components and altered the block and sunburst so that the slides sloped outward slightly. I used the CageEdit command to achieve this.
I had trouble exporting. My polysurface was complex - when I went to export to STL to create a tool path the file was originally over 1GB, and crashed the tool path software. After some troubleshooting I came across the ReduceMesh command. With several iterations I got it down to a manageable 16MB.
RENDERED MOLD IN RHINO
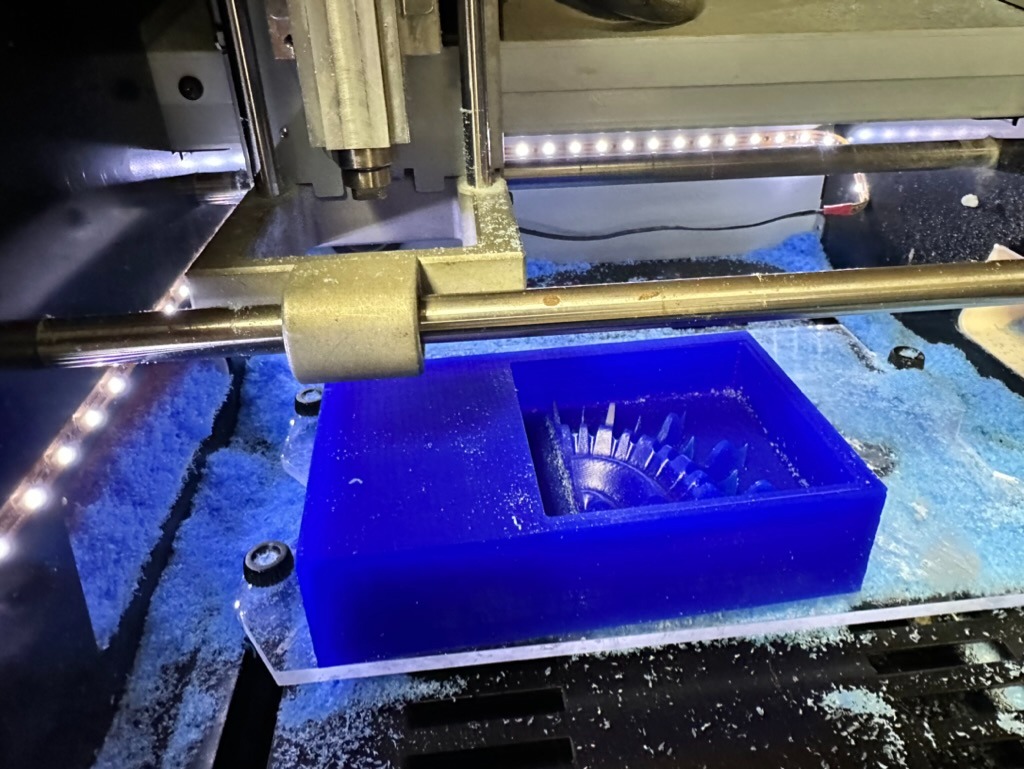
Milling Wax
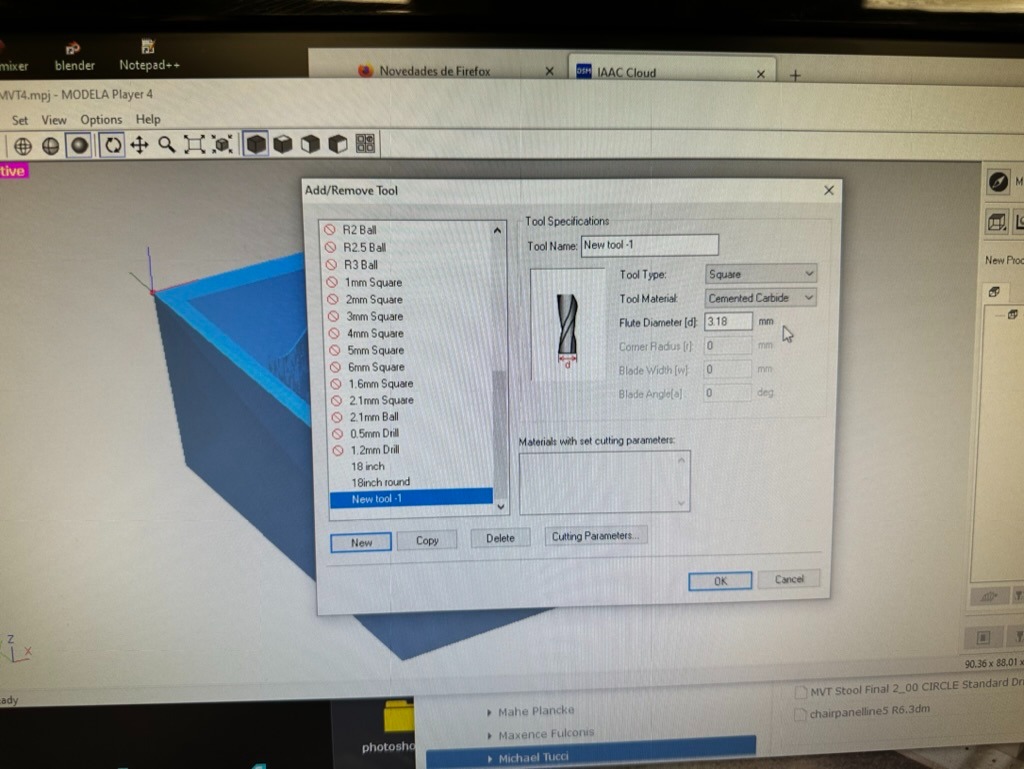
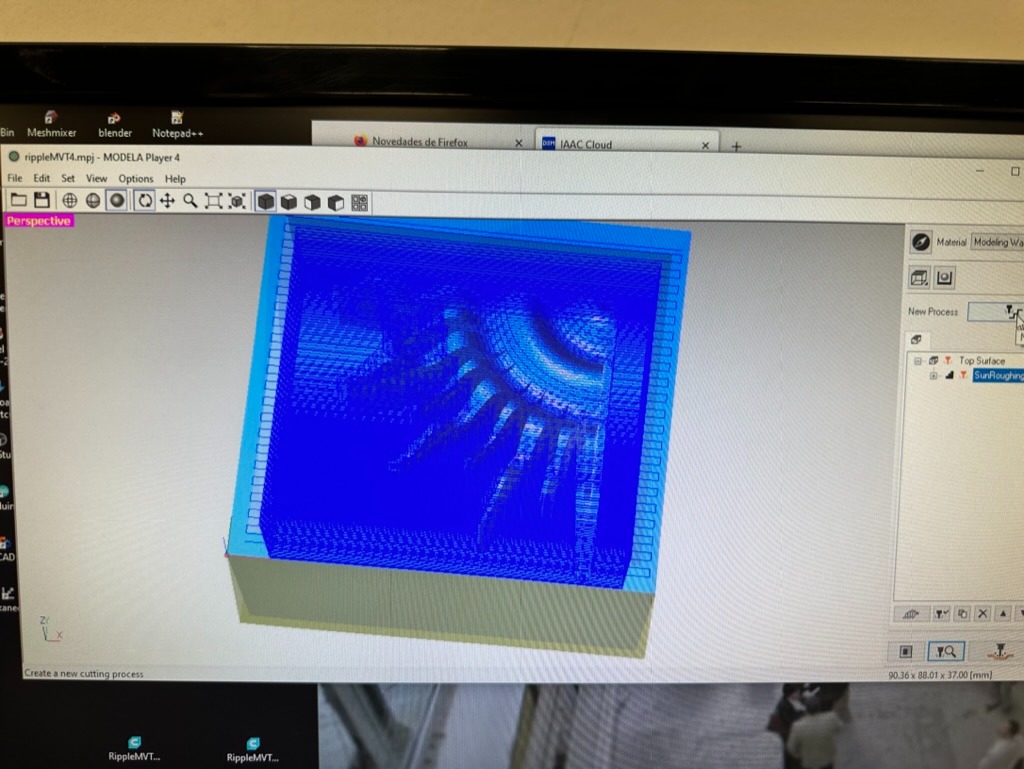
I created the toolpath using Modela Player 4 for use with the SRM-20 (same milling machine we use in BCN lab for PCBs). I took notes, but found some of last year's students documentation very helpful, particularly Susana's. I followed these steps:
- I exported my file Rhino file as an STL and opened in Modela (see troubleshooting notes above).
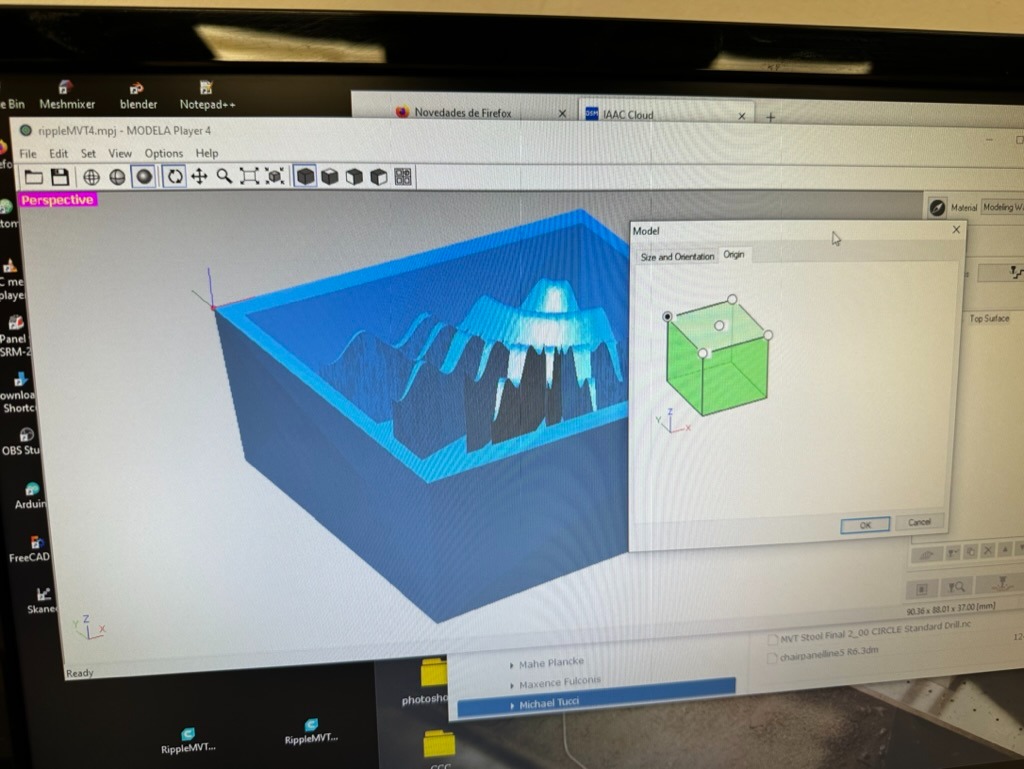
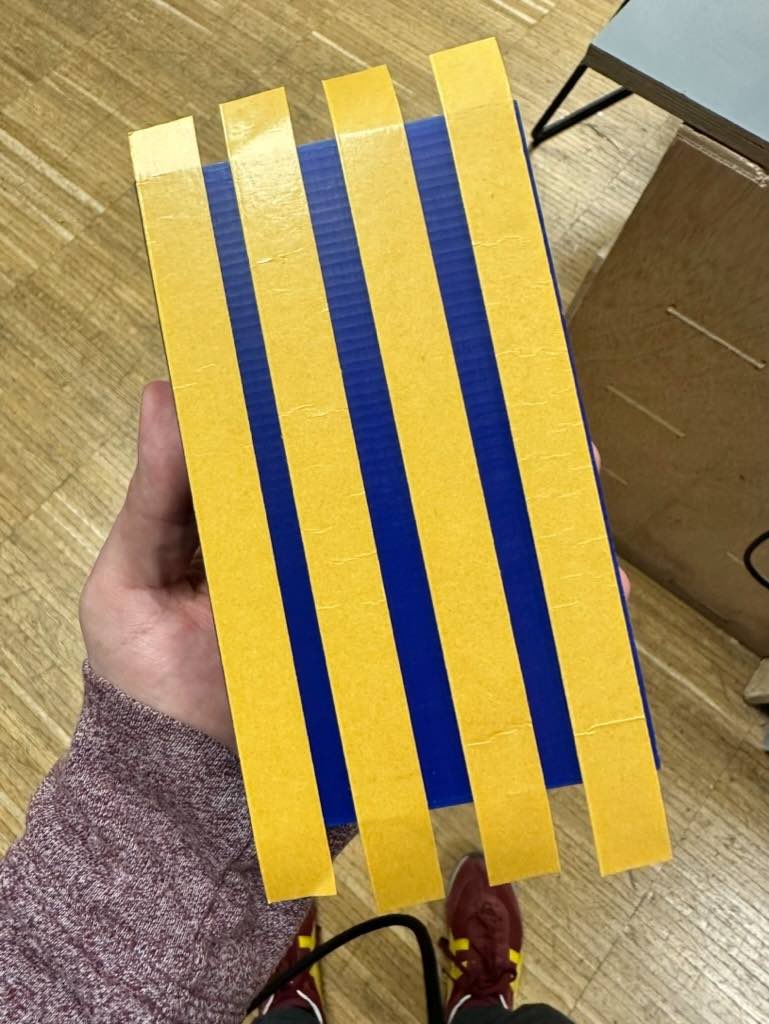
- Define origin in "Model" module in Modela
- Define tool for roughing - this provides first rough cut with 1/8 inch (3.175mm) flat endmill.
- Ensure material set to "modeling wax".
- Create new process - select "roughing", "contour lines".
- Select "partial" cut area - ensure cut is within bounds of mold walls so we don't mill outside of mold.
- Pre-visualize cut process in tool.
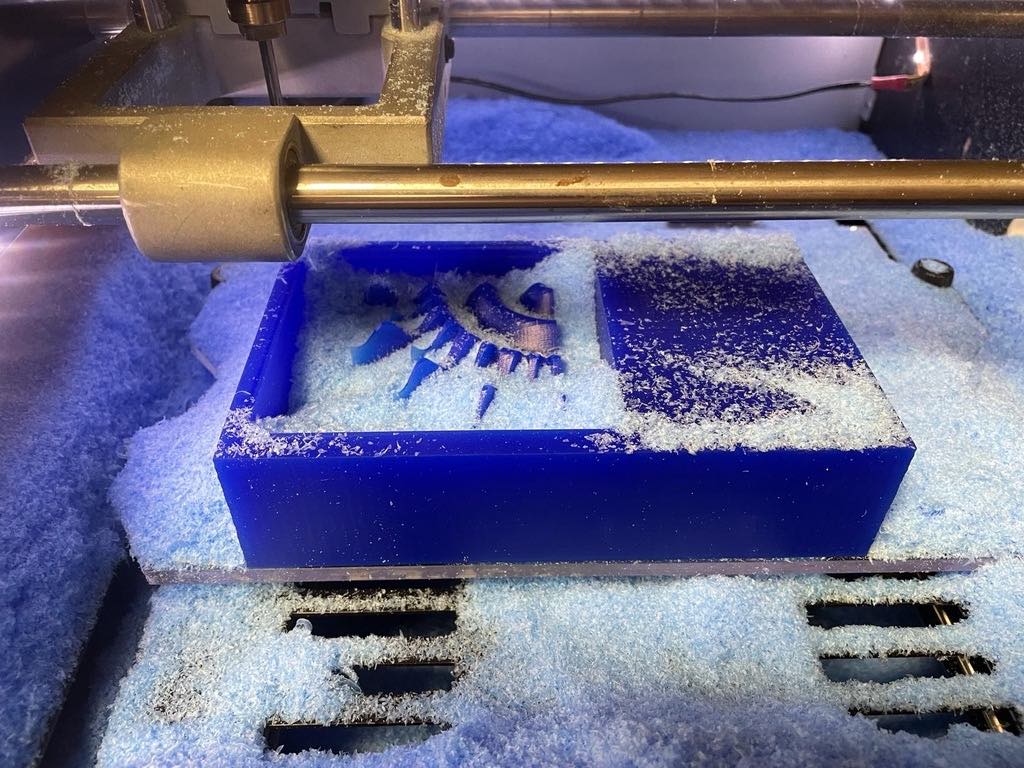
- Repeat process for "Finishing" in both the X and the y direction. This creates two additional toolpaths - process is same as above except we use 1/8 inch rounded endmill, with "Finishing" process and a "scan line" tool path, first in X direction, then in Y direction.
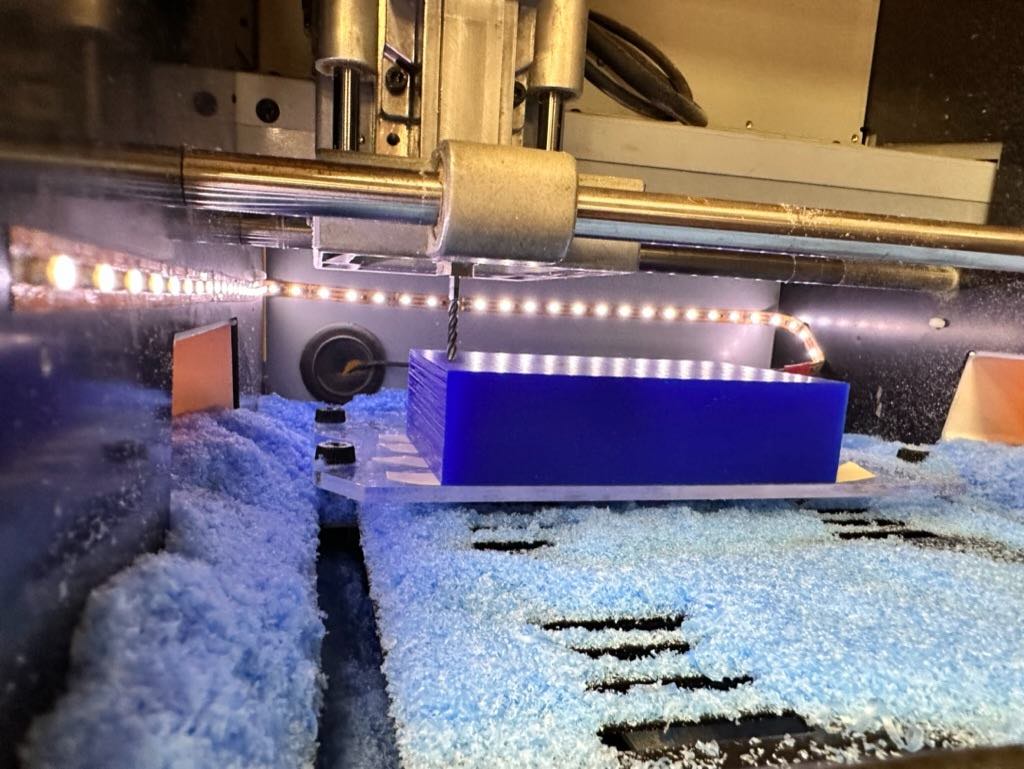
Once the tool paths were ready, I saved them, loaded them to the cloud, and ran the processes on the mill. Shout out to my labmate Emily for helping me troubleshoot throught the tool path creation process!
CREATING TOOLPATH IN MODELA
MILLING
Molding With Platinum Catalyzed Silcone
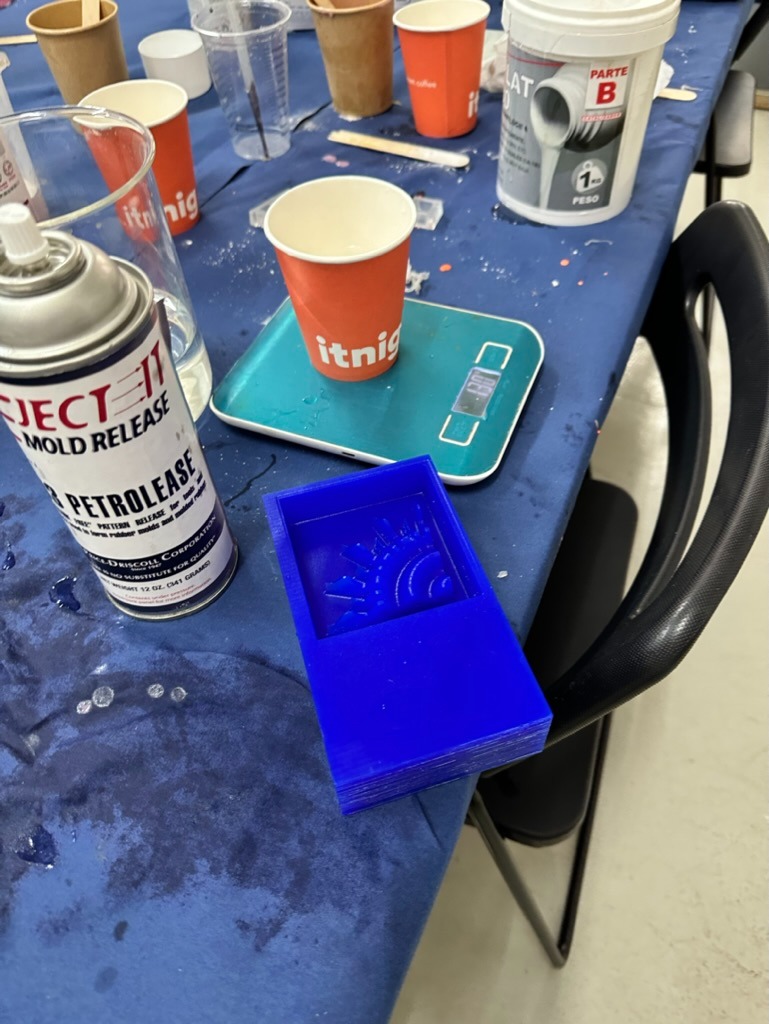
With the wax mold ready I first tried to create a mold using PlatSil FS-20 - this is fast curing (25 min) and our teachers suggested with some baby powder it could withstand the heat of the pewter I planned for the final cast. However, I poured part A but when I went to poor part B found there was not enough!
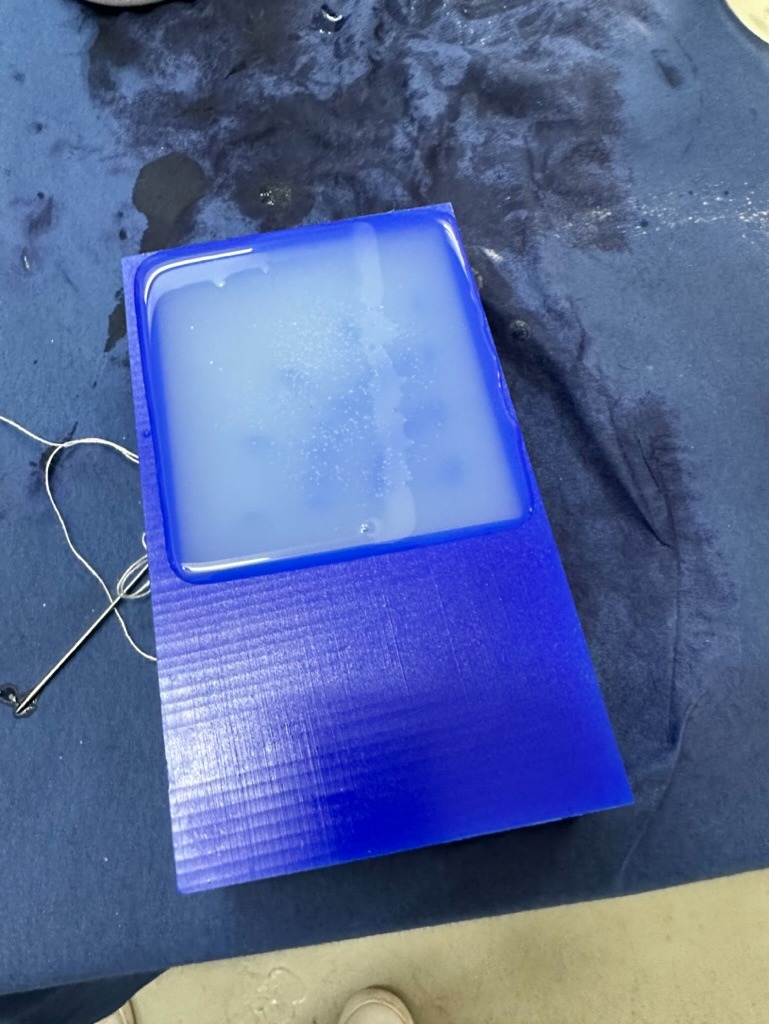
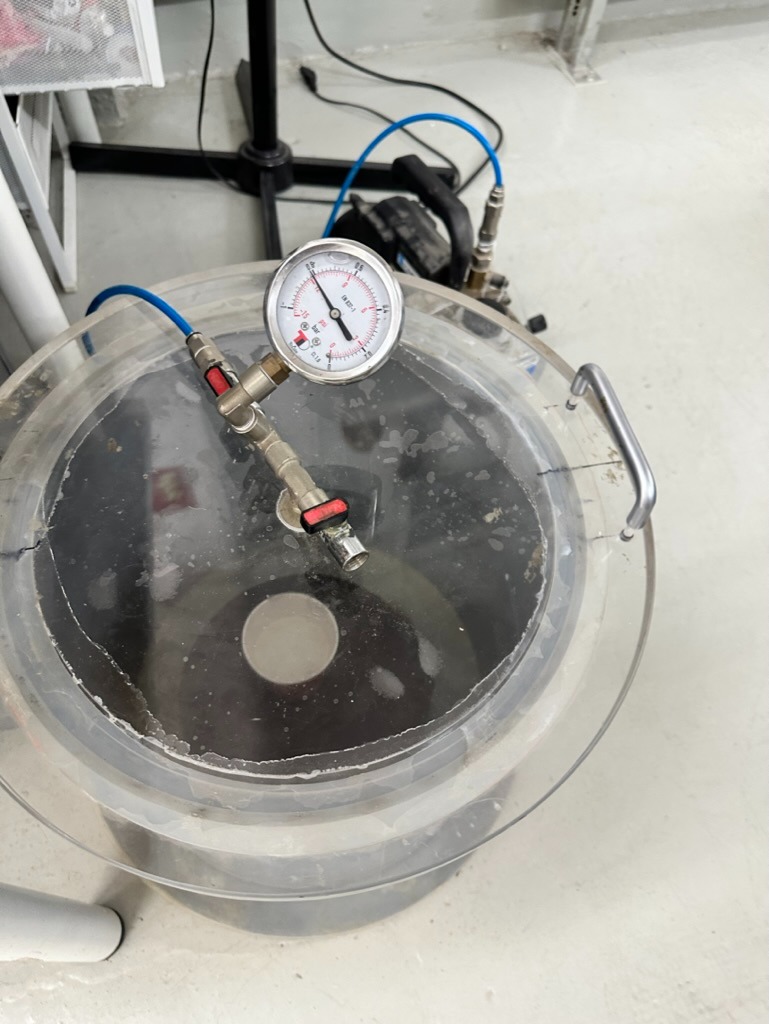
I then tried Easyplat 00-30. This is another platinum catalyzed silicone mold rubber, but with a longer working (30 min) and curing (3-4 hours) times. I mixed for 5 minutes, degassed, and poured. After 3 hours the mold was cured but still quite flimsy. In fact it was too flimsy to support the finer points of the sunburst.
EASYPLAT MIX & POUR
EASYPLAT DEGASSING
DEMOULDING EASYPLAT
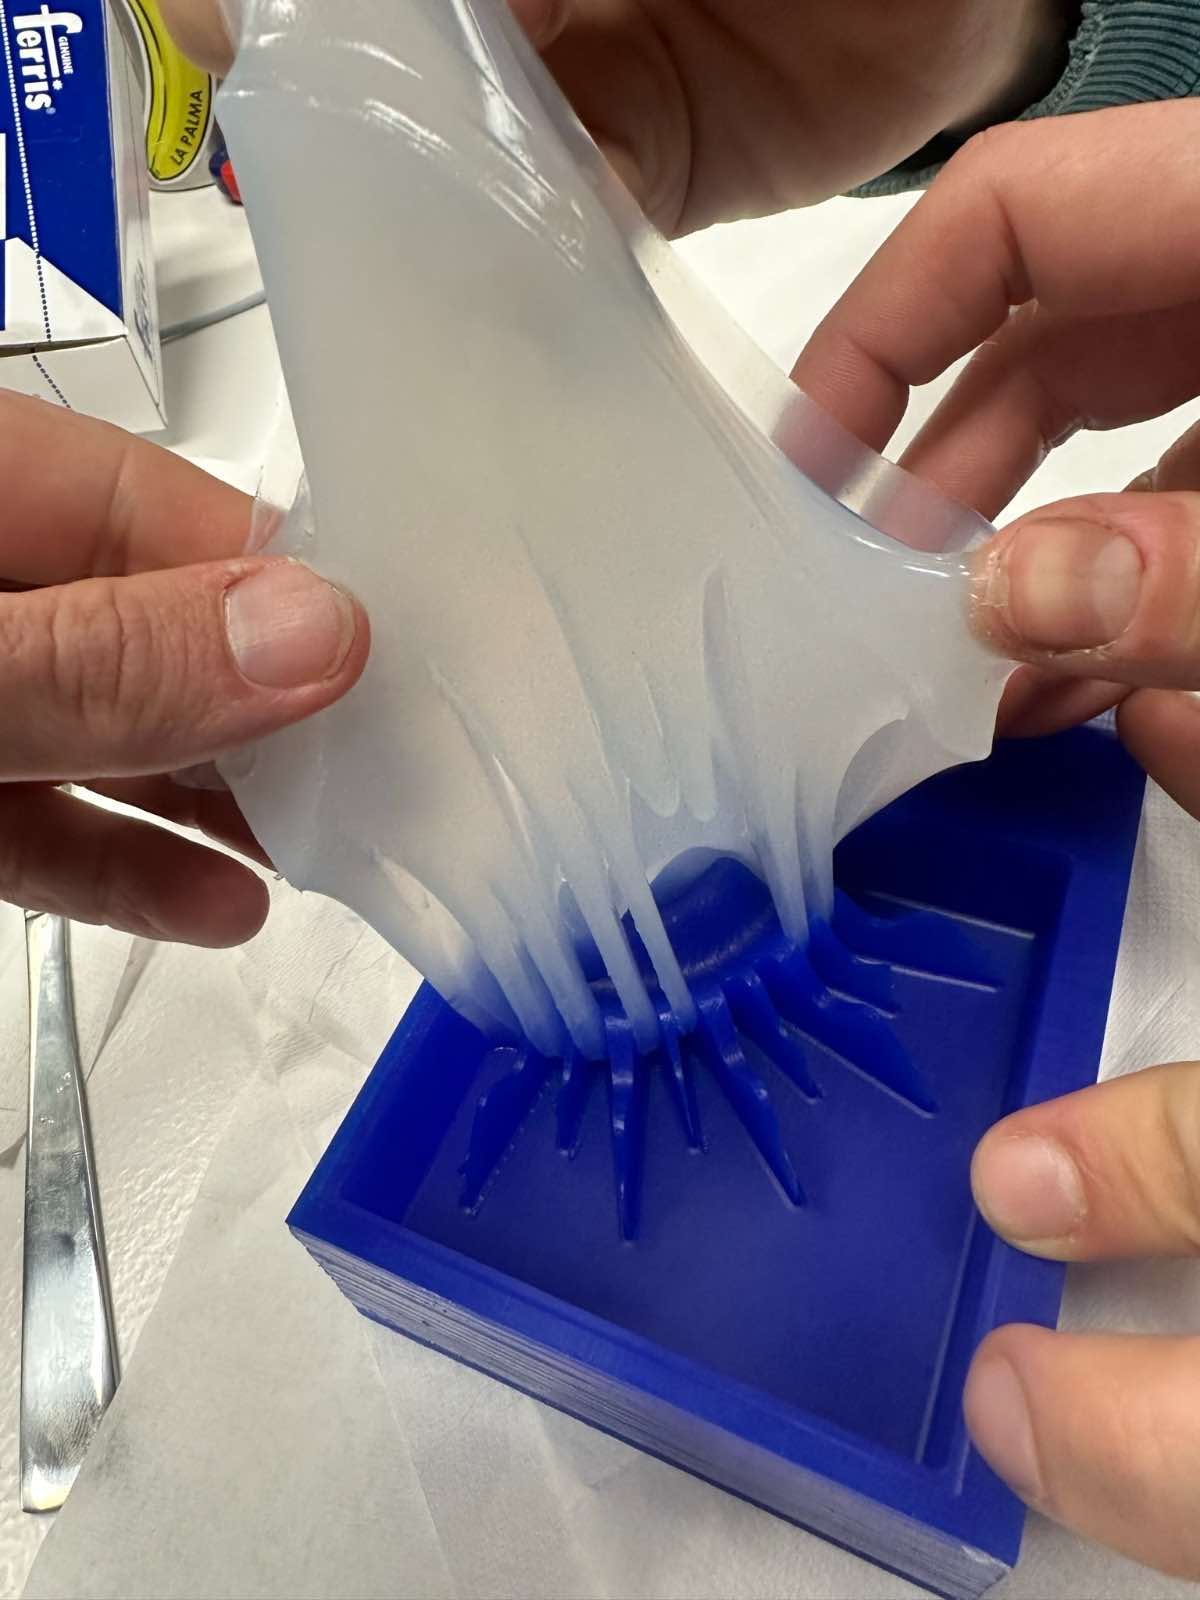
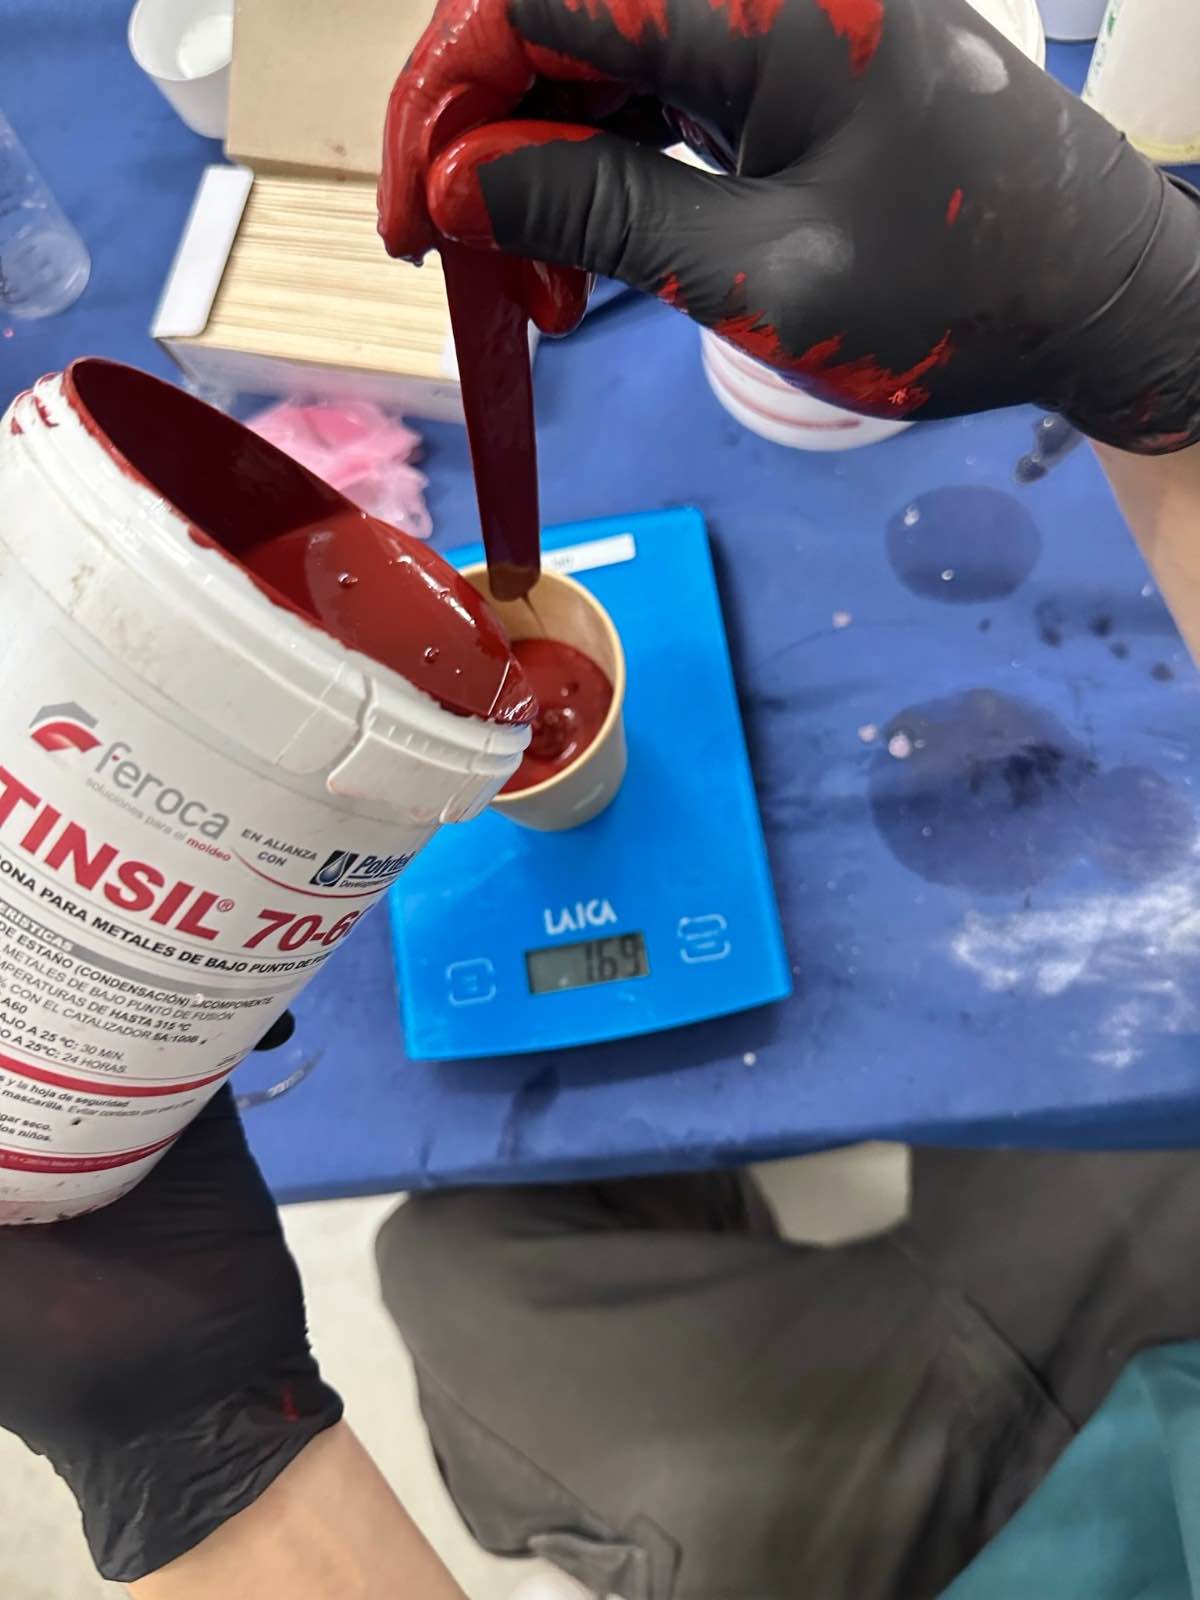
Molding With Tin Catalyzed Silcone
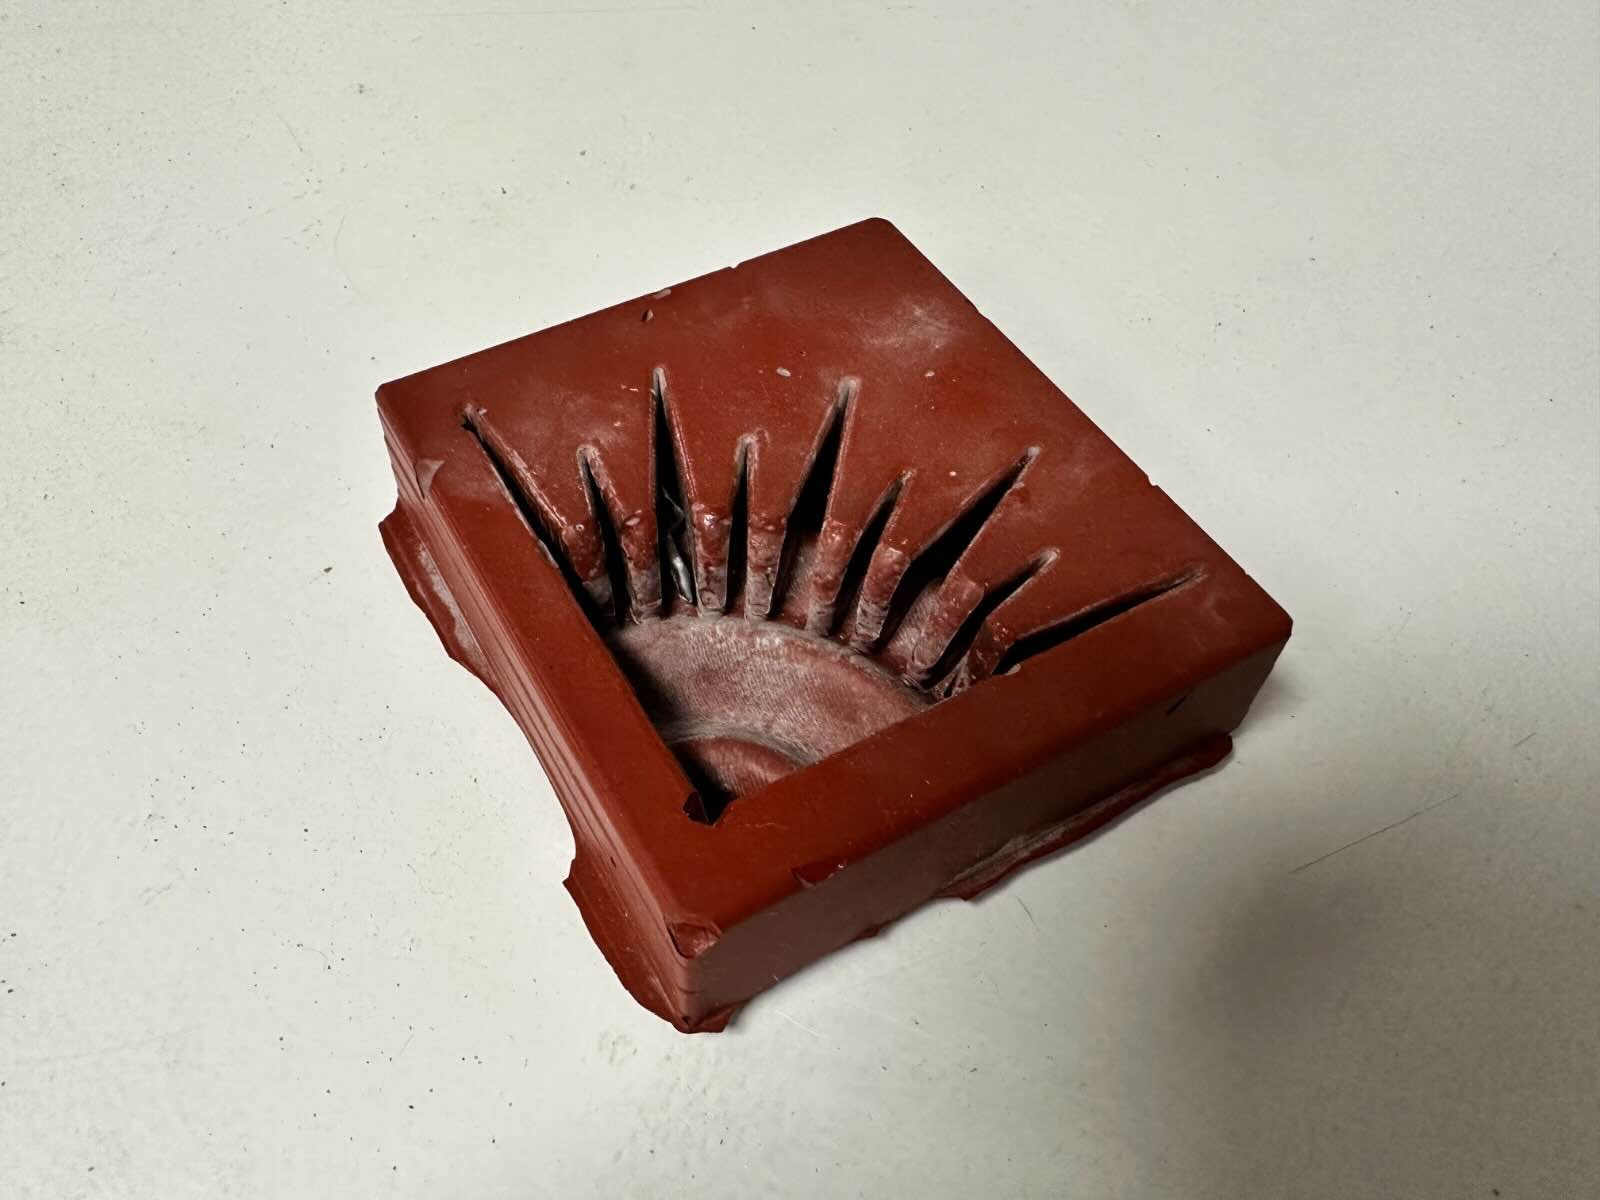
I then turned to Tinsil 70-60. This is a tin-catalyzed silicone that is more rigid and can support much higher casting material (so good for liquid metal!). I mixed, degassed, and poured the mold.
TINSIL MIX & POUR
TINSIL DEGASSING
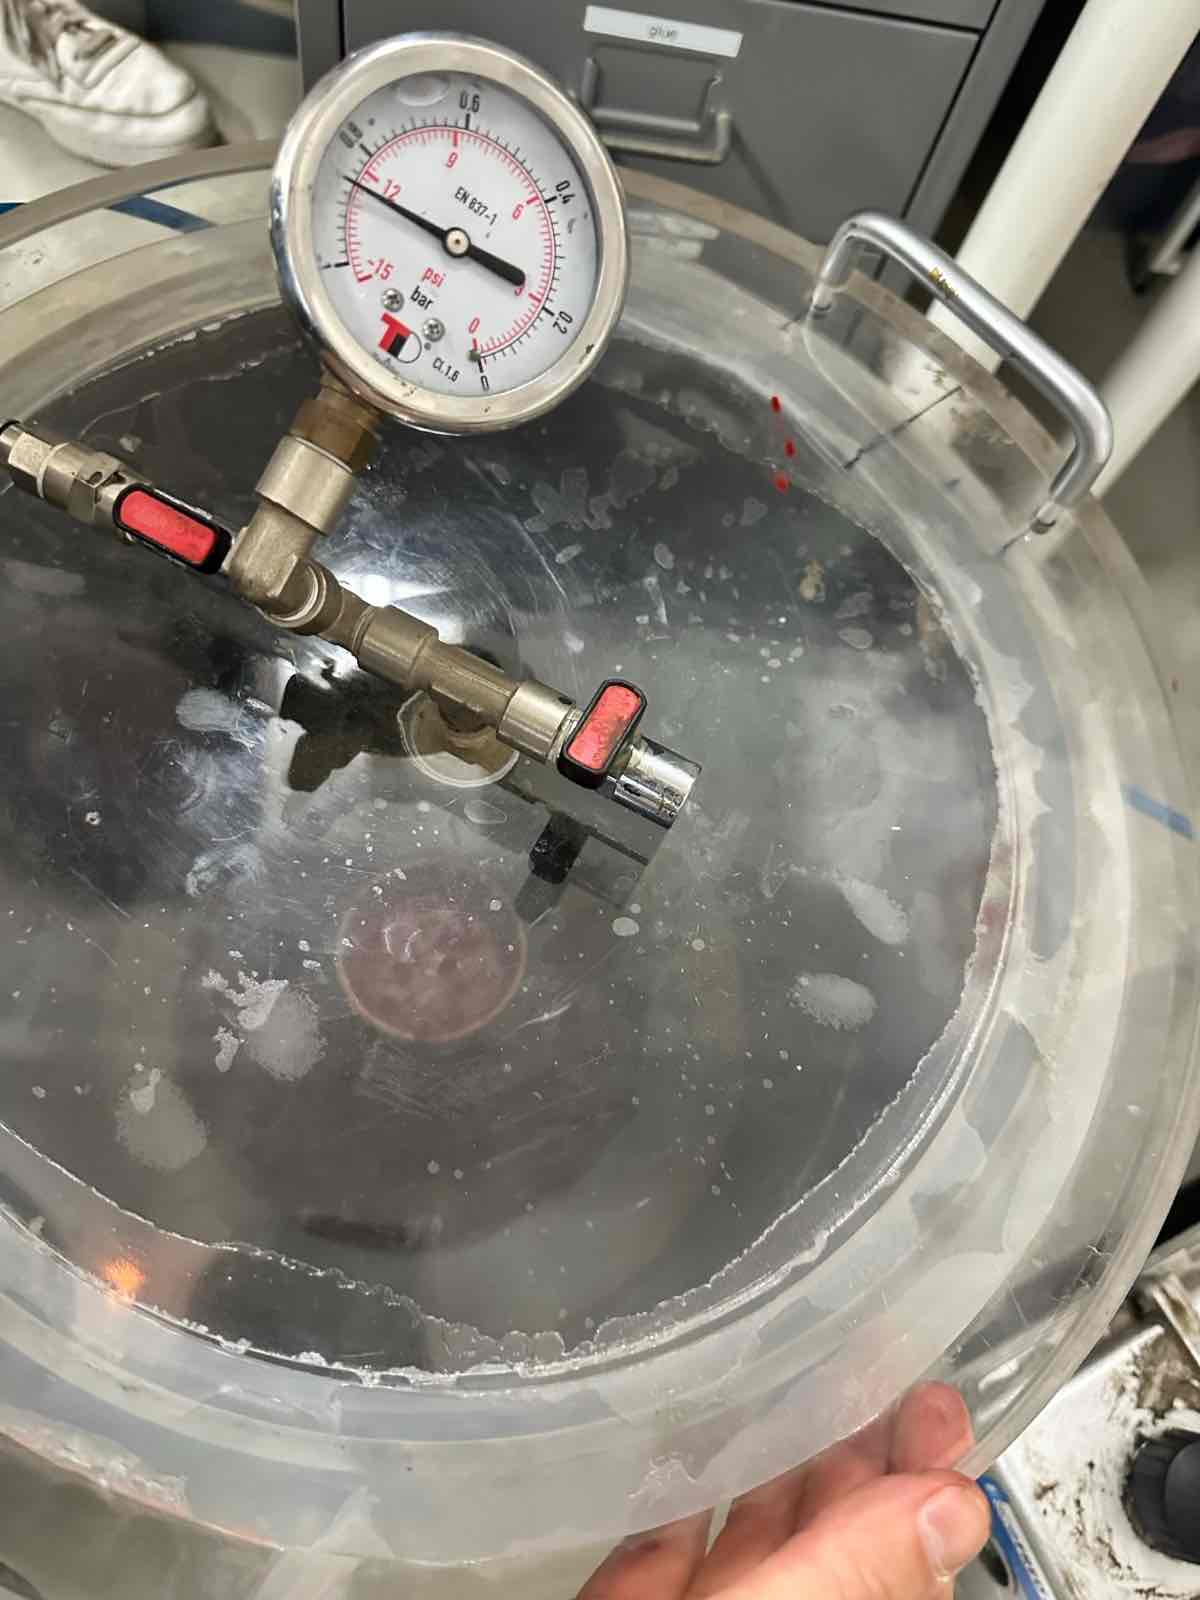
TINSIL CURING
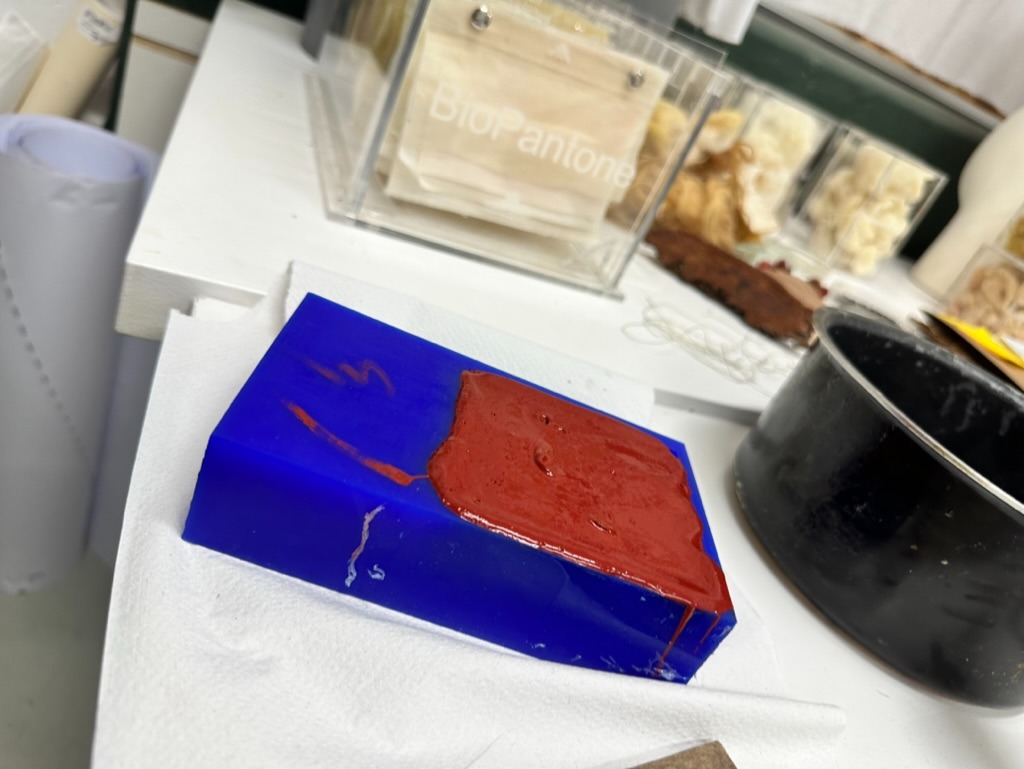
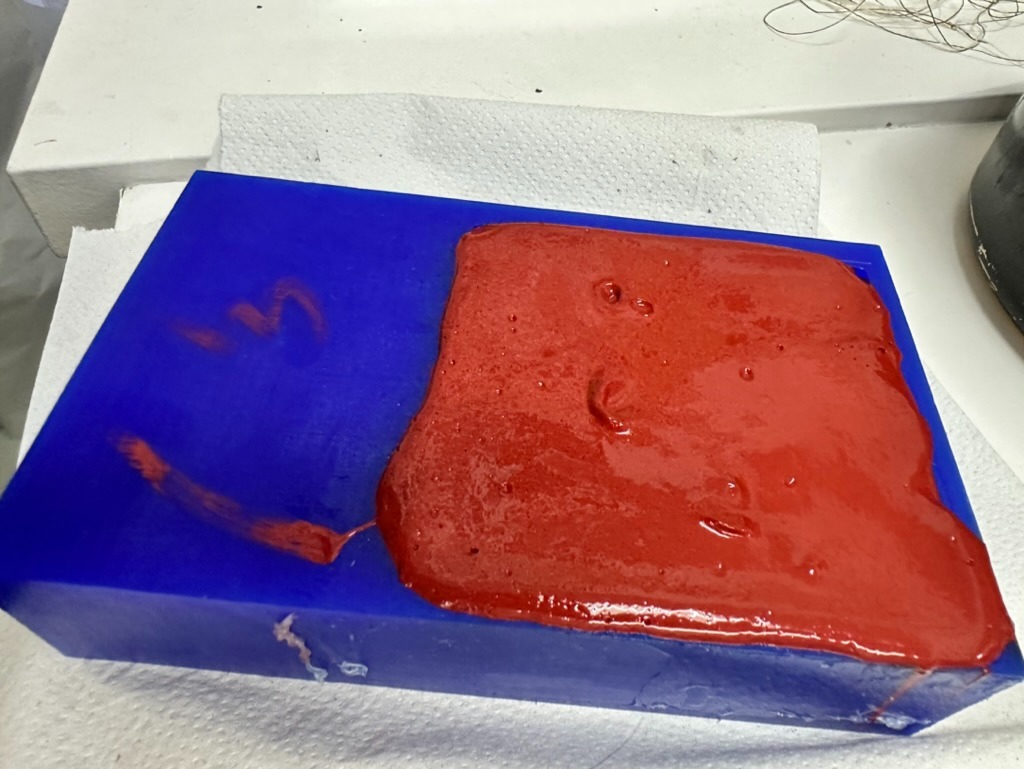
TINSIL MOLD
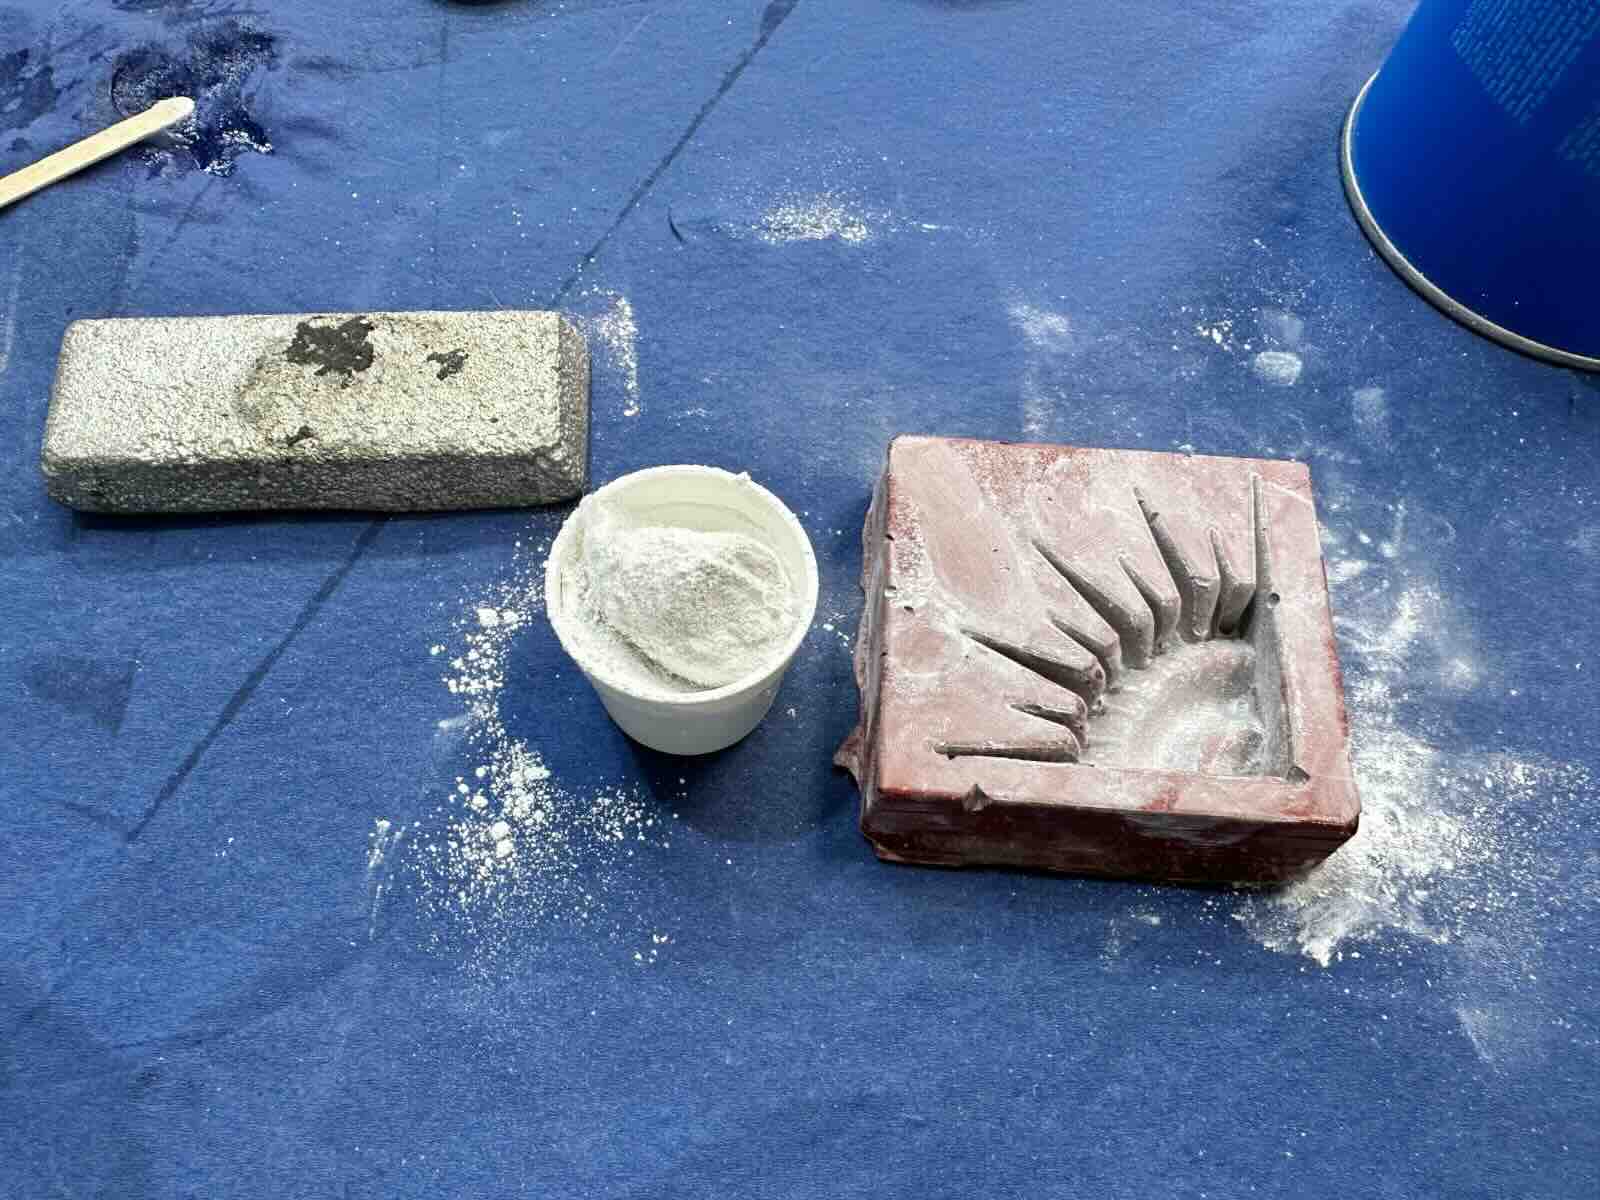
Casting in Pewter
With the Tinsil mold created, I used a pewter alloy with a low melting temperature to cast 4 metal pieces that will form the center piece of the table top. I powdered the mold to prevent bubbles forming from water vapor. I then melted the pewter and poured. After pouring I filed down the pewter to shine the pieces and ensure they fit well together.
Molding and Casting with Concrete - completing my table :)
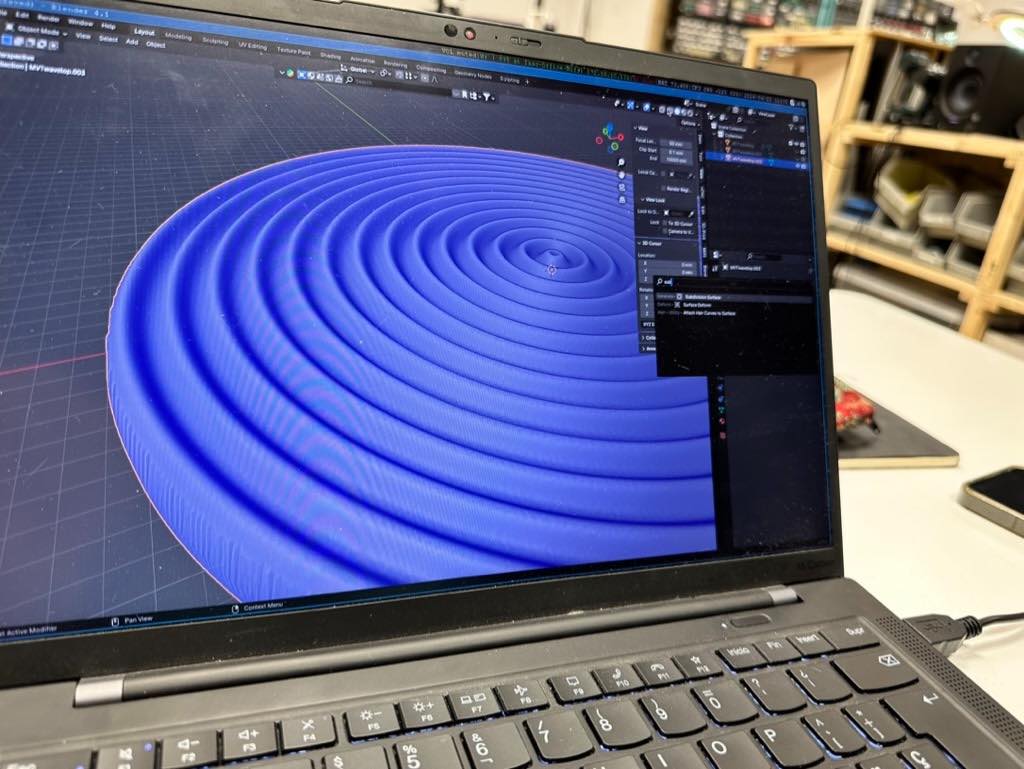
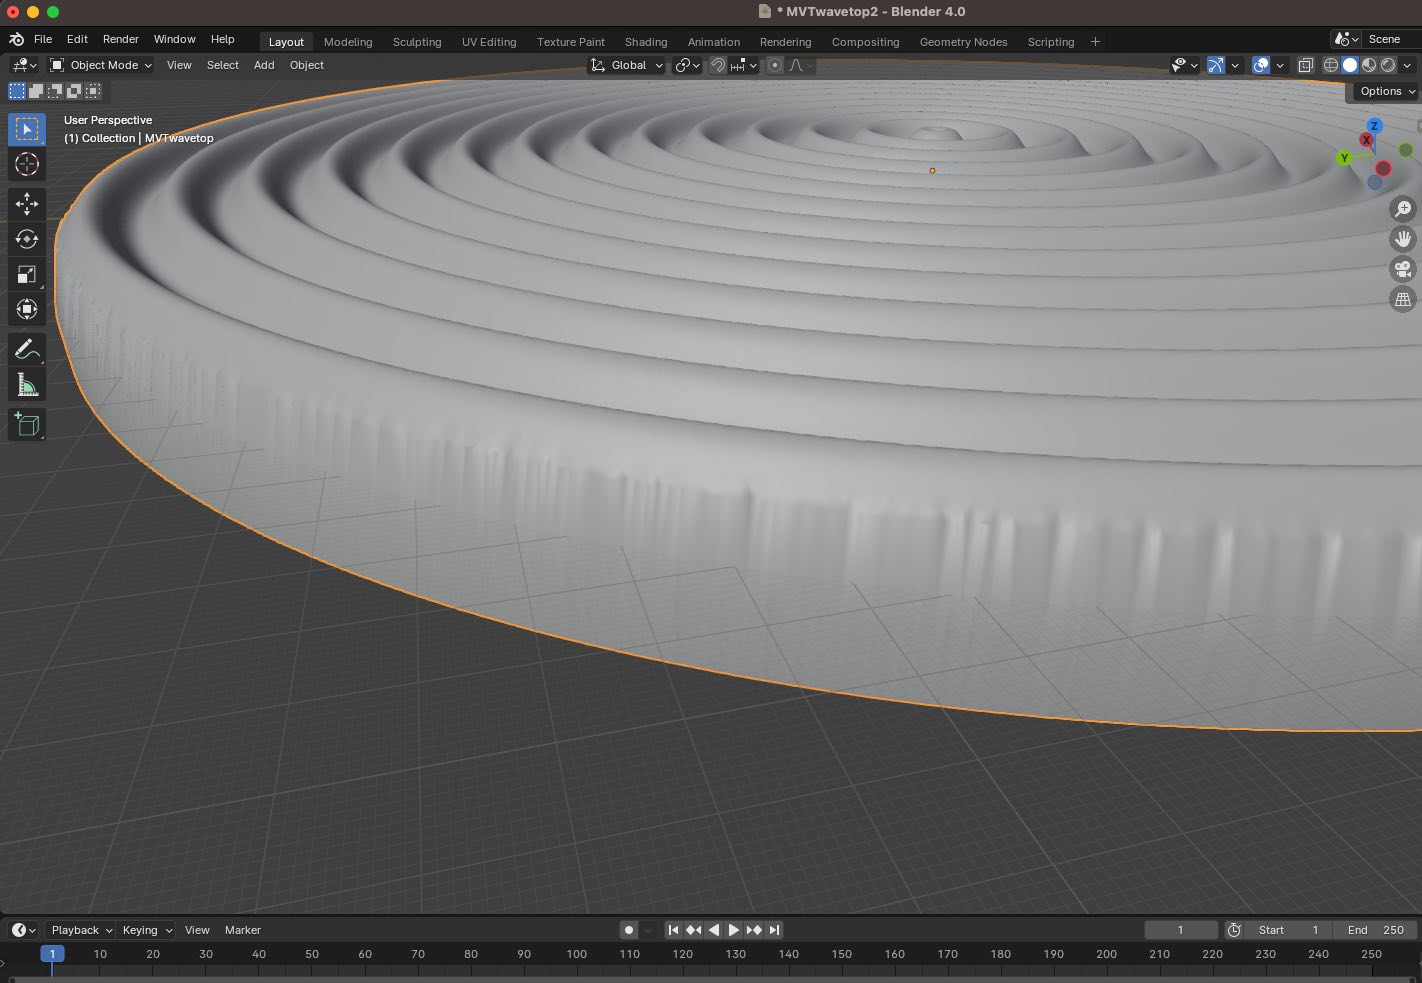
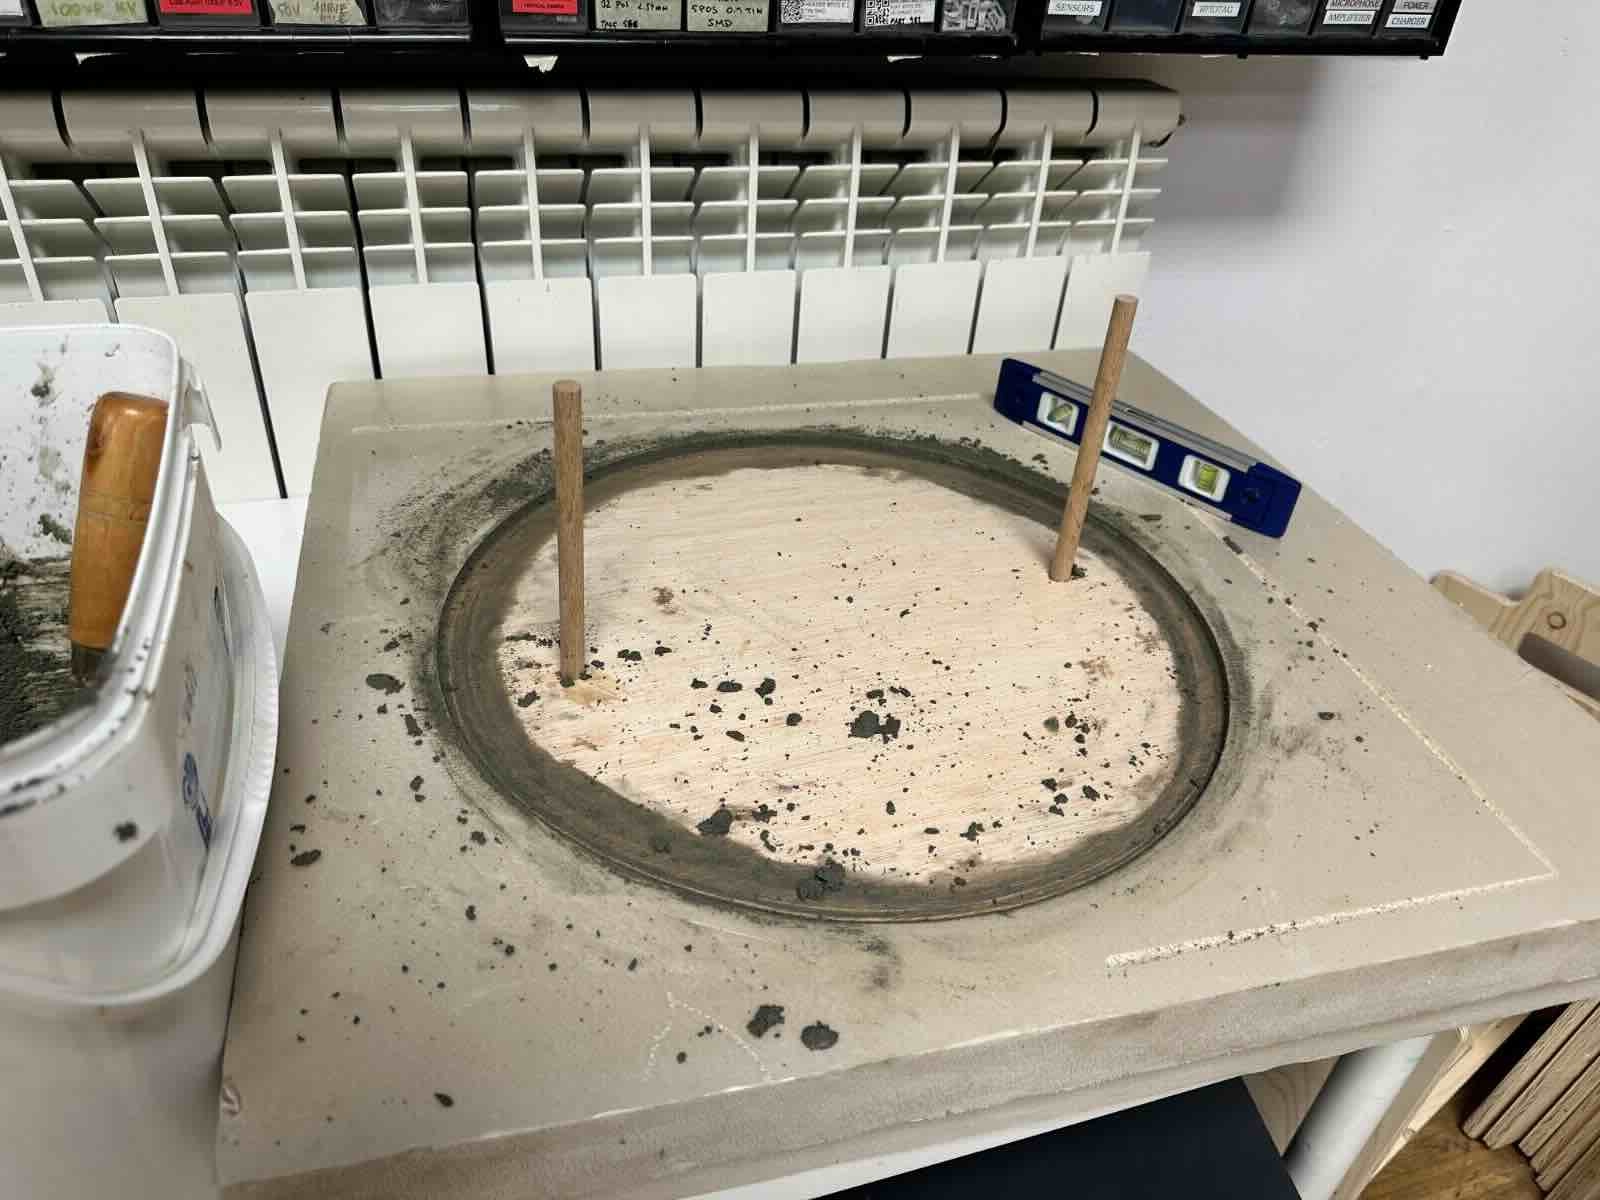
Around the center sunburst I planned the rest of the table top to be molded from concrete in a circular wave pattern. I had difficulty smoothing the top into the side cylinder and so exported the mesh to blender and worked with our teachers to smooth. I wasn't able to get a completely smooth side after several attempts in blender. Finally I redesigned the mold in Rhino to get a finished design to create the gcode for the CNC machine.
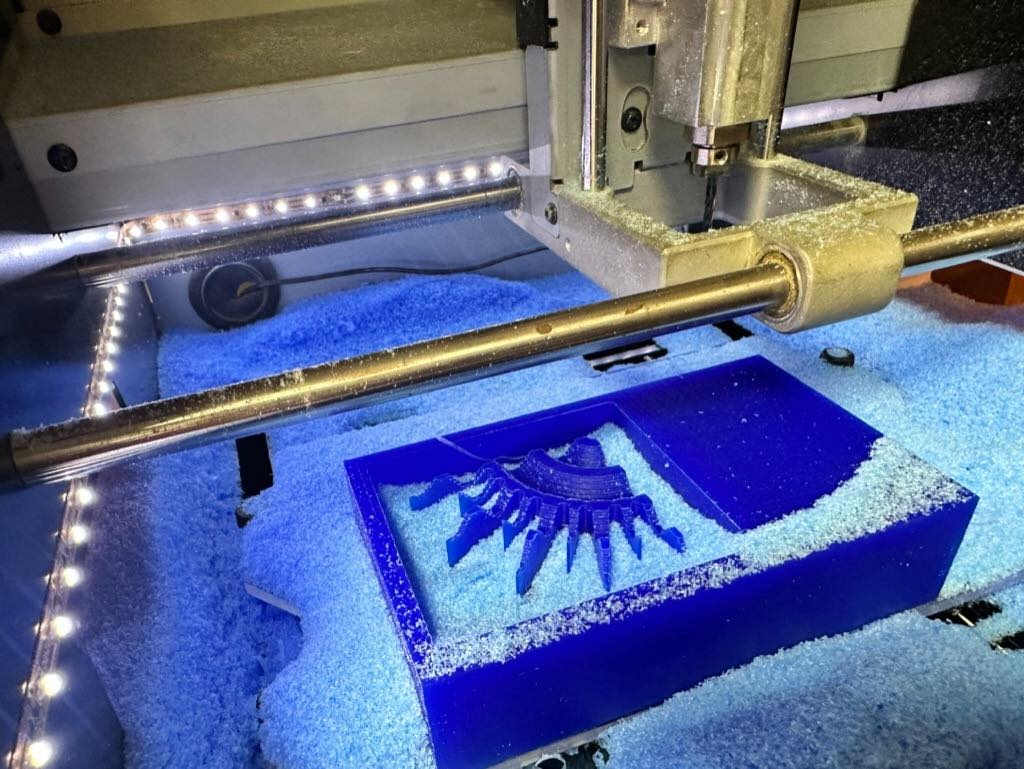
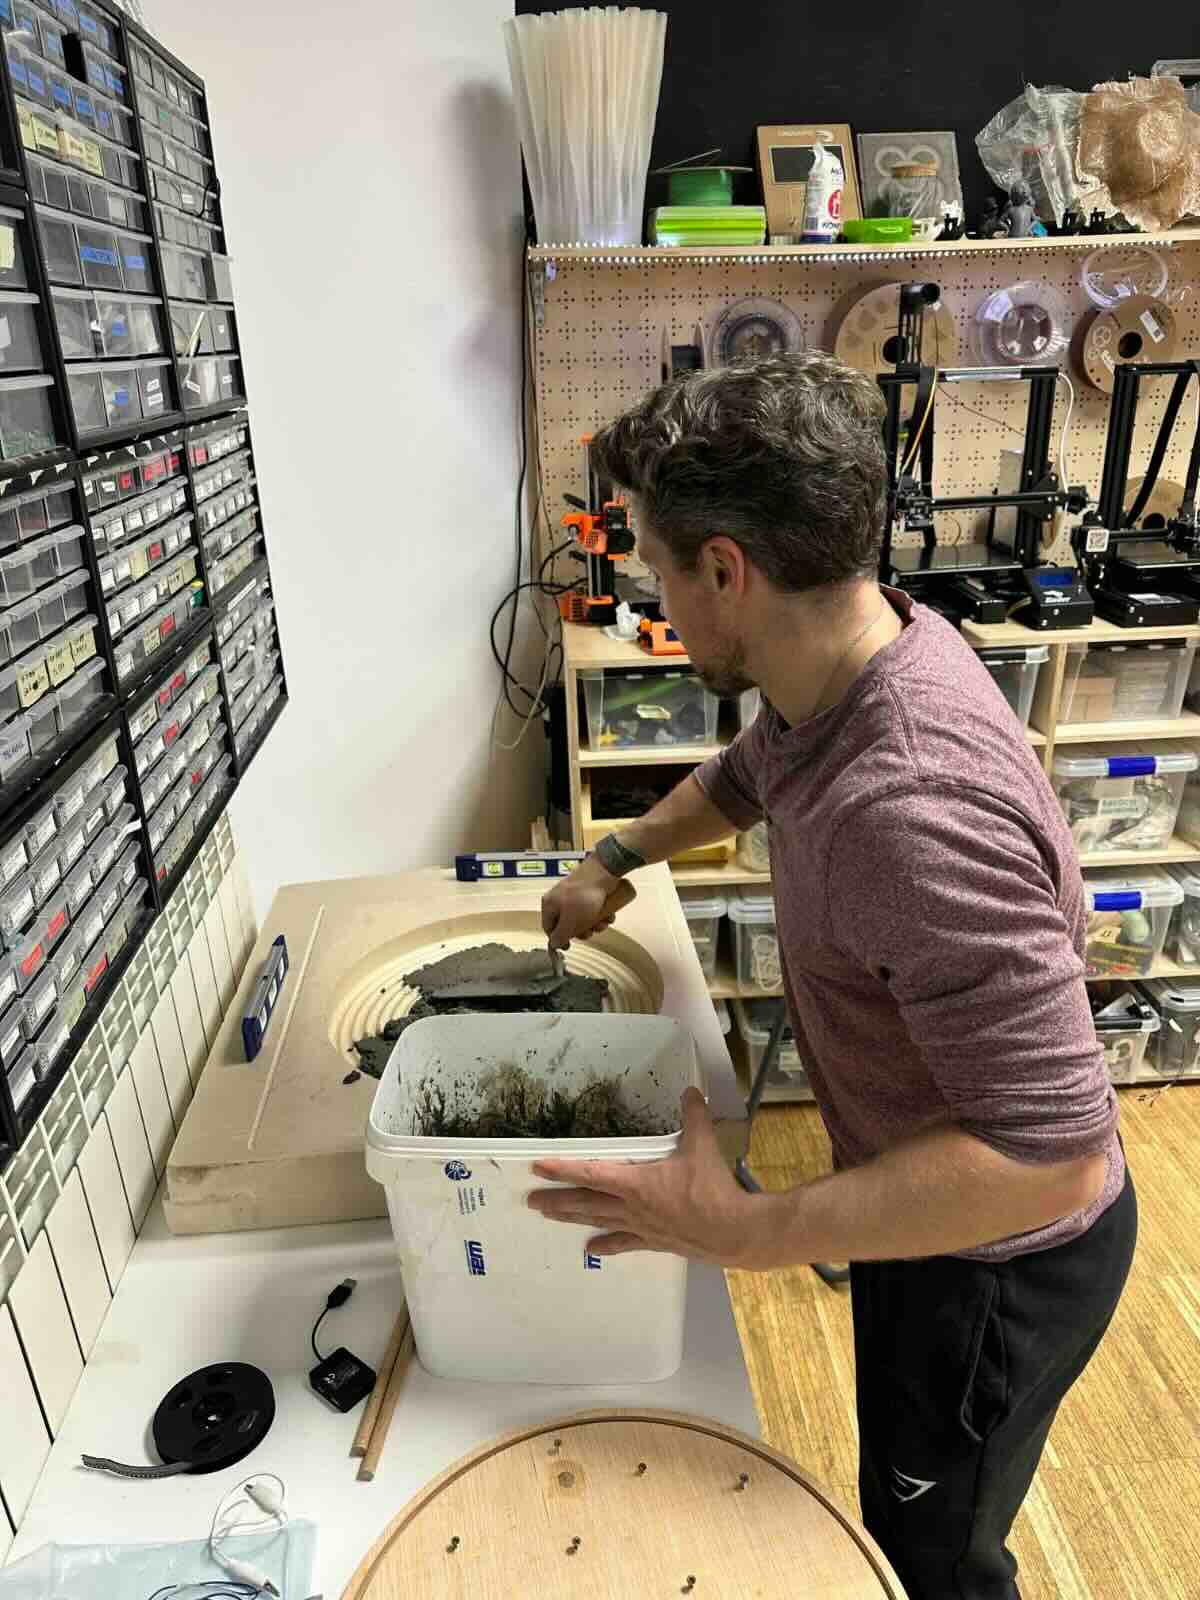
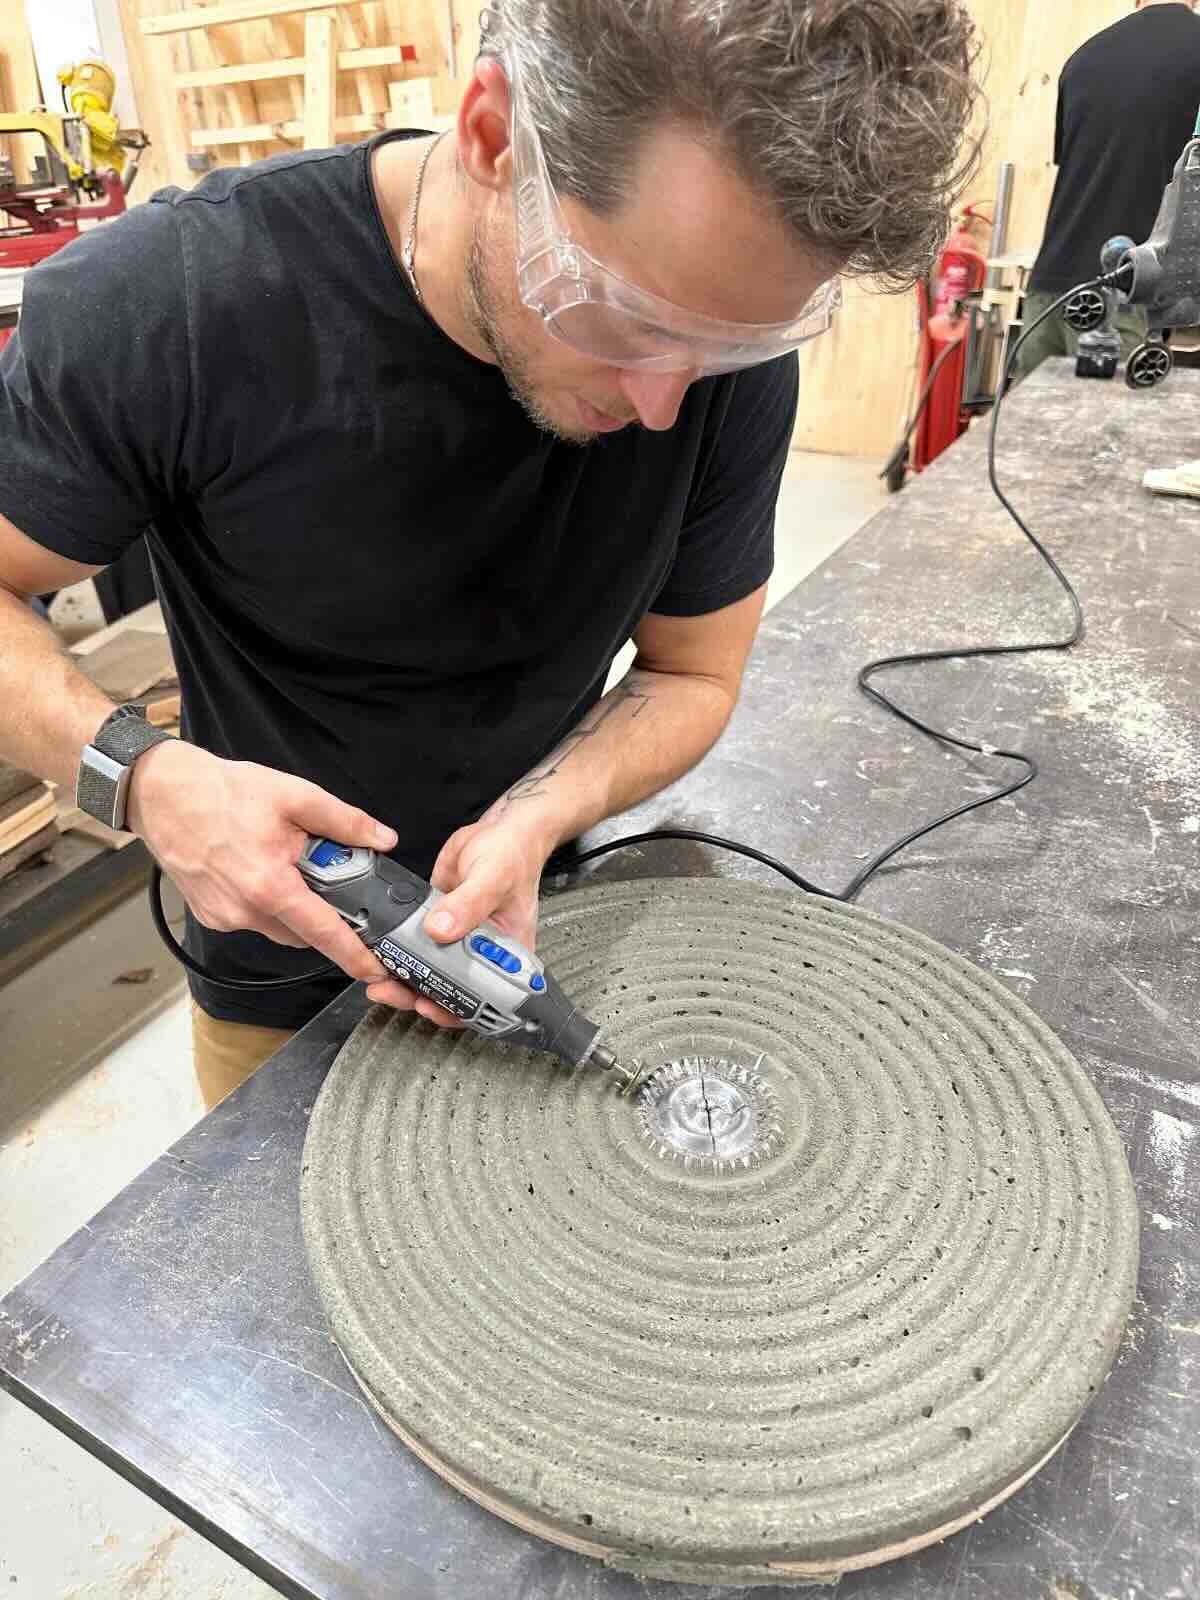
I CNC'd the table top design in foam. I then inlayed the 4 pieces of casted pewter and poured Geolite 40 quick curing concrete around it. I let it cure for a full day given how thick the pour was (despite the fact that the labeled cure time is 40 minutes). Once the conrete was poured I sanded down the area around the pewter pieces to make sure they were full revealed in the center.
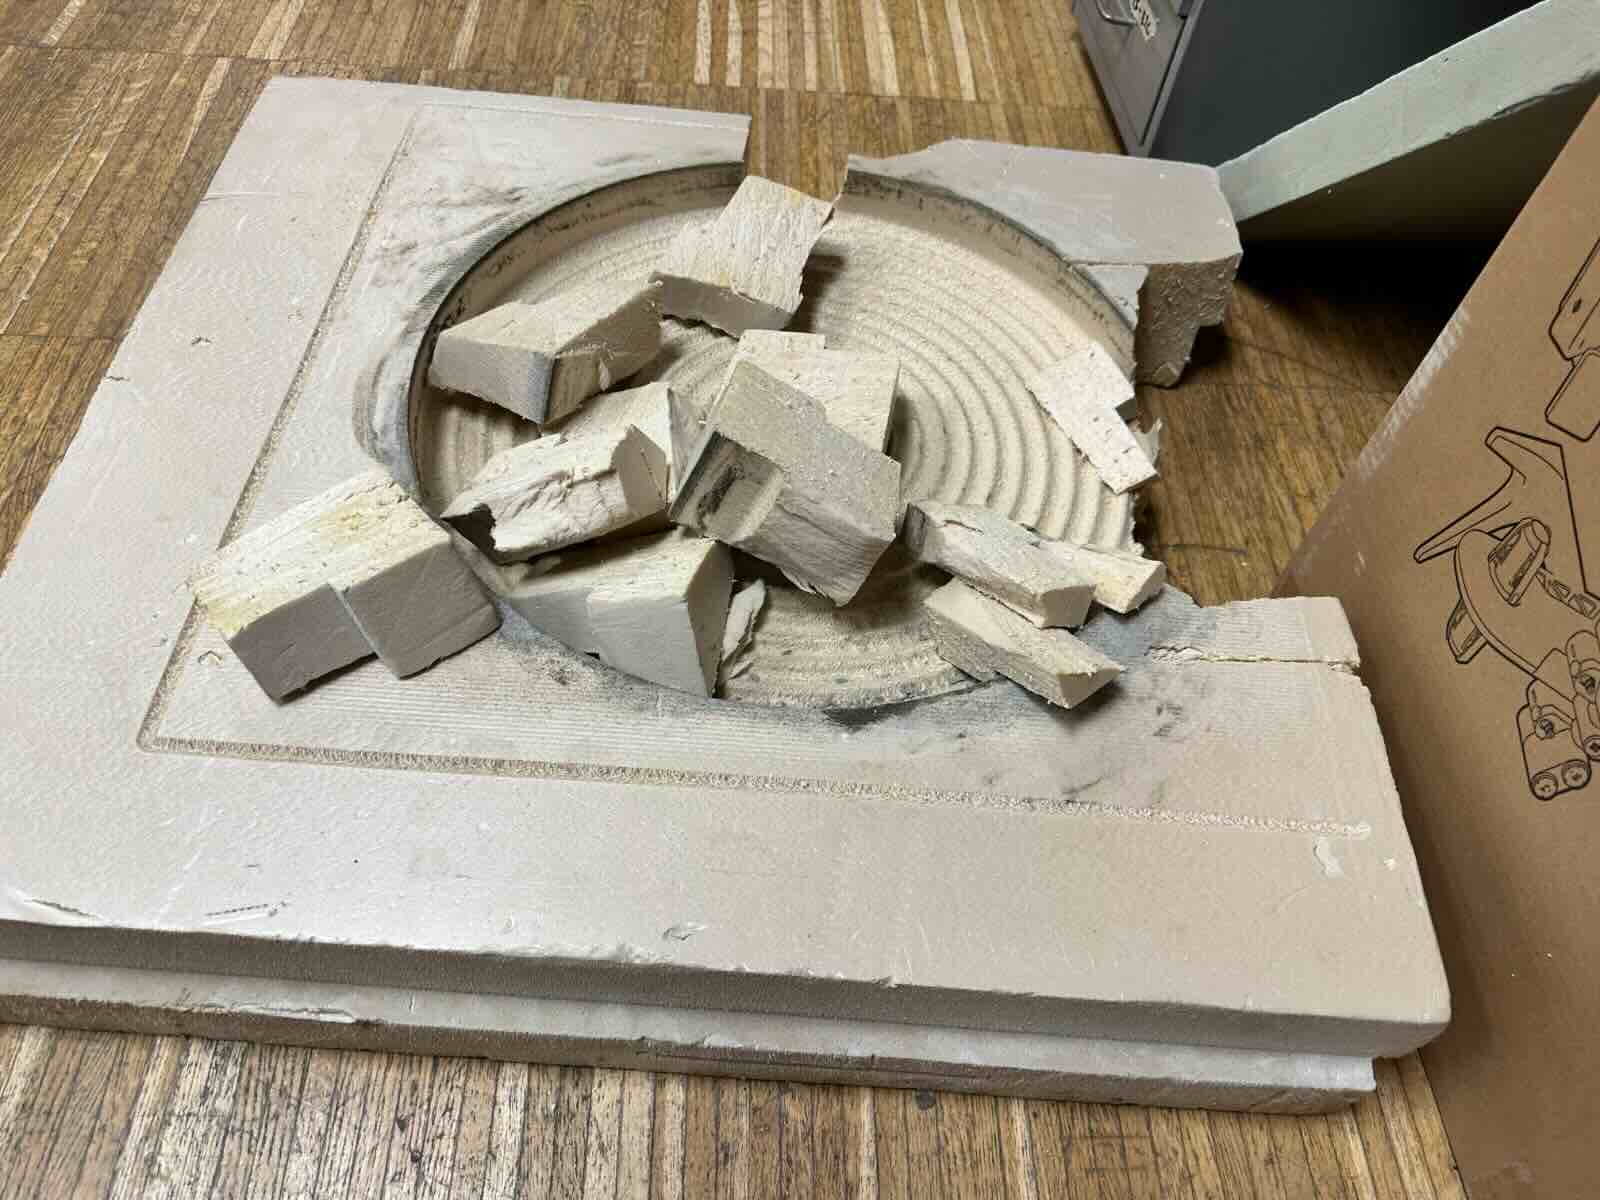
CREATING FOAM MOLD
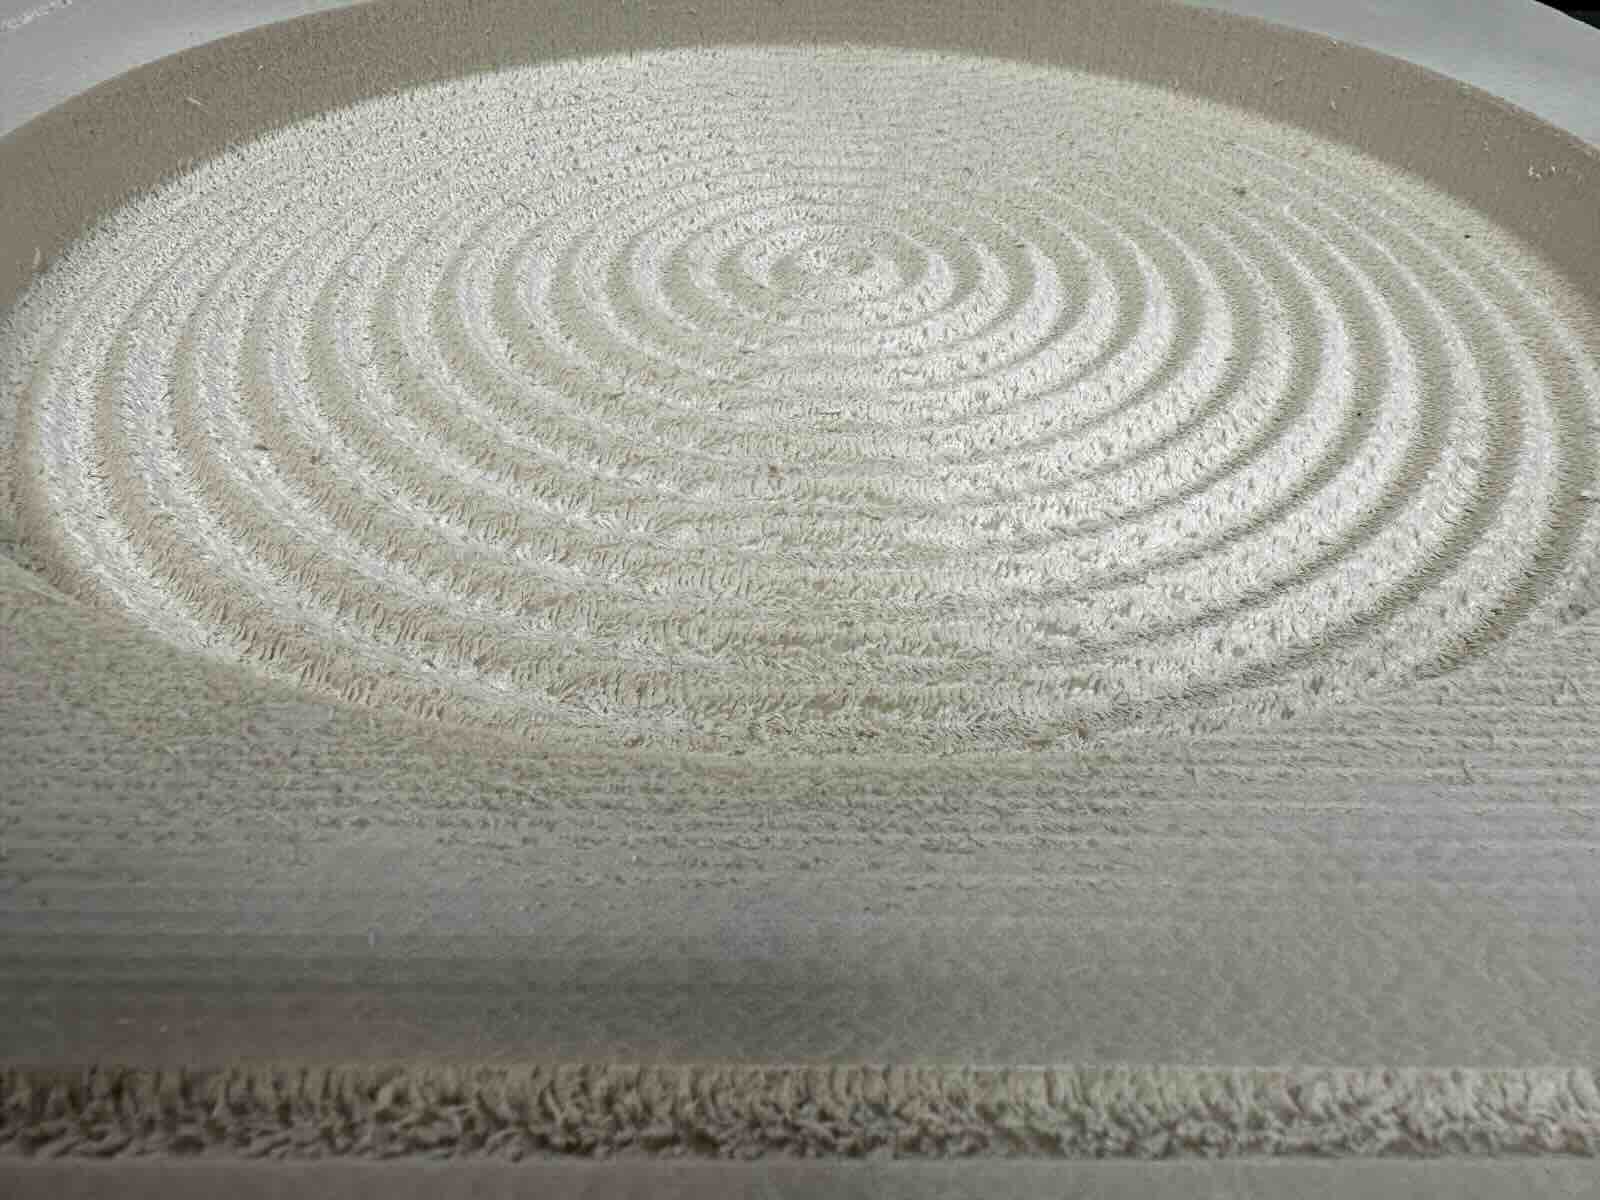
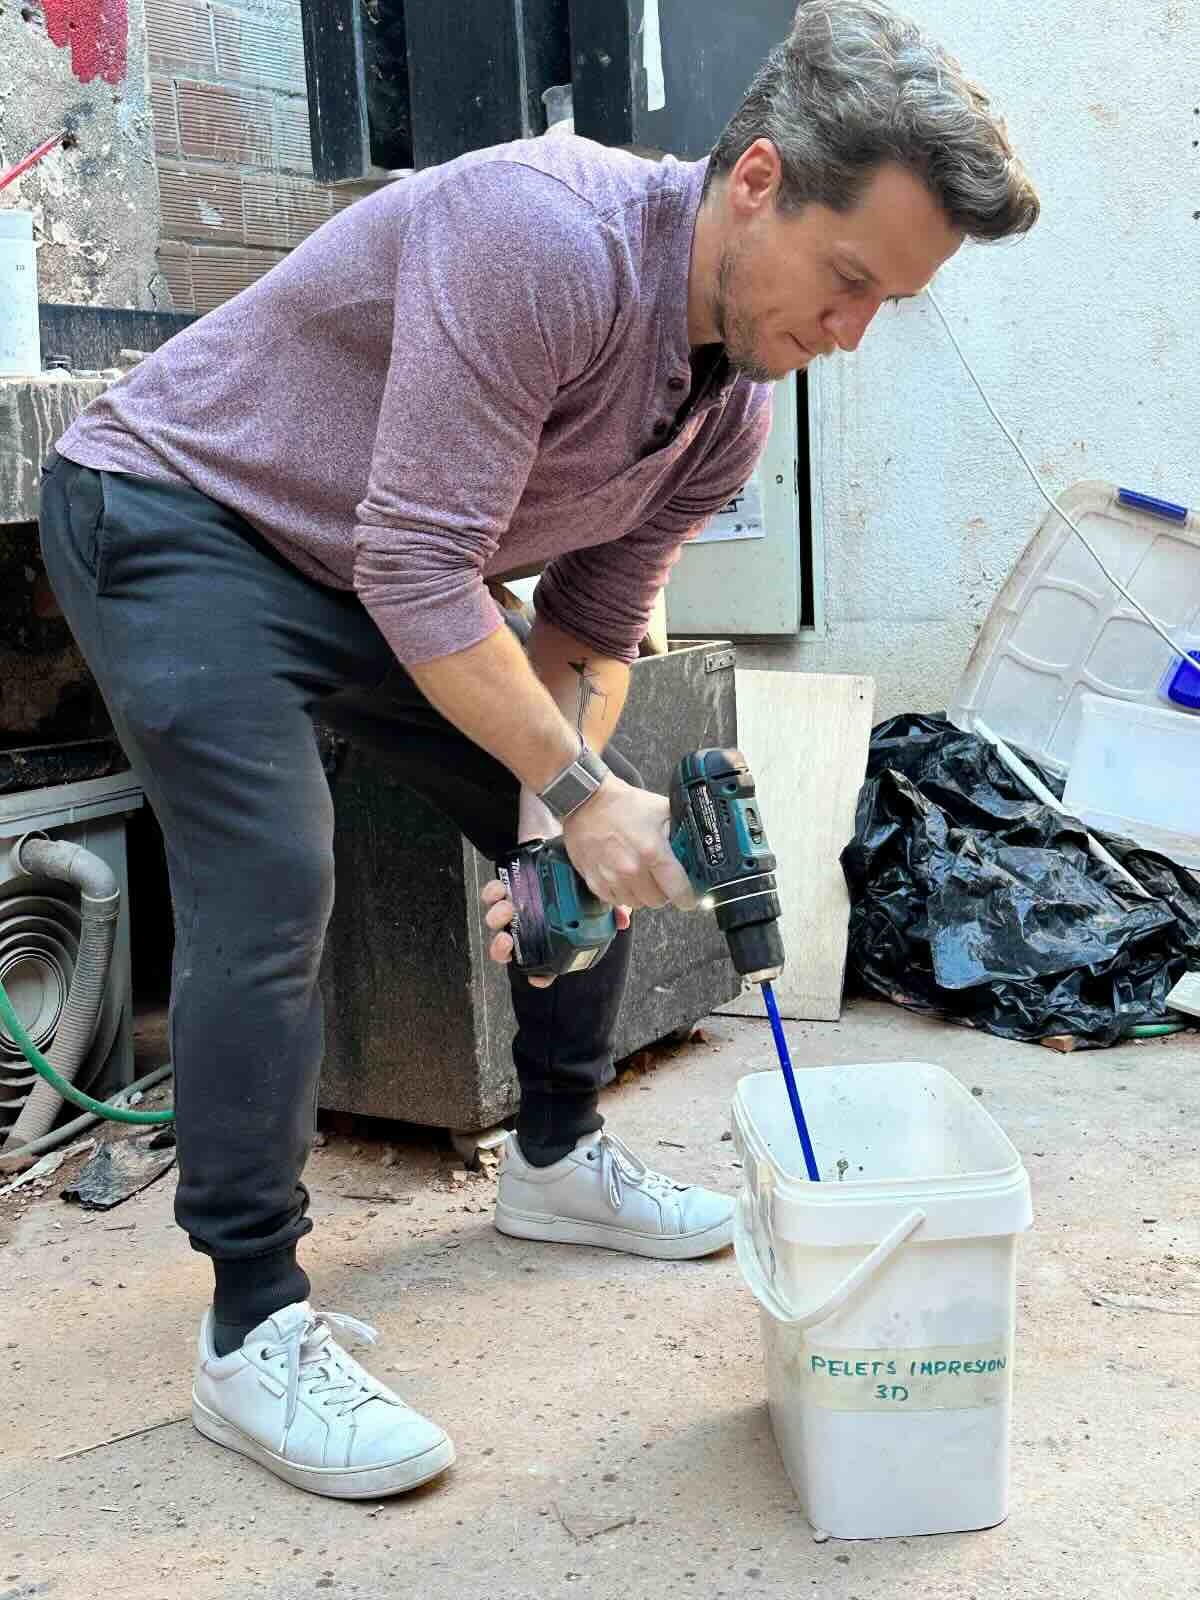
MIXING & POURING CONCRETE
FINISHING TABLE TOP
Group Work
For the group work we reviewed the safety datasheets for several molding / casting materials including the ones list above (Easyplat, Platsil, Tinsil). We casted test casts with each. We also compared printed vs. milled molds. The group work can be found here.