5. 3D Scanning and printing
This week we used different 3D printing machines and materials in order to compare its main features and functionality. we also identify features that could be used in our final proyect.
Mario Ramirez Neria - Fab Academy
This week we used different 3D printing machines and materials in order to compare its main features and functionality. we also identify features that could be used in our final proyect.
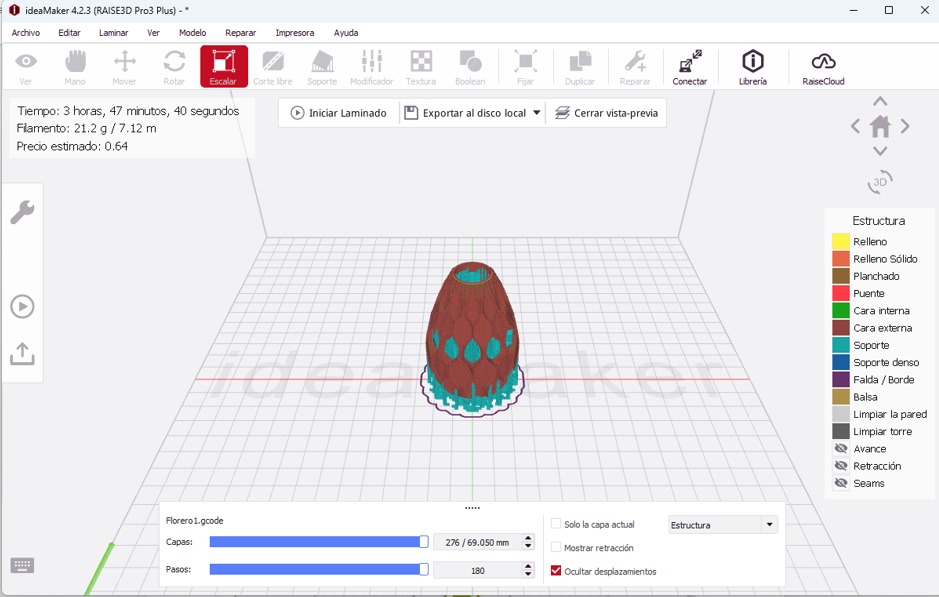
We use ideaMaker for the stl format, here added support
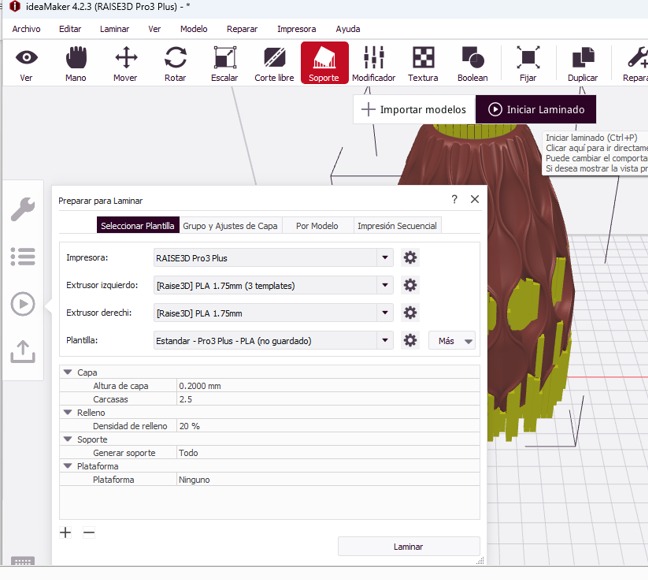
Select extruder and print quality before laminating
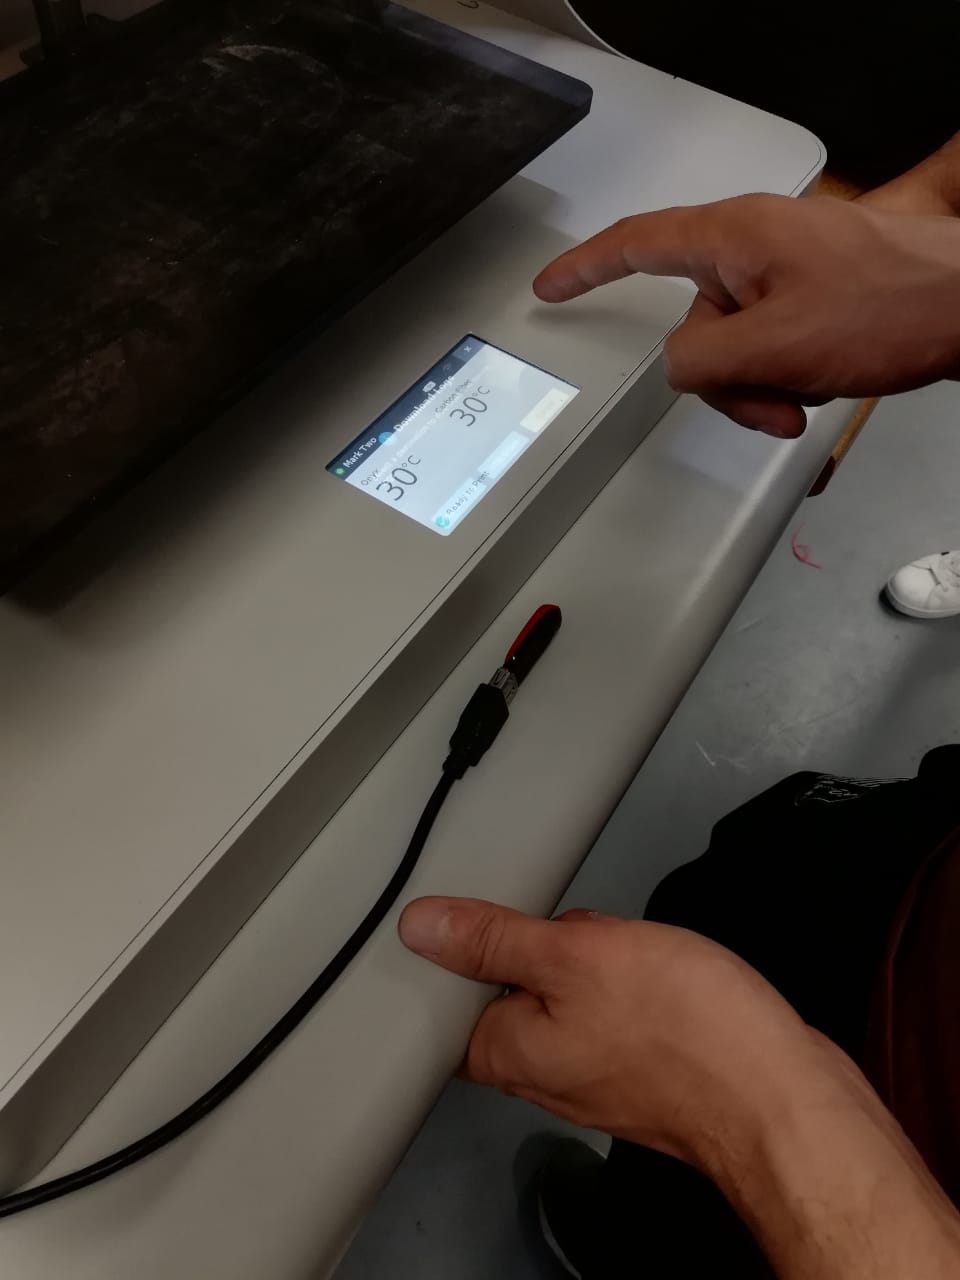
ONYX printer Markforgerd
Load the file
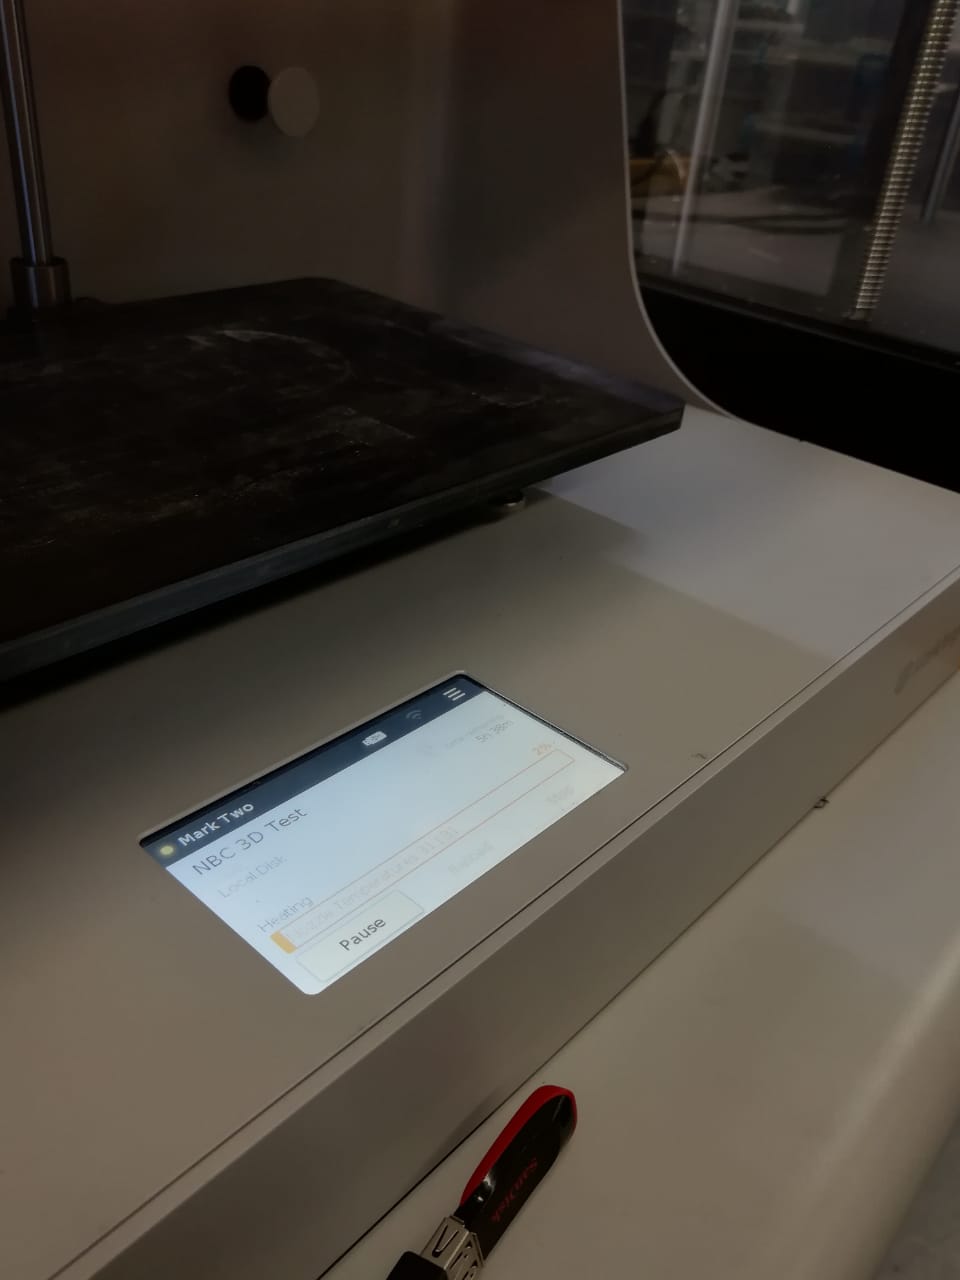
Processing data and extrusion time
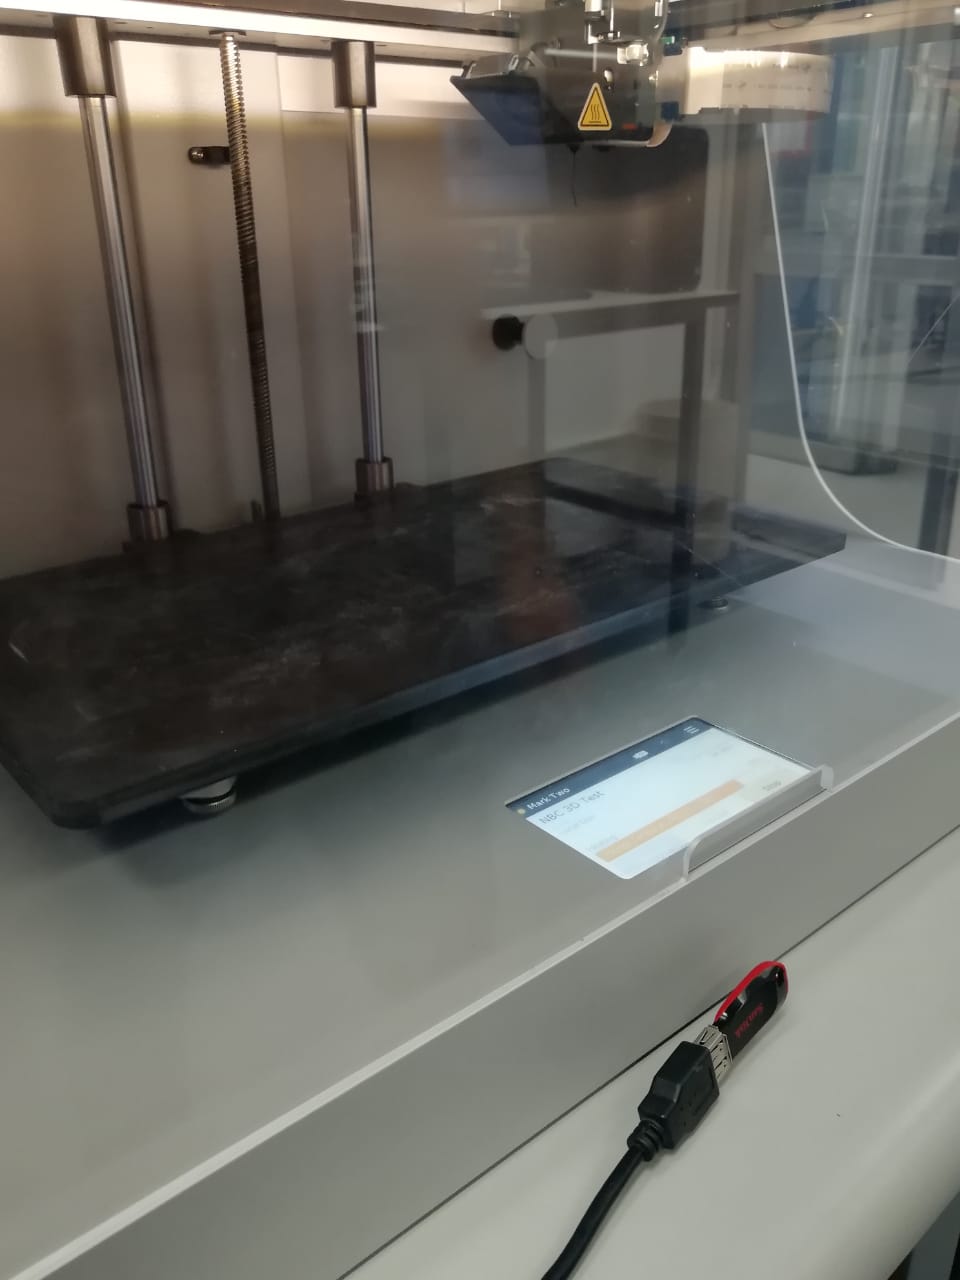
We see that the file is already progressing
and we can let the printer work
Raise3D Pro 3 plus, this is also used for
the printing the white piece

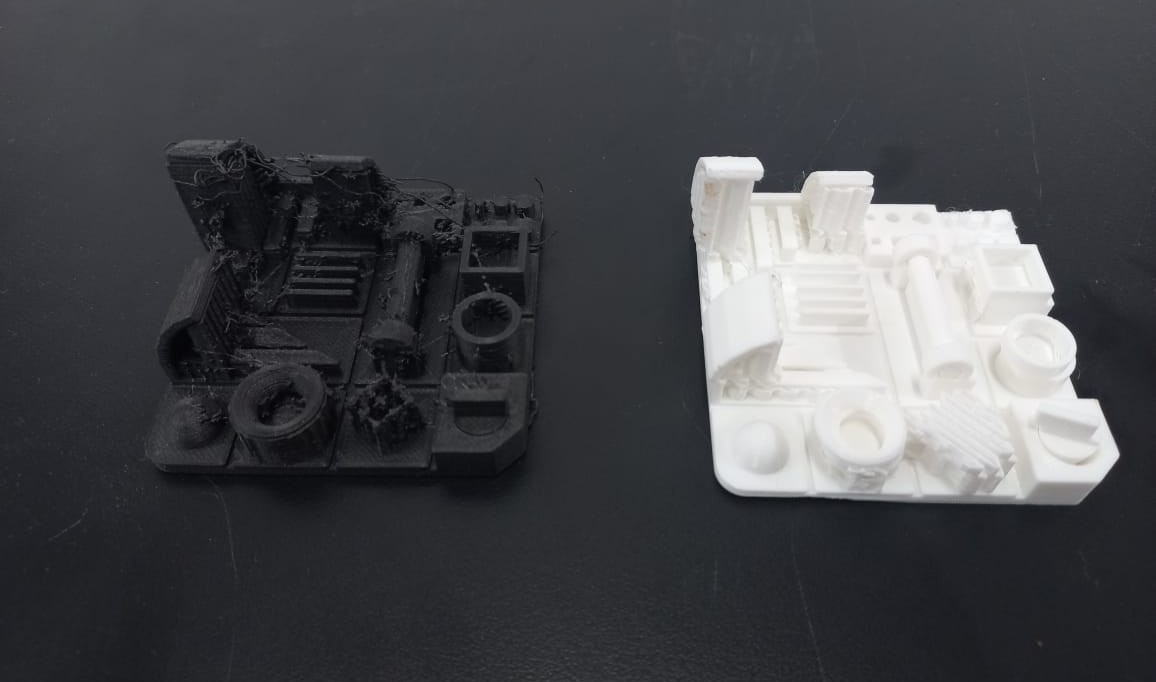
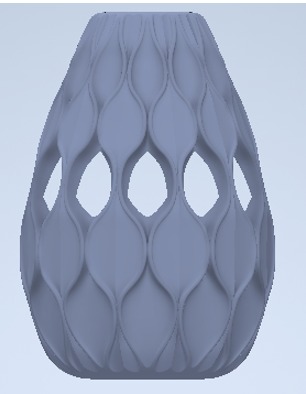
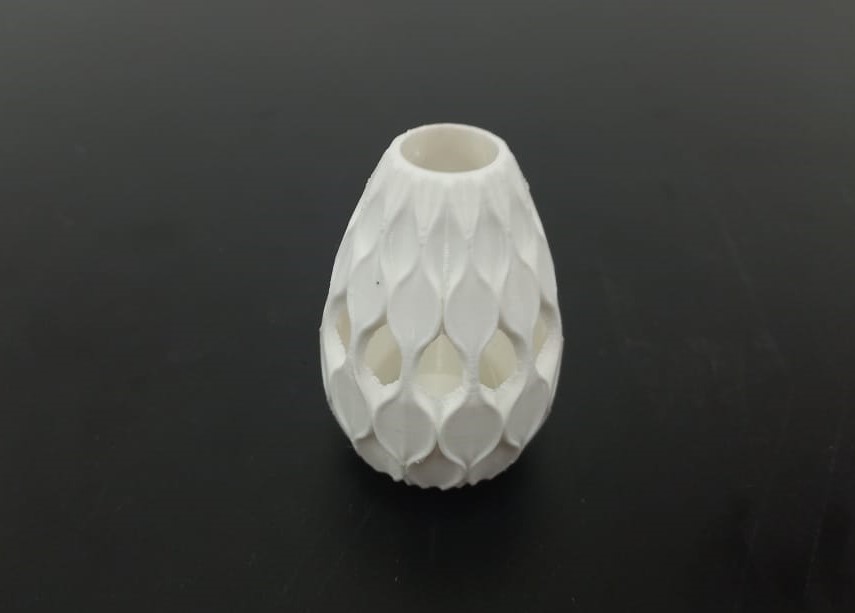
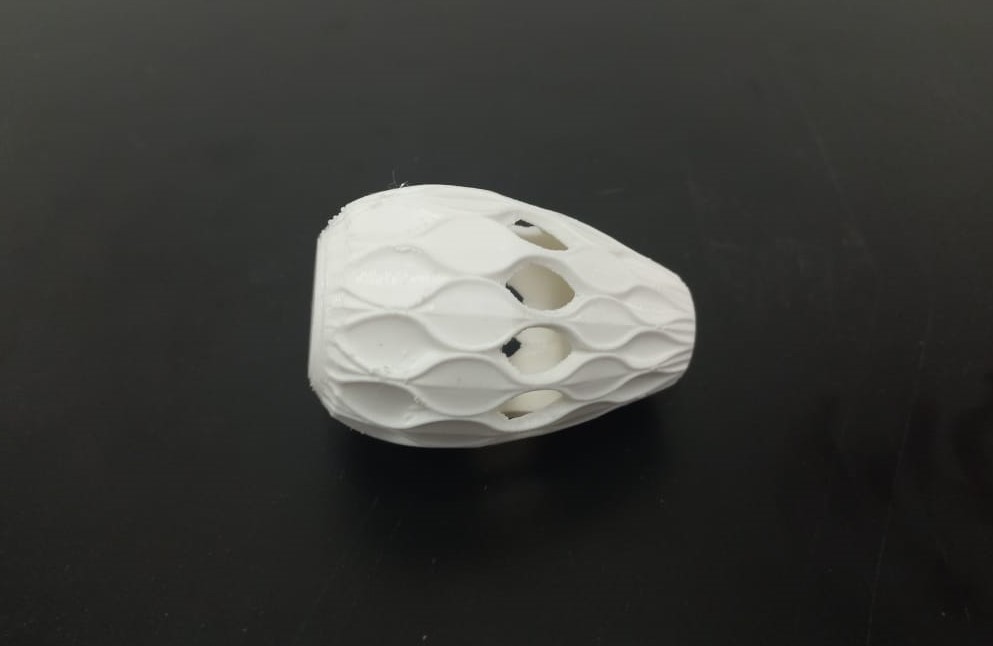
Results with Onyx and raise 3D
Autodesk Inventor Professional 2023 is the software that
was used for this design process.

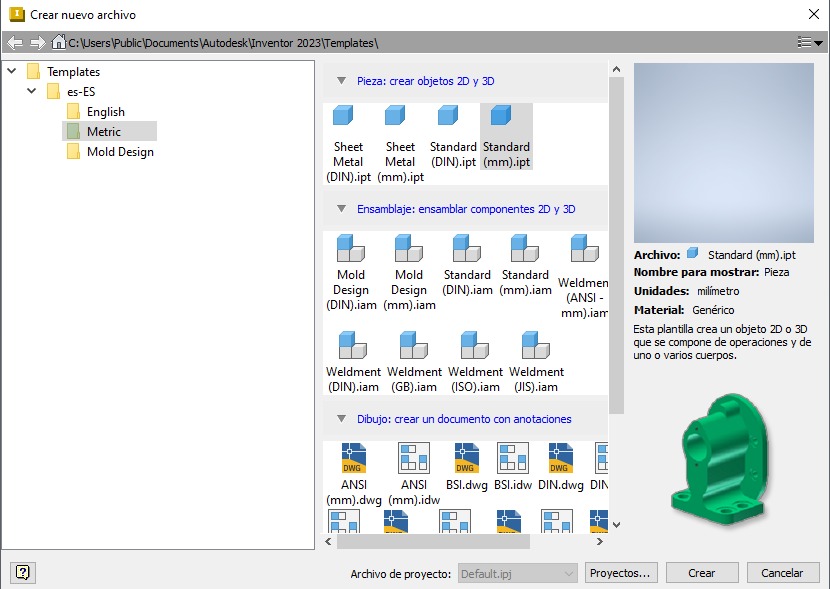
We select the option: "New" in the upper left, and in the option
we choose: "Standard(mm).ipt", the we
click on create.
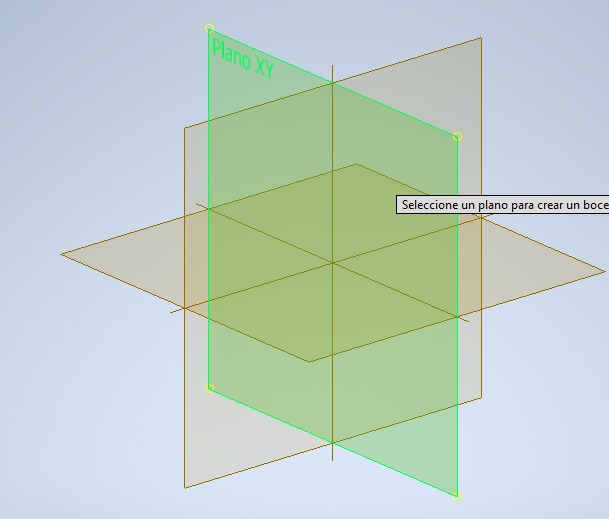
Create a new 2D sketch. We choose the XY plane.
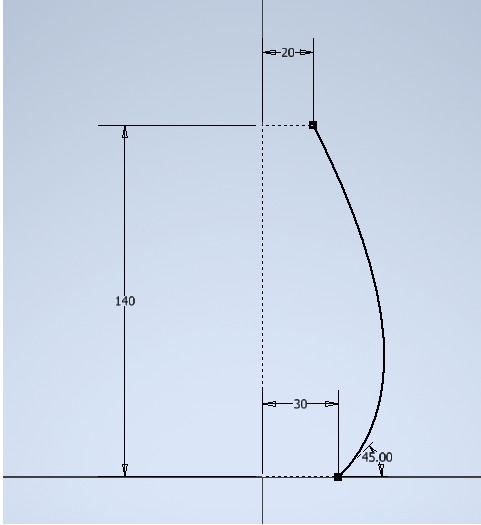
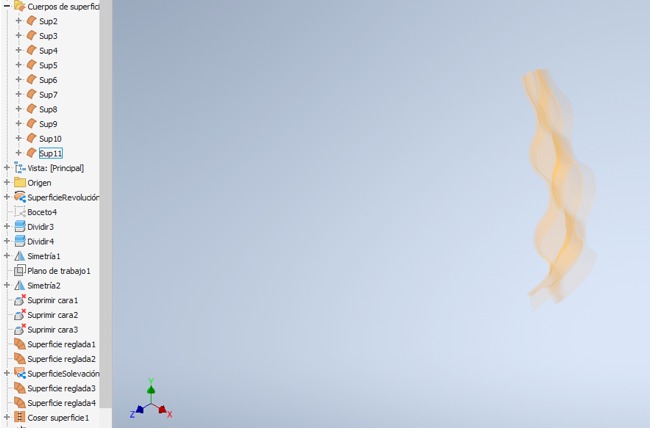
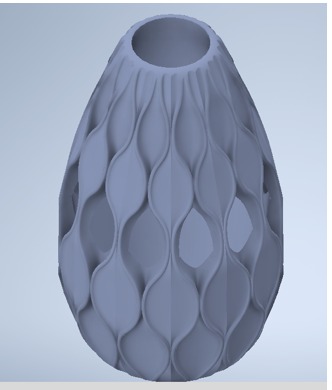
Initial sketch. Here is the base figure of the expected design.
Sketch to make the snake-line pattern.
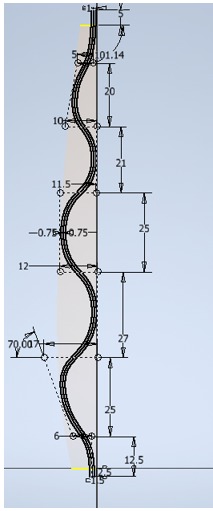
For this, the symmetery was used,
first we have a mirror of the first design,
then with the surface we make
rule adjustments,
we remove the faces thah we do not used
Sketch extrusion.
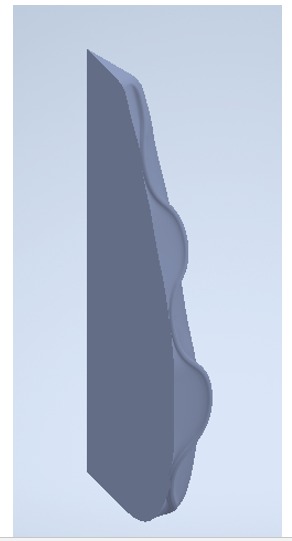
Symmetry of the extrusion
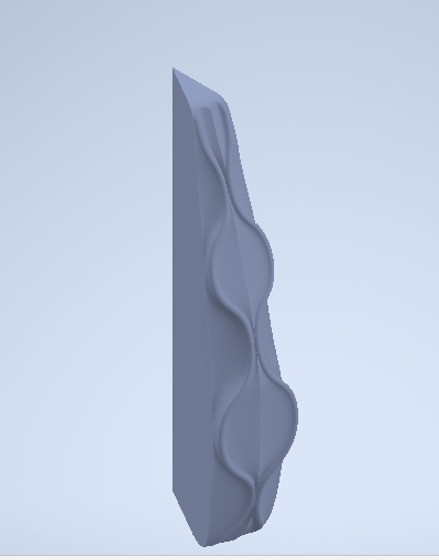
We created a circular pattern of 12 repetitions
to be able to otain the cylindrical shape.
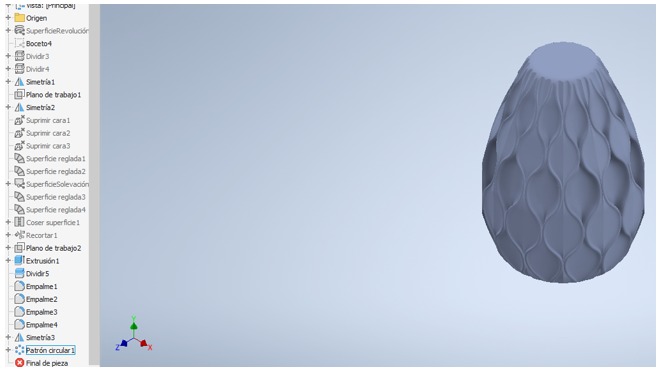
Here a new sketch was created on the top face
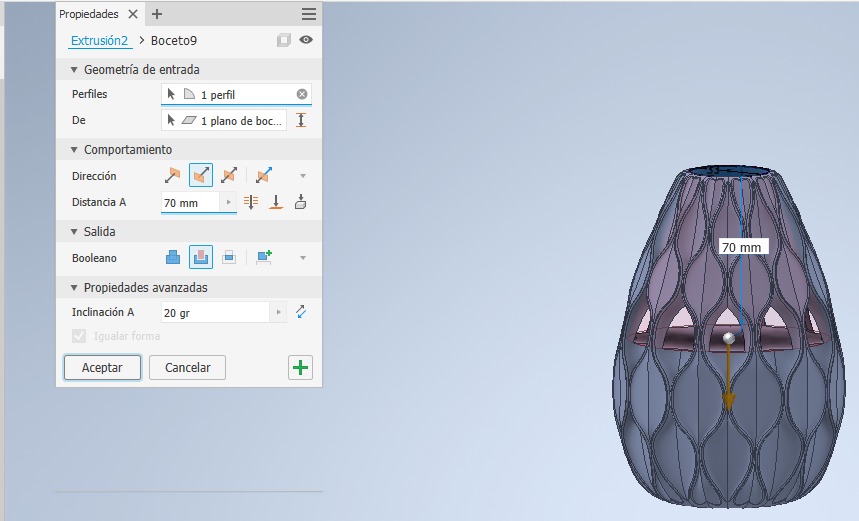
We created a 33mm diameter circle a 70mm extrusion
with 20
degrees to follow the geometry
Once we have the 3D part modeled, it is exported in .stl format so that it can be read by the ideaMaker software.
This is a software:
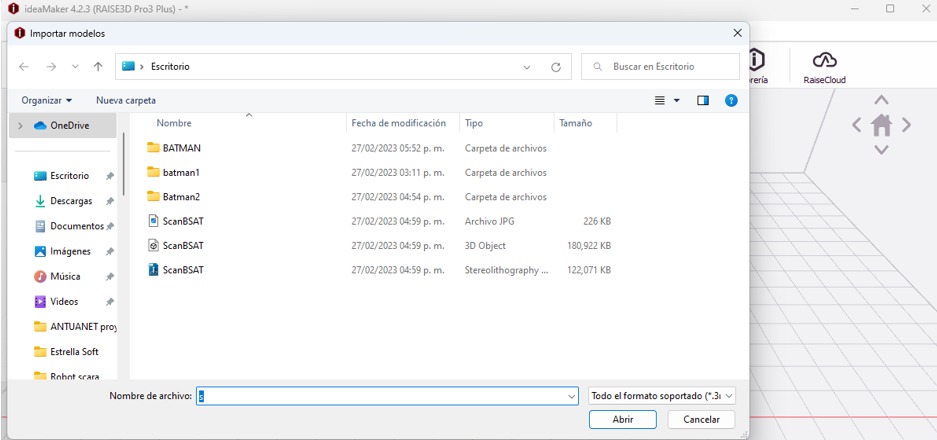
First we select the file in stl format
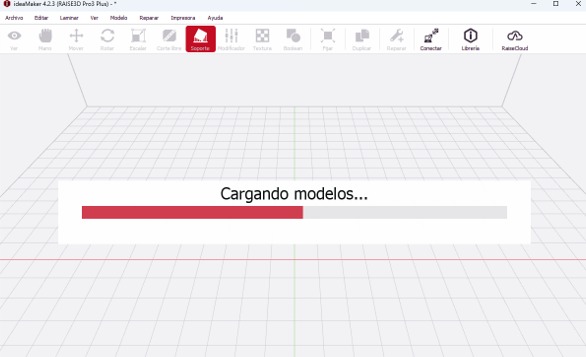
We hope the model is loaded
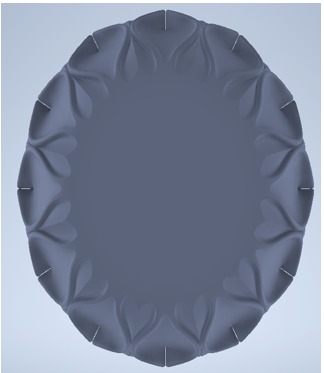
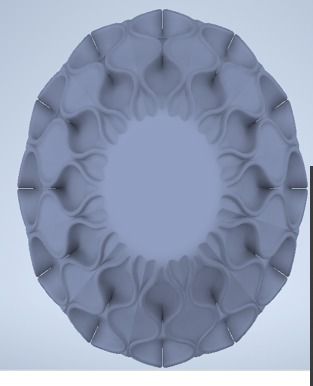
Preview of the 3D model.
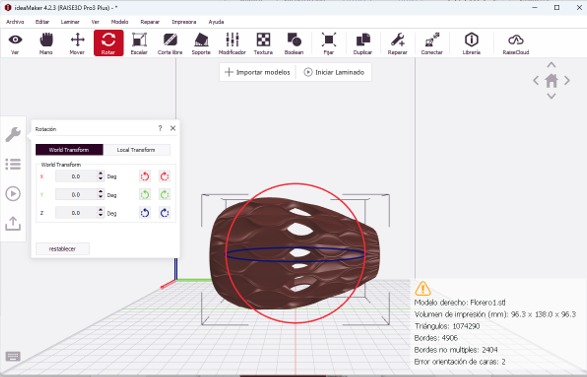
We rotate the piece 90 degrees to have a better
of the piece to create the support and optimize the
use of the material.
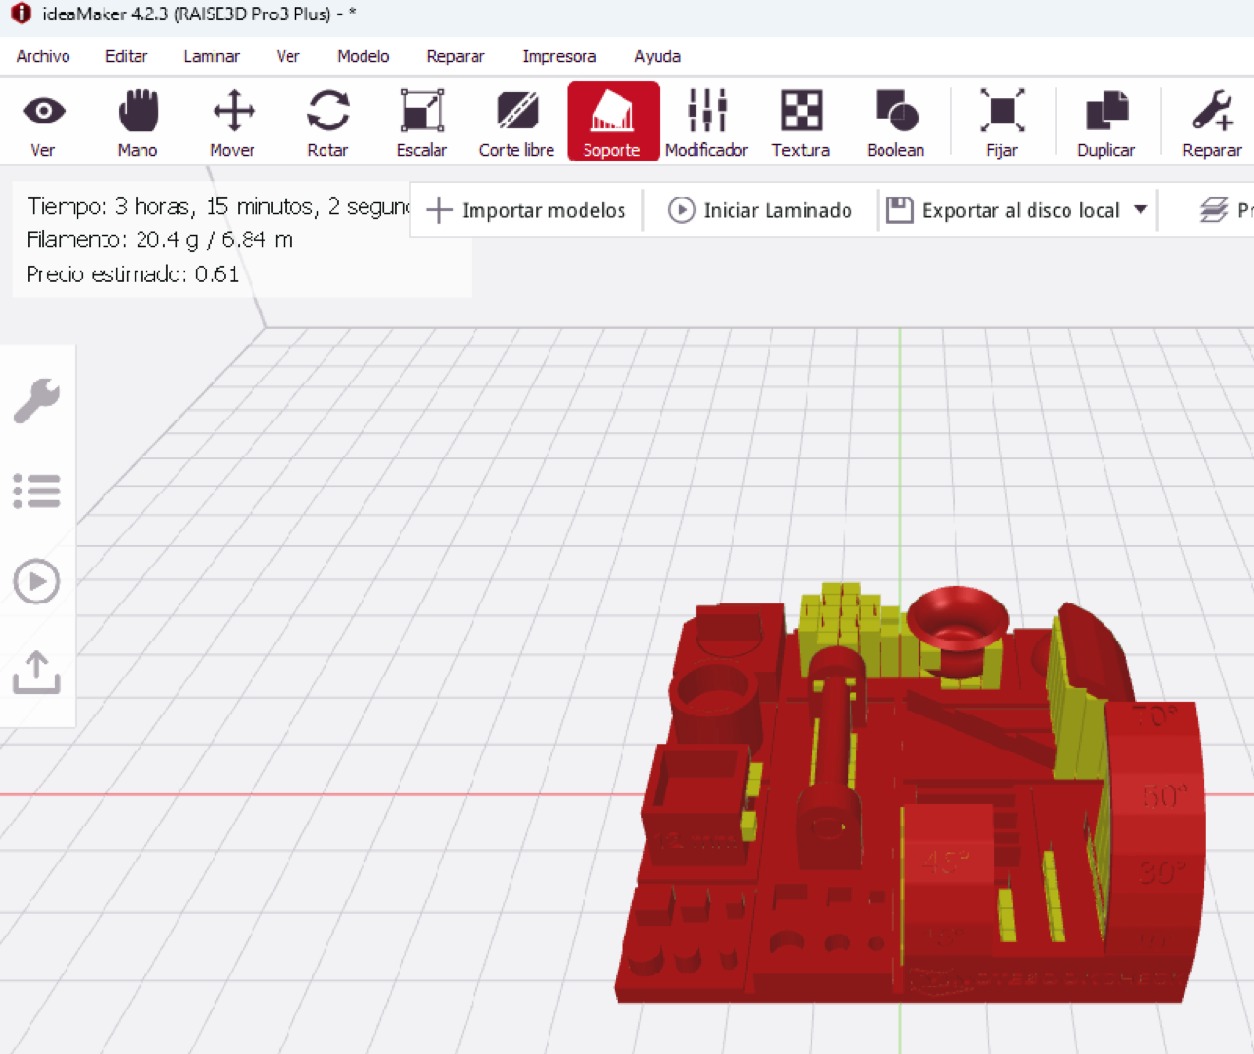
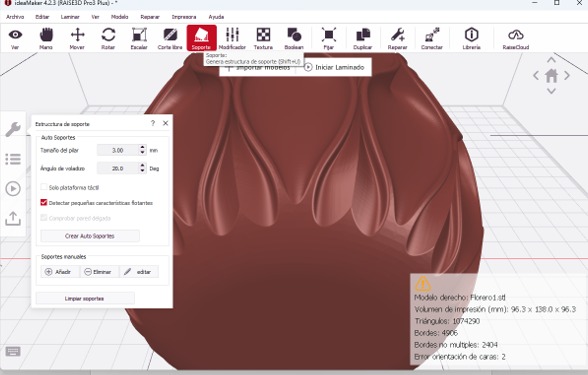
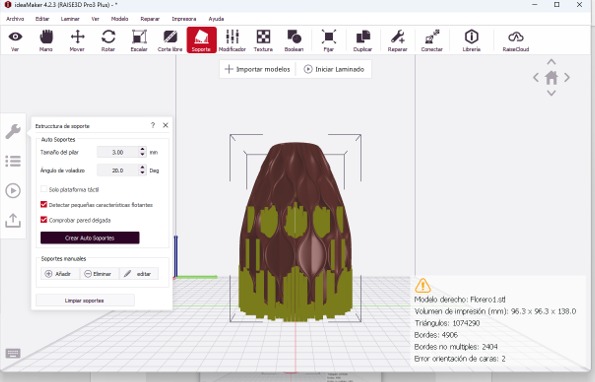
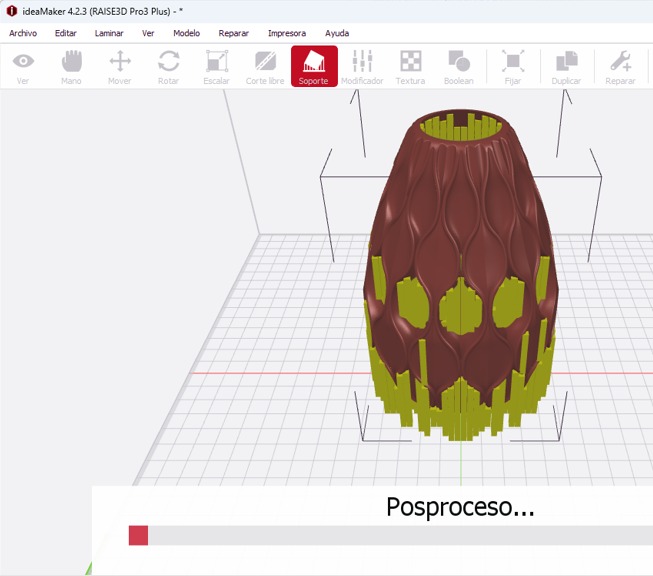
Add the support, this support is generated
autmatically by the software
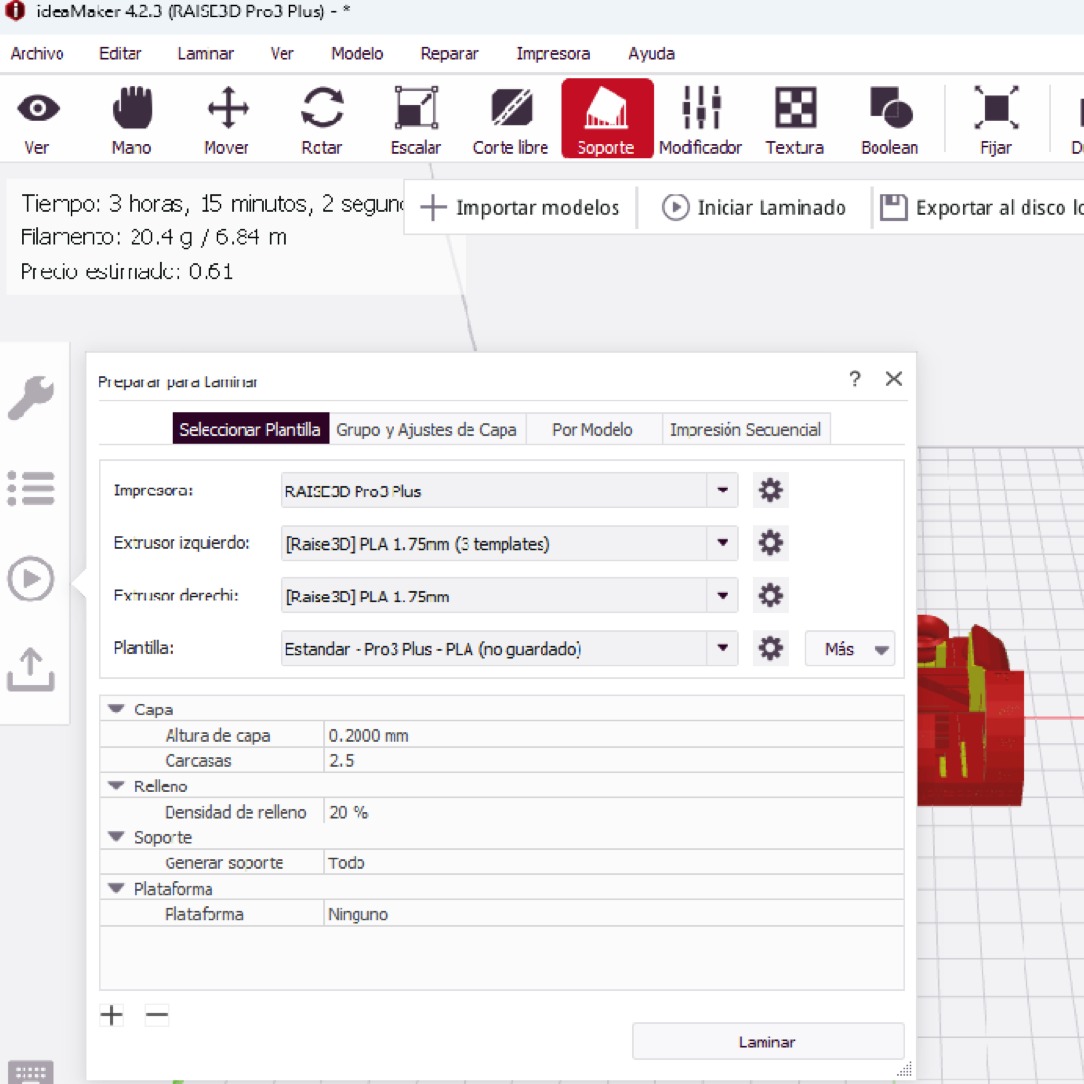
In this part, the print quality and speed are
and the rigth or left extruder is also chosen.
This is a procees
Here we can view the correct form. This is the preview
/
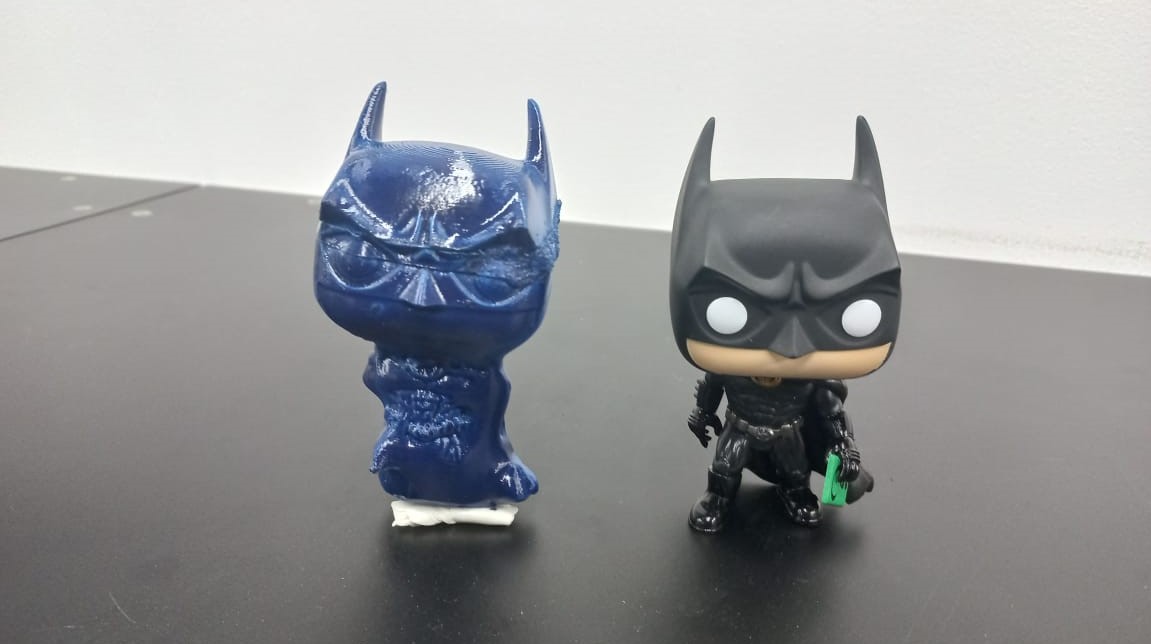
These are the results after 3d printing.
In this section, first a random 3D figure was scanned, the in the corresponding software it was formated and exported in stl format so that the following software(ideaMaker) can help us to give us the gcode already with it's characteristics for printing
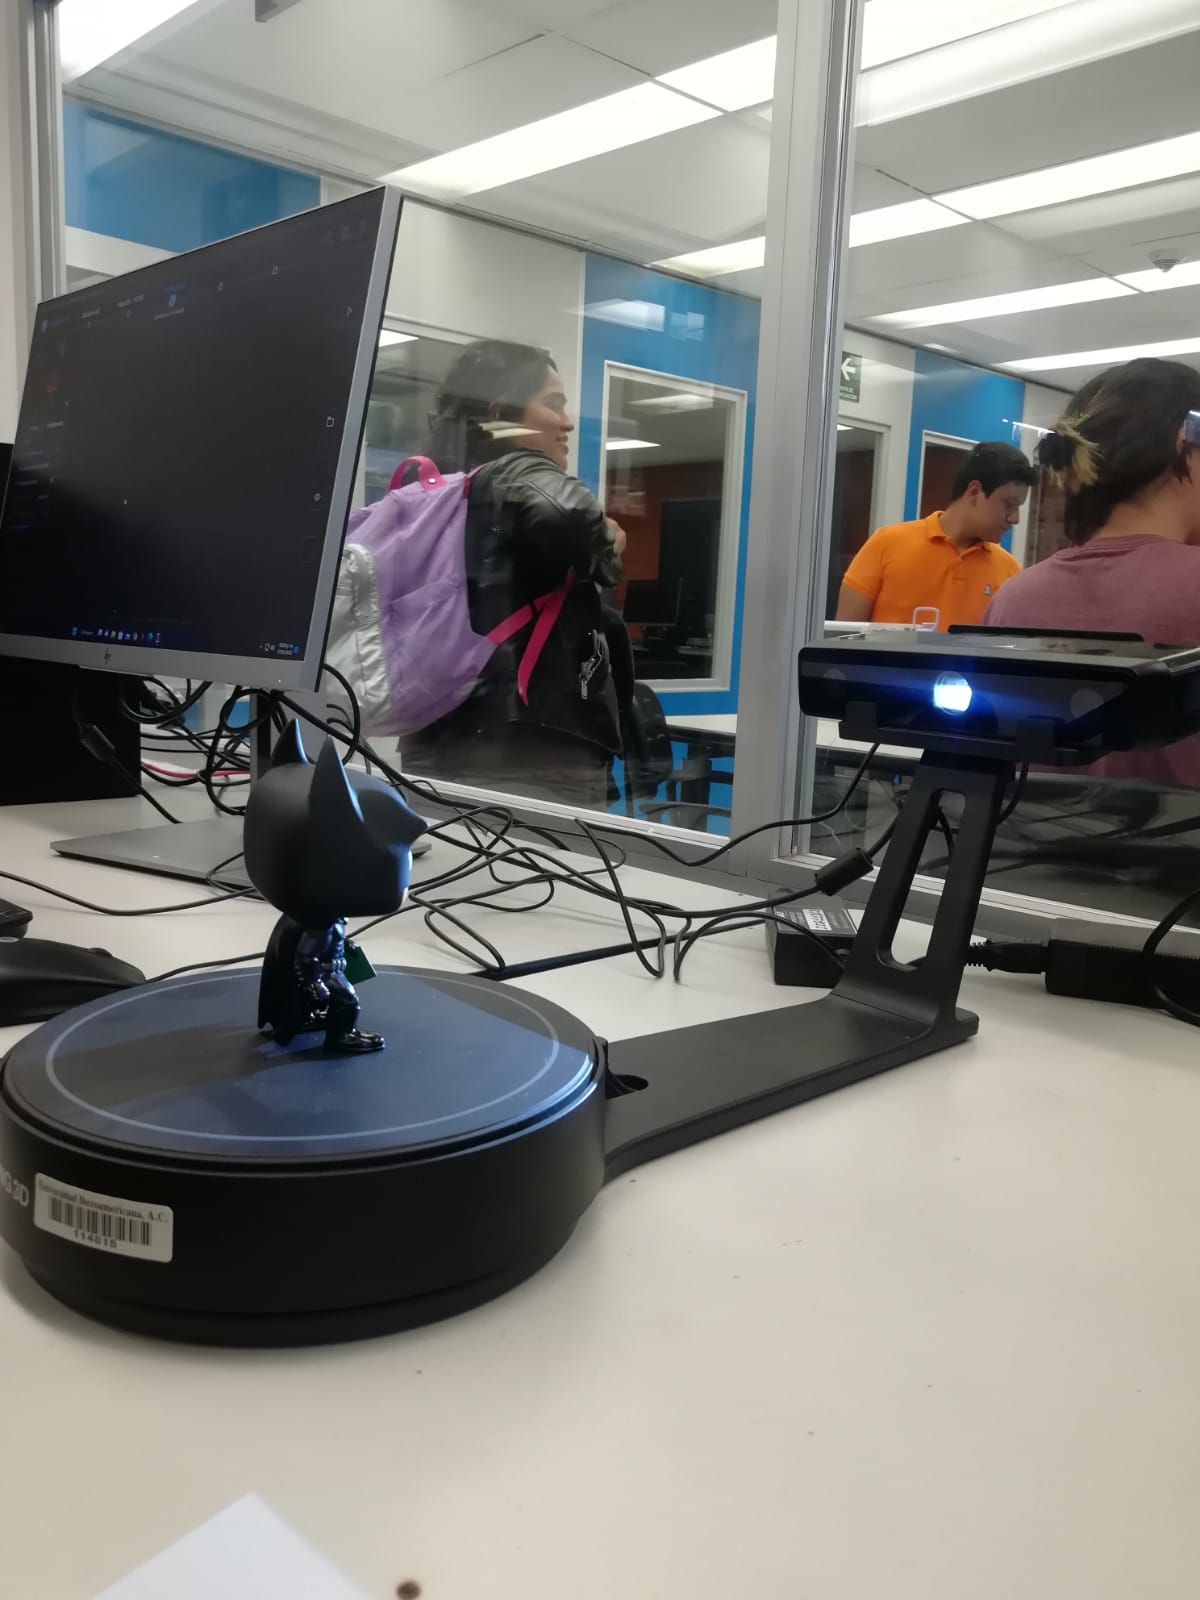
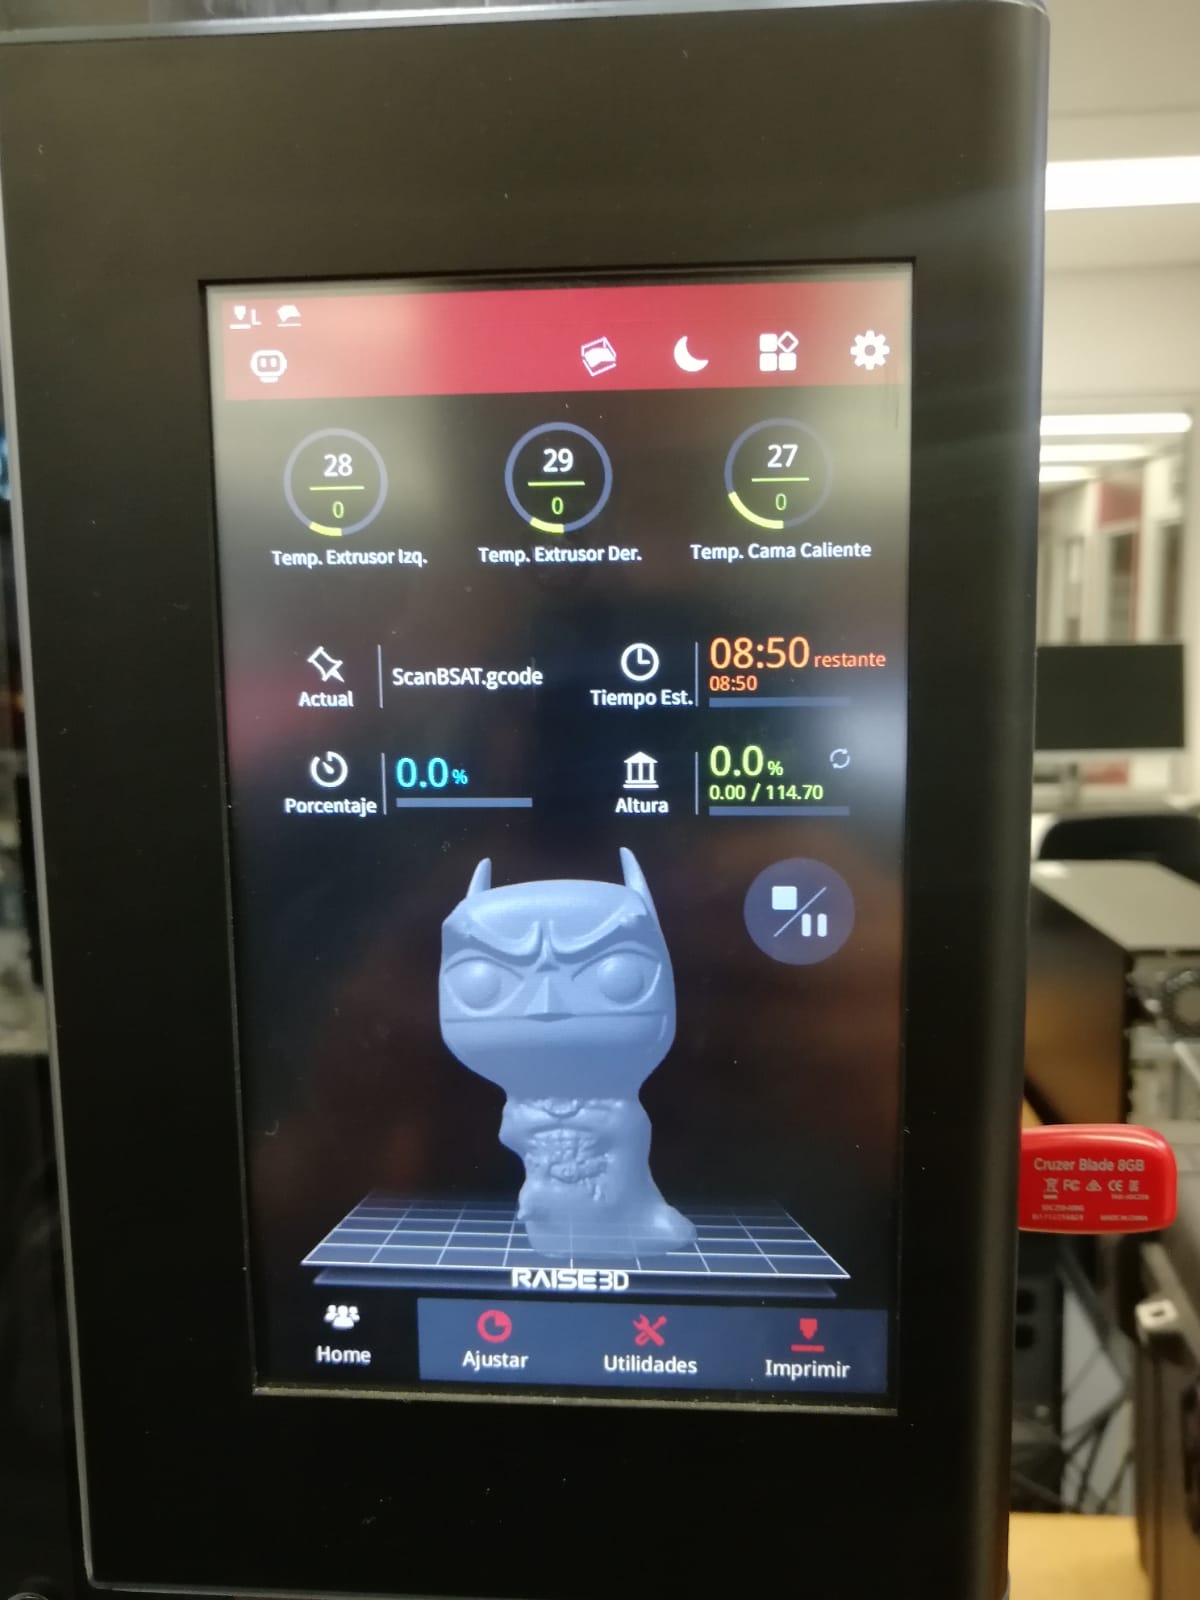
This is the Batman printing process:
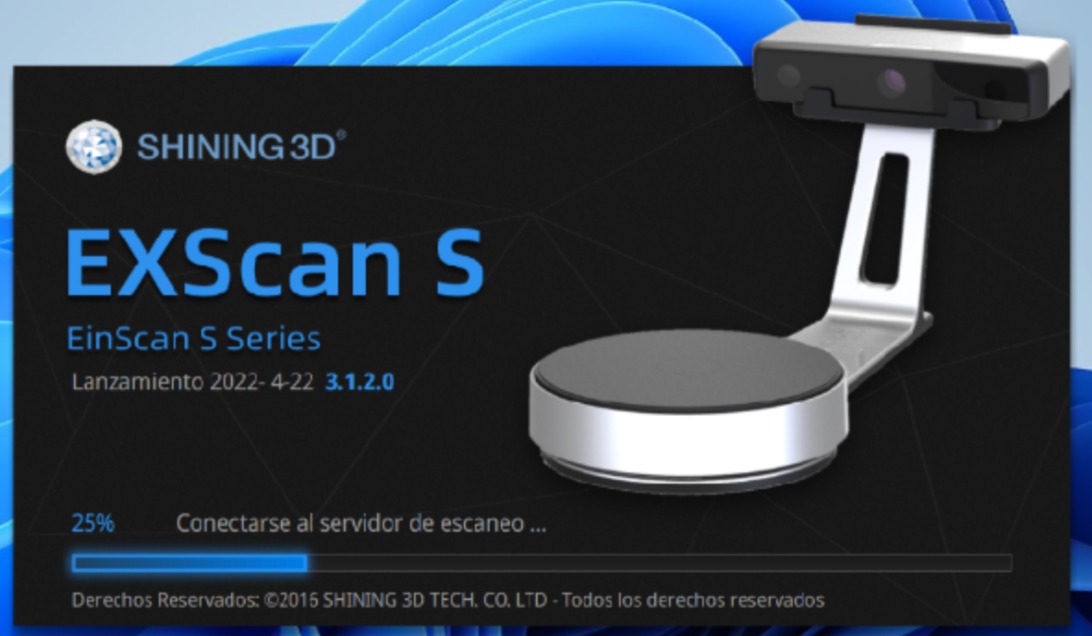
Starting the EXScan S
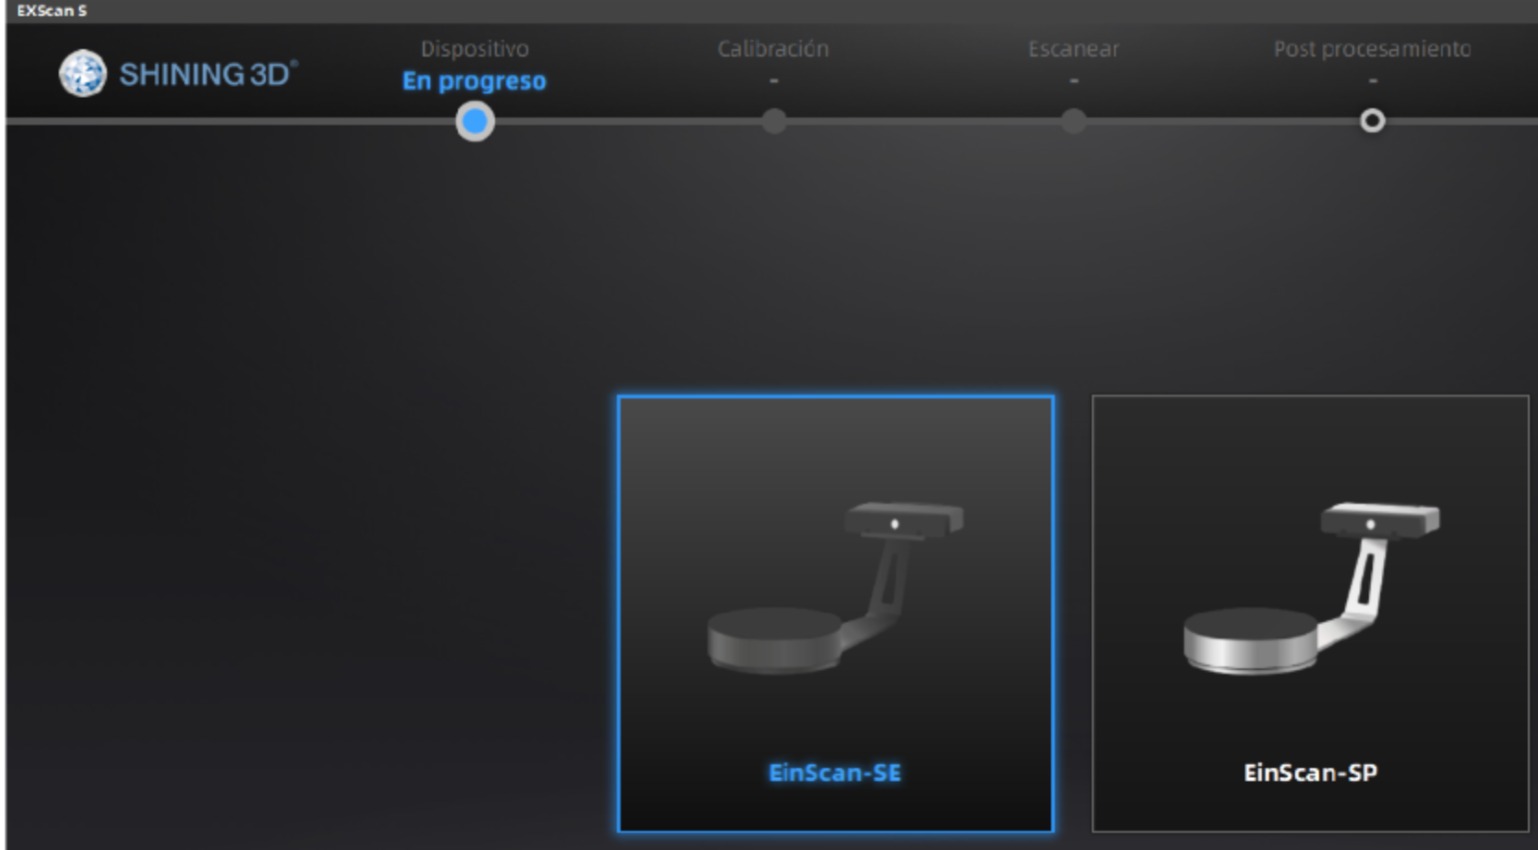
Select EinSacn-SE
Select a new workspace

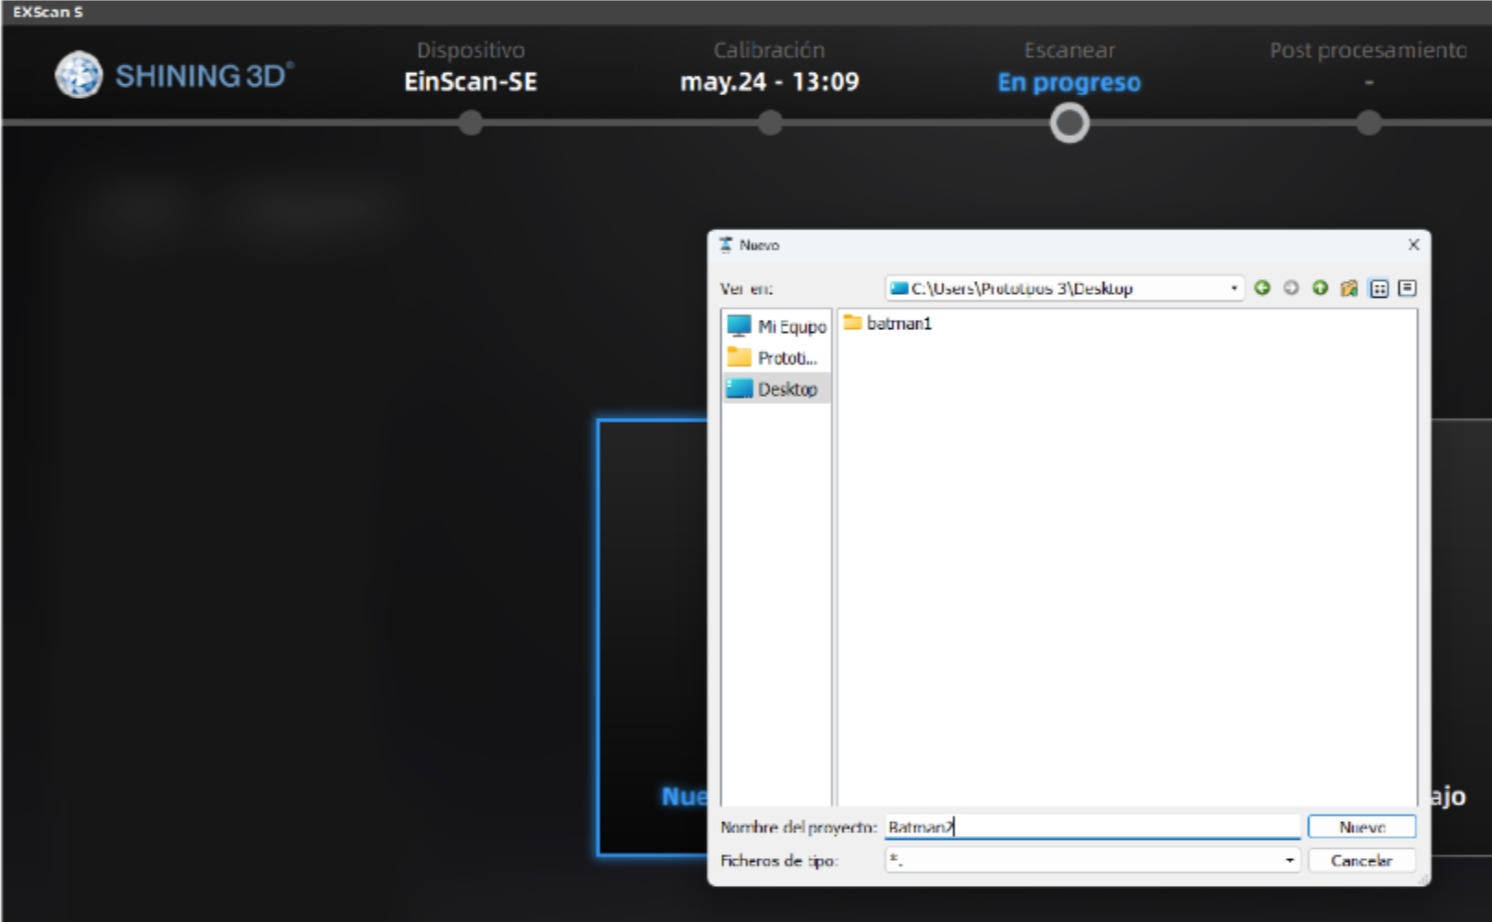
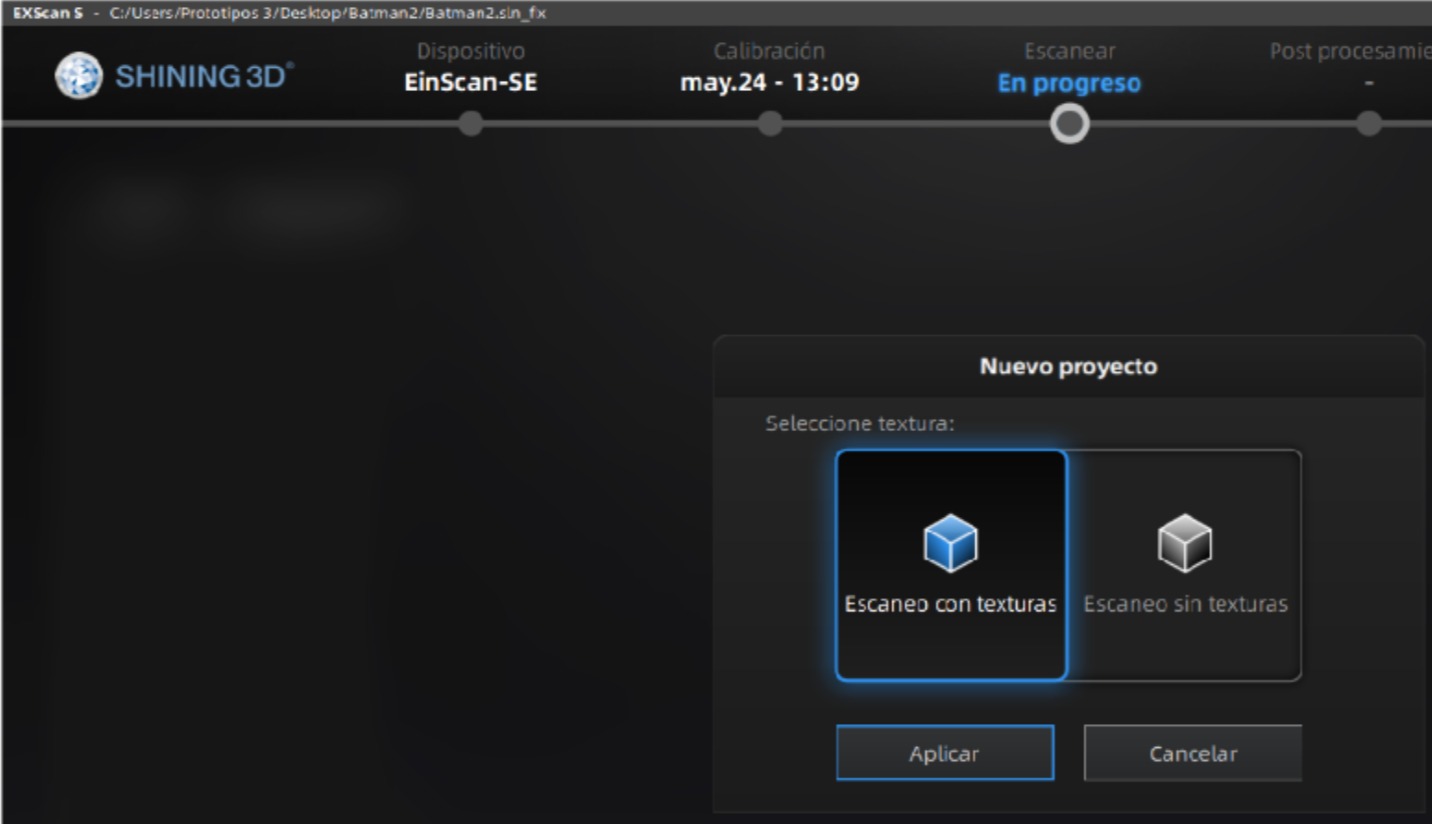
Create a folder on the PC to save the scanning information,
then create the new file
Select textured scanning
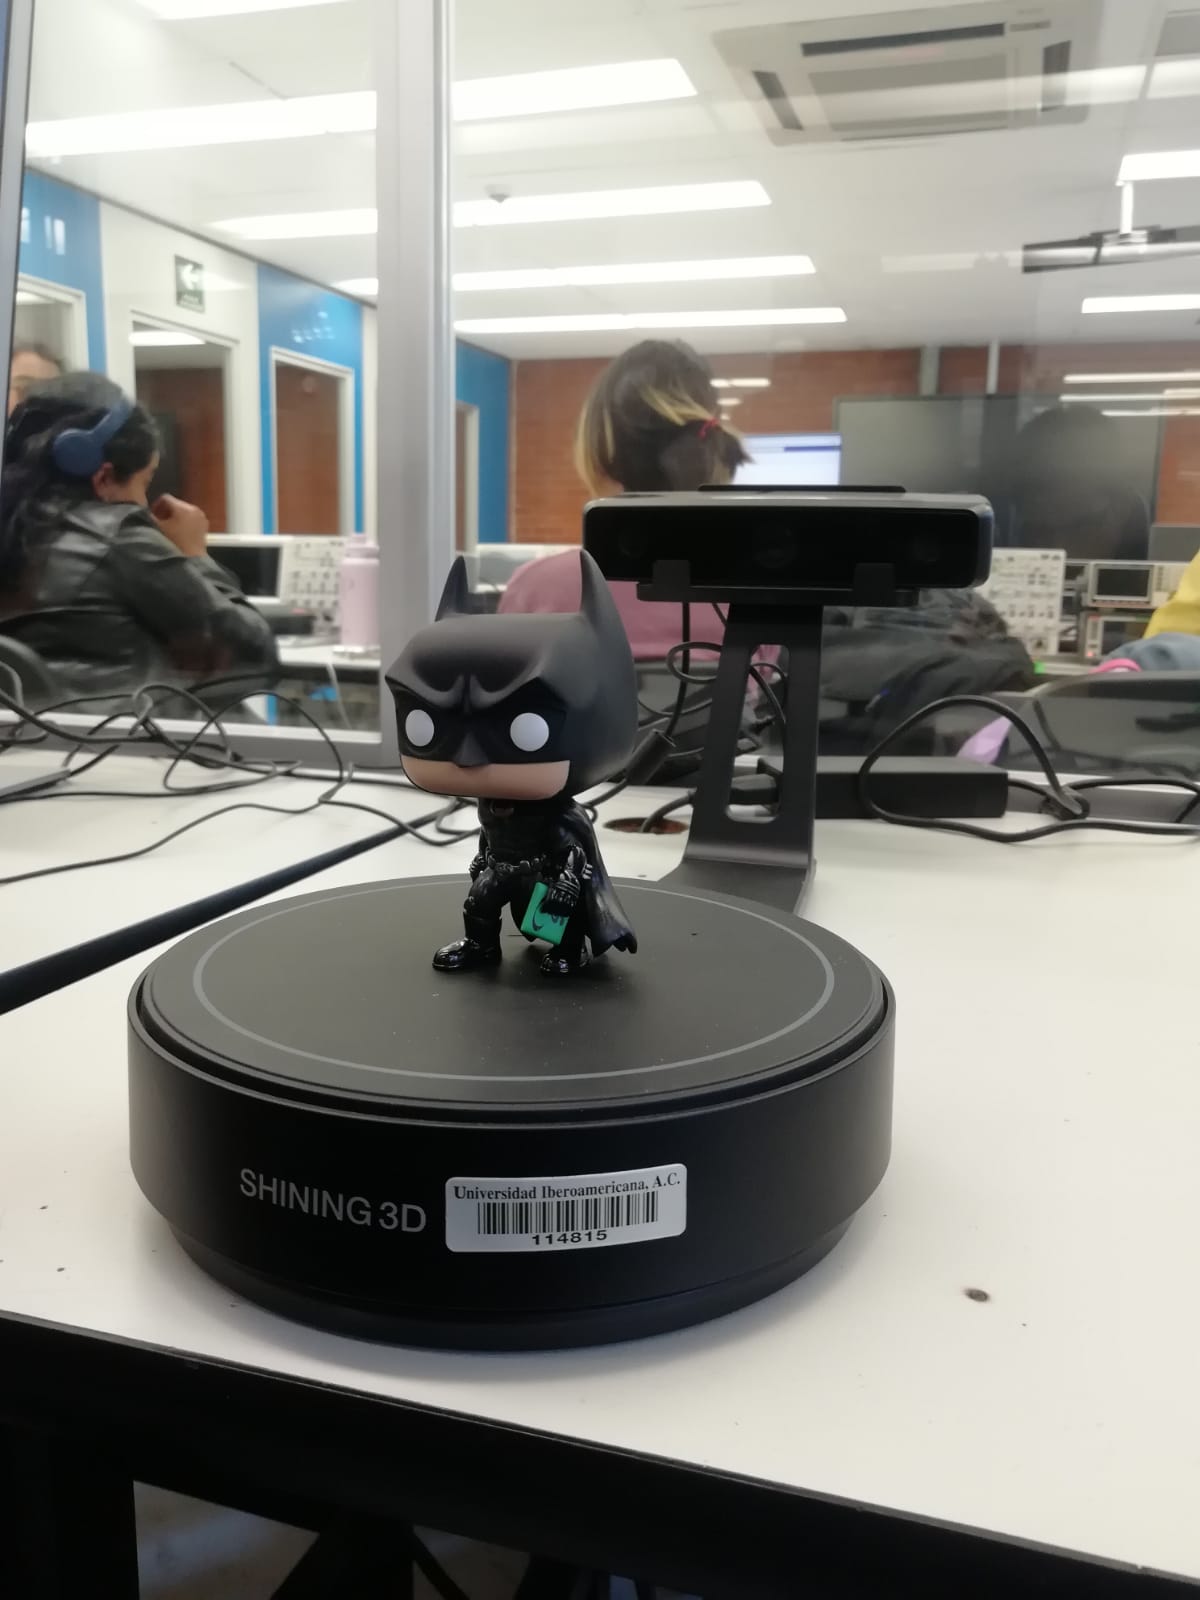
put the part on the base of the scanner
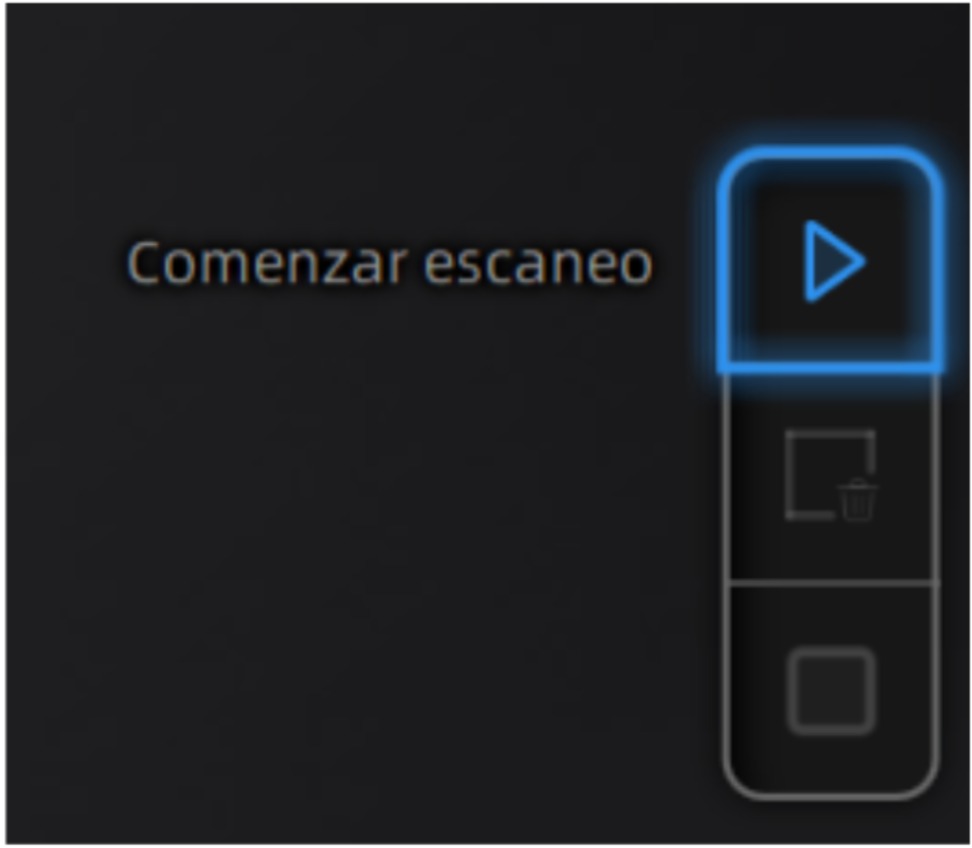
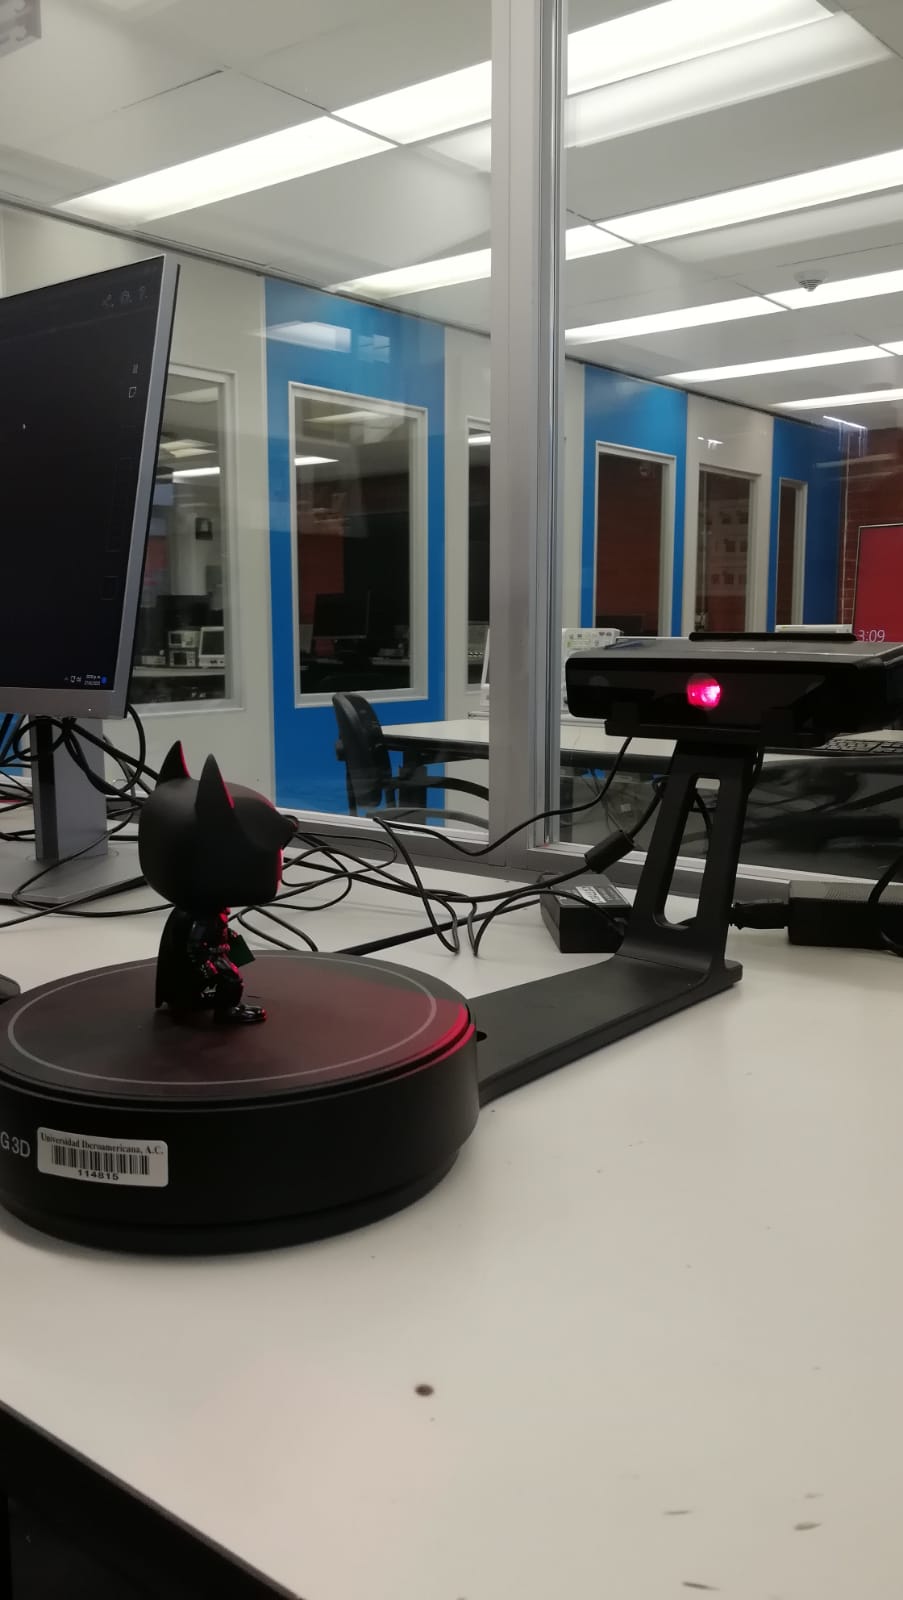
Start Scanning
Wait for you to upload the information

Here, Start scanning
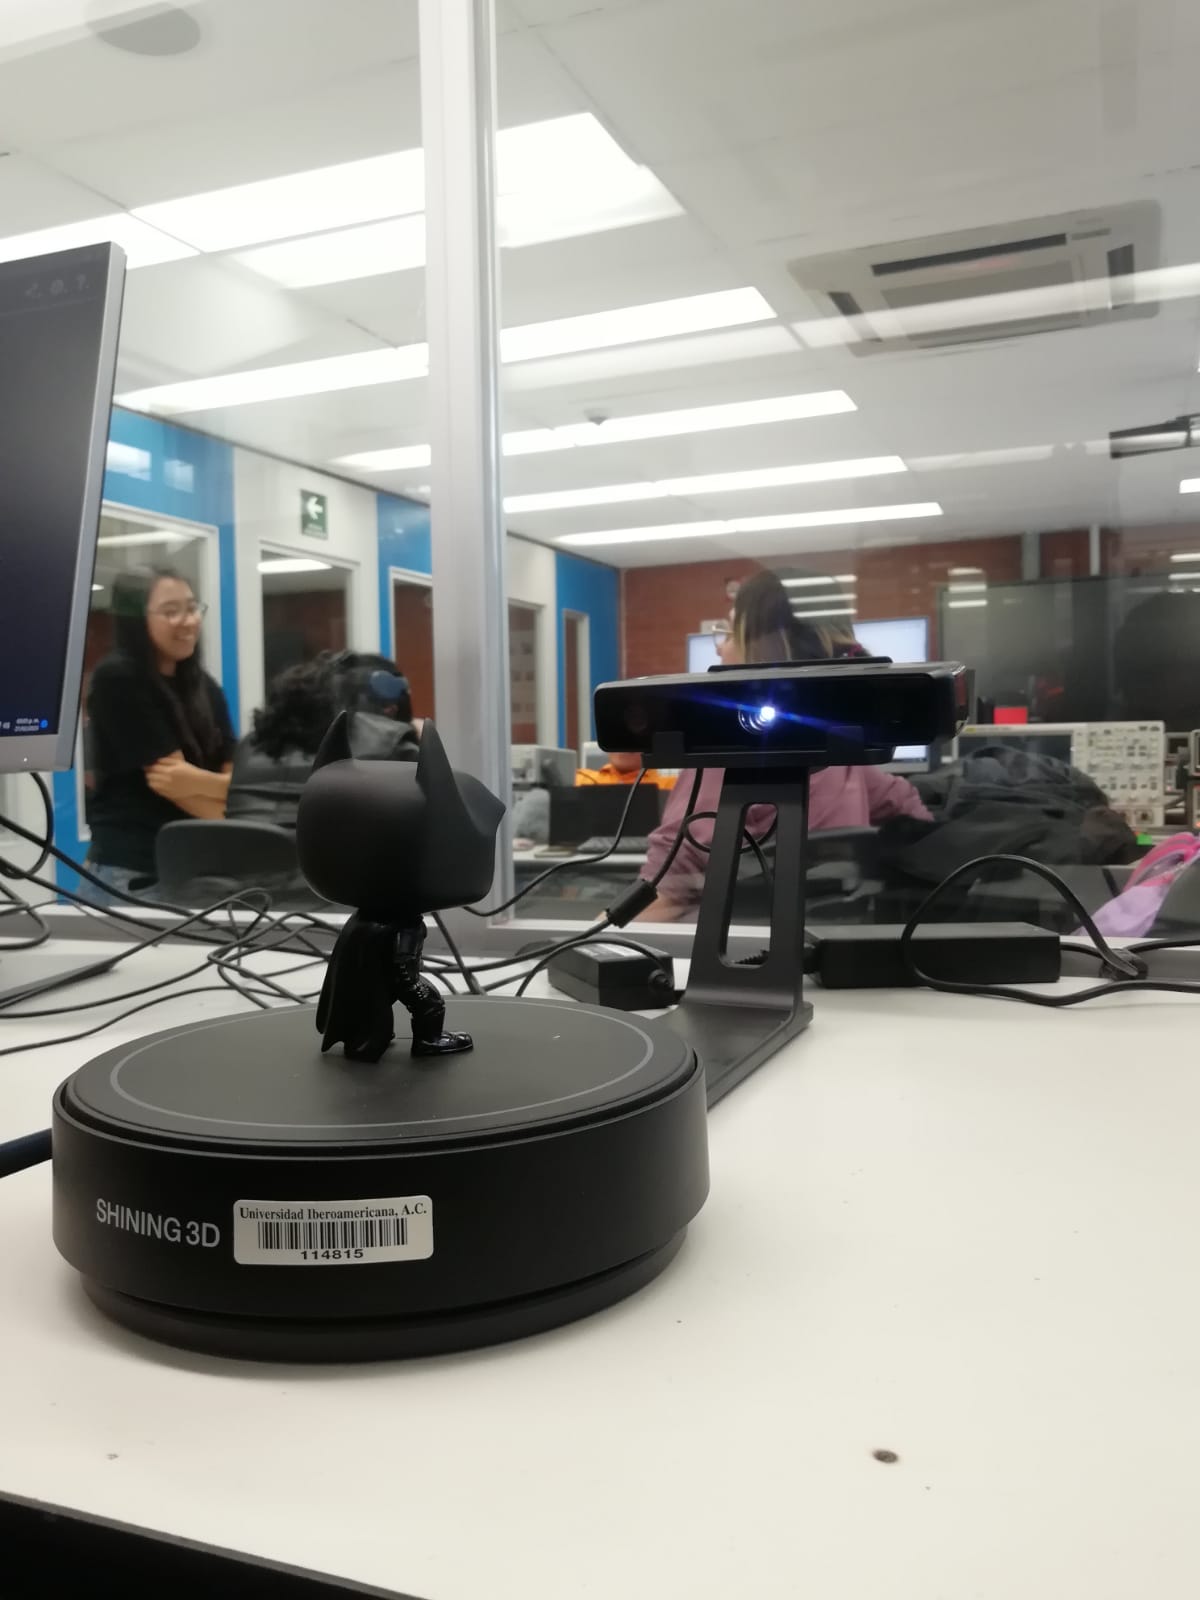
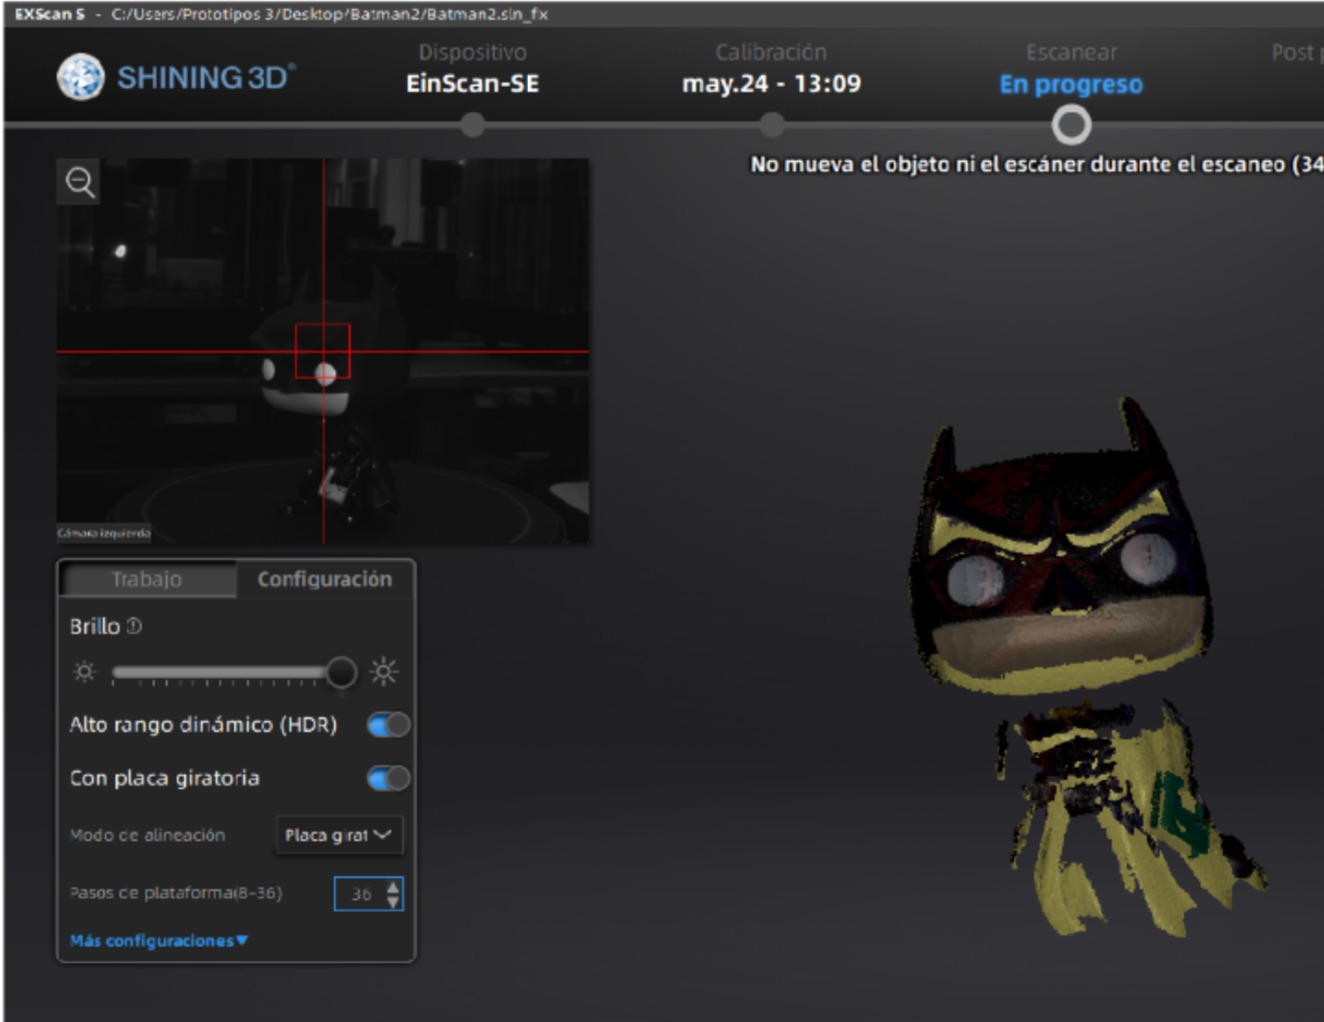
Scanning
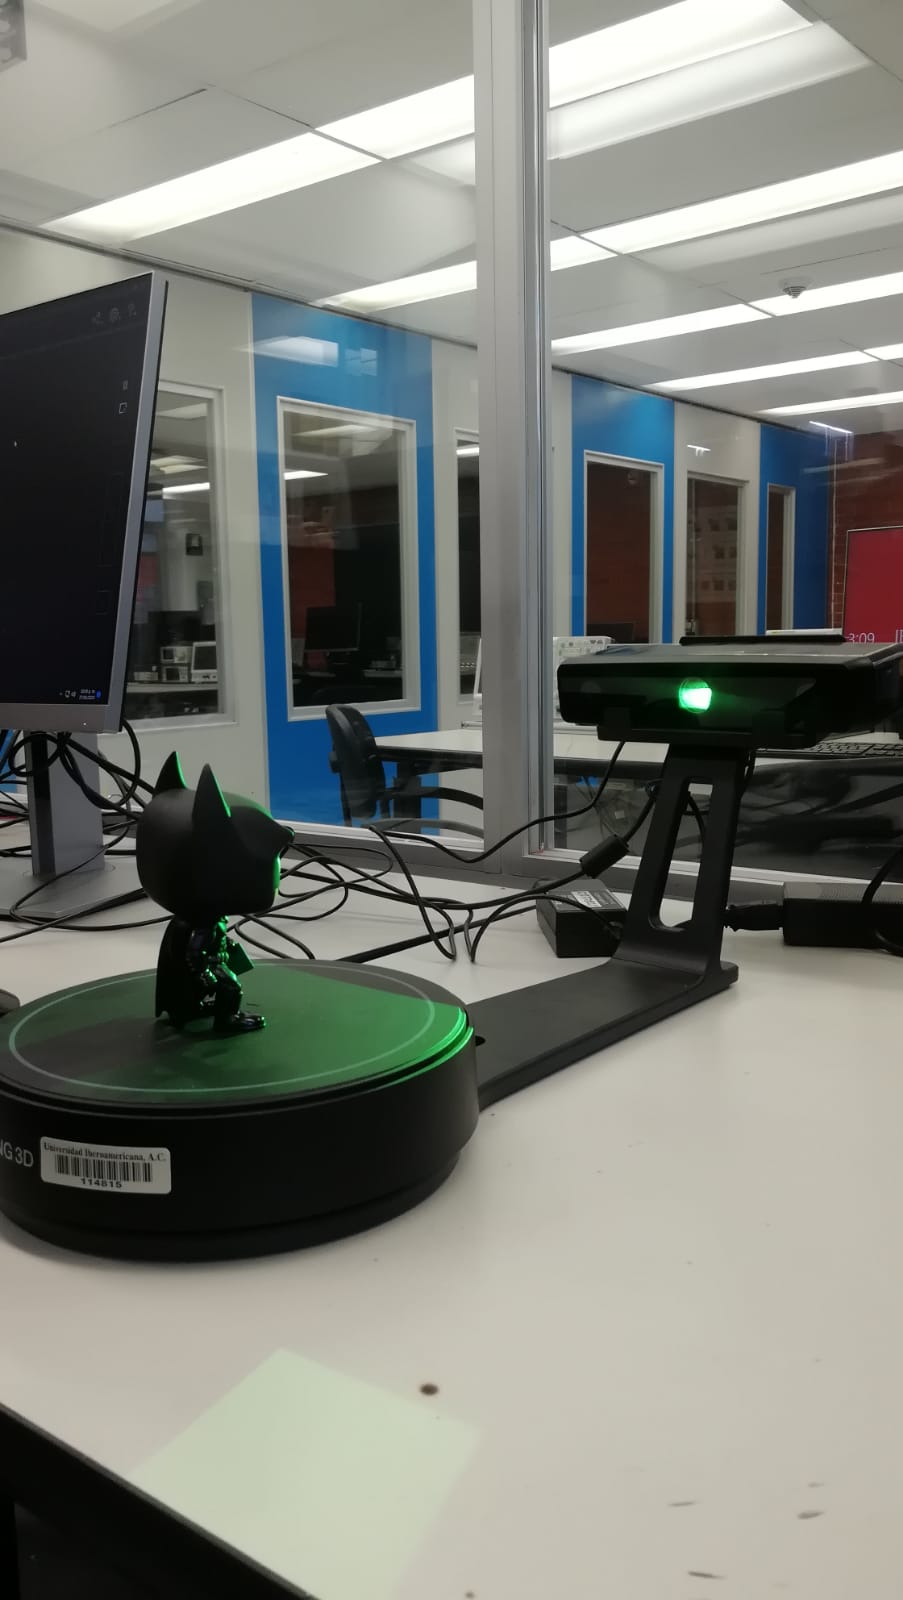
Scanning
Scanning
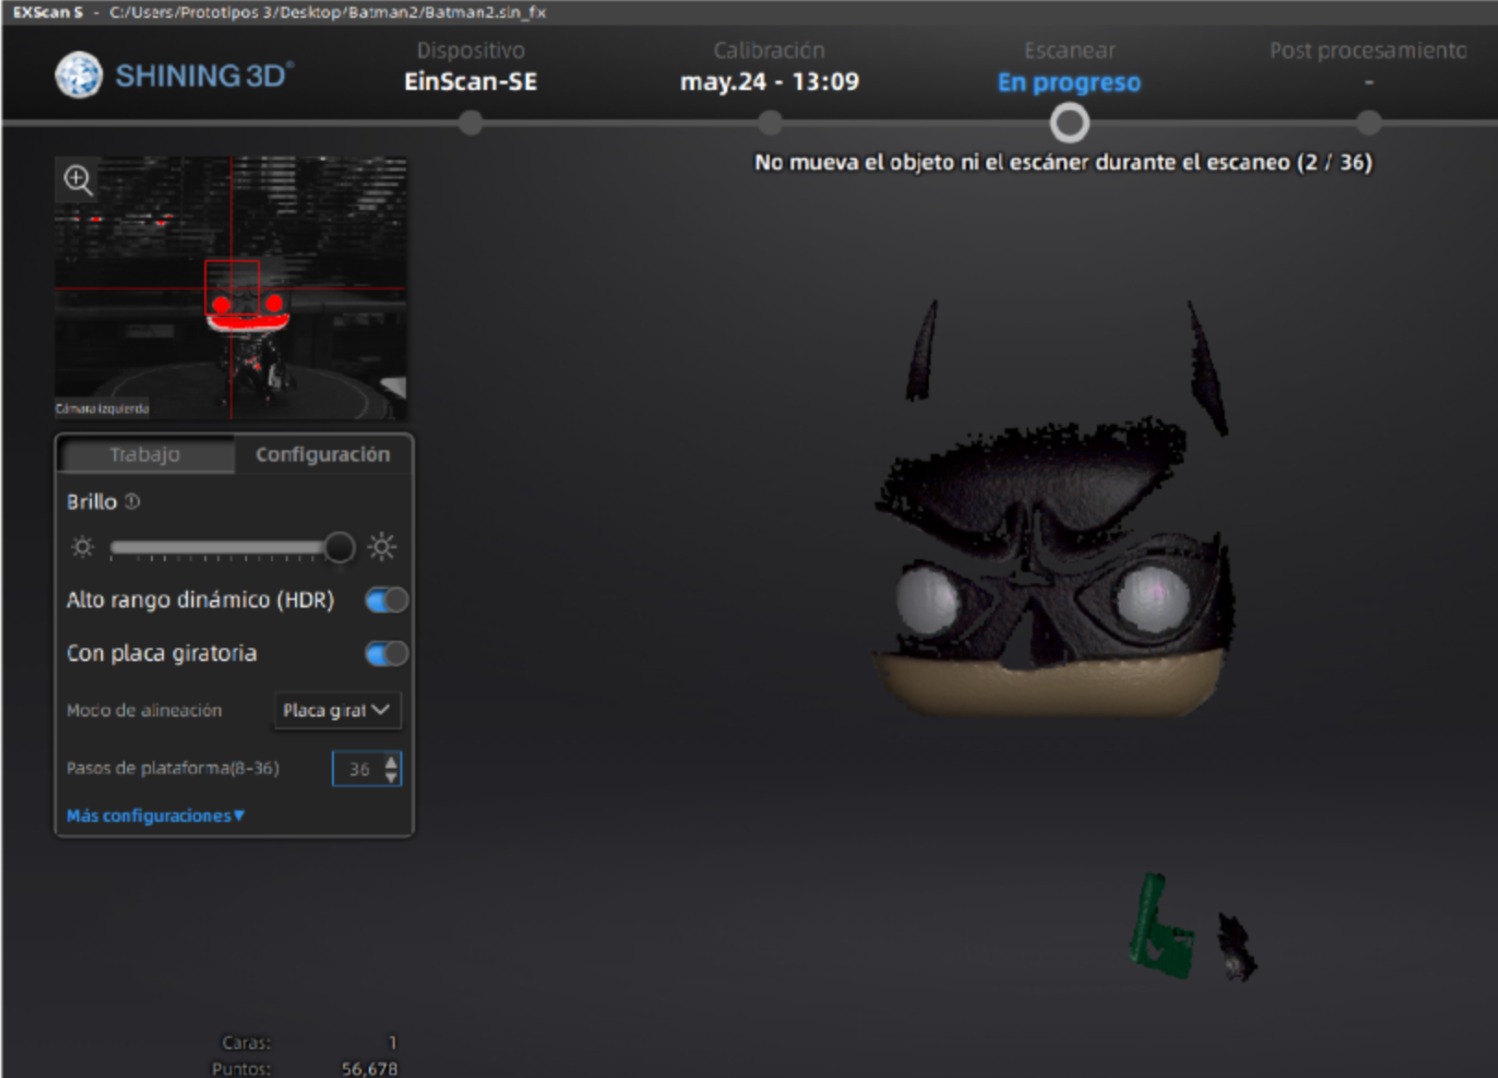
Scanning 2/36
Scanning 14/36
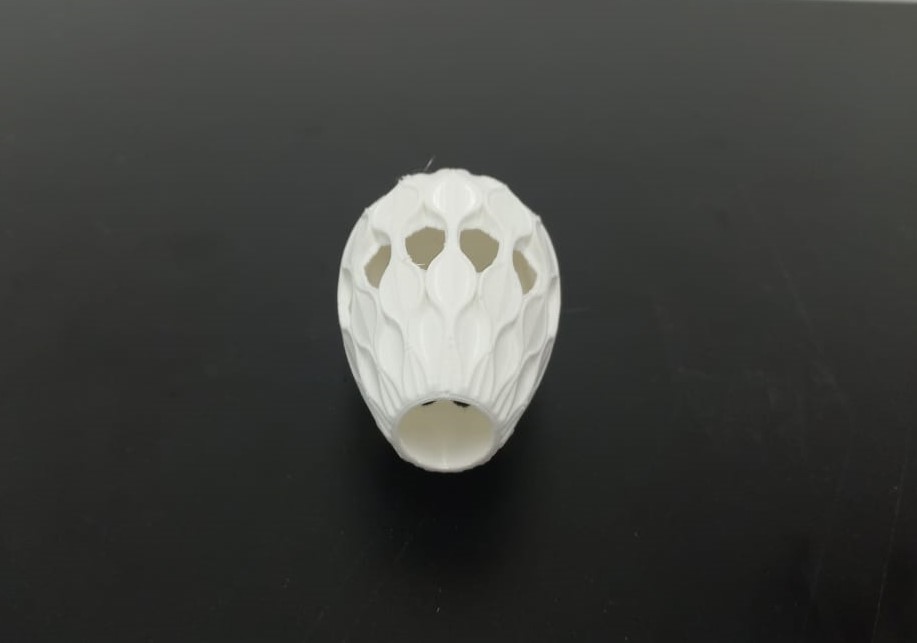
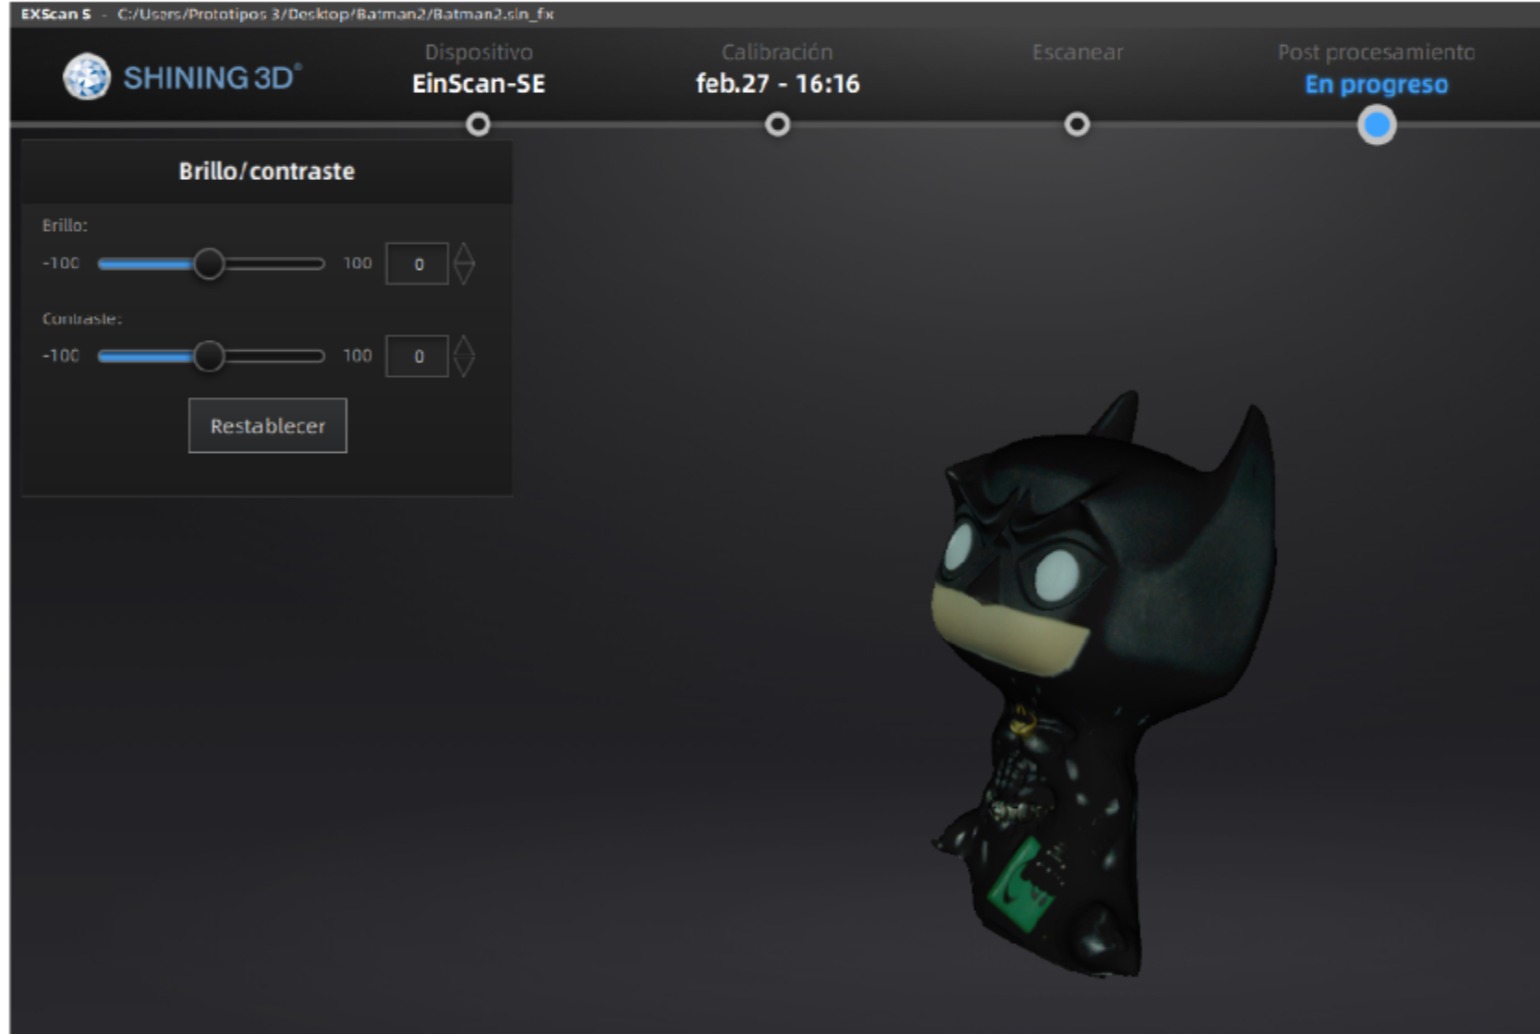
Finally the piece is completed
In ideaMaker software load the file in stl format
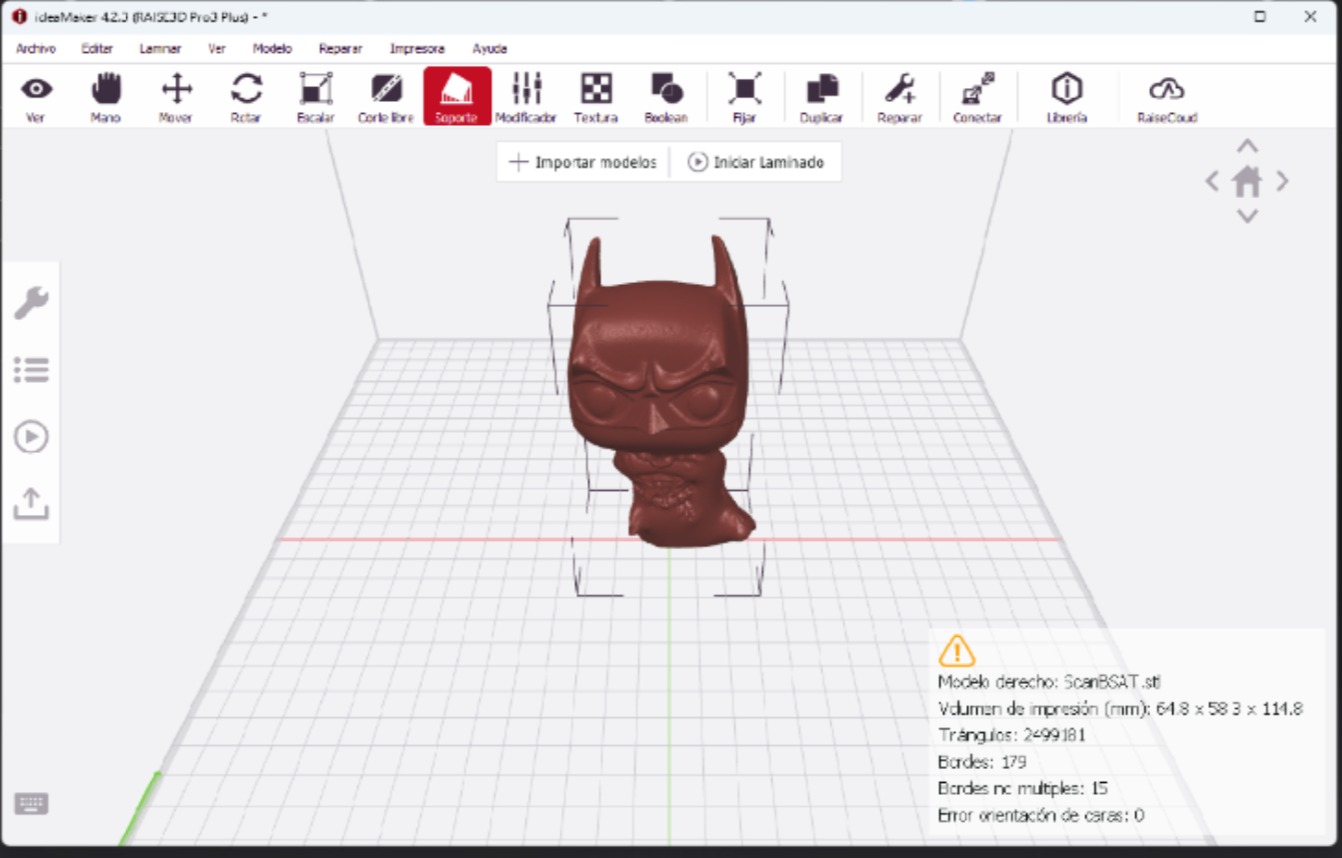
Possess the figure in (0,0,0) respective (x,y,z)
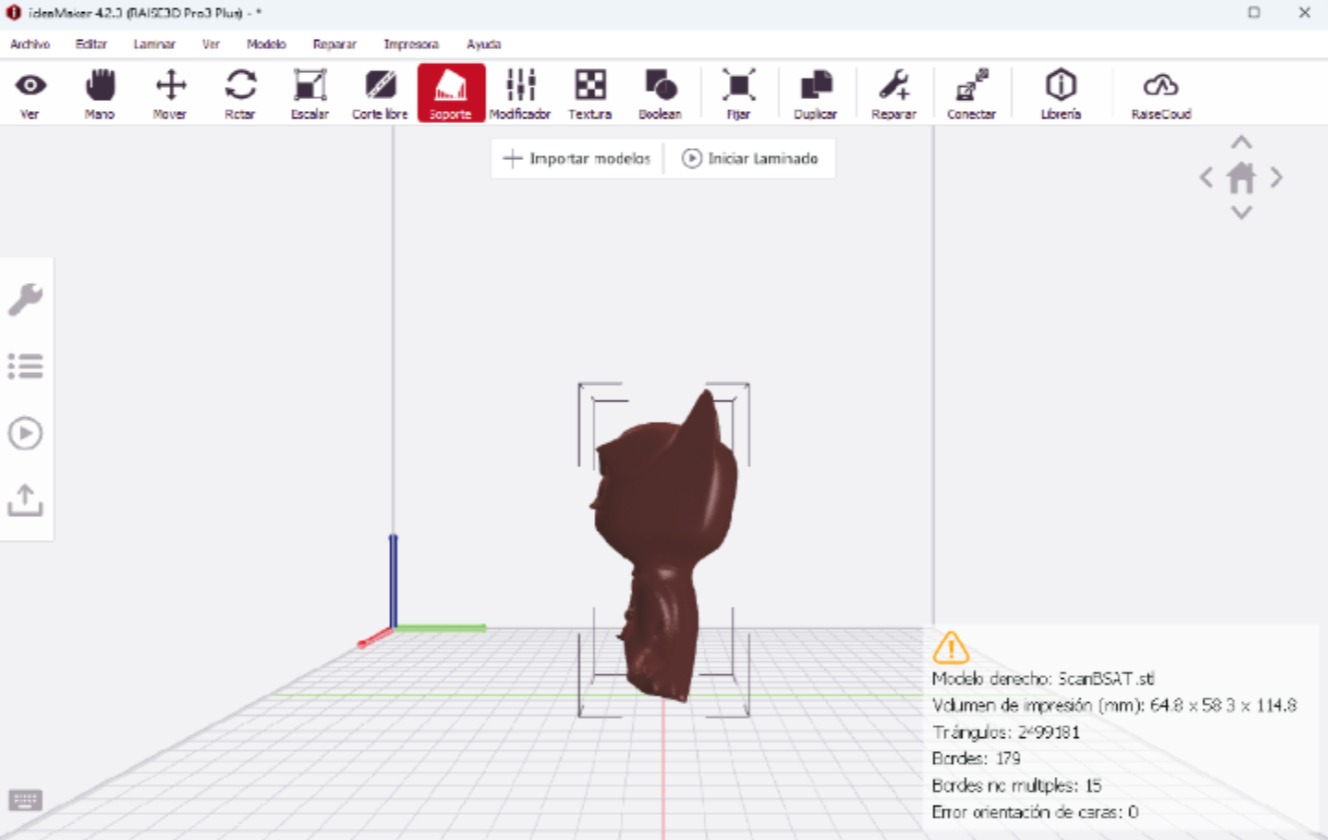
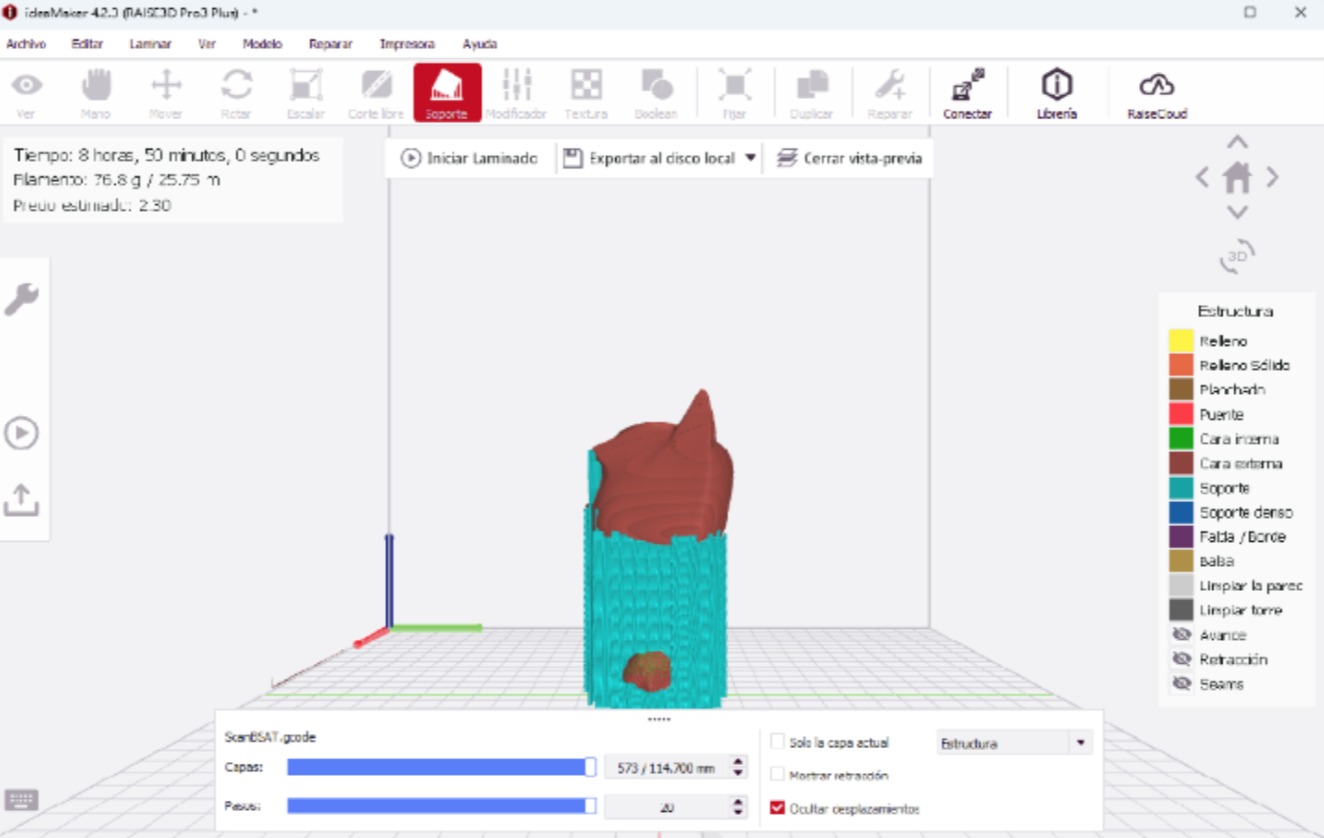
Generate self-support and start laminating
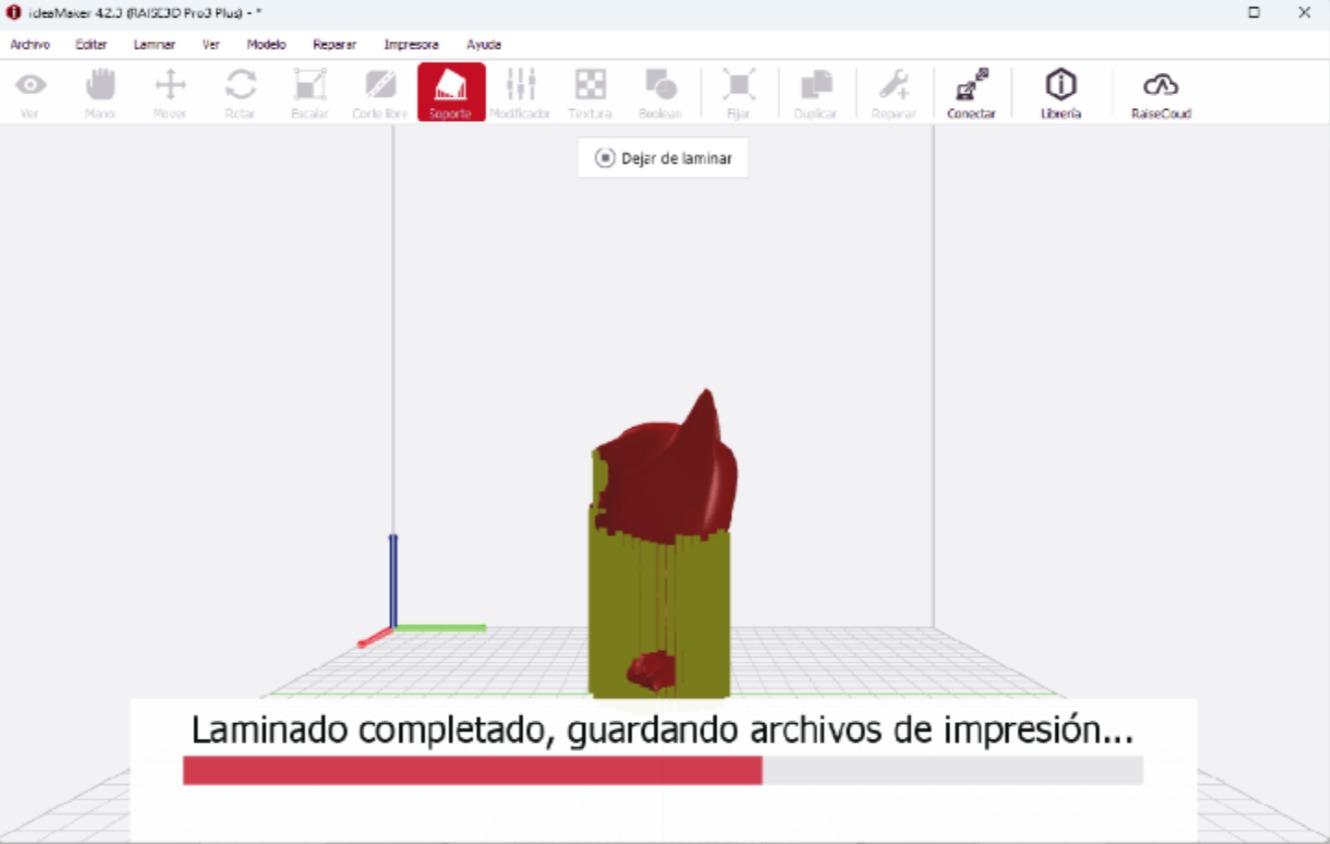
Preview how the part will look o the printer
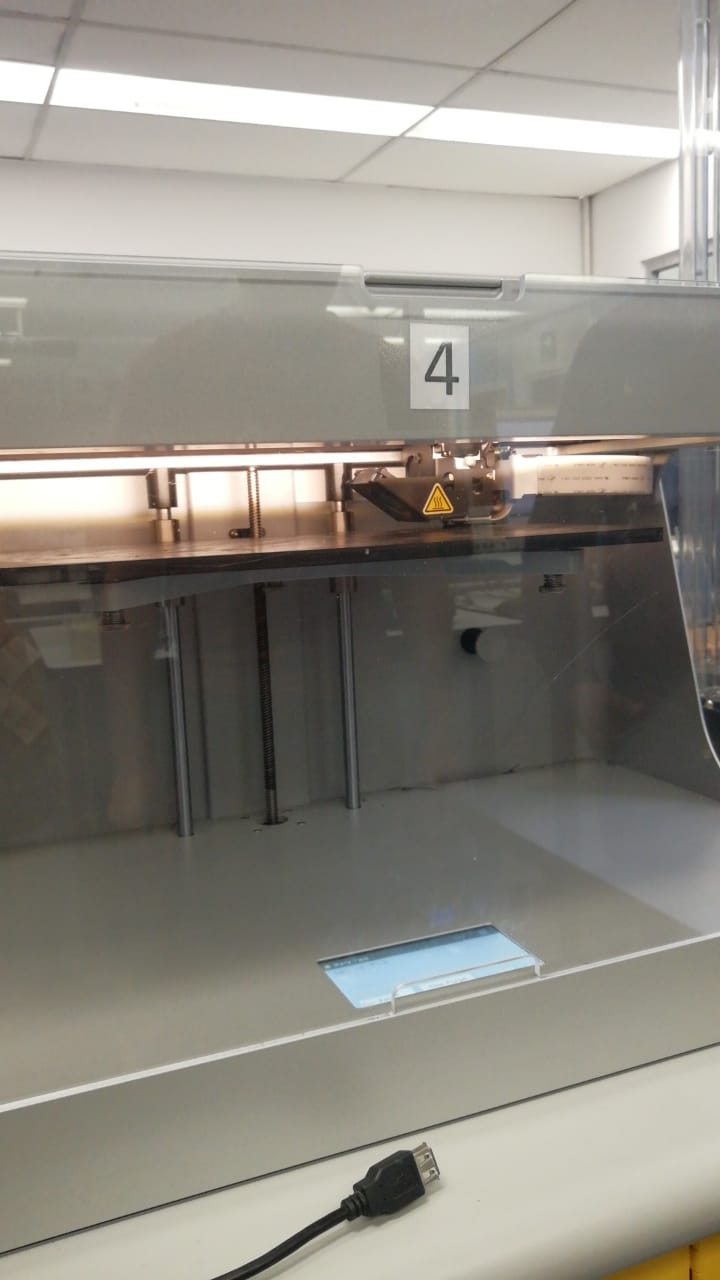
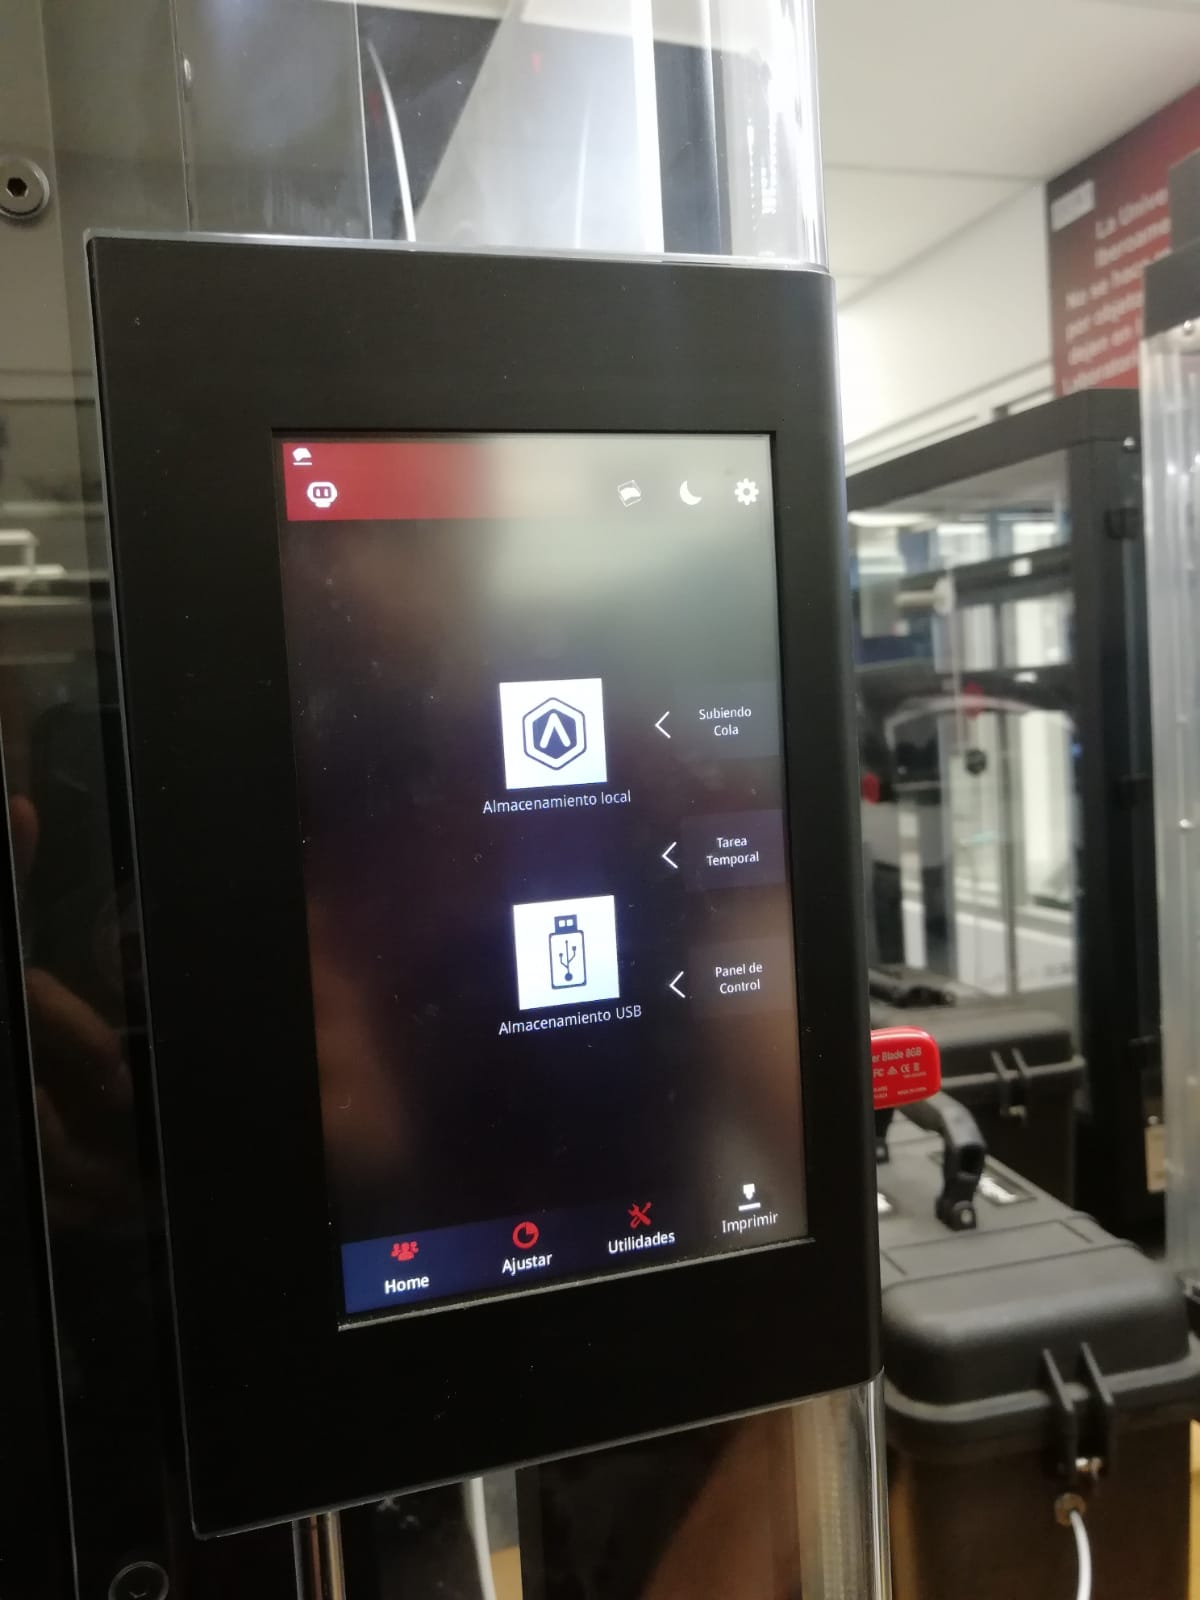
Turn on the printer

Place the USB thah contains the file,
on the screen we choose USB storage
We choose the file we want
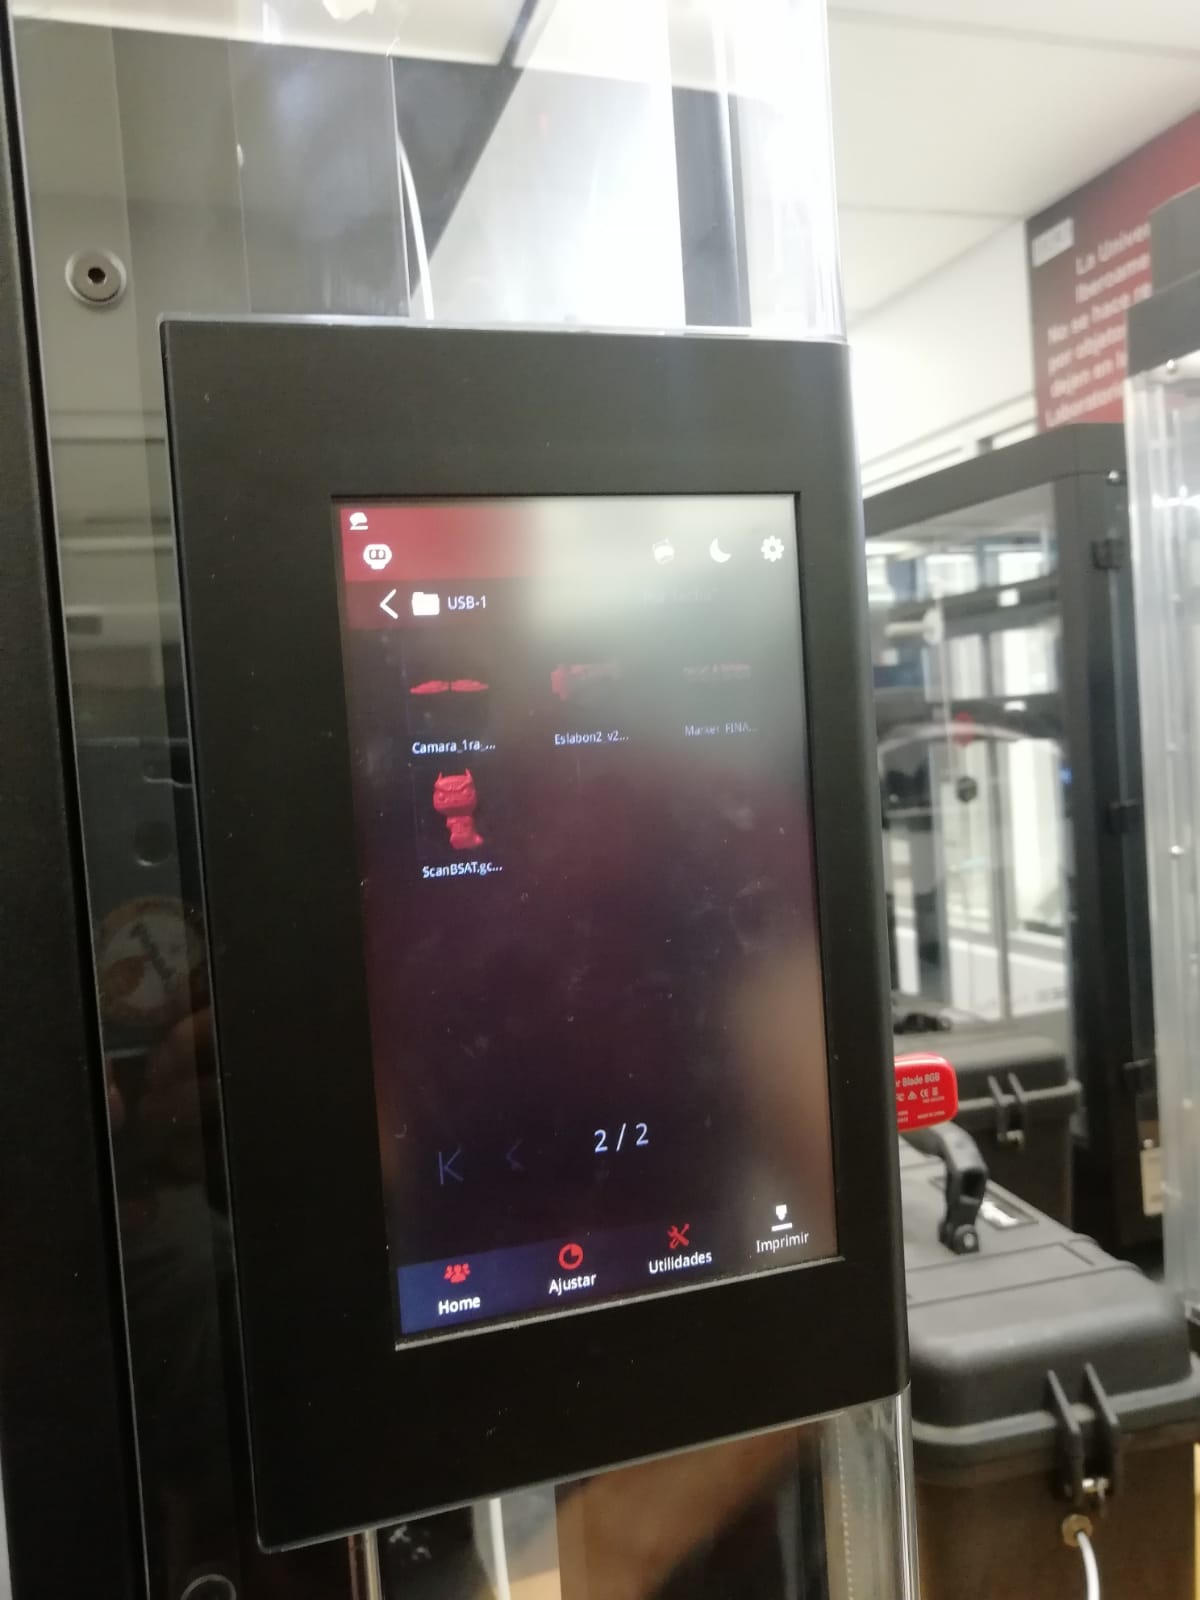
We start printing, on the screen we will
see the details of the piece
Tis is the result