Case
Concept
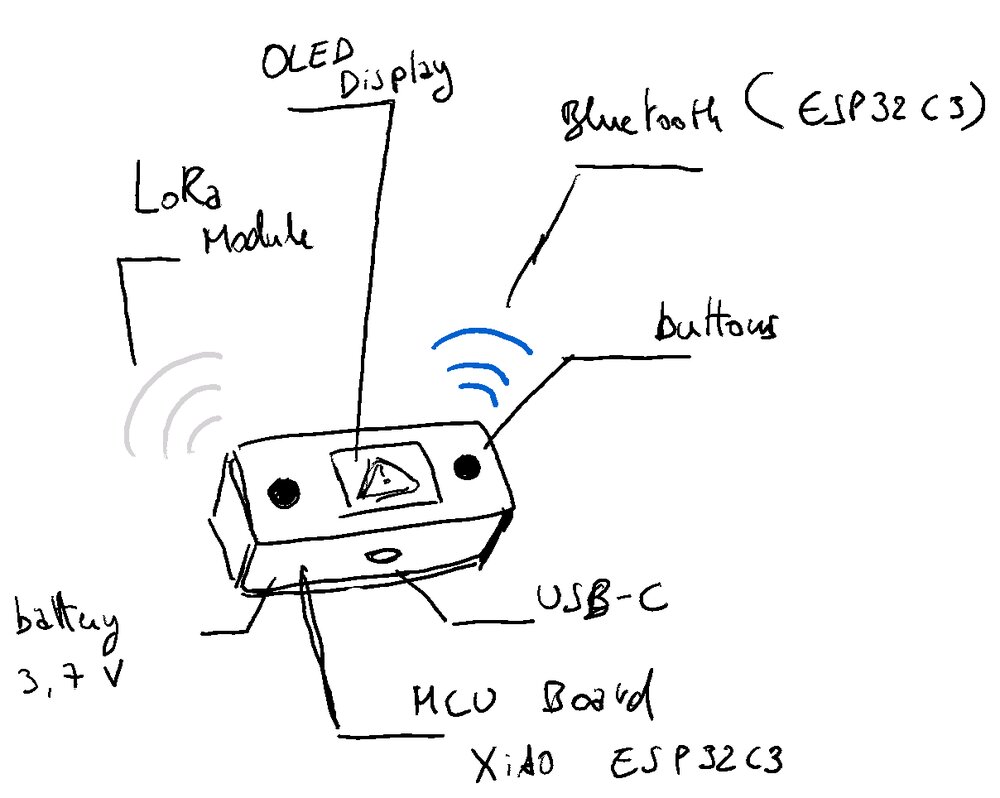
Here is a first idea about the case and all the components it needs to contain.
CAD
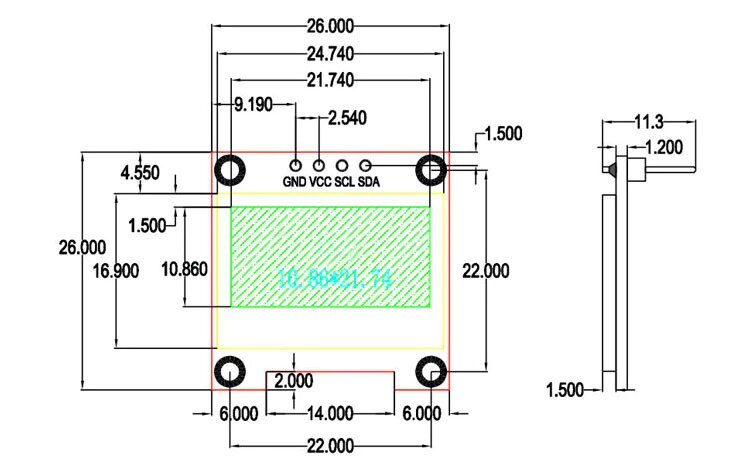
source displaymodule.com
To design the case properly I had to know all the dimensions, so of course I designed the board first, but in the end, it's back and forth between electronic design and the case design. I also needed the dimensions of some components, especially the OLED display.
 *source sigmdel.ca
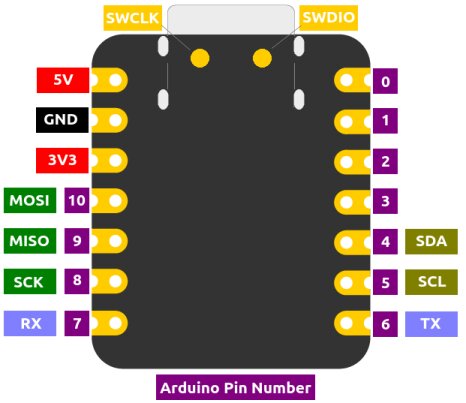
I also wanted to know the dimensions of the ESP32 board, like how much the USB TYPE-C plug intake from the board.
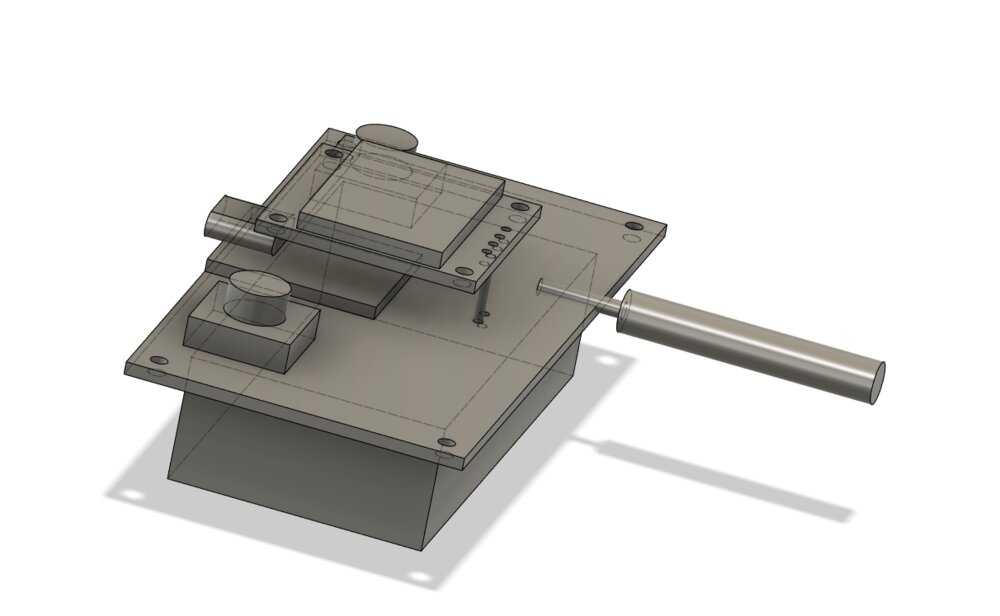
Based on that, I redesign the most important inner parts to be able the design the case around it. Like the OLED with the spacing of the pinout, the battery on the bottom, the left and right buttons or the LoRa antenna.

Then I design a basic case. There is some support for the board. I left some holes for inserts, the antenna has its protection. And there are apertures for the buttons and the display.
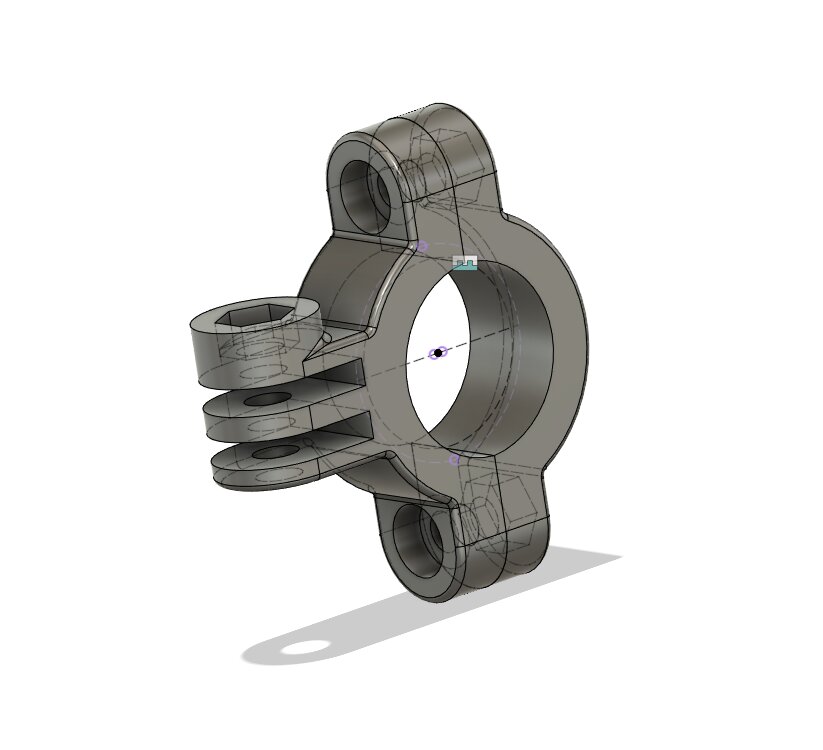
The idea behind Fablab is to not reinvent the wheel. So I found this handlebar support [from Gustavo Deabreu's final projet]https://fabacademy.org/2019/labs/barcelona/students/gustavo-deabreu/projects/__final_project/#design-files an Fab Academy alumni (2019). I have no purpose to commercialize this product so it complies his CC-BY-C-SA licence.
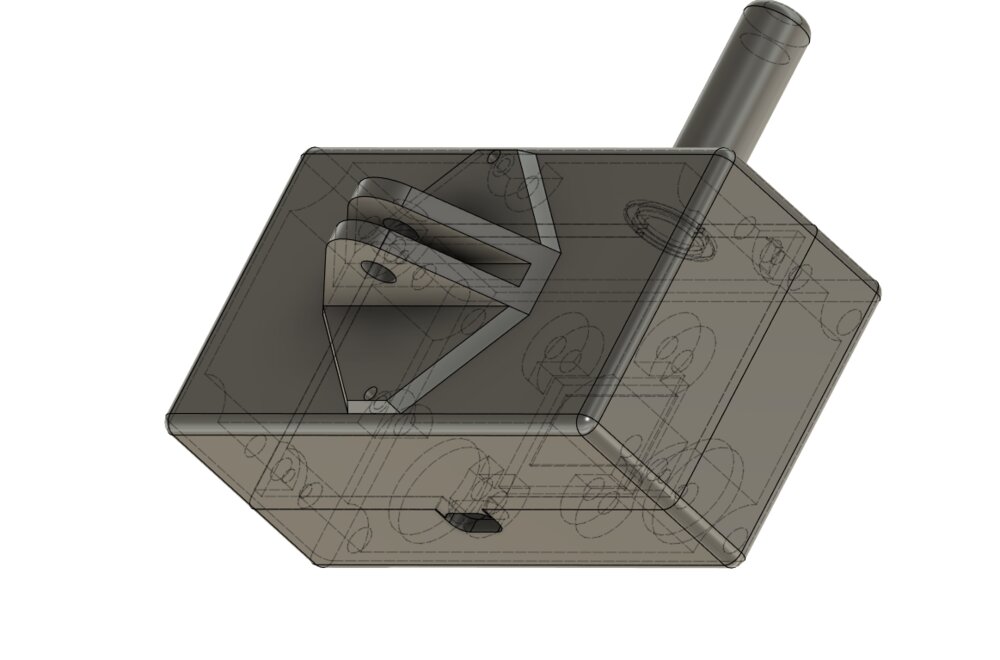
So based on the dimensions of the handlebar support, I design a connection to be fixed on the bottom of the case.
3D Print
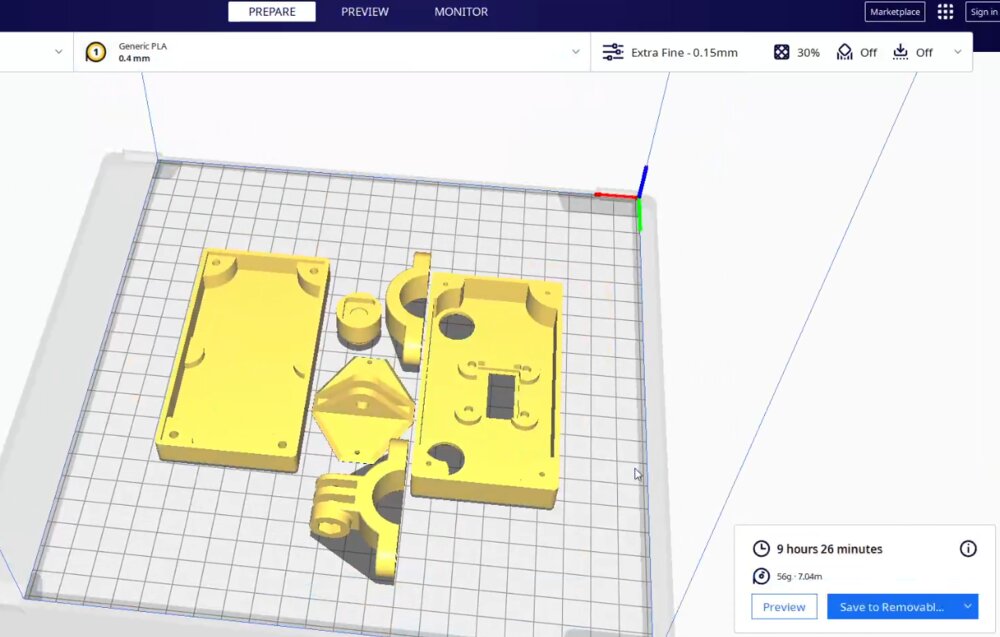
So let's print this.
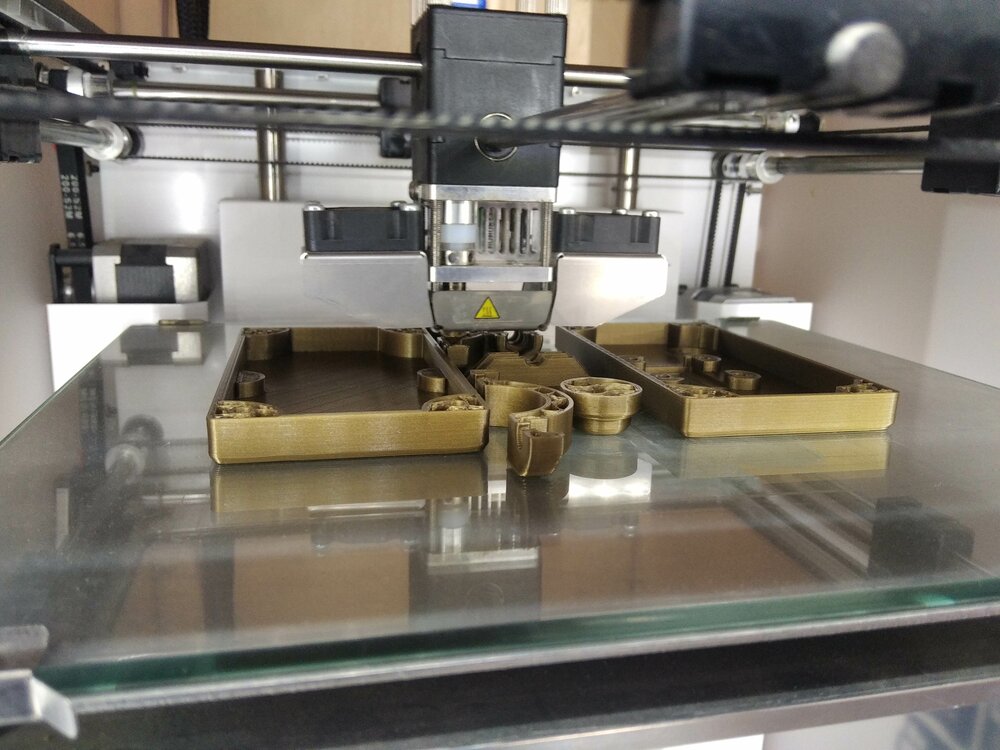
Golden is the way to go =) Just basic PLA. Of course, the end product should be more UV tolerant.
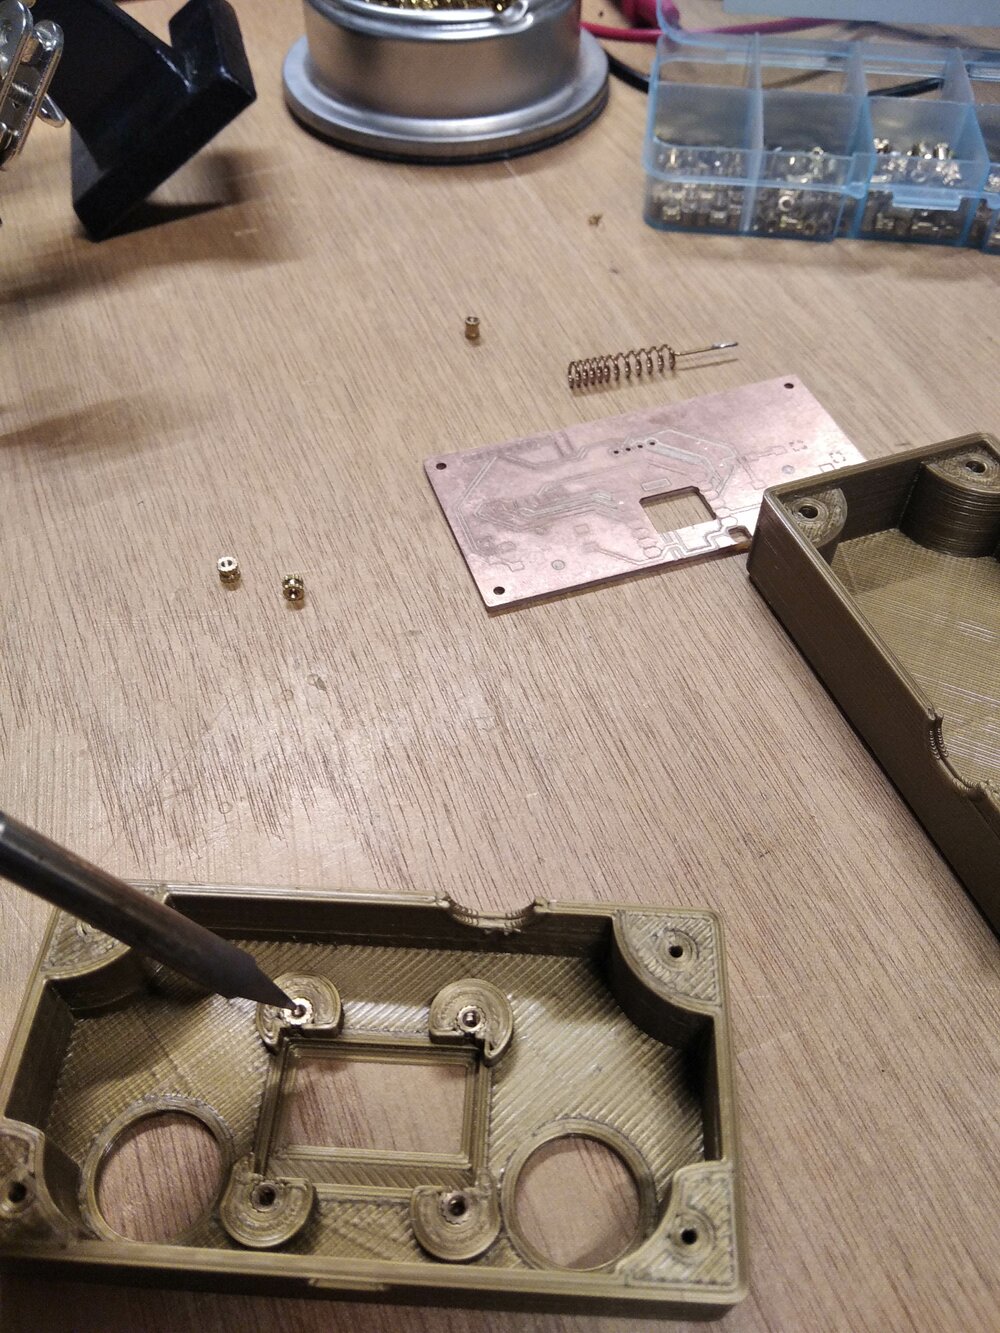
Then I added some insert embedment nuts, so the case will be easily dismantlable. I just use a soldering iron to push them into the plastic.
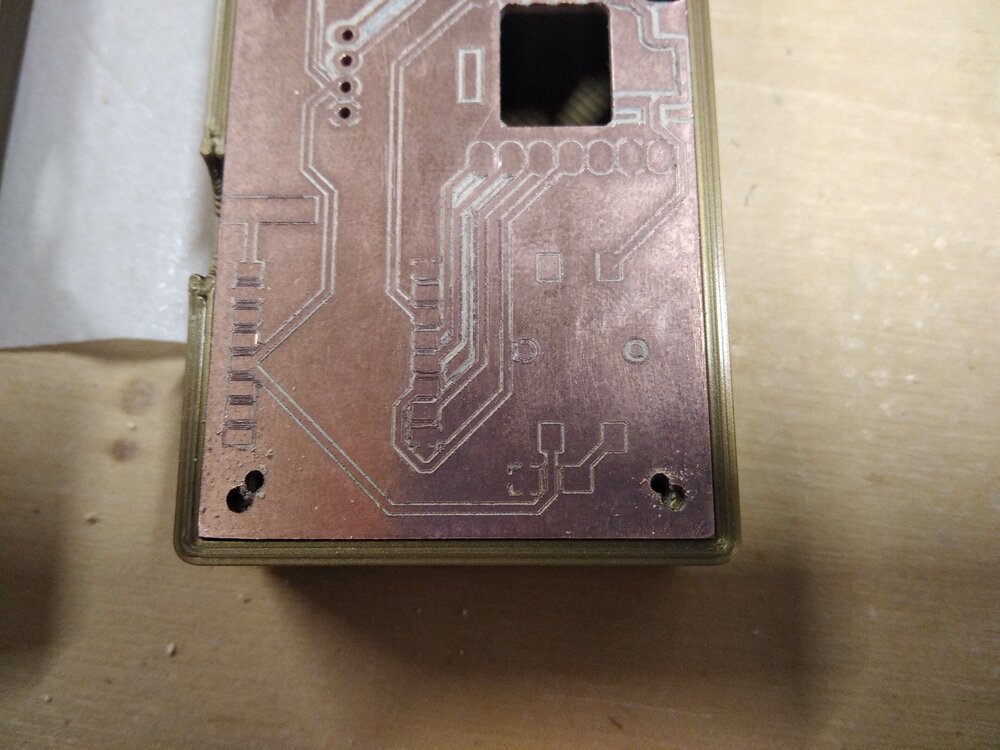
The PCB fits perfectly, but I made some mistakes with the placement of the holes. This will be fixed in the next iteration.
Display dimensions
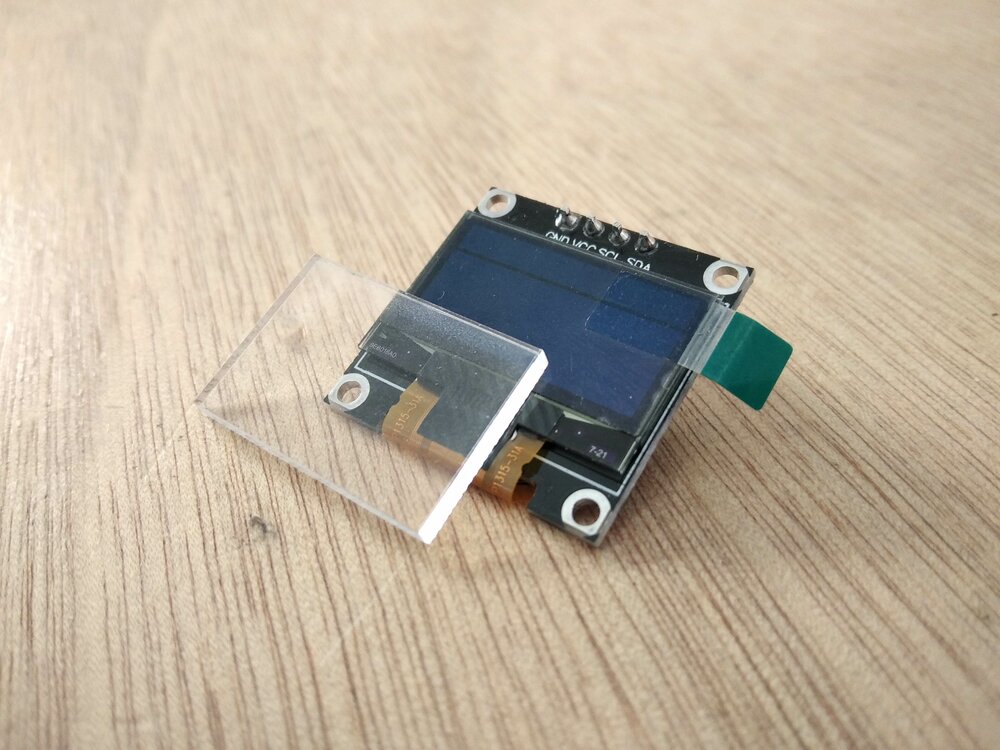
I added a nice detail, a place to put a small acrylic glass to protect the display.

It fits perfectly.
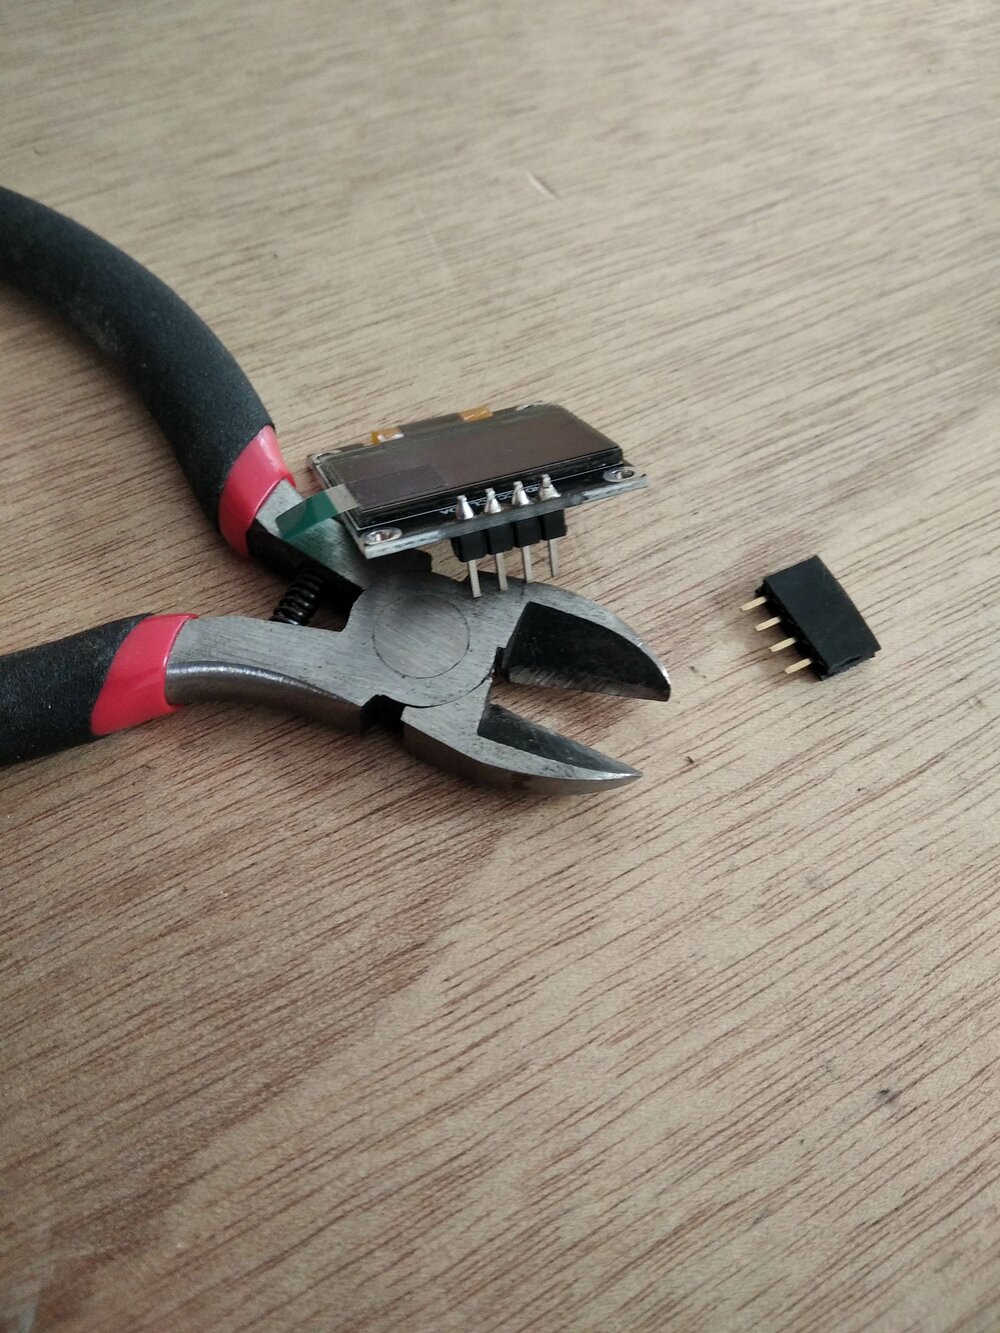
From the design, I realized that the pinhead female + male for the OLED will give me a high height for the case. So I decided to cut a part of it (both for the female and male end).
Buttons
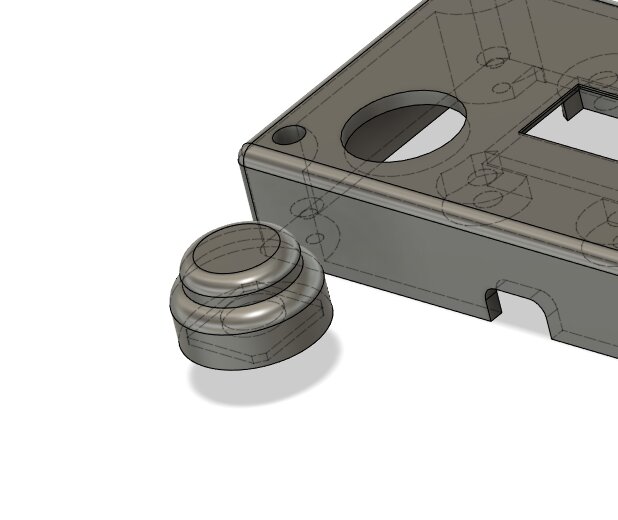
I try in my first design to be able to reach the button of the board from the surface of the case with some special cylinder. But there did not fit well.
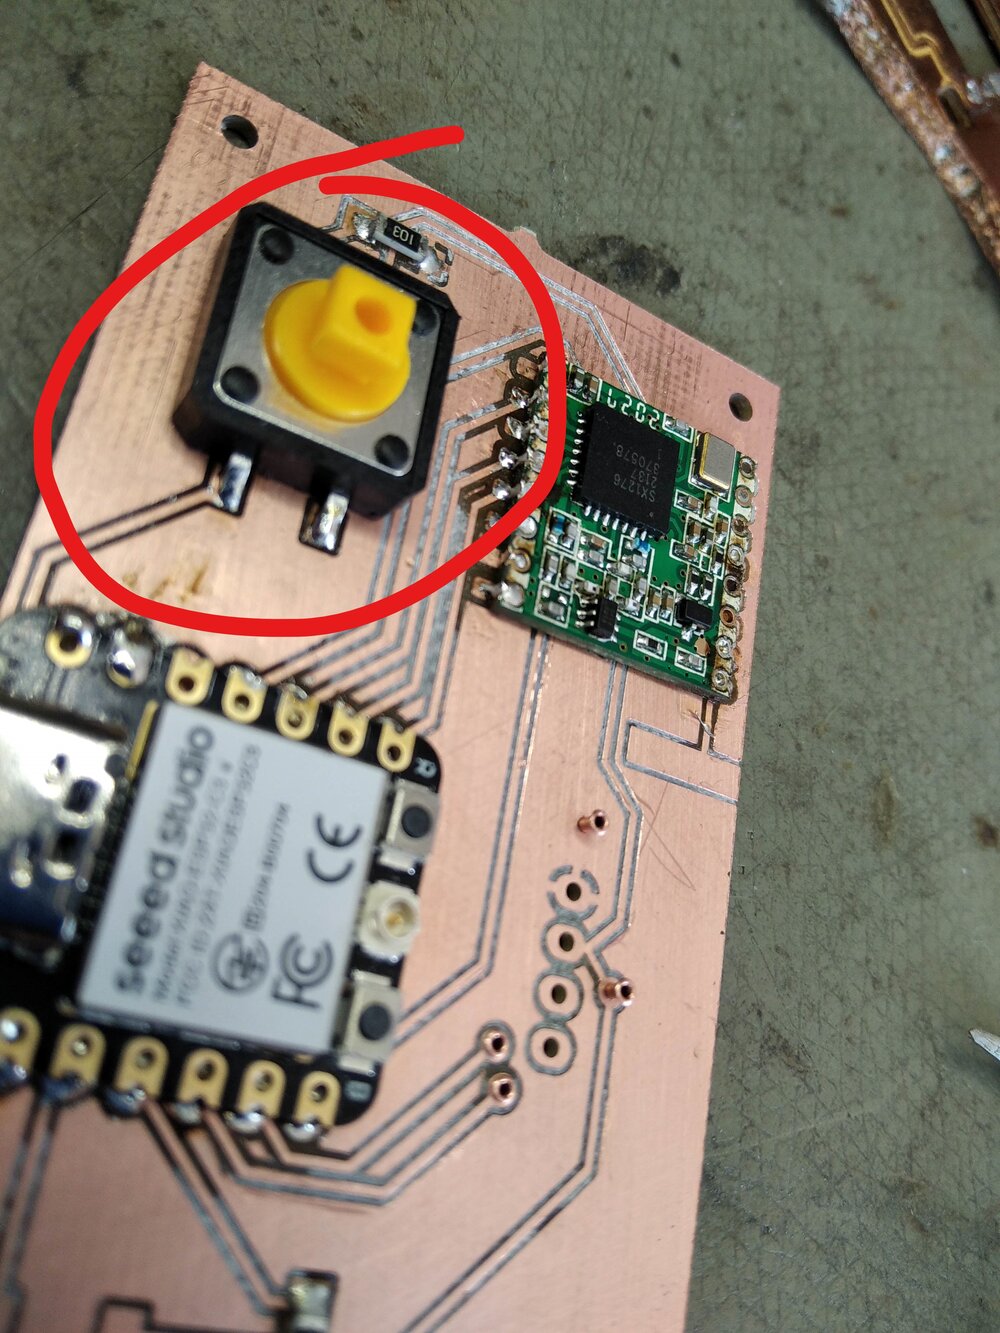
So I change the button for some that come with pluging caps.
 source bobshop.co.za
Those caps are too small, so I get their dimensions.
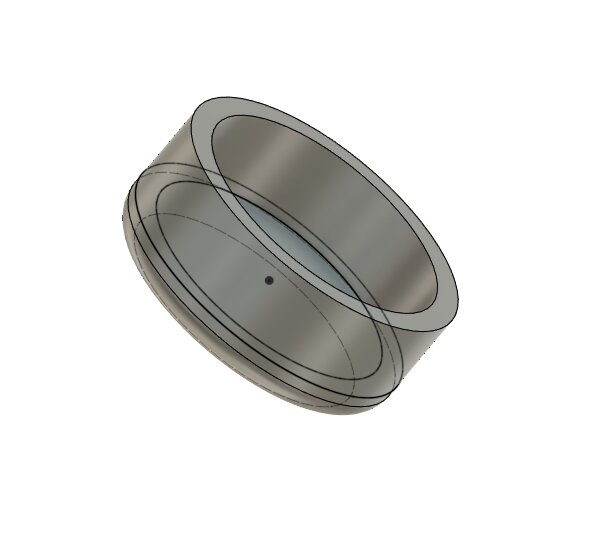
And redesign caps to go and top of the caps ^^.
Final assembly

After some trial and error, I finally get it.
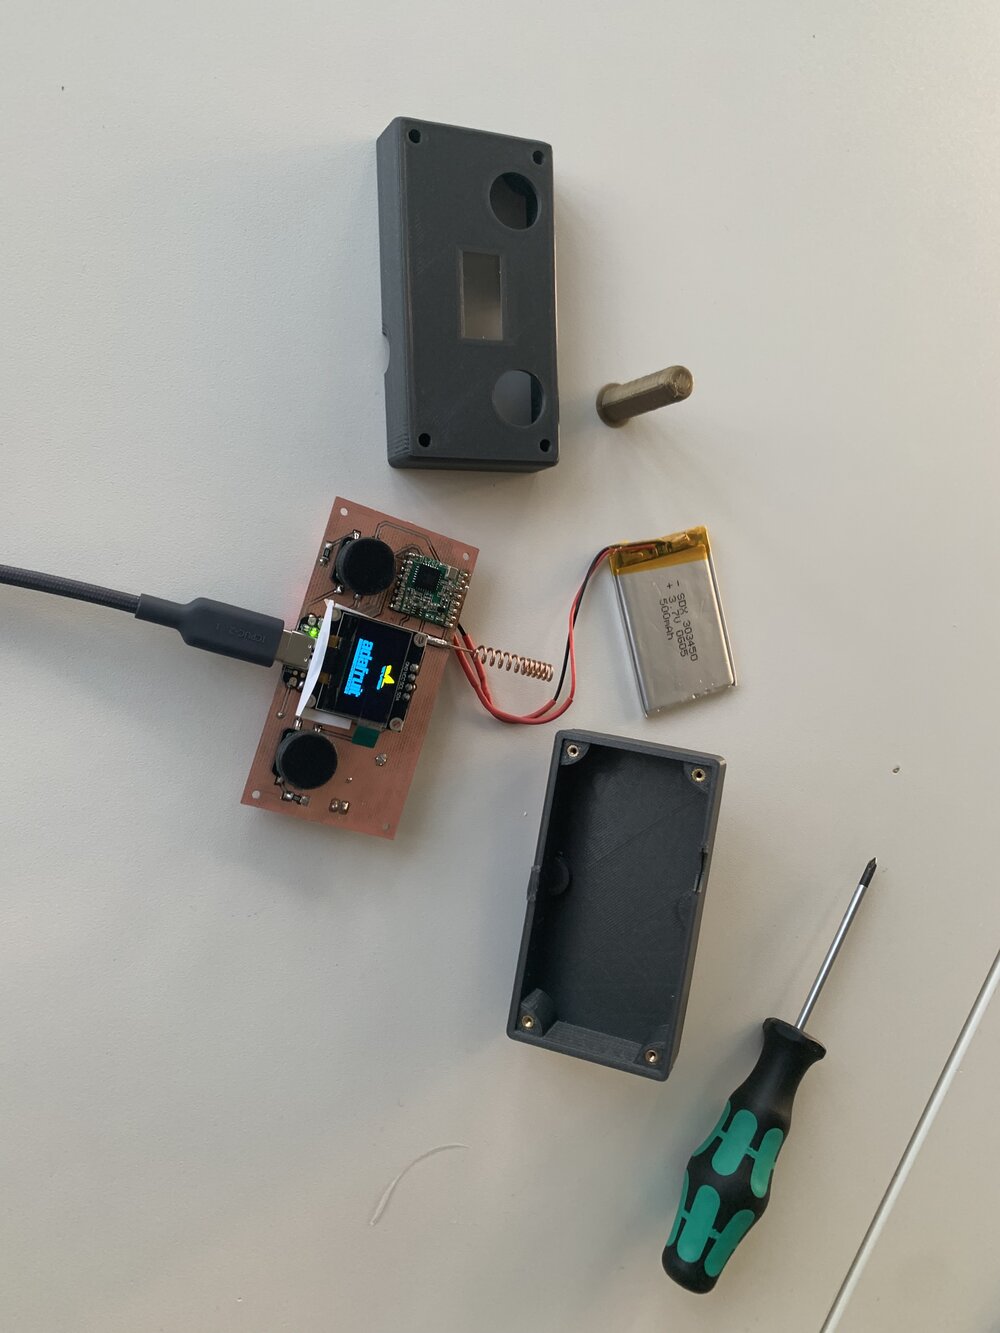
Here are all the parts ready to be assembled.

Let's start by fixing the display at the top of the case.
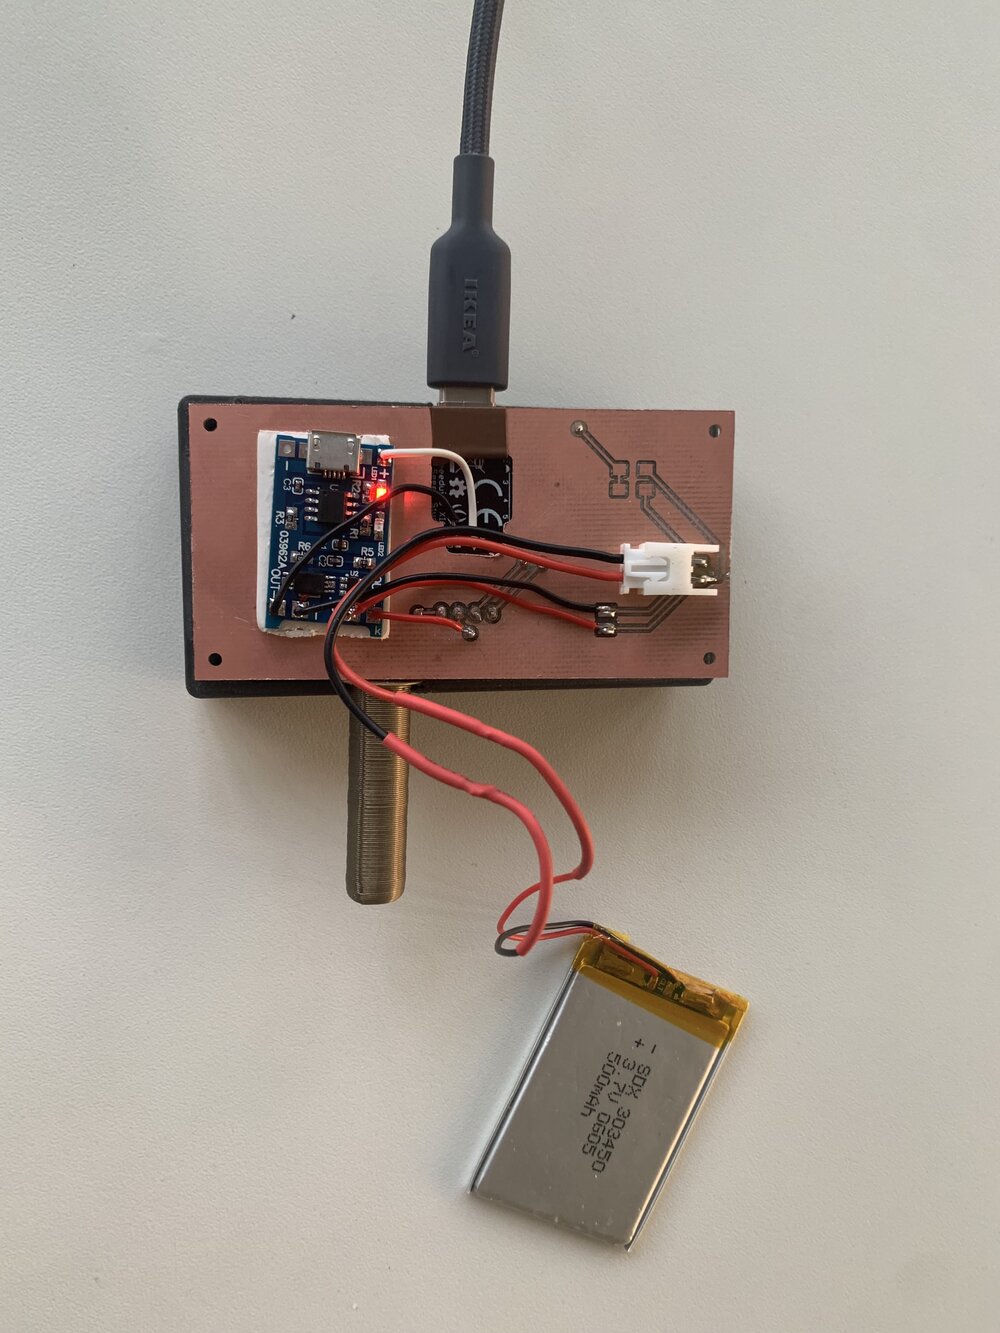
Then we can connect the battery. As I switch in last minute for an XIAO SMAD21 board that doesn't have a battery charger system include, Ahmed, my instructor, gave me one TP4056 Standalone linear Li-Ion Battery Charger. It was pretty straightforward to connect.
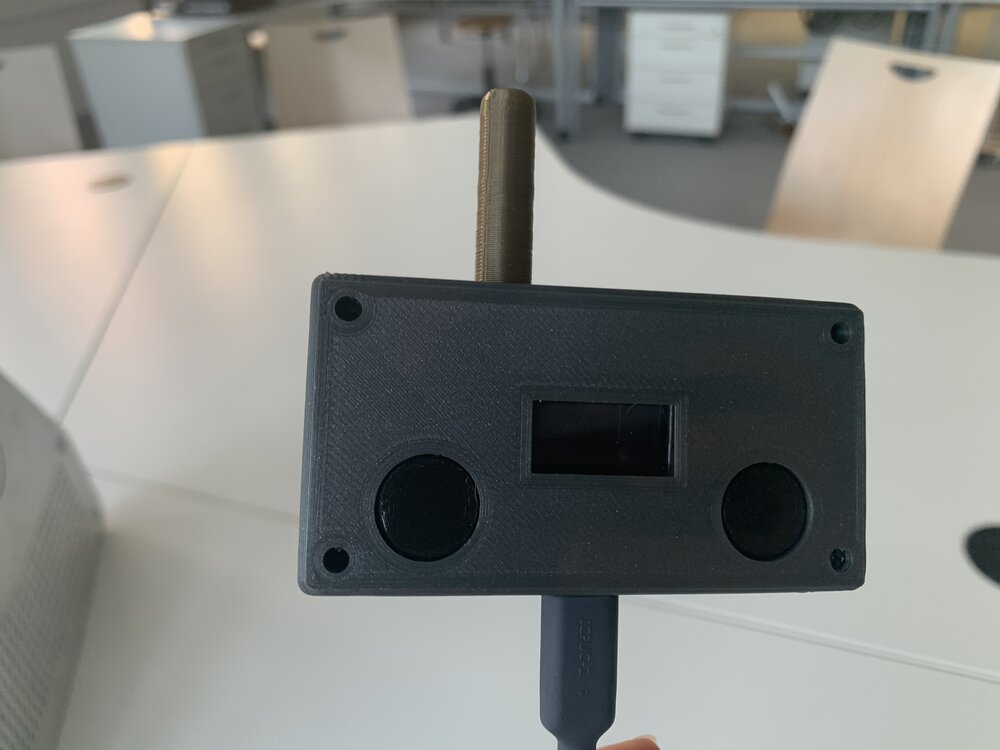
Then we can close the case with its 4 screws on the top (maybe I should move them to the bottom...).

I do not forget to screw the handlebar support connector.
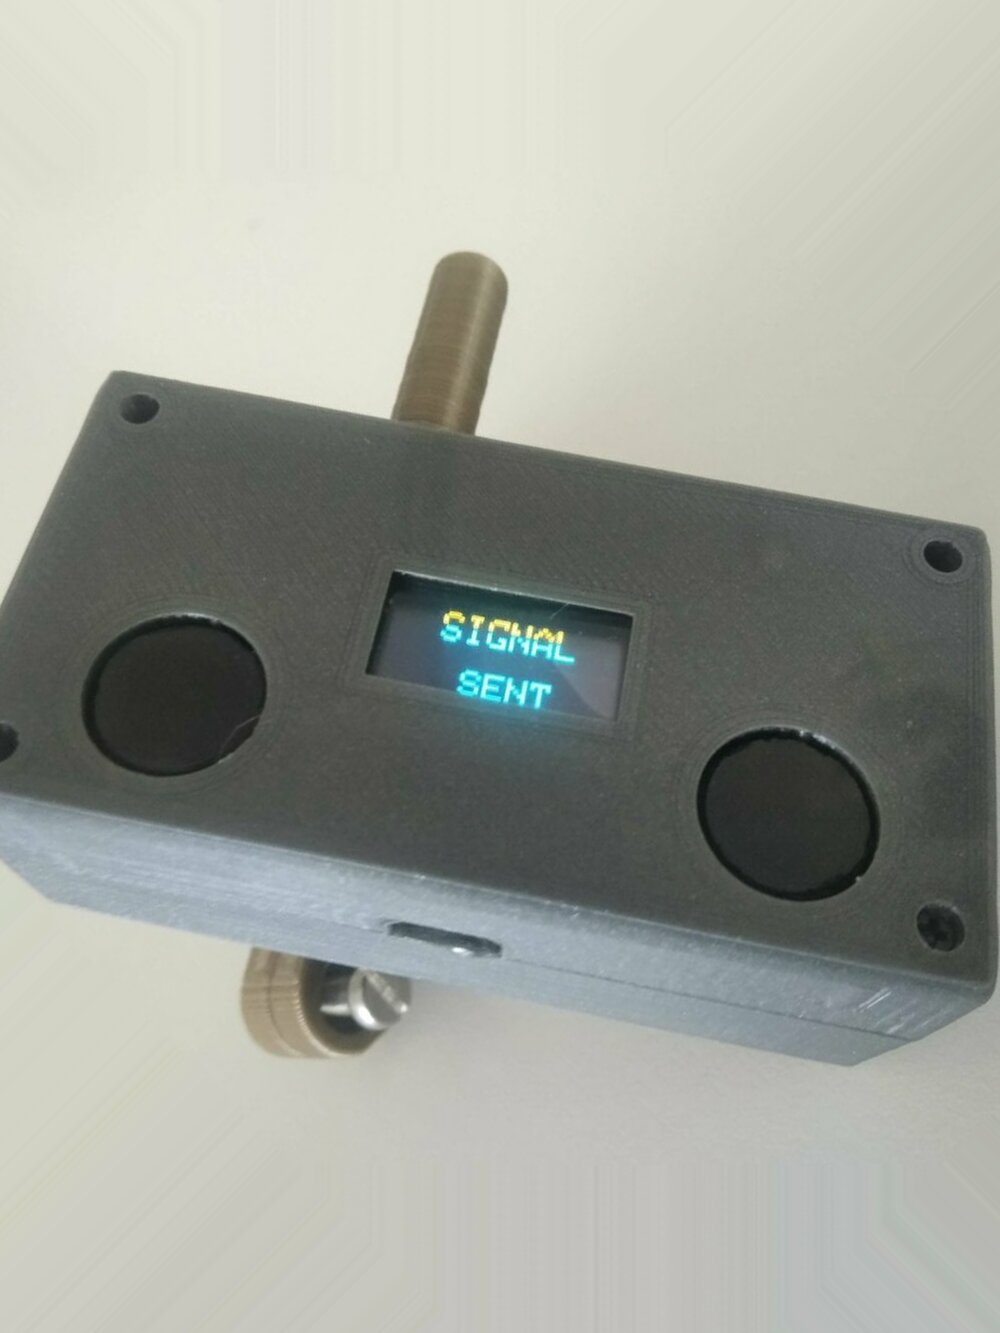
And it's working on battery!
Final render
Here is a video of the finished product, of course, you can check also the presentation one.
Files
Here is the view of the Fusion 360 file for the case. You can download it here.
Here are the other files for the case: