2. Computer Aided design
This week I worked on using 2D and 3D design tools. For I have experience of using some of the modeling tools, so the point is to learn some new softwares and modeling skills.
1.1 Assignments of the Week
- Model a possible final project, compress your images and videos, and post it on your class page
1.2 Process of Modeling my Possible Final Project
1) Raster and Vector Image
- Raster Graphic Raster images are made up a rectangular grid of pixels. If you resize a raster graphic to a larger size, the square pixels will become apparent.
- Vector Graphics Vector graphics are resolution independent. They can be resized, bent and stretched without losing resolution. Lines remain crisp and sharp when the size of the drawing is increased.
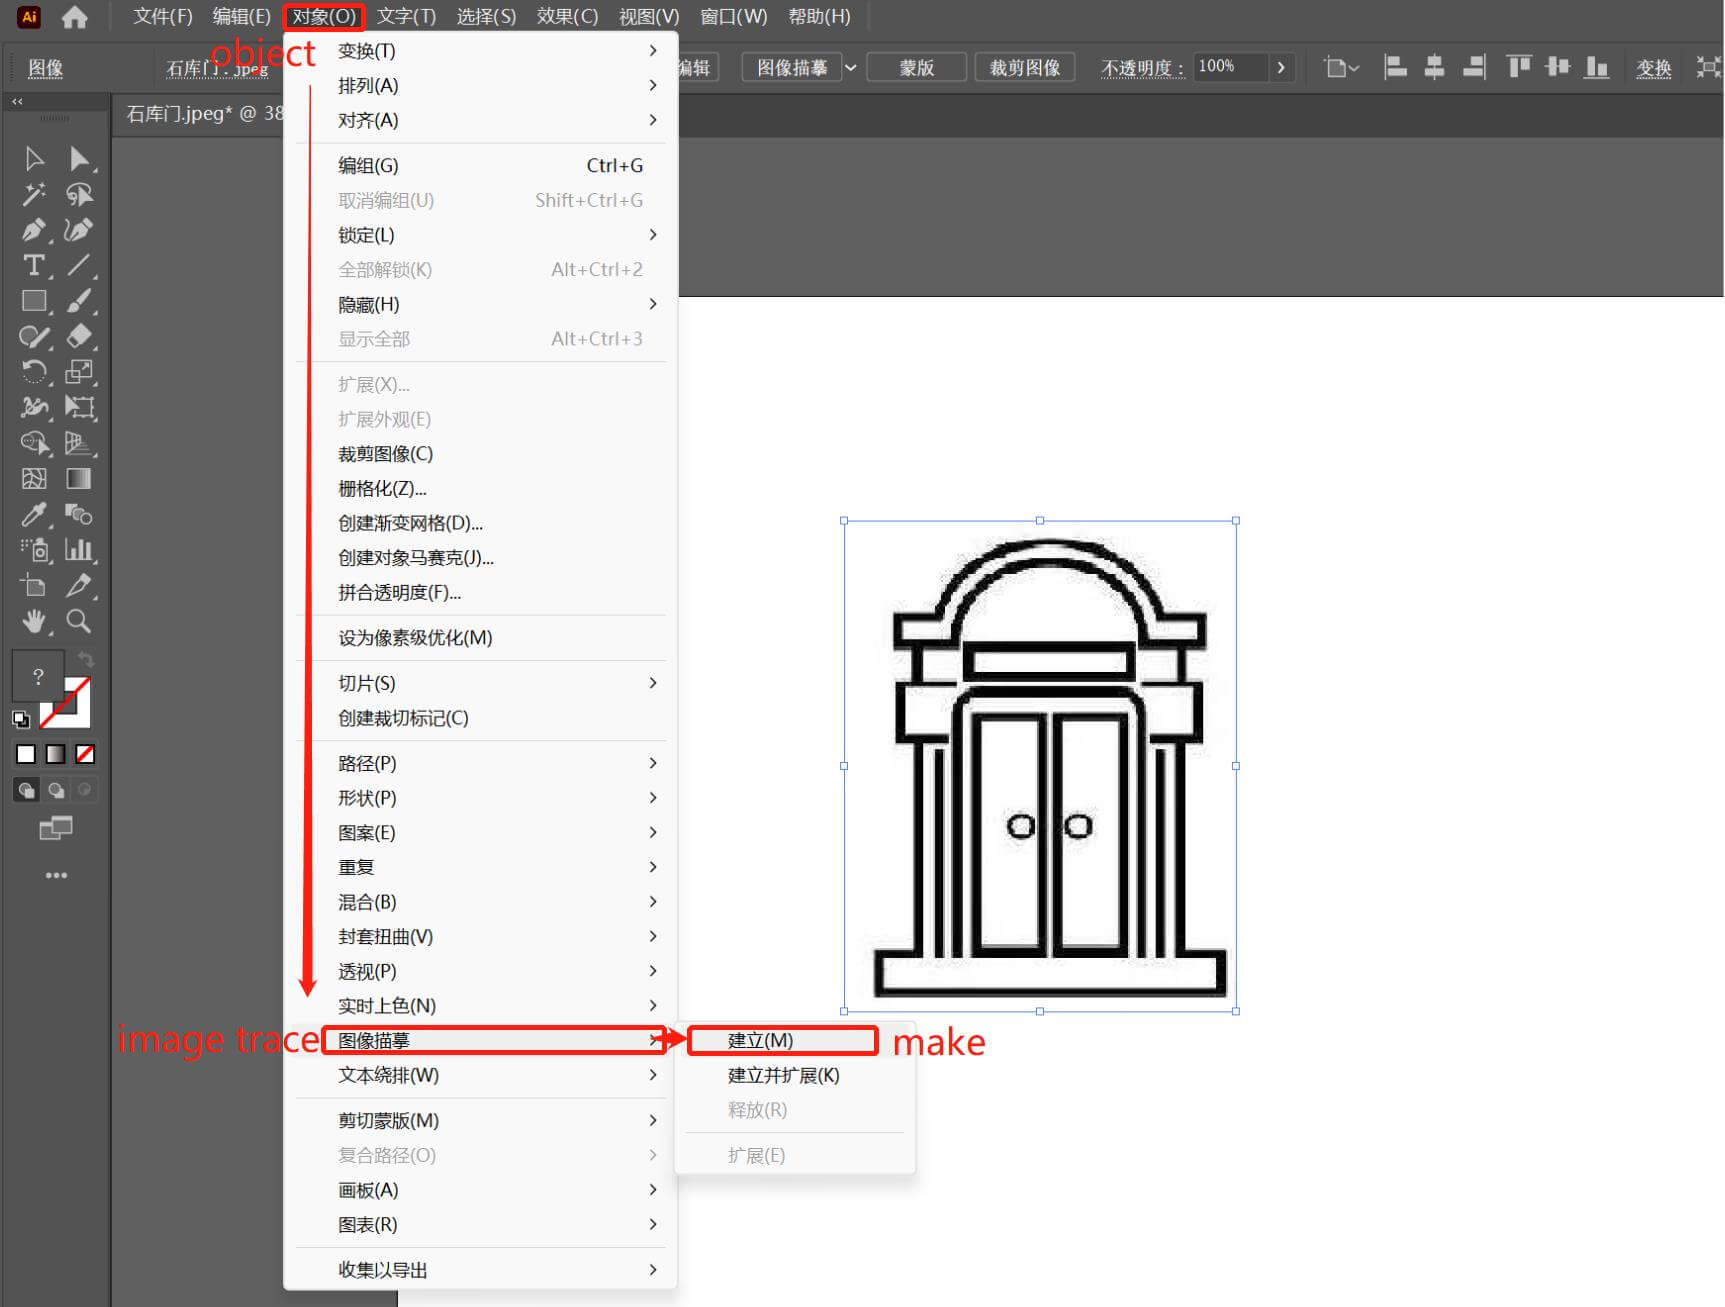
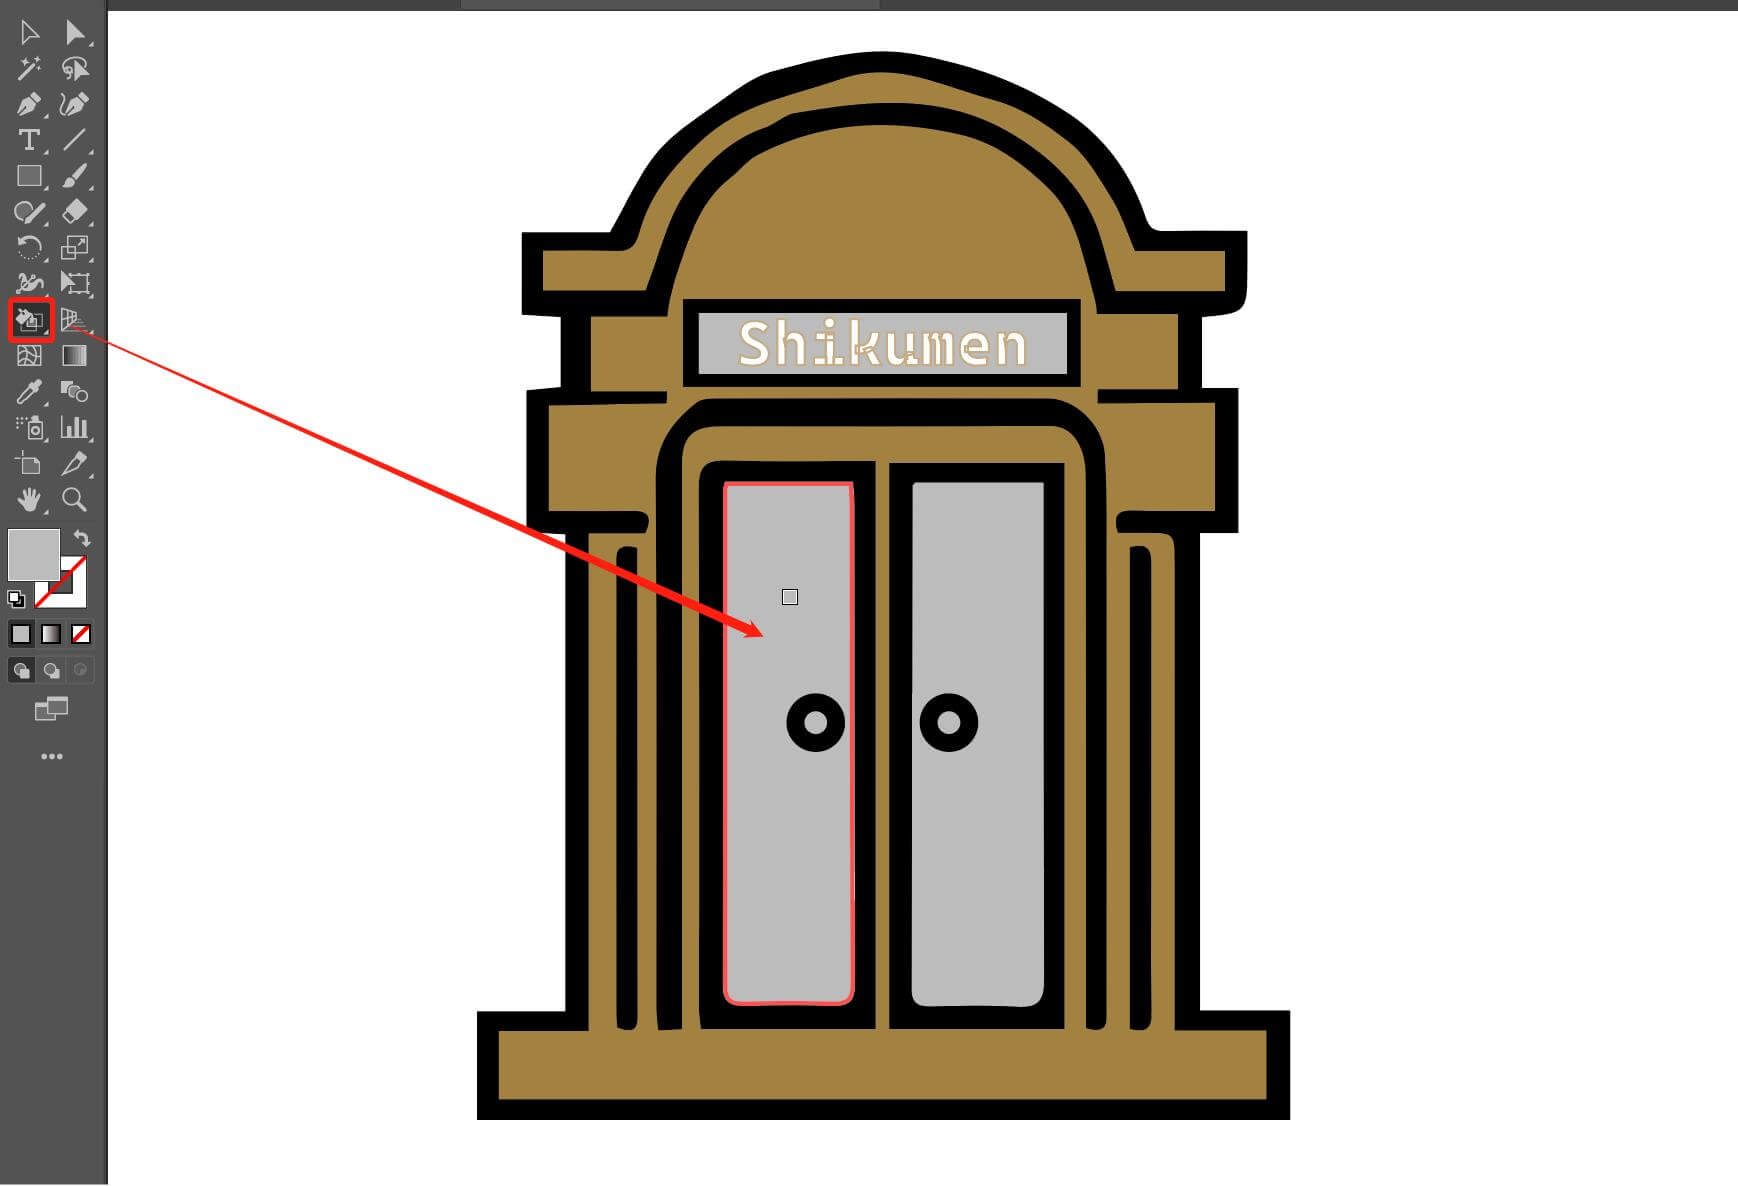
I downloaded an image of Shikumen of the Internet, and converted it into vector image in Adobe Illustrator.


Choose Object > Image Trace > Make, you can convert the raster image into vector image.
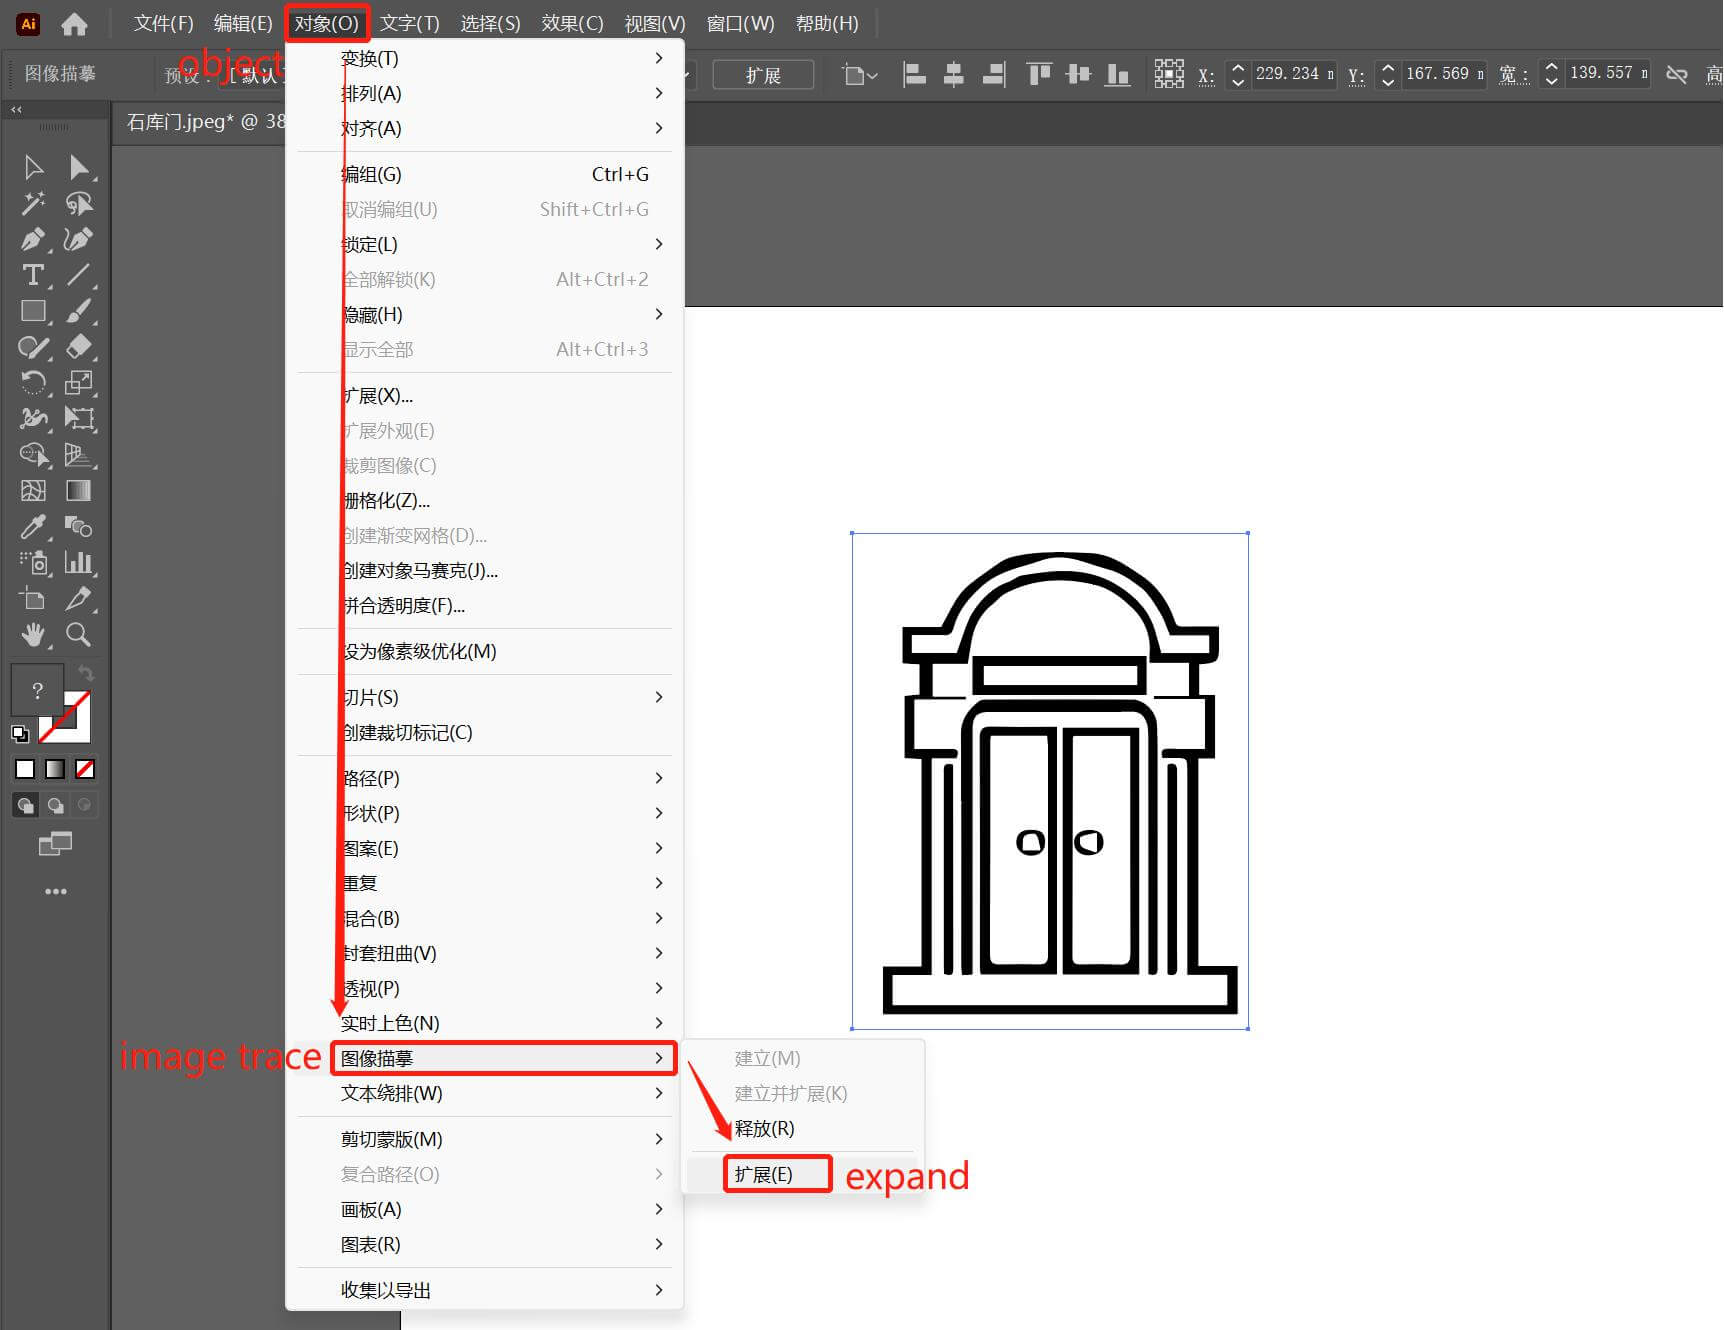
Choose Object > Image Trace > Expand to convert the tracing object to paths that can be manually edited. (See more about image trace)
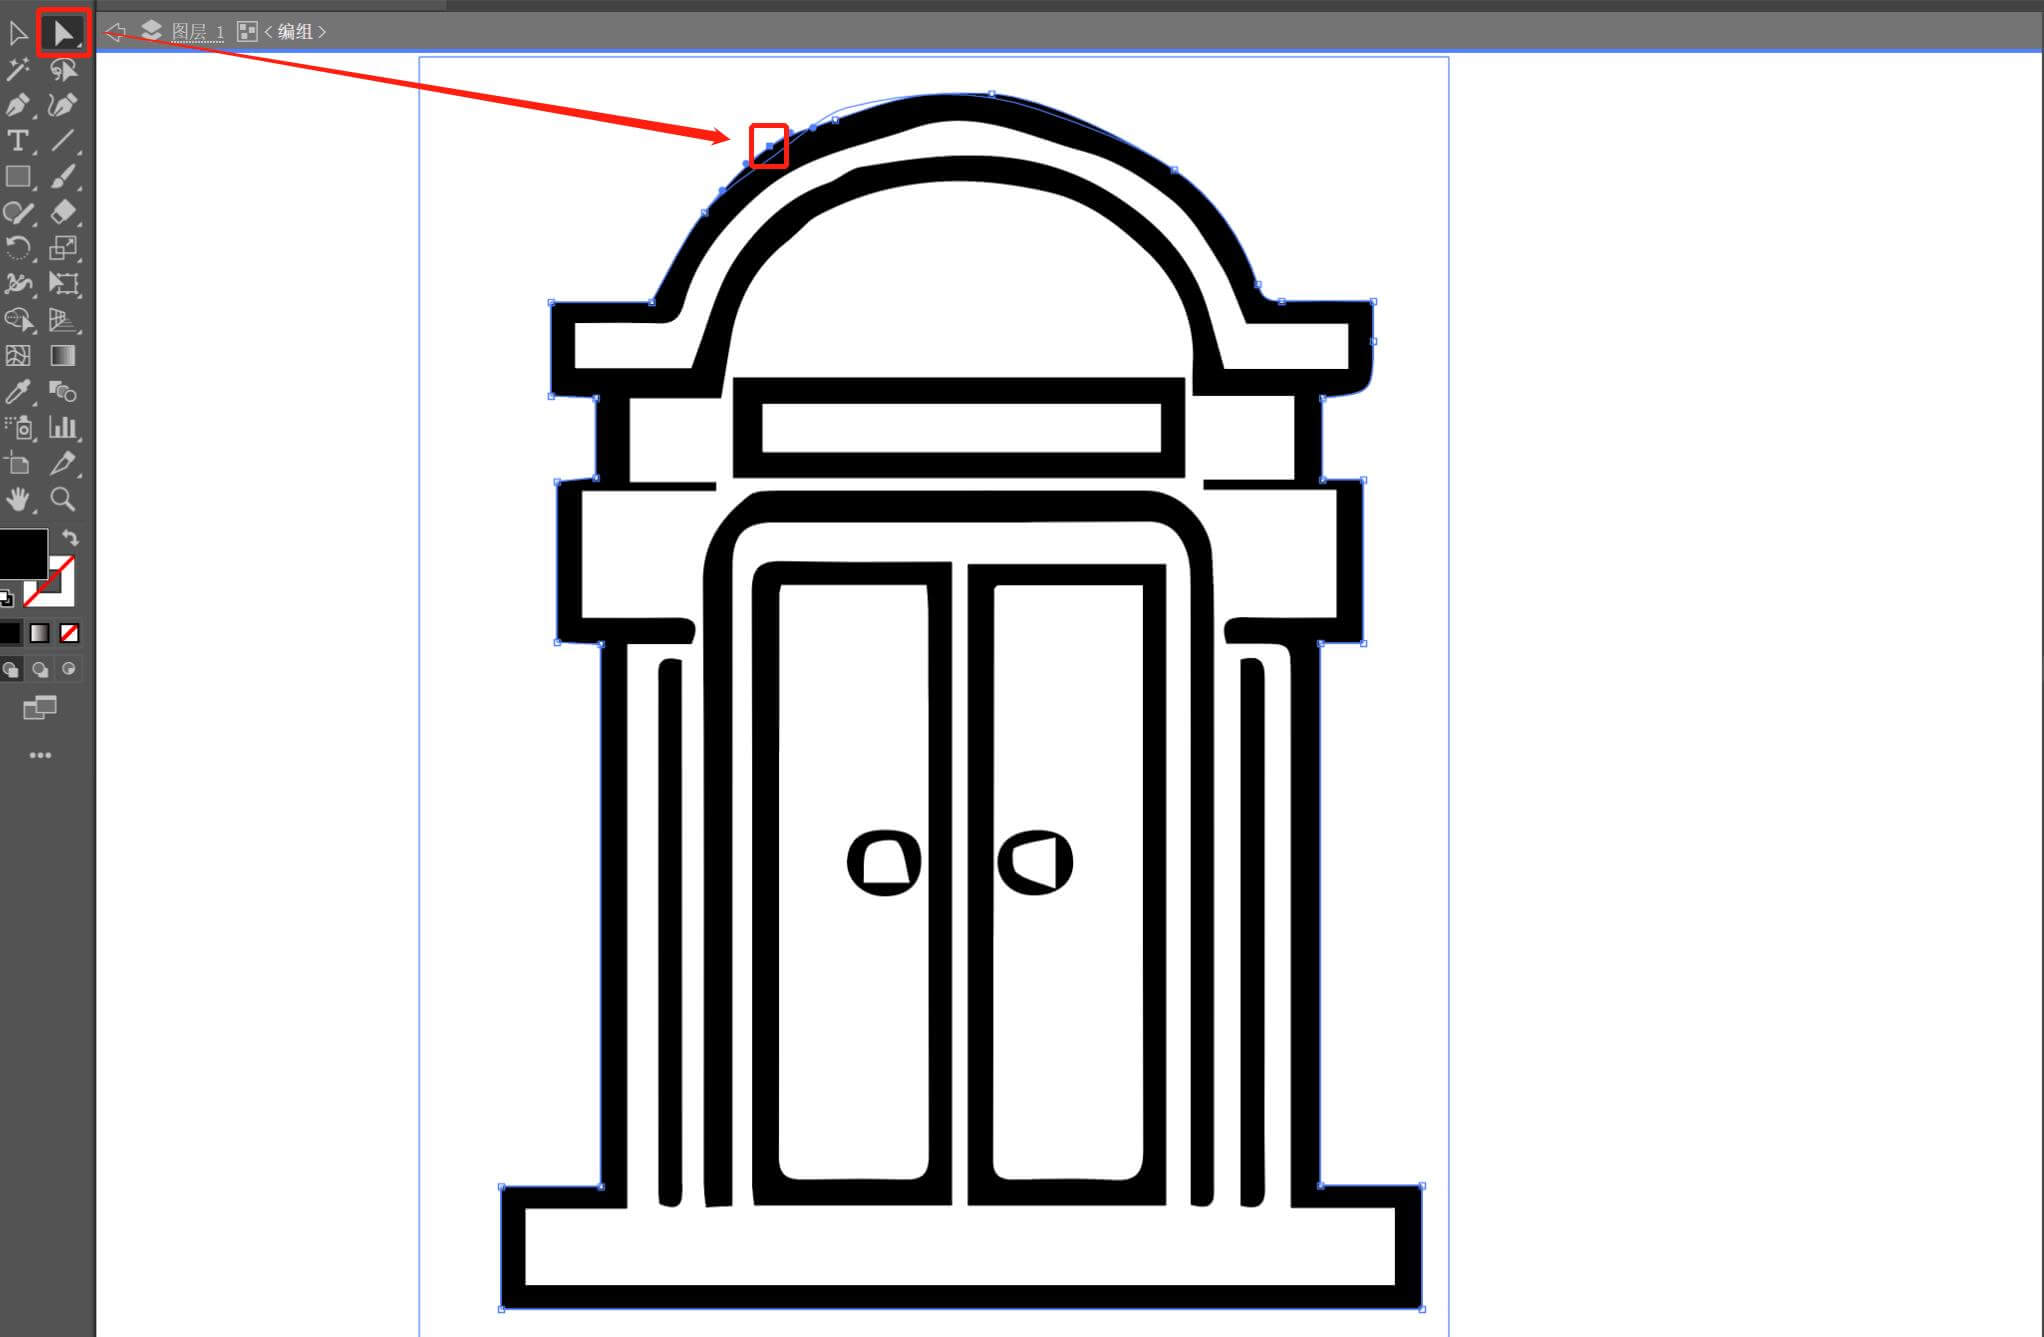
Press a on your keyboard to edit the path by moving anchor points.
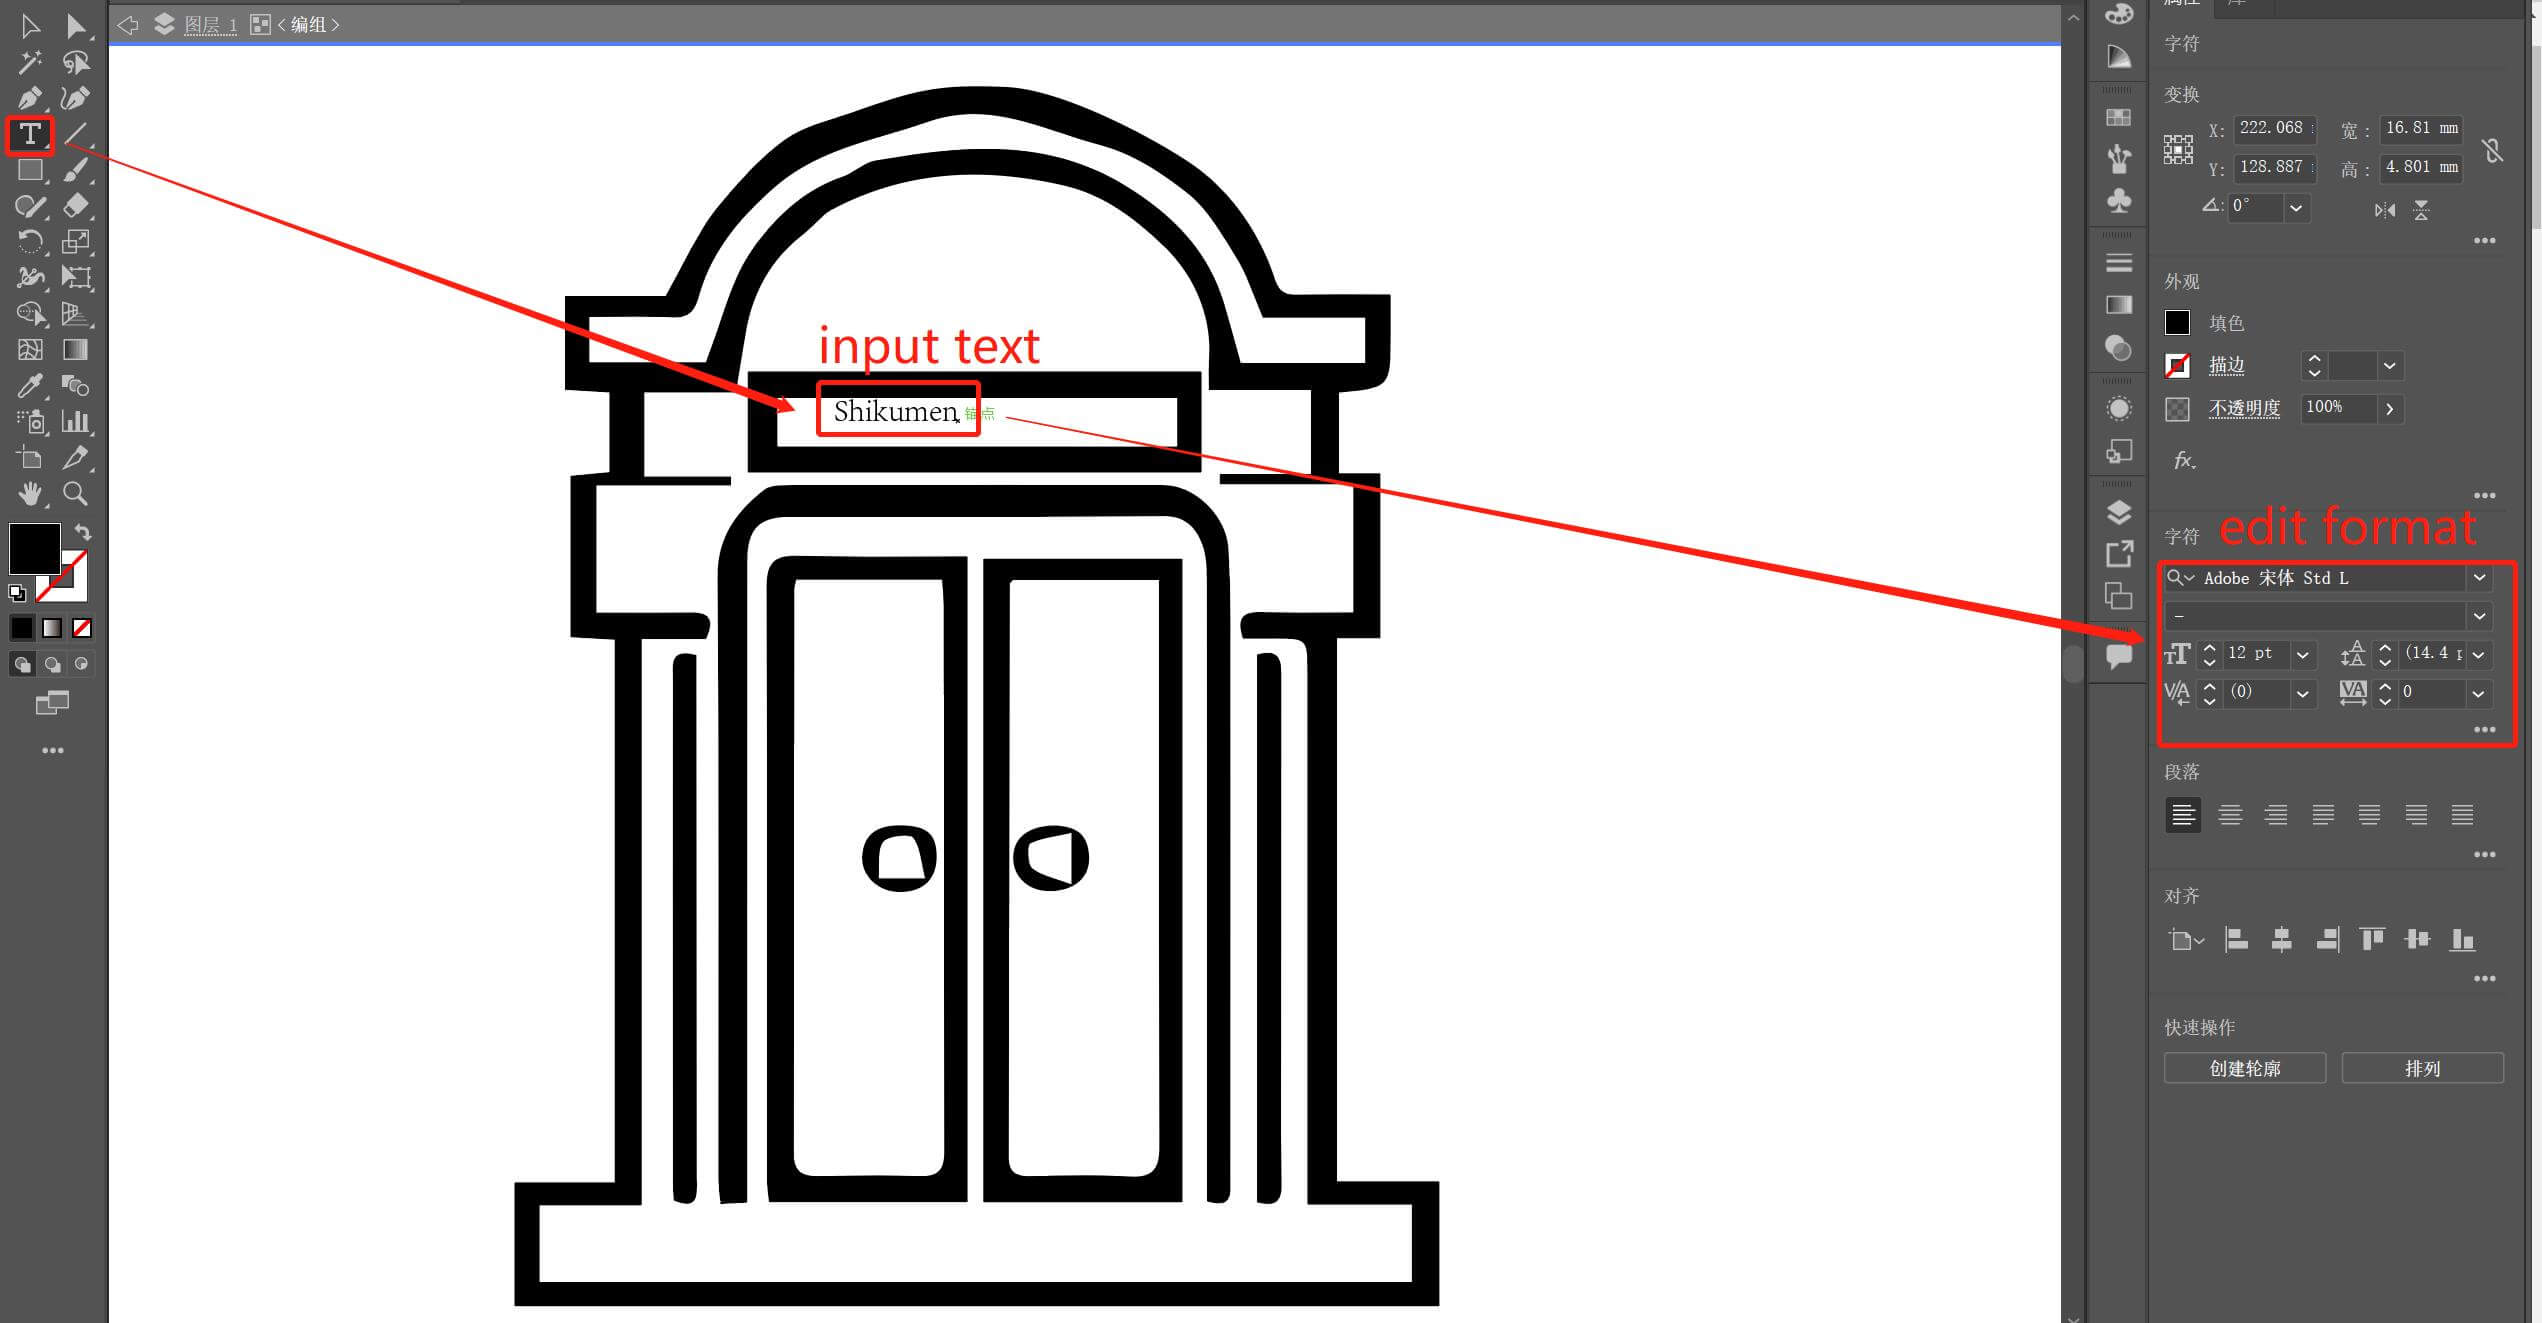
Press t on your keyboard to add some text.
Press k on your keyboard to color the picture.
2) 2D Modeling with AutoCAD
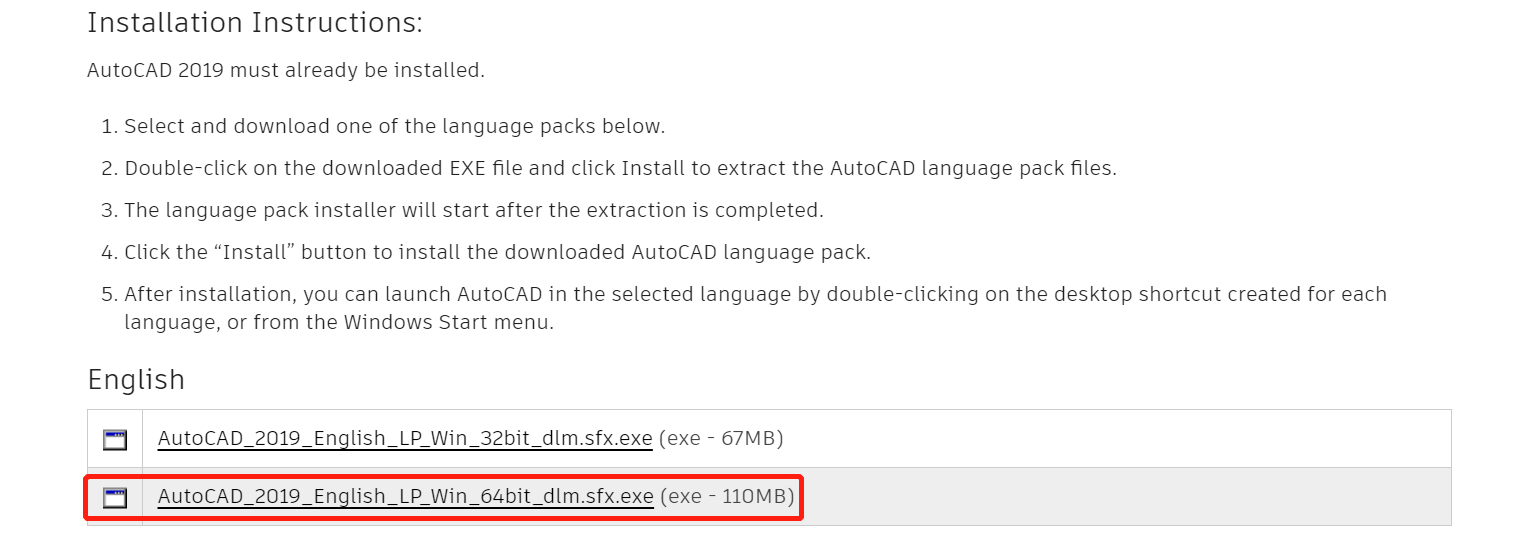
- Set English Environment The first unexpective problem is to change my AutoCAD Chinese version into English version so that I can communicate with instructors and peers in Fab Academy. There is no language setting after AutoCAD 2014. With Autodesk2019 on my computer, I need to download and install the official language pack from the Autodesk official website.
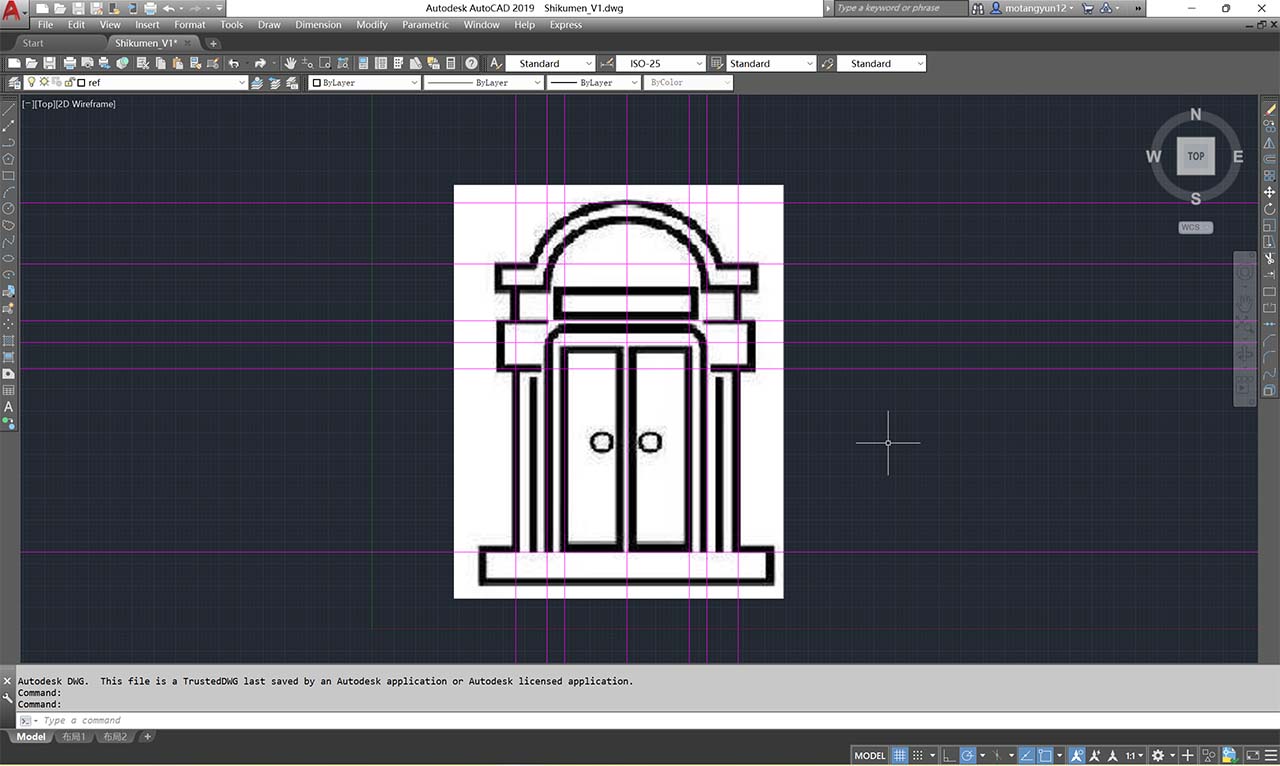
- Insert Raster Image Reference and Draw Auxiliary Lines First I started with drawing auxiliary lines based on an elevation drawing of Shikumen. AutoCAD allows to insert raster image as refrence although AutoCAD is a modeling software with high precision.
- Draw Half of the Graph and Mirror It For it is a symmetrical graph, I only drew half of the graph and use "mirror" command to finish the other half.
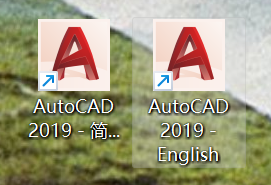
After installing the language pack, I have 2 shortcuts of AutoCAD 2019 on my desktop, a simplified Chinese version and an English version.
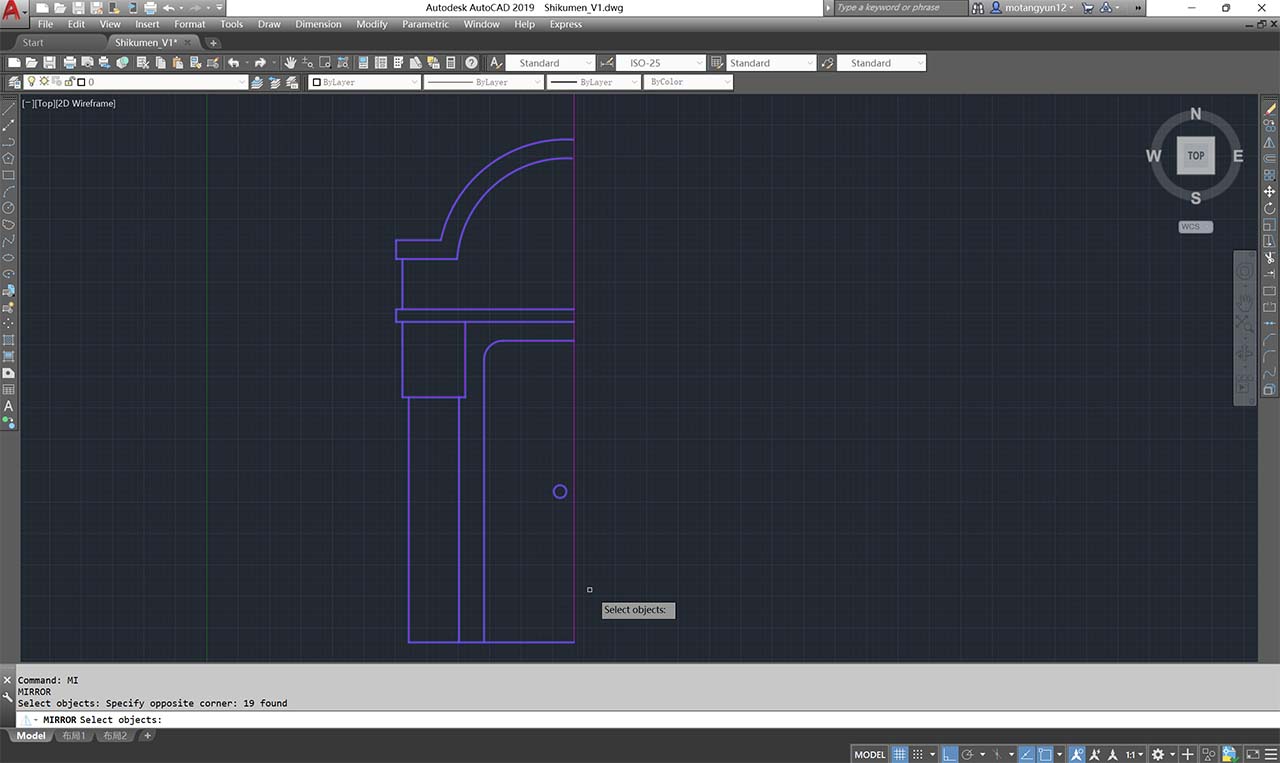
Type "mirror"- Select all the object you want to mirror - Click to choose the central axis - Choose "no" when asked whether erase the source object
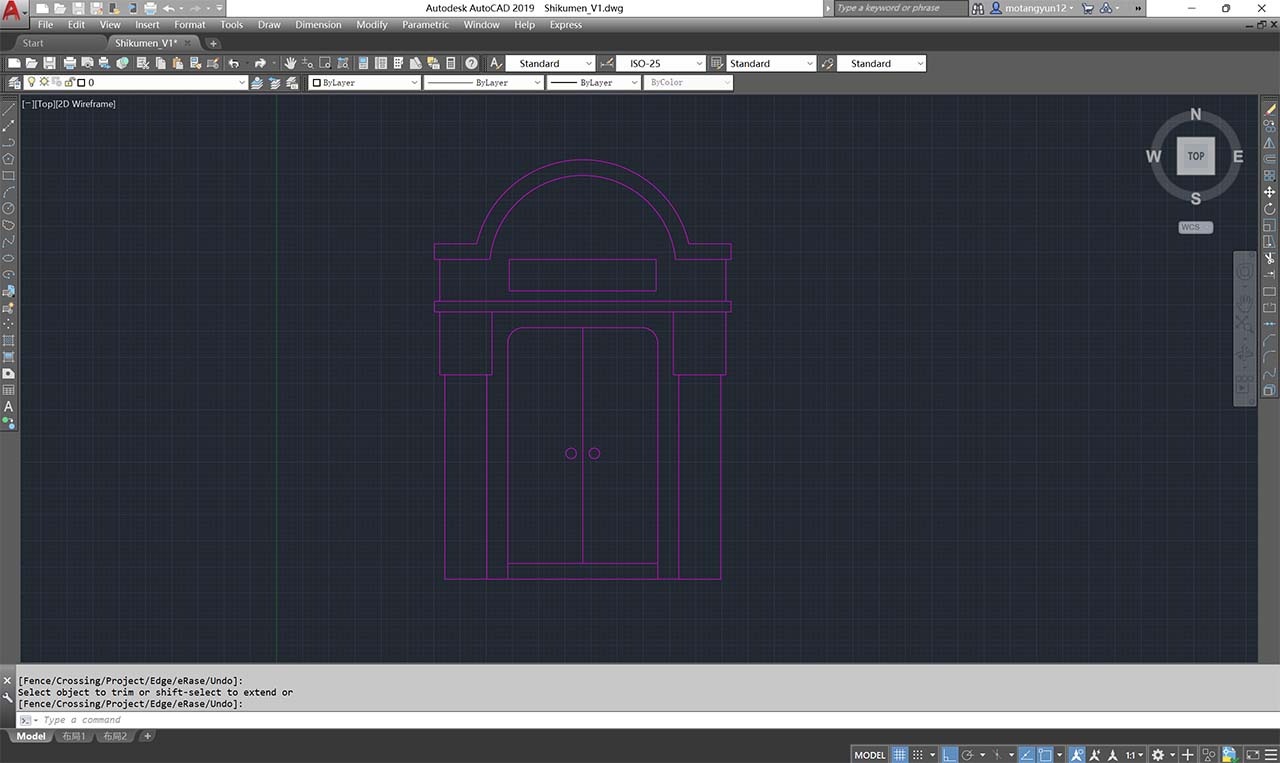
After adjusting some details, I finished this 2D Shikumen Drawing in AutoCAD.
3) 3D Modeling with SketchUp
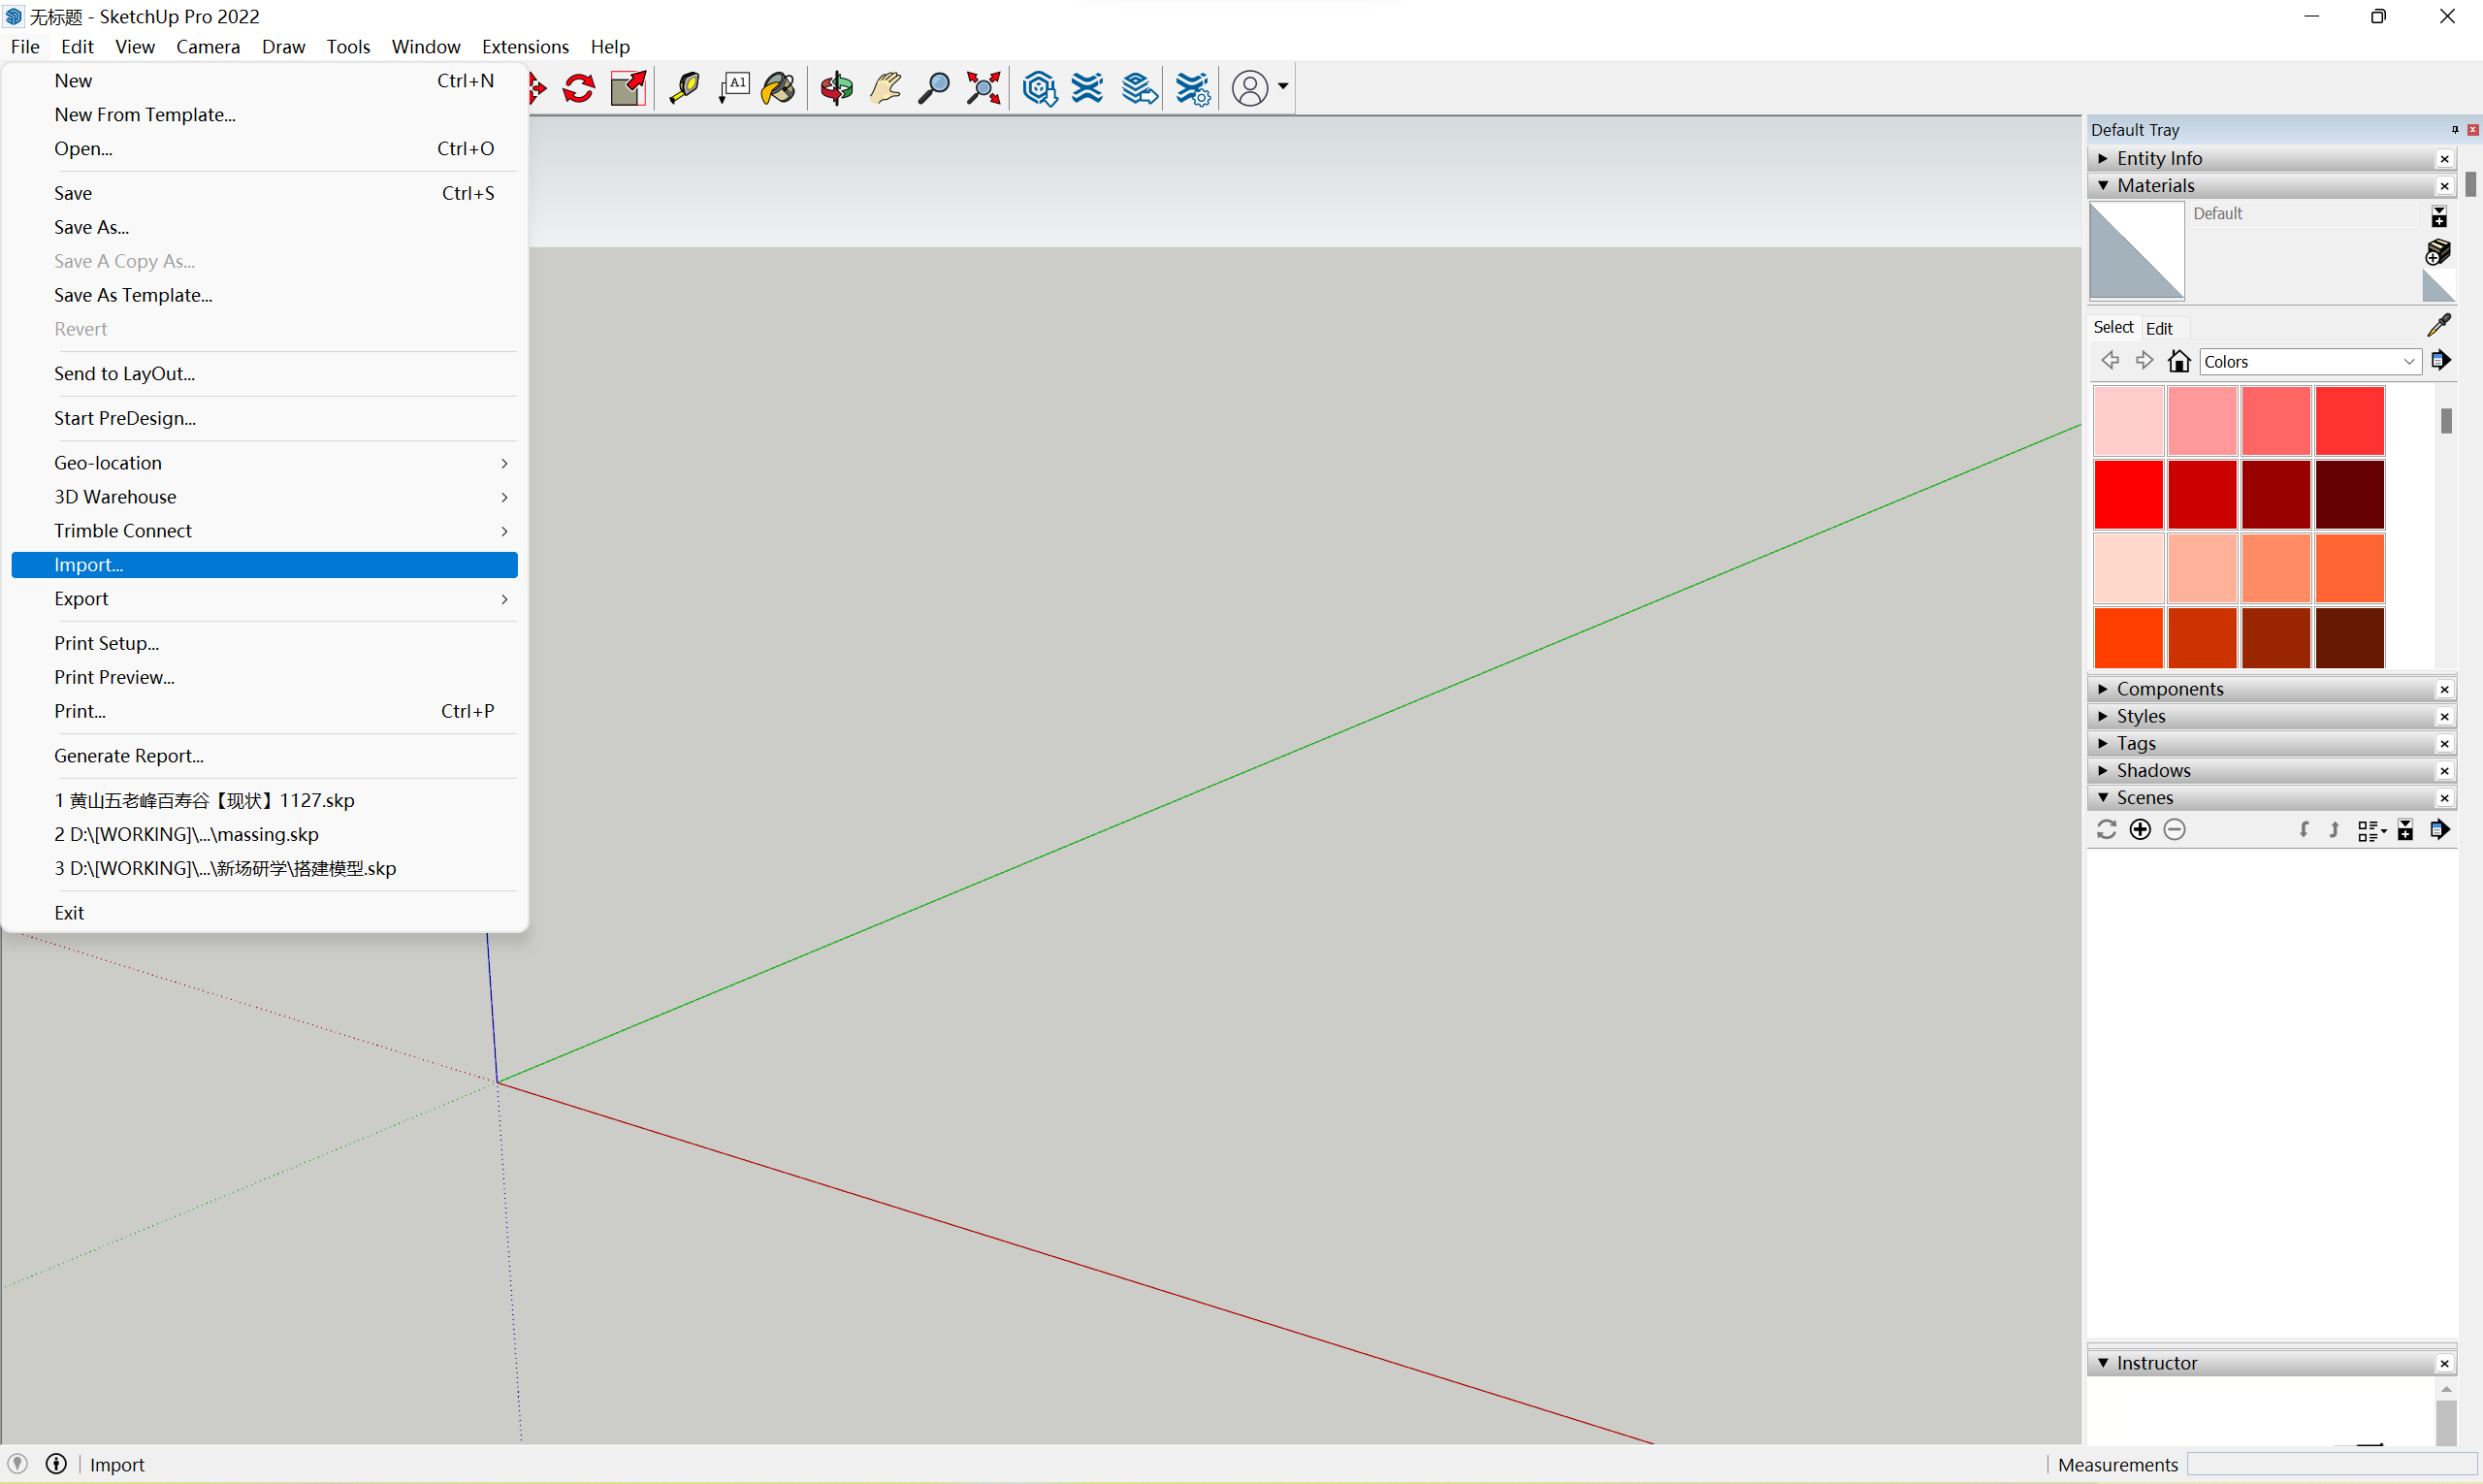
- Import the 2D Shikumen Drawing SketchUp allows to import files in ".dwg" format drawn by AutoCAD. After the AutoCAD drawing file is imported into the SketchUp, we can copy and modify the objects.
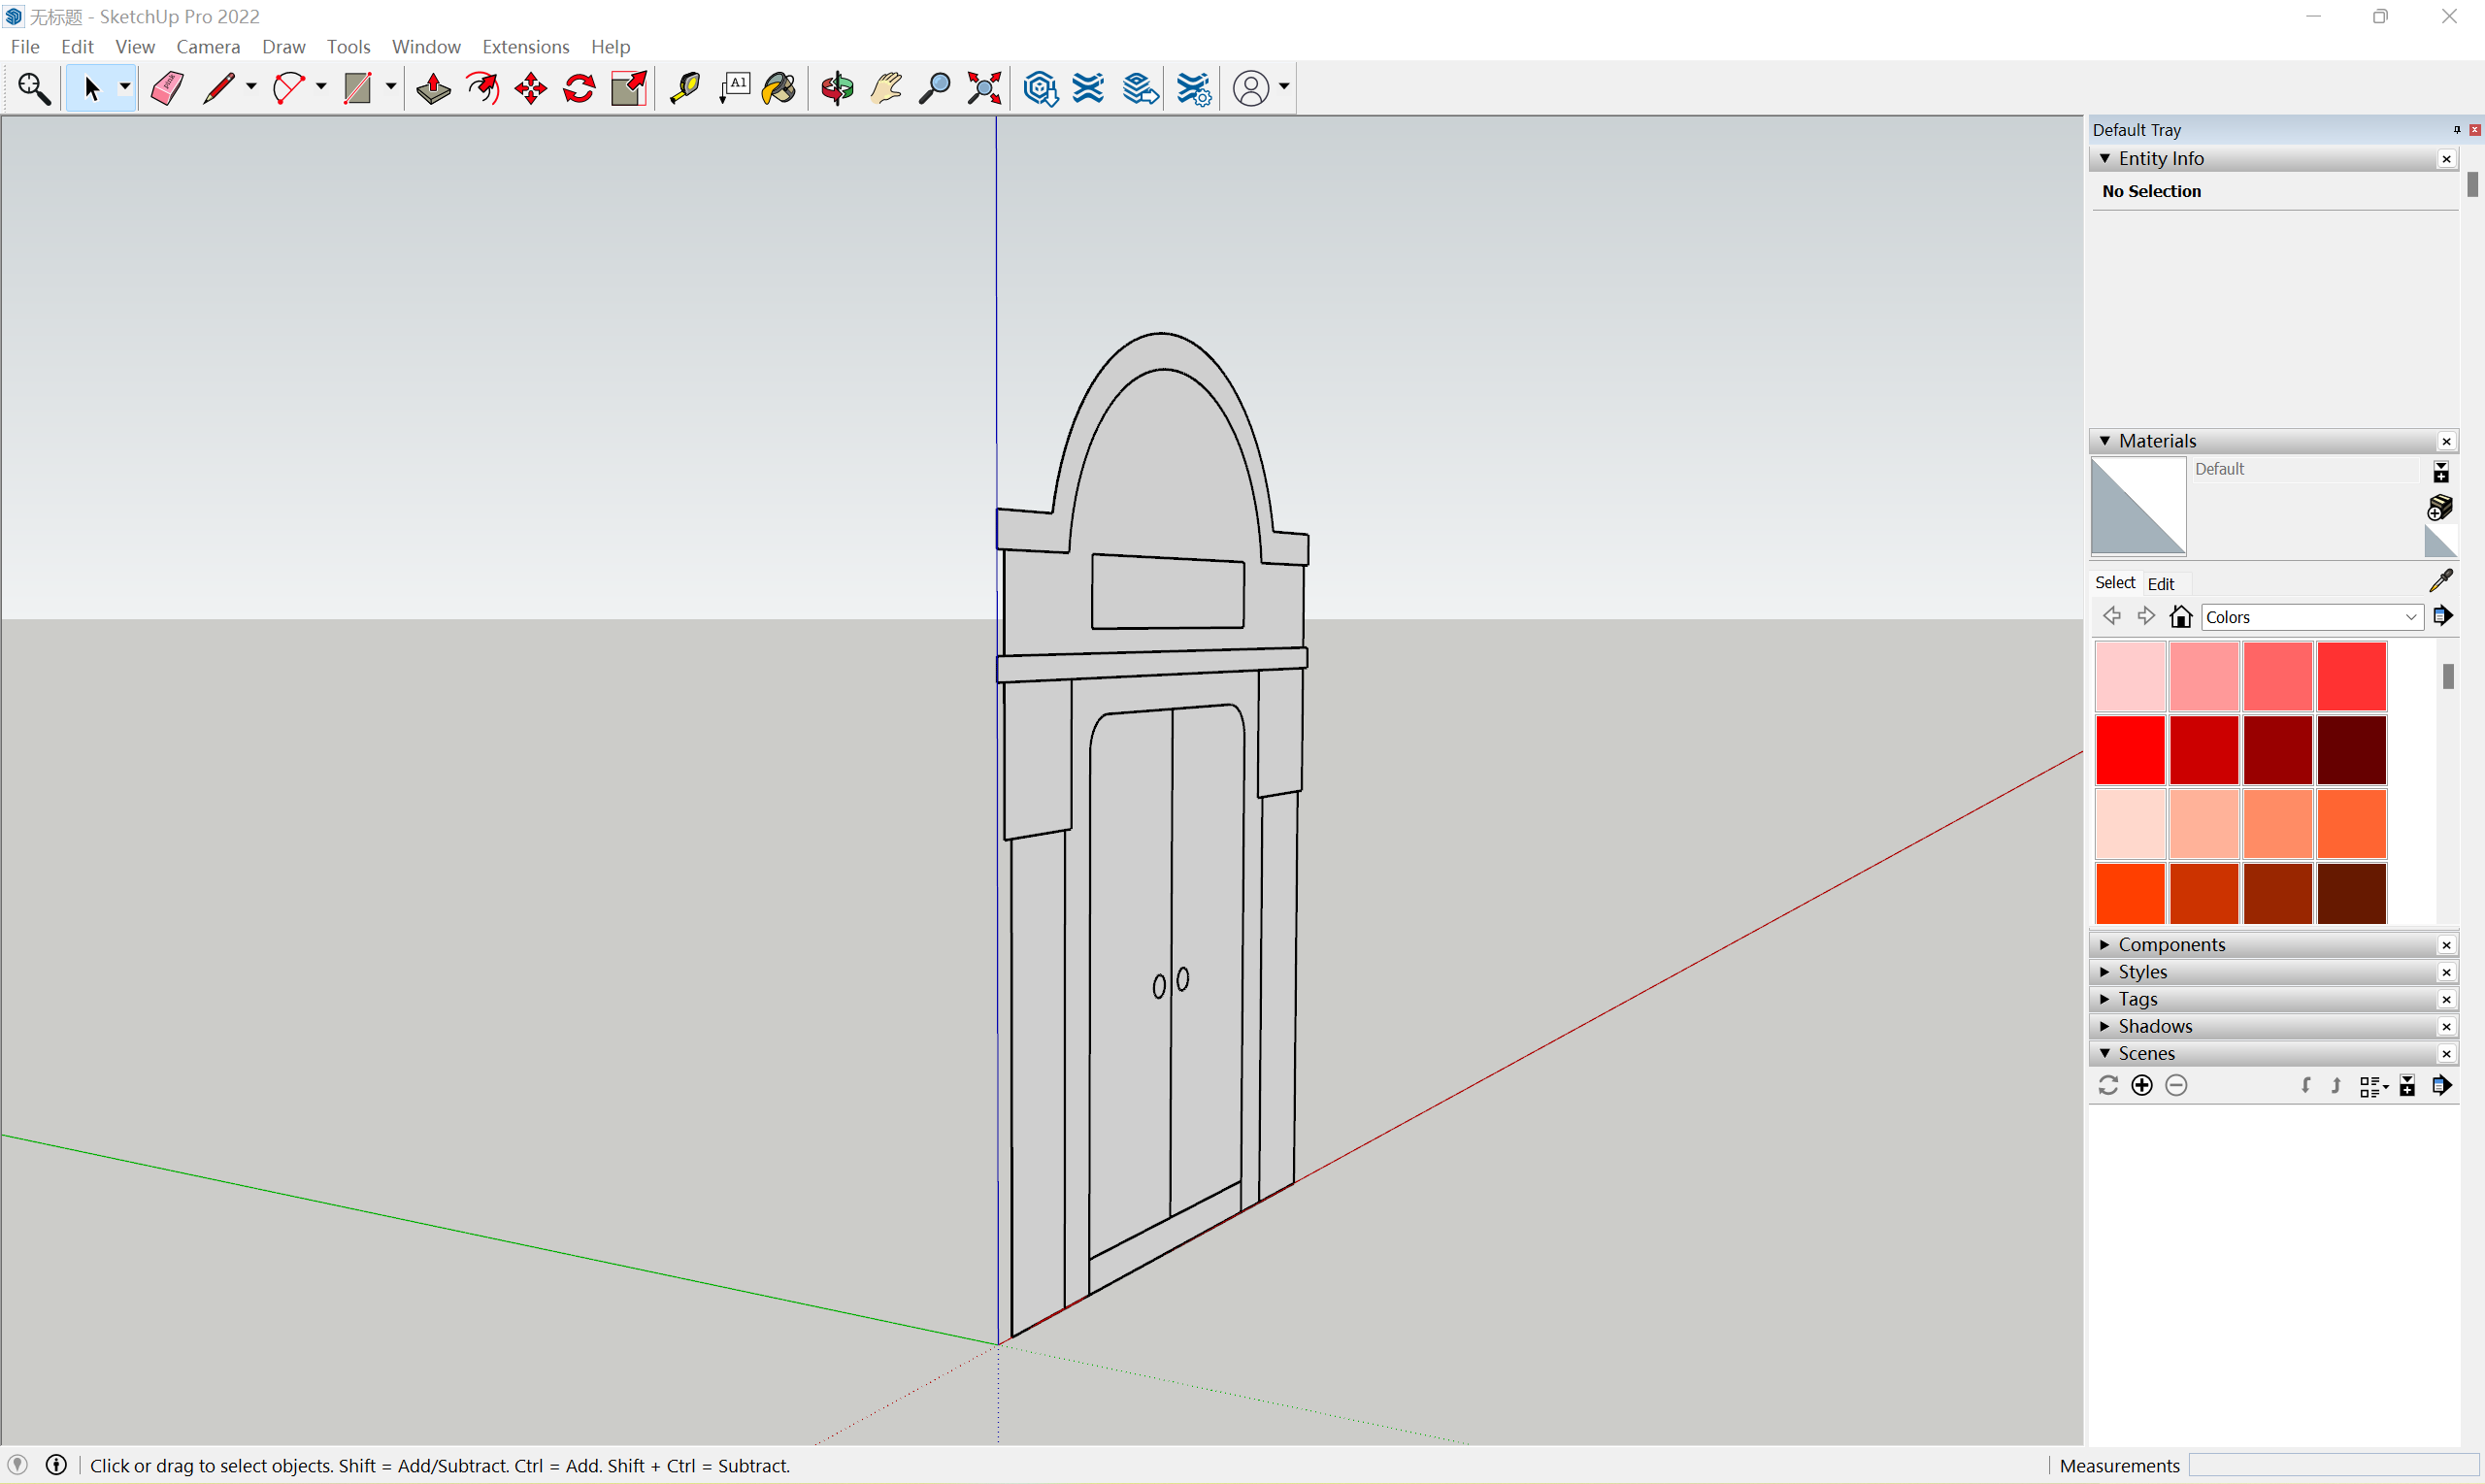
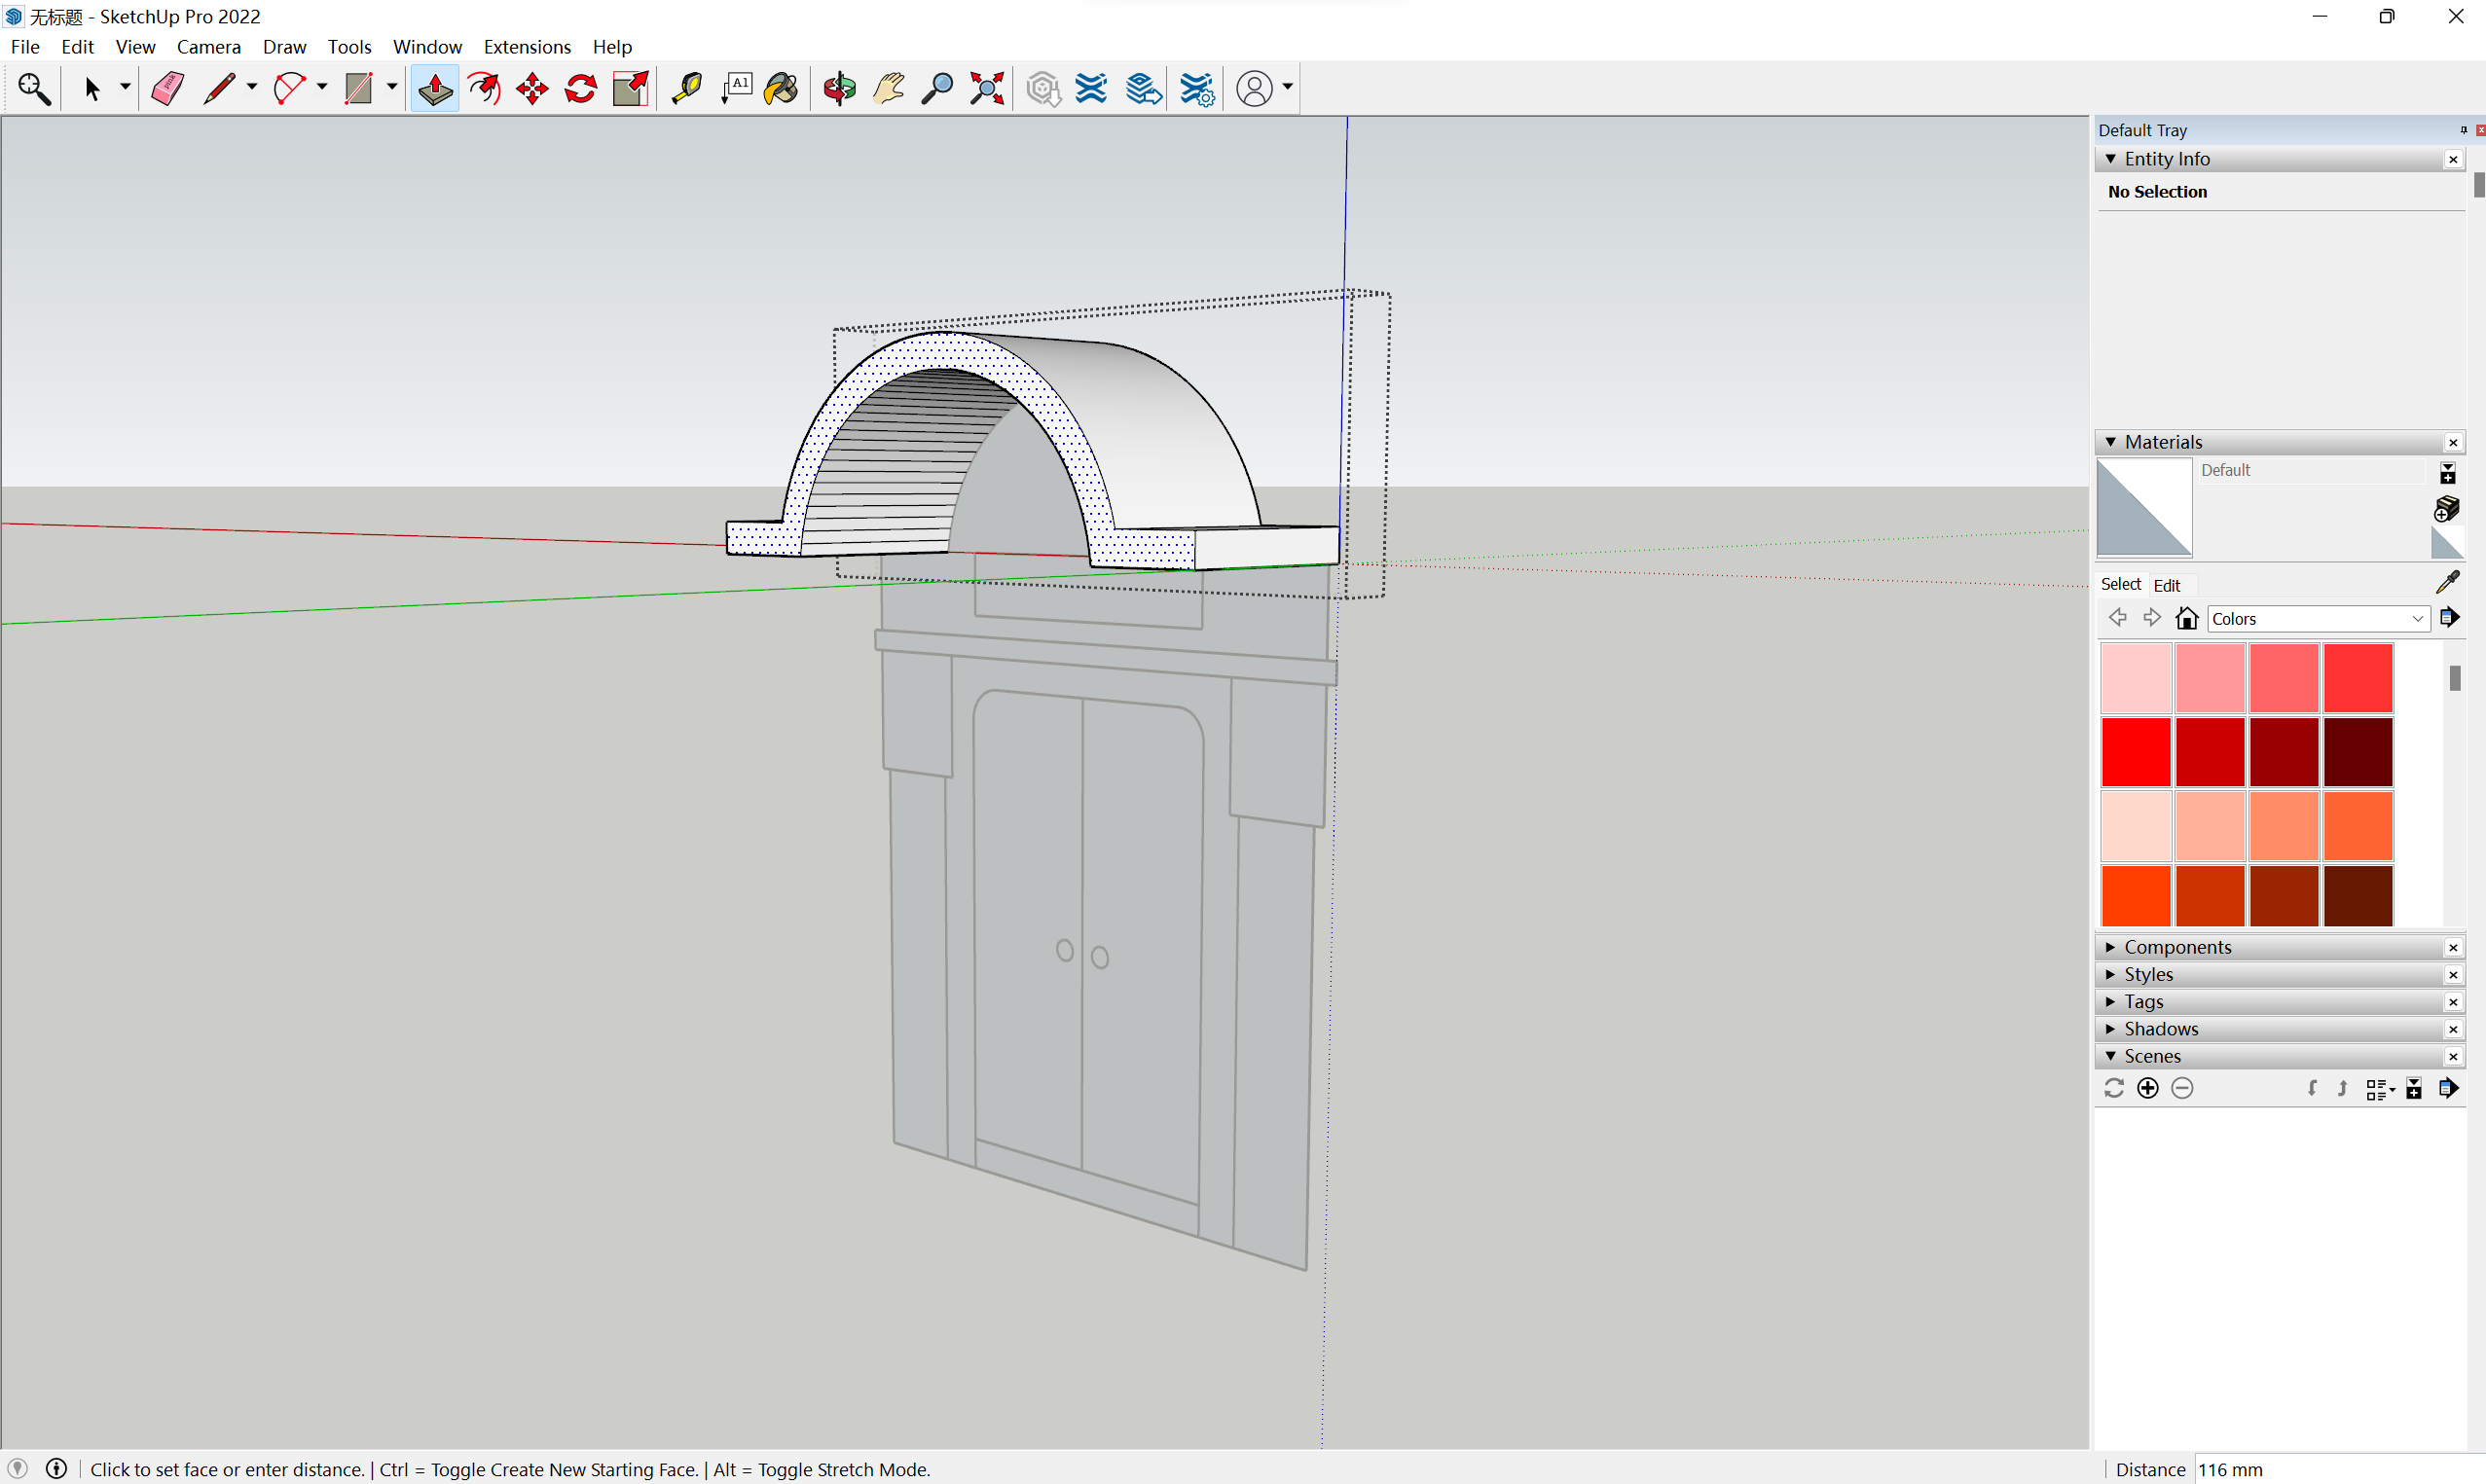
- Close Line Segment to Generate Surface
- Push to Generate Volume My habit of modeling in SketchUp is to first make group for each face separately, and then use the "push" command inside the group to generate a Volume, which is convenient for each part to be modified individually.
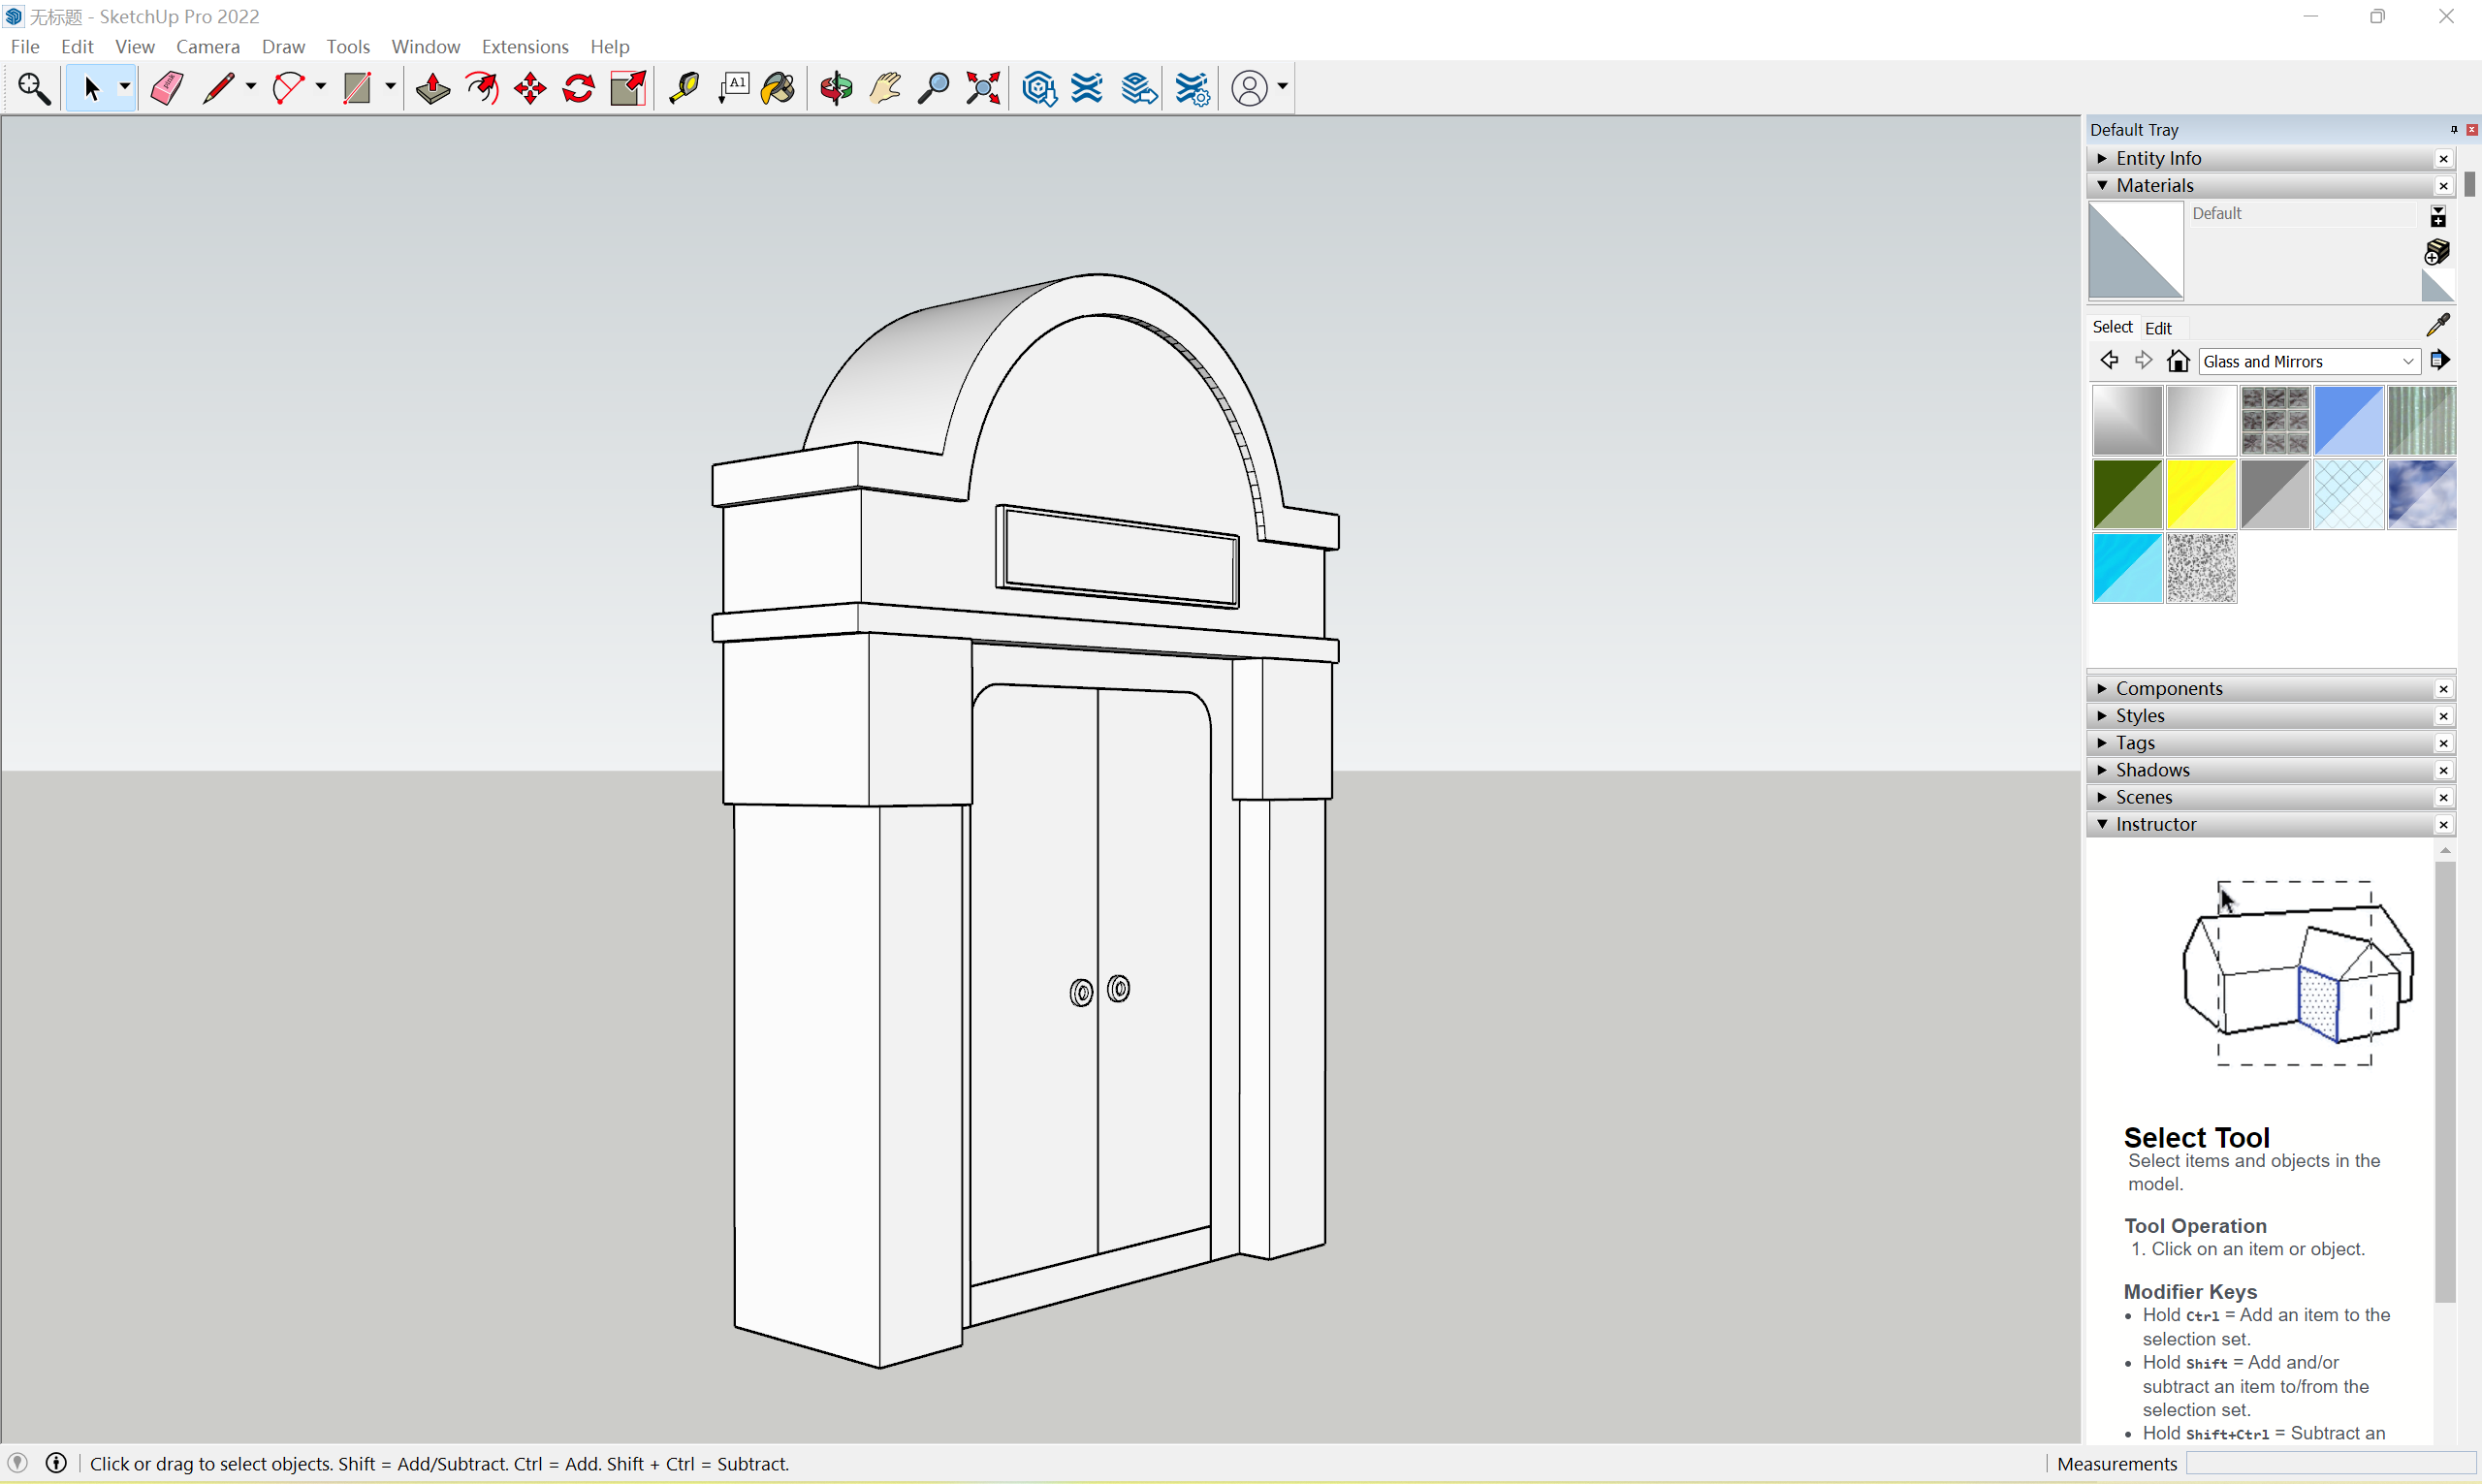
- Modify the Details and Finish the 3D Model
"File"-"Import"
4) Recording Screen
For Windows users, there is an easy way to record your screen.- Open the app you want to record.
- Press "Windows key + G" at the same time to open the the Xbox Game Bar tool.
- Click on the "Start recording" button in the Capture menu.
- Once you've finished recording, head back into the menu and click the recording button again to stop recording.
For more details: How to record your screen in Windows 11
Here is my screen recording in SketchUp.
1.3 New Modeling Tools Exploration
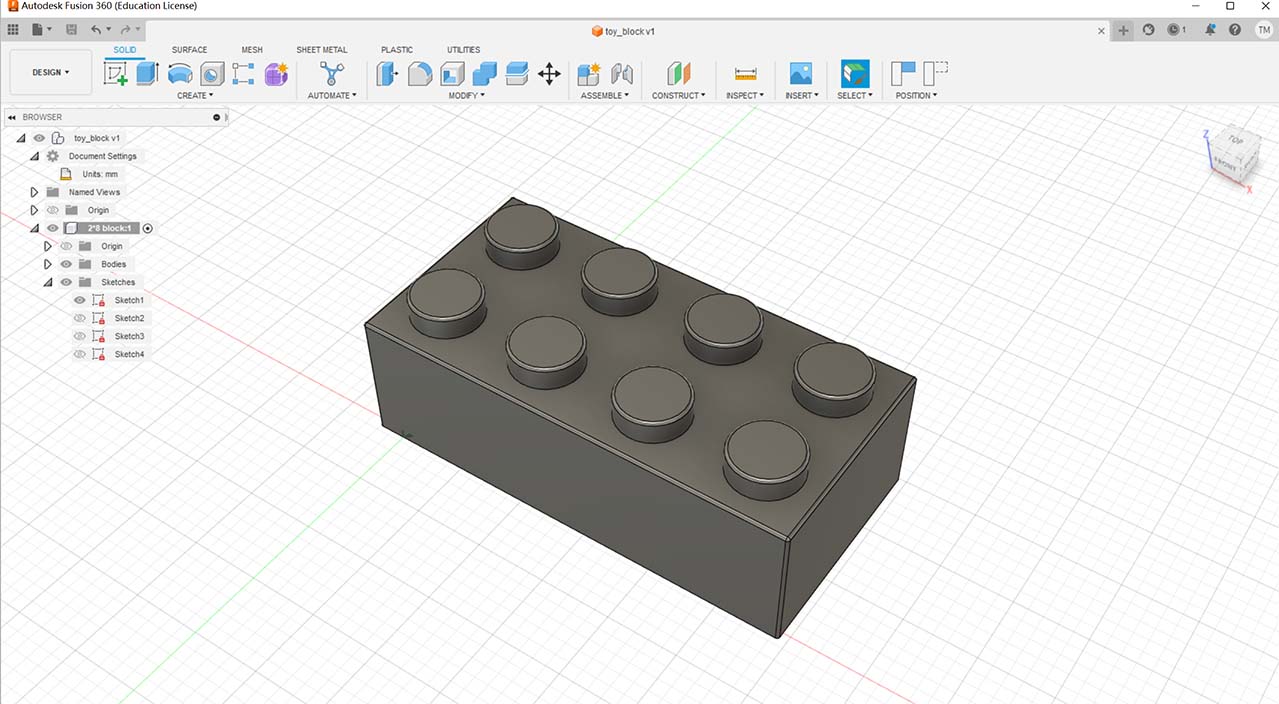
Following the tutorial on YoutubeLearn Fusion360 I started my Fusion360 trip.
1 Lego Block
- 2D sketch
- Extrude
- Shell
- Rectangular Pattern
- Constraint
- Parametric
- Joint
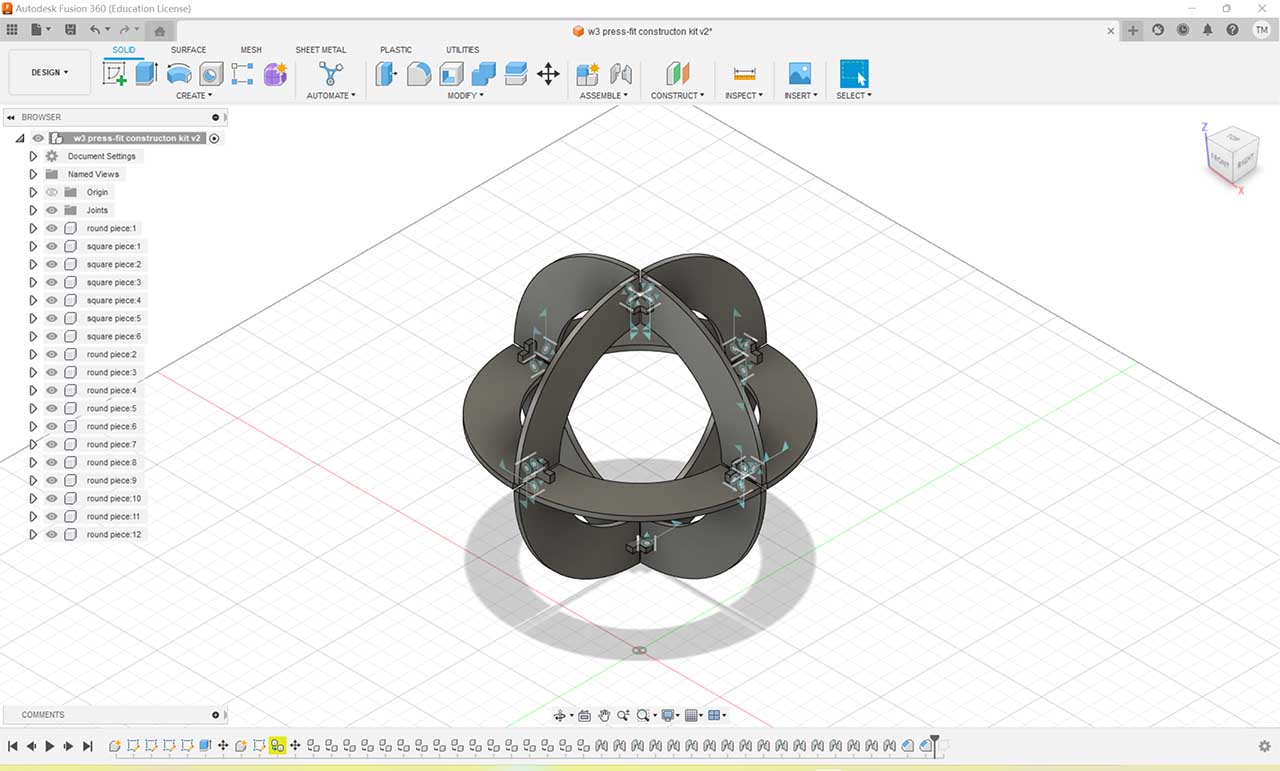
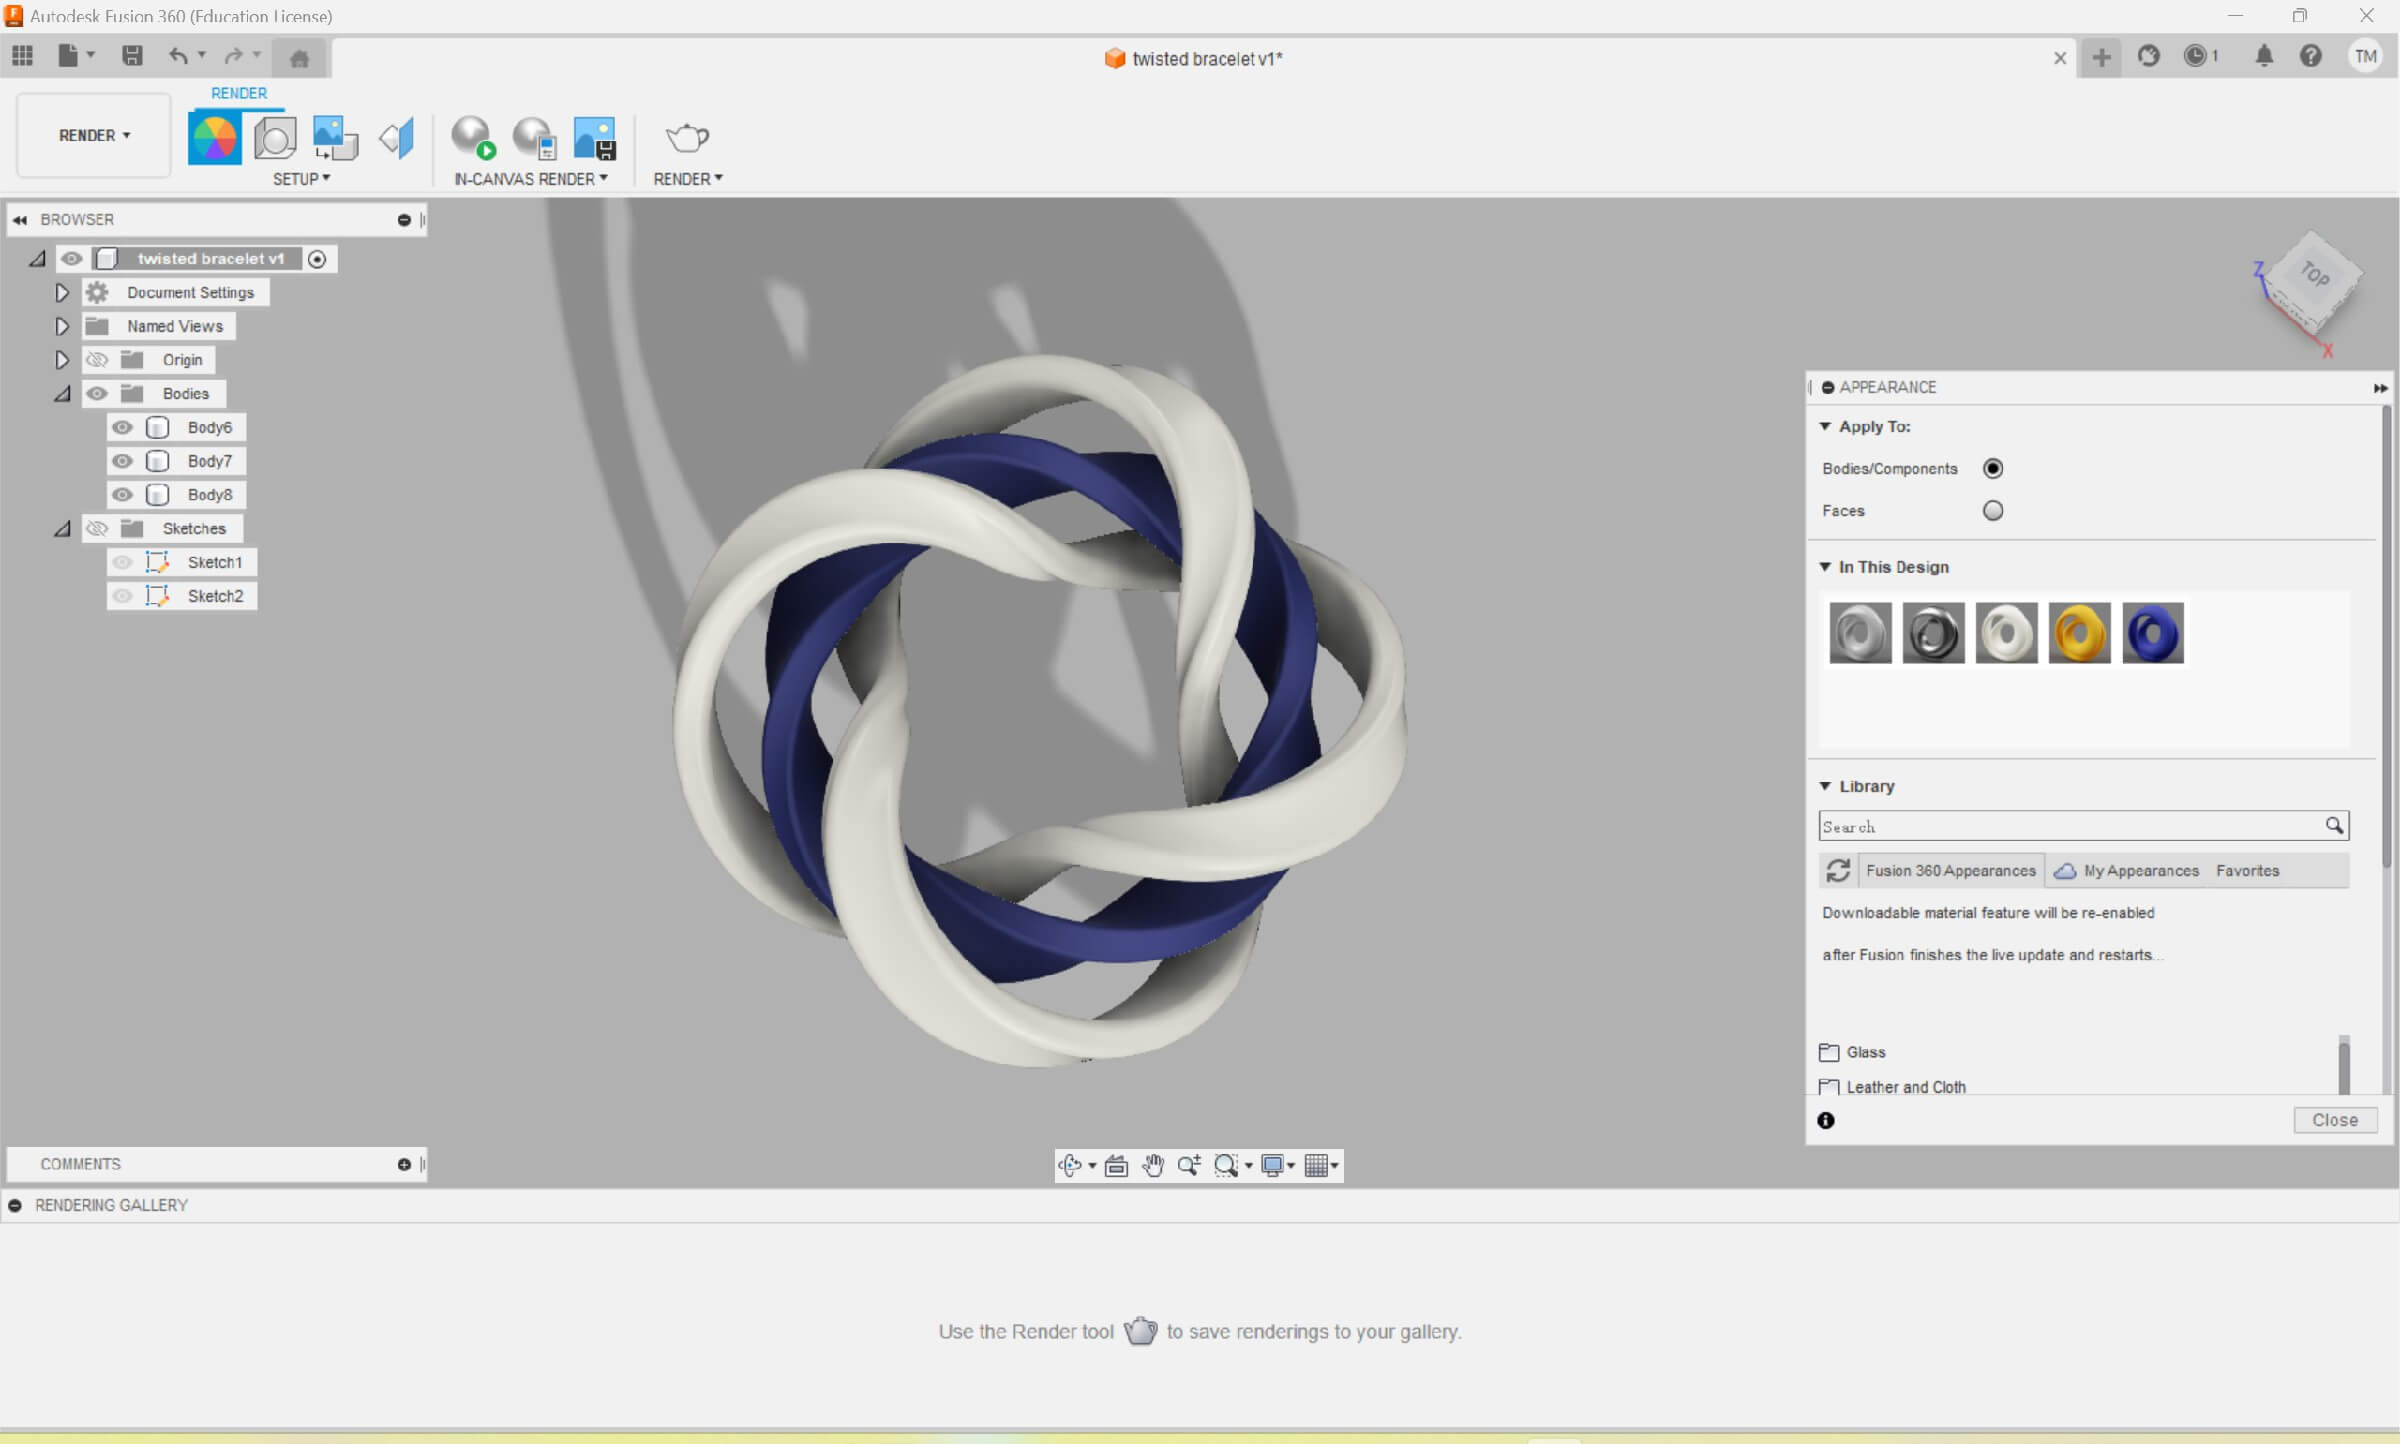
- Sweep
- Render
- Add-In
5 Blobs Vase
- Revolve
- circular Pattern
