Week 2: Computer-aided design

The first thing I do after Neil's class if to look for a CAD glossary of terms, so I can clear out the different concepts applied. I've found this:
https://cadvizor.com/glossary-of-common-cad-terms/
3D design
After that I look for some Fusion360 tutorials, and I watch several of them, beginning to play with the Fusion360 software, and learning the concepts of sketches, bodies, components, etc..
I knew some very basic 3D programs like Tinkercad, and I´m amazed by the powerful tools this program have, and the relatively easy that it's to model movements and physical animations.
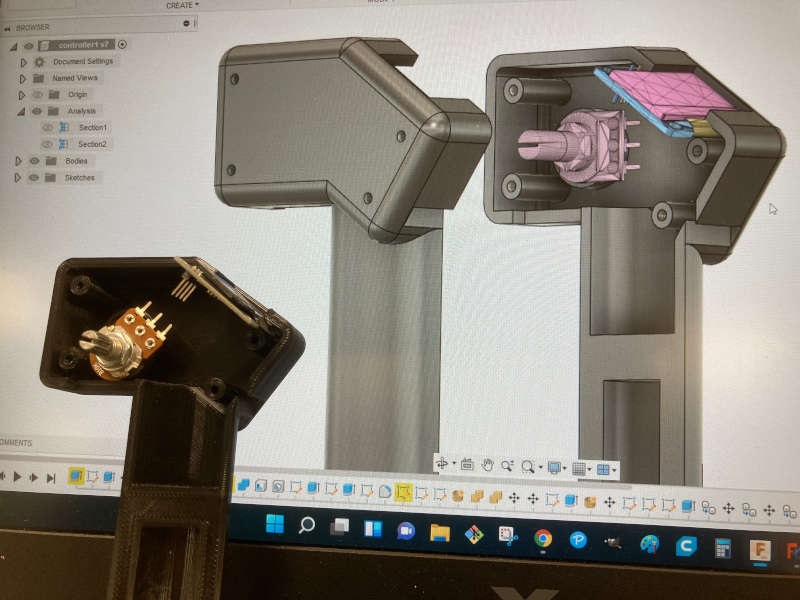
Exploring joints and spinning movement
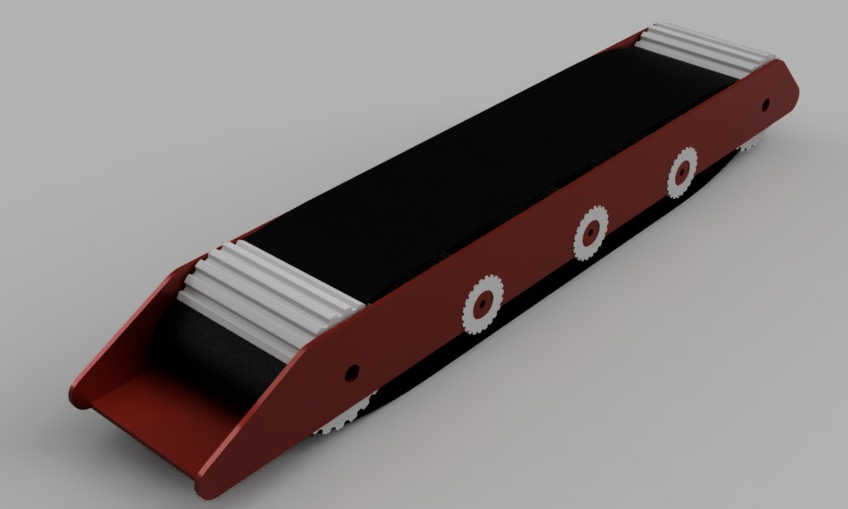
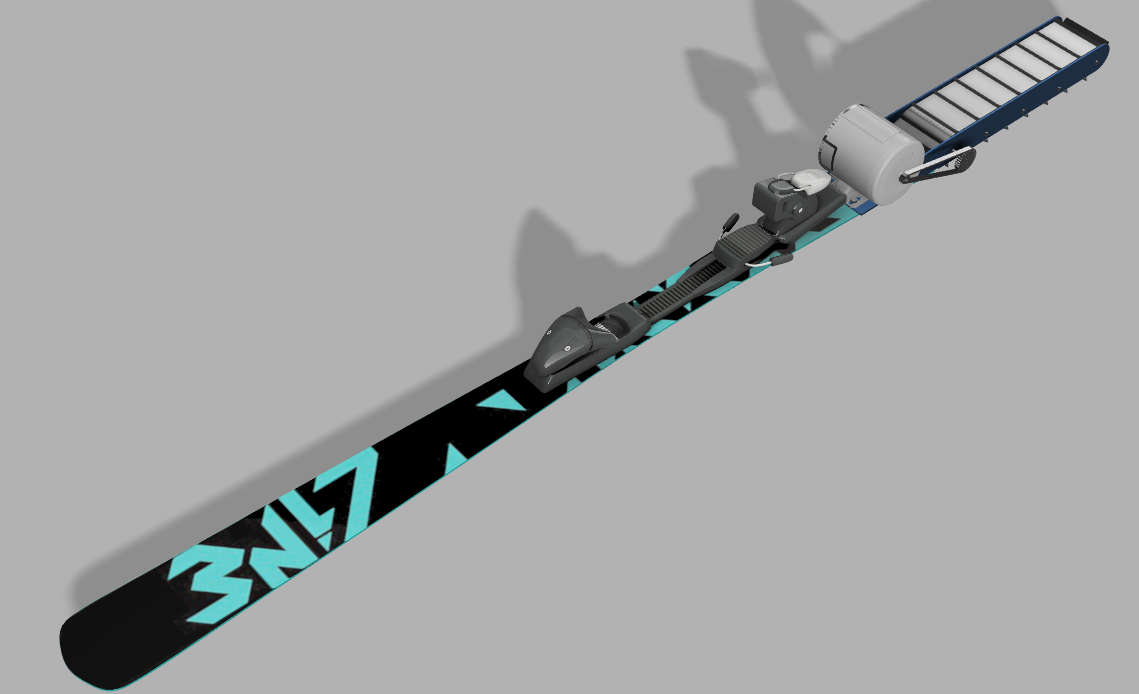
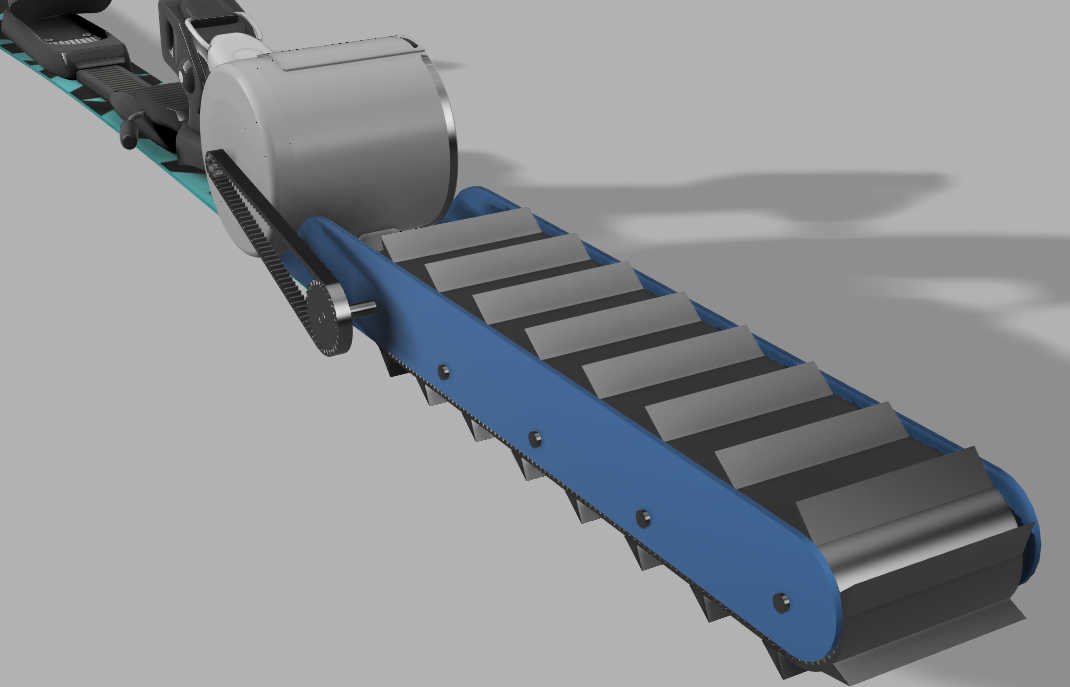
After that I tried to make my first 3D model of the ski carterpillar for the final project and this is the result:
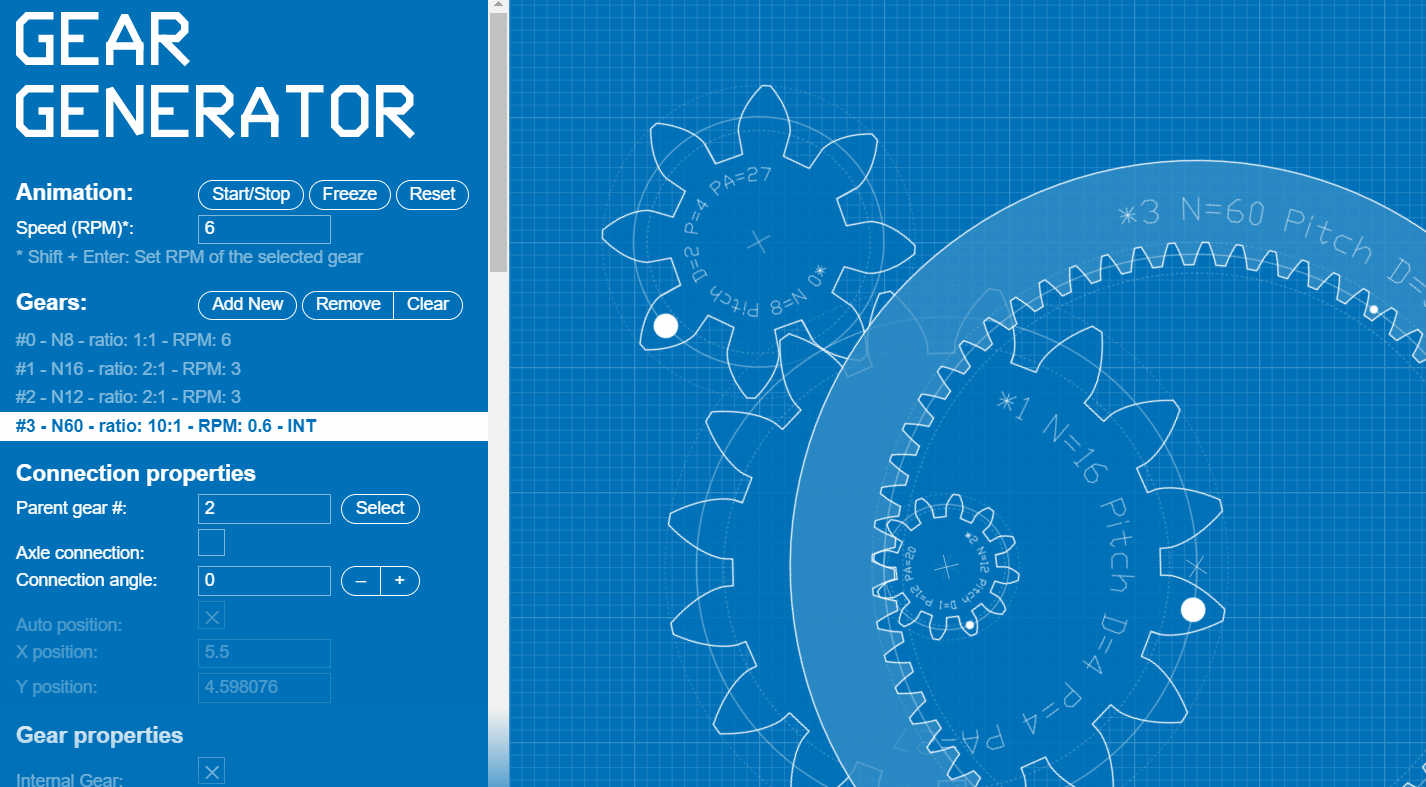
I use this first day of the week just to learn the basics of Fusion360. Then I realized I needed to maker some good gears for my project and calculate them. I've found a good page to do the math: www.geargenerator.com
Also I needed to use a gear plugin in Fusion360, and I installed the FMGears plugin:
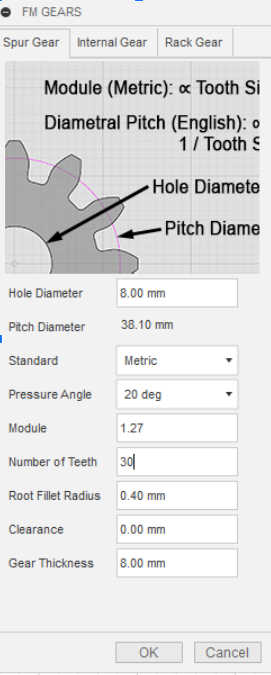
With that plugin I can create the gears I need with the correct metric and the size I want.
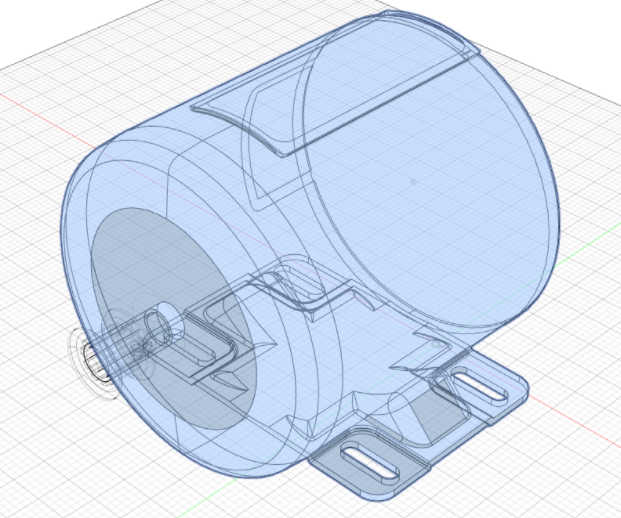
After that I cut, modified and customized an electric motor found on mcmaster.com:
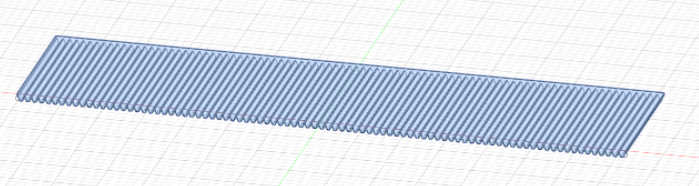
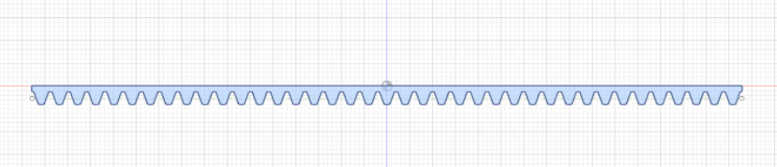
The most complex part was to model the gear belts. To do that I used the FMGear plug-in, and modeled the belts as "internal gears" and "rack gears":

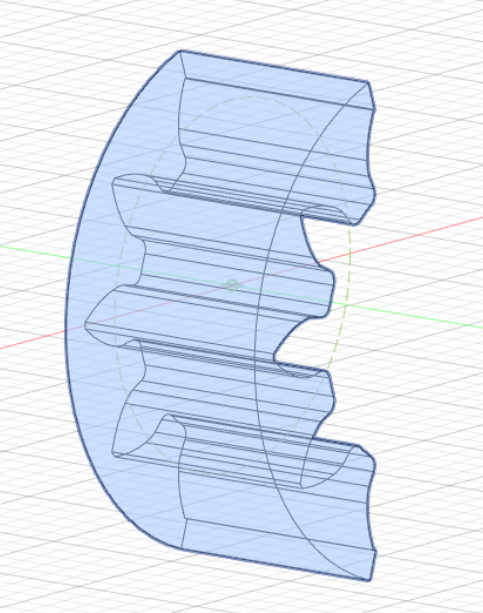
So it's time to put everthing together:


Files
Fusion360 file: skit5 v2.f3d
Note: I downloaded the ski and bindings model from free3D.com. Thanks to printable_models for doing and sharing it.
Tip: The ski model is loaded in Fusion360 as a mesh. I tried to cut it extruding a sketch, but I couldn't. I had to use the "plane cut" function in the mesh menu to do it.
2D design
My plan was to use Inkscape, so I watched and read some tutorials of it, and began to sketch some drawings for the logo of Skit:
It's interesting to learn the concepts of path and node, and the different kind of nodes you can have.
I thought it could be a good idea to imitate the ski tracks with the silhouette of the words, and I tried:
However, I found it wasn't so easy to draw precise geometric figures with Inkscape. So I use the draw module of LibreOffice, because it has a useful tool of elipse arc to do it.
So this is the last version of the logo:
File:
SVG format: skit logo v1.svg
Note: On the week3 I designed a new logo.
Video generation and conversion
I created an exploding animation in the Animation section inside Fusion360, selecting the components and recording the explosion of the pieces. The generated file was a .avi. Using the online converter cloudconvert.com I could generate an mpeg4 file of 410KB:
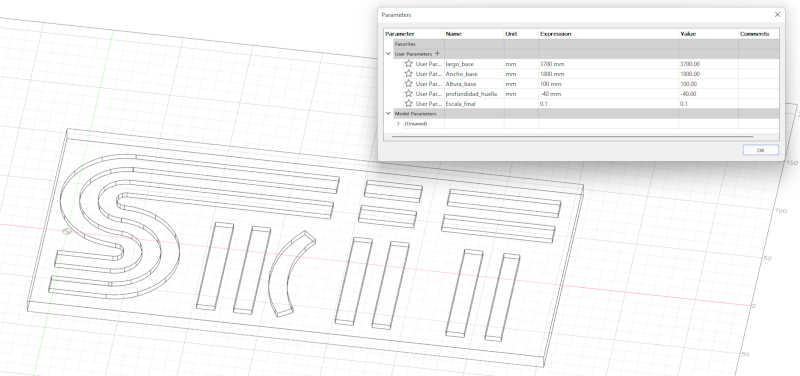
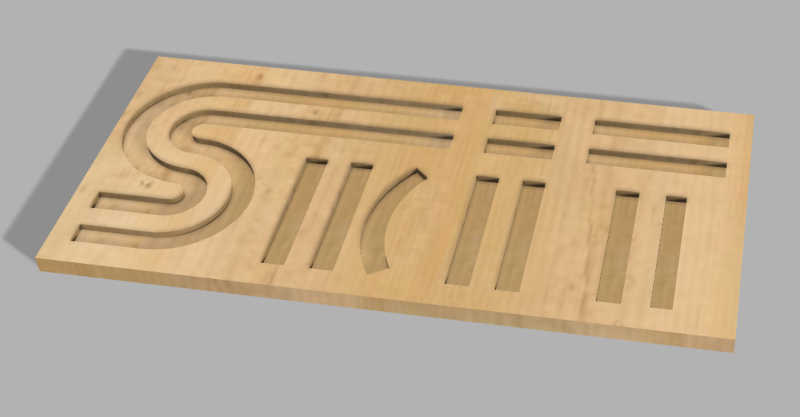
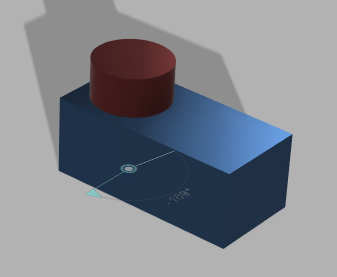
Parametric design
Finally I explored the parametric design a little bit, modeling a carved wood with the Skit logo. I used the option "change parameters" in Fusion360 to set up some user parameters (length, width, height, depth of the carving) and have a carved wood in the desired dimensions.