01 Week :: PROJECT MANAGEMENT AND WEB DEVELOPED

The adventure begins! How to express the emotions of this first week!
Anxiety, frustration, fear, joy, power of overcoming, doubts, questions... and a long etcetera of sensations. I will try to put my ideas in order and share this journey with you.
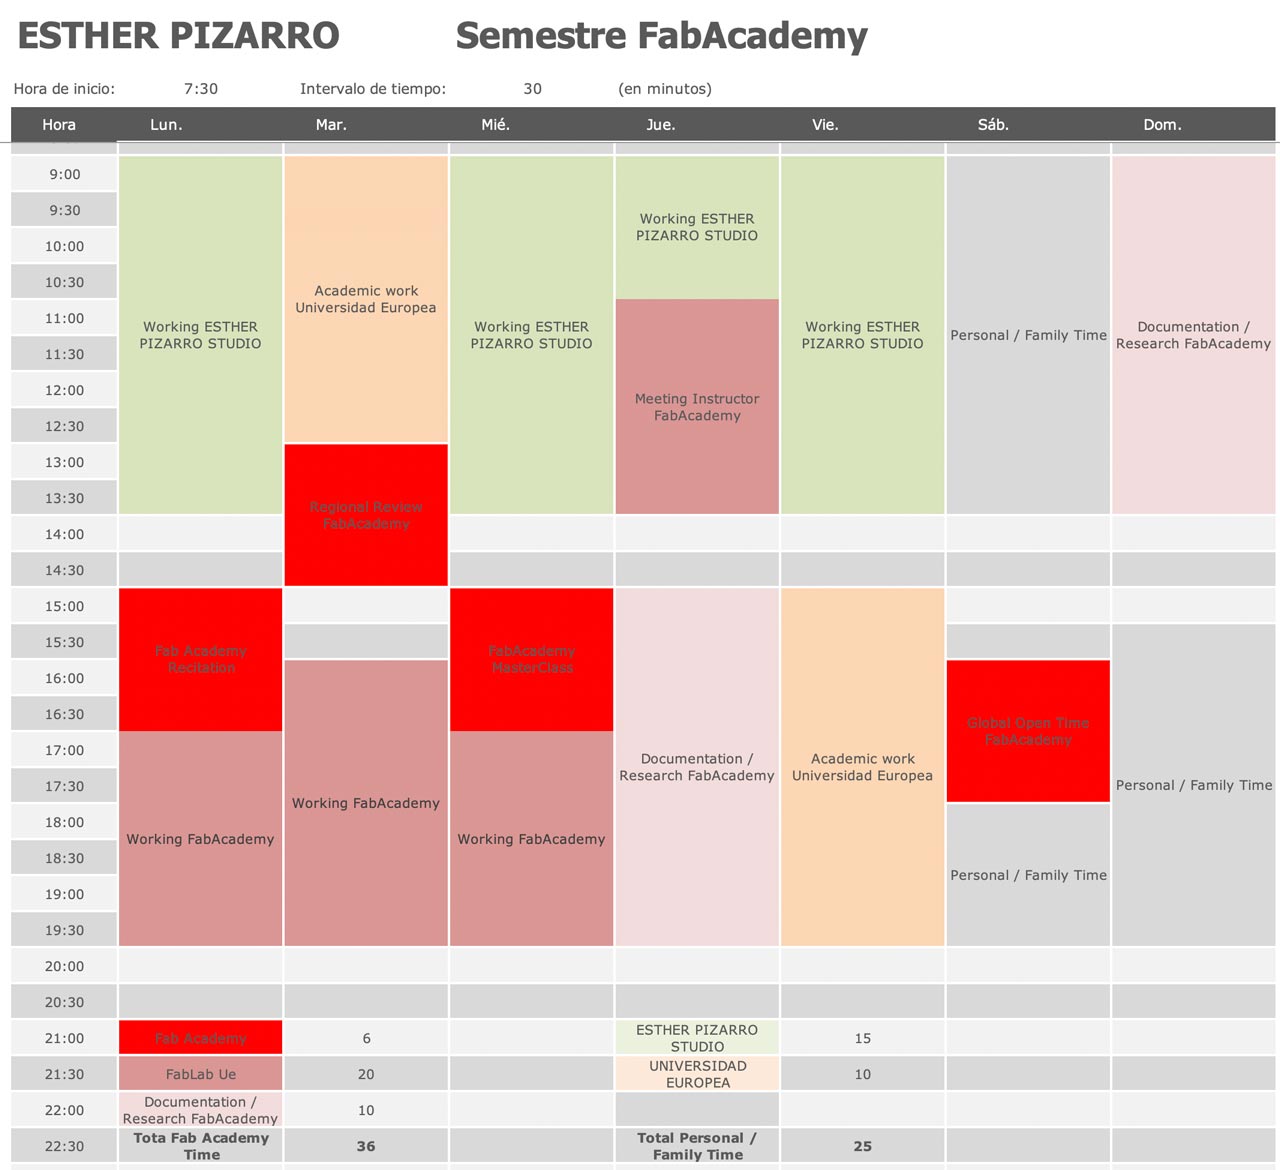
Time management
Time... what a great challenge! For me time management is fundamental. When you are of a certain age and your time is limited because you have to divide it between your professional, family and personal life; either you manage it well or you are lost.
It is important to establish a weekly schedule (as an artist I am very visual, seeing the time grouped in blocks and colors helps me to manage it) to block gaps and try to be as concentrated as possible in these sections. It is a priority that the work done is both effective and efficient, therefore, AVOID INTERRUPTIONS!!!!
In this template I have tried to compute how to divide my time in a typical week.
Some concepts to start
For someone who has never worked with web pages, or programming, this part is tremendously complicated, generates great stress, and a lot of frustration.
It is important to have clear some basic concepts, read the assignmets, follow the tutorials, and see what other colleagues have done.
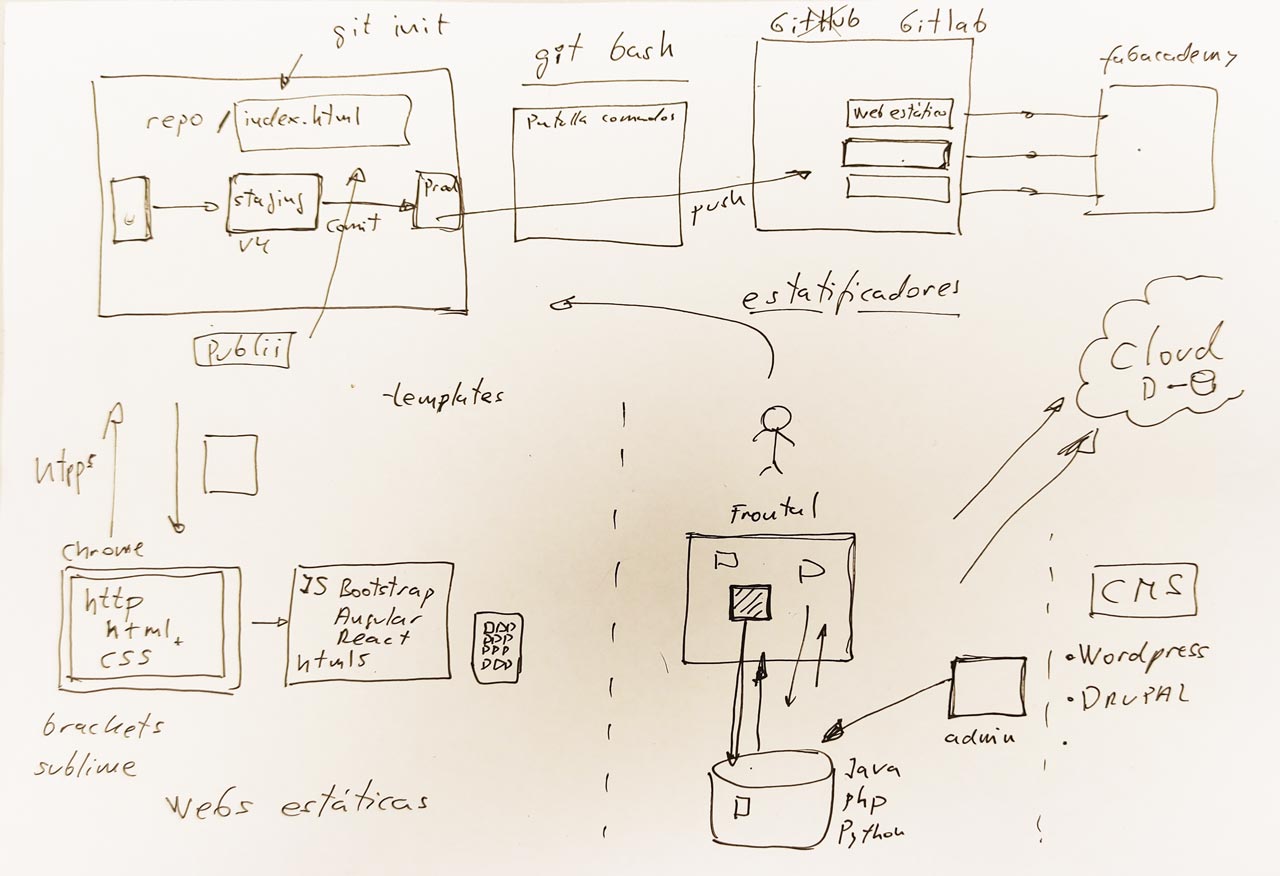
I appreciate the masterclass that Jon Merino, FabAcademy UE colleague, gave me to try to clarify basic concepts such as: CSS, htlm, CMS, static generator, static website generators,...I share his outline and I advise you to read the entry of his assignment, as it clarifies these terms.
Organizing taks
Fundamental: the organization!
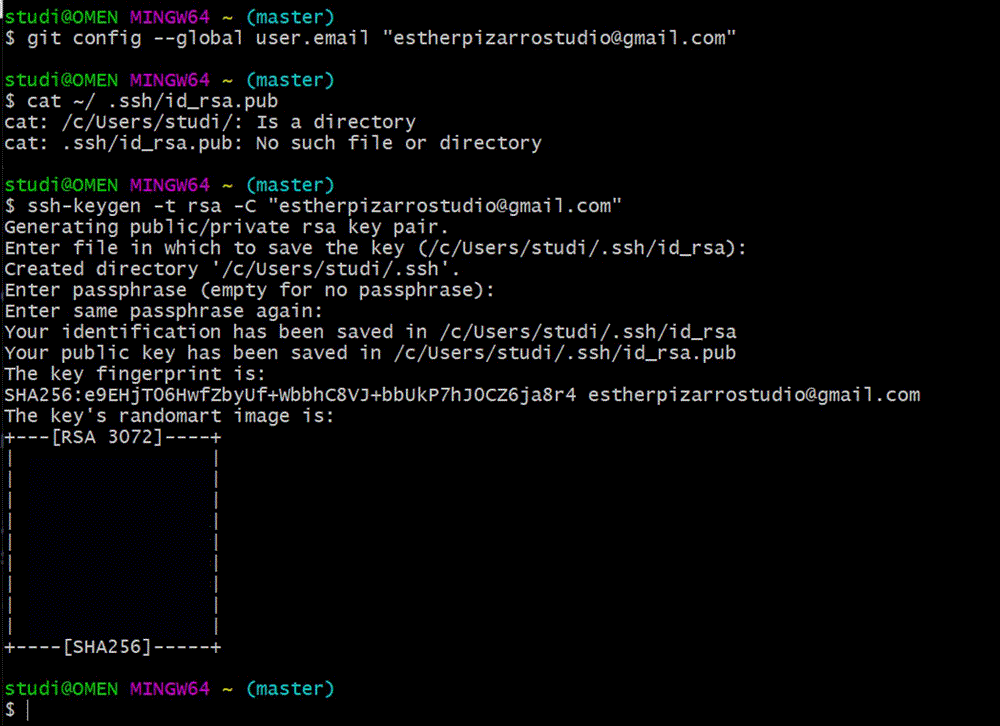
1. Install and configure Git and SSH- Key
It is essential to follow the with the steps
What seems simple in the tutorial, is not so in practice and you always have the feeling, especially when you don't know much, of messing up or doing something wrong.
2. Designing the Website HTML+CSS
For me this has been the most creative part, not without technical problems, of the weekly assignment.
Tip: check what options are on the web, since you will spend a lot of your time documenting and uploading to your personal web everything you are doing in the FabAcademy.
3. Choice of template and platform
I downloaded an HTLM template "Editorial" and was doing some tests with Brackets to familiarize myself with the HTLM language. When we shared the review with our instructor, Alberto Gonzalez, we realized that the three FabAcademy colleagues had unknowingly used the same template. What a coincidence!

My colleague Jon Merino told me about Publii , a static blog generator really easy to use and install, even for someone who, like me, has no experience in web design. You install the program and you can start designing your website with the template you like the most.
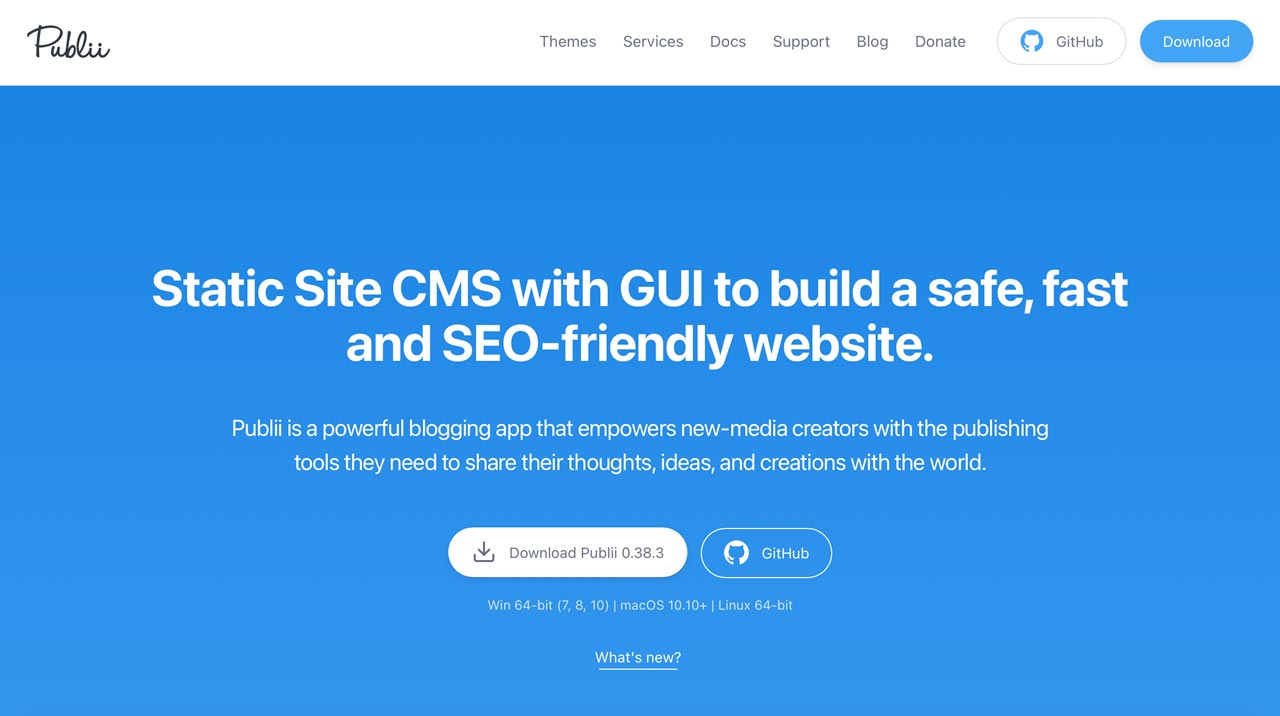
After reviewing the free templates that Publii has, I chose Mercury because of the simple and flexible design it offers. You can visualize your changes in the "Preview your Changes" option and if you don't like something, you can modify it again. I have to say that the tool is extremely intuitive and easy to use.
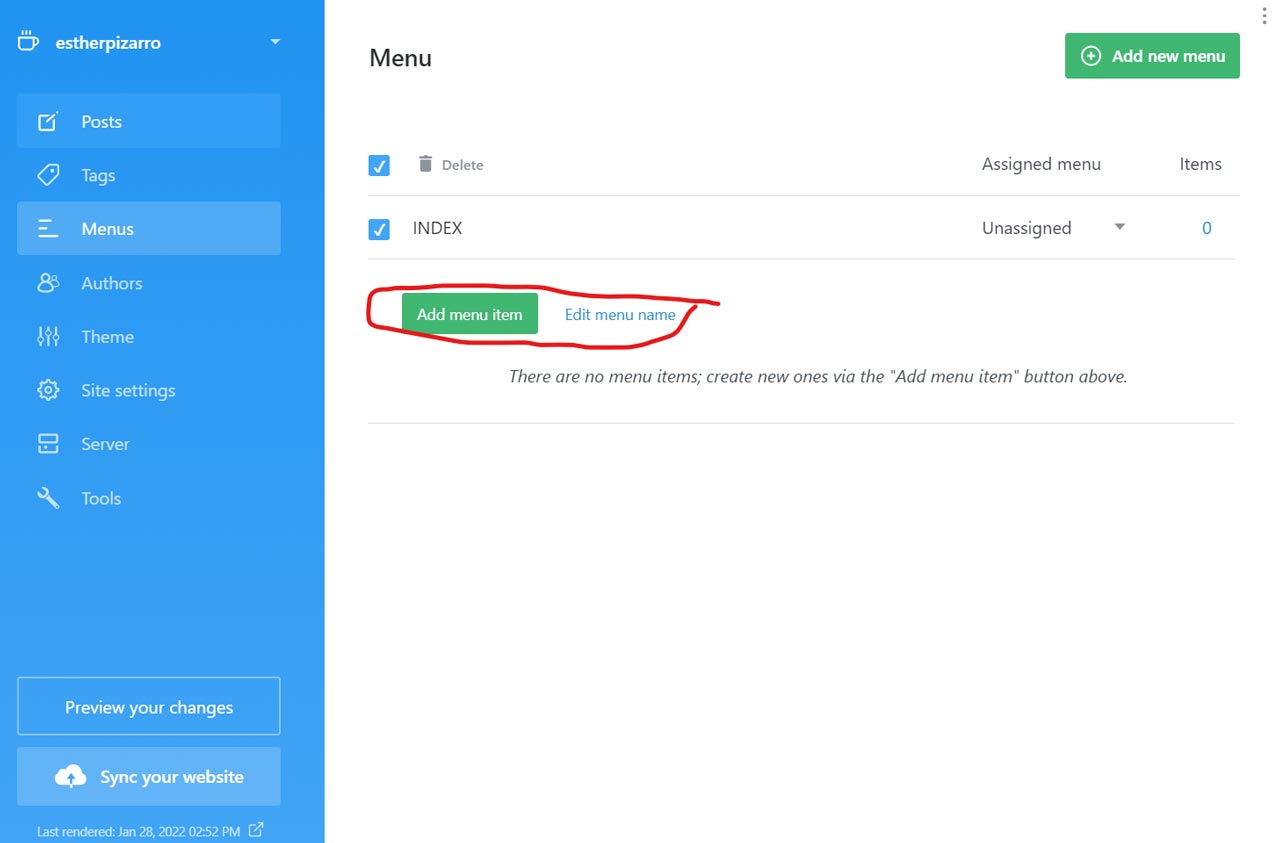
a) Designing content
It is important to think about how to structure your menu and the hierarchy of content you want to display. I share with you some screenshots of the process.
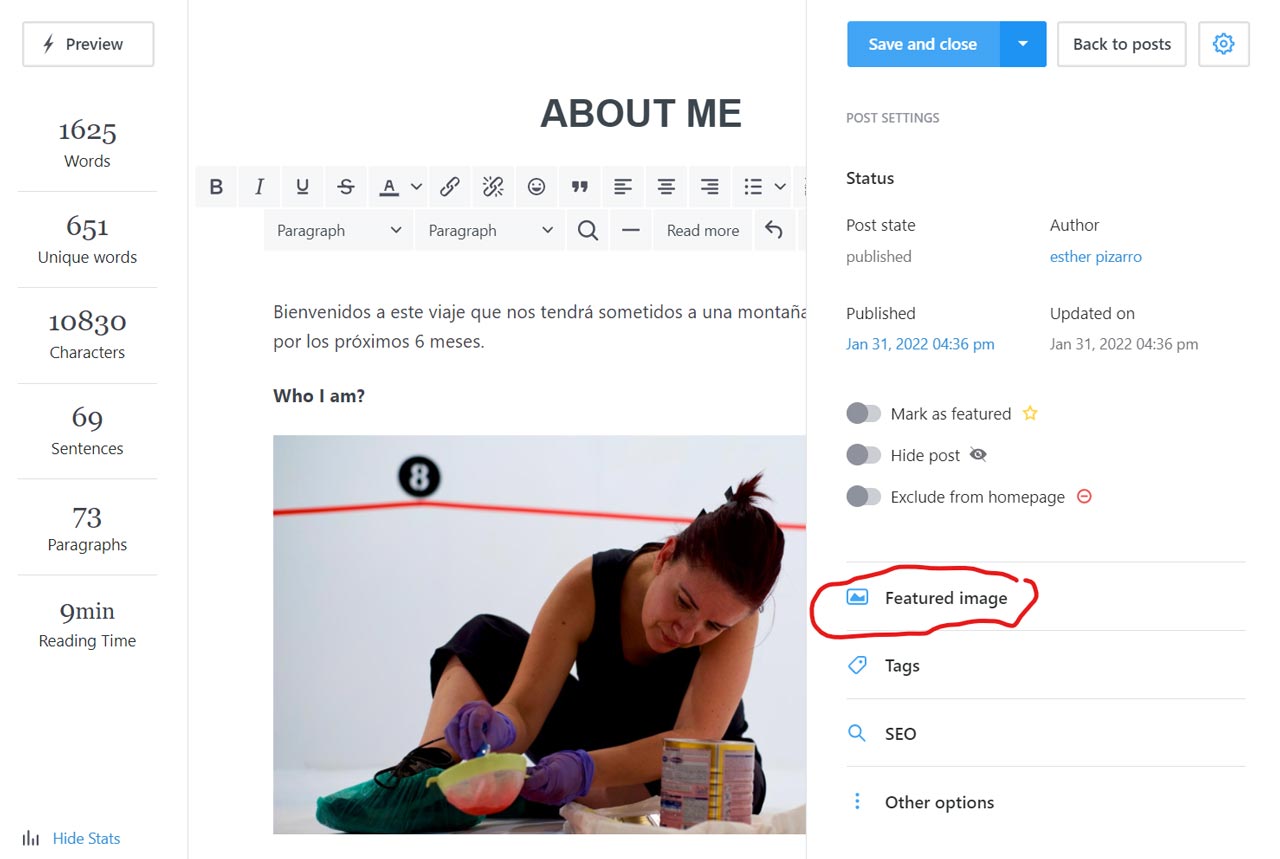
Once you are designing each entry, it works almost like a text editor, but with more options. I advise you to generate hyperlinks for references to other web pages, colleagues or information of interest.
At the design level, it is good to choose a featured image (with square format). It will be the one displayed on the Home Page.
b) Image processing
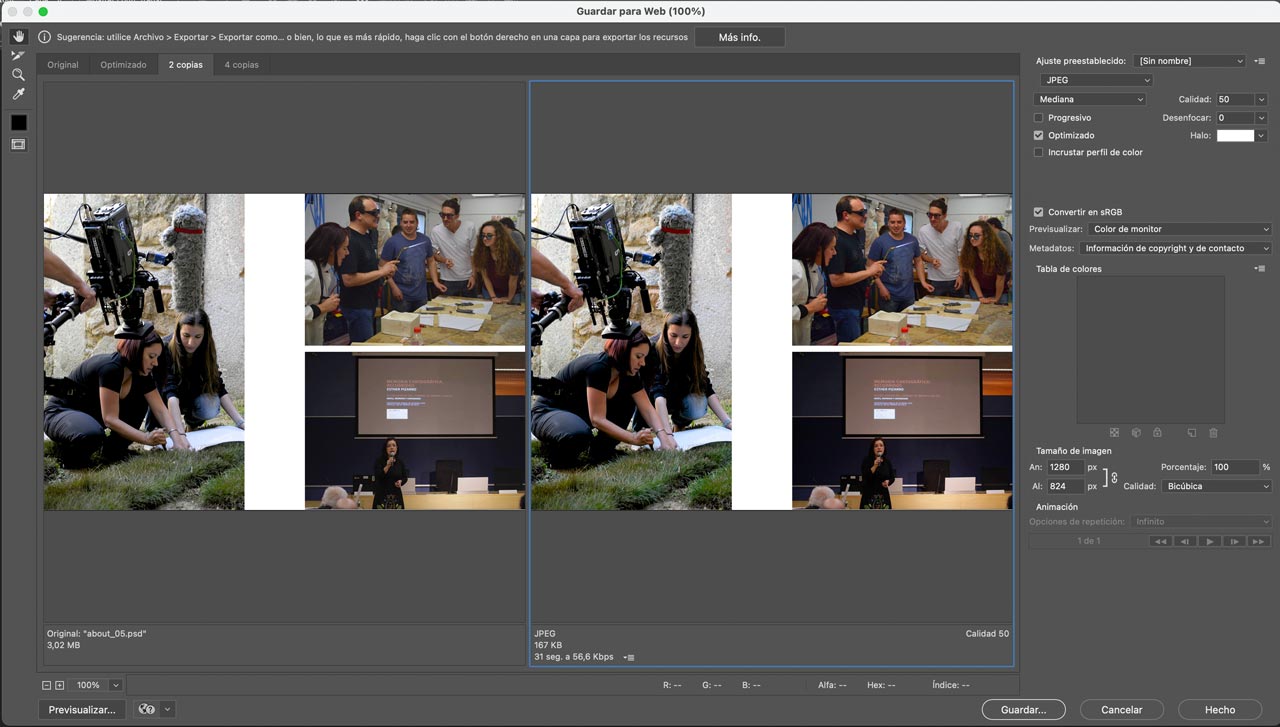
Alberto González, our instructor in the FabAcademy at the Universidad Europea, has insisted that the images that we upload (which will be many) have little weight; we do not want Neil to take us out with color!
I have used Adobe Photoshop. I indicate the route because it can facilitate the work of image processing for web:
File/Export/Save for Web (legacy)
Image width: 1000 px
Quality: 50
Format: JPEG
Average weight: 40-180 KB
When I want to make a polyptych of several images, I work on them in Photoshop and then save them as a single image. This facilitates the management and the weight of the graphic documentation.
c) Exporting content on the local website
Next, you have to choose the server to export the content to the corresponding folder.
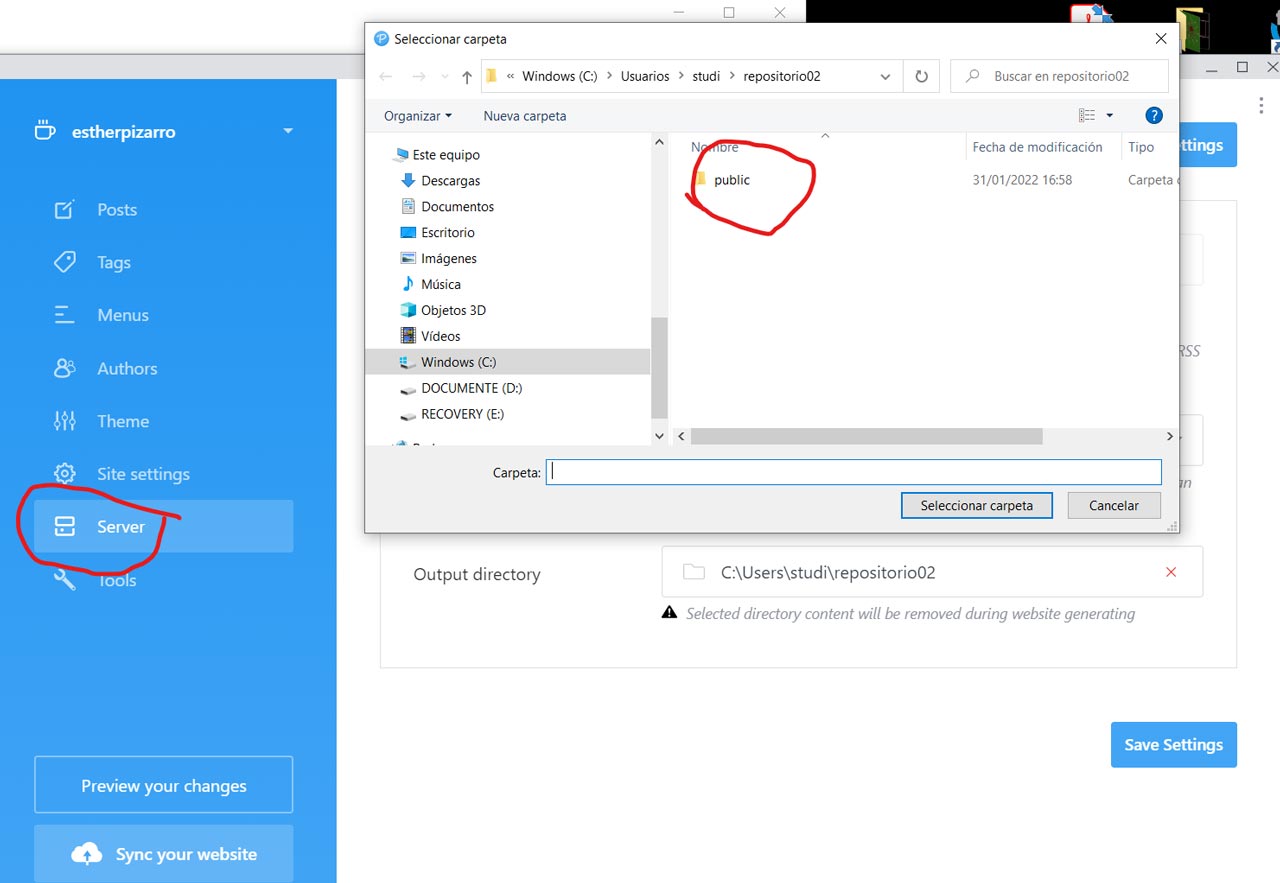
Once you have the content ready to upload to your web you have to export it to the "public" folder with the "Server" option.
It's time to Git
Now, It's time to upload all the modified information in our local repository to Gitlab and our public website. To do this we follow this steps of Git "Mantra:
git status (To see the changes inside our repository folder)
git pull (To download the last version of local repository to the online repository)
git add . (To add our changes)
git status (To check all the changes were added)
git commit -m "name of the change" (To confirm our changes)
git status (To check we can do last Git step)
git push (To upload the actual local repository online)
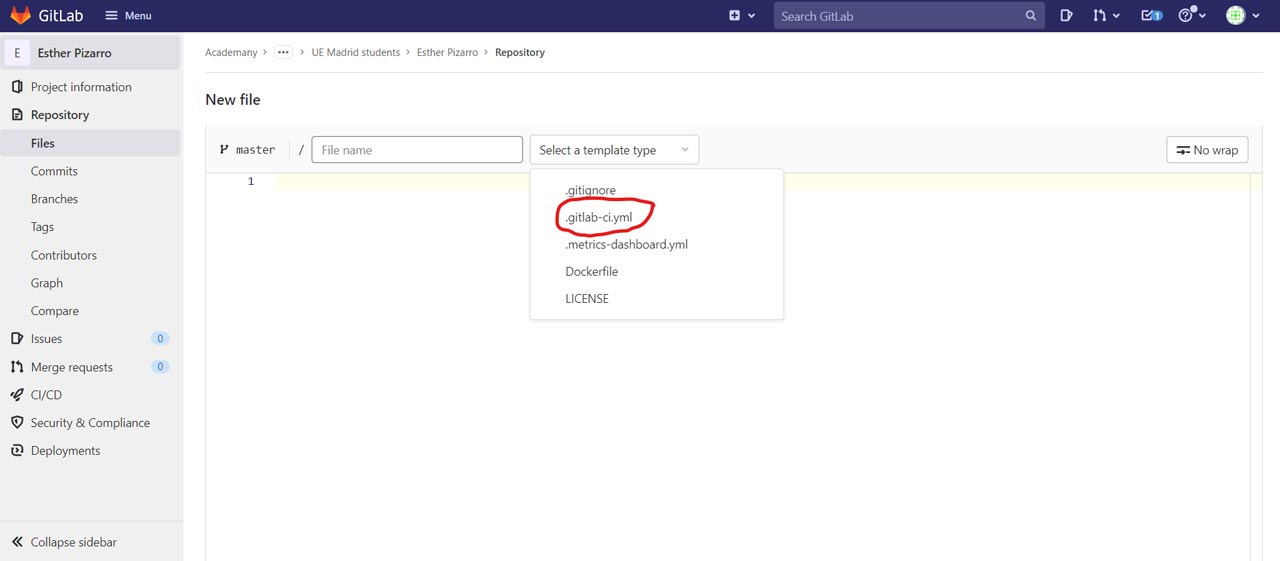
This, which seems so simple, can turn into a real nightmare. I think Git has been keeping more than one of us awake at night this week. Again, the teamwork and the advice and guidance of my colleagues, Jon and Pedro have made it possible to finish the upload of the first week's content. I attach screenshots of the process.

Tip: never change neither the name nor the location of your repository, unless you are a computer crack, because Git doesn't recognize it and starts giving you an error in the upload.
I hope that from now on uploading documentation will be a much more mechanical process and that it won't take me as much time as it did this week.