Electronics production
Group assignment
For group assignment we tested community mods and tried to CNC Neils traces with linetest.png PCB.
So we checked in Mods the Rolland MDX-40 program and from there created our version to use with CNC 3018.
You can download the program here: MODS_PCB_linetest_program.json
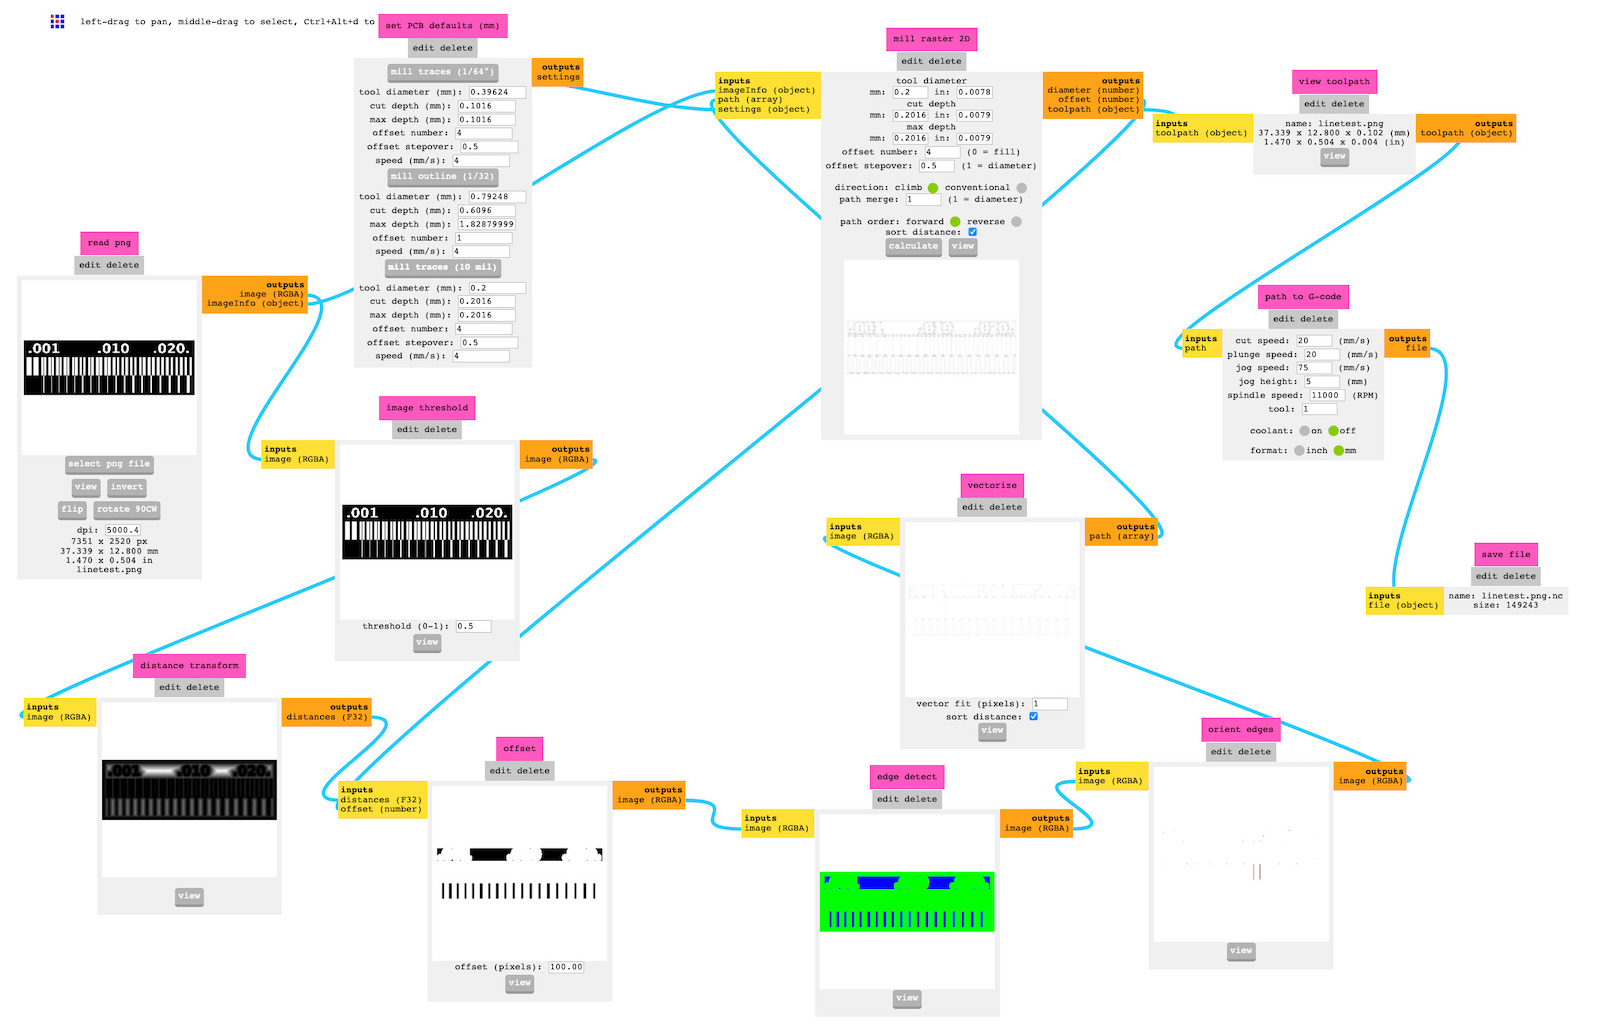
Once loading Mods program from file (right-button mouse click), we mainly adjust the “mill traces (10mil)” inputs in the “set PCB defaults (mm)”:
- Tool diameter: 0.2
- cut depth (mm): 0.2016
- max depth (mm): 0.2016
- speed (m/s): with 2 and then 4
And click in “mill traces (10mill)”.
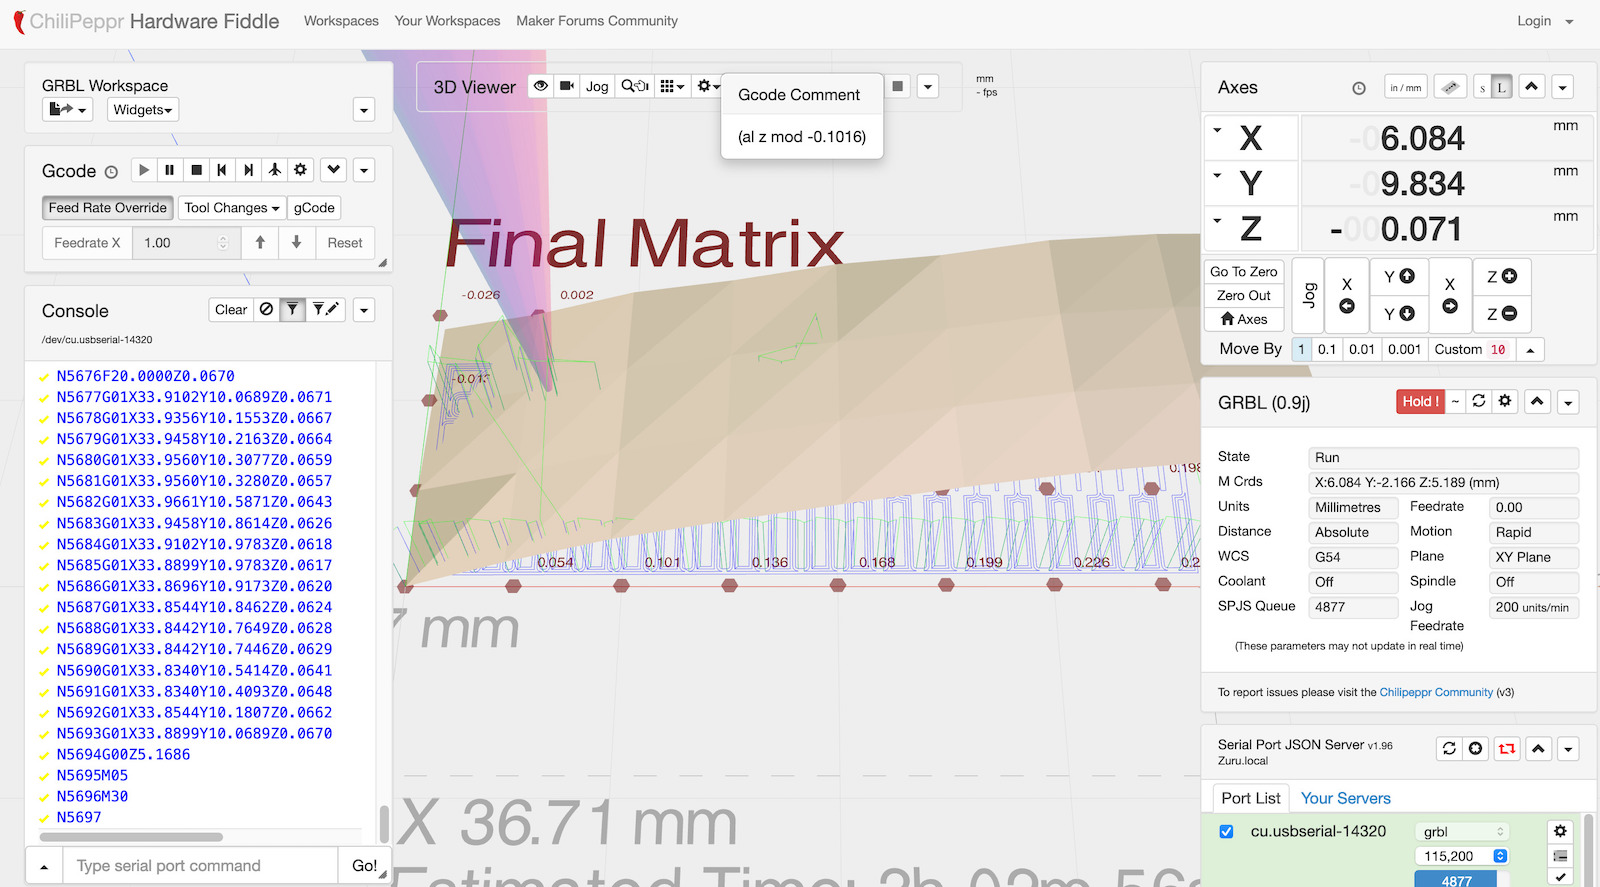
Then clicking “select png file” in “read png” module, we select the linetest.png image. Now the only thing to do is to click “calculate” in “mill raster 2D” and mods will ask you to save a .nc file with paths G-code that you can pass to your CNC machine management software. In our case, we used ChiliPeppr jpadie workspace.
Once .nc file was loaded into Chilipeppr, auto-leveling was executed and we milled the linetest paths. (note: yes, the wasteboard in the cnc needs to be flattened, will be done later once we have a tool that allows for that)
and the result was this after cleaning the pcb.
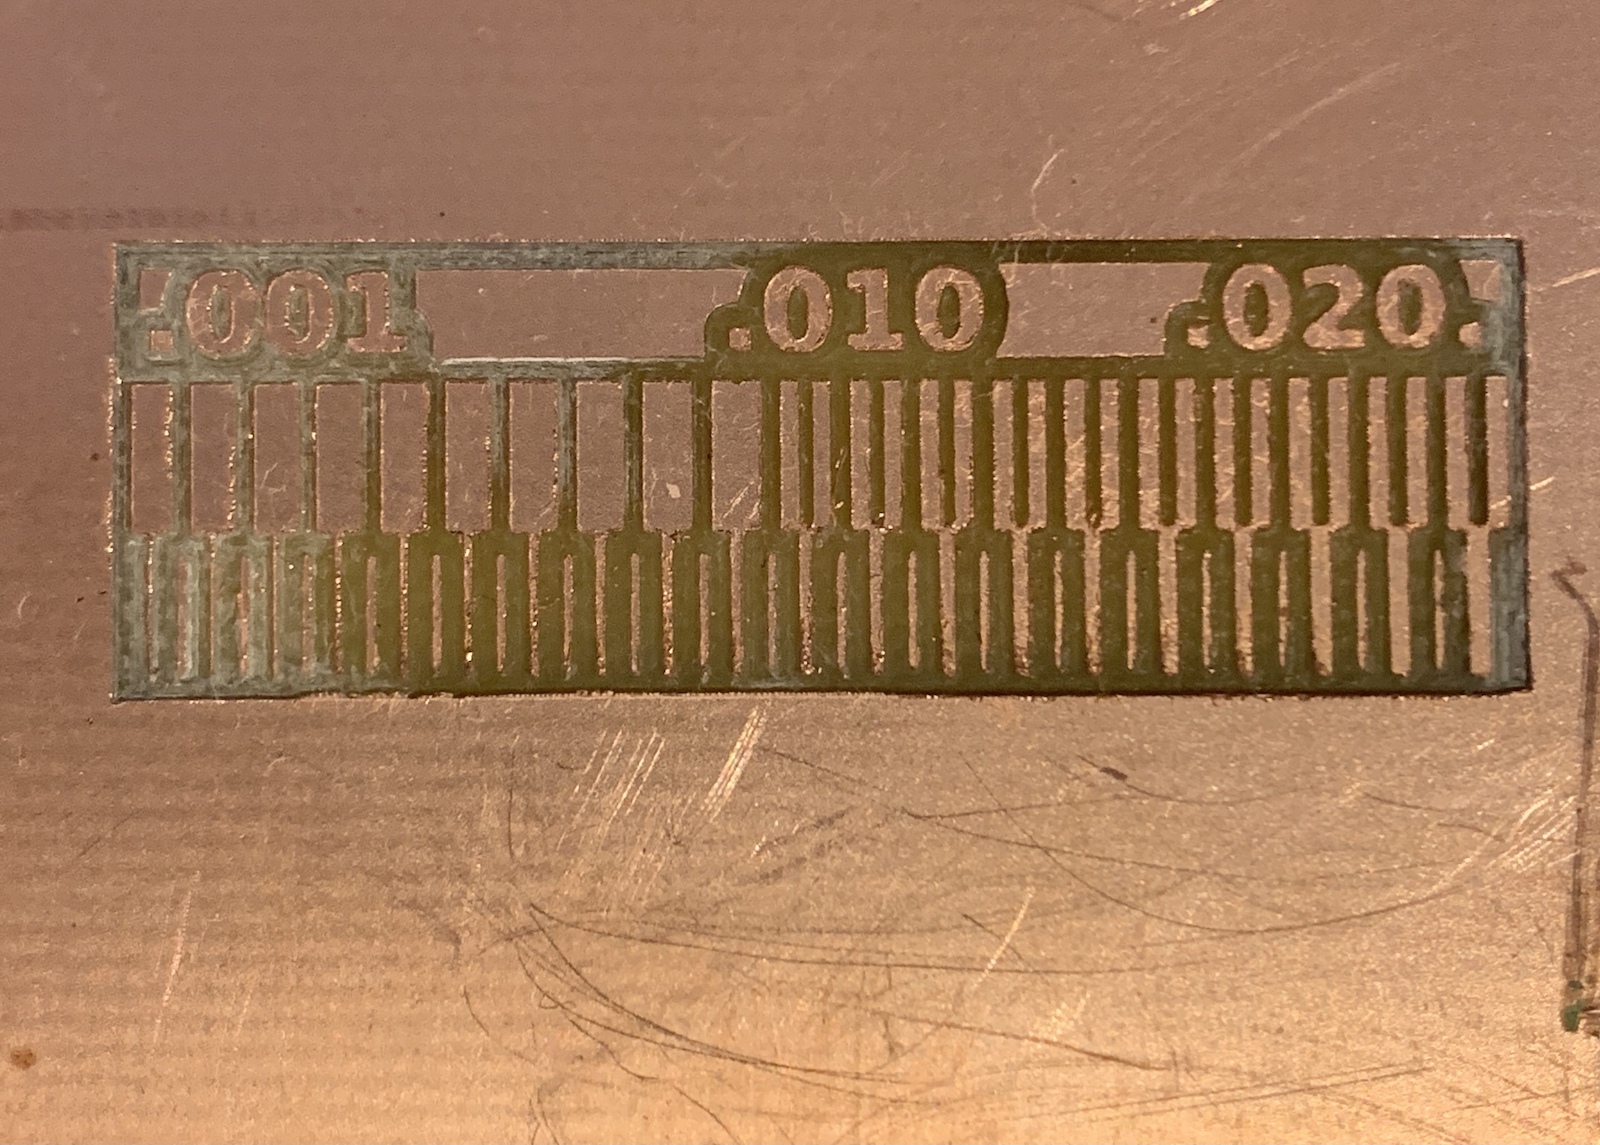
You can see the line width gradient and the size of the pcb is on scale 36mm x 12mm. We needed to test some z height and before we get this PCB milled, there were some failures until we reached a decent result.
PCB Production
Design rules for milling a board are conditioned by the size of the bit or “tool” used on the CNC to cut the vias, which in our case is of 0.4mm, so we set the Clearance to that value in Eagle design rules, leaving all other values at Default.
![]()