6. 3D Scanning and printing
Non-subtractive 3D object design
Using the Autodesk Inventor software, we draw a quarter of a circumference in a 2D sketch and then apply the revolution command to make a 4 mm thick hollow half sphere, applying a mid-plane in the sketch, drawing a rectangle on top of the half sphere. for revolution where it generates a hole in the center of the sphere, then with that hole, we apply a circular pattern taking the front axis to make holes every 20° and then we apply the same taking as axis and which helped me to add the holes around the half wait, completed the holes in the half-sphere to which is applied symmetry to form the complete one, then I added the hollow sleeve applying revolution on the bottom of the sphere.
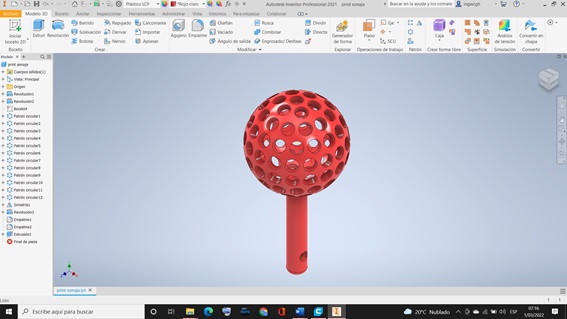
Then I enter the list of the file option, in the print option, I click on the option send to the 3D printing service, this option prepares what it does and saves the file in a format with the extension STL, which is recognizable by printers 3D.

For 3D printing, the software Ultimaker Cura will be used, which is an application designed for 3D printers, in which the printing parameters can be modified and then transformed into G code, which will be recognized by the printer to perform the printing.
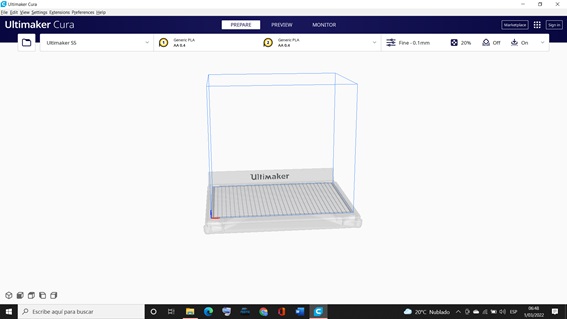
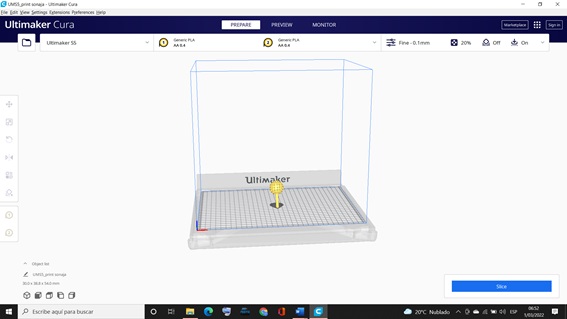
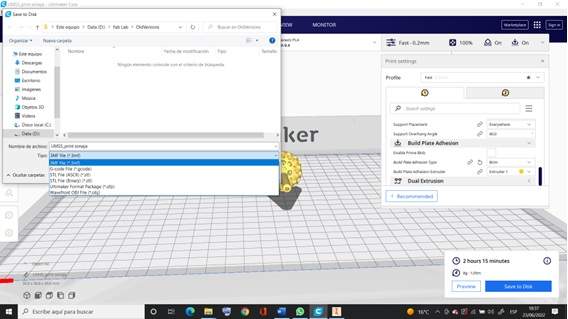
With the Ultimaker Cura software open, it is necessary to drag the file designed in Autodesk Inventor with the .stl extension and drop it into the cube, which the software recognizes.

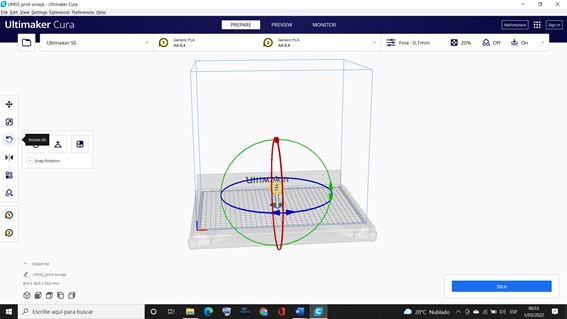
As you can see, the object to be printed remains horizontally in the printer, so it is necessary to find the correct way to print, for which with the option to rotate the coordinates, I configured it vertically since it is the most optimal way of printing. print and get less waste.
As you can see, the object to be printed remains horizontally in the printer, so it is necessary to find the correct way to print, for which with the option to rotate the coordinates, I configured it vertically since it is the most optimal way of printing. print and get less waste.
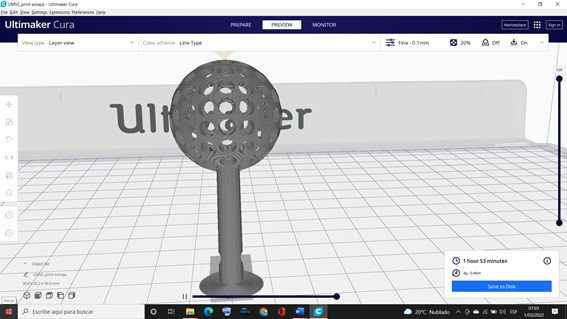
After pressing the Slice option (layers) the software calculates the time it will take to print the object 1 hour 53 minutes, in addition, it also gives us the weight of material that has been used to print 4 grams an object of 31 x 43, 2x61.3mm.
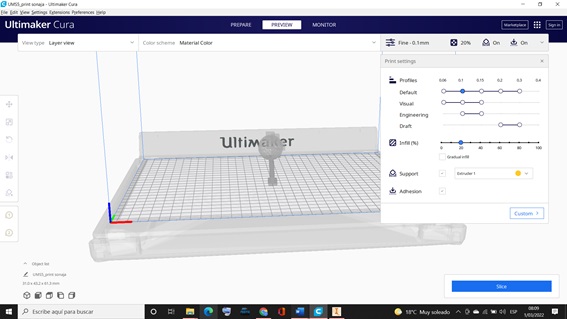
Changing the horizontal position for a better print in the cura program, we configure the print parameters in fine 0.02 mm in 100% padding with support, with skirt, extruder temperature 230°, bed temperature 70°
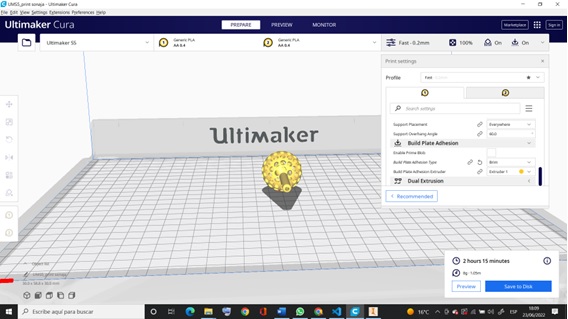
Once the parameters are configured, we do the simulation and we observe that it will take the time to print 2:15 hours, with a weight of 8 g. and a consumption of PLA Thread 1.05 m, then we do save as with the name of Rattle and the extension gcode.
Then, on a USB memory, we take the Gcode format file to the BestGeeT300S Pro printer where the configuration is carried out first of leveling the printer, which can be automatically or manually.

After leveling the printer, the type of material to be used as raw material is selected, in our case we are going to use PLA according to the material, its temperature 205° to 215° to configure in the printer we enter the material temperature to 230° and the temperature of the bed at 60° once configured, we go to files and select the file to print and click ok, we must take care of the start of printing, especially when the bed starts to print because sometimes it does not adhere the bed and sticks with the nozzle of the extruder, once the print is stabilized, we let it print for the configured time. Which you get the raw printed product, where you have to remove the supports and have the material ready.
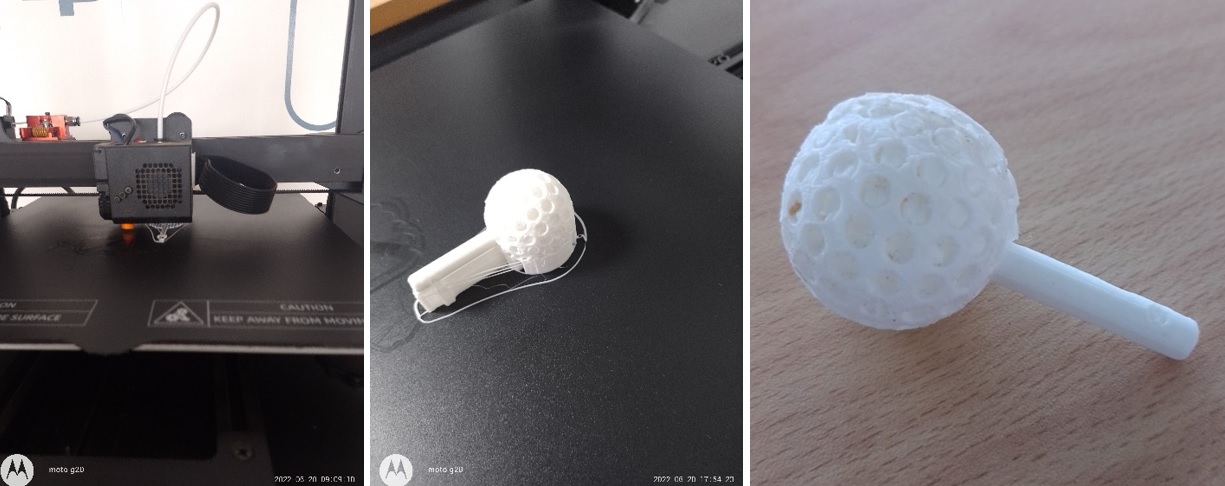
some impressions:

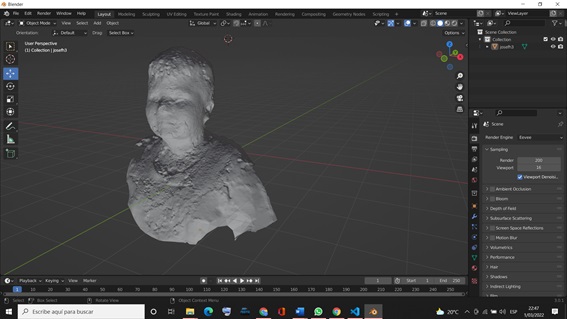
3D Scanning and printing
With the mobile and the 3D live scanner application, the person was scanned, taking a photo of everything around. Also the upper part of the head, it is finished and an average of 15 minutes is expected to see the 3D image
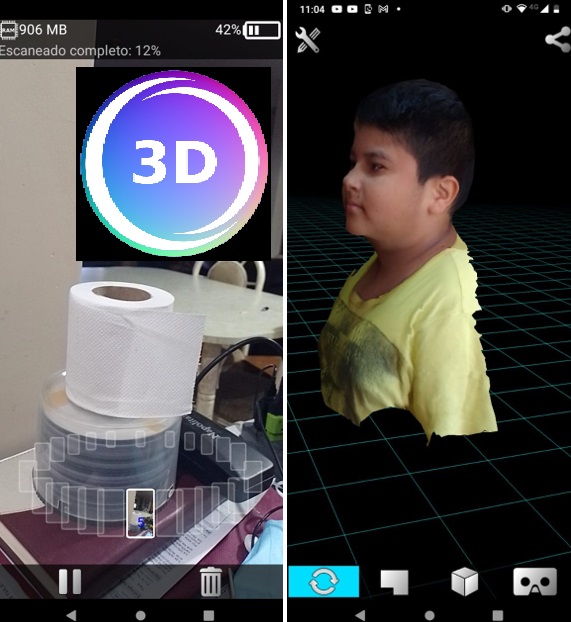
After saving it on the cell phone in .obj format, with the help of blender software, it is imported by selecting the option that has the obj extension and editing it and then printing it on a 3 D printer.