5. Electronics production
This week I worked on defining my final project idea and started to getting used to the documentation process.
Research
I visited https://fabacademy.org/
Tutorial: Week 4 – Electronic Production
Useful links
We link to the following path: - Week4
Perform the following procedure
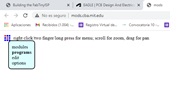
Navigate by: http://mods.cba.mit.edu

Click on programs
Click on Server programs
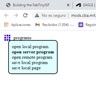
Click on Roland – mil – MDX – 20, PCB png.
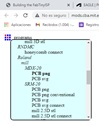
Save File
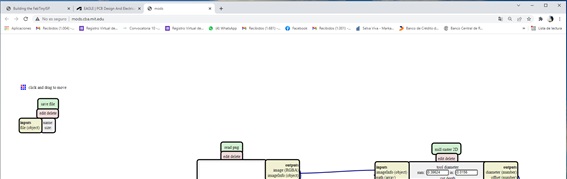
Exploration will continue…
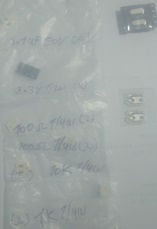
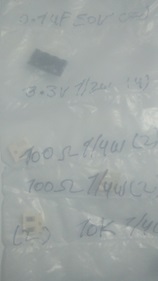
I bought some electronic components, but I didn’t find some: The Attiny44 then I looked for Attiny45 and then the Attiny85 that I saw that they also worked on some projects and I took them as a reference, but I didn’t find it either in the Paruro area where I went to look for the components, 0 Ohm resistor. But proposals came from Jorge, Vanessa, and Grace who gave me relevant information to continue with the process. I also communicate that the Fab Lab of the IES SB is still in implementation The components I found:
- To the right of the image is the 20Mhz crystal
- Below right is the micro USB terminal
- In the image to the left is a 0.1uf capacitor. 50v
- 100 ohm 1/4w resistors
- 10K0ohm 1/4w resistors
We found these FAB LAB identifiers in our institution in the past week.

Note: The following software has been used for this procedure:
Git Bash () I visited https://git-scm.com/downloads
Image Resizer: Easily resizes images online for free. You just have to select image. or drag and drop an image here and then specify the parameters and download it. I visited https://imageresizer.com
Visual Studio Code: is a source code editor built on top of the Electron framework. It supports various programming languages and a set of features that may or may not be available for a given language, as shown in the following table. It already has a default previewer. I visited https://code.visualstudio.com
// the setup function runs once when you press reset or power the board
void setup() {
  // initialize digital pin LED_BUILTIN as an output.
  pinMode(LED_BUILTIN, OUTPUT);
}

// the loop function runs over and over again forever
void loop() {
  digitalWrite(LED_BUILTIN, HIGH);   // turn the LED on (HIGH is the voltage level)
  delay(1000);                       // wait for a second
  digitalWrite(LED_BUILTIN, LOW);    // turn the LED off by making the voltage LOW
  delay(1000);                       // wait for a second
}
Gallery

Video
From Vimeo
Sound Waves from George Gally (Radarboy) on Vimeo.