15. Interface and Application programming Group Project
May 4 2022
For this week’s group project, we were assigned the task to look at different programming languages.
Python
The first language we looked at was Python.
Python is a very popular language, partly because of its ease of use, and a very wide uptake and community support.
Python is a higher level language, and while like all programming languages it has it’s own unique syntax, for many people who are first learning programming, it’s one of the easier languages to learn.
But Python also has some drawbacks that may make it difficult to use for newbies. These include the infamous “whitespace” issues (Python uses whitespace, ie spaces, tabs, for formatting, and these spaces really matter. This is where a lot of beginners make errors.)
Another issue is the difficulty of installing Python, libraries, dependencies, IDE’s, etc. While this isn’t that difficult, but someone new to Python, all of the different versions (never mind the version 2 and version 3 debacle) and iterrations can make it hard to understand what to install. And the way that these are installed, may cause issues if you install (intentionally or accidentally) another version of Python. (Yep, it happened to me.)
Garrett love’s Python, and uses it on Linux all the time, as it just seems easier to use. However, on Windows, he’s had nightmares getting Python to work reliably. Things are getting better.
All of that said, it really is a great programming language for beginners.
Basic Serial port control for Python
Here’s an example of a short python sketch. These are snippets, and likely won’t work completely without a bit of editing. The point is to show similiar, but not identical code for working with serial devices. This is from a test program that Garrett’s written in the past for interfacing older CNC machines that lack USB ports with a device that can upload the data via serial.
This just simply opens the serial port and clears out data in the serial buffer, it’s used in case the serial port isn’t closed correctly.
# single line Python comment here
# Note the clearly defined "tiers" of code, using whitespace to seperate, not brackets.

import serial   # Python library for woking with serial ports

def main():  # this is the main program.  It doesn't loop like Arduino.

    try:                              # let's try something to see if it works
        ser = serial.Serial(          # Set's up all the serial port stuff.
            port='/dev/ttyUSB0',
            baudrate = 115200,
            parity=serial.PARITY_EVEN,
            stopbits=serial.STOPBITS_ONE,
            bytesize=serial.SEVENBITS,
            xonxoff=1,
            timeout=10 #timeout is 10 seconds for testing, make it lo$
        )
    except:                            # If the above doesn't work...
        print ('problem getting serial connection...')  # Print this error line to console.

    print (ser.in_waiting)               # print the data in the serial buffer
    print (ser.readlines())              # print any new data for serial port
    ser.reset_input_buffer()             # resets the serial buffer (data waiting for something)
    ser.close()

if __name__ == '__main__':            # Python's weird like this.  Go to main program.
    main()
Running Python code
But how do you actually make this code into a program?
This is where you can use the Python Interpreter or a Python IDE.
The basic Python Intepreter is a simple command line program.
You would open notepad or whatever text editor, write the program and save it as “python_serial_clear.py” It’s the .py which tells the interpreter that this is a python file.
Unlike a lot of programming langauges, this code is not compiled, but is run immediately (You can look this up, I’m not getting into intepreted versus compiled languages.)
This code was run on a Raspberry Pi. All you have to do is to call the interpreter “python3” and the .py file and it’ll run.
If you type:
python3 python_serial_clear.py
You’ll get this response:
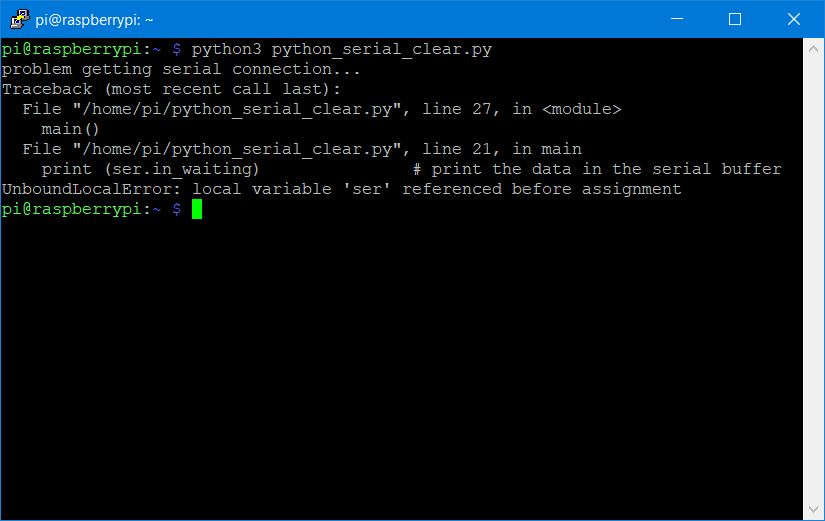
In this case, there was an error. That’s because it’s bad code (or code designed with no fail safes or decent error handling built in, because that’s what happened) The line which tells the program to assign the serial port to “ser” was in the “try” section of the code. Well, it tried it, and it failed (because I didn’t have the USB serial port cable hooked up when I tested this code out.)
Because it tried and failed, it went to the “except” section, where in effect it never actually told the program where the serial port code was located. And as such, when it tries to run that, it errors out. But we learn from this, and we can make changes to the code (or plug the USB serial port cable in.) to handle this error better in the future.
But if you plug the cable in and re-run the program, you get this:
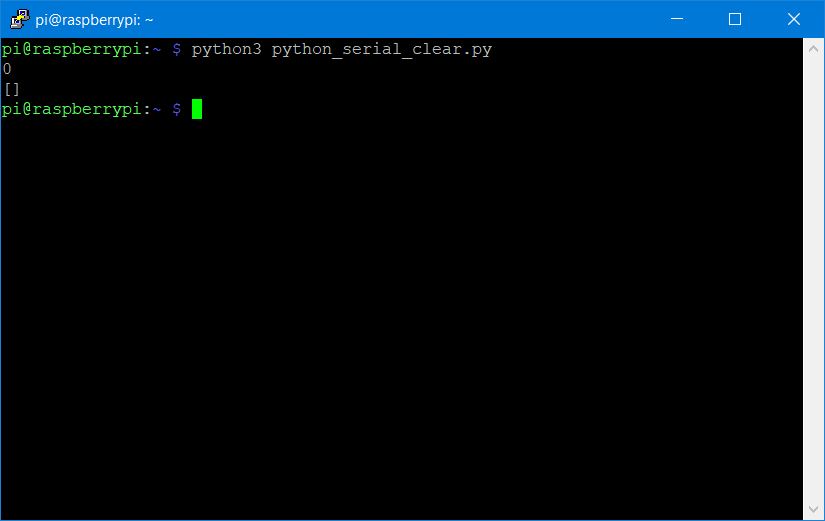
Which just says there is nothing in the buffer, and it closes the serial port. A very simple program.
Circuit Python
Python has one neat trick; a microcontroller capable version. There are a number of implementations of Python that have been designed to run on microcontrollers. One of the more popular ones is Circuit Python (that is heavily pushed by AdaFruit.) https://learn.adafruit.com/welcome-to-circuitpython
Circuit Python is designed for small (but not too small, as it takes up 10 times the space that typical Arduino code does) microcontrollers and single board computers. It can be thought of as a sort of substitute for the Arduino environment, though there are many differences (that we won’t go into.)
However, Circuit Python has a very similiar structure to normal python, it uses a variety of other libraries to have a more “hardware based” approach to these microcontrollers.
For this week, you can use Quentin Bolsee’s SAMD21E board to run Circuit Python.
You can follow the directions and use the software from Quentin at: https://fabacademy.org/2020/labs/ulb/students/quentin-bolsee/projects/samd21e_devkit/
With Circuit Python you can log in directly to this board using a Serial Terminal.
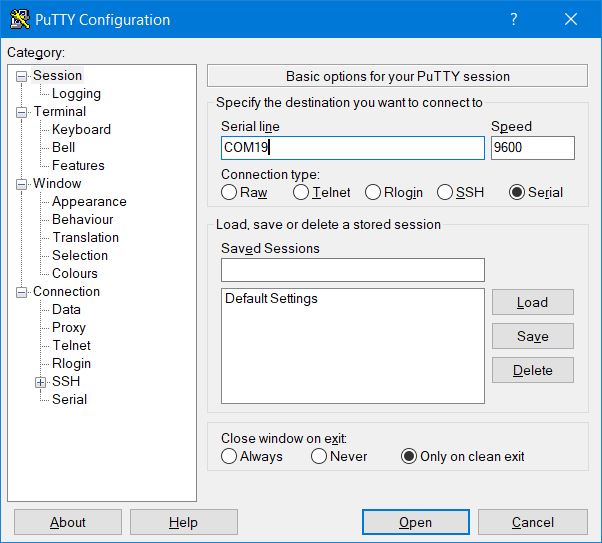
Using Windows, you can use puTTY.
Open up puTTY, choose the “serial” option, type in the COM port it’s connected too and click “open”
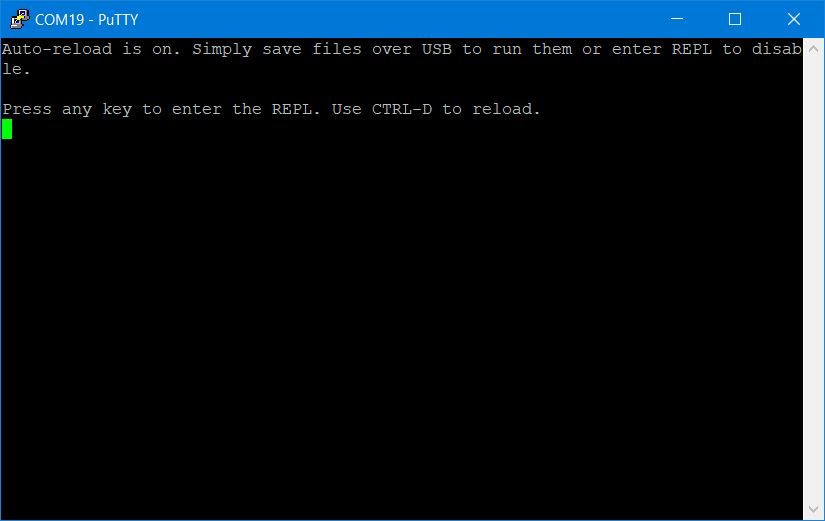
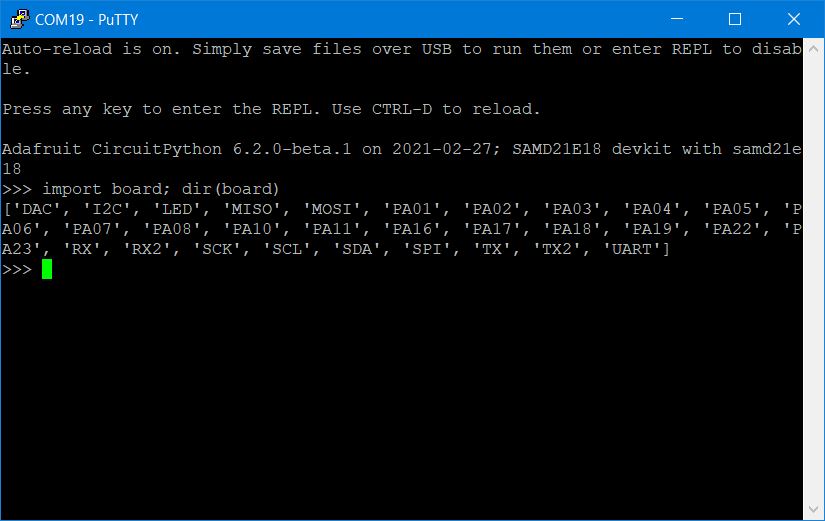
and you should now see the board open up, ready for your commands. If you press enter, you’ll get “REPL” the very basic python interpreter.
In the serial terminal, type:
print("Hello World")
And you should see the “Hello World” appear on the next line.
You’ve got Circuit Python running on your SAMD21 board.
Now you can open a text editor and write a blink program. (This code is from Adafruit’s Circuit python tutorial: https://learn.adafruit.com/welcome-to-circuitpython/creating-and-editing-code, I’ve massaged it a bit for my board.)
import board
import digitalio
import time

led = digitalio.DigitalInOut(board.PA23)
led.direction = digitalio.Direction.OUTPUT

while True:
    led.value = True
    time.sleep(0.3)
    led.value = False
    time.sleep(0.5)
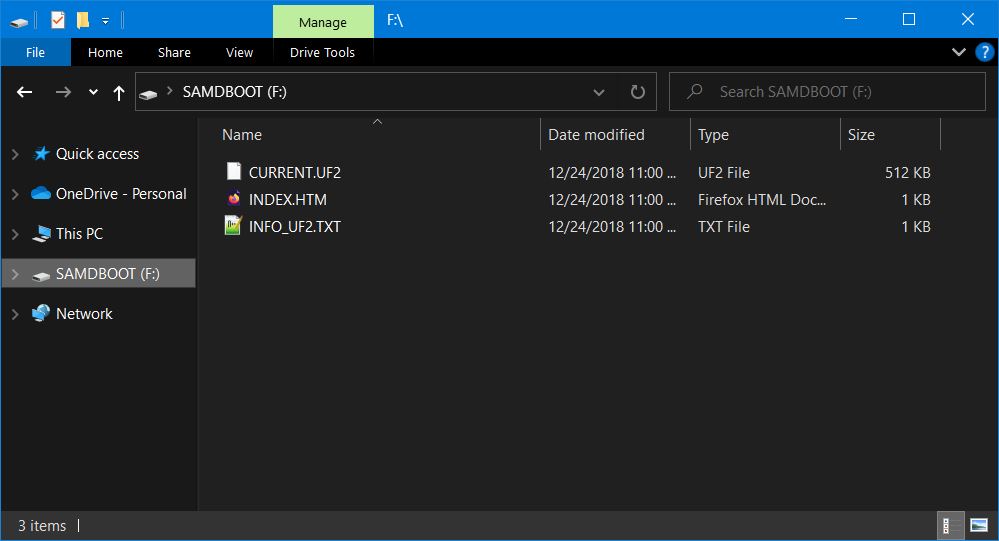
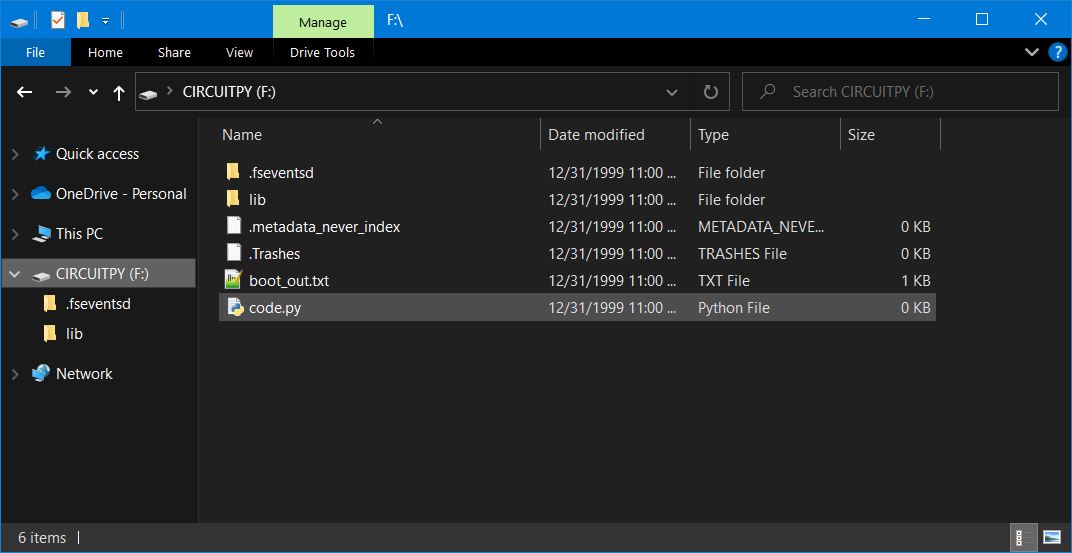
Save the file as “code.py” on your CIRCUITPY drive. You should see the led start blinking.
For simple things, it may not be appropriate, but for more complicated programs, we can see this being much more useful.
Processing
Processing is a software that will have a very familiar feel to anyone used to using the Arduino IDE. It’s designed for beginners, and is especially targeted at the visual arts.
It is a high level language, based on C, but it hides a lot of the programming “infrastructure” from the user.
It can be a great tool to make very simple and quick programs. It’s not as involved to install and worry about dependencies as Python, which again is one of the appeals of the language for beginners.
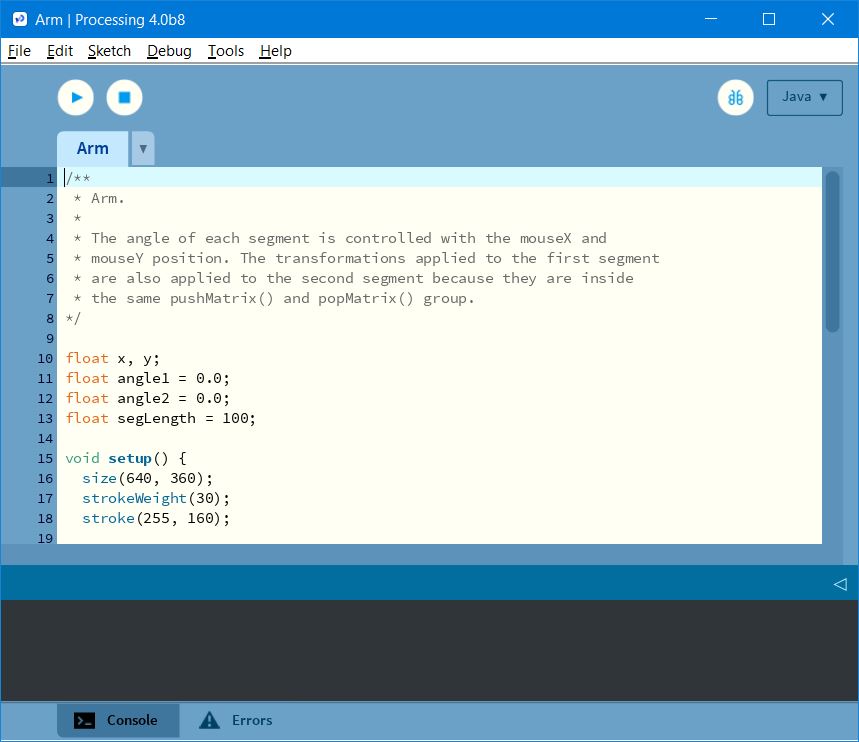
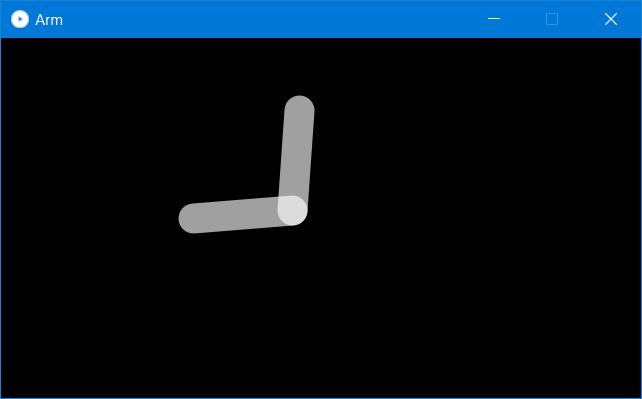
Here’s an example code that Garrett found that will likely help him with his final project. As you move the mouse left and right, it rotates the first joint of the arm. As you move the mouse up and down, it rotates the second joint of the arm.
/**
 * Arm.
 *
 * The angle of each segment is controlled with the mouseX and
 * mouseY position. The transformations applied to the first segment
 * are also applied to the second segment because they are inside
 * the same pushMatrix() and popMatrix() group.
*/

float x, y;
float angle1 = 0.0;
float angle2 = 0.0;
float segLength = 100;

void setup() {
  size(640, 360);
  strokeWeight(30);
  stroke(255, 160);

  x = width * 0.3;
  y = height * 0.5;
}

void draw() {
  background(0);

  angle1 = (mouseX/float(width) - 0.5) * -PI;
  angle2 = (mouseY/float(height) - 0.5) * PI;

  pushMatrix();
  segment(x, y, angle1);
  segment(segLength, 0, angle2);
  popMatrix();
}

void segment(float x, float y, float a) {
  translate(x, y);
  rotate(a);
  line(0, 0, segLength, 0);
}
P5.js
P5.js is the Processing, but built around javascript. Like Processing, it’s designed for beginners, specificially those in the arts. Because of this, it is a fairly easy to use programming language, and like Python it tries to avoid jargon and be more “human readable.”
P5.js is designed to run in the web browser, and because of this, it is quick to setup and start coding. You don’t have the nightmare of multiple versions, libraries and dependencies. It’s hard to break a system that only needs a browser refresh to start afresh.
However, because it’s browser based, there are issues with connecting hardware directly to the software in the browser.
You need a way to have your computer’s COM ports (USB ports, /dev/tty*, whatever) send data to the web browswer and have the web browser send data back to the COM ports. This is not a simple thing to do; it goes against many of the basic features of what a web browser is.
We were using Google’s Chrome, because it has support for serial communications through the browser. If you use another web browser, there is a high chance that the below code will not work. (and even given Google’s history, after a year or so, there’s a good chance that the below does not work either.)
We downloaded and started P5-serial control based on information from this website: https://itp.nyu.edu/physcomp/labs/labs-serial-communication/two-way-duplex-serial-communication-using-p5js/
p5-serial control is an add-on, standalone executable that allows you to connect your serial port through the browser specifically to p5.js.
You can download P5-serial control from: https://github.com/p5-serial/p5.serialcontrol I downloaded the Windows zip file. It’s been 3 years since this program was updated, so I’m not sure how well it’s going to work.
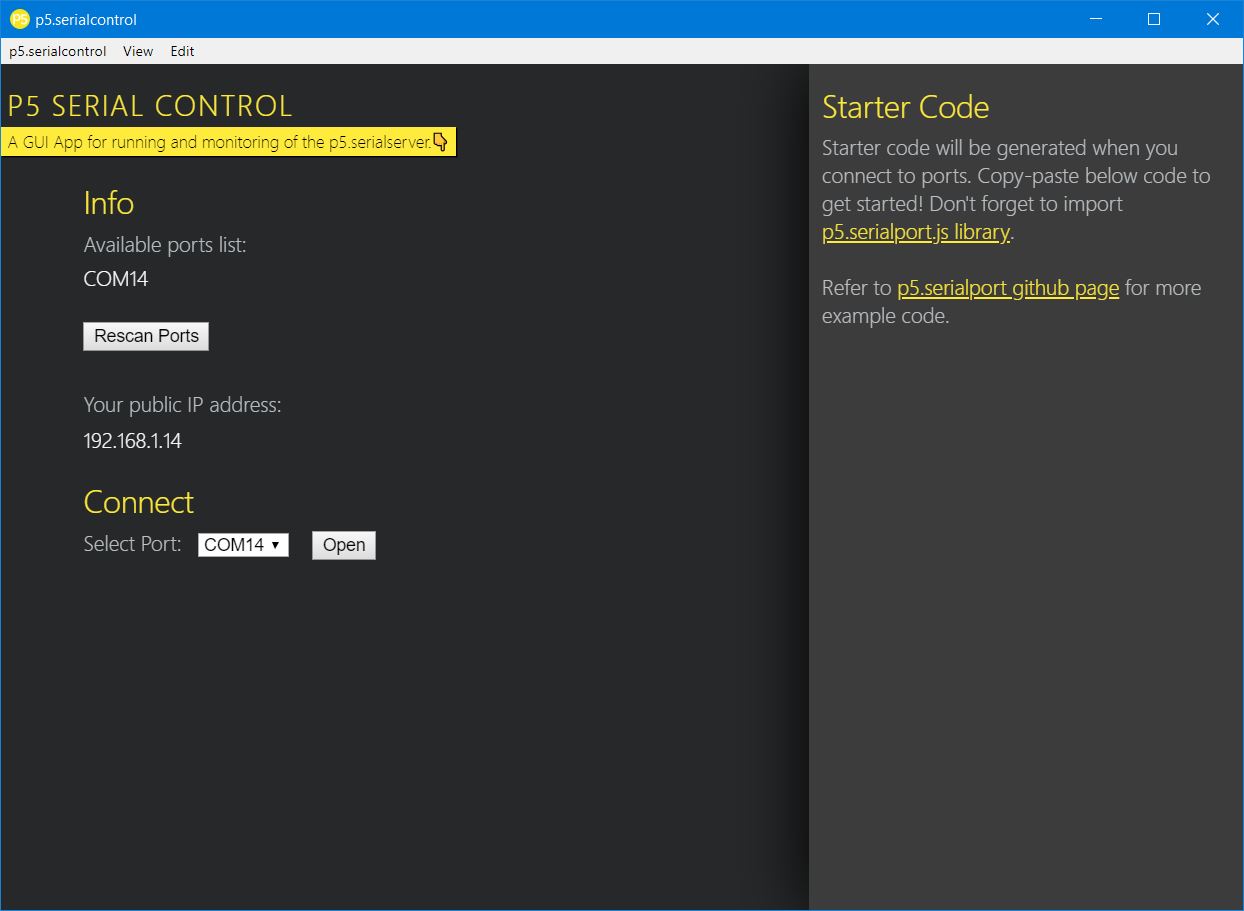
Unzip the p5-serialcontrol to it’s own folder and open up “p5.serialcontrol.exe.” We had to provide access; click “Allow Access” in Windows.
We had a board plugged in, and re-scanned it, and it showed that the board was connected to COM14. Leave the p5 serial control application running. (Note, you can’t program the Arduino, or use the Serial Monitor if this program is running. You’ll need to close it down first to program the Arduino or use the Arduino Serial Monitor.)
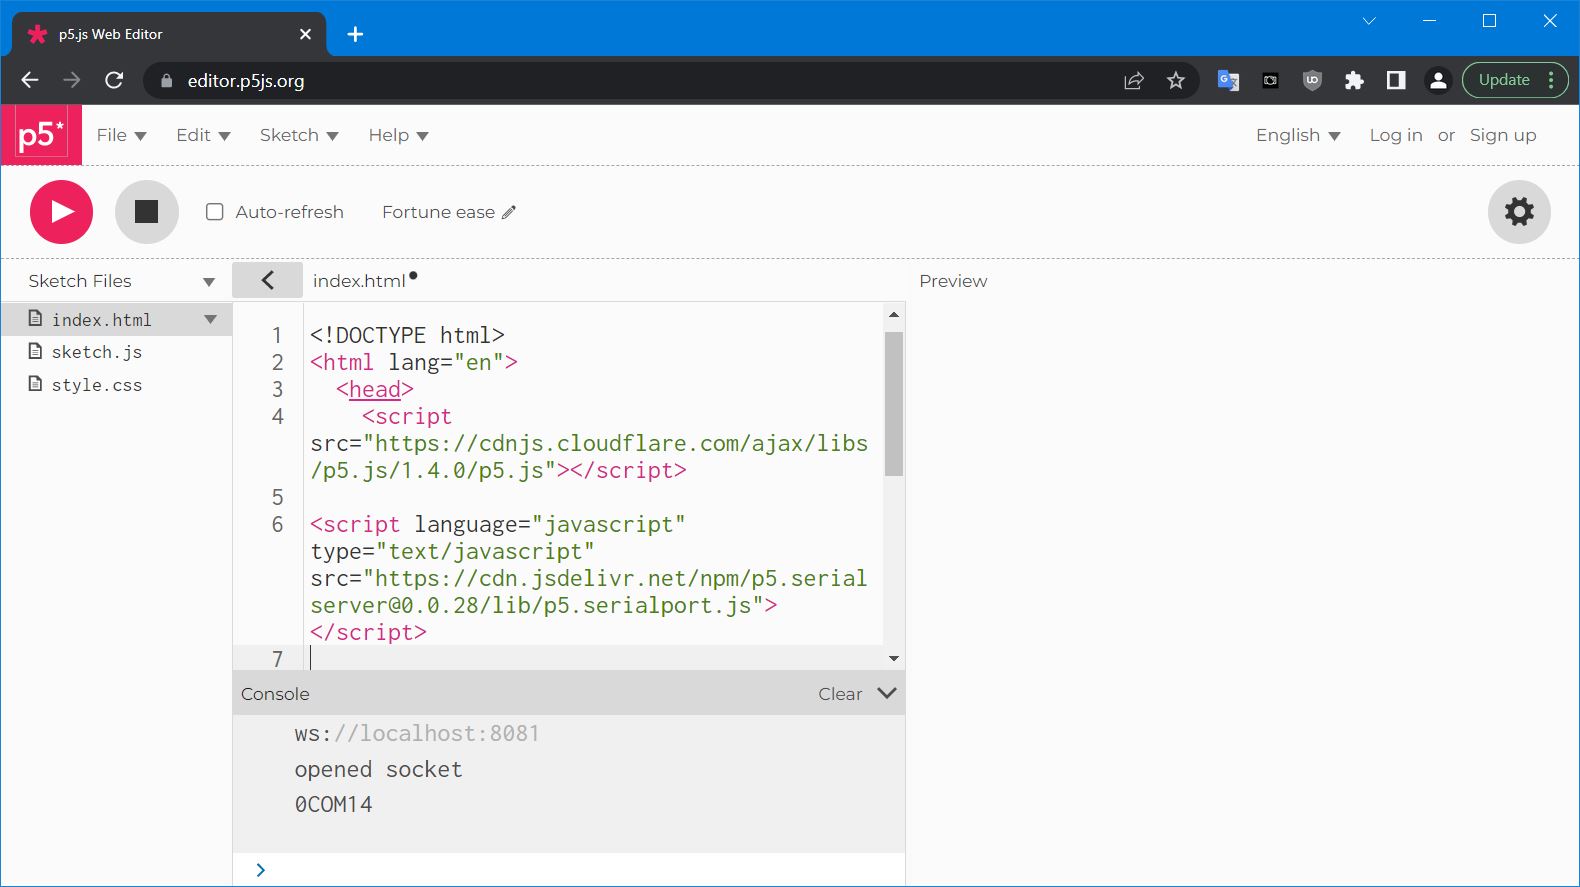
Open up the p5 editor and add this line to index.html:
<script language="javascript" type="text/javascript" src="https://cdn.jsdelivr.net/npm/p5.serialserver@0.0.28/lib/p5.serialport.js"></script>
Next, create a new program that will find the connected com ports.\
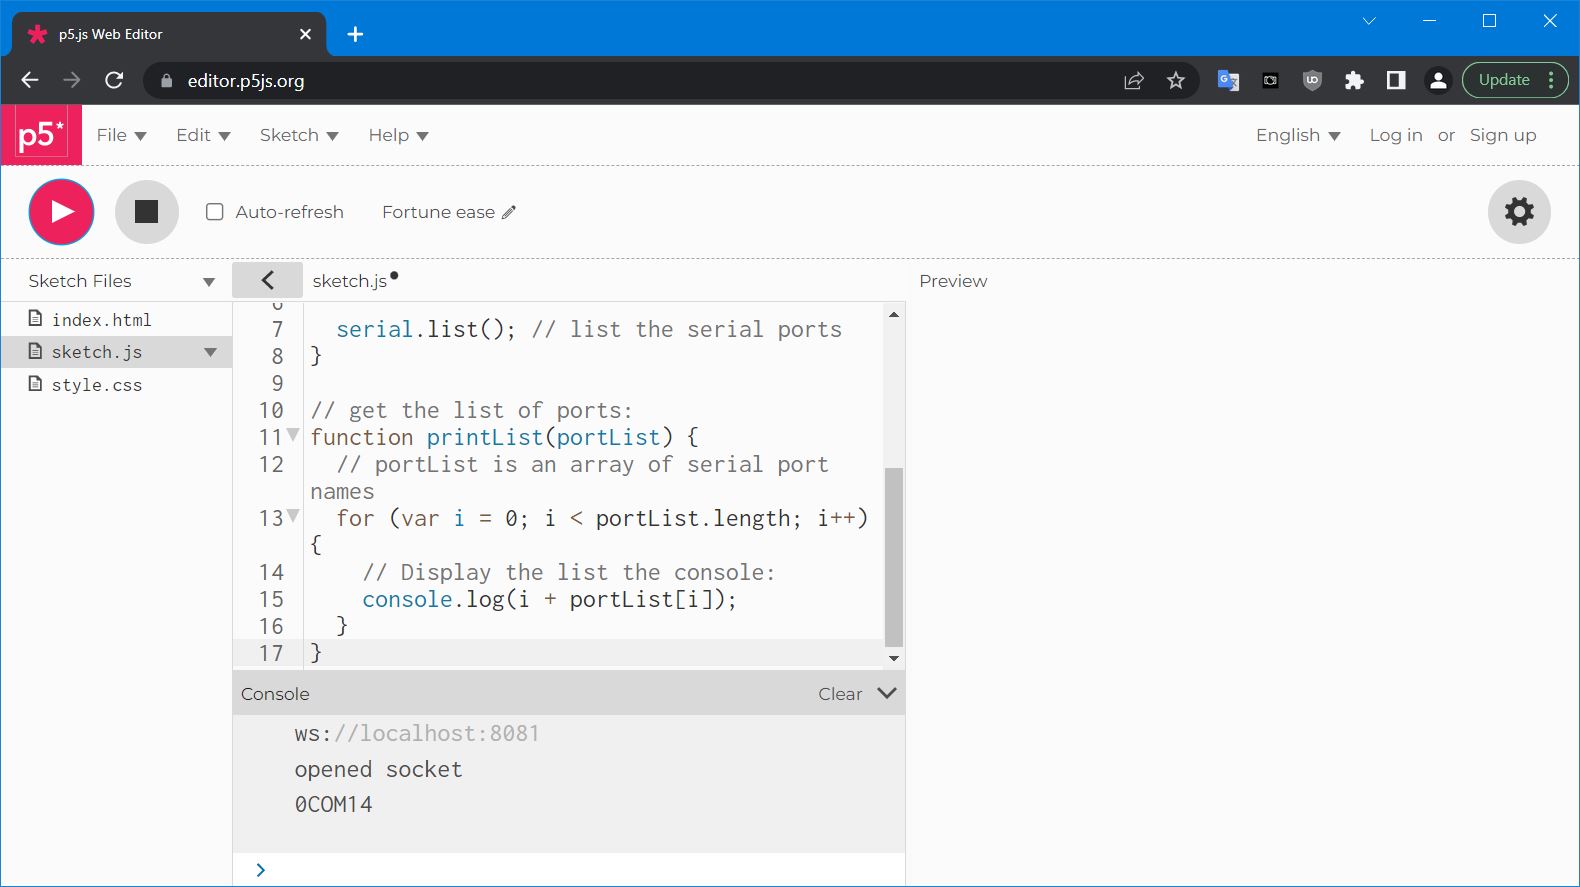
Basic Serial port code for P5.js
This code is designed to find any COM ports, and allow you to choose which COM port to use.
// comment lines in p5.js

let serial; // variable to hold an instance of the serialport library

function setup() {
  serial = new p5.SerialPort(); // make a new instance of the serialport library
  serial.on('list', printList); // set a callback function for the serialport list event

  serial.list(); // list the serial ports
}

// get the list of ports:
function printList(portList) {
  // portList is an array of serial port names
  for (var i = 0; i < portList.length; i++) {
    // Display the list the console:
    console.log(i + portList[i]);
  }
}
clickthe “Play” button at the top to run it.
And it should show the ports you have a board connected too. In this case, COM14 was connected.