Press-fit kit process
With the design files created, I head to the Fab Lab to use the laser cutter, first we learn and understand how the machine works and the parameters that we have to consider, included the
group assignment
How to prepare the laser machine
You first need to turn on the machine, also the air pump and chiller must be on.
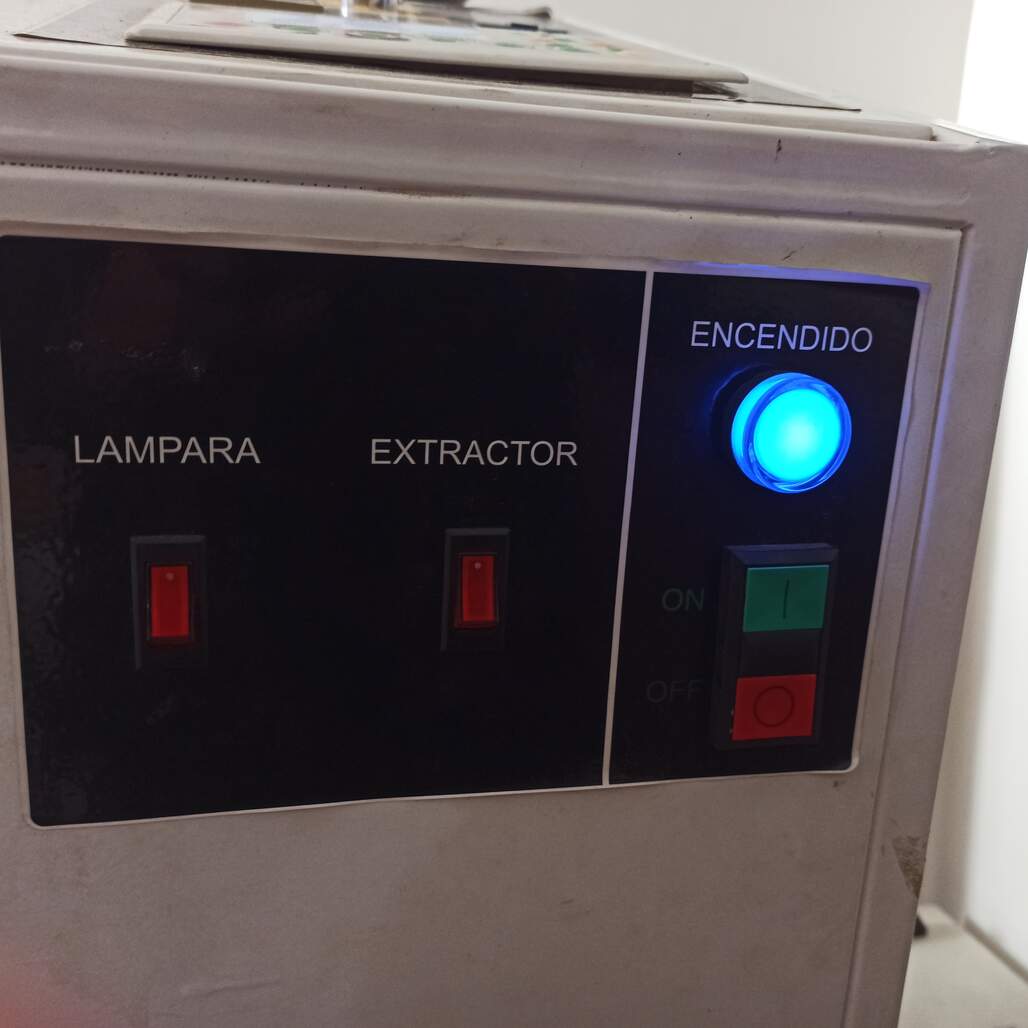
Power switches, lamp, extractor and laser machine. The blue light indicates if it is turned on.
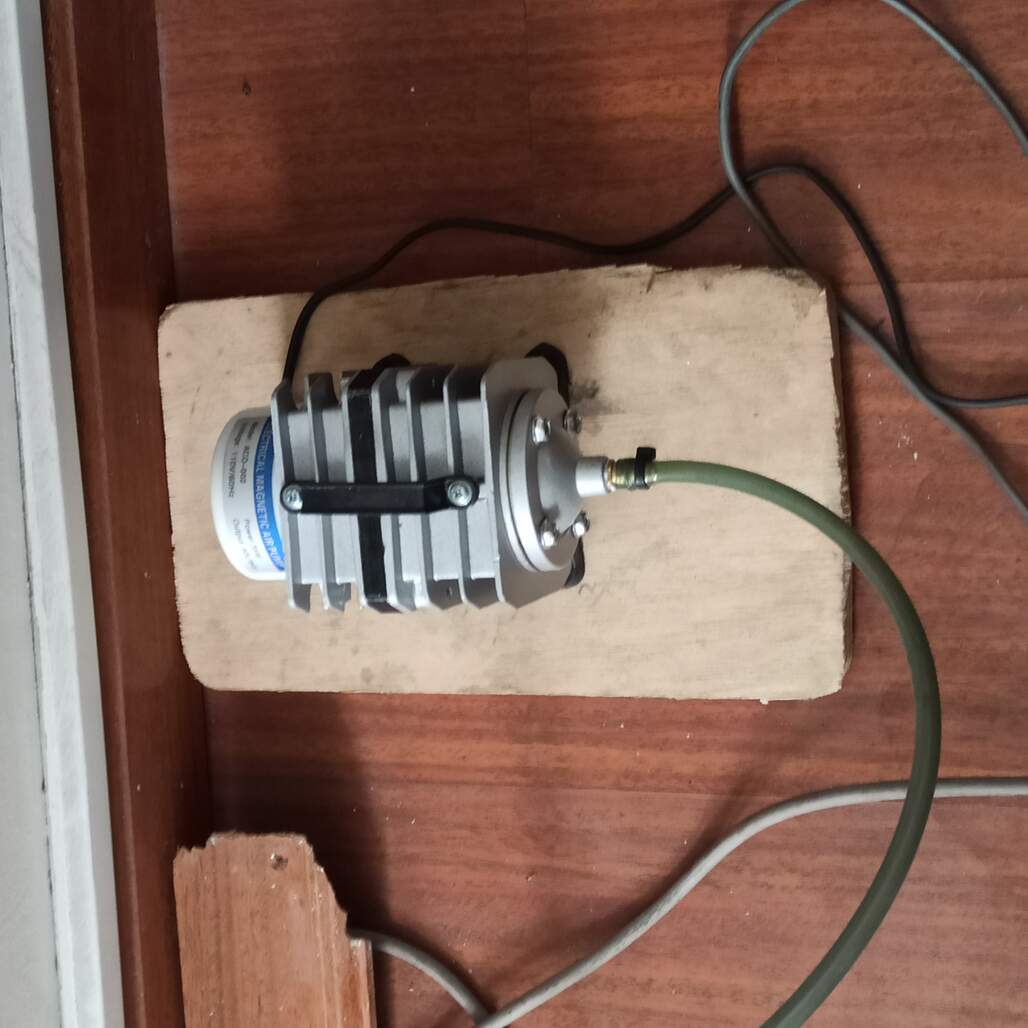
Air pump, use to vent the laser cutting zone and dissipate fumes
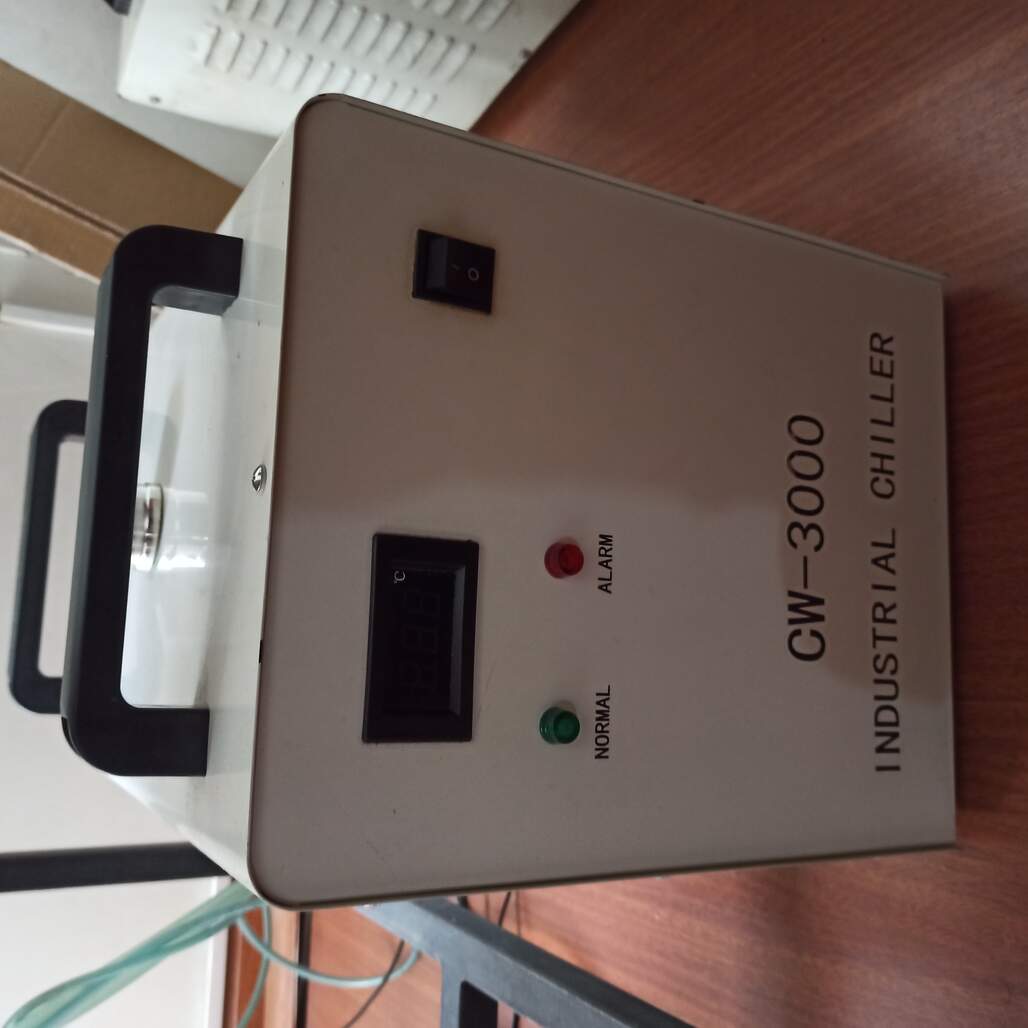
Chiller, external chiller for cooling the CO2 laser tube.
Then you load the material, it must lay flat, to achieve a constant focus withing the hole cutting area, you can use masking tape to secured if needed. Once loaded you must focus the laser lens it must be 20mm above the material surface.
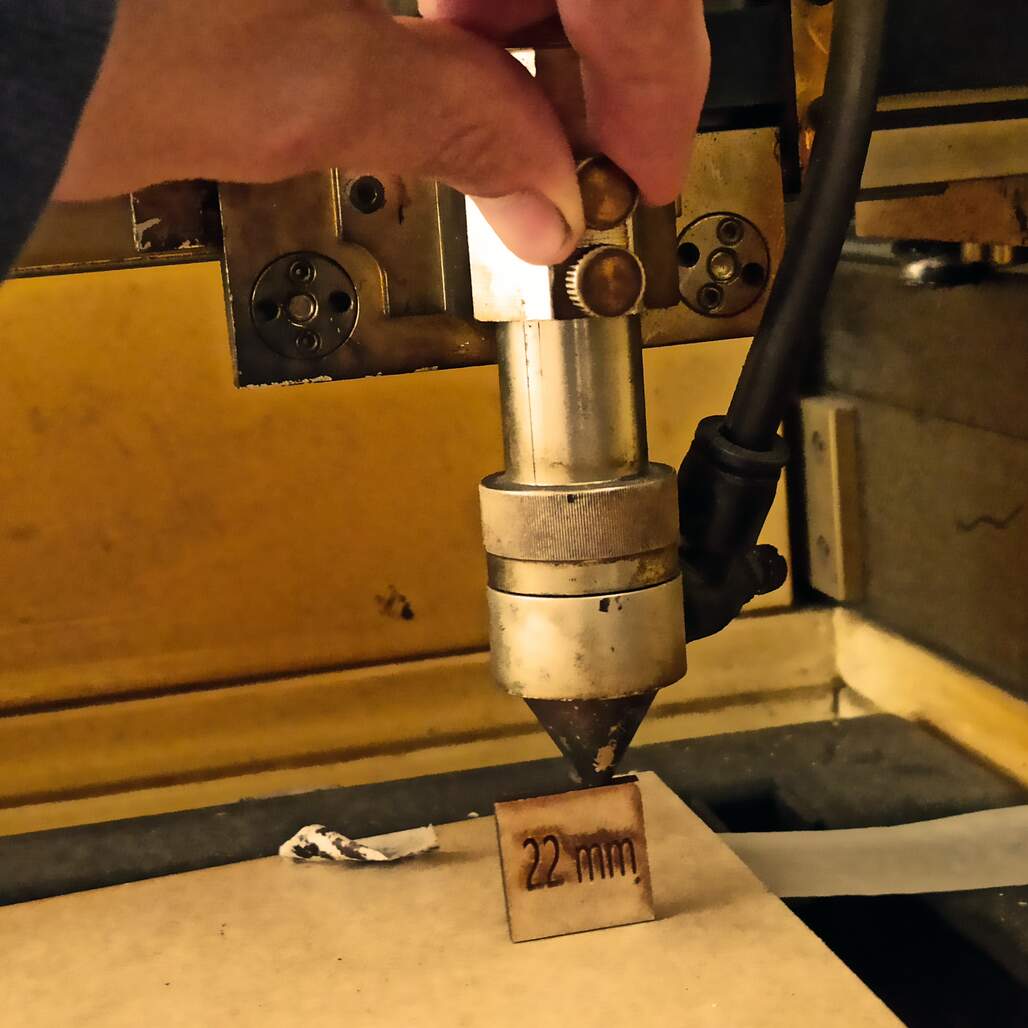
First you set the lens focus height to 20mm using a laser cut square as measure.
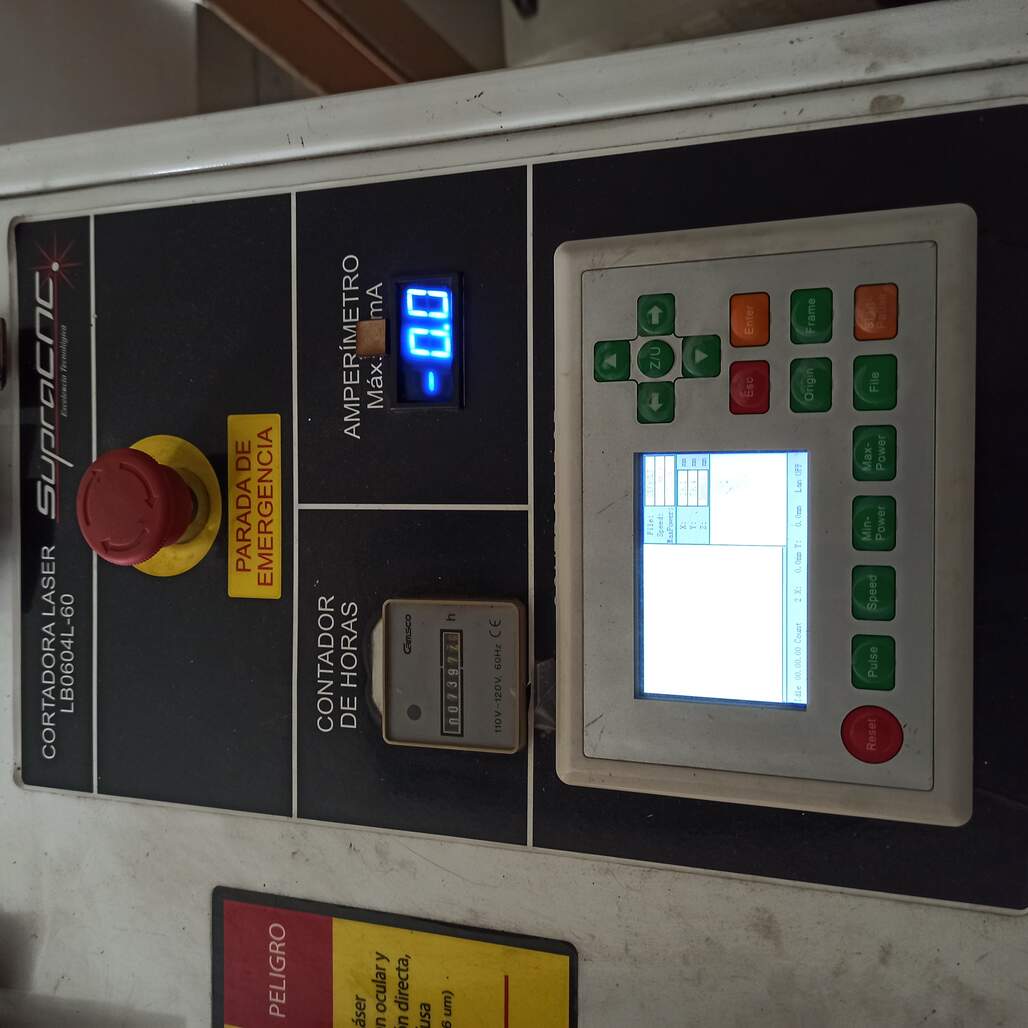
Using this panel you can move the laser to the desired position with the arrows and set up the origin were you cut will start. Also note the emergency button to press it if needed (I hope you don't)
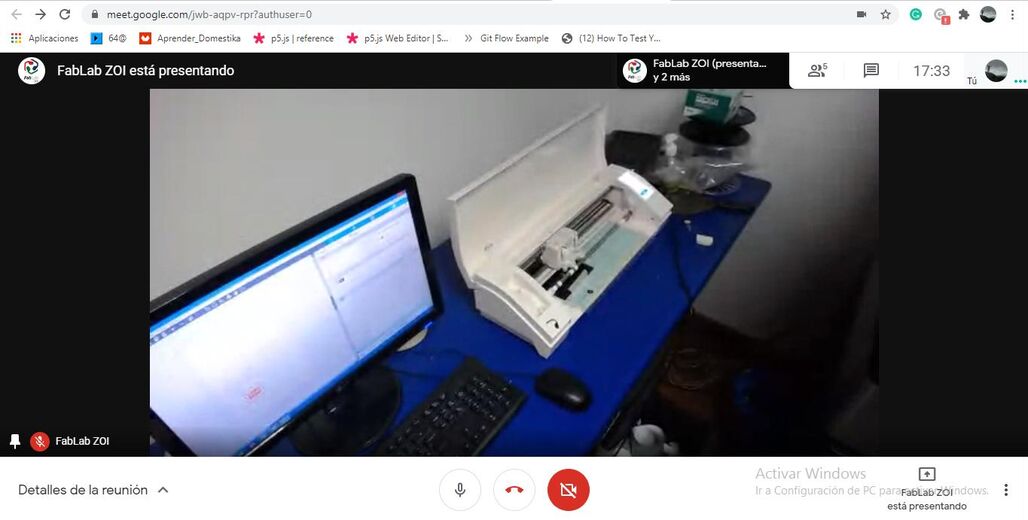
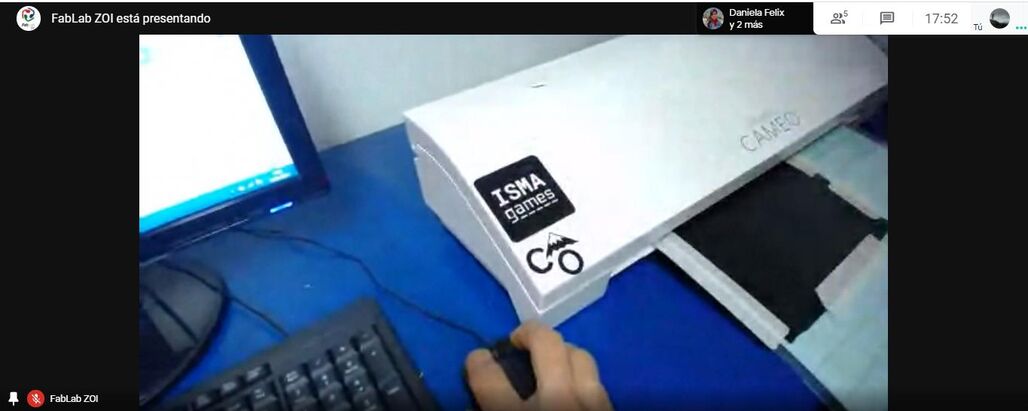
With this you have the material and origin set up. Then you switch to the computer to prepare the files, it is connected via USB cable, you should launch the RDworksV8 program, it is used to send the files to the cutting machine.
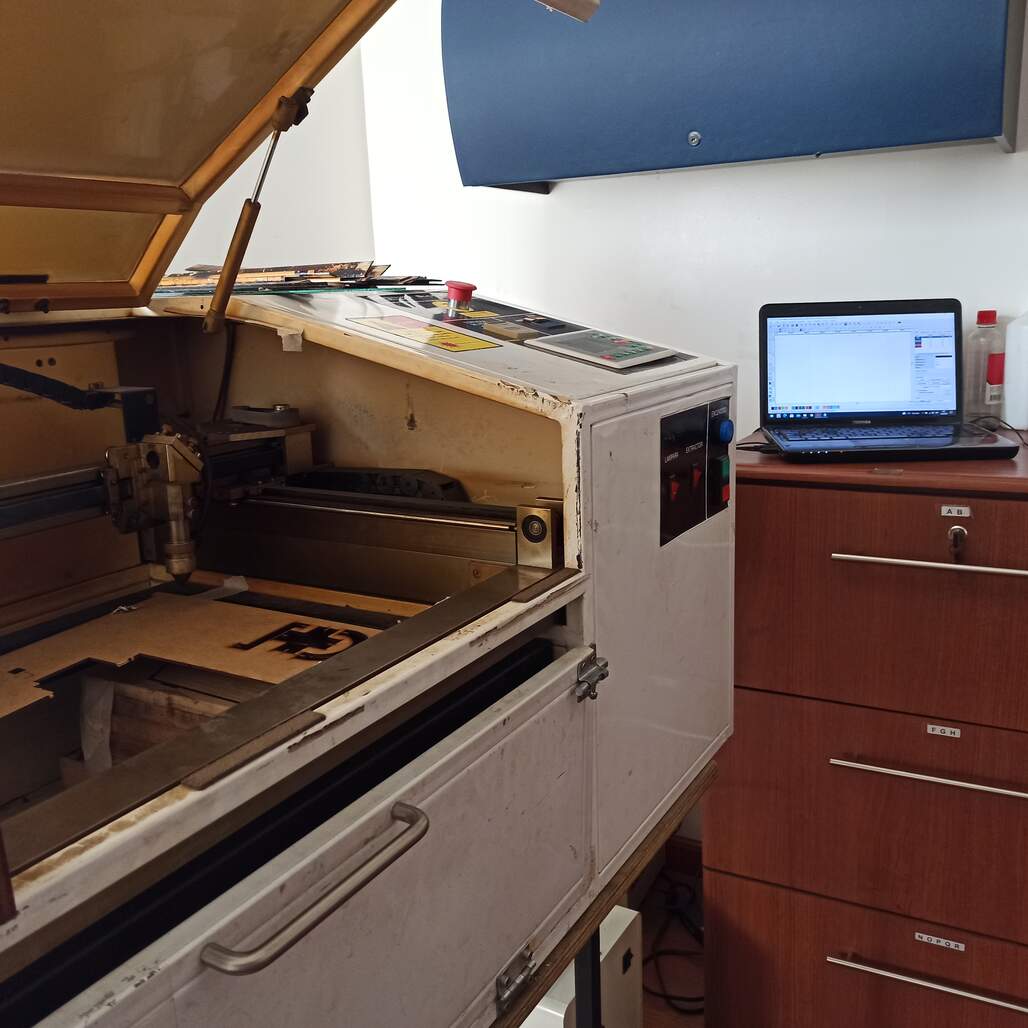
Here you can see the laser machine and the controller computer, connected via USB
RDworksV8 desktop icon
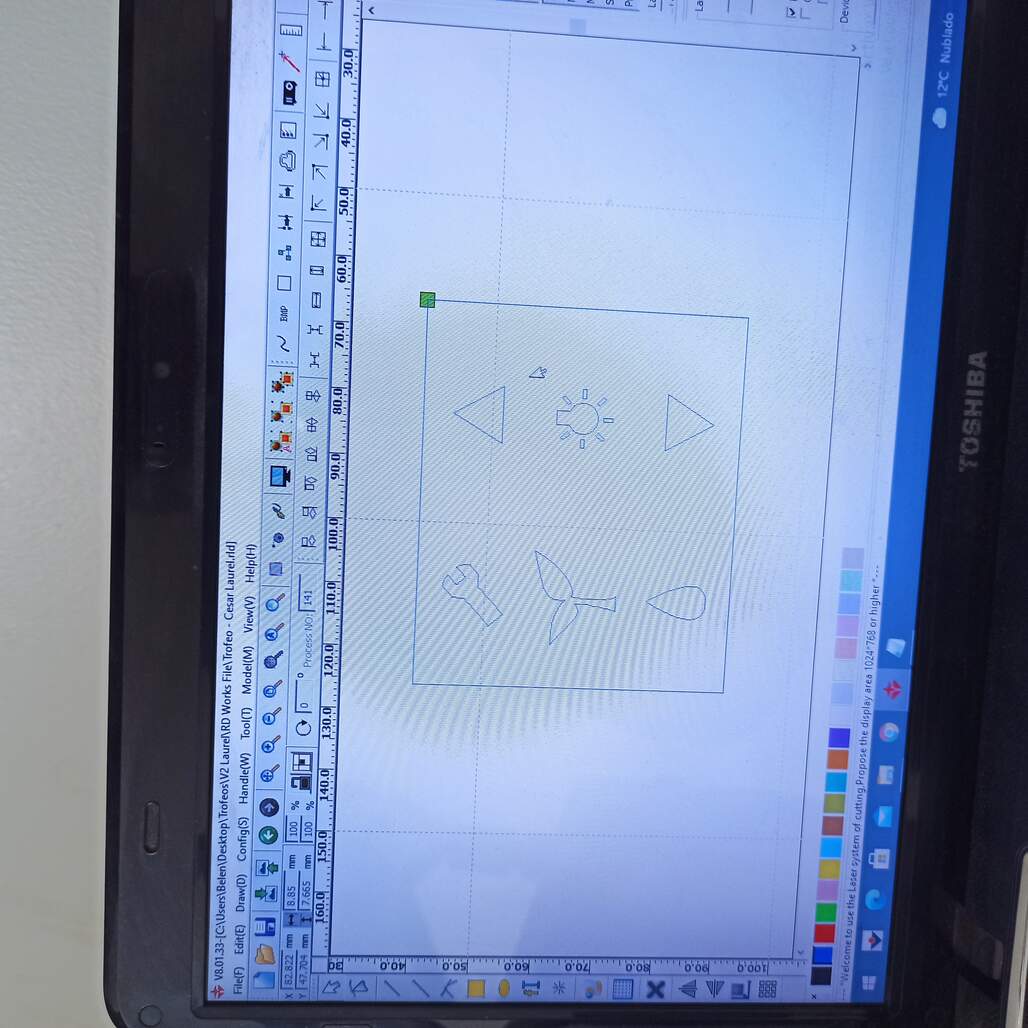
you can import the vectors from any .dxf file, note that it has local origin represented with green square where the cut will start.
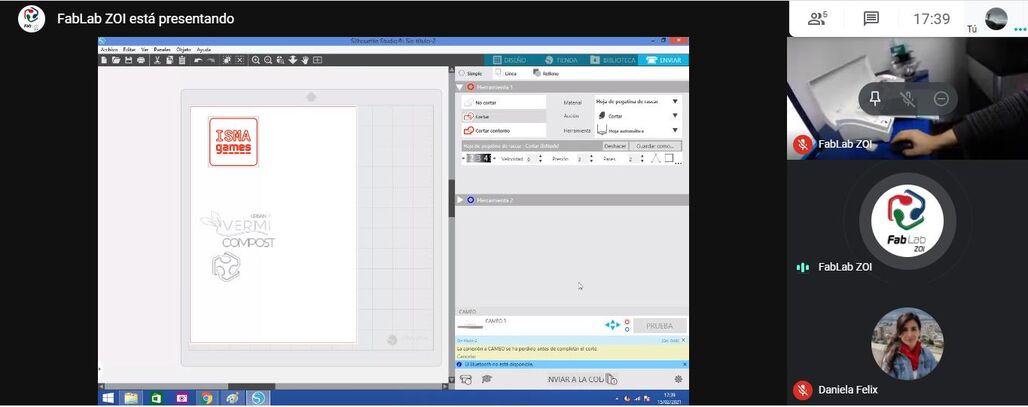
RDworksV8 is a complete program that lets you accommodate your vectors to fit the material. Also you can set colors for each pad and the color can represent a cutting setting and order to be preformed. Also you can activate the output of each color, modify the speed and min-max power if you need to cut or only engrave.
On the right side you can find the layers (colors) settings and control buttons such as Start, Stop, Pause.
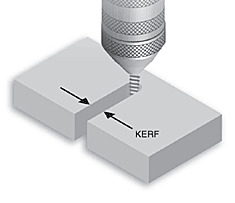
Illustration by ESAB
Also I learn about the concept of
kerf, which refers to the width of the cut. To measure it you should cut a square with the laser machine after it is properly focused and ready to use, measure the difference between the outer square and the inner one divide that by 2 and that's your kerf! Simple but really needed.
Also cutting the square, will help you decide the speed and power used, based on the material. The ideal cut is when the laser pass through all the material but the cut does not let any black (ashes) on your finger. Always start from a lower power setting and test up until your happy with the cut.
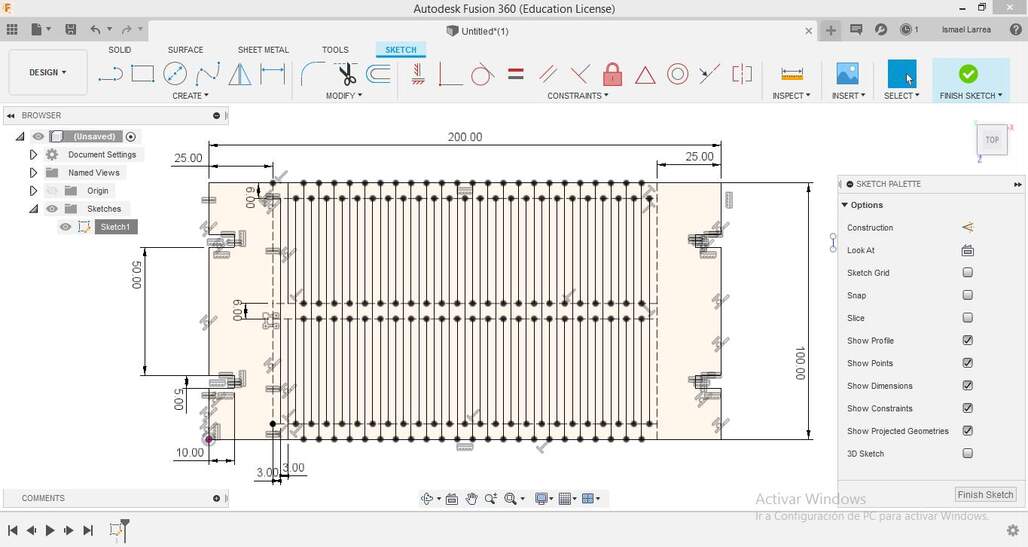
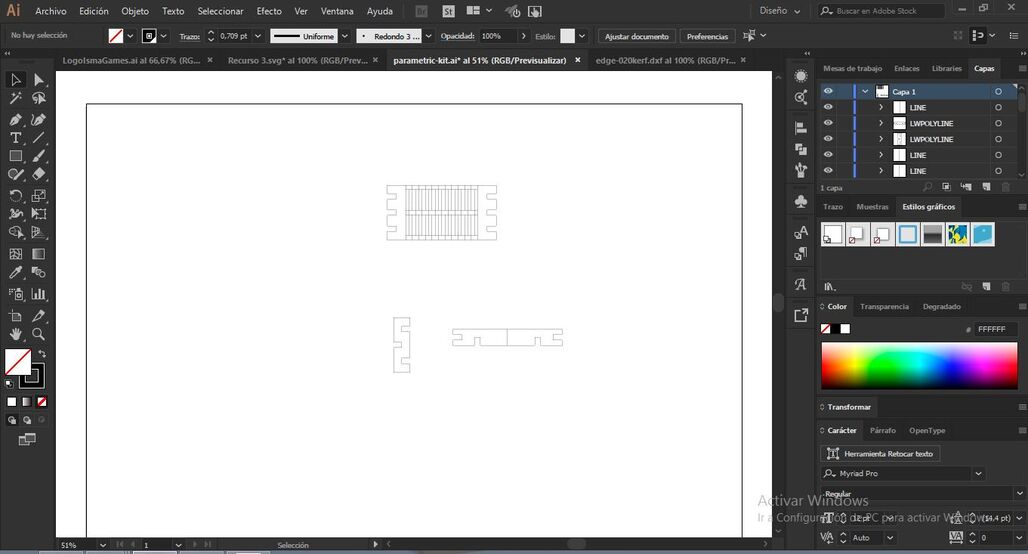
Then I exported from Fusion 360 to .DXF, and used Illustrator to clean some of the construction lines that are exported by Fusion 360. After that we start to cut some example pieces to test the kerf and that the press-fit was correct, on my first attempt the material thickness was wrong.
So when I assemble the test pieces as a joint they have some undesired movement, this was because the indentation was too big and wasn't applying any pressure to generate friction inside the press-fit joint.
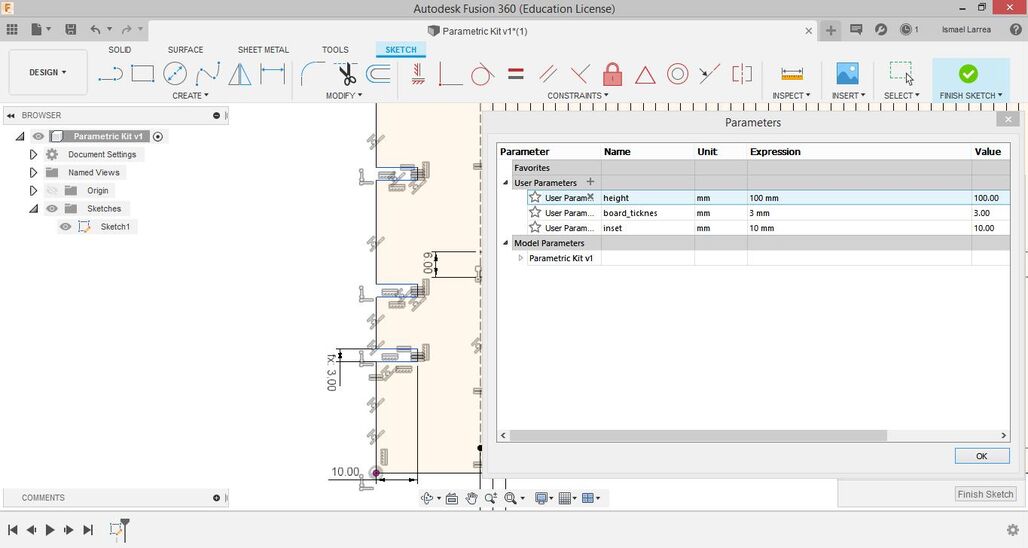
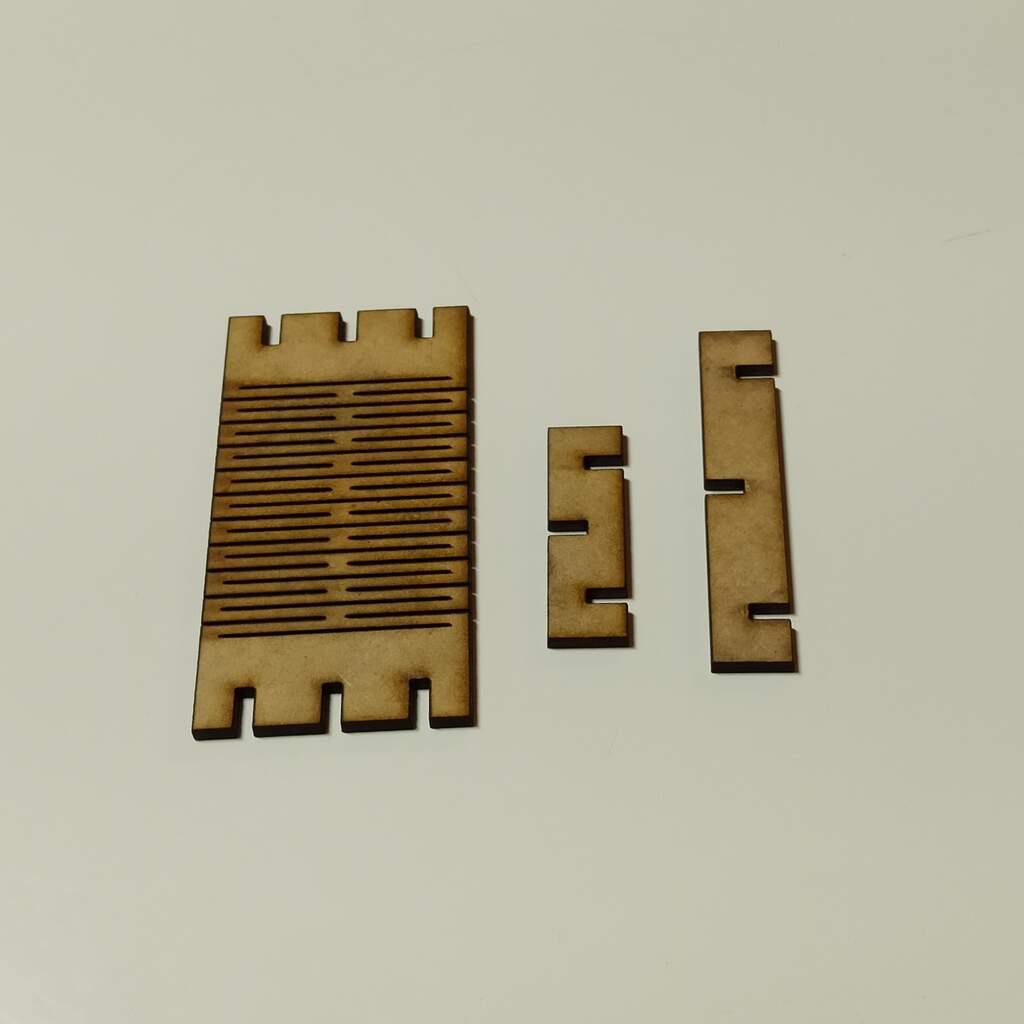
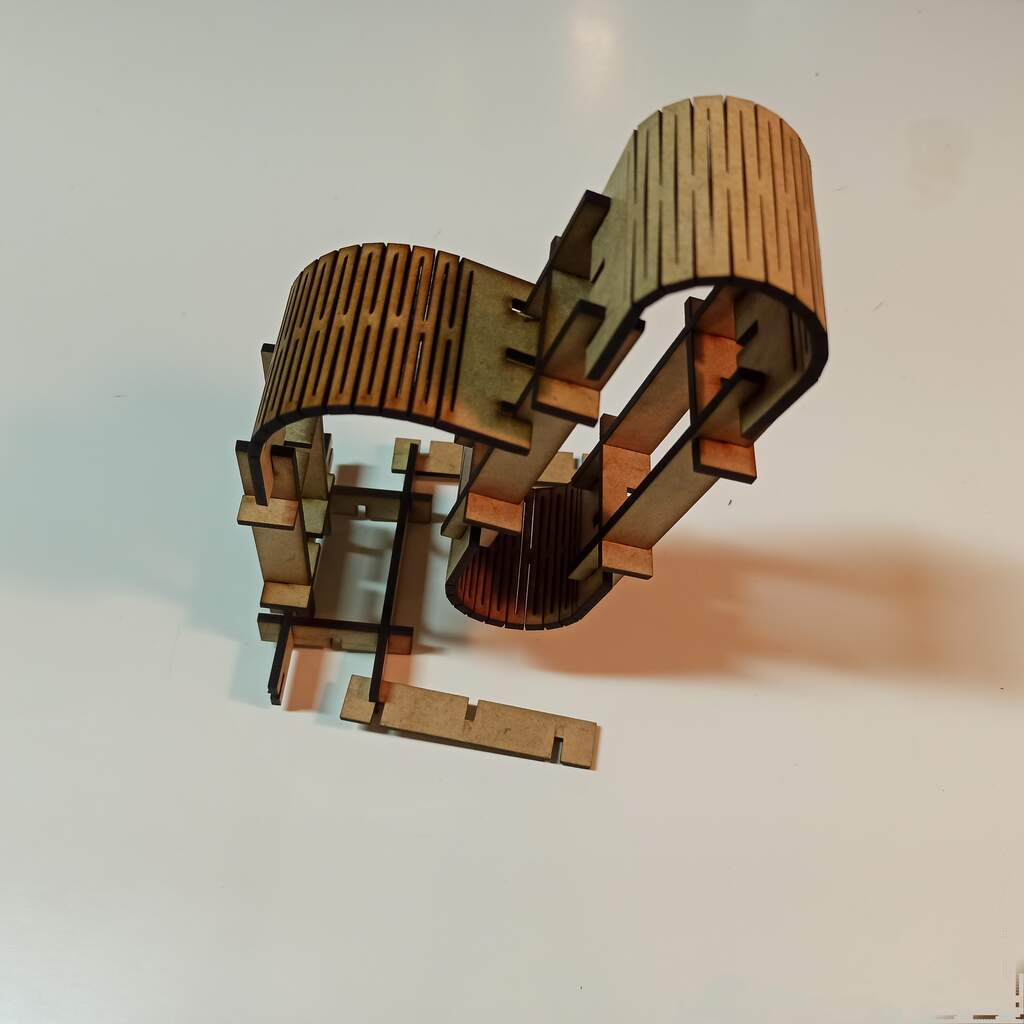
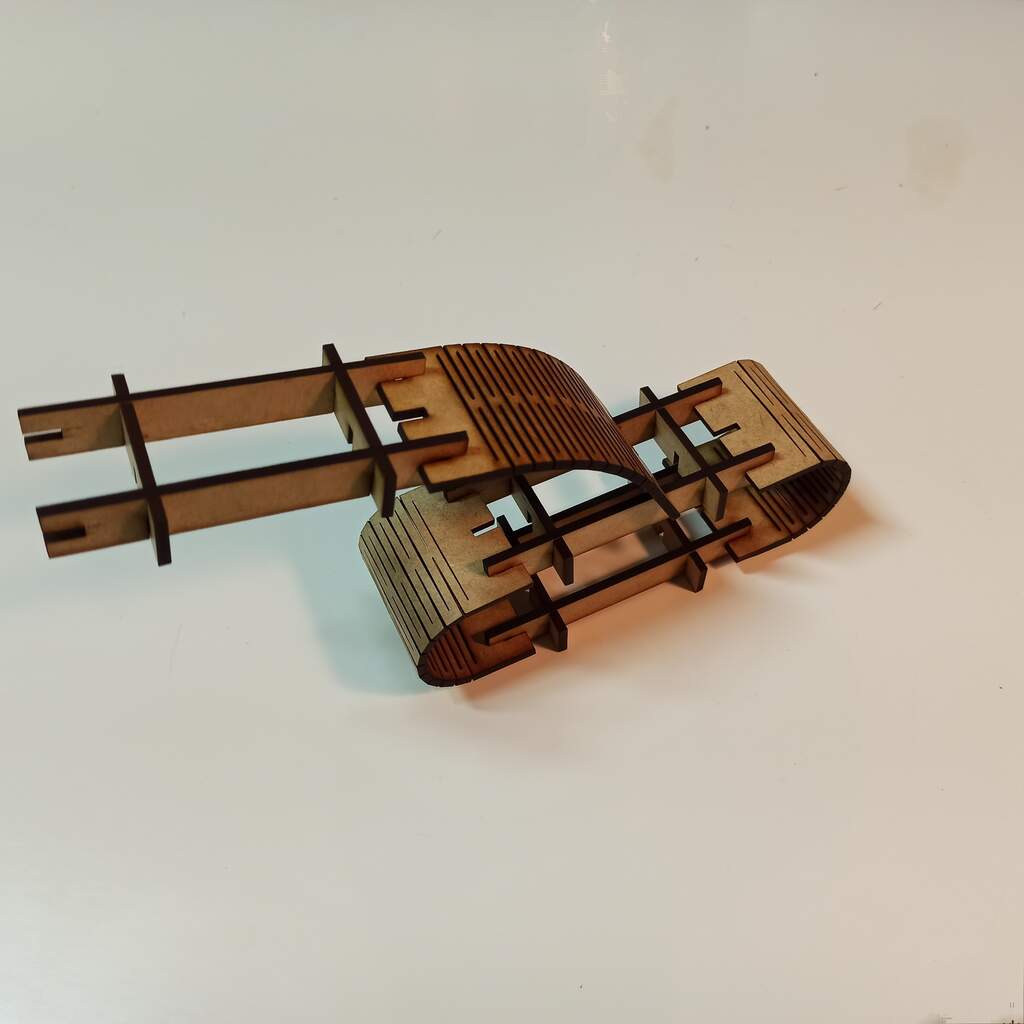
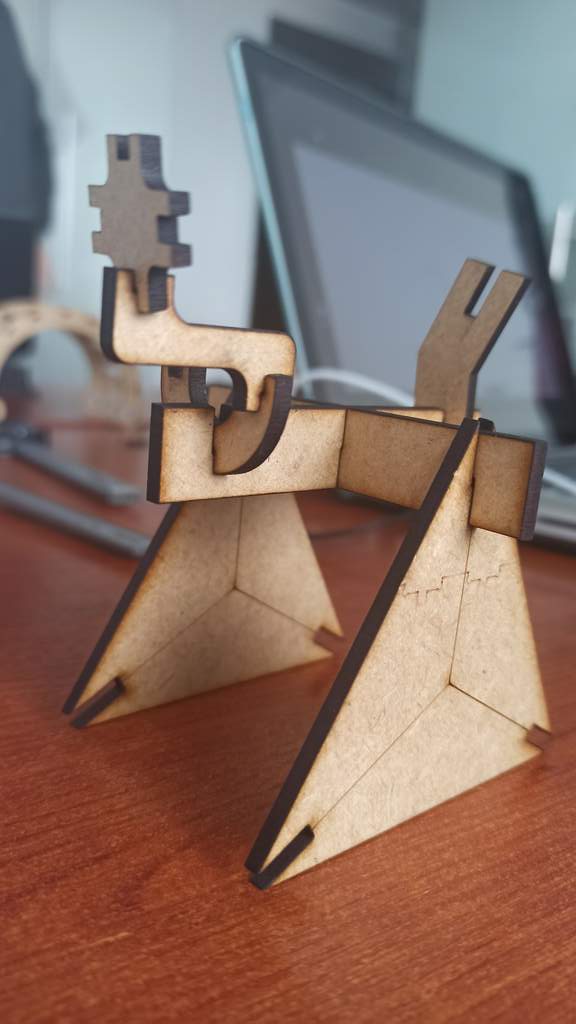
After a few tries, we managed to get the correct material thickness (3mm) and kerf (0.2mm), so I proceed to cut the flex joint test, which resulted in a complete success, I was impressed by its flexibility and softness.
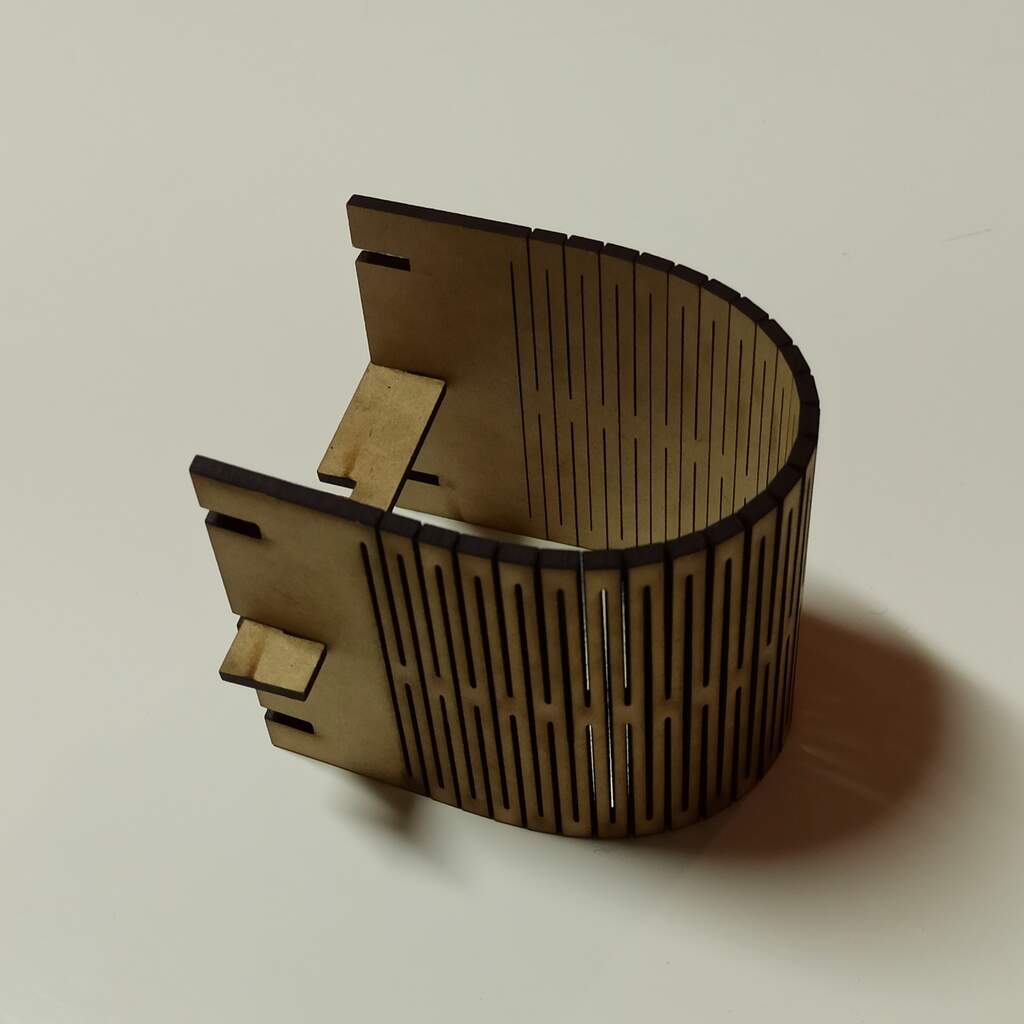
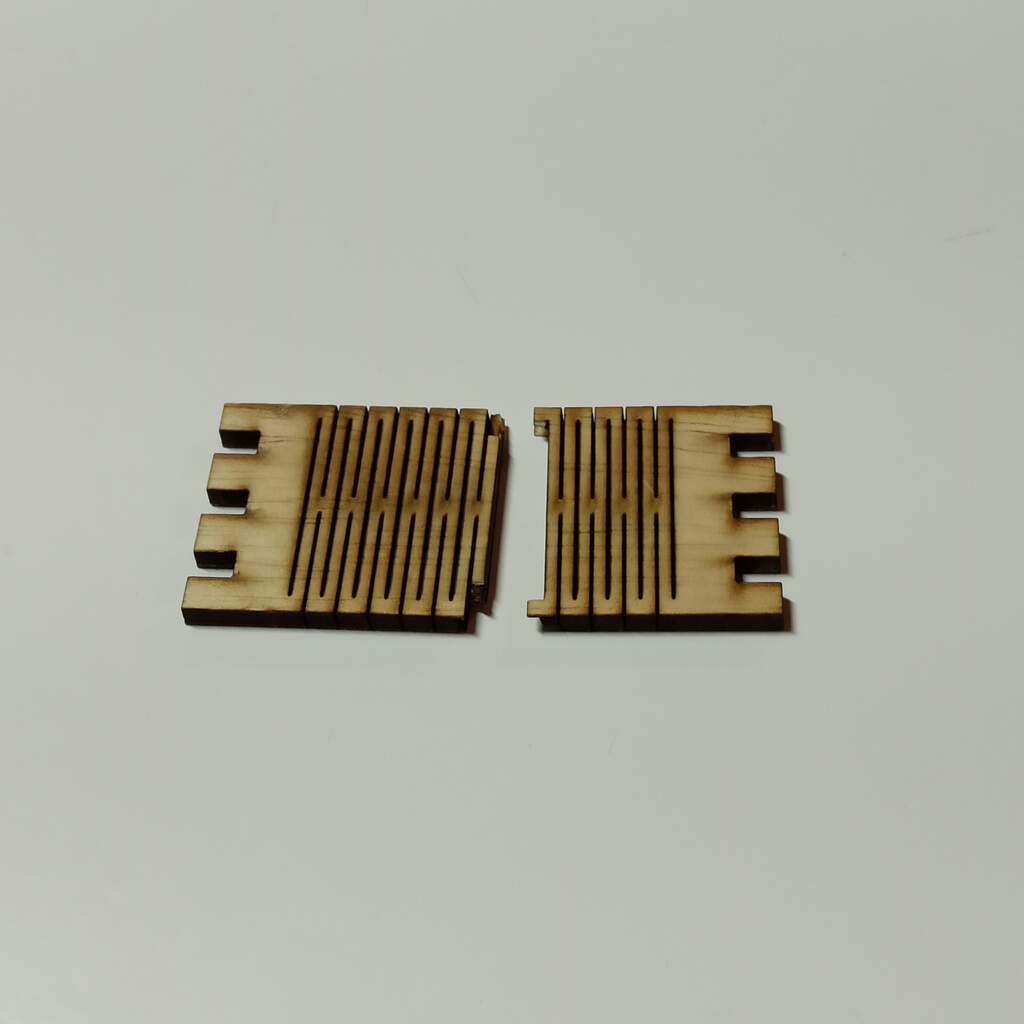
After considering the amazing flexibility of the living hinge, I then try to make a smaller version that can have a smaller radius, so I change the parameters of the design to reduce the height and the number of cuts that create the pattern.
Then we decided to change the material from MDF to a triplex, so we have the chance to test how our parametric designs respond to the change of material thickness..
My design has a good response to the material thickness change and the press-fit still work after the change, but sadly the flex joint wasn't flexible with the new material and it broke at the first attempt of bending.
So I have to change my dimensions again to use MDF, after re-focusing the laser and make a test cut to ensure that the speed and power were correct. I cut my first living hinge, and it came out pretty well, so I started cutting the complete kit.
Nesting
I use Adobe Illustrator to make a simple nest job by hand this was easily done because all the pieces were rectangles and more or less they fit naturally. But also as I was using some left over material, the last bits of 3mm MDF available at the time. I have to change the nesting and cut by portions based on the space found on the material. For this I just drag around the vectors on RDwors. And re set the origin as needed using the control panel of the laser machine.
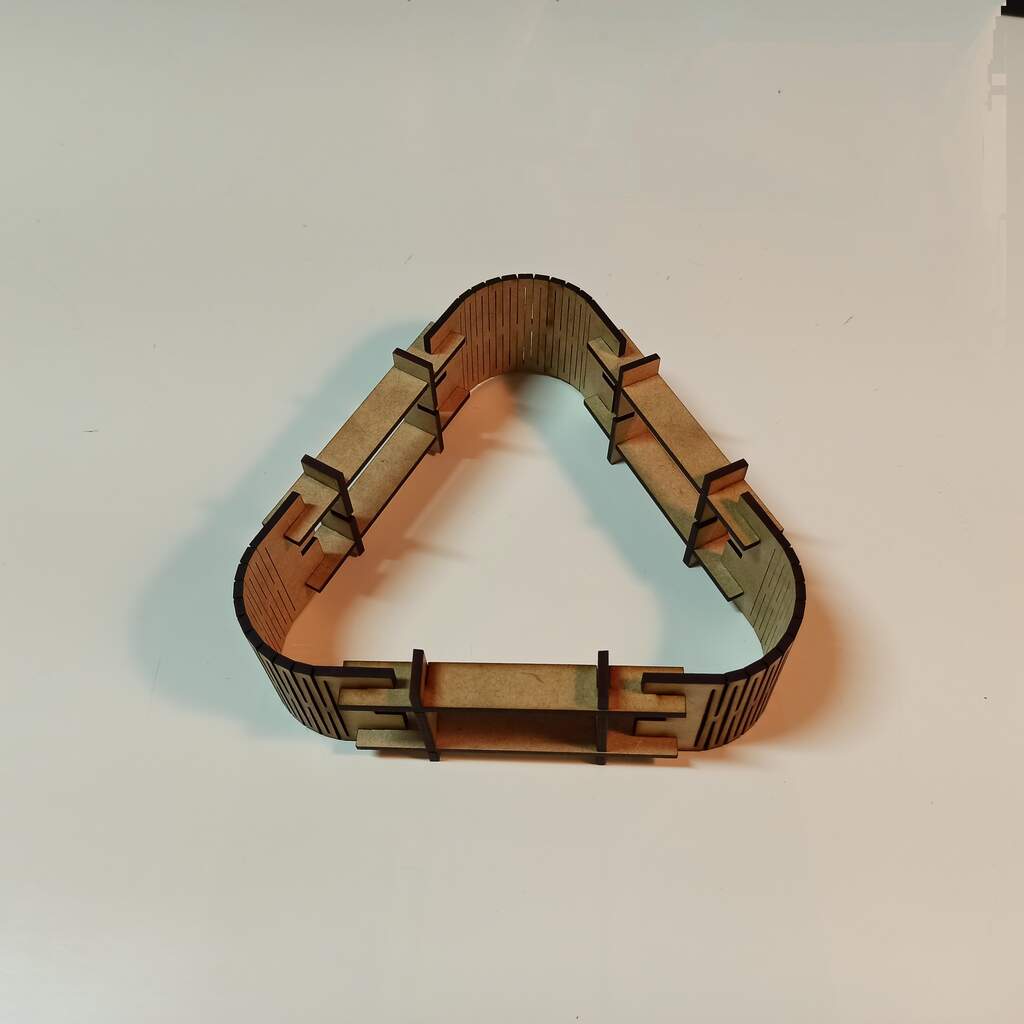
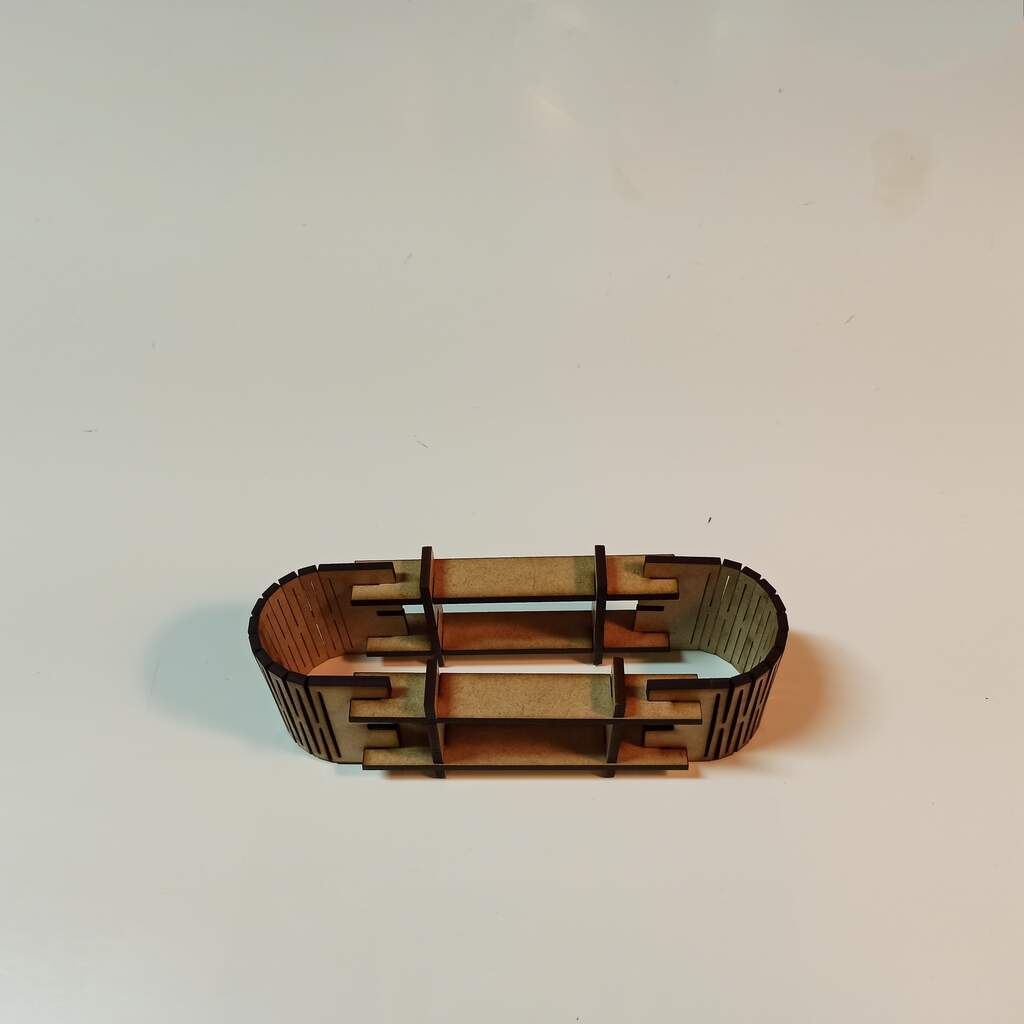
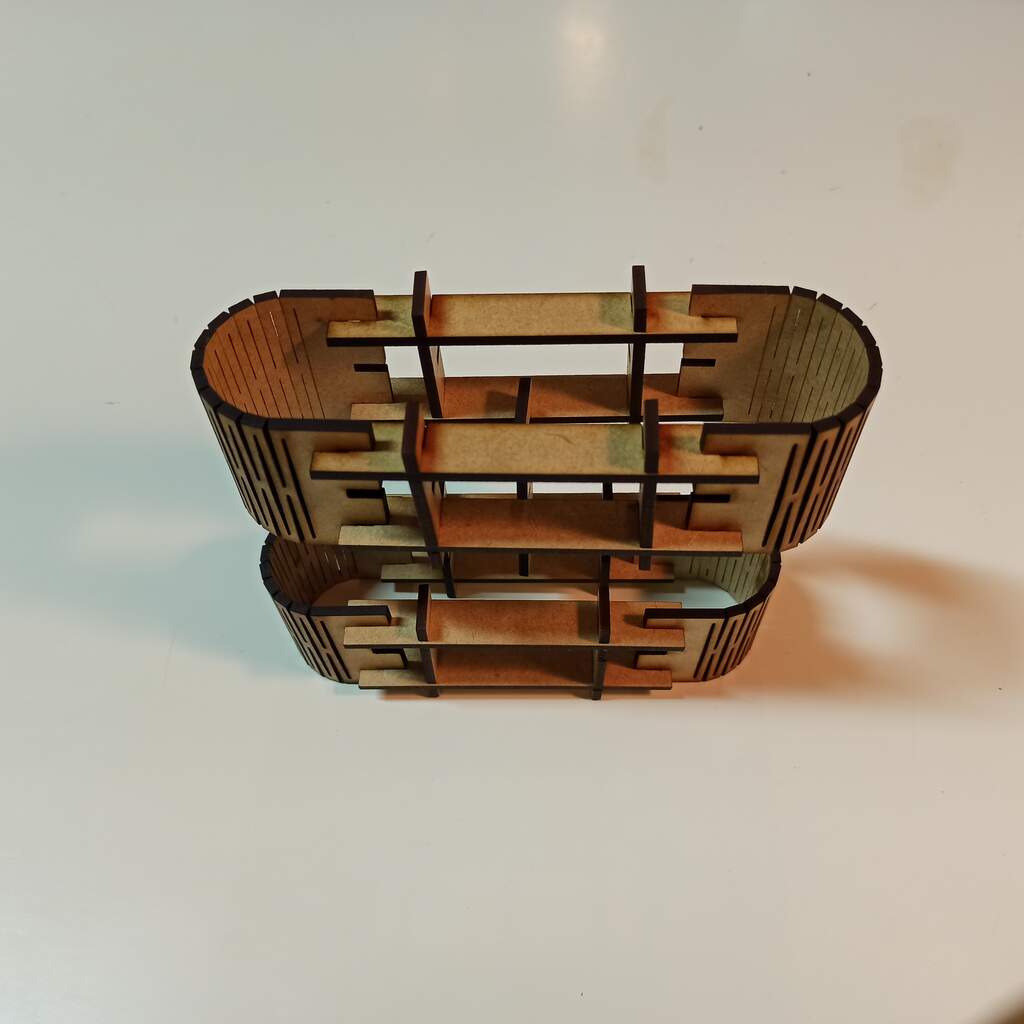
Get the kit .DXF file to 3mm MDF
Final press-fit kit