Interface and Application
making of app.
Intro.
I know I like engineering but too much of anything is not good. Come out from thinking mind see the power and the beauty of a world that never ask you to build it to own it, those are gifted. Okay So my final project Grocubator is a Sprouting machine which will have online interface to observe and control activity of machine. here I will explore some possible examples that may help me to build that Interface.
Week Task:
Individual assignment:
write an application that interfaces a user with an input &/or output device that you made
Group assignment:
compare as many tool options as possible
Group assignment: summary
click to known more about group assignment
Thanks to Mohit ahuja he introduced us new tools.
I like scratch and app inventor, very simple to use you get result easily best for building basic applications in limited time. no special study or training is required for it
The most I liked tool is processing. Processing is a free graphical library and integrated development environment (IDE) built for the electronic arts, new media art, and visual design communities with the purpose of teaching non-programmers the fundamentals of computer programming in a visual context.
Processing uses the Java language, with additional simplifications such as additional classes and aliased mathematical functions and operations. It also provides a graphical user interface for simplifying the compilation and execution stage.
The Processing language and IDE have been the precursor to other projects including Arduino, Wiring and p5.js. (wikipedia)
Here I testing code from examples from file menu
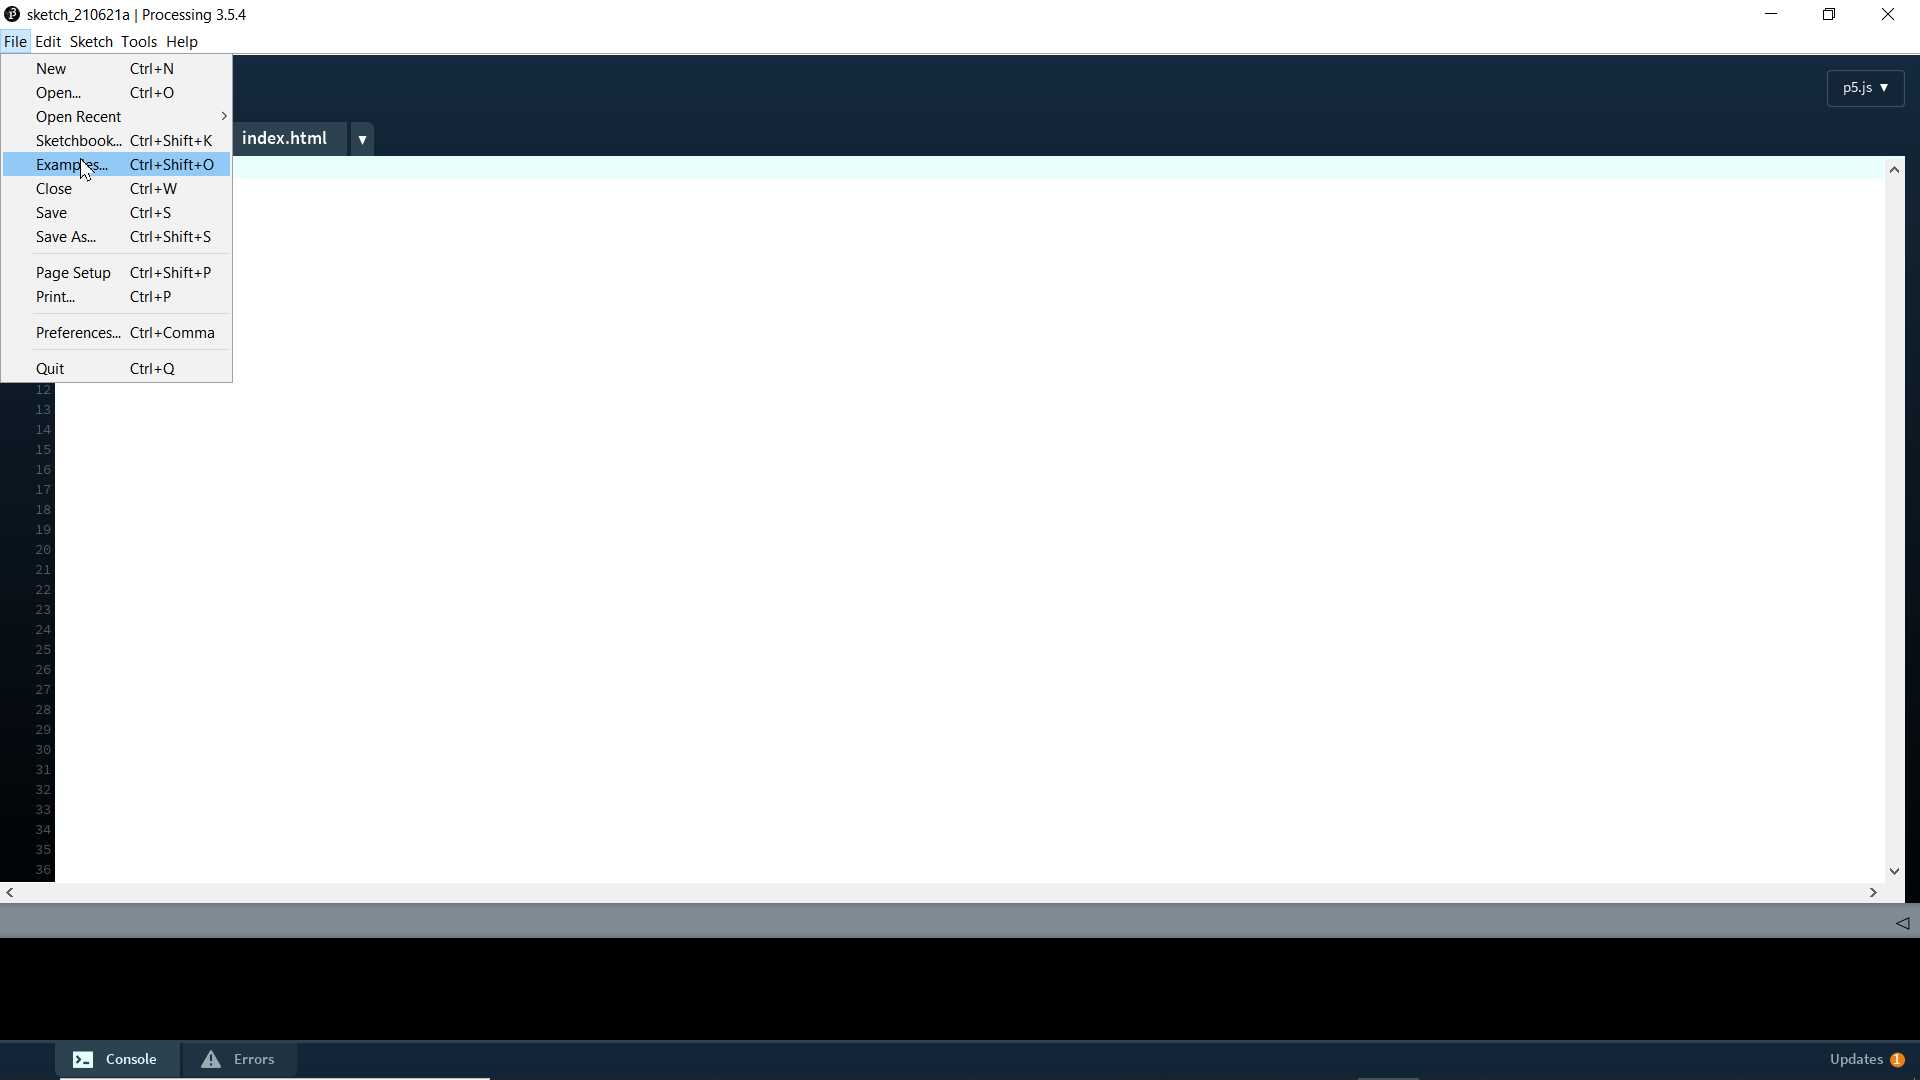
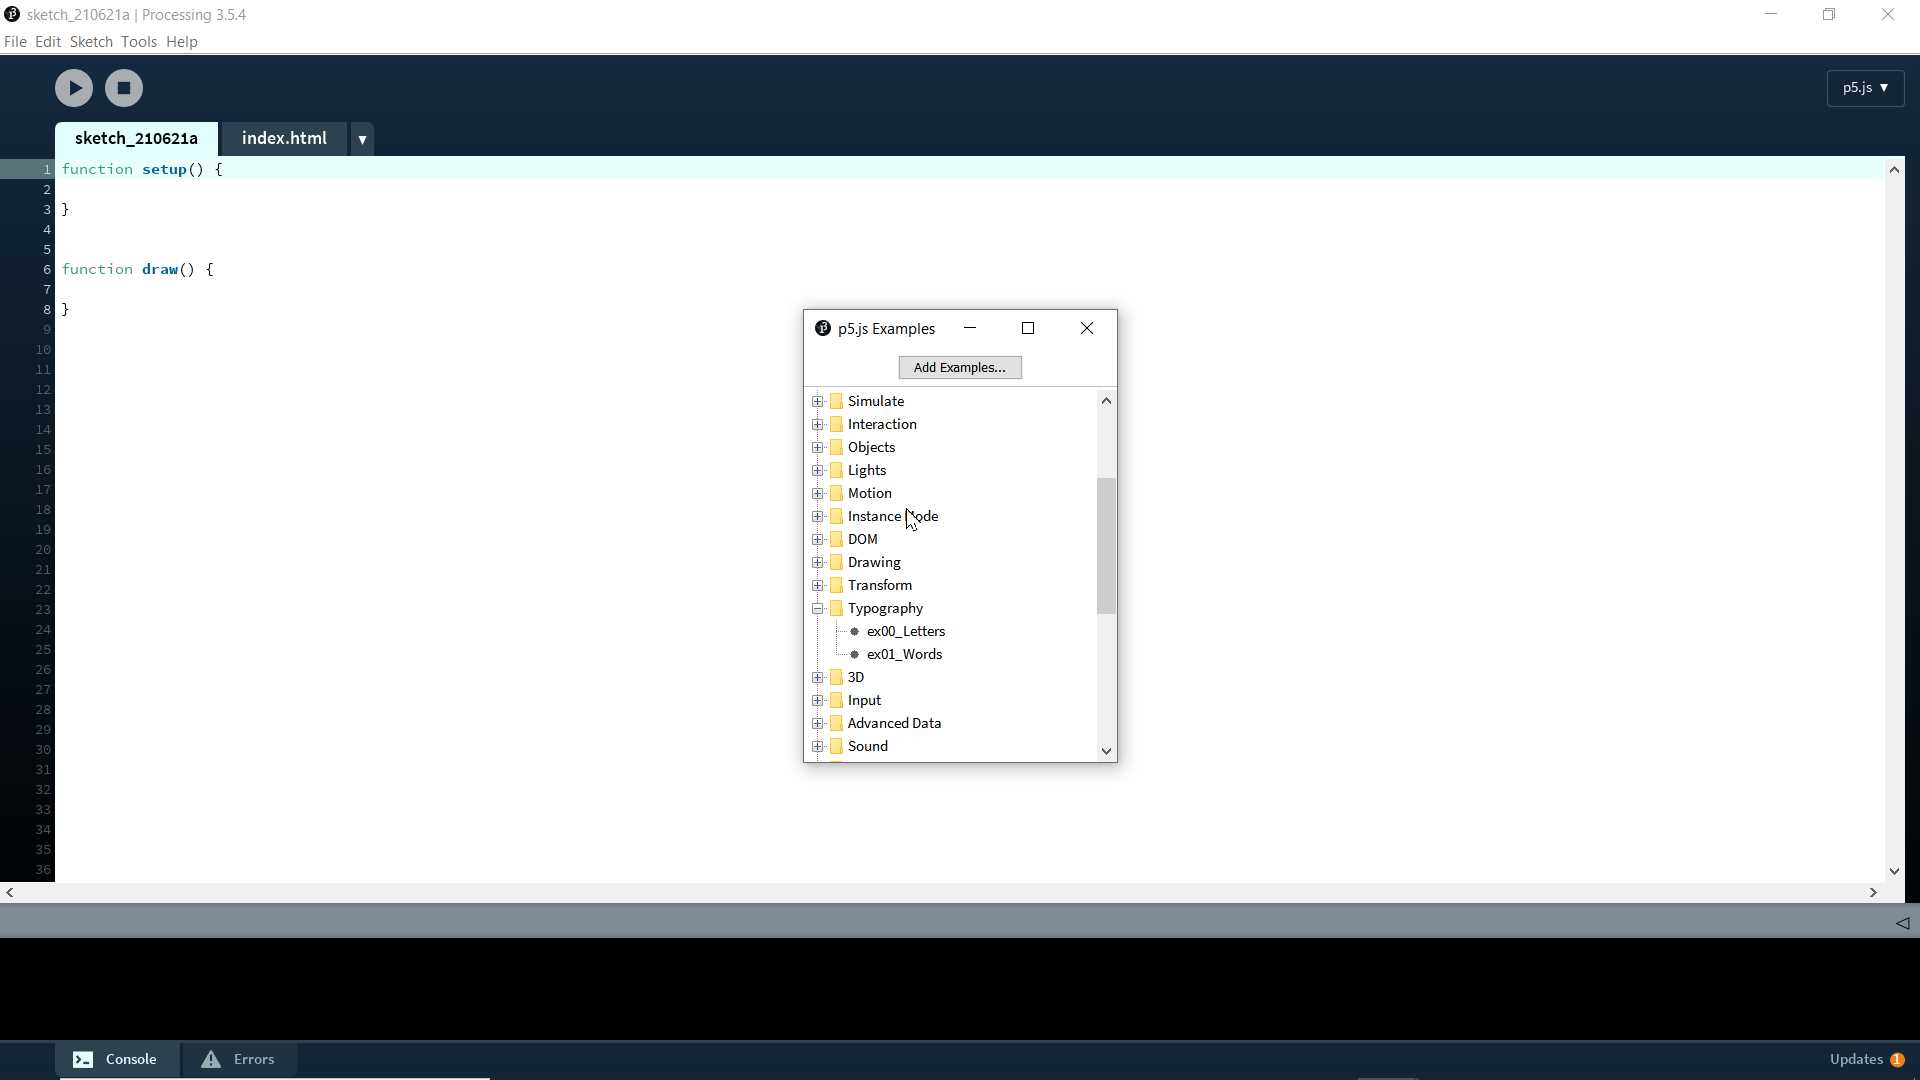
It is drawing pattern example. It run in web browser since it a javascript that combined with html code
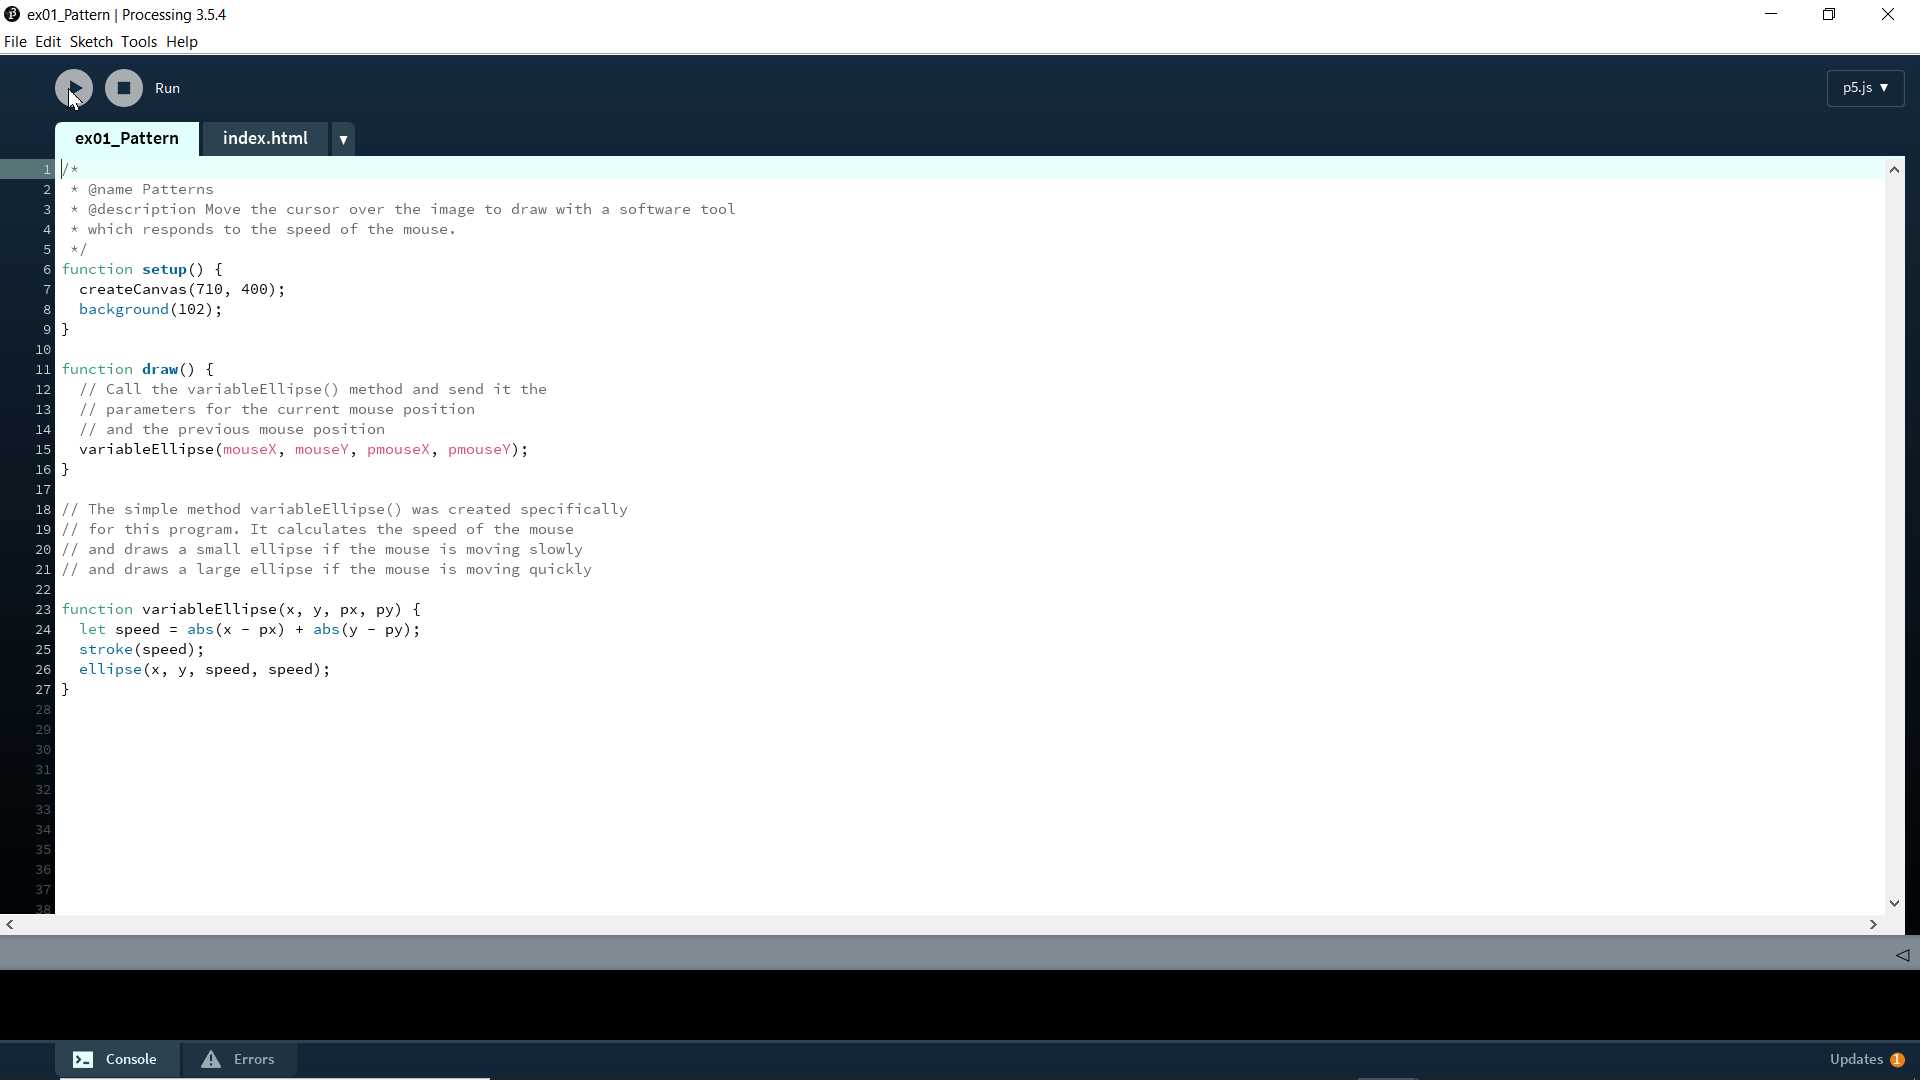
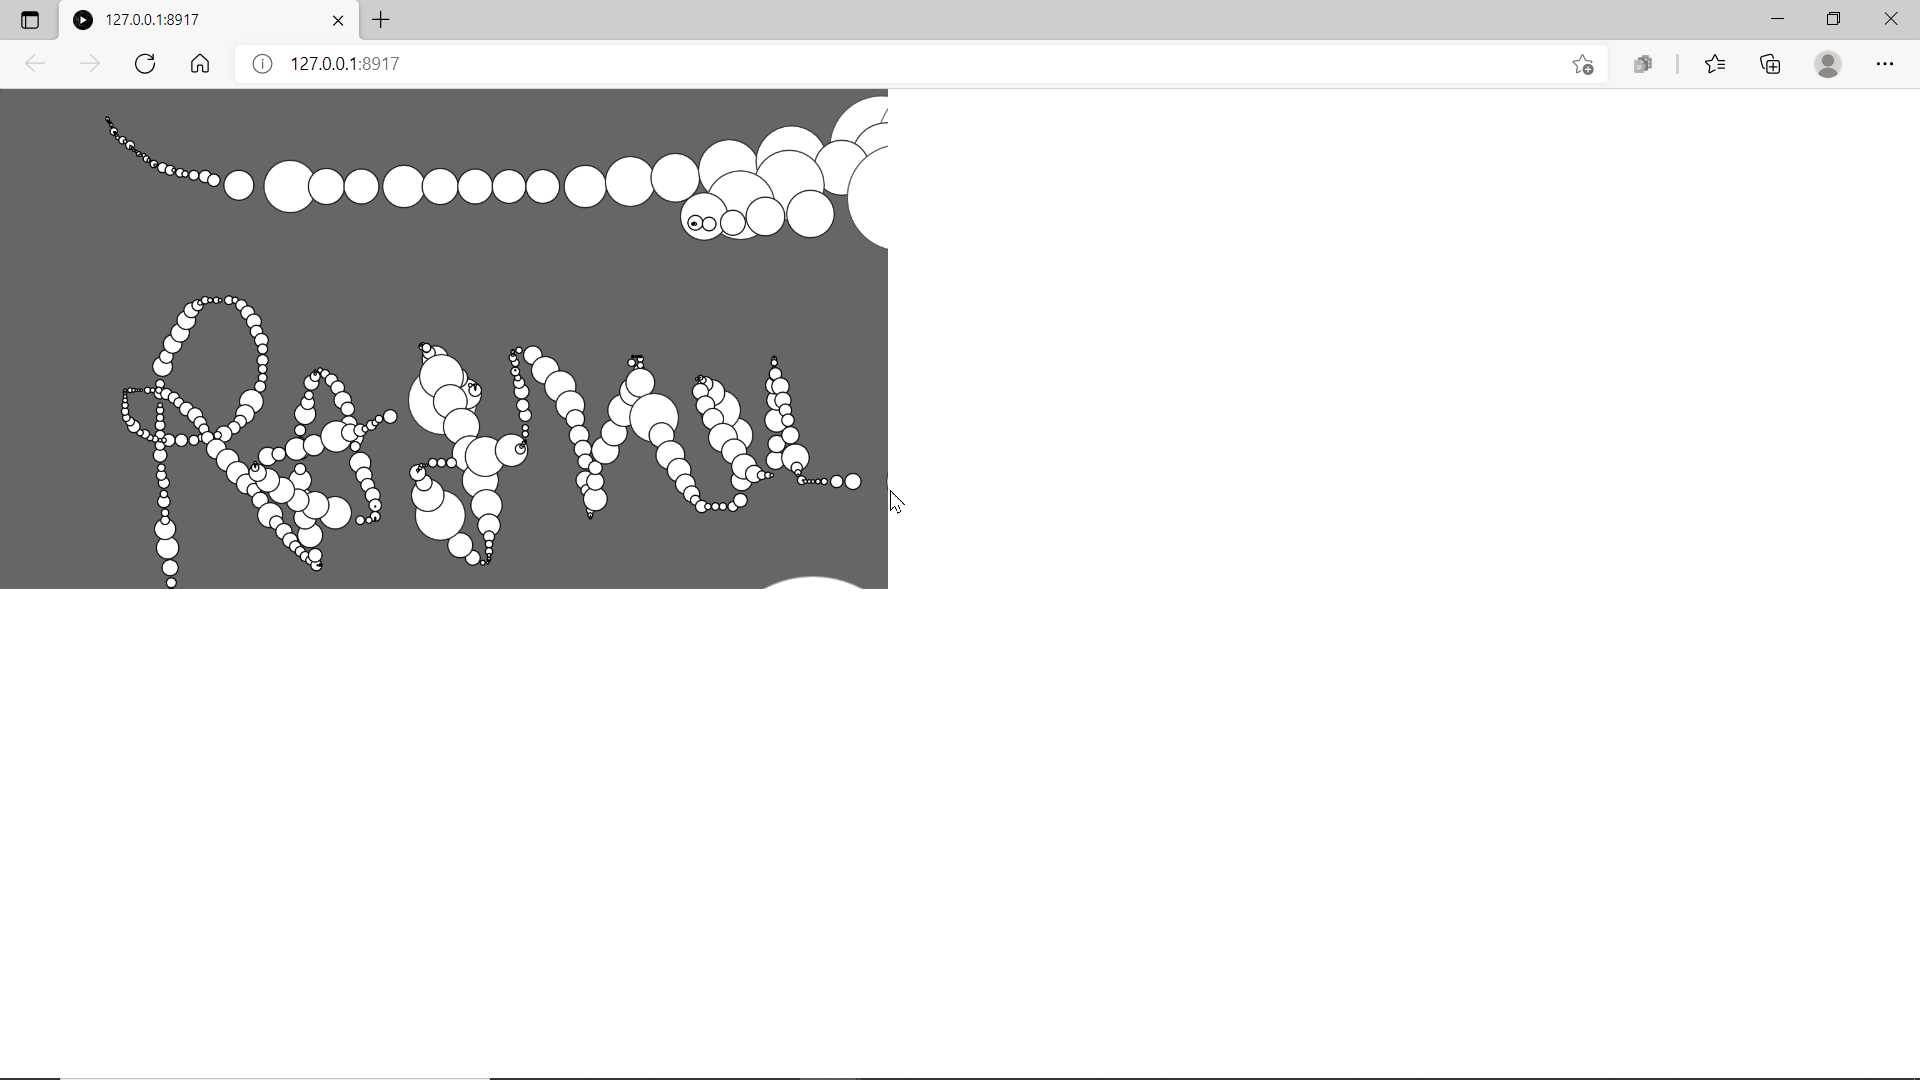
So I dont know javascript tha much to start from scratch but possiblities for designing is huge with using processing so will learn this in coming time
Individual assignment
I am clear about one thing is that I want to make Interface that need no installation or setup to use it, anyone can access it from their devices. Hence I come to idea of server based interface or application. Simple webpage store in esp32 that can be access with http will work fine here. But question is how? So let get start.
I refer randomnerdtutorial.com to learn to build html code that code that can embedded in esp32 to control it. So first I perform the tutorial same as given to check it work as I wanted it to be
I using my made esp32 board which have rgb led on it here I will use it to check output in this example. Hence no need for me to build any external circuit now.
Here is given code
// Load Wi-Fi library
#include <WiFi.h>

// Replace with your network credentials
const char* ssid = “REPLACE_WITH_YOUR_SSID”;
const char* password = “REPLACE_WITH_YOUR_PASSWORD”;

// Set web server port number to 80
WiFiServer server(80);

// Variable to store the HTTP request
String header;

// Auxiliar variables to store the current output state
String output2State = “off”;
String output4State = “off”;
String output5State = “off”;

// Assign output variables to GPIO pins
const int output2 = 2;
const int output4 = 4;
const int output5 = 5;

// Current time
unsigned long currentTime = millis();
// Previous time
unsigned long previousTime = 0;
// Define timeout time in milliseconds (example: 2000ms = 2s)
const long timeoutTime = 2000;

void setup() {
  Serial.begin(115200);
  // Initialize the output variables as outputs
  pinMode(output2, OUTPUT);
  pinMode(output4, OUTPUT);
  pinMode(output5, OUTPUT);
  // Set outputs to LOW
  digitalWrite(output2, HIGH);
  digitalWrite(output4, HIGH);
  digitalWrite(output5, HIGH);

  // Connect to Wi-Fi network with SSID and password
  Serial.print(“Connecting to ”);
  Serial.println(ssid);
  WiFi.begin(ssid, password);
  while (WiFi.status() != WL_CONNECTED) {
    delay(500);
    Serial.print(".”);
  }
  // Print local IP address and start web server
  Serial.println("");
  Serial.println(“WiFi connected.”);
  Serial.println(“IP address: ");
  Serial.println(WiFi.localIP());
  server.begin();
}

void loop(){
  WiFiClient client = server.available();   // Listen for incoming clients

  if (client) {                             // If a new client connects,
    currentTime = millis();
    previousTime = currentTime;
    Serial.println(“New Client.”);          // print a message out in the serial port
    String currentLine = "";                // make a String to hold incoming data from the client
    while (client.connected() && currentTime - previousTime <= timeoutTime) {  // loop while the client’s connected
      currentTime = millis();
      if (client.available()) {             // if there’s bytes to read from the client,
        char c = client.read();             // read a byte, then
        Serial.write(c);                    // print it out the serial monitor
        header += c;
        if (c == ’\n’) {                    // if the byte is a newline character
          // if the current line is blank, you got two newline characters in a row.
          // that’s the end of the client HTTP request, so send a response:
          if (currentLine.length() == 0) {
            // HTTP headers always start with a response code (e.g. HTTP/1.1 200 OK)
            // and a content-type so the client knows what’s coming, then a blank line:
            client.println(“HTTP/1.1 200 OK”);
            client.println(“Content-type:text/html”);
            client.println(“Connection: close”);
            client.println();

            // turns the GPIOs on and off
            if (header.indexOf(“GET /2/on”) >= 0) {
              Serial.println(“GPIO 2 on”);
              output2State = “on”;
              digitalWrite(output2, LOW);
            } else if (header.indexOf(“GET /2/off”) >= 0) {
              Serial.println(“GPIO 2 off”);
              output2State = “off”;
              digitalWrite(output2, HIGH);
            } else if (header.indexOf(“GET /4/on”) >= 0) {
              Serial.println(“GPIO 4 on”);
              output4State = “on”;
              digitalWrite(output4, LOW);
            } else if (header.indexOf(“GET /4/off”) >= 0) {
              Serial.println(“GPIO 4 off”);
              output4State = “off”;
              digitalWrite(output4, HIGH);
            }else if (header.indexOf(“GET /5/on”) >= 0) {
              Serial.println(“GPIO 5 on”);
              output5State = “on”;
              digitalWrite(output5, LOW);
            } else if (header.indexOf(“GET /5/off”) >= 0) {
              Serial.println(“GPIO 5 off”);
              output5State = “off”;
              digitalWrite(output5, HIGH);
            }

            // Display the HTML web page
            client.println("<!DOCTYPE html><html>");
            client.println("<head><meta name=\“viewport\" content=\“width=device-width, initial-scale=1\">");
            client.println("<link rel=\“icon\" href=\“data:,\">");
            // CSS to style the on/off buttons
            // Feel free to change the background-color and font-size attributes to fit your preferences
            client.println("<style>html { font-family: Helvetica; display: inline-block; margin: 0px auto; text-align: center;}");
            client.println(".button { background-color: #ffff00; border: none; color: white; padding: 16px 40px;");
            client.println(“text-decoration: none; font-size: 30px; margin: 2px; cursor: pointer;}");
            client.println(".button2 {background-color: #ff0000;}</style></head>");

            // Web Page Heading
            client.println("<body><h1>ESP32 Web Server Interface</h1>");

            // Display current state, and ON/OFF buttons for GPIO 2
            client.println("<p>GPIO 2 - State " + output2State + "</p>");
            // If the output2State is off, it displays the ON button
            if (output2State==“off”) {
              client.println("<p><a href=\"/2/on\"><button class=\“button\">ON</button></a></p>");
            } else {
              client.println("<p><a href=\"/2/off\"><button class=\“button button2\">OFF</button></a></p>");
            }

            // Display current state, and ON/OFF buttons for GPIO 4
            client.println("<p>GPIO 4 - State " + output4State + "</p>");
            // If the output4State is off, it displays the ON button
            if (output4State==“off”) {
              client.println("<p><a href=\"/4/on\"><button class=\“button\">ON</button></a></p>");
            } else {
              client.println("<p><a href=\"/4/off\"><button class=\“button button2\">OFF</button></a></p>");
            }

            // Display current state, and ON/OFF buttons for GPIO 5
            client.println("<p>GPIO 5 - State " + output5State + "</p>");
            // If the output5State is off, it displays the ON button
            if (output5State==“off”) {
              client.println("<p><a href=\"/5/on\"><button class=\“button\">ON</button></a></p>");
            } else {
              client.println("<p><a href=\"/5/off\"><button class=\“button button2\">OFF</button></a></p>");
            }
            client.println("</body></html>");

            // The HTTP response ends with another blank line
            client.println();
            // Break out of the while loop
            break;
          } else { // if you got a newline, then clear currentLine
            currentLine = "";
          }
        } else if (c != '\r’) {  // if you got anything else but a carriage return character,
          currentLine += c;      // add it to the end of the currentLine
        }
      }
    }
    // Clear the header variable
    header = "";
    // Close the connection
    client.stop();
    Serial.println(“Client disconnected.”);
    Serial.println("");
  }
}
This code I have modified for my board. Here I have rgb led to drive so I need three button on my interface to turn on and off each with each button.
So you need to do some modification in code before you upload it in your board
// Replace with your network credentials
const char* ssid = “REPLACE_WITH_YOUR_SSID”;
const char* password = “REPLACE_WITH_YOUR_PASSWORD”;
Here you need to put your active wifi name and password
next let see which part of a code we can play with
  // Initialize the output variables as outputs
  pinMode(output2, OUTPUT);
  pinMode(output4, OUTPUT);
  pinMode(output5, OUTPUT);
  // Set outputs to LOW
  digitalWrite(output2, HIGH);
  digitalWrite(output4, HIGH);
  digitalWrite(output5, HIGH);
Here you can modify output pins and can change it initial states. I added extra pin because RGB led need three output pins.
            // turns the GPIOs on and off
            if (header.indexOf(“GET /2/on”) >= 0) {
              Serial.println(“GPIO 2 on”);
              output2State = “on”;
              digitalWrite(output2, LOW);
            } else if (header.indexOf(“GET /2/off”) >= 0) {
              Serial.println(“GPIO 2 off”);
              output2State = “off”;
              digitalWrite(output2, HIGH);
            } else if (header.indexOf(“GET /4/on”) >= 0) {
              Serial.println(“GPIO 4 on”);
              output4State = “on”;
              digitalWrite(output4, LOW);
            } else if (header.indexOf(“GET /4/off”) >= 0) {
              Serial.println(“GPIO 4 off”);
              output4State = “off”;
              digitalWrite(output4, HIGH);
            }else if (header.indexOf(“GET /5/on”) >= 0) {
              Serial.println(“GPIO 5 on”);
              output5State = “on”;
              digitalWrite(output5, LOW);
            } else if (header.indexOf(“GET /5/off”) >= 0) {
              Serial.println(“GPIO 5 off”);
              output5State = “off”;
              digitalWrite(output5, HIGH);
            }
So here is another important things now code started to become complicated. This part of code make a link between webpage and hardware. As a you see for three pins will have three set of repeating codes.
            // CSS to style the on/off buttons
            // Feel free to change the background-color and font-size attributes to fit your preferences
            client.println(”<style>html { font-family: Helvetica; display: inline-block; margin: 0px auto; text-align: center;}");
            client.println(".button { background-color: #ffff00; border: none; color: white; padding: 16px 40px;");
            client.println(“text-decoration: none; font-size: 30px; margin: 2px; cursor: pointer;}");
            client.println(".button2 {background-color: #ff0000;}</style></head>");
This is arduino code writing html code here you can play to change button styles as you wish
            // Display current state, and ON/OFF buttons for GPIO 2
            client.println(”<p>GPIO 2 - State " + output2State + "</p>");
            // If the output2State is off, it displays the ON button
            if (output2State==“off”) {
              client.println("<p><a href=\"/2/on\"><button class=\“button\">ON</button></a></p>");
            } else {
              client.println("<p><a href=\"/2/off\"><button class=\“button button2\">OFF</button></a></p>");
            }

            // Display current state, and ON/OFF buttons for GPIO 4
            client.println("<p>GPIO 4 - State " + output4State + "</p>");
            // If the output4State is off, it displays the ON button
            if (output4State==“off”) {
              client.println("<p><a href=\"/4/on\"><button class=\“button\">ON</button></a></p>");
            } else {
              client.println("<p><a href=\"/4/off\"><button class=\“button button2\">OFF</button></a></p>");
            }

            // Display current state, and ON/OFF buttons for GPIO 5
            client.println("<p>GPIO 5 - State " + output5State + "</p>");
            // If the output5State is off, it displays the ON button
            if (output5State==“off”) {
              client.println("<p><a href=\"/5/on\"><button class=\“button\">ON</button></a></p>");
            } else {
              client.println("<p><a href=\"/5/off\"><button class=\“button button2\">OFF</button></a></p>");
            }
So this set of code writing html code creating button and it controls
So as I showed I made change in those code to make code ready for my board. After uploading code in board I work well as you can see on given video.
This showed possibility of web based Interface on esp32. Here esp32 act as a server.
Next ahead I have use this and many other examples from randomnerdtutorials and from other sites to build simple Interface for my final project Grocubator
I wanted to separate RGB led indicator program from sensor and actuator. I wanna to design that both program keep running same time and only influence each other on particular events
In short I ask for multi tasking. So for that I got online example How to use ESP32 Dual Core with Arduino IDE
I planned to reduce devices and electronic complexity I will make web base interface to operate and control function of grocubator
For servo control and slider graphic is referred example ESP32 Servo Motor Web Server with Arduino IDE
So I am clear with what functions I needed in my interface. keeping it simple to make it easy to develop later in future but for now I wanted to make something that make my machine response
From above examples I took base code and continued building on it and finally I made this code that I used with my Grocubator
// Load Wi-Fi library
#include <WiFi.h>
#include <Servo.h>
#include <Wire.h>
#include <Adafruit_Sensor.h>
#include <Adafruit_BME280.h>
#include <OneWire.h>
#include <DallasTemperature.h>
//----------------------------------------------------------------------------------
// GPIO where the DS18B20 is connected to
const int oneWireBus = 19;

// Setup a oneWire instance to communicate with any OneWire devices
OneWire oneWire(oneWireBus);

// Pass our oneWire reference to Dallas Temperature sensor
DallasTemperature sensors(&oneWire);

float temperatureC, temperatureF;

//-----------------------------------------------------------------------------------
#define SEALEVELPRESSURE_HPA (1013.25)

Adafruit_BME280 bme;

float temperature, humidity, pressure, altitude;

//----------------------------------------------------------------------------------------------------------
Servo myservo;  // create servo object to control a servo
// twelve servo objects can be created on most boards

// GPIO the servo is attached to
static const int servoPin = 18;

// Replace with your network credentials
const char* ssid = “abcd”;
const char* password = ”********";

// Set web server port number to 80
WiFiServer server(80);

// Variable to store the HTTP request
String header;


// Auxiliar variables to store the current output state
String waterpumpState = “off”;
String airpumpState = “off”;

// Assign output variables to GPIO pins
const int waterpump = 13;
const int airpump = 16;

//autoevents flags
String soakingState = “off”;
String sproutingState = “off”;

// Decode HTTP GET value
String valueString = String(5);
int pos1 = 0;
int pos2 = 0;

// Current time
unsigned long currentTime = millis();
// Previous time
unsigned long previousTime = 0;
// Define timeout time in milliseconds (example: 2000ms = 2s)
const long timeoutTime = 2000;
//---------------------------------------------------------------------------------
TaskHandle_t Task2;
//---------------------------------------------------------------------------------
const int red = 5;
const int blue = 2;
const int green = 4;

// setting PWM properties
const int freq = 5000;
const int ledChannel = 5;
const int resolution = 8;
const int spd = 10;


void leds_init() {
  // configure LED PWM functionalitites
  ledcSetup(ledChannel, freq, resolution);
  ledcSetup(ledChannel + 1, freq, resolution);
  ledcSetup(ledChannel + 2, freq, resolution);
  ledcAttachPin(red, ledChannel);
  ledcAttachPin(green, ledChannel + 1);
  ledcAttachPin(blue, ledChannel + 2);
}

void led() {
  ledcWrite(ledChannel, 255);
  ledcWrite(ledChannel + 1, 255);
  ledcWrite(ledChannel + 2, 255);


  for (int dutyCycle = 0; dutyCycle <= 255; dutyCycle++) {
    // changing the LED brightness with PWM
    ledcWrite(ledChannel, dutyCycle);
    ledcWrite(ledChannel + 1, 255 - dutyCycle);
    ledcWrite(ledChannel + 2, dutyCycle);
    delay(spd);
  }
  for (int dutyCycle = 0; dutyCycle <= 255; dutyCycle++) {
    // changing the LED brightness with PWM
    ledcWrite(ledChannel + 1, dutyCycle);
    ledcWrite(ledChannel, dutyCycle);
    ledcWrite(ledChannel + 2, 255 - dutyCycle);
    delay(spd);
  }

  for (int dutyCycle = 0; dutyCycle <= 255; dutyCycle++) {
    // changing the LED brightness with PWM
    ledcWrite(ledChannel + 2, dutyCycle);
    ledcWrite(ledChannel + 1, dutyCycle);
    ledcWrite(ledChannel, 255 - dutyCycle);
    delay(spd);
  }

}
//---------------------------------------------------------------------------------
void setup() {
  Serial.begin(115200);

  bme.begin(0x76);
  //-------------------------------------------------------------------------------

  myservo.attach(servoPin);  // attaches the servo on the servoPin to the servo object

  //-------------------------------------------------------------------------------
  // Start the DS18B20 sensor
  sensors.begin();
  //-------------------------------------------------------------------------------

  // Initialize the output variables as outputs
  pinMode(waterpump, OUTPUT);
  pinMode(airpump, OUTPUT);
  pinMode(2, OUTPUT);
  // Set outputs to LOW
  digitalWrite(waterpump, LOW);
  digitalWrite(airpump, LOW);
  digitalWrite(2, LOW);

  // Connect to Wi-Fi network with SSID and password
  Serial.print(“Connecting to ");
  Serial.println(ssid);
  WiFi.begin(ssid, password);
  while (WiFi.status() != WL_CONNECTED) {
    delay(500);
    Serial.print(".”);
  }
  // Print local IP address and start web server
  Serial.println("");
  Serial.println(“WiFi connected.”);
  Serial.println(“IP address: ");
  Serial.println(WiFi.localIP());
  server.begin();
  //---------------------------------------------------------------------
  leds_init();
  //white light
  ledcWrite(ledChannel, 240);
  ledcWrite(ledChannel + 1, 200);
  ledcWrite(ledChannel + 2, 100);
  delay(2000);
  //---------------------------------------------------------------------
  //create a task that will be executed in the Task2code() function, with priority 1 and executed on core 1
  xTaskCreatePinnedToCore(
    Task2code,   /* Task function. */
    “Task2”,     /* name of task. */
    10000,       /* Stack size of task */
    NULL,        /* parameter of the task */
    1,           /* priority of the task */
    &Task2,      /* Task handle to keep track of created task */
    1);          /* pin task to core 1 */
  delay(500);
}

void loop()
{
  WiFiClient client = server.available();   // Listen for incoming clients

  if (client) {                             // If a new client connects,
    currentTime = millis();
    previousTime = currentTime;
    Serial.println(“New Client.”);          // print a message out in the serial port
    String currentLine = "";                // make a String to hold incoming data from the client
    while (client.connected() && currentTime - previousTime <= timeoutTime) {  // loop while the client’s connected
      currentTime = millis();
      if (client.available()) {             // if there’s bytes to read from the client,
        char c = client.read();             // read a byte, then
        Serial.write(c);                    // print it out the serial monitor
        header += c;
        if (c == ’\n’) {                    // if the byte is a newline character
          // if the current line is blank, you got two newline characters in a row.
          // that’s the end of the client HTTP request, so send a response:
          if (currentLine.length() == 0) {
            // HTTP headers always start with a response code (e.g. HTTP/1.1 200 OK)
            // and a content-type so the client knows what’s coming, then a blank line:
            client.println(“HTTP/1.1 200 OK”);
            client.println(“Content-type:text/html”);
            client.println(“Connection: close”);
            client.println();

            // turns the GPIOs on and off
            if (header.indexOf(“GET /wp/on”) >= 0) {
              Serial.println(“waterpump on”);
              waterpumpState = “on”;
              digitalWrite(waterpump, HIGH);
            } else if (header.indexOf(“GET /wp/off”) >= 0) {
              Serial.println(“waterpump off”);
              waterpumpState = “off”;
              digitalWrite(waterpump, LOW);
            } else if (header.indexOf(“GET /ap/on”) >= 0) {
              Serial.println(“airpump on”);
              airpumpState = “on”;
              digitalWrite(airpump, HIGH);
            } else if (header.indexOf(“GET /ap/off”) >= 0) {
              Serial.println(“airpump off”);
              airpumpState = “off”;
              digitalWrite(airpump, LOW);
            } else if (header.indexOf(“GET /?value=") >= 0) {
              pos1 = header.indexOf('=');
              pos2 = header.indexOf('&');
              valueString = header.substring(pos1 + 1, pos2);

              //Rotate the servo
              myservo.write(valueString.toInt());
              Serial.println(valueString);
            } else if (header.indexOf(“GET /soak/on”) >= 0) {
              Serial.println(“soaking on”);
              soakingState = “on”;
              //add soak on event
            } else if (header.indexOf(“GET /soak/off”) >= 0) {
              Serial.println(“soaking off”);
              soakingState = “off”;
              //add soak off event
            } else if (header.indexOf(“GET /sprout/on”) >= 0) {
              Serial.println(“sprouting on”);
              sproutingState = “on”;
              //add sprout on event
            } else if (header.indexOf(“GET /sprout/off”) >= 0) {
              Serial.println(“sprouting off”);
              sproutingState = “off”;
              //add sprout off event
            }

            // Display the HTML web page
            client.println("<!DOCTYPE html><html>");
            client.println("<head><meta name=\“viewport\" content=\“width=device-width, initial-scale=1\">");
            client.println("<link rel=\“icon\" href=\“data:,\">");
            // CSS to style the on/off buttons
            // Feel free to change the background-color and font-size attributes to fit your preferences
            client.println("<style>html { font-family: Helvetica; display: inline-block; margin: 0px auto; text-align: center;}");
            client.println(".button { background-color: #ffff00; border: none; color: white; padding: 16px 40px;");
            client.println(“text-decoration: none; font-size: 30px; margin: 2px; cursor: pointer;}");
            client.println(".button2 {background-color: #ff0000;}");
            client.println(".slider { width: 300px; }</style>");
            client.println("<script src=\“https://ajax.googleapis.com/ajax/libs/jquery/3.3.1/jquery.min.js\"></script>");

            // Web Page Heading
            //-----------------------------------------------------------------------------
            client.println("</head><body><h1>Grocubator</h1>");
            client.println("<hr/>");
            client.println("<h2>auto controls</h2>");

            // Display current state, and ON/OFF buttons for soak
            client.println("<p>soaking - State " + soakingState + "</p>");
            // If the soakingState is off, it displays the ON button
            if (soakingState == “off”) {
              client.println("<p><a href=\"/soak/on\"><button class=\“button\">ON</button></a></p>");
            } else {
              client.println("<p><a href=\"/soak/off\"><button class=\“button button2\">OFF</button></a></p>");
            }

            // Display current state, and ON/OFF buttons for sprout
            client.println("<p>sprouting - State " + sproutingState + "</p>");
            // If the sproutingState is off, it displays the ON button
            if (sproutingState == “off”) {
              client.println("<p><a href=\"/sprout/on\"><button class=\“button\">ON</button></a></p>");
            } else {
              client.println("<p><a href=\"/sprout/off\"><button class=\“button button2\">OFF</button></a></p>");
            }
            client.println("<hr/>");
            //-----------------------------------------------------------------------------------

            client.println("<h2>manual controls</h2>");

            // Display current state, and ON/OFF buttons for waterpump
            client.println("<p>waterpump - State " + waterpumpState + "</p>");
            // If the waterpumpState is off, it displays the ON button
            if (waterpumpState == “off”) {
              client.println("<p><a href=\"/wp/on\"><button class=\“button\">ON</button></a></p>");
            } else {
              client.println("<p><a href=\"/wp/off\"><button class=\“button button2\">OFF</button></a></p>");
            }

            // Display current state, and ON/OFF buttons for airpump
            client.println("<p>airpump - State " + airpumpState + "</p>");
            // If the airpumpState is off, it displays the ON button
            if (airpumpState == “off”) {
              client.println("<p><a href=\"/ap/on\"><button class=\“button\">ON</button></a></p>");
            } else {
              client.println("<p><a href=\"/ap/off\"><button class=\“button button2\">OFF</button></a></p>");
            }
            //-----------------------------------------------------------------------------
            client.println("<h3>drum rotation</h3>");
            client.println("<p>Position: <span id=\“servoPos\"></span></p>");
            client.println("<input type=\“range\" min=\“0\" max=\“180\" class=\“slider\" id=\“servoSlider\" onchange=\“servo(this.value)\" value=\"" + valueString + "\"/>");

            client.println("<script>var slider = document.getElementById(\“servoSlider\");");
            client.println(“var servoP = document.getElementById(\“servoPos\"); servoP.innerHTML = slider.value;");
            client.println(“slider.oninput = function() { slider.value = this.value; servoP.innerHTML = this.value; }");
            client.println("$.ajaxSetup({timeout:1000}); function servo(pos) { ");
            client.println("$.get(\"/?value=\" + pos + \"&\"); {Connection: close};}</script>");


            client.println("<hr/>");
            //--------------------------------------------------------------------------------

            temperature = bme.readTemperature();
            humidity = bme.readHumidity();
            pressure = bme.readPressure() / 100.0F;
            altitude = bme.readAltitude(SEALEVELPRESSURE_HPA);
            client.println("<h2>Inner atmosphere</h2>");

            client.println("<p>Temperature = " + String(temperature, 3) + " deg C </p>");
            client.println("<p>Humidity = " + String(humidity, 3) + " % </p>");
            client.println("<p>Pressure = " + String(pressure, 3) + " hPa </p>");
            client.println("<p>Altitude = " + String(altitude, 3) + " m </p>");
            //--------------------------------------------------------------------------------
            sensors.requestTemperatures();
            temperatureC = sensors.getTempCByIndex(0);
            temperatureF = sensors.getTempFByIndex(0);
            client.println("<h2>water temperature</h2>");

            client.println("<p>Temperature in Celsius = " + String(temperatureC, 3) + " deg C </p>");
            client.println("<p>Temperature in Fahrenheit = " + String(temperatureF, 3) + " deg F </p>");
            client.println("</body></html>");

            // The HTTP response ends with another blank line
            client.println();
            // Break out of the while loop
            break;
          } else { // if you got a newline, then clear currentLine
            currentLine = "";
          }
        } else if (c != '\r’) {  // if you got anything else but a carriage return character,
          currentLine += c;      // add it to the end of the currentLine
        }
      }
    }
    // Clear the header variable
    header = "";
    // Close the connection
    client.stop();
    Serial.println(“Client disconnected.”);
    Serial.println("");
  }
}


//Task2code: blinks an LED every 700 ms
void Task2code( void * pvParameters ) {
  Serial.print(“Task2 running on core ");
  Serial.println(xPortGetCoreID());

  for (;;) {
    led();
  }
}
I am using one waterpump and one airpump that I wanted to switch on and off accordingly so I used buttons on interface to switch it manually. I also using servo motor whose rotation angle I wanted to control so I have added slider to control movement of servo from 0 to 180. I am using BME280 sensor and DS18B20 sensor whose value I wanted to display on my interface.
I used station mode for wifi in my esp32. I designed this interface to be use from mobile since now most of us have smart phone with us.
Here down you can see how it look like. It is web based interface just using IP you can acess it from any devices that have wifi functionalities
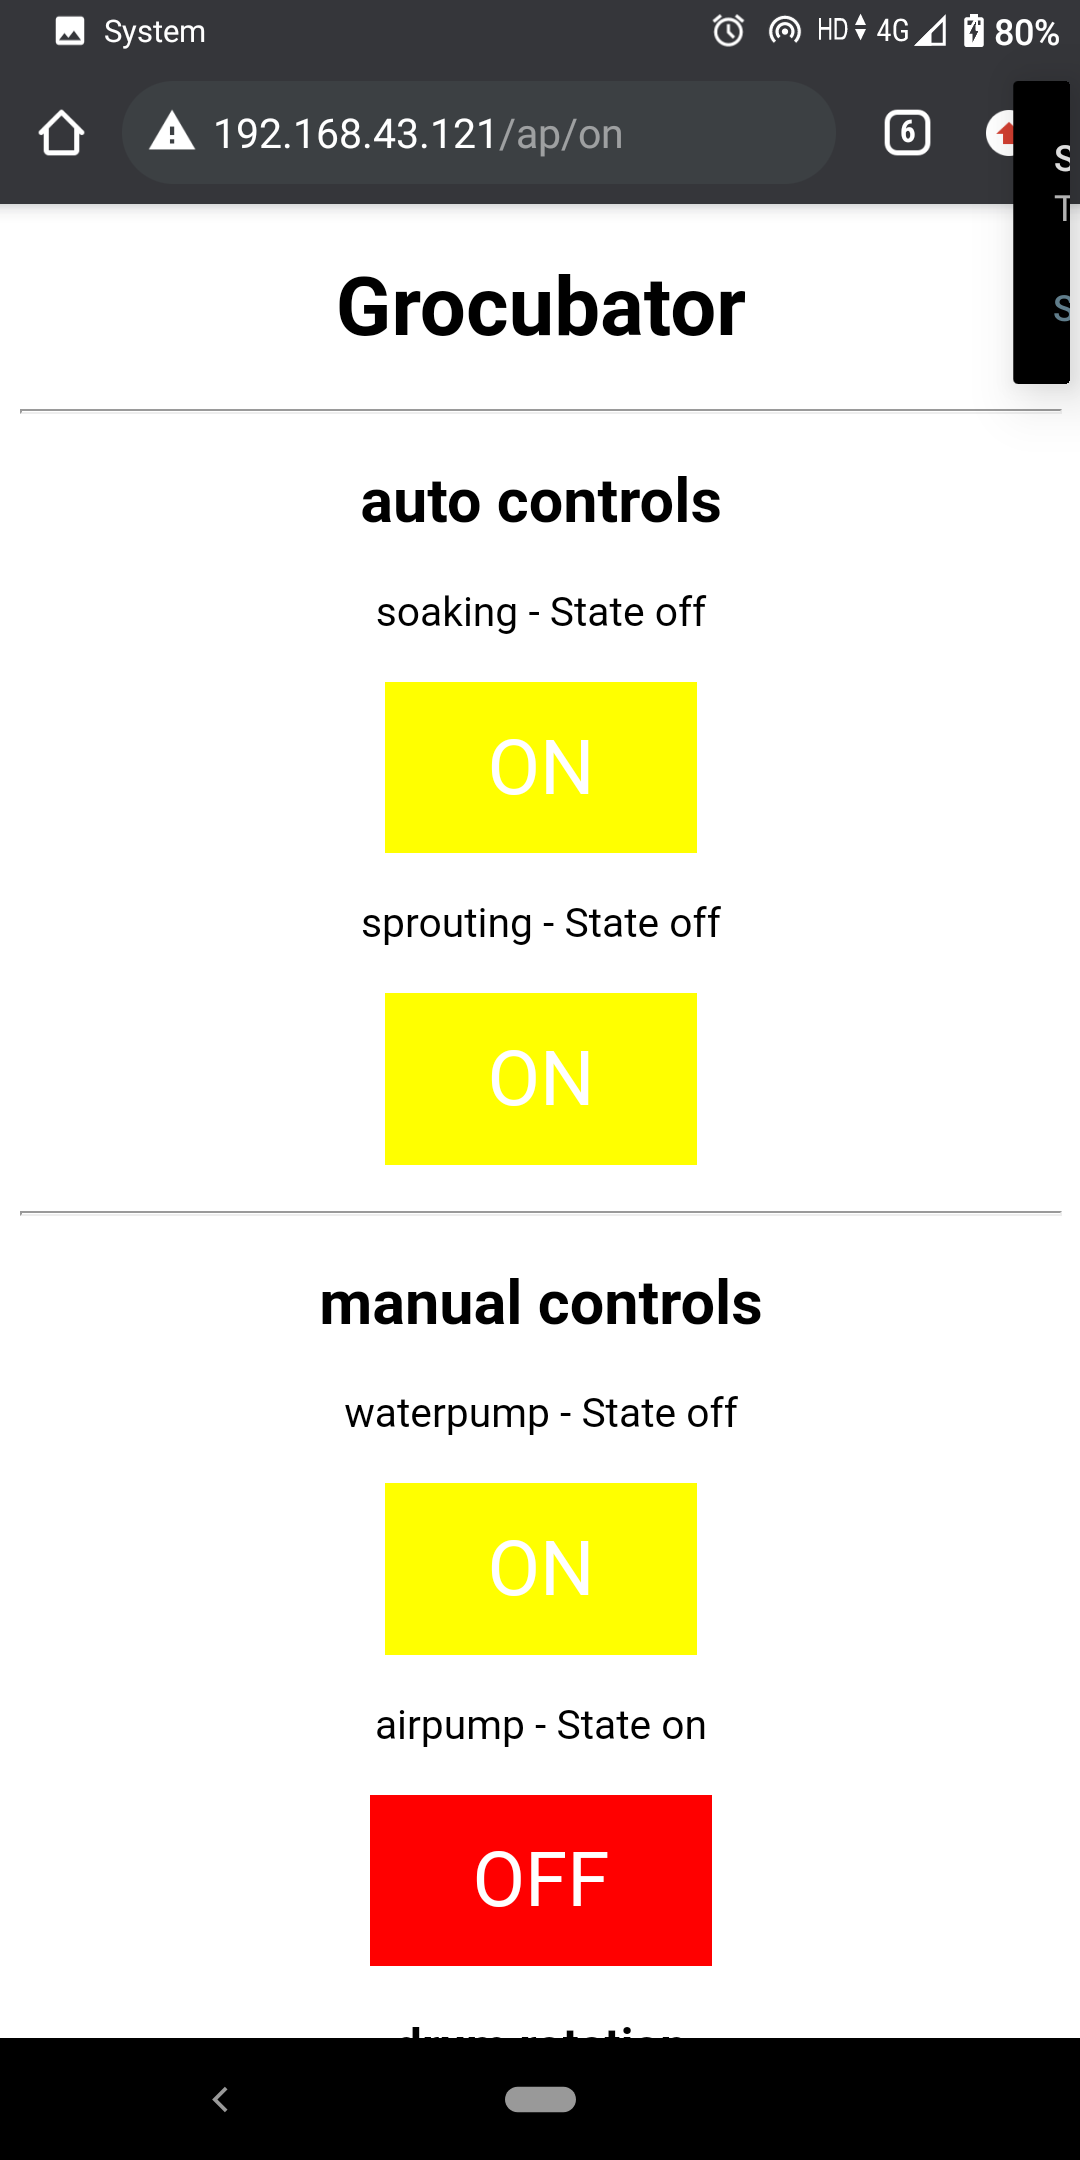
After title Grocubator you see auto control option for soaking and sprouting does nothing I mean I just declare this button to work afterward now in given code it is blank I have not added automatic function yet because I wanted to do research on timing little bit more.
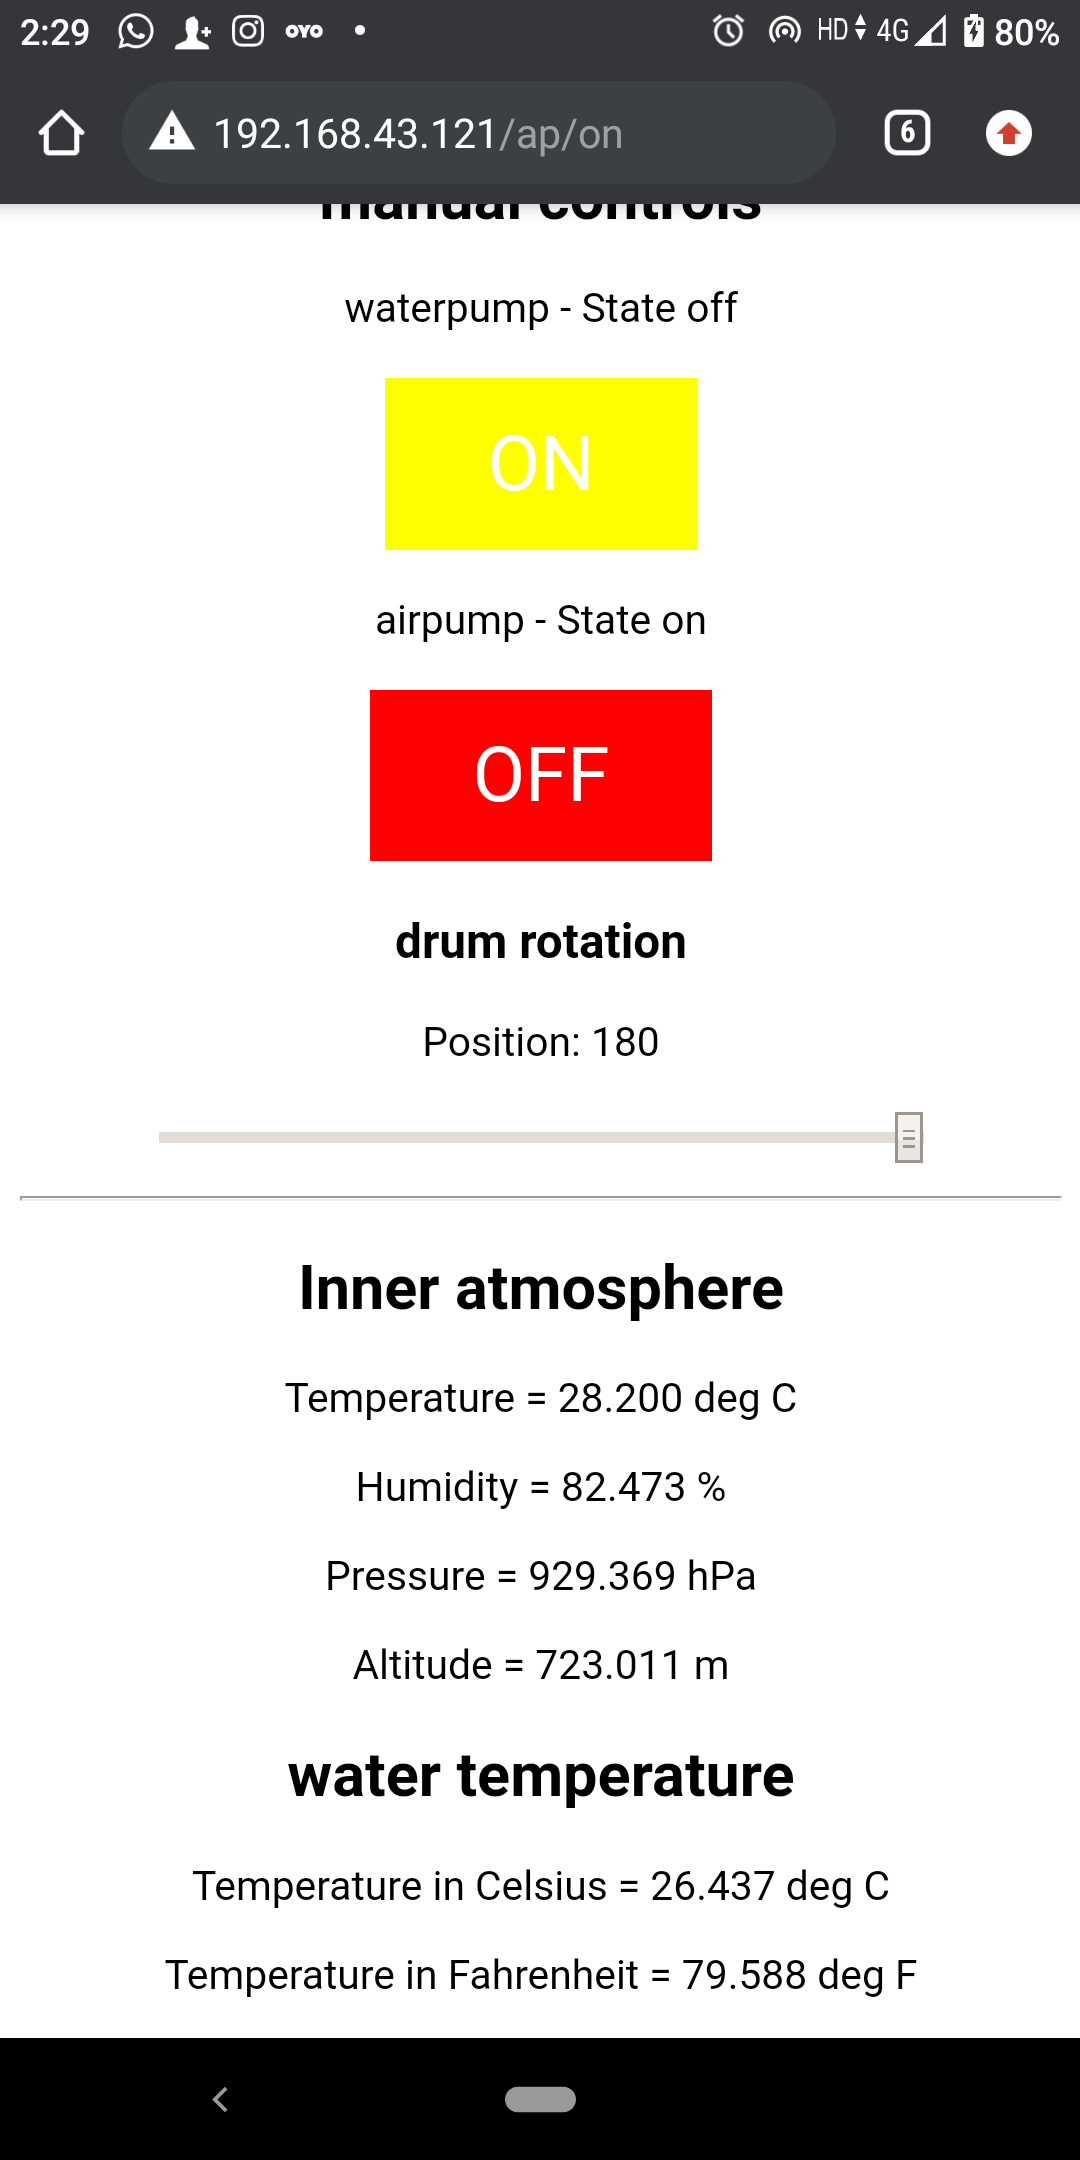
For now Grocubator is only functioning on manual controls. Airpump switch turn airpump on and off. waterpump also work same on and off. Slider control servo rotation and down on bottom you can see reading from BME280 on inneratmosphere and reading from DS18b20 on water temperature
To learn more about grocubator electronic visit My Input device week assignment and Output device week assignment
Learning Outcomes:
I made interface as I planned for. Some improvement and issue are there in this interface to work with. Like It is not like internet thing mean you cant access it from internet It work on only local network. I like however it simplicity scope of improvement are possible. I left auto function blank that I will work with in future because due to deadline I have to park it to something. Since with manual controls you can use grocubator with on issue.