Fabacademy 2021
Group Project: Interface and Application programming
In this we were supposed to explore as many tool options as possible. So we went with two softwares:
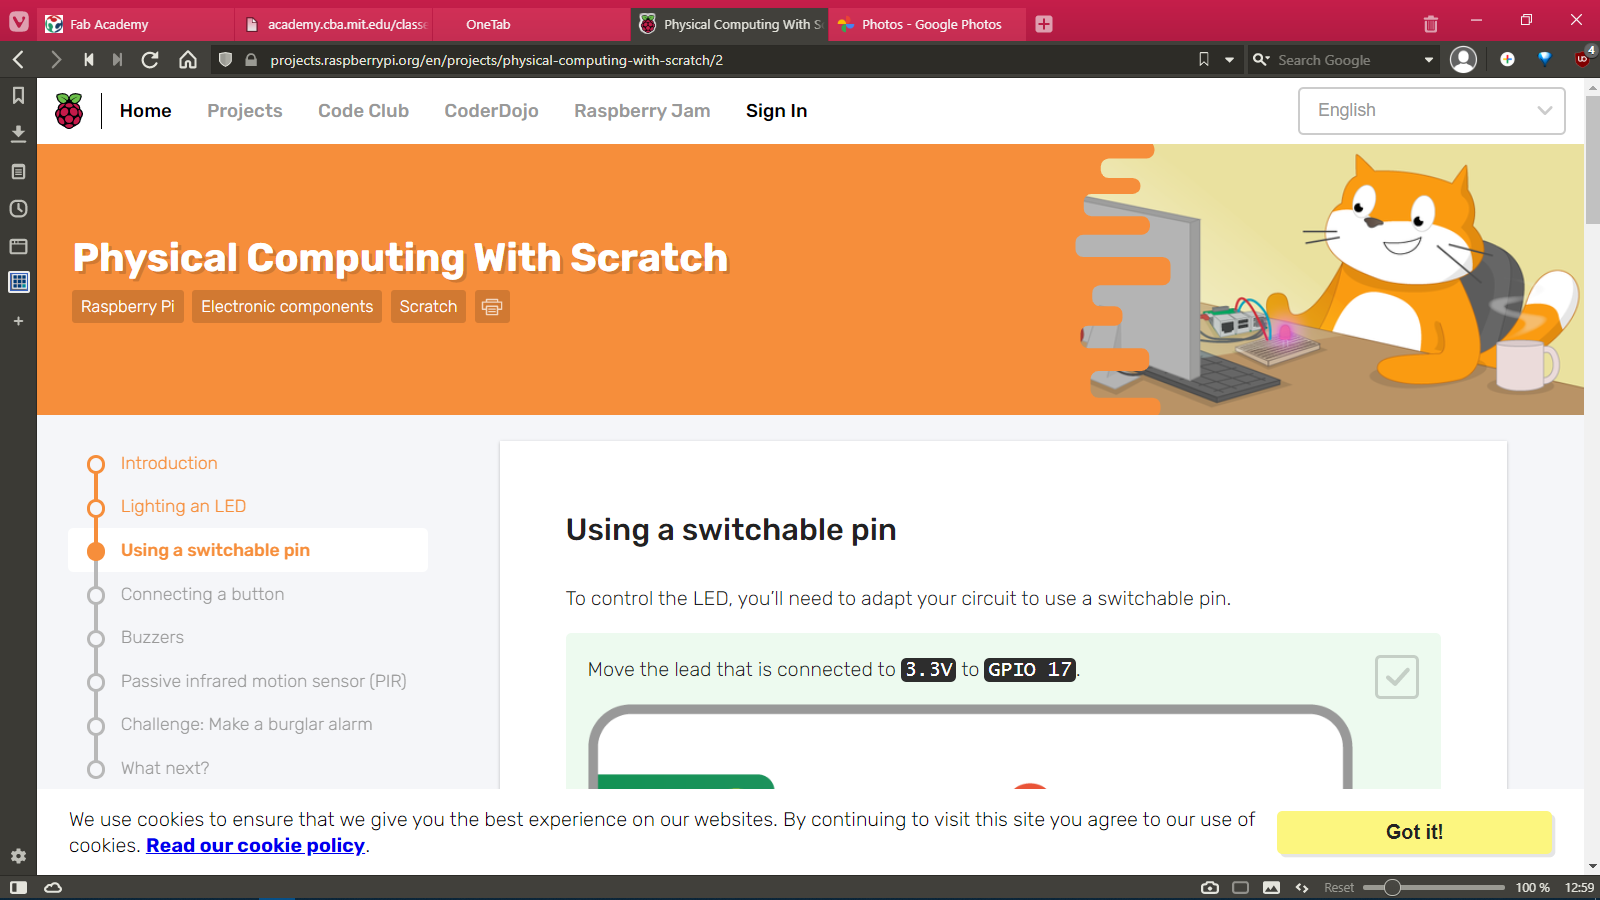
- Scratch: The reason for choosing this software is that it has been used for many years for teaching programming to students all over the world. Plus it has special extensions to allow for easy interfacing with the Raspberry Pi's GPIO pins. Also, there is a great tutorial on the Raspberry Pi's projects page. You can visit the page by clicking on the image below:
- Processing: This is a very powerful tool that is also commonly used to design interfaces for Arduino and other microcontroller boards. It has a lot of features, and we can easily switch modes within the software to do Java, Python and p5.js programming. Also, it has a lot of community support as well, which makes looking for solutions to problems easier.
Scratch
For this project we, chose the Raspberry Pi 4 as it can run Scratch on board and we can use it to operate the GPIO pins of the Raspberry Pi. To make an interface with Scratch, we modified the instructions given by the aforementioned page for connecting and controlling a single LED. This is what we did:
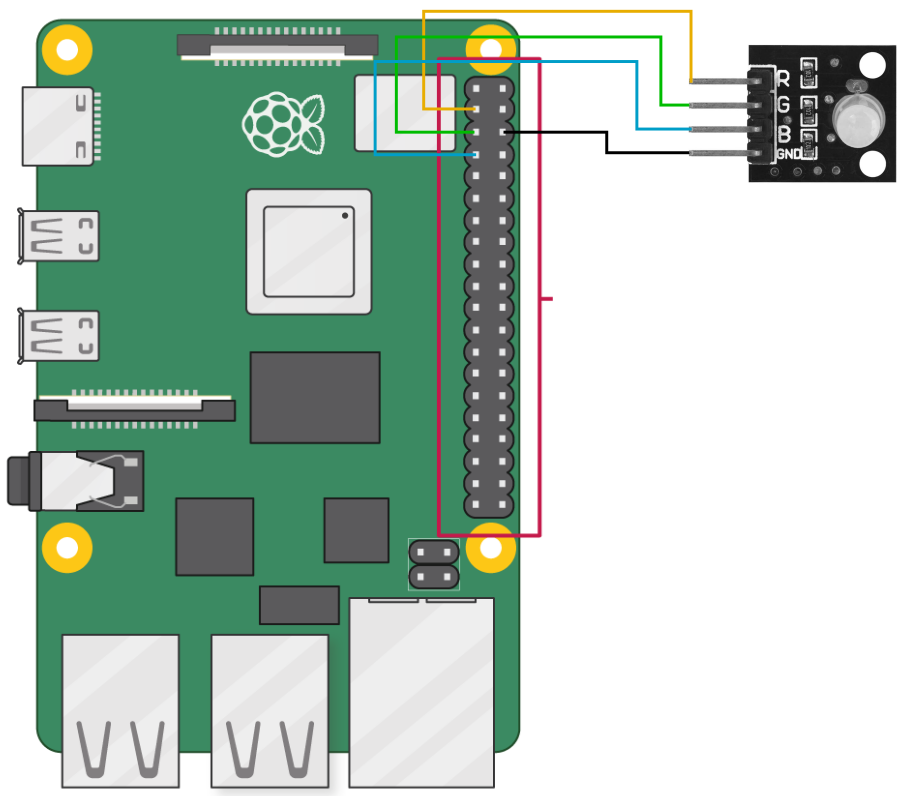
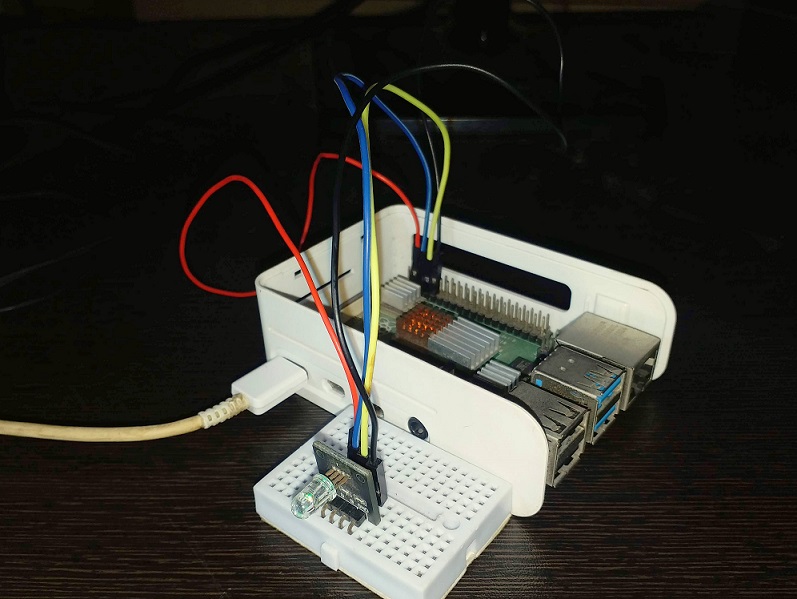
We took an RGB LED Module and connected its R Terminal to GPIO2, G Terminal to GPIO3, B Terminal to GPIO4 and the GND Terminal to GND as shown below:
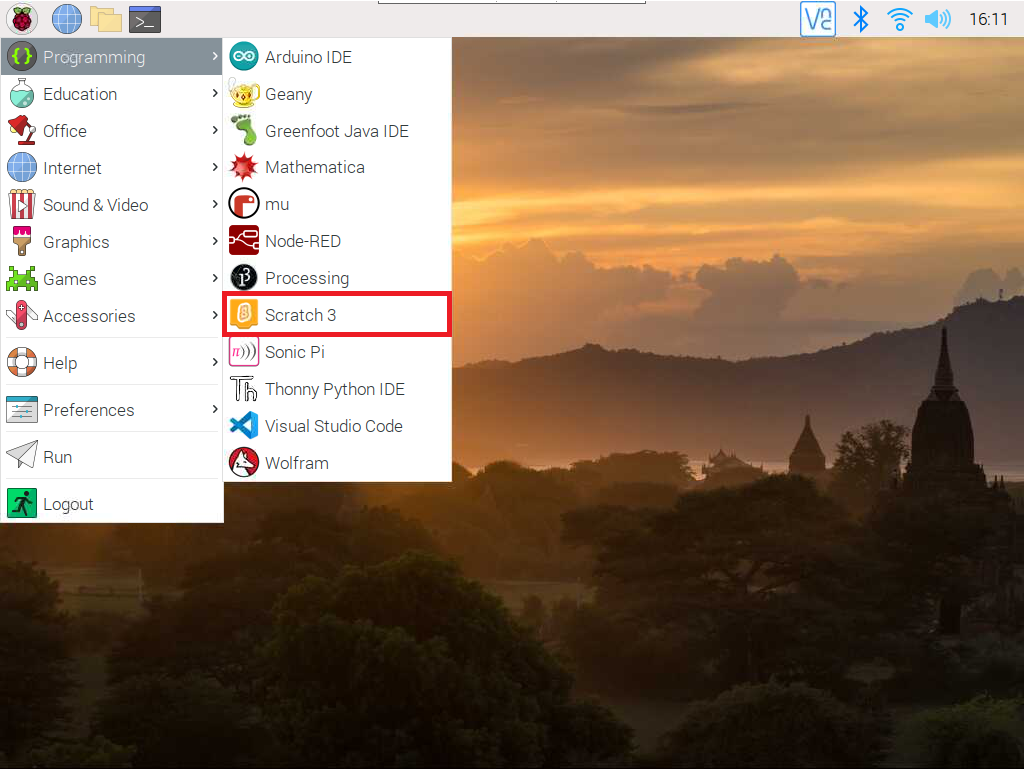
Then we navigated to scratch through the Start Menu>Programming>Scratch 3
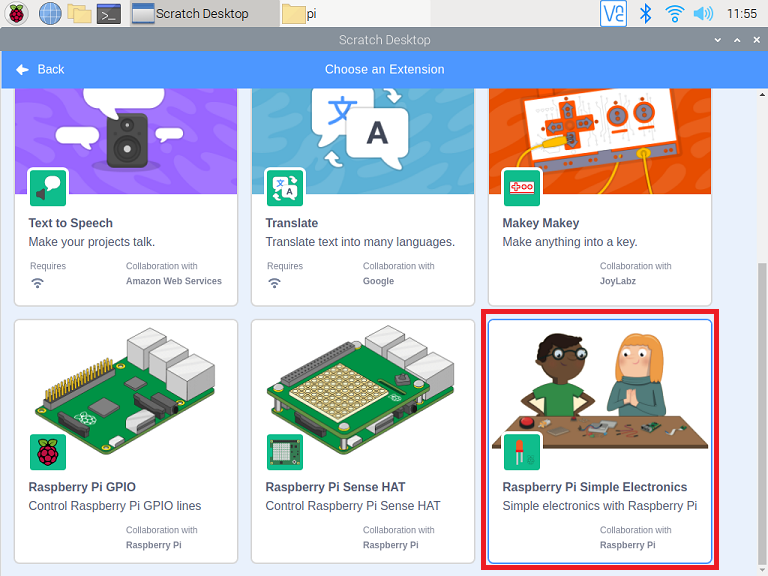
After starting the program, we clicked on the Add Extension button at the bottom left side of the screen, as it can be seen in the picture below.

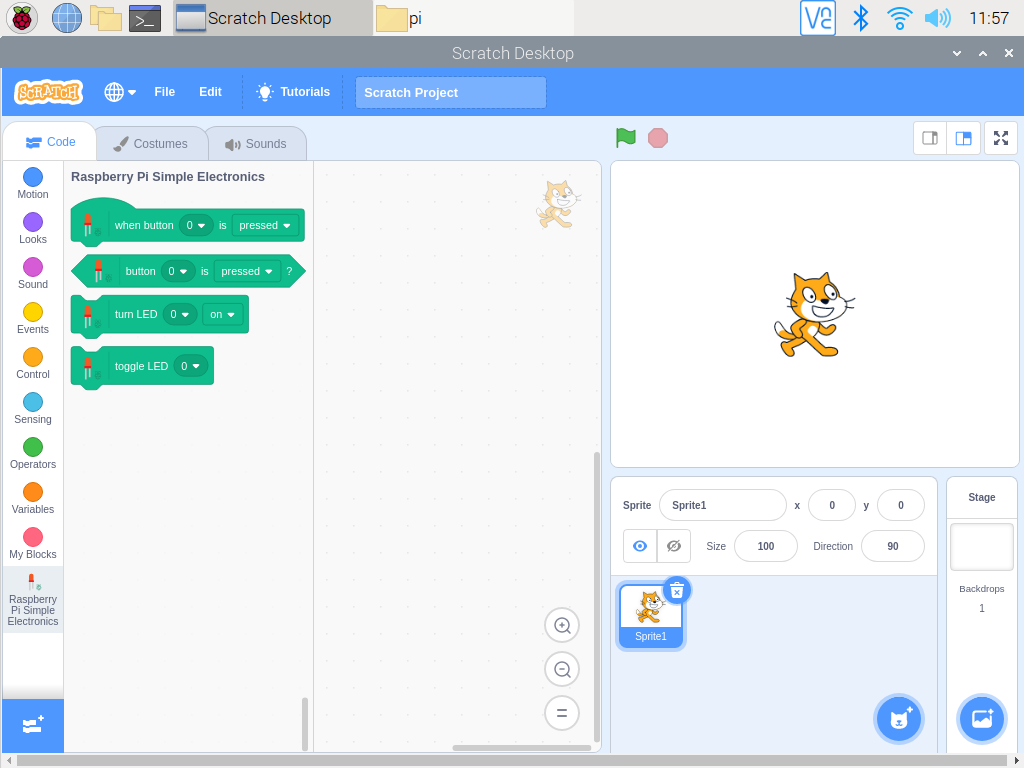
We added the extension for Raspberry Pi Simple Electronics as shown below.
Single LED Control
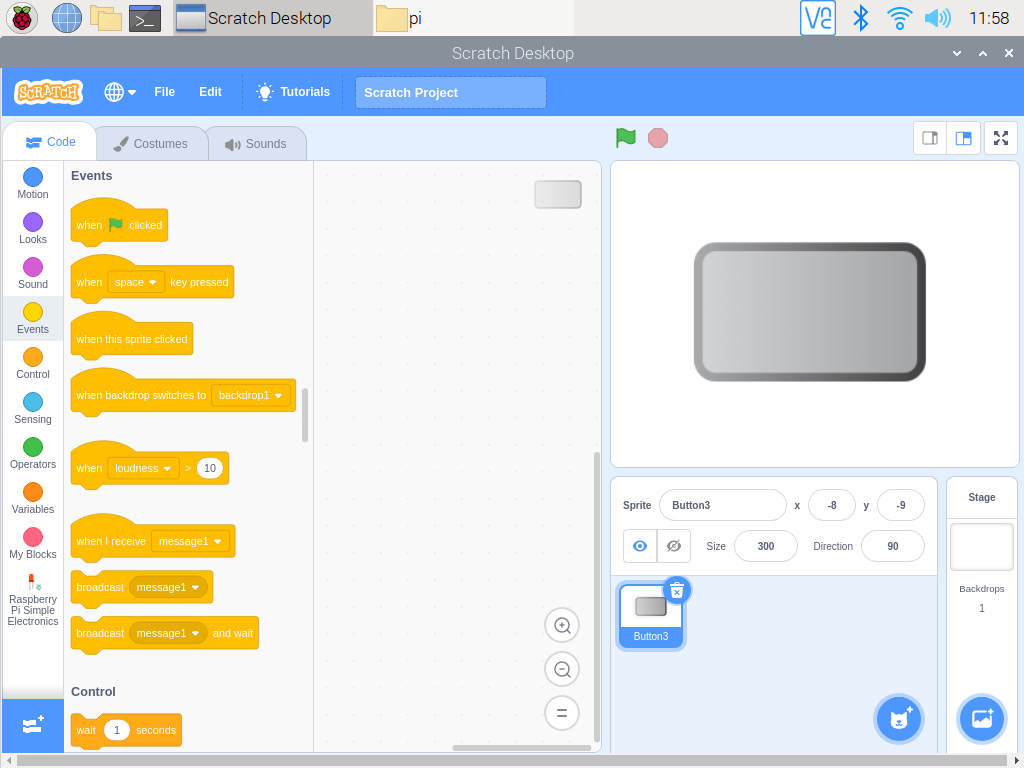
To control an LED, we added a button to the code so that when we press the button, the led toggles between on and off.
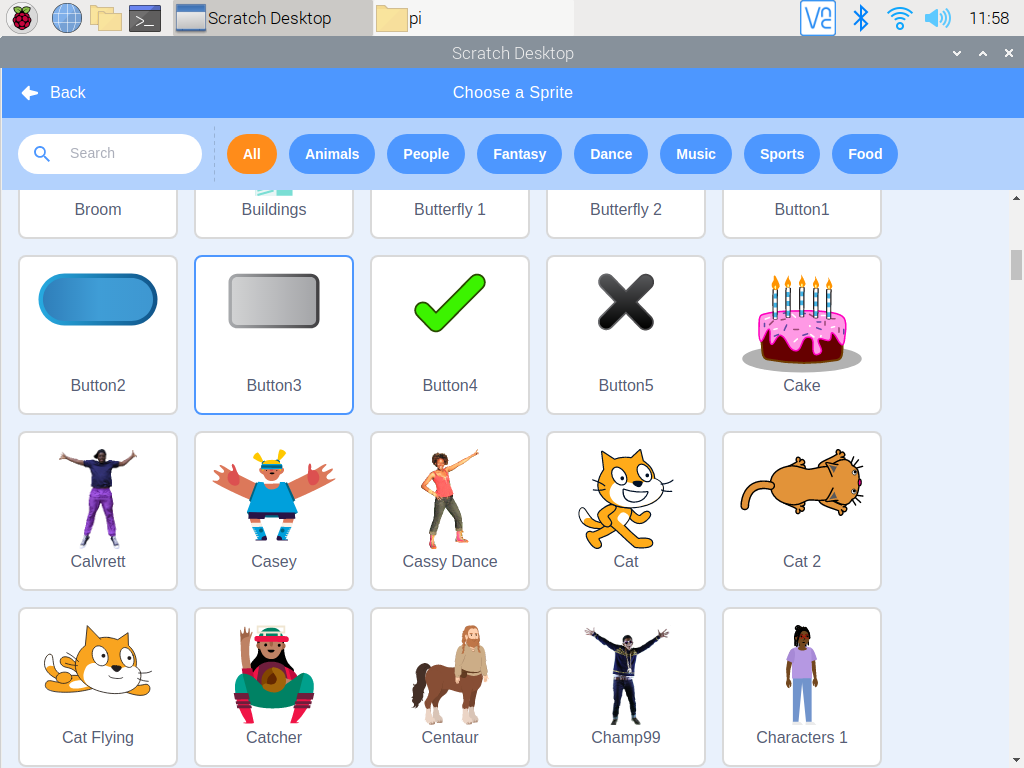
Also we increased the button size to 300 from 100
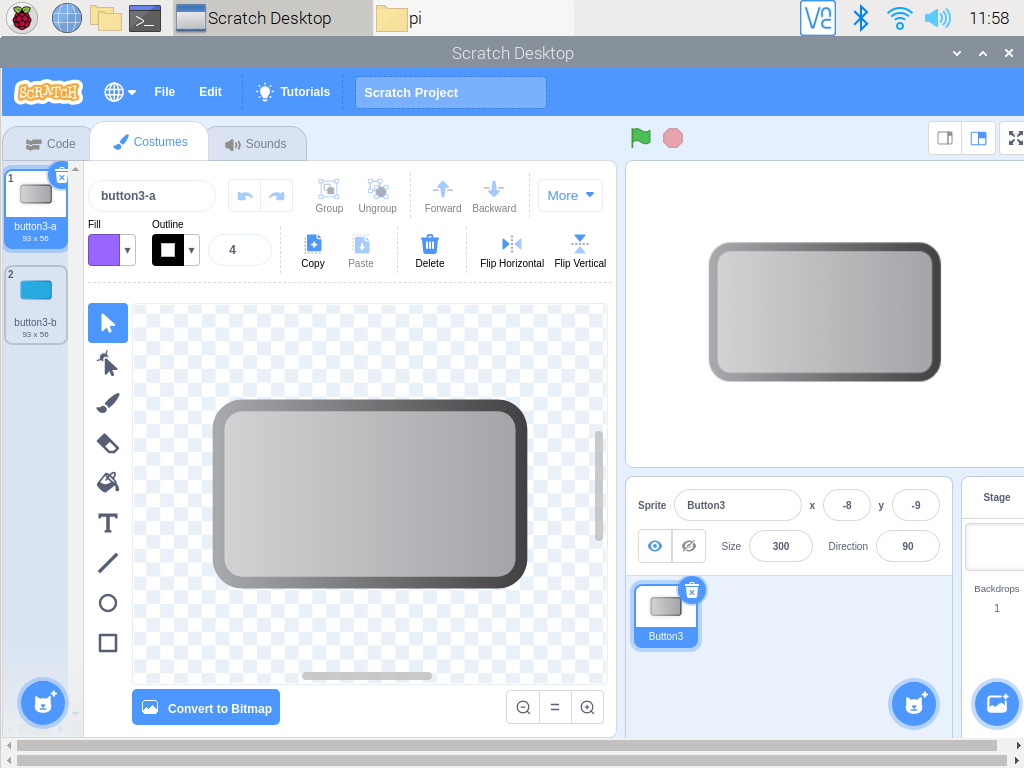
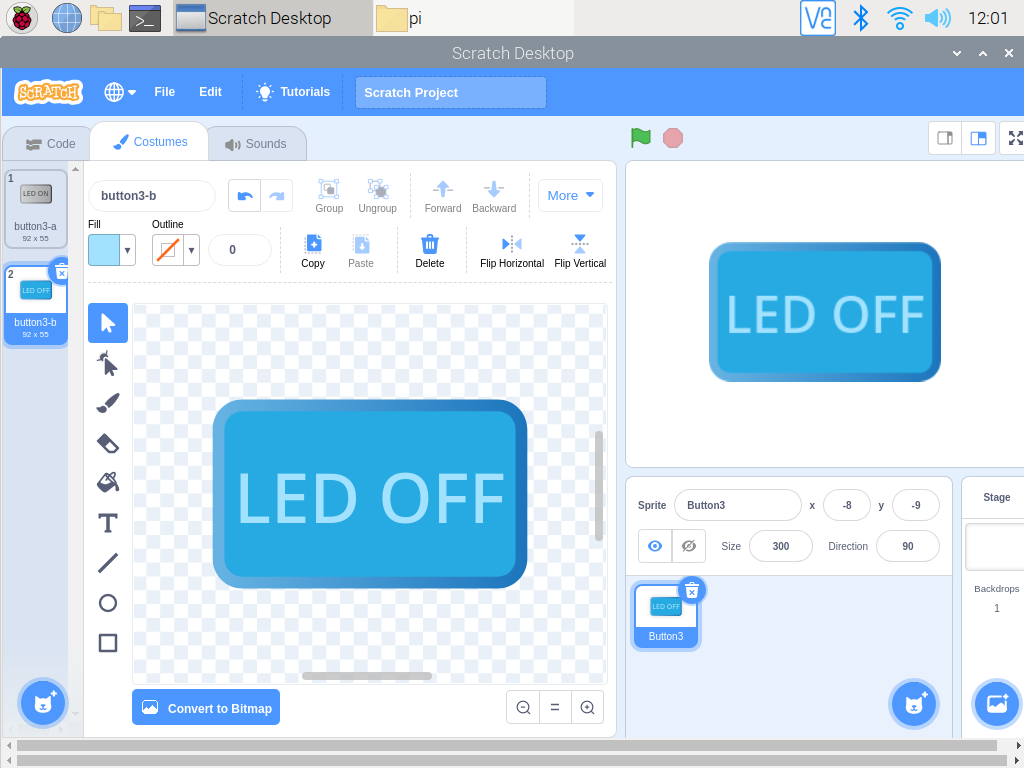
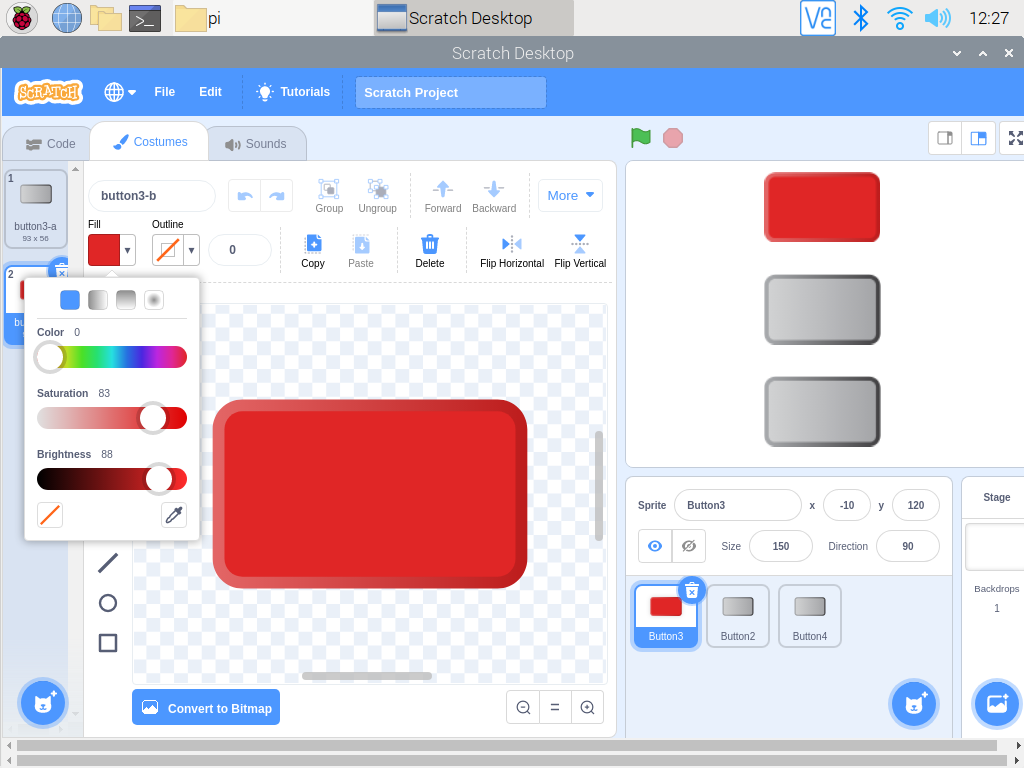
Then we went to the costumes tab and added some text to the button's costumes to show the button is in ON or OFF state.
Finally, this was the code we came up with:
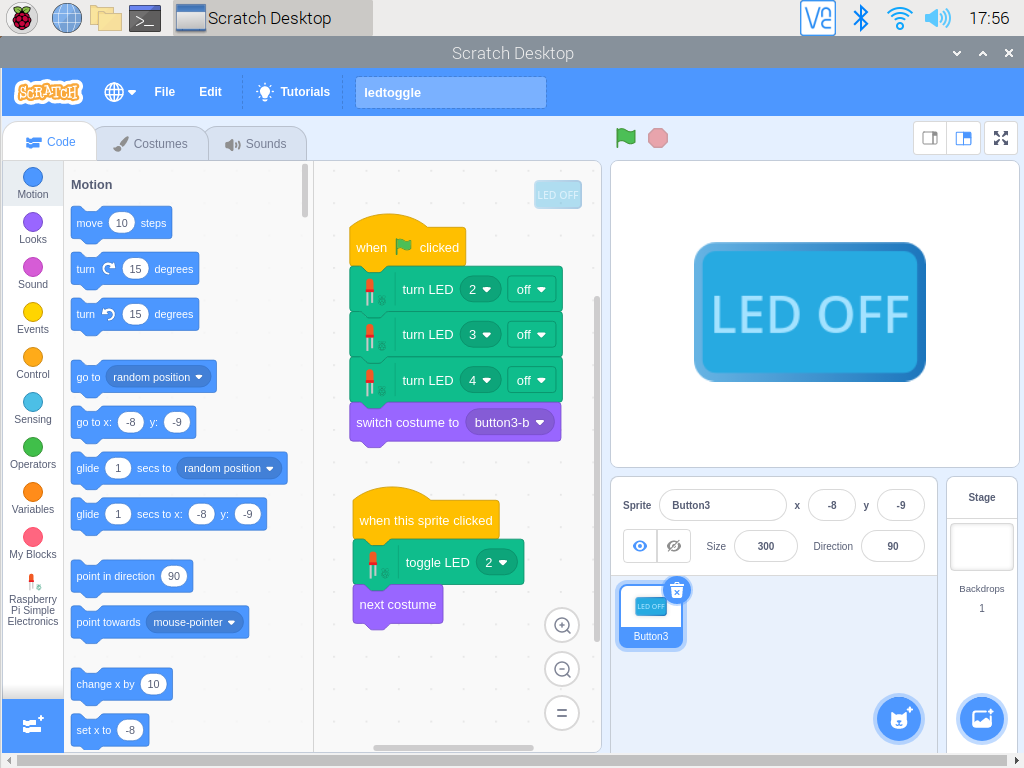
Code for Single LED Control
And this is the result of the code:
RGB LED Control
To control all three LEDs, we added two more buttons to the interface, so we have one button for each of the three colors.
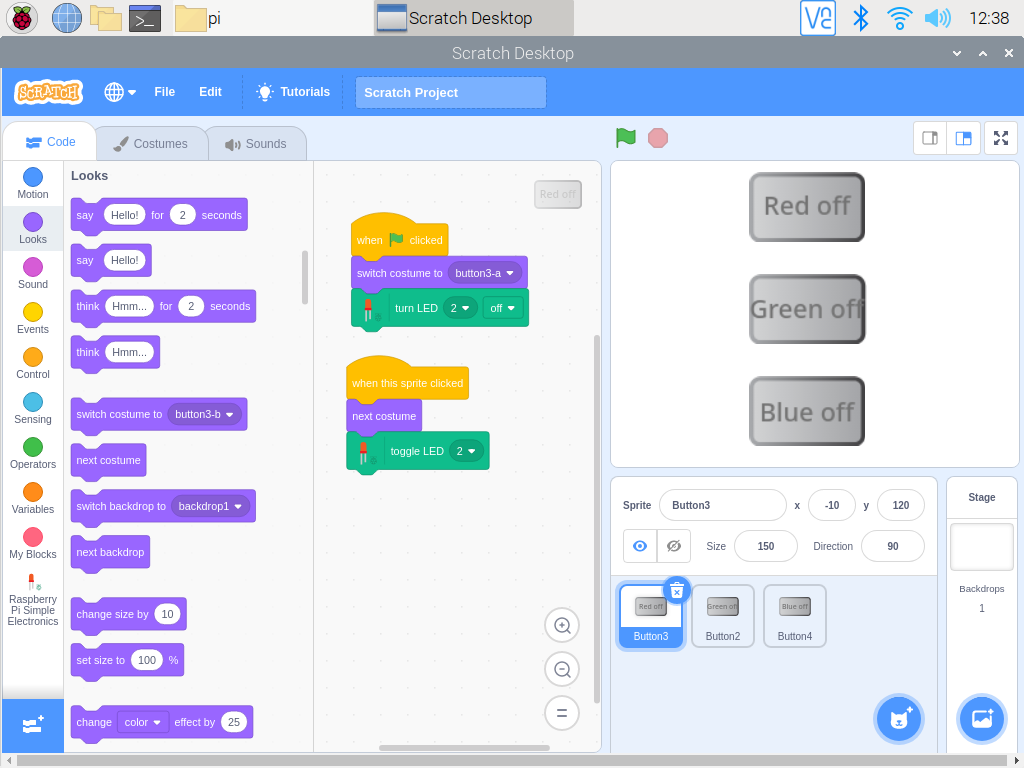
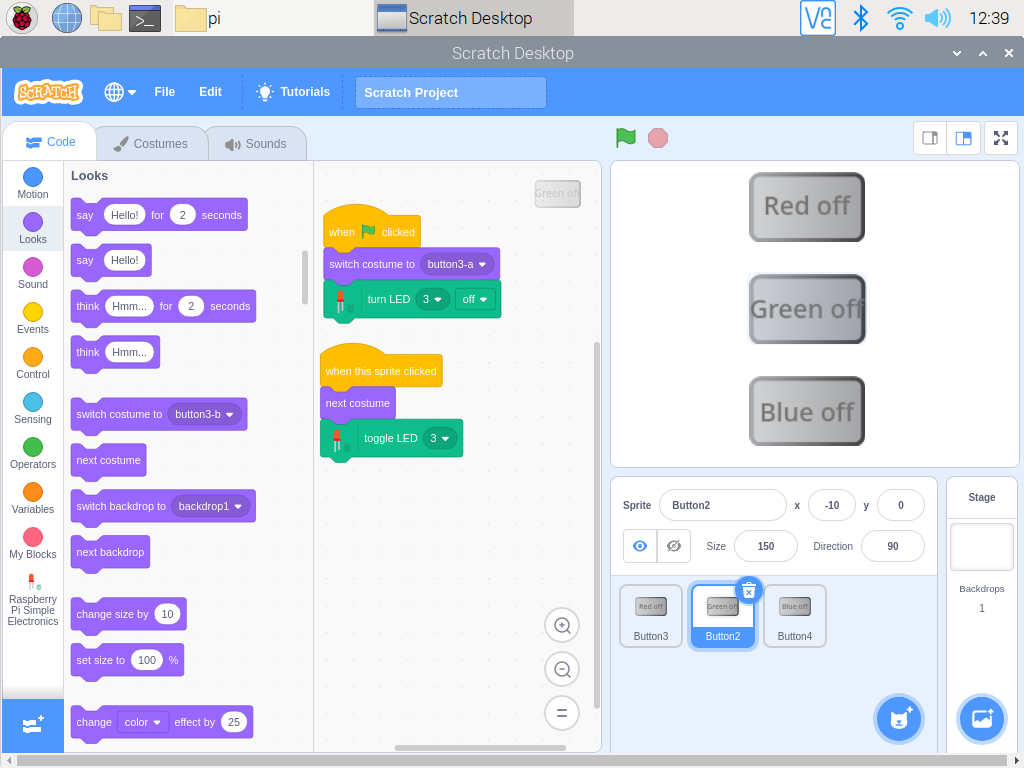
The code for each sprite was pretty much the same, and this is what the program for each color looked like:
Red
Green
Blue
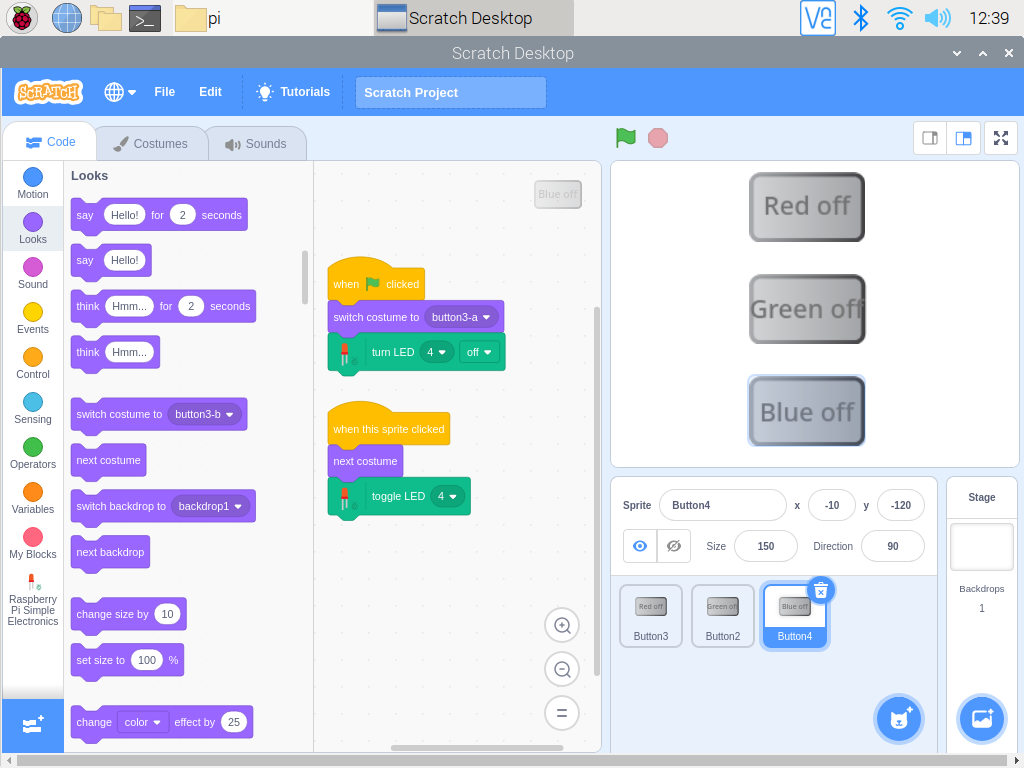
Code for RGB LED Control
And this is how the code works: