Eighth Week:
Embedded Programming

For this week we have to program our board, we made a couple of weeks ago, to do something. But first we had to read and learn about our microproccessors in their datasheets.
Learning about my board's "brain"
To start this assignment we had to search the specific datasheet of our boards. I found my file here, it's for Attiny24/44/84.
Here is a picture about how the microchip is structure, top view.
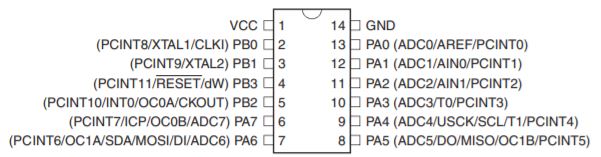
This chip has two parts or ports, A and B. A Port has 8 pins and b Port has hust 4. At my last board I used the switch as a Reset Button so for this assignment I had tochange the board structure as you can see below this section. I used PB2 for a Led, PA7 for another Led, and a conection between PA3, Led, to PA2, switch.
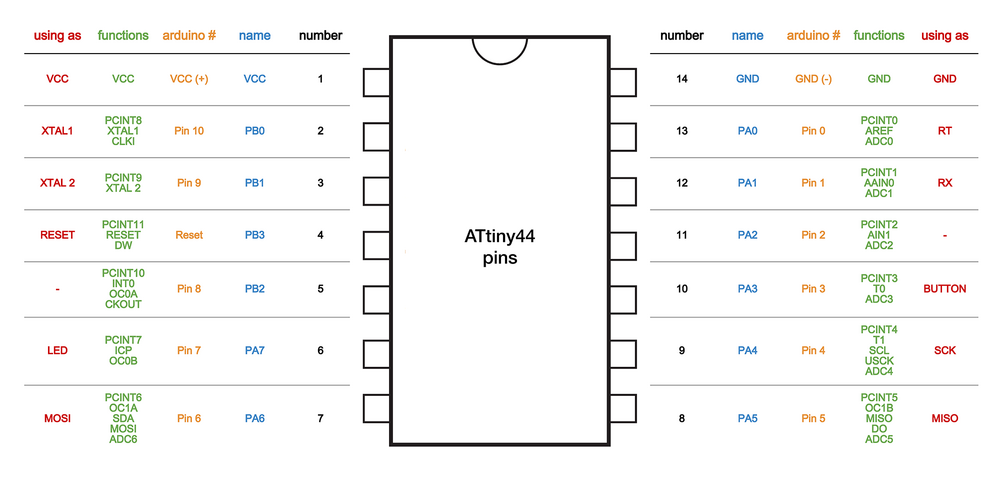
Here is a beautiful draw made by Inés Ariza, where she explains every pin of this chip and its functionality. Take a look.
Now I'll write some characteristics about AtTiny44s:
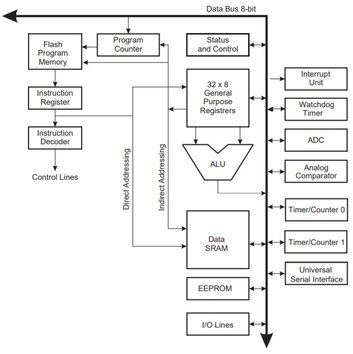
Here is an architectural overview. This AVR uses a Harvard Architecture with separate memories and buses for program and data due to maaximize its performance and parallelism. The mechanism is: While one instruction is executed the next one is pre-fetched from the memory, creating a period which execute one action every clock cycle.
My HelloBoard
Having fabicated my board at Week sixth: Electronic Design assignment, you are able to check the process there.
Programming would be satisfying
At this part I used a software to practice which was: Arduino. This is Free-To-Use useful softwares and I personally recommend it.
For this test I used the next code:
int led=7;
int led2=8;
int led3=3;
void setup() {
// put your setup code here, to run once:
pinMode(led,OUTPUT);
pinMode(led2,OUTPUT);
pinMode(led3,OUTPUT);
}
void loop() {
// put your main code here, to run repeatedly:
digitalWrite(led,HIGH);
digitalWrite(led2,HIGH);
digitalWrite(led3,HIGH);
delay(200);
digitalWrite(led,LOW);
digitalWrite(led2,LOW);
digitalWrite(led3,LOW);
delay(200);
}
Then I try other code to blink 2 while 1 is constanty on and turn in reverse when you press the button.
The code is here:
int state=0;
void setup() {
// put your setup code here, to run once:
pinMode(3,OUTPUT);
pinMode(2,INPUT);
pinMode(7,OUTPUT);
pinMode(8,OUTPUT);
}
void loop() {
// put your main code here, to run repeatedly:
state = digitalRead(2);
if (state==1) {v
digitalWrite(3,HIGH);
digitalWrite(7,HIGH);
digitalWrite(8,HIGH);
}
else
{
digitalWrite(8,LOW);
digitalWrite(7,LOW);
}
}
Here is a real time video of changing configuration of the board.
Using C Code
I found an example at a repository of my friend who have completed this program, and I changed some parameter to fit to my board.
main (void)
{
Set the Led Pin.
DDRA = (1 << PA7);
DDRA = (1 << PA3);
DDRA = (1 << PB2);
While(1) allows the program to loop
while (1)
{
Set the Led as "ON"
PORTA = (1 << PA7);
PORTA = (1 << PA3);
PORTA = (1 << PB2);
Wait for 1 milisecond;
_delay_ms(1);
Set the Led as "OFF";
PORTA = (0 << PA7);
PORTA = (0 << PA3);
PORTA = (0 << PB2);
Wait for 1 milisecond"
_delay_ms(1);
}
return 1;
keep returning 1 so that the program will loop endlessly
}
Here is the result.
Update: Time to change our home "Environment"
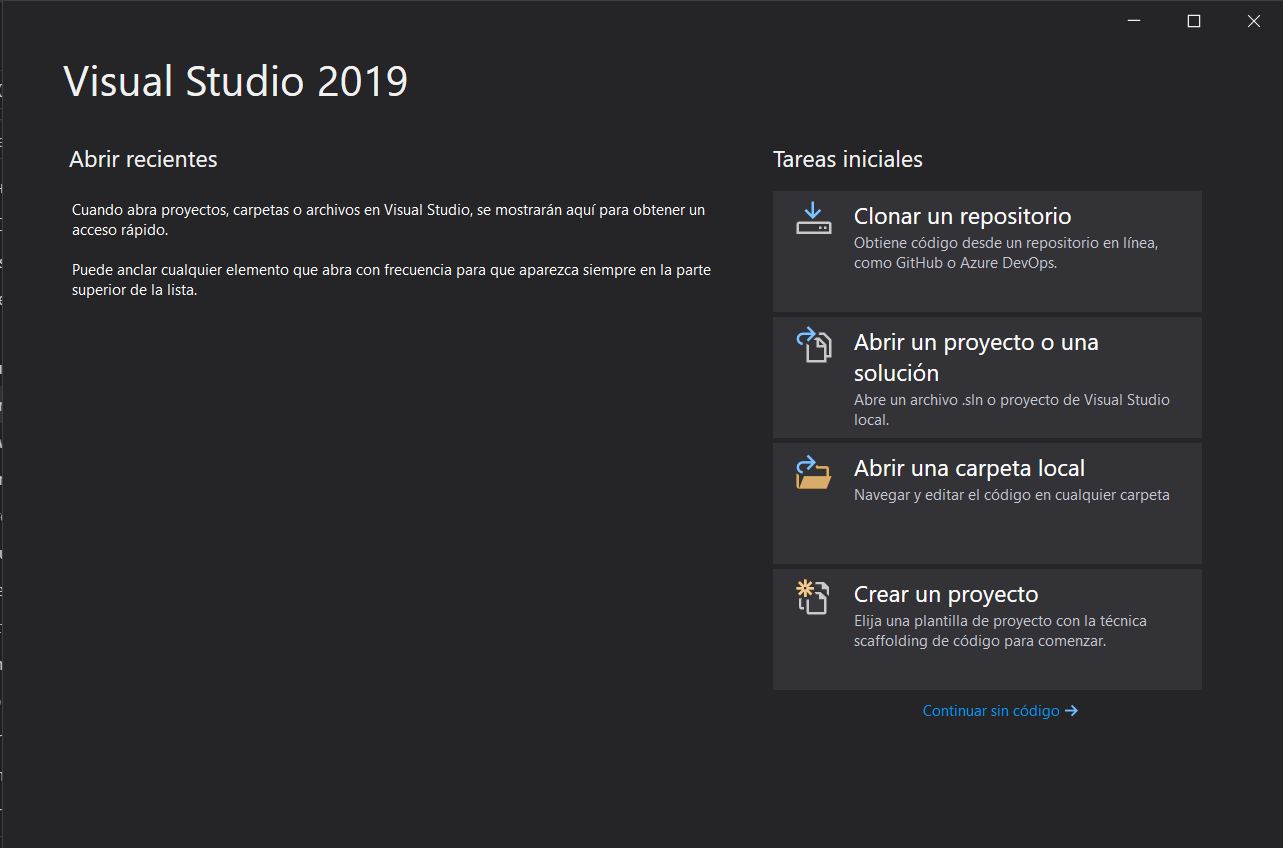
For this part I decided to use Visual Studio 2019 with Community License, this IDE is much more complete than Arduino IDE, and I wanted to program my final board to test this software. After you donwloaded, installed and log in we can start.
I decided to design something simple, a Calculator. If you want your own calculator just follow my steps.
VERY IMPORTANT: My VS2019 interface is in Spanish but I will guide you in English so don't worry.
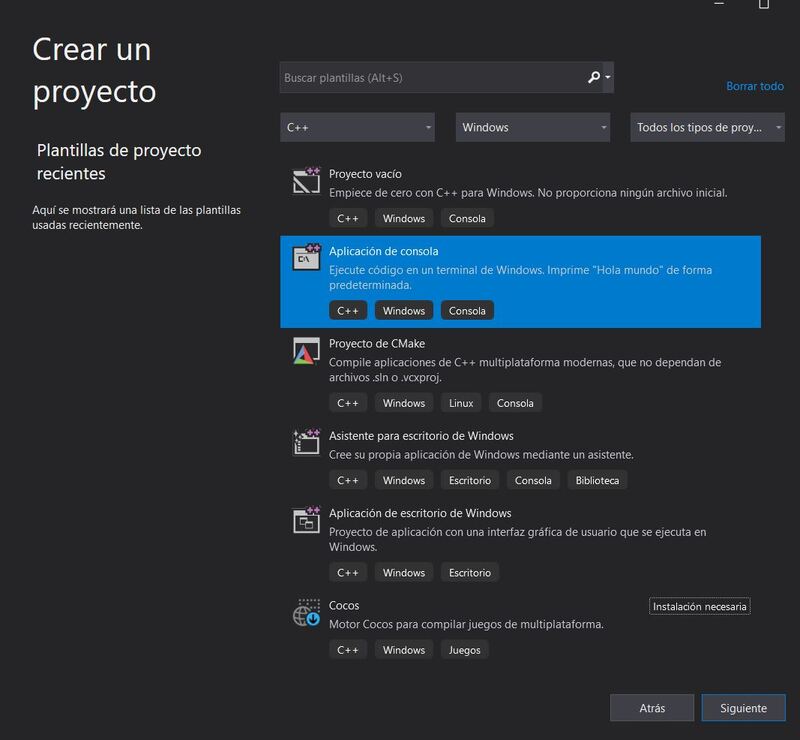
1st. In the next window we have to click on "Create a Project"
Then Select "Console App". You can filter as I did and be aware that in its description says "Hello World" as in mine say "Hola mundo".
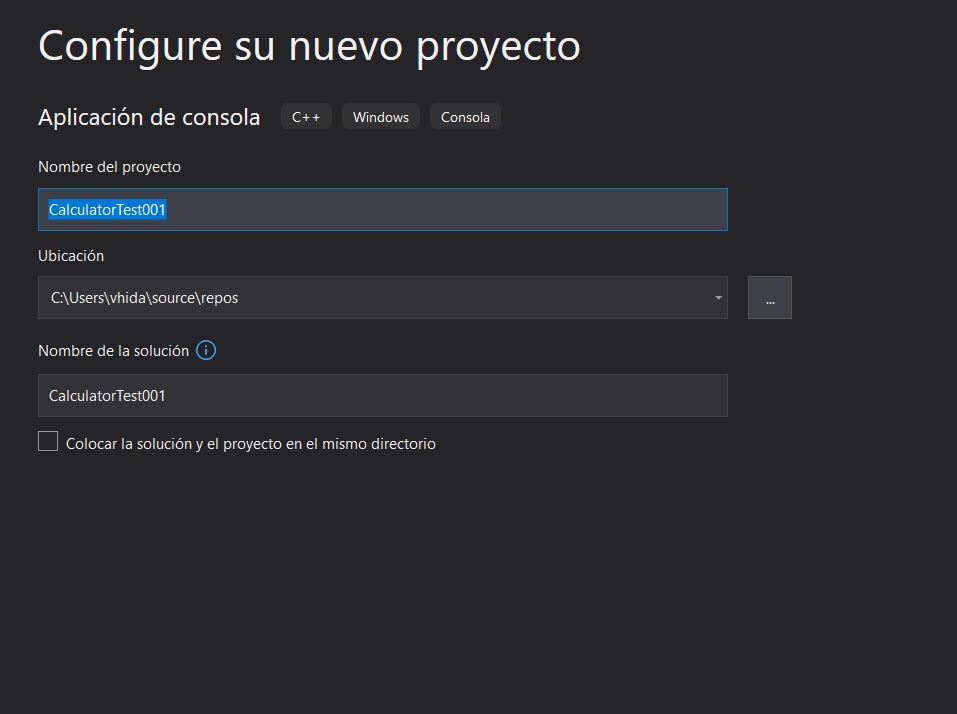
After that, we have to give it a name and our project will be created
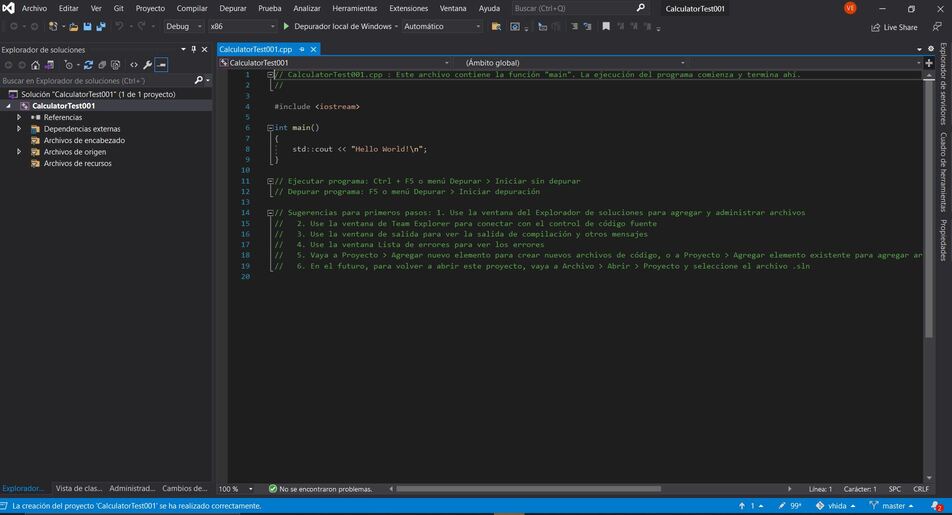
Finally you will have this window
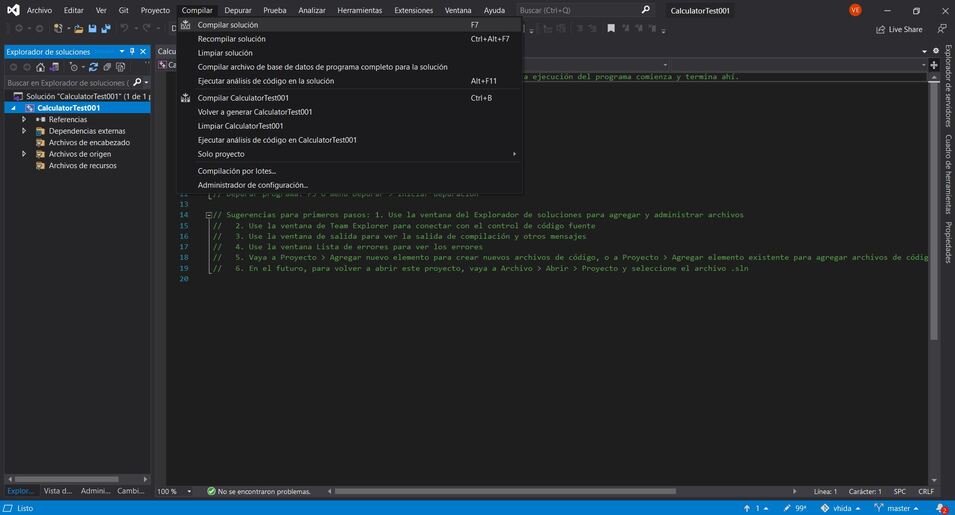
2nd. We have to verify if our app builds and runs so go to "Build" on the menu bar and then "Build Solution"
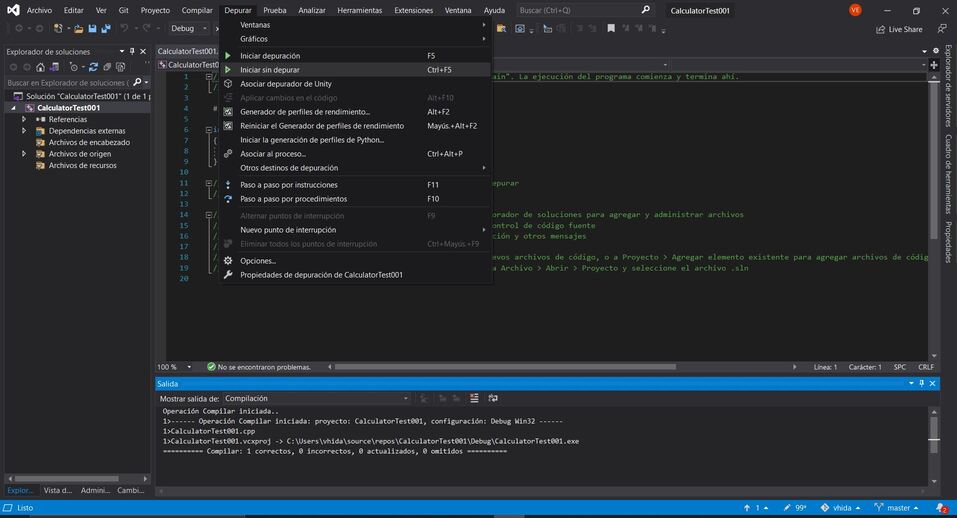
Then go to "Debug" on the menu bar and click on "Debug, Start without debugging"
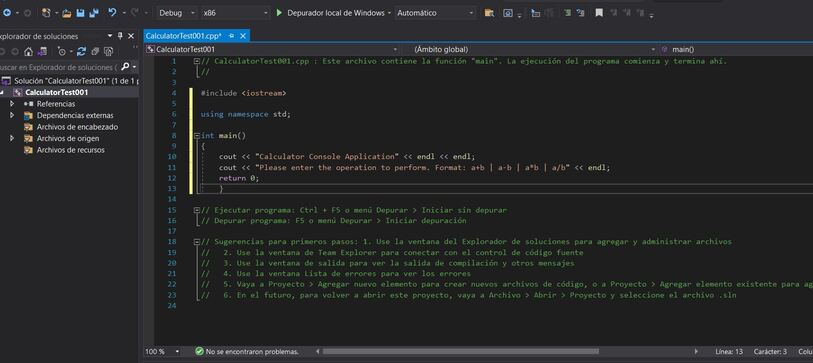
Finally you will have this

A console while be opened and you can close it click on "X" or just pressing a key to dismiss the console.
3rd. Time to start with our project. Please write the next lines over those that were there by default.
Note1: "using namespace std;" tells the compiler to expect stuff from the Standard Library. Whitout this line, each keyword from the library would have to be preceded with a "std::". Note2: "cout" is used to print to standard output in C++. Double minor sign tells to send whatever is to the right of it to the standard output. Note3: "endl" is like the Enter key, moving the cursor to hte next line.
After that, "Save All" on the menu bar or press "Ctrl+S" to then run pressing "Ctrl+F5".

To continue just close the window.
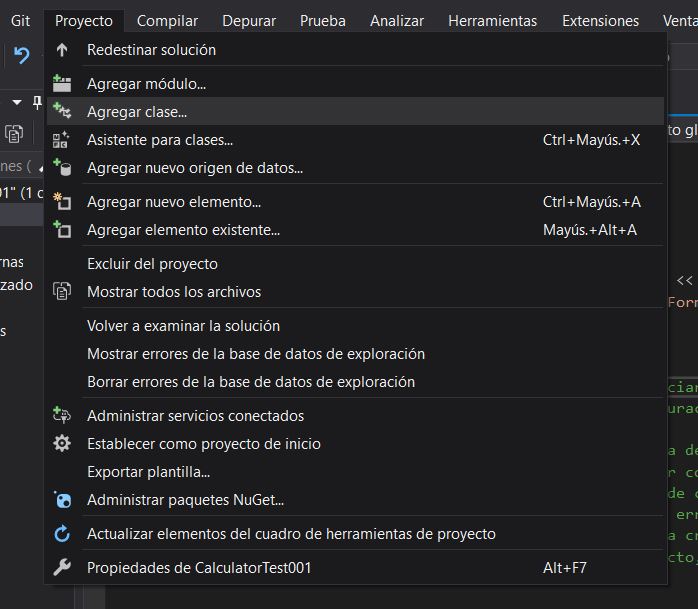
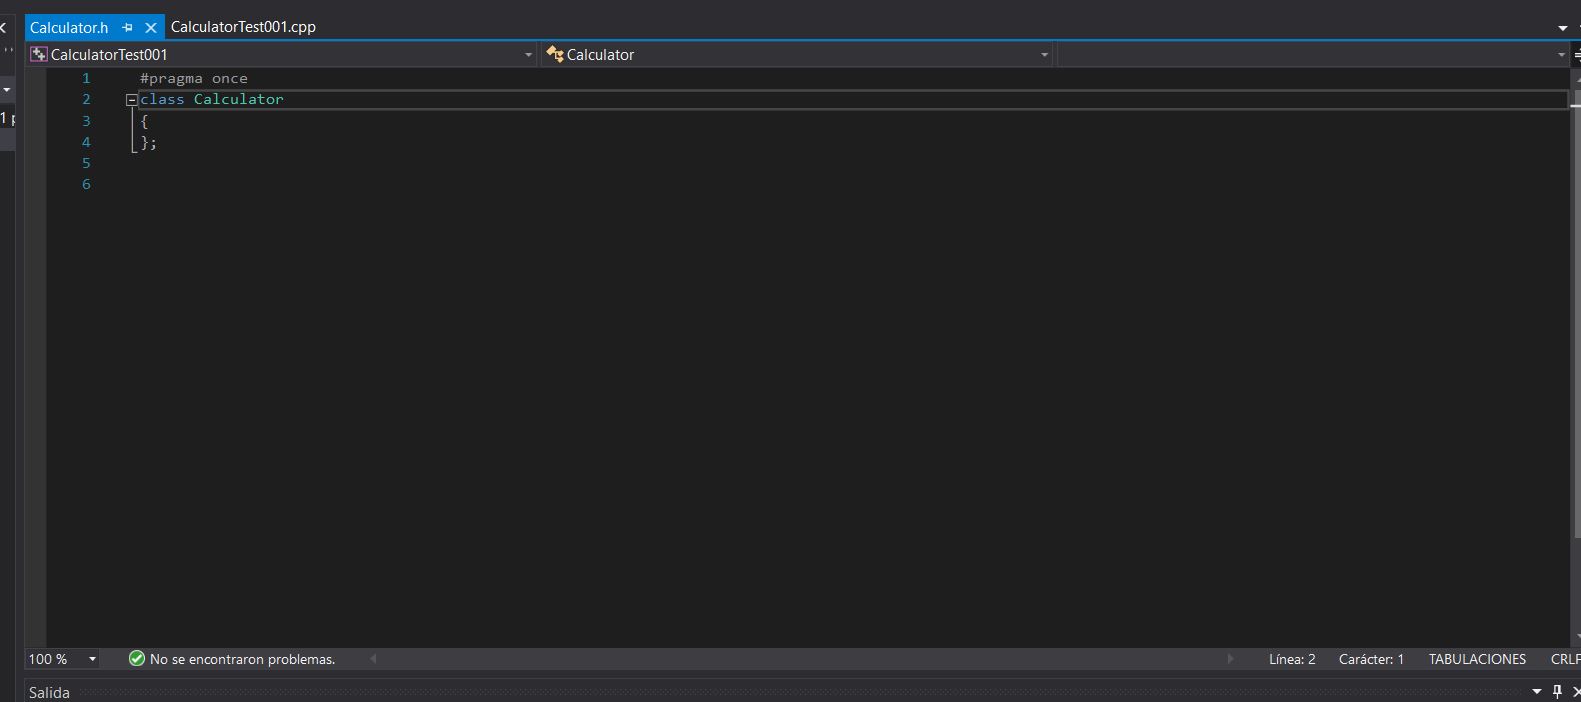
4th. Time to add code to do some math. Go to "Project" and click on "Add Class"
Name it and click on "Ok"

You will have this
Now write this
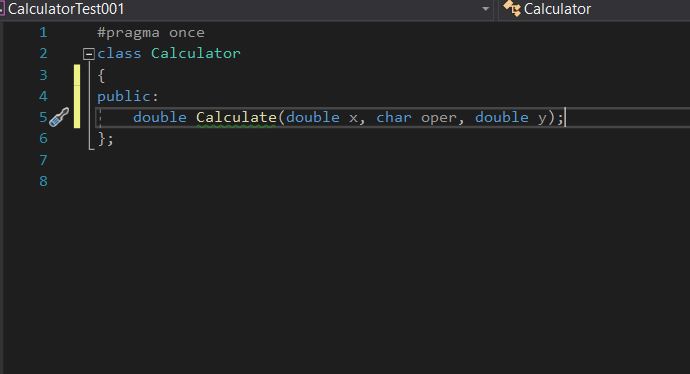
Note: We've declared the variables as double that support decimals and char will be the operation
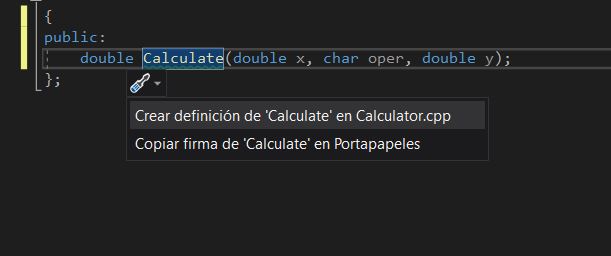
5th. Time to define the function so do a lef-click on "Calculate" and select "Create definition of 'Calculate' in Calculator.cpp"
Something like this will be added
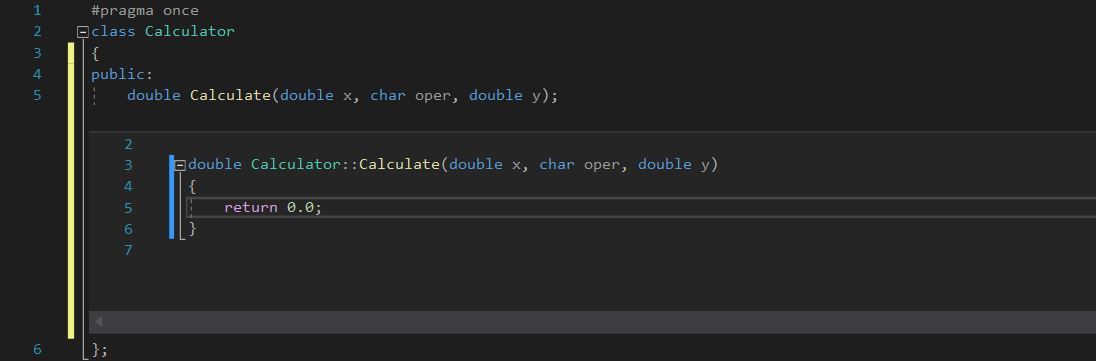
You have to type this
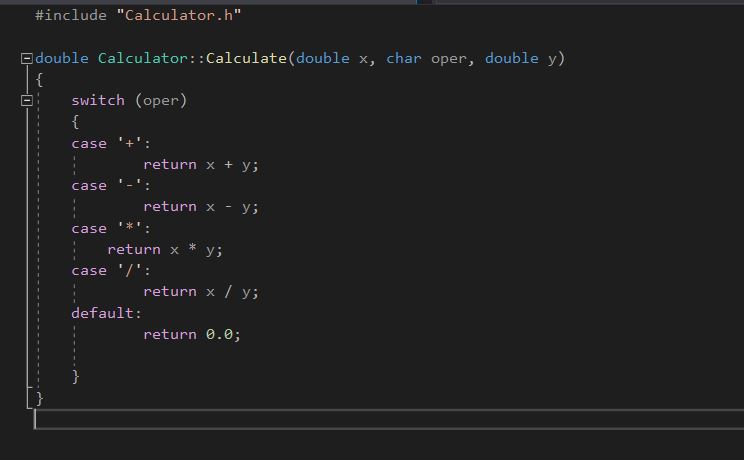
Note1: Here defined that each sign will return an operation between both variables
6th. Return to the main window, the .cpp and conplete the code
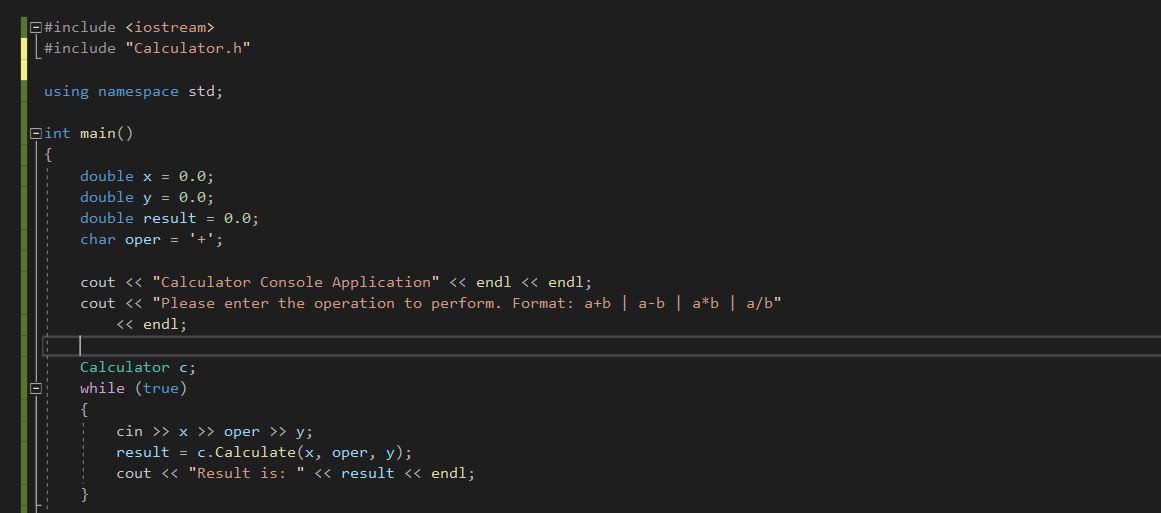
Note1: "Calculator c;" lines declares an object named "c" as an instance of the "Calculator" class. Note2: "While (true)" statement is a loop. Note3: "cin" is used to accept input from the user. Note4: "result" will store the number returned from the function "Calculate" that is called using "c.Calculate(x, oper, y)". Note5: The result will be showedto the user.
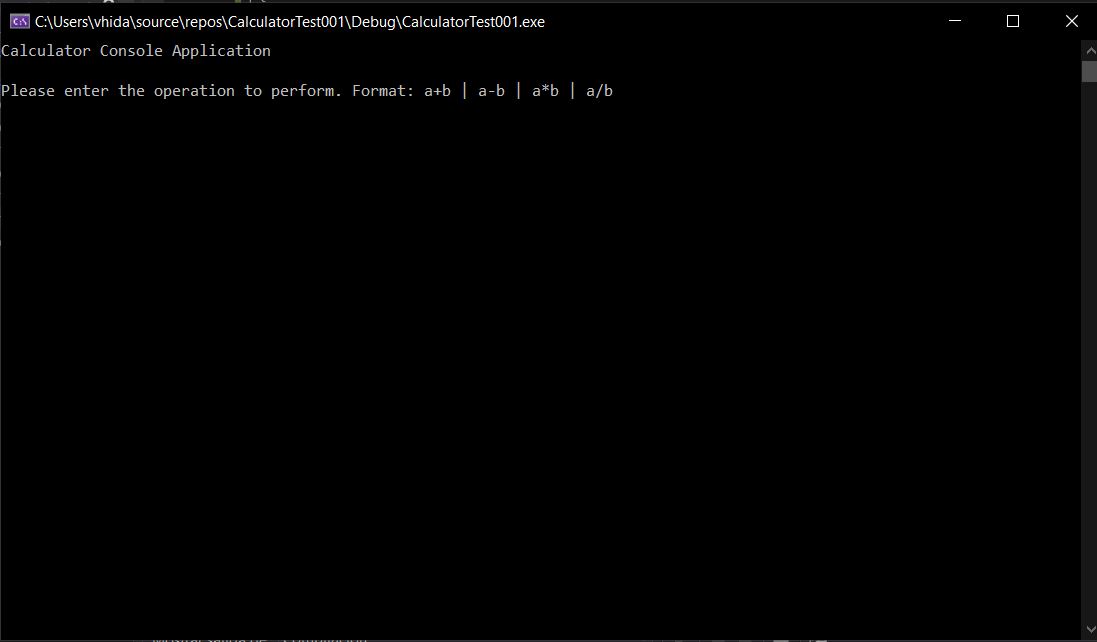
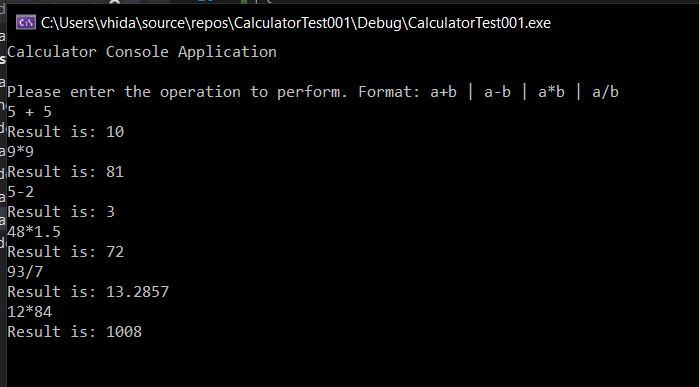
Here is the Calculator!

There is also an option to use this software as an IDE. But we have to install an extension that I did following the next tutrial.
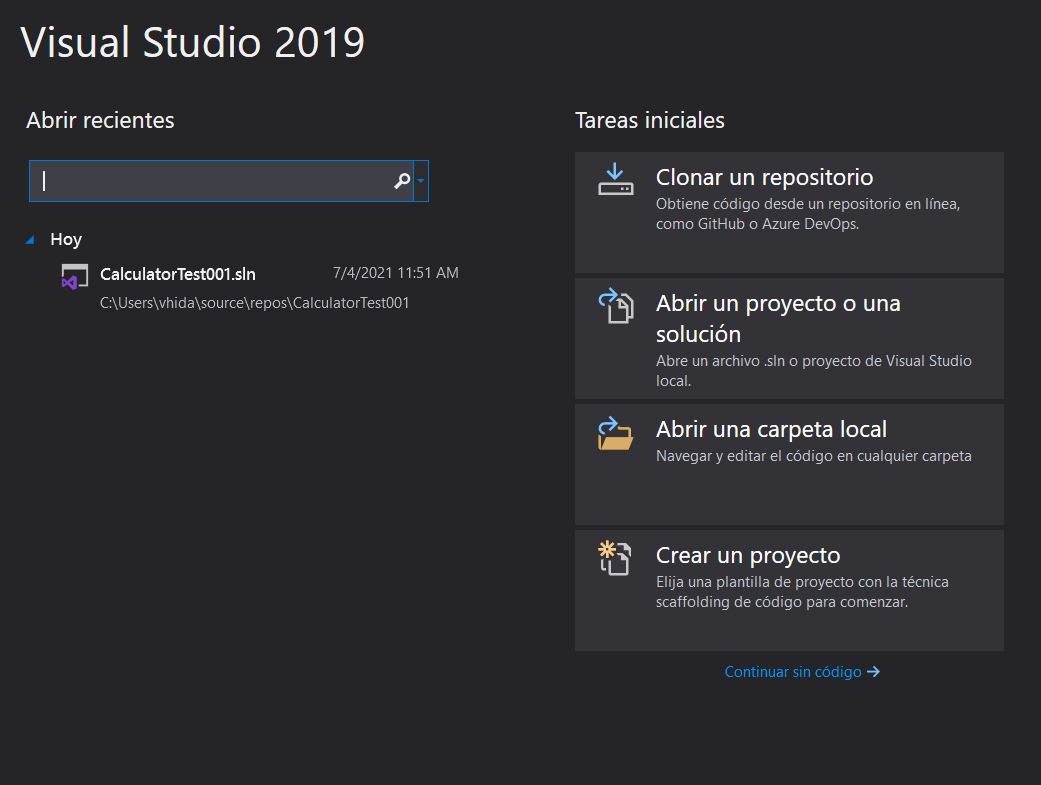
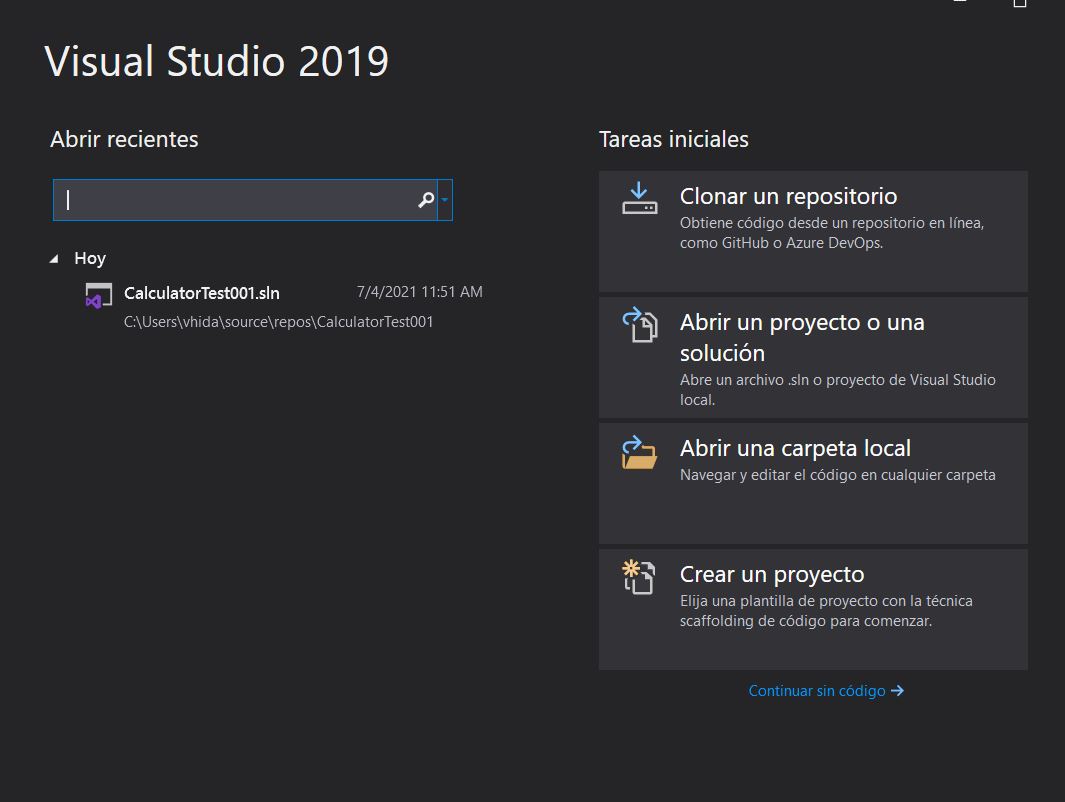
1st. Open VS2019 an click on "Continue without code" to then go to "Manage Extensions"

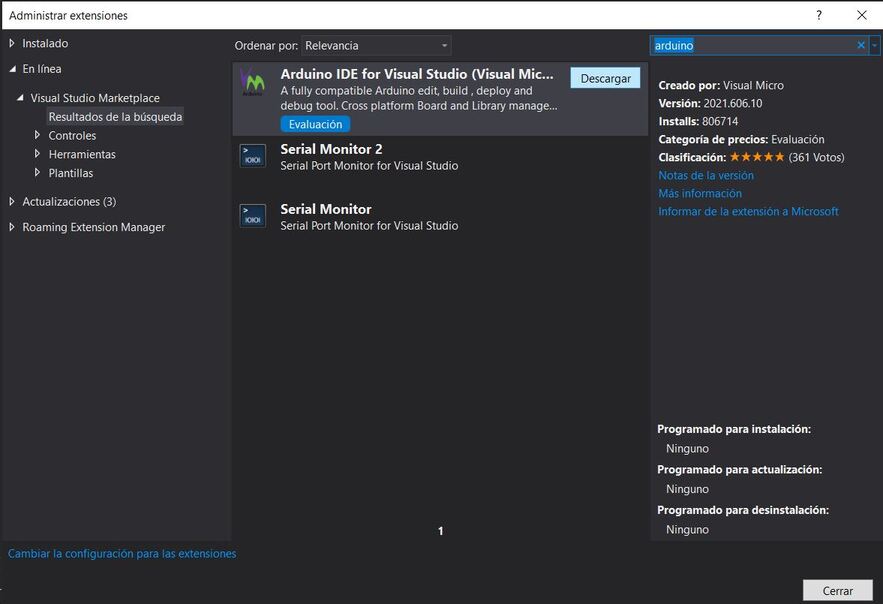
2nd. There search arduino and choose "Arduino IDE for Visual Studio (Visual Micro)" to donwload.
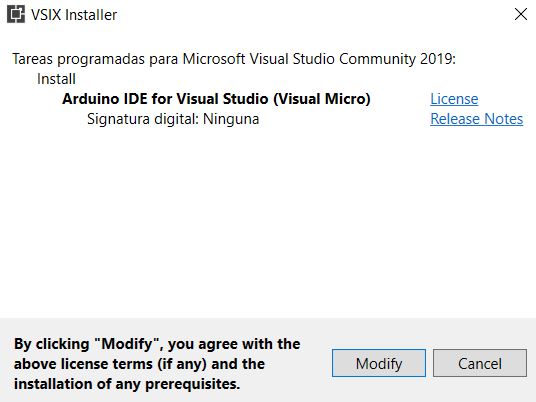
A window will appear and you have to click on "Modify"
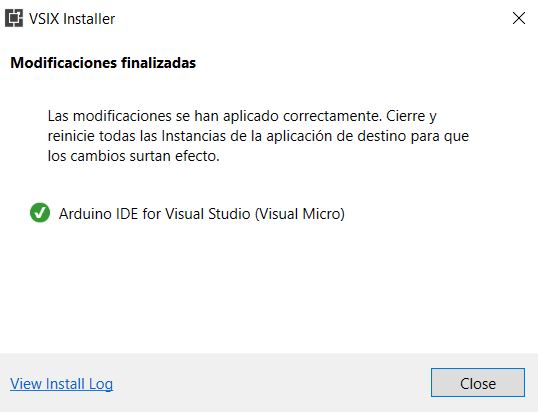
3rd. We have to close the VS2019 and then open. Then click on "Continue without code" and a window will appear

Note1: If the window does not open go to "Extensions\vMicro\Configure Arduino IDE Location(s)". Note2: In my case my Arduino main folder was found by default, in other case you will have to find where your arduino.exe is located
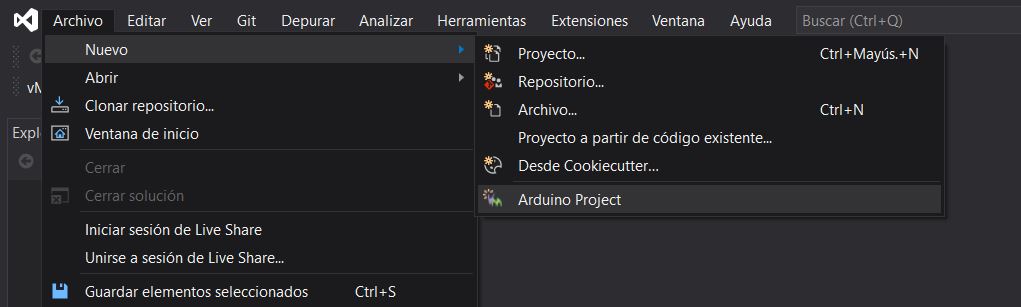
Now we can start an Arduino project on the main menu
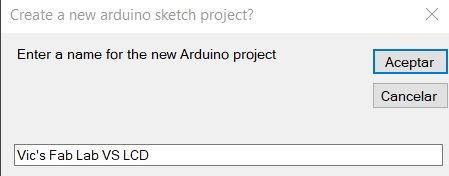
Then enter a name and a template will appear
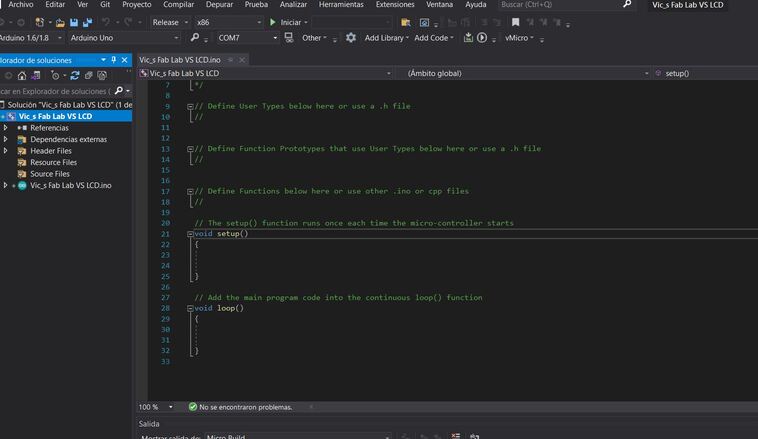
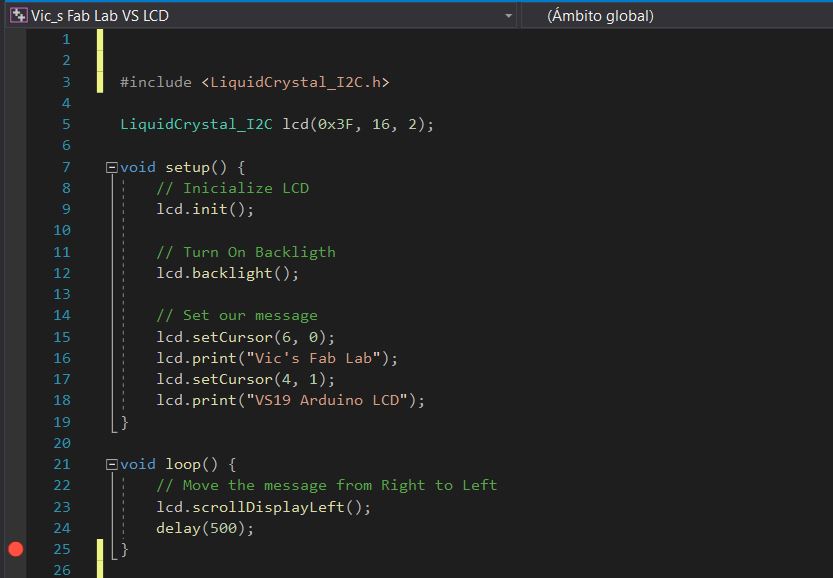
I configurated my Vic's AtomicMegatronic to use a LCD with the next code
#include <LiquidCrystal_I2C.h>

LiquidCrystal_I2C lcd(0x3F, 16, 2);

void setup() {
  // Inicialize LCD
  lcd.init();

  // Turn On Backligth
  lcd.backlight();

  // Set our message
  lcd.setCursor(6, 0);
  lcd.print("Vic's Fab Lab");
  lcd.setCursor(4, 1);
  lcd.print("VS19 Arduino LCD");
}

void loop() {
  // Move the message from Right to Left
  lcd.scrollDisplayLeft();
  delay(500);
}
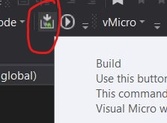
Then we compile clicking on the next icon

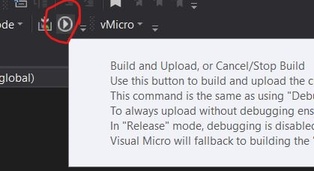
And finally, to upload just click on the next icon
And here is the Result
Files
Below you will find my files which I made this week.