9. Embedded programming
For this week, I have learnt on [Embedded programming]
- Microprocessor vs Microcontroller
- Write C code
- Compile with avr-gcc
- send with avrdude
- Use make to read Makefile
For this week, I have worked on:
Group Assignment:
We have compared the performance and development workflows for different microcontroller families. If you have interest, you can CLICK HERE to know more about the details. Some main points are mentioned below.
There are many microcontroller families such as LOGIC, Megaprocessor, 8051, PIC, MSP, AVR, ARM, Xtensa, RISC-V, PSoC, xCORE, Propeller, Lattice, NVIDIA and so on.
The Performance and Development Workflows for different microcontroller families
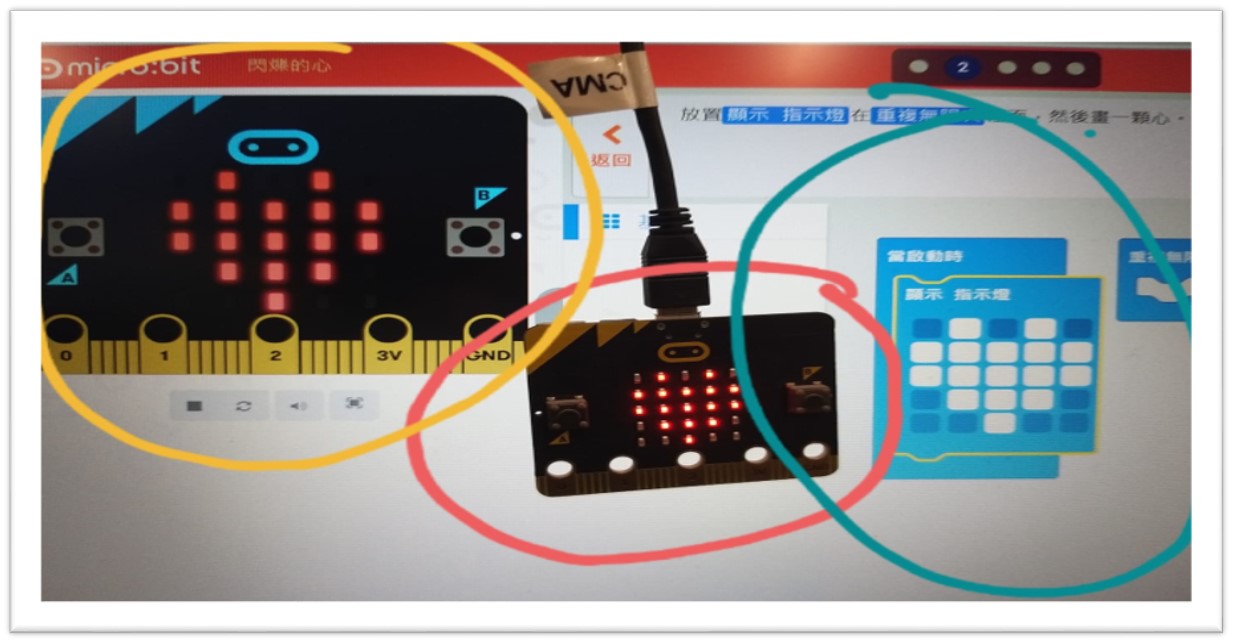
micro.bit
In our school, we should let our junior students to build up the basic knowledge on logic training for junior secondary students before learning different programming languages in senior secondary levels.
Therefore, we would use School-based Computer Curriculum for micro.bit as above photos to attempt the obvious outcomes of programming easily for all beginners. Why should the students to learn micro.bit???
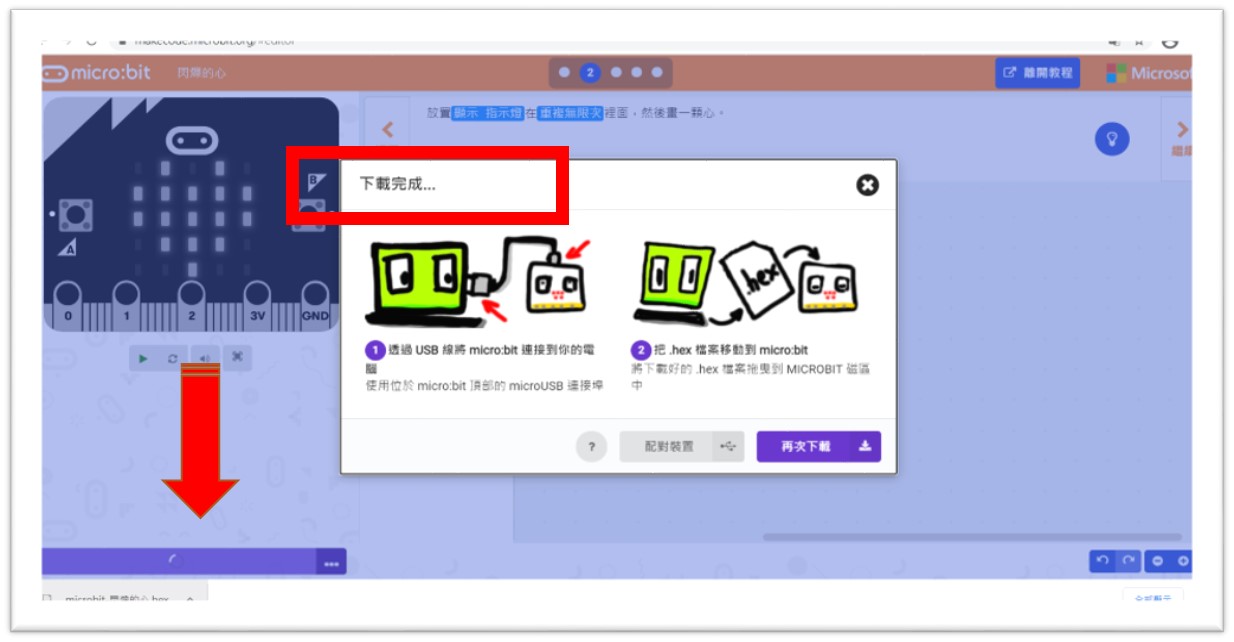
Only 5 Simple Steps can be followed to show the outcomes by using the website resources for makecode.
Step 1
Go to the Website for makecode.microbit and Create a New File

Step 2
Select “On Start” or “Forever” (Red) and Show the Outcomes immediately (Blue)
Just Click the boxes which you choose to Design your own Figure

Step 3 Download the File from the Website
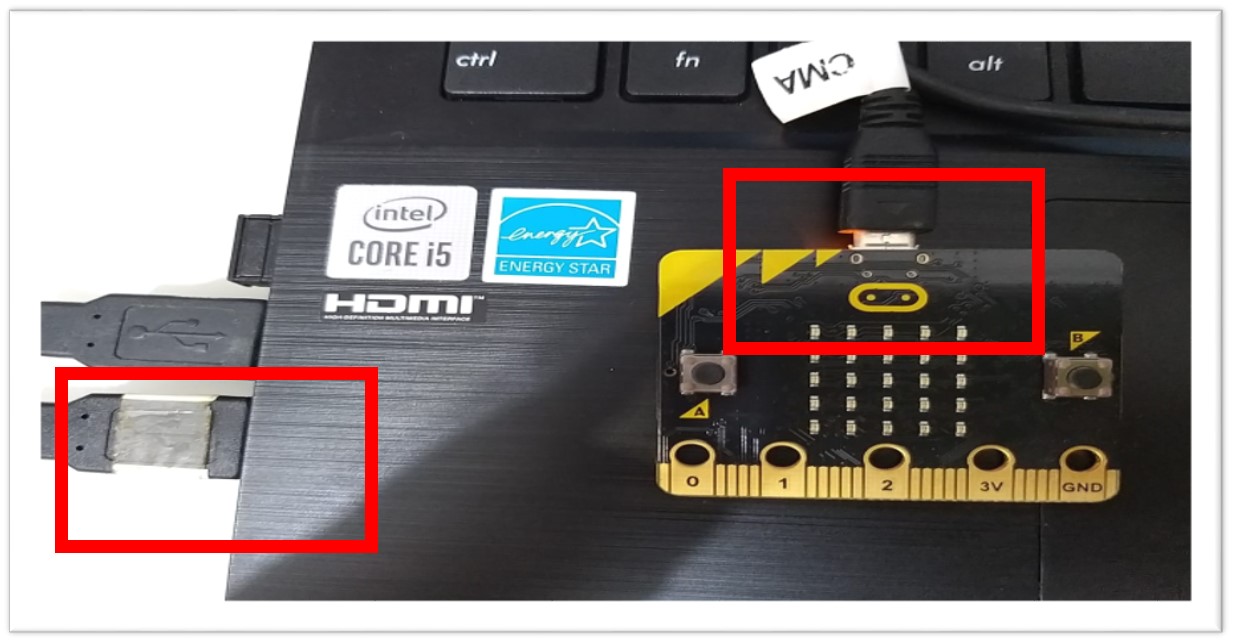
Step 4 Connect the micro.bit with the computer as Plugin a USB
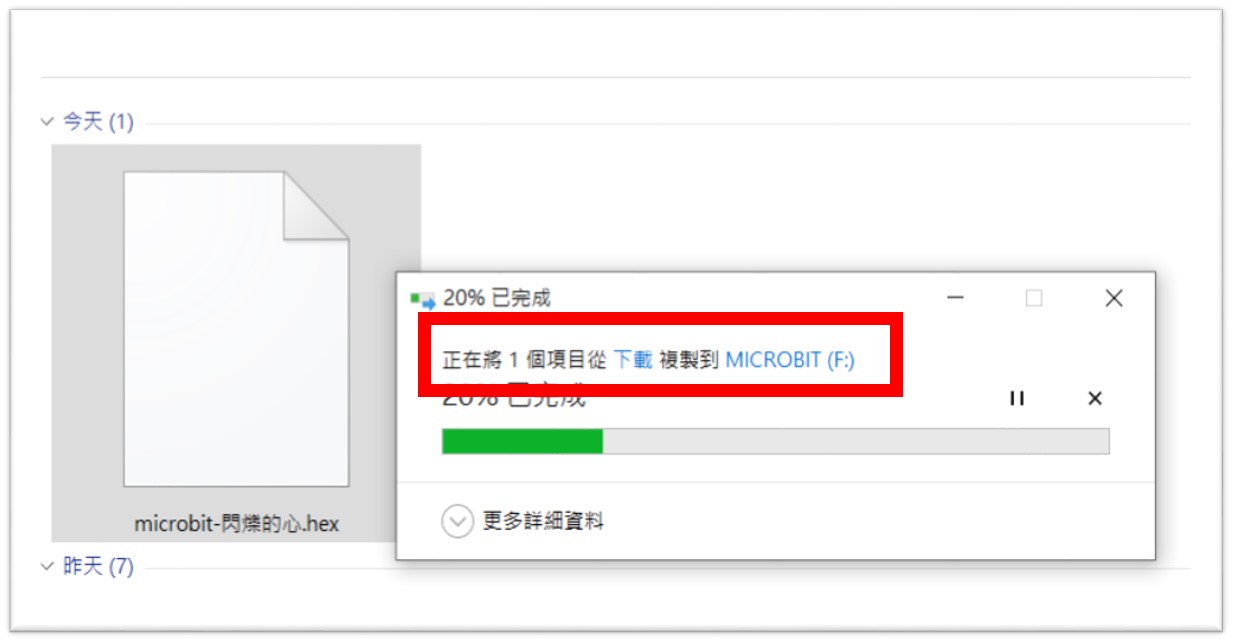
Step 5 Copy the download micro.bit file into MICROBIT drive
Outcomes “A Figure for Heart” shown on micro.bit
Figure Design (Blue)
Immediate Display shown on Website (Yellow)
Real Micro.bit Display (Red)
Individual assignment:
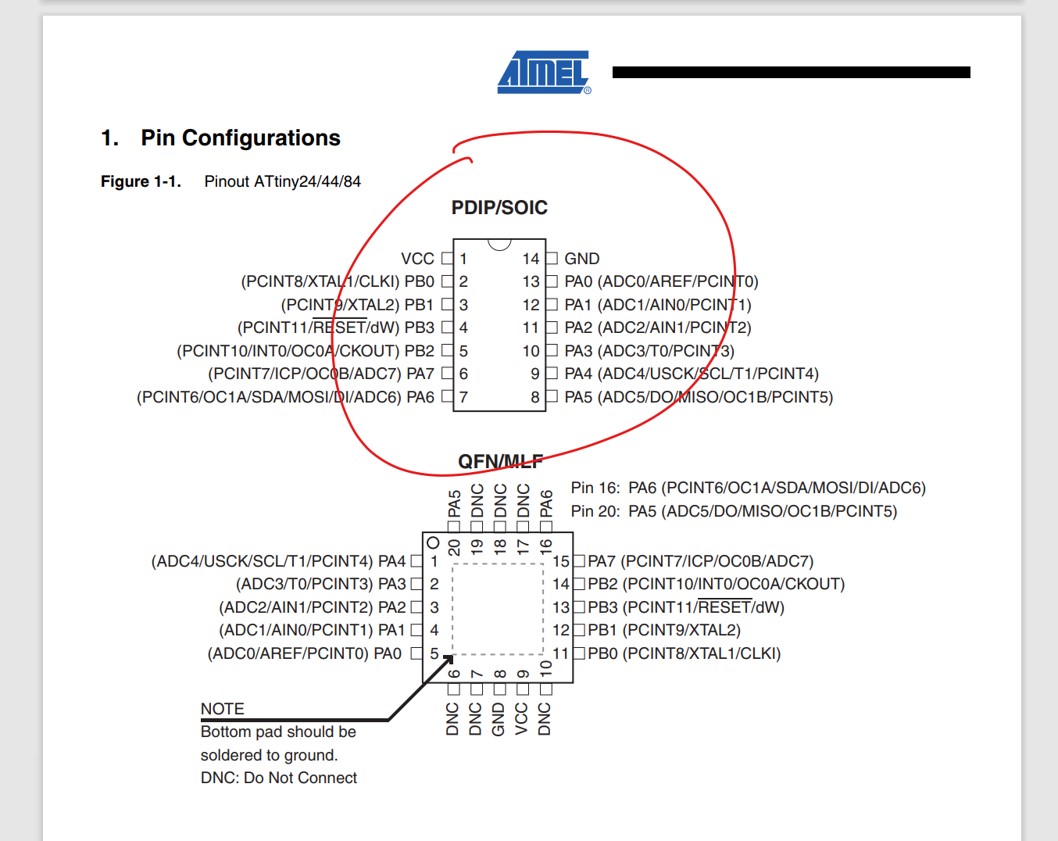
Step 1 - Read the programming datasheet for the microcontroller ATTINTY44
Key features in the datasheet were suitable for my final project design included:
4K Bytes of Program Memory Size - enough memory size 2.2V-5.5V for ATTiny44 - the controller will be powered by the USB port which is 5V. 9-20MHz for ATTiny44 - fast enough for simple IO control
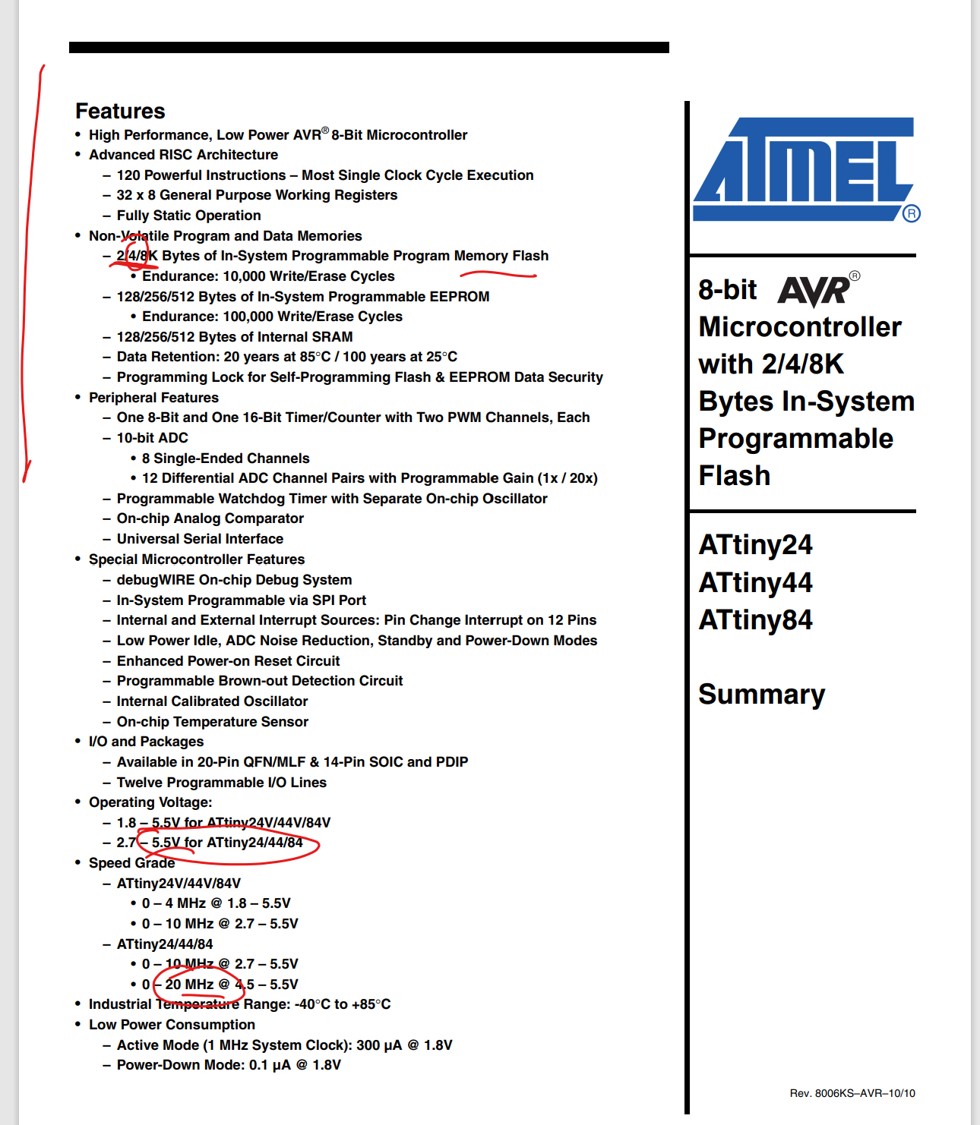
Package SOIC-14 was suitable my final project design: surface mount for single sided PCB board.
Step 2 - Program my board with different programming languages and environments
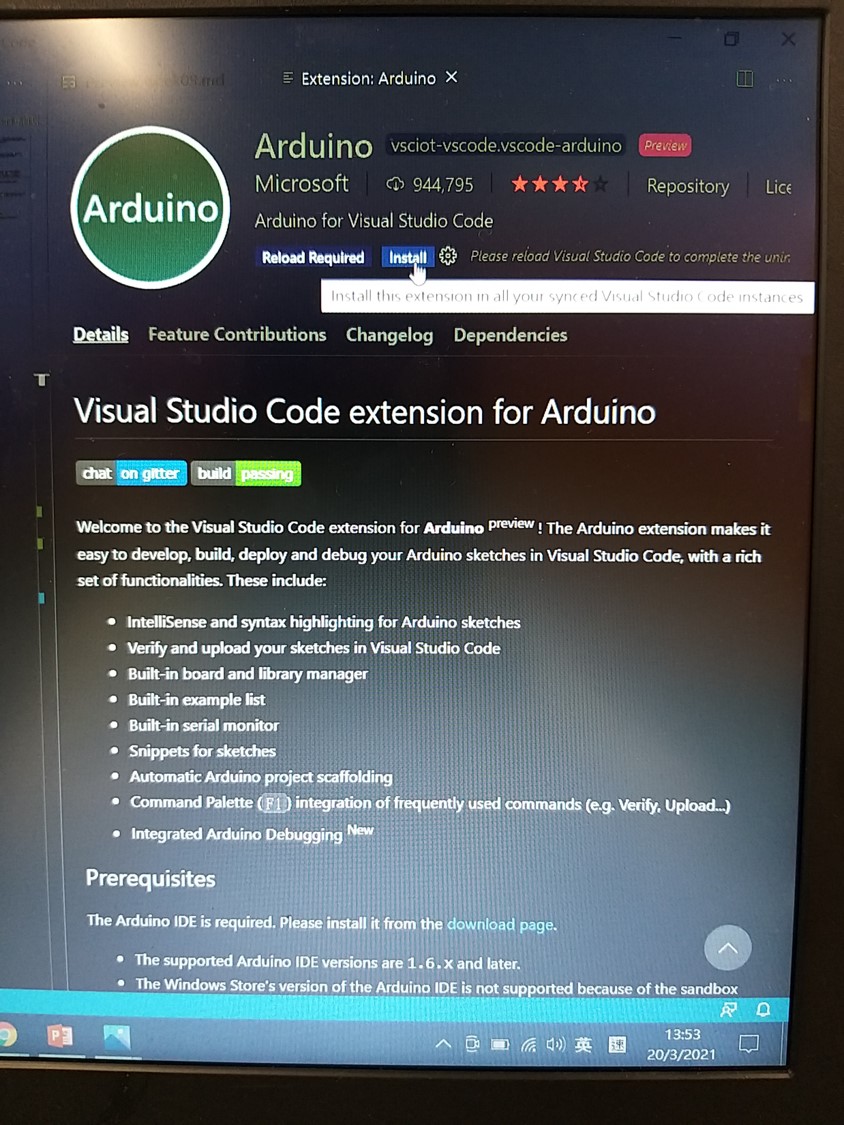
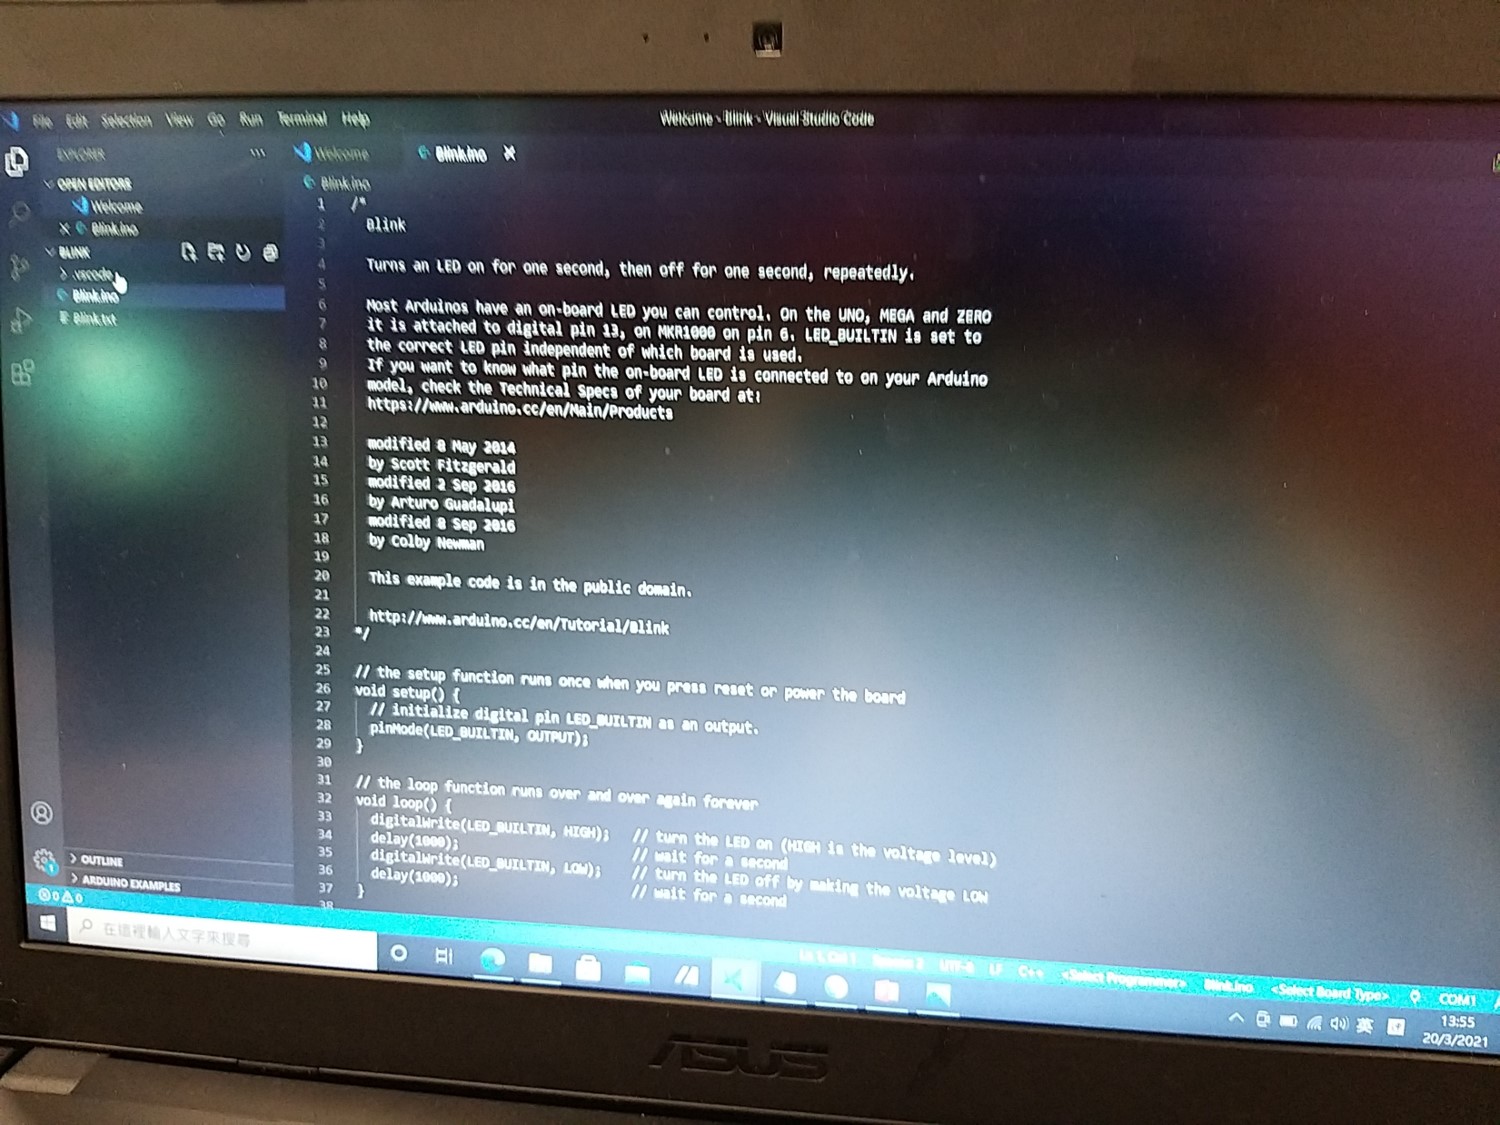
Method 1: Programming the board using VS Code
Installed Arduino plugin from the extension tab
Load the blink.ino from examples
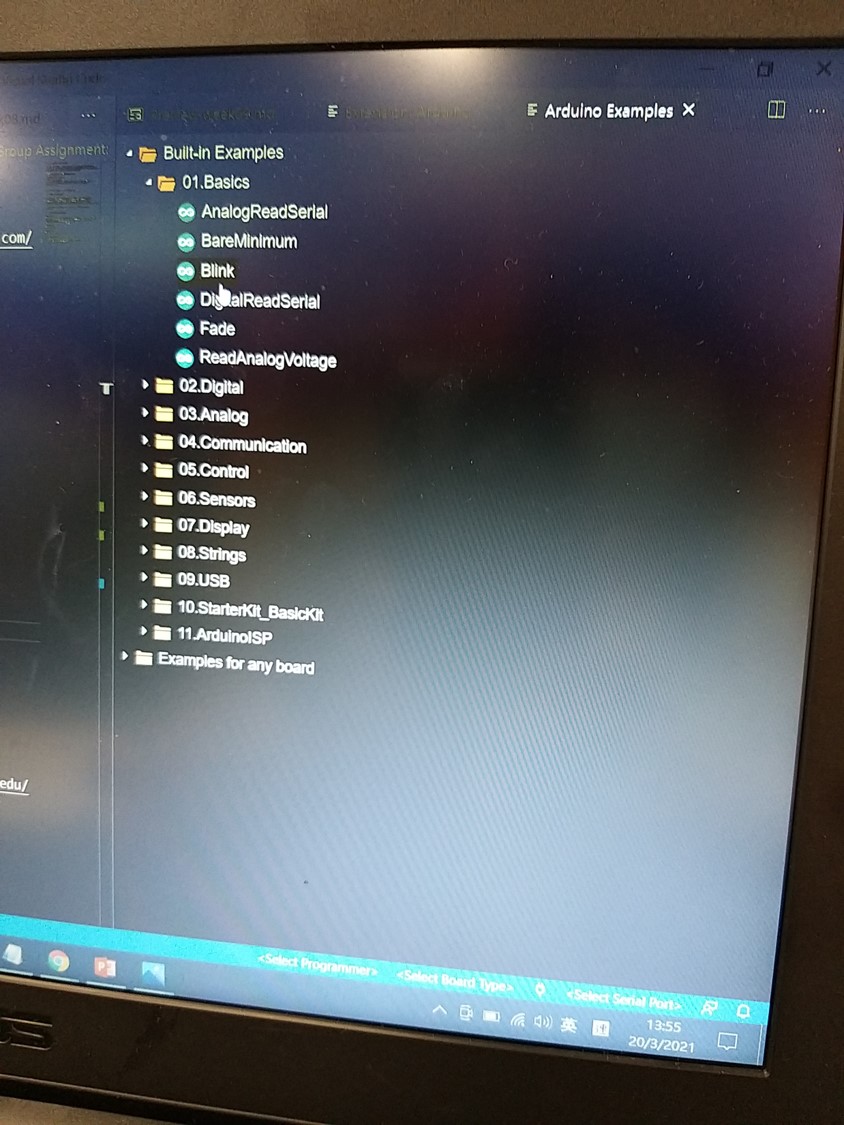
Select the board and serial port from the bottom right corner of VS code
Upload the program to the ATTiny44 board via USBTinyISP by pressing the upload button.
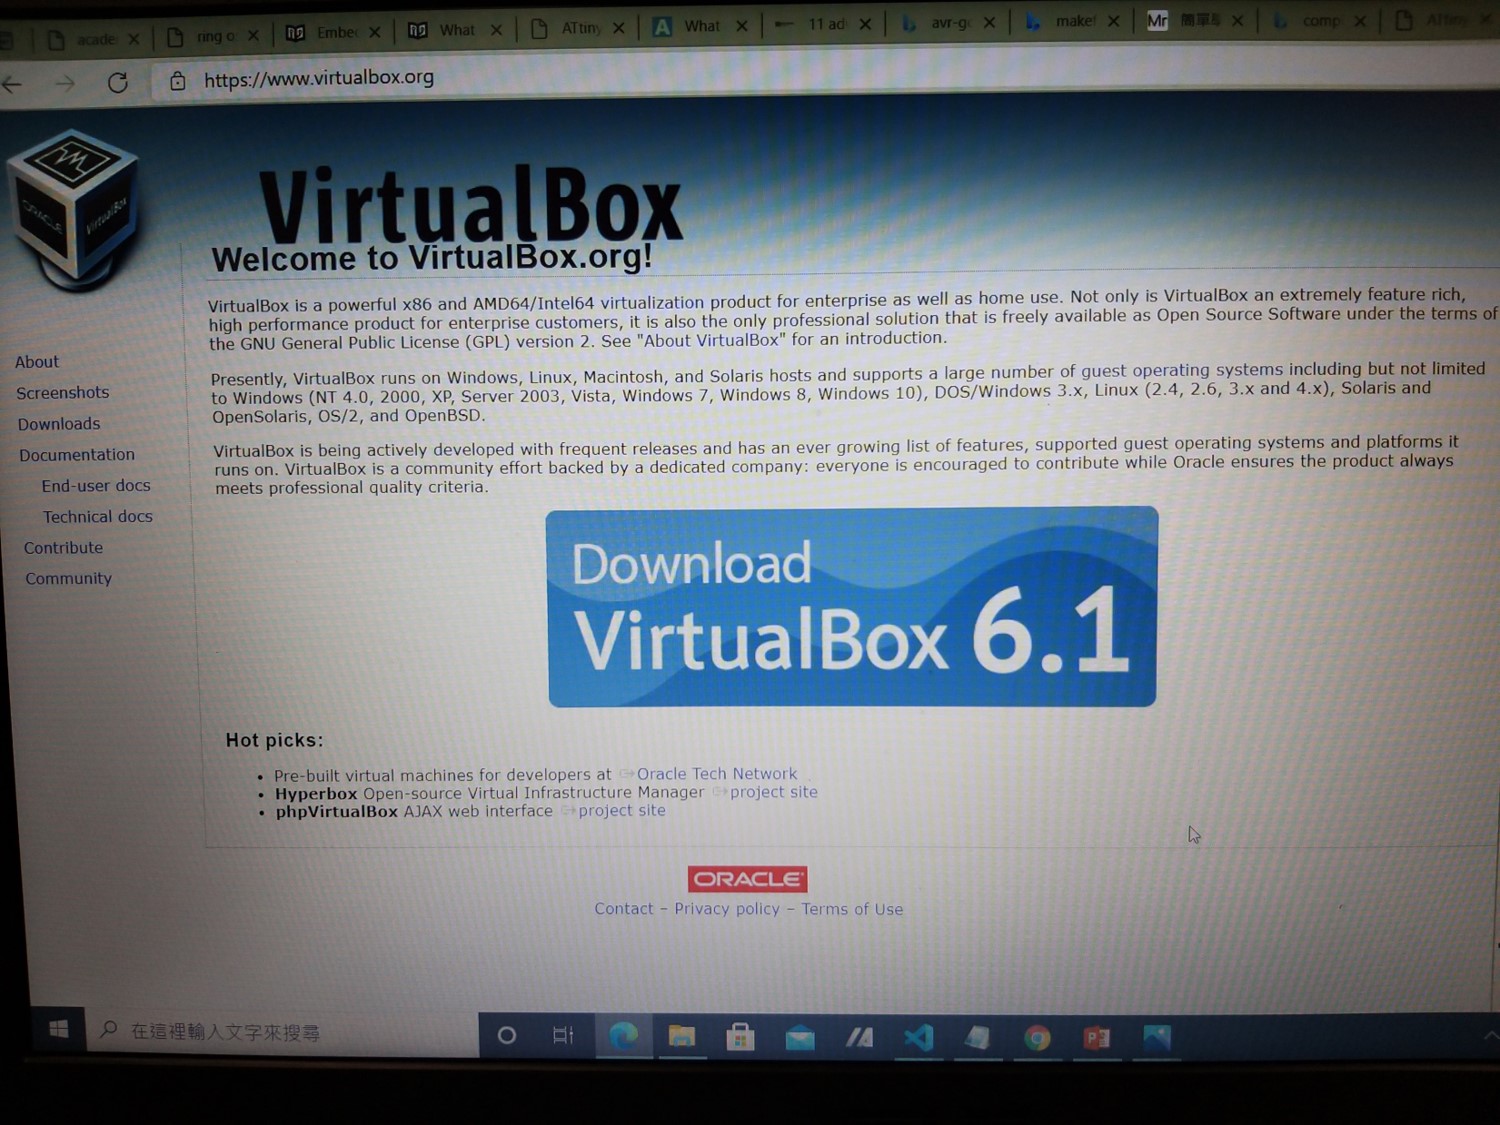
Method 2: Compile and Upload the program via CMake
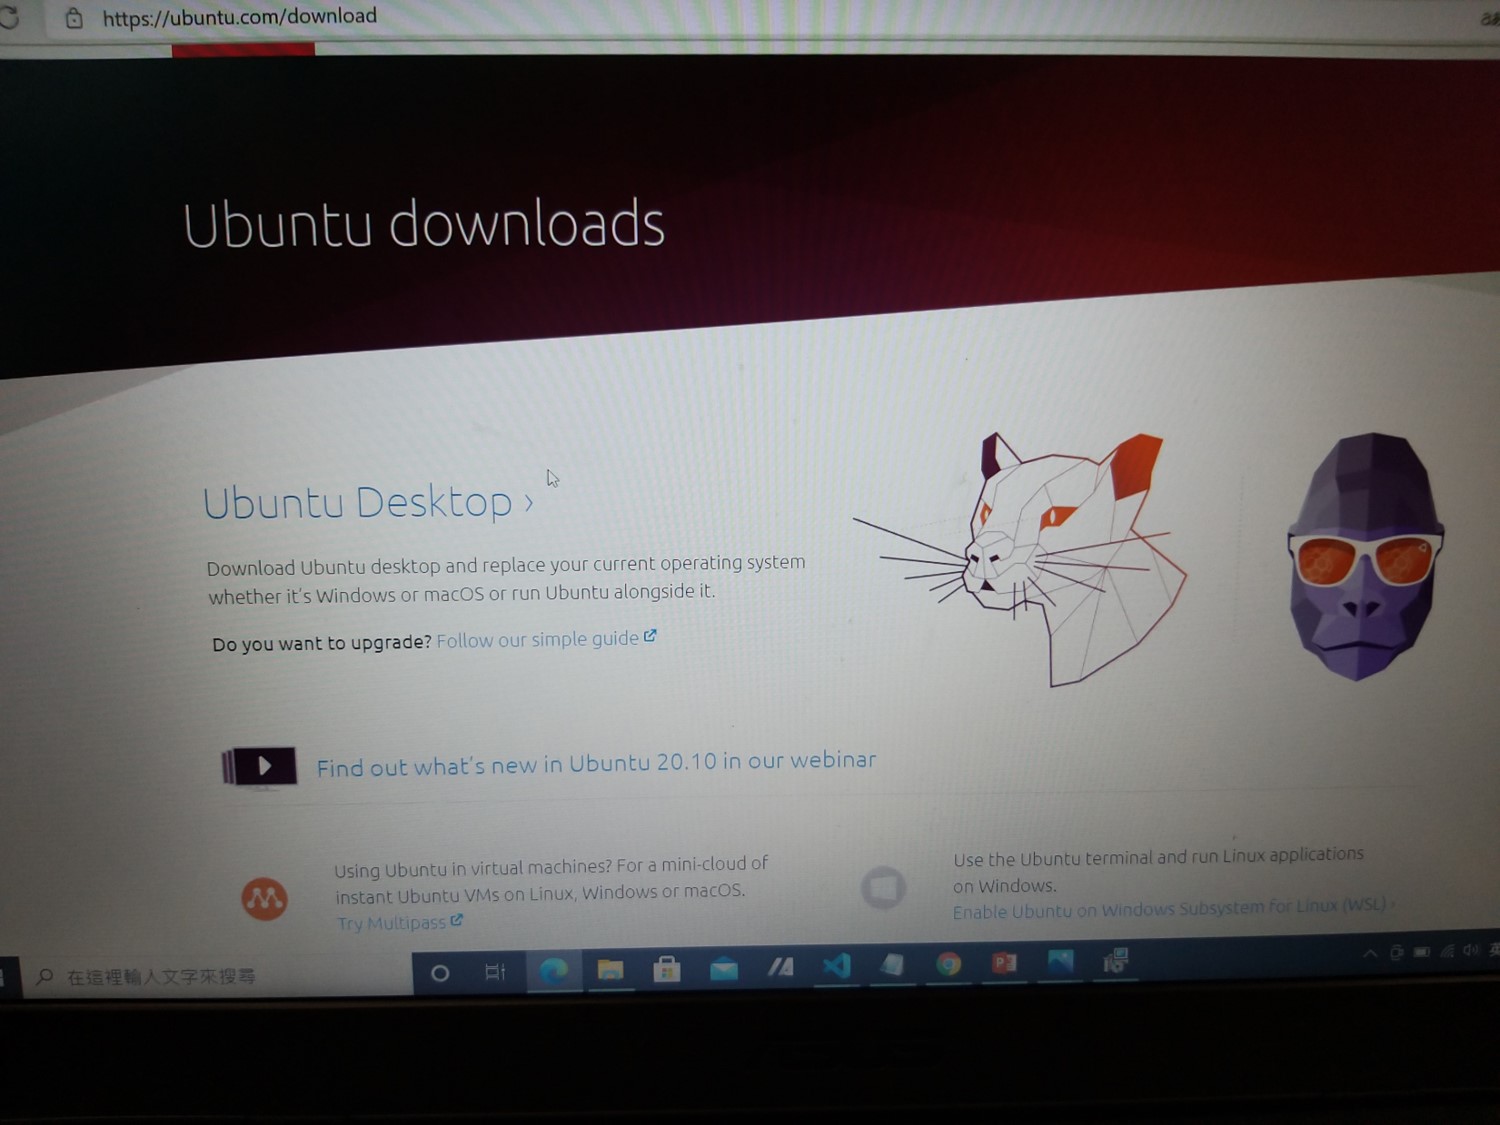
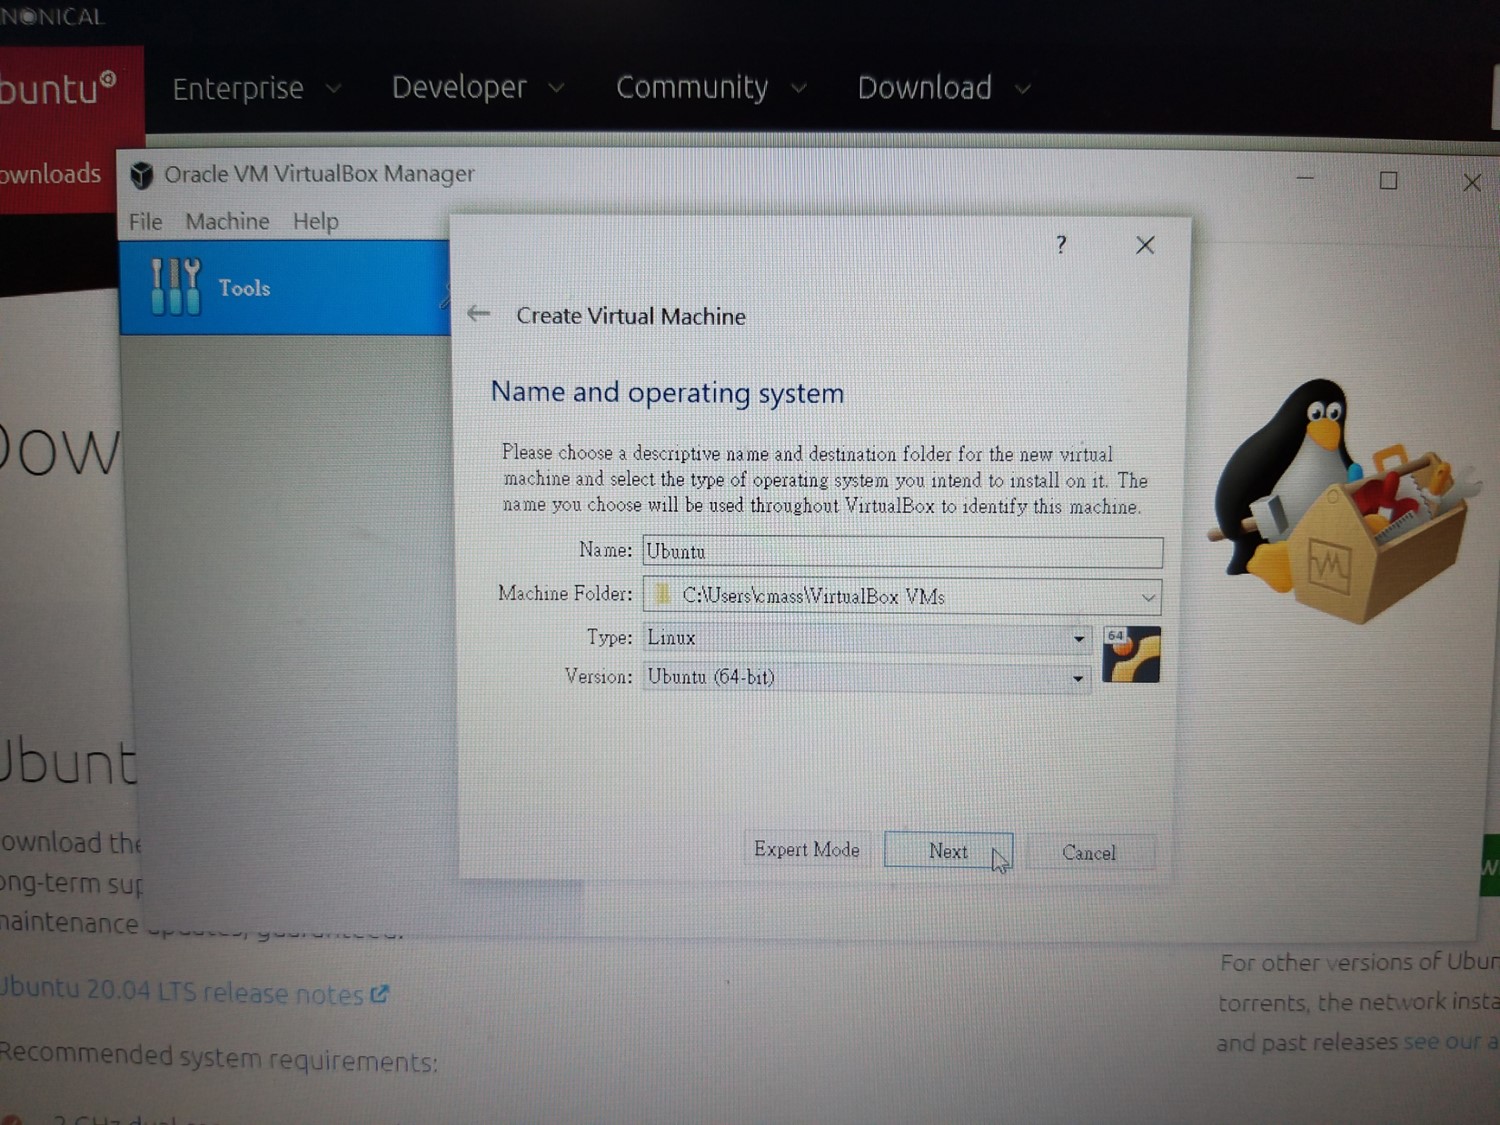
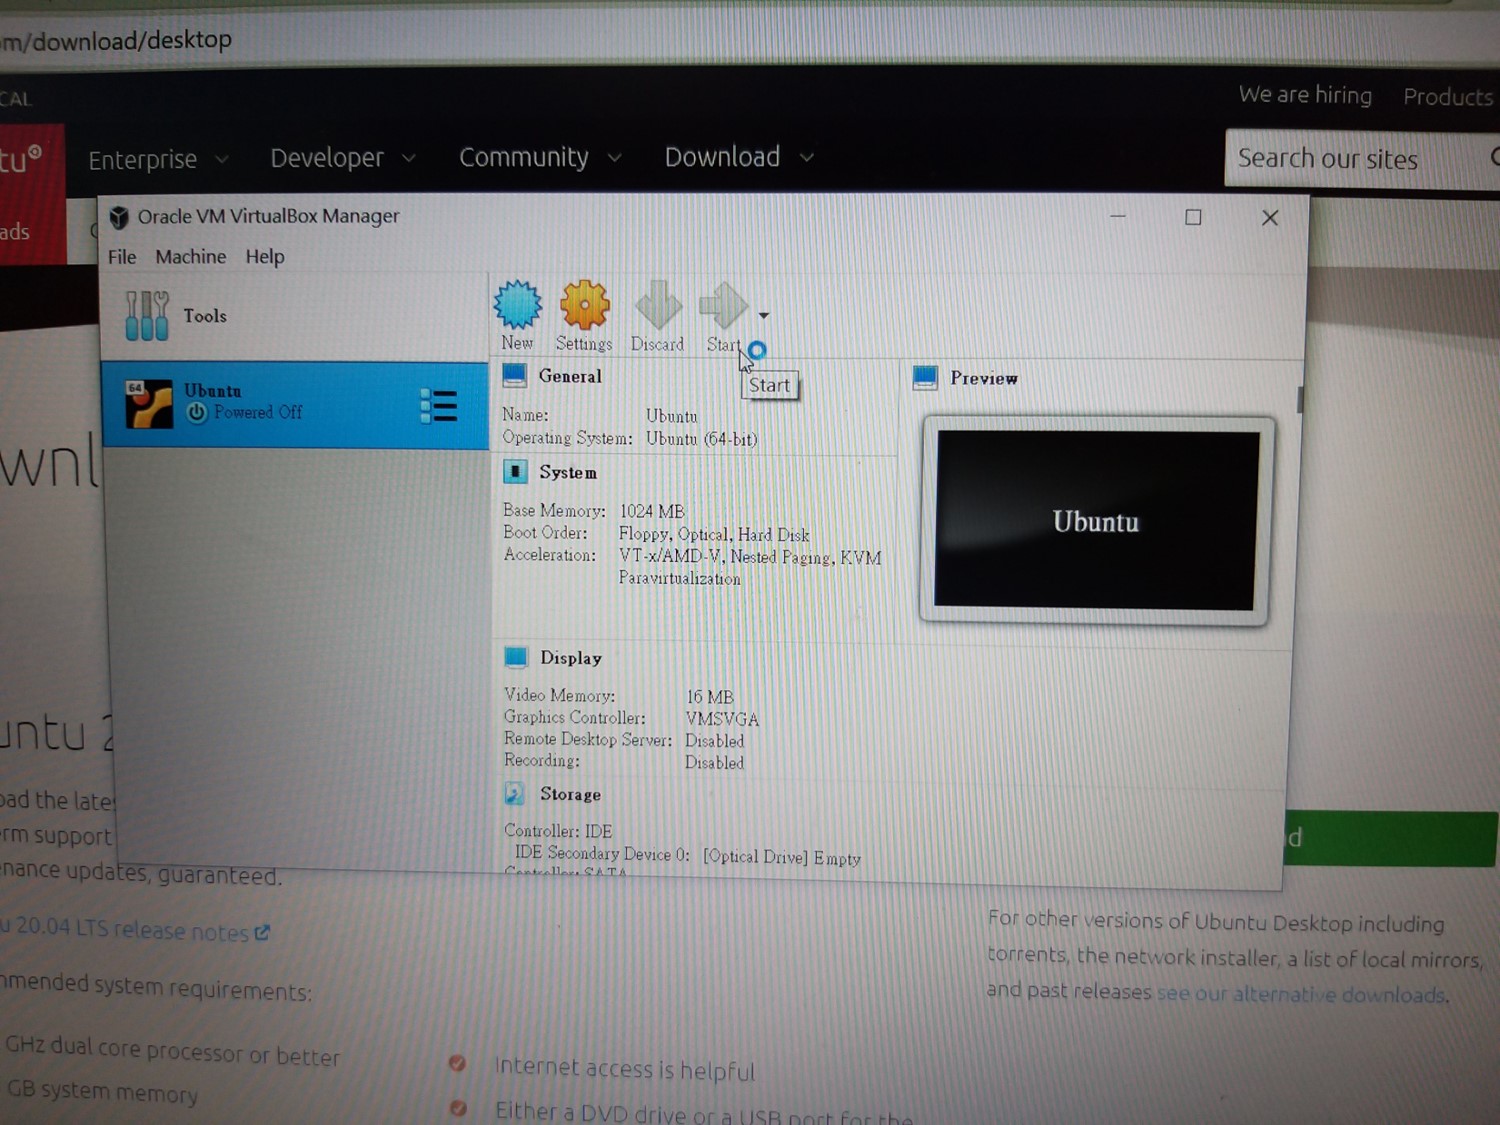
Since Method 2 use LINUX is most appropriate, the virtual machine software “VirtualBox” was downloaded .
Install Ubuntu downloads to the virtual machine.
Download the sample program from The Fab Academy website
Copy the .c program to the virtual Ubuntu.
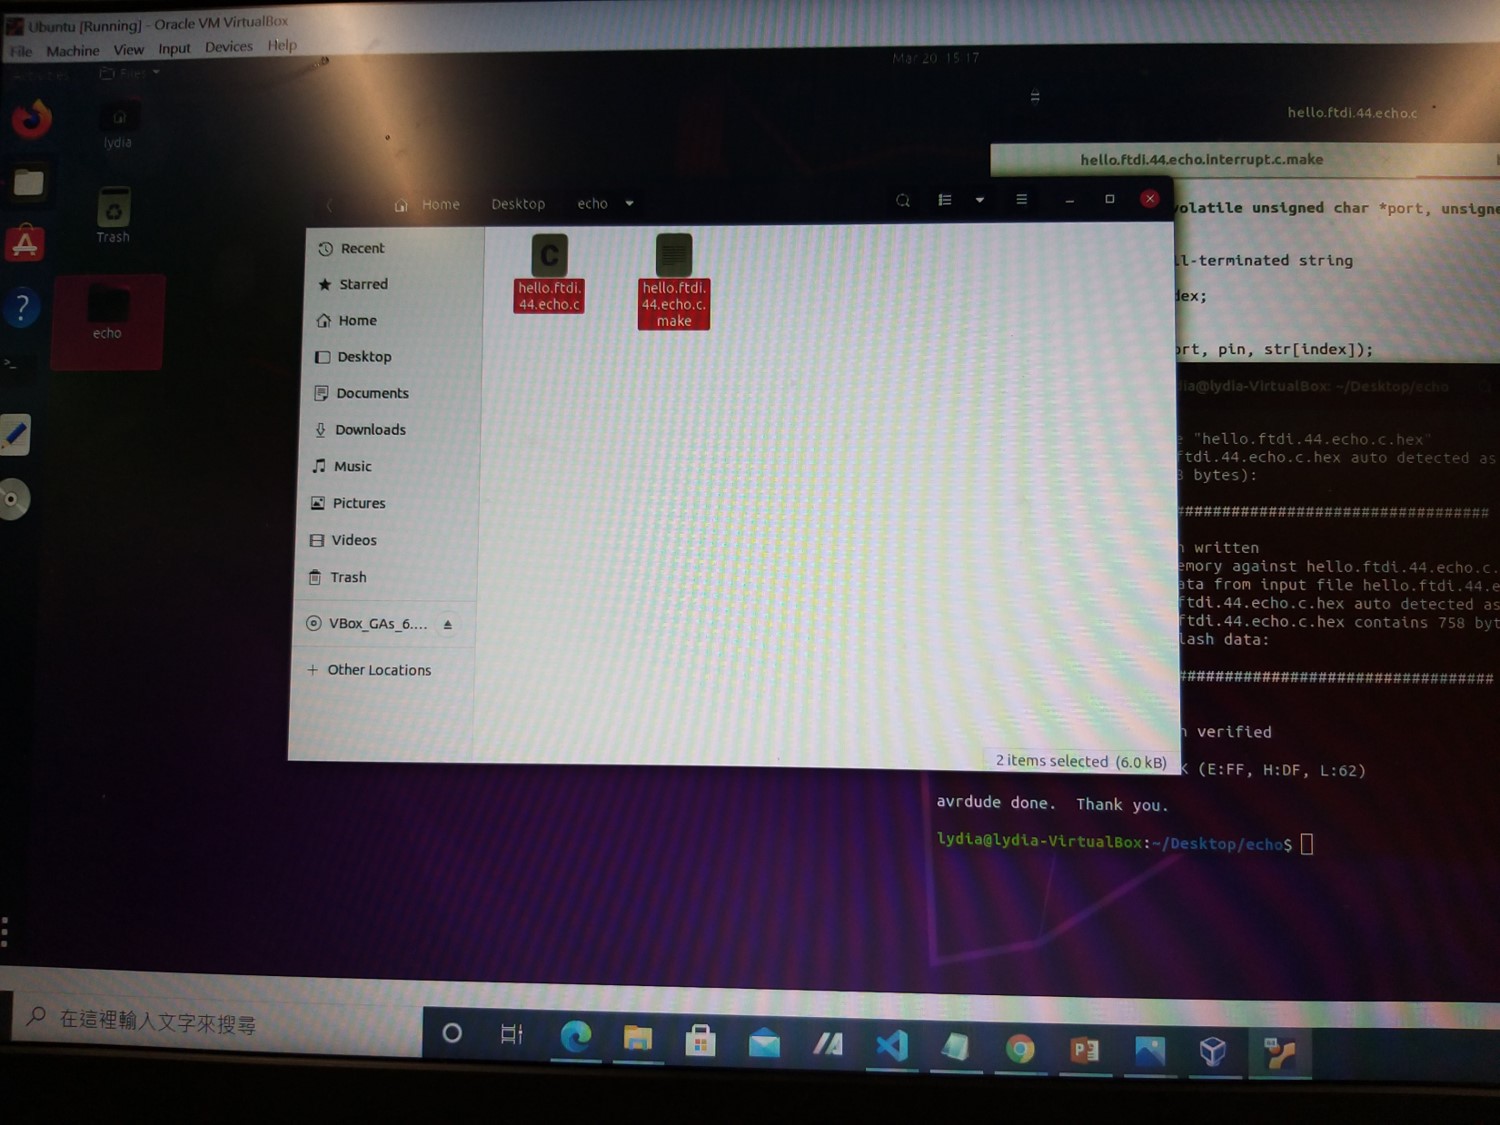
Compile and upload the program following the instruction of tutorial lesson.
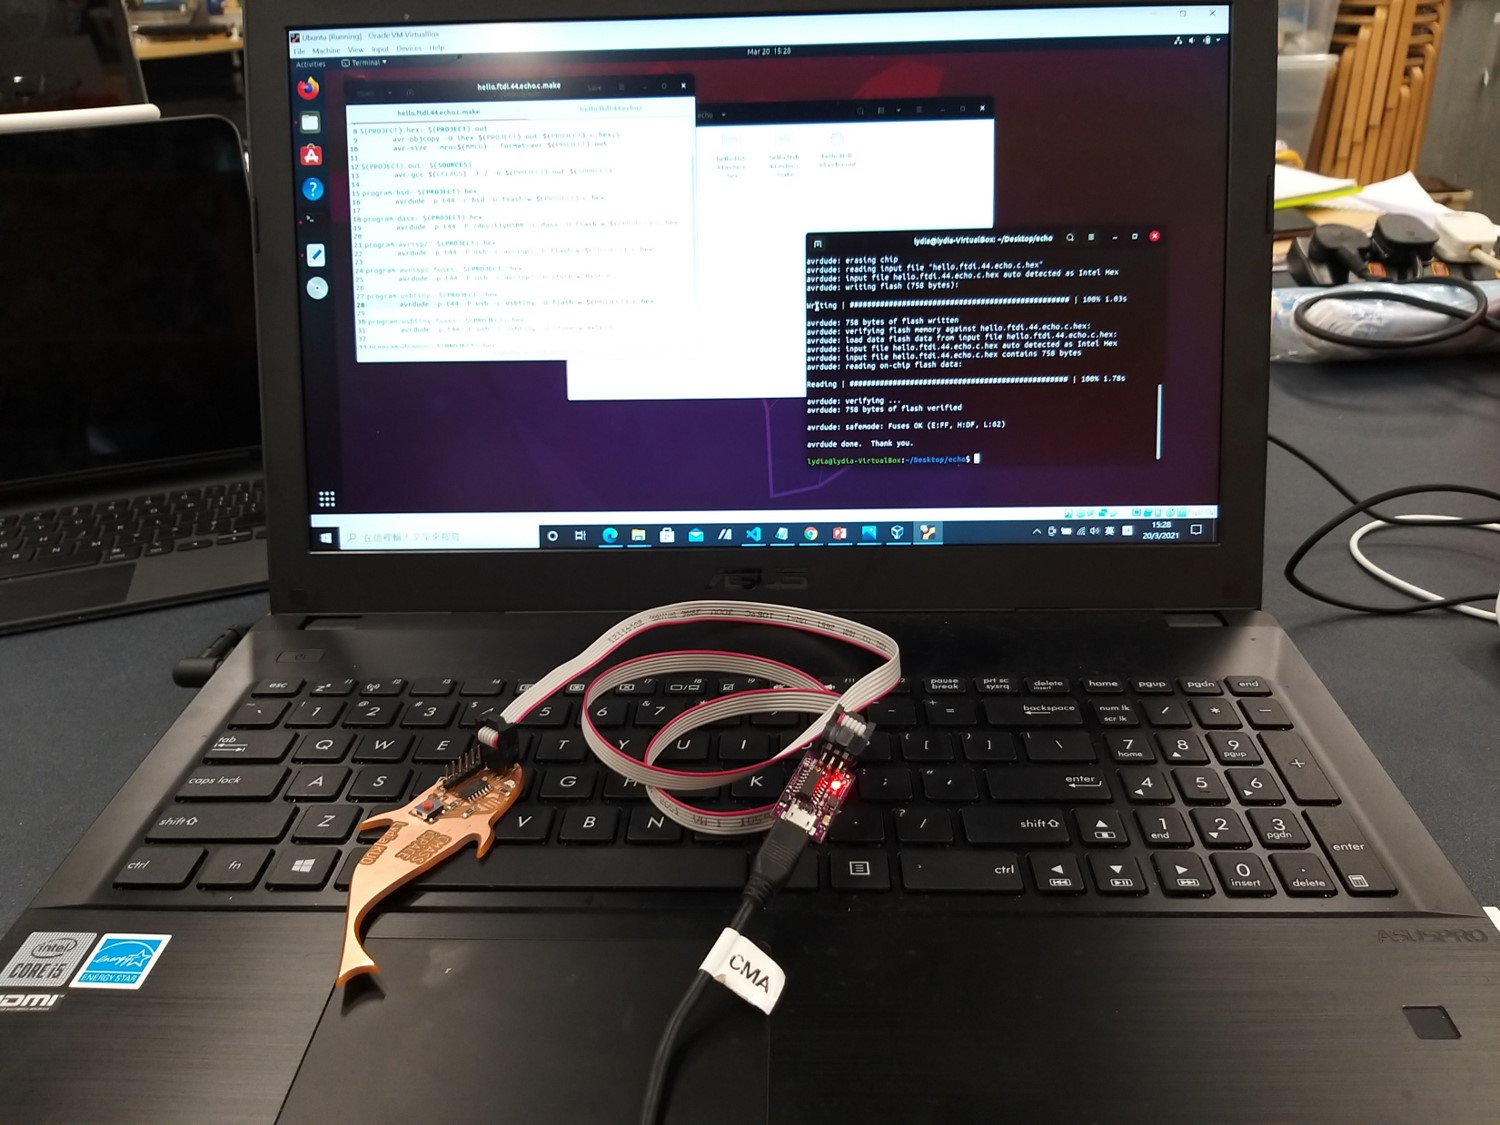
The following video shows the flashing light on the PCB board in order to prove the work of compiling and upload the program.
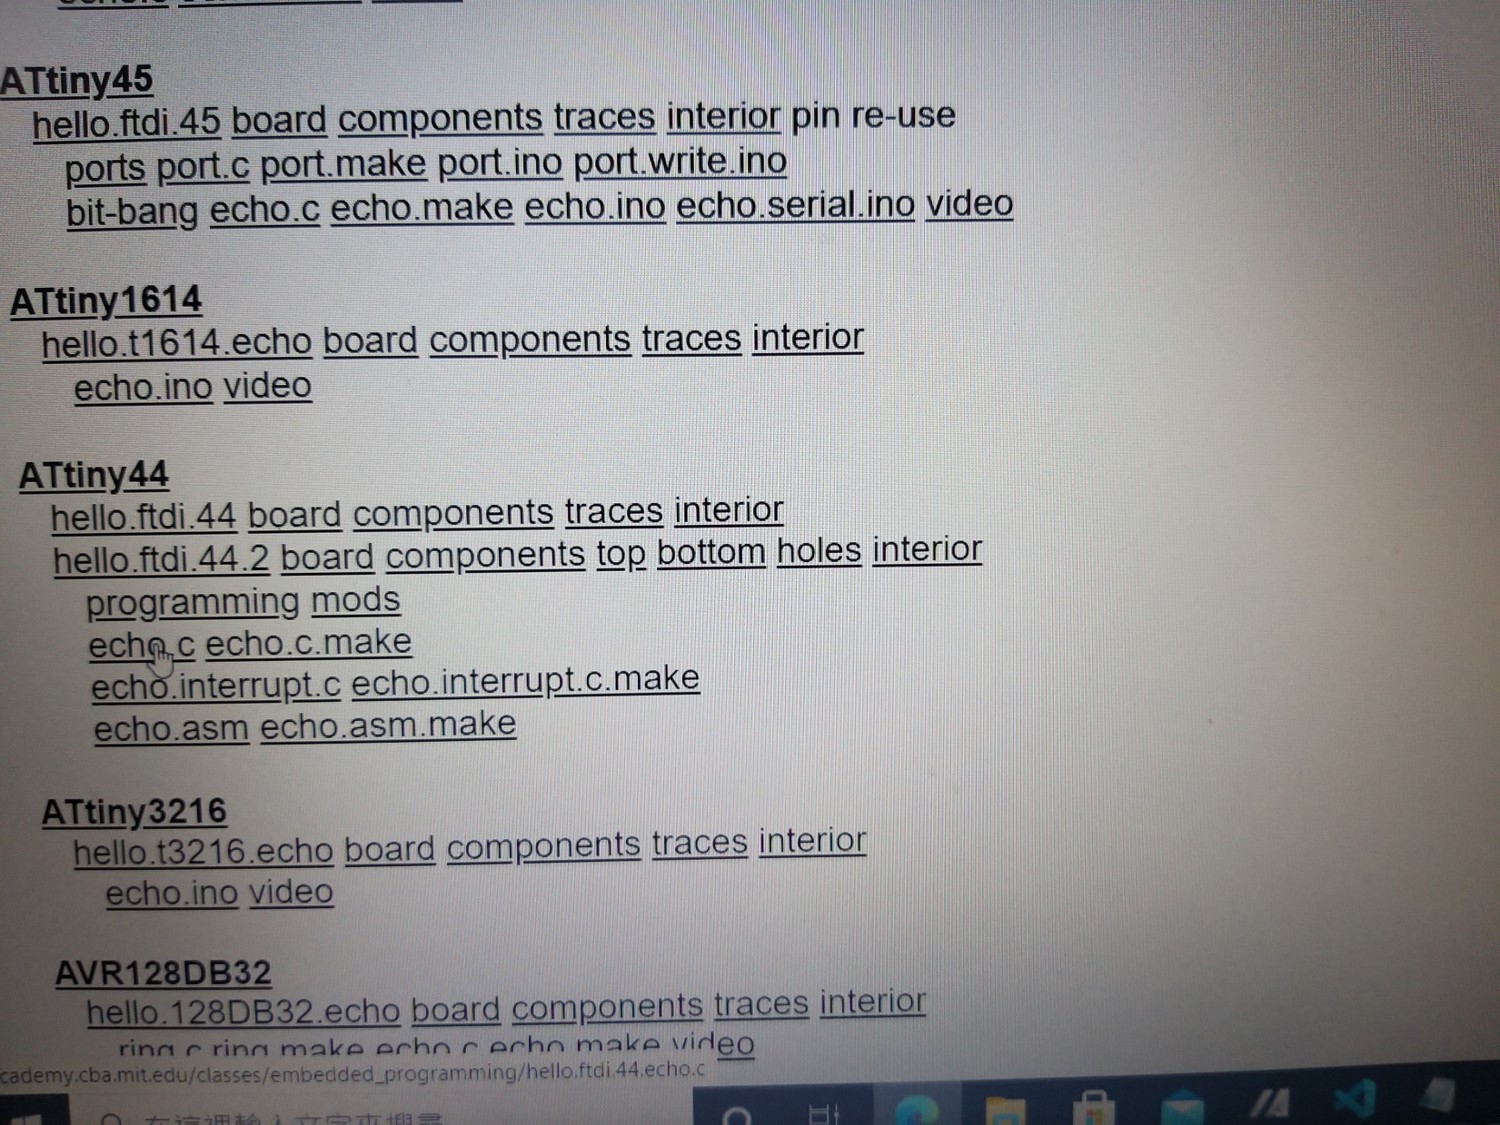
Source File for hello.ftdi.44.echo.c
Source File for hello.ftdi.44.echo.c.make