1. Principles and Practices, Project Management
Topic of the first week is to get used to continuous documentation process and start defining final project.
Documentation process
Setting up Git on my desktop PC and pulling my Fab Academy directory
What are Git and GitLab?
Git is a version control system that makes collaboration possible. In Fab Academy, all git repositories and documentation webpages are stored on cloud based repository system called GitLab. Although I will access GitLab from Git that I install locally on my pc. There’s also another well-known cloud based repository system called GitHub.
I edit these web pages by “pulling” (copying) the most recent version of GitLab repository (my pages) to my local computer, do the edits that I want, make a commit in Git that contains the changes and “push” (send) the commit to GitLab.
For tutorial on Git, I’ve seen some tips pointing to this guide, but honestly it’s way too comprehensive for first-timers. I’d recommend this one instead as it is “just basics” type of guide with nice cheat sheet on most used commands (that actually covers all commands I’ve used so far)
Git installation and config
I installed Git for Windows on my PC from https://git-scm.com/downloads and configured it’s username and email: git config user.name "Antti Rytilahti" and git config user.email "[email address]".
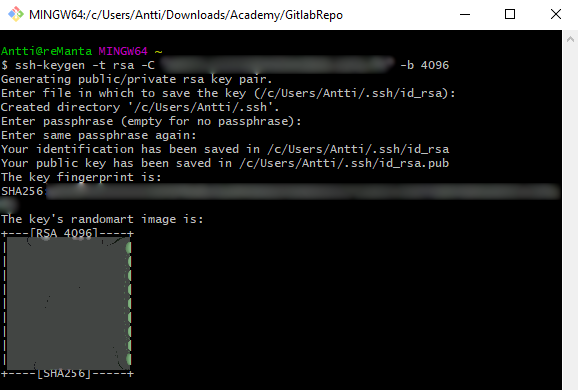
SSH-key generation and usage
SSH-key is a private-public key pair used for authentication. By setting up SSH-keys, I don’t have to authenticate myself every time I push changes to my repository.
I created SSH-keys with command ssh-keygen -t rsa -C "my.email@domain.com" -b 4096
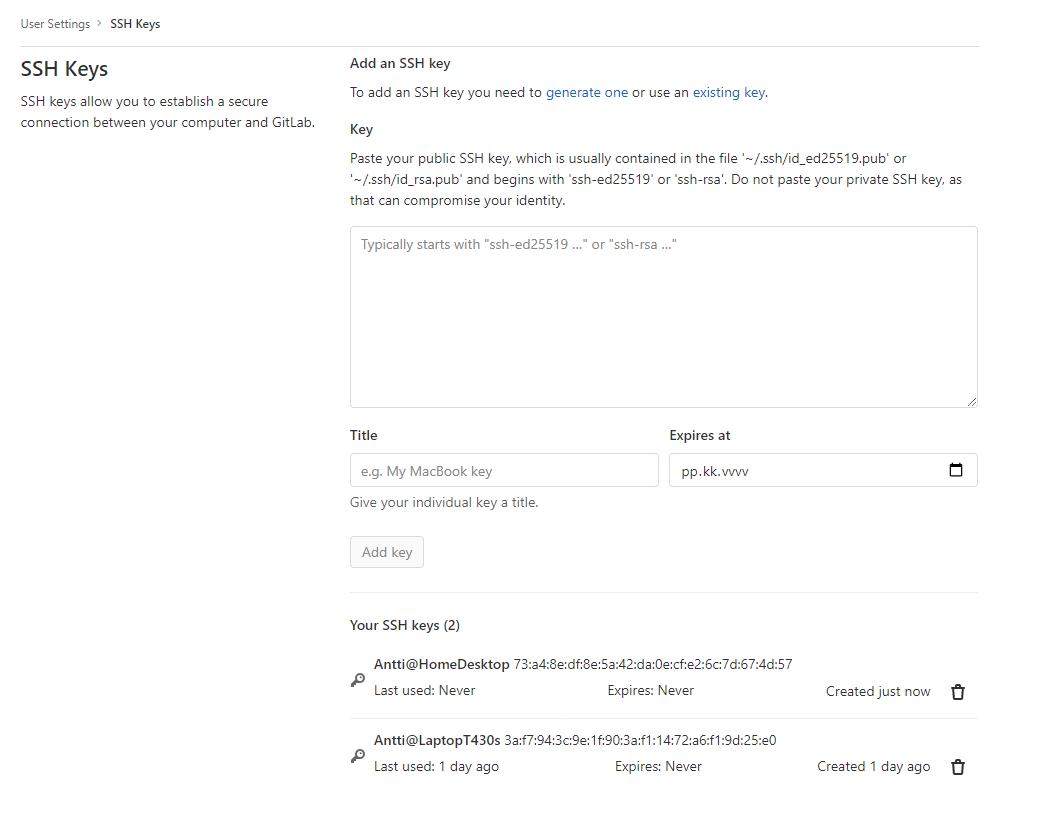
On GitLab user settings, I set my public SSH-key.
Pulling my directory from GitLab to my PC
GitLab automatically provides a link which is easy to use for cloning GitLab repository to local computer.
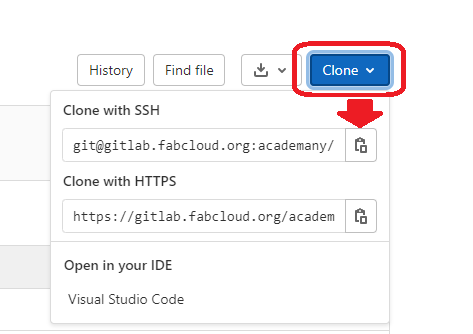
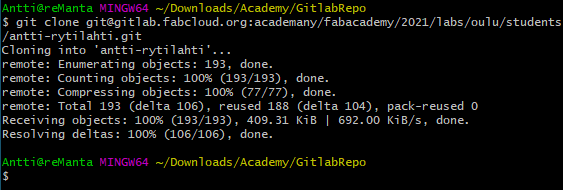
On local computer, all I have to do, is to call git clone with a link to repository to be cloned.
Editing website template
Having no prior experience on web development, I decided to stay on the provided website template that uses MkDocs and Material for Docs theme. MkDocs is a static website generator, which means it generates a website that doesn’t have much of interaction elements based on .md files that have contents of website in easy, human-readable form. Material for MkDocs is a theme with focus on technical project documentation.
I edited website files with Visual Studio Code and by running the command mkdocs serve I could host the site locally and see changes with minor delay. To be able to serve mkdocs website locally, I needed to install mkdocs, mkdocs-material and mkdocs-git-revision-date-localized-plugin.
There are tutorials for Markdown. This interactive tutorial seems quite nice https://www.markdowntutorial.com and this cheatsheet at w3schools.io is easy reference for later use.
About me and Student agreement
I started editing my website template on About me page. First, I created an avatar to replace the default one. I used https://getavataaars.com since it doesn’t require registration or email. After creating and downloading my avatar, I placed it on my repository and edited About me page source code to use it. Phew, first step taken!
{ width=40% }
In the code above I replaced the path inside normal brackets () to point to location where I stored my avatar picture.
I also signed the student agreement by committing it to my repository.
Modifying mkdocs.yml file
mkdocs.yml file has general information about site name, description, author and copyright. It also controls the social media links on bottom of each page. I’m not active on any of default social medias it had, so I just replaced those with a link to my GitLab repository.
In mkdocs.yml you can also manage site theme, colors, font, plugins, extensions etc. I took a look at Google Fonts and changed my site font to Heebo since it looks nice, has many styles available (various thicknesses, bold) and not does it sounds finnish, it also is dialect/slang word and it’s meaning ranges between “a dude” and “a weirdo” (likely male).
Week 1 and site structure
To clear up the plethora of template files for future weeks, I decided to move them to another folder to wait unlinked to my website.
Week 1 also includes sketching final project ideas, so I documented five ideas with three of them being stuck on the back of mind for years (ideas 1, 3 and 5). Notes on these ideas are documented on ideas page.
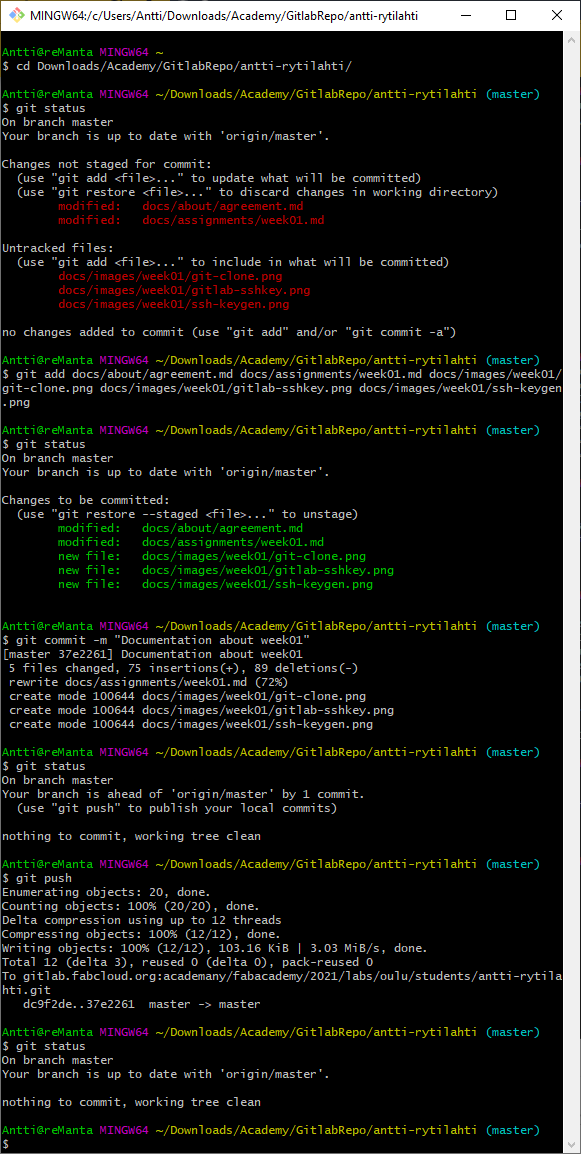
Committing changes to GitLab repository
My workflow with GitLab repository on local Git Bash terminal (which was installed on same installation with git):
- Navigate to correct directory
cd Academy/GitLabRepo/antti-rytilahti
- Download latest changes from GitLab
git pull
- Check status
git status
- Edit my documentation pages, add images & files etc. “the actual work”
- Check status, so I know what to add
git status
- Add untracked and uncommitted files
git statuslistedgit add docs/assignments/week01.md docs/images/week01/image01.jpggit add *(if I’m lazy, adds everything)
- Check status, so I know I didn’t miss some files or include something I didn’t mean to
git status
- Make a commit
git commit -m "Commit message"
- Check status, so I know my commit is fine
git status
- Push changes to GitLab repository
git push
- Check status, so I know git is happy with my commit&push and there is nothing else waiting to be done
git status
Here are git commands in a HTML table.
| Command | Explanation |
|---|---|
| git pull | Git pull downloads and applies changes available at cloud repository to local repository. I start with this if my latest changes have been committed from my laptop and I start working on my desktop pc, or vice versa. |
| git status | Git status tells me which files are changed and helps me if I do something stupid. I use this a lot, since this can be called anytime. |
| git add | Git add adds selected files to "commit stage". I always start with this one when making a commit. |
| git commit -m "Commit message" | Git commit makes a commit of added files with a message. I use this to "pack" added changes into single commit. |
| git push | Git push synchronizes changes I committed to my remote repository. I use this when I'm ready to send my commit to GitLab. |
Continuous integration & continuous deployment, CI/CD
CI/CD automates what to do when new commit comes in. How to test a commit didn’t break anything and in my case, how to build and deploy my site. CI/CD is controlled in .gitlab-ci.yml file, which I left ‘as is’. GitLab’s about page on CI.
.gitlab-ci.yml file has information which virtual machine to use for CI, what scripts to run after new commit etc.
In Fab Academy documentation pages .gitlab-ci.yml by default:
- uses virtual machine image called
python:3.8-slim - installs git and anything in requirements.txt (MkDocs itself, MkDocs theme and date localization plugin)
- on other than master branch: uses MkDocs to build html pages from markdown files and deploys pages to test folder
- only on master branch: uses MkDocs to build html pages from markdown files and deploys pages to public folder