Electronic Production
Looking forcomponents
The first thing I did to explore in the world of electronics was to search and accumulate all the available components I had on hand even if they were not smd type, such as sensors, protoboards, wires, old arduino and motors. I definitely still don't understand anything but I know what is positive 🔴 and negative ⚫
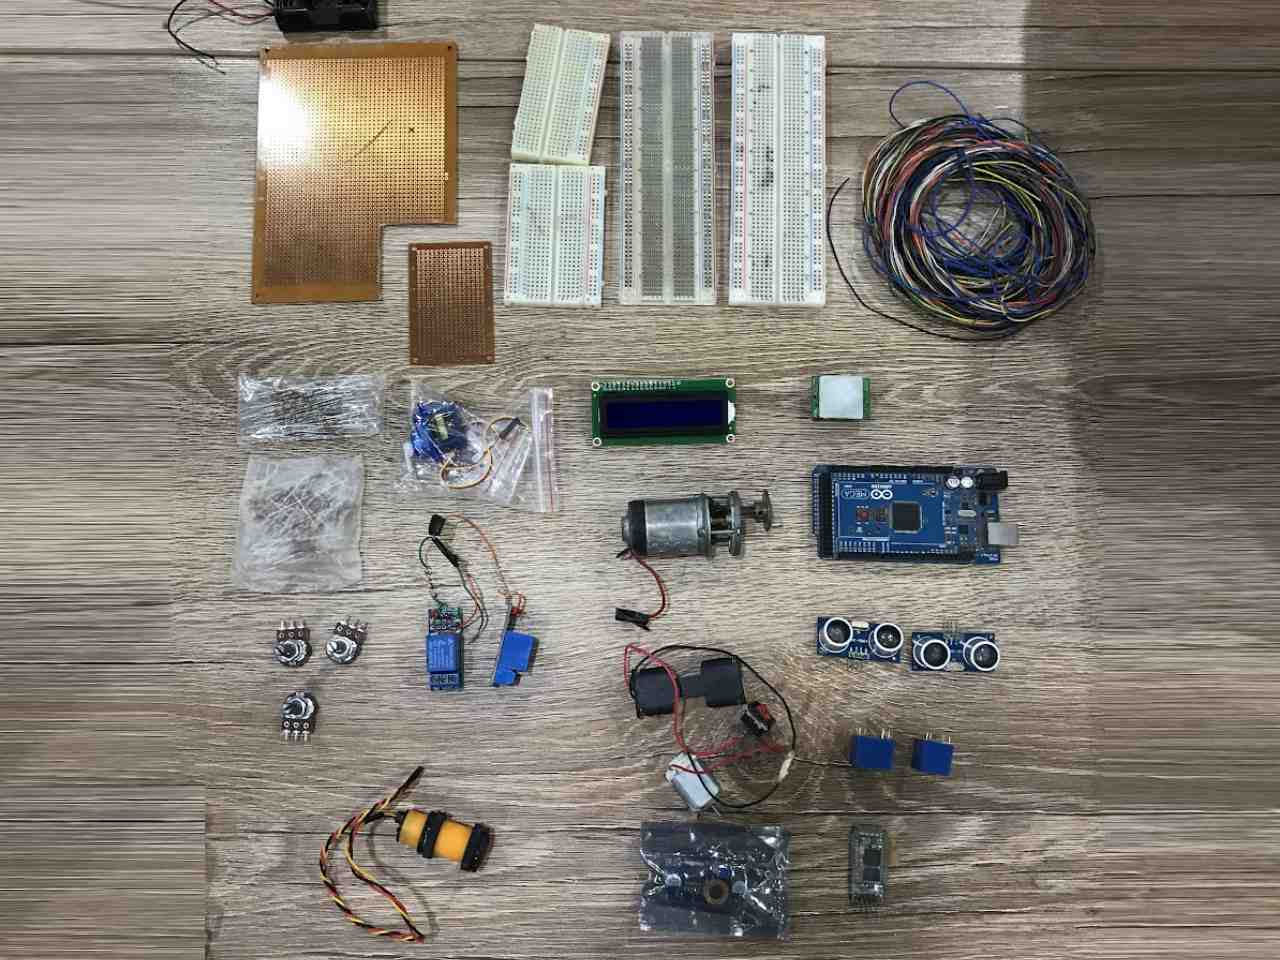
Some components
Week 4 Assignment
📆 February
GroupTask
This week we went to the lab to use the electronic board milling machine. The task was to characterize as a team the design rules for their printed circuit board production process. Together with the team we reviewed the available materials and got down to work. You can read more about the group task at 💻Mayra Ascencio's web page 💻
Milling machine
This season we were on lockdown because of the Covid-19 pandemic, it was very difficult to access the lab, only a few people could go. So we were able to get into the space to use the CNC milling machine, the Roland Modela MDX 20. Our course partner, Hayashi Mateo recovered the machine that was not working by putting an arduino, a shield and programming it again. So with the machine running we learned the first steps to use the CNC plate milling machine.
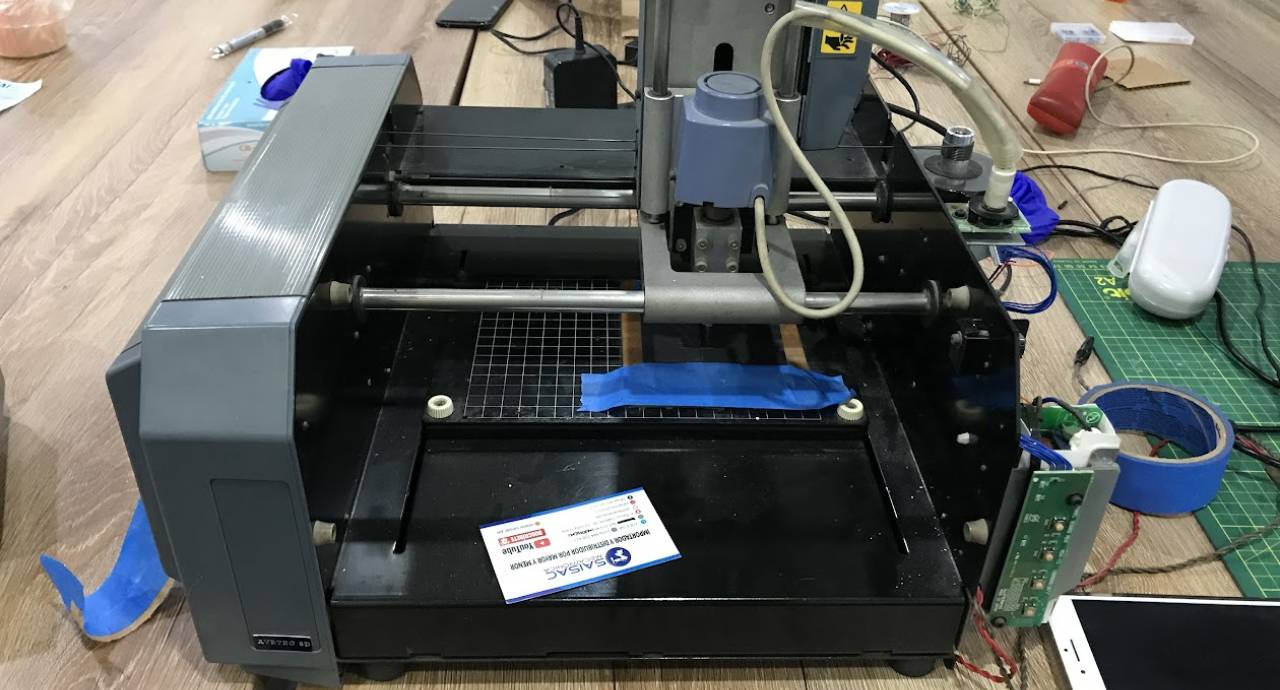
Roland Modela MDX 20
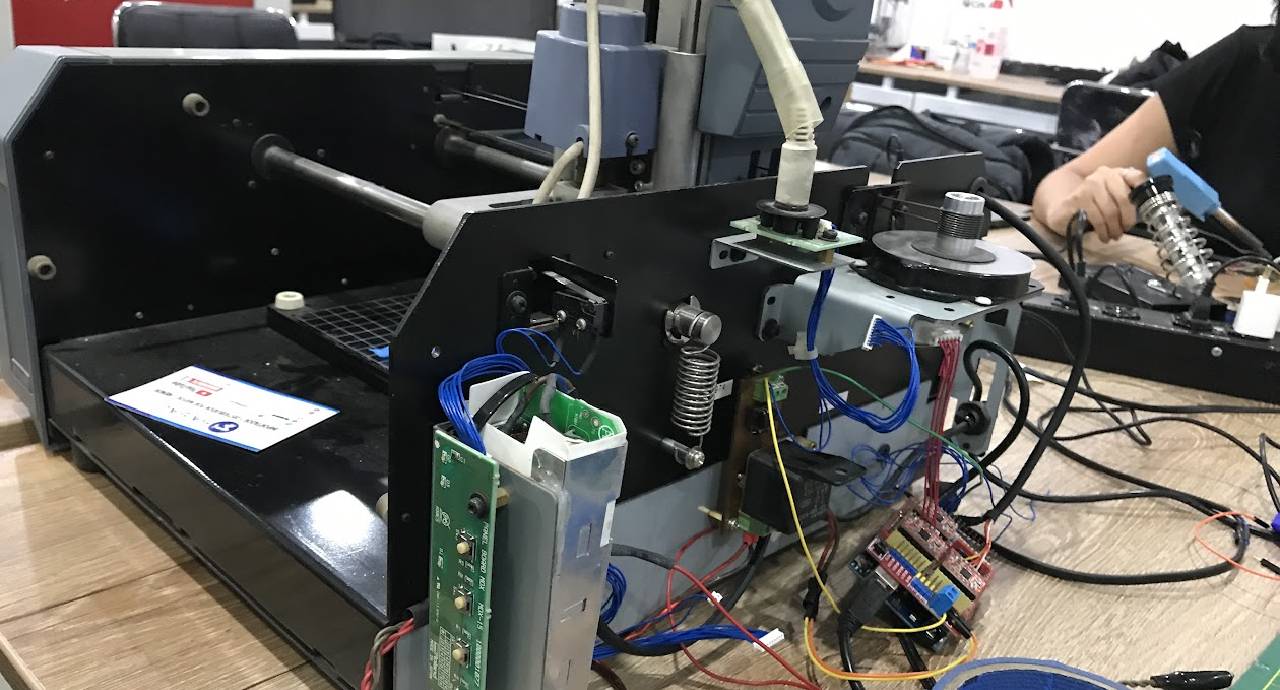
Roland Modela MDX 20
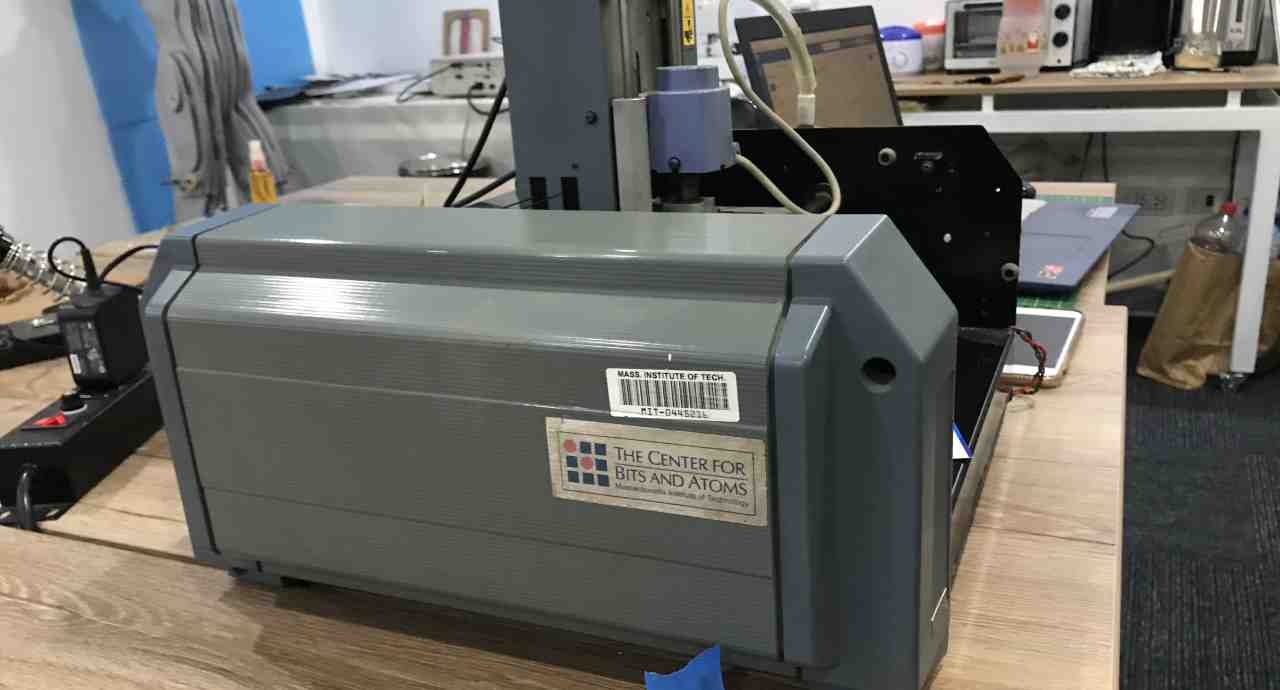
The good side
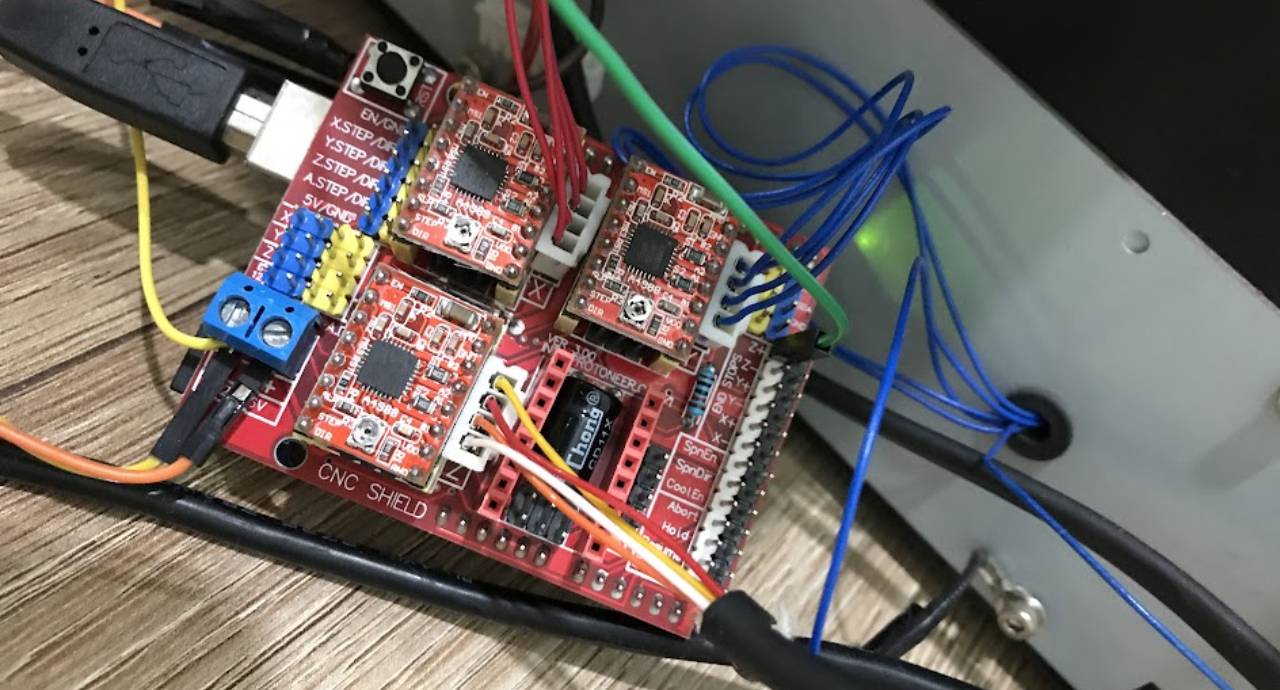
The shield CNC - GRBL
Then, once the CNC milling machine was working, group exercises were carried out to see the cutting parameters of the machine. Although the cutting quality was not the best, it was possible to develop the exercise.
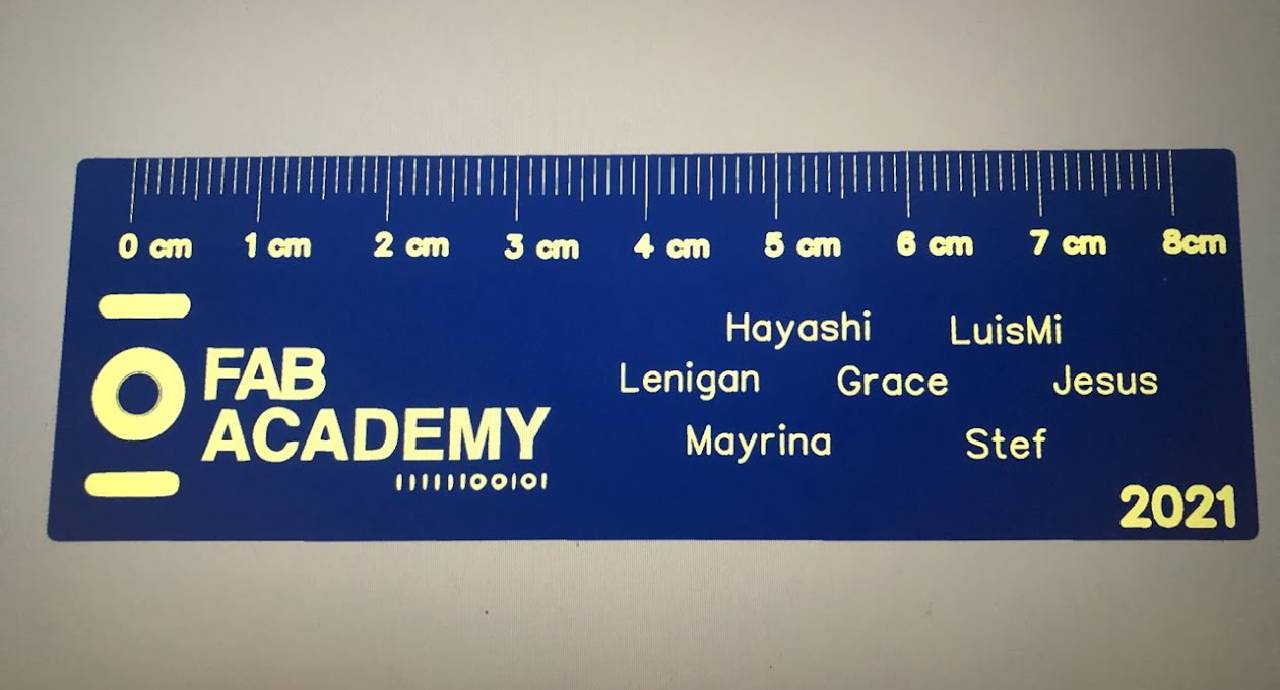
Group design
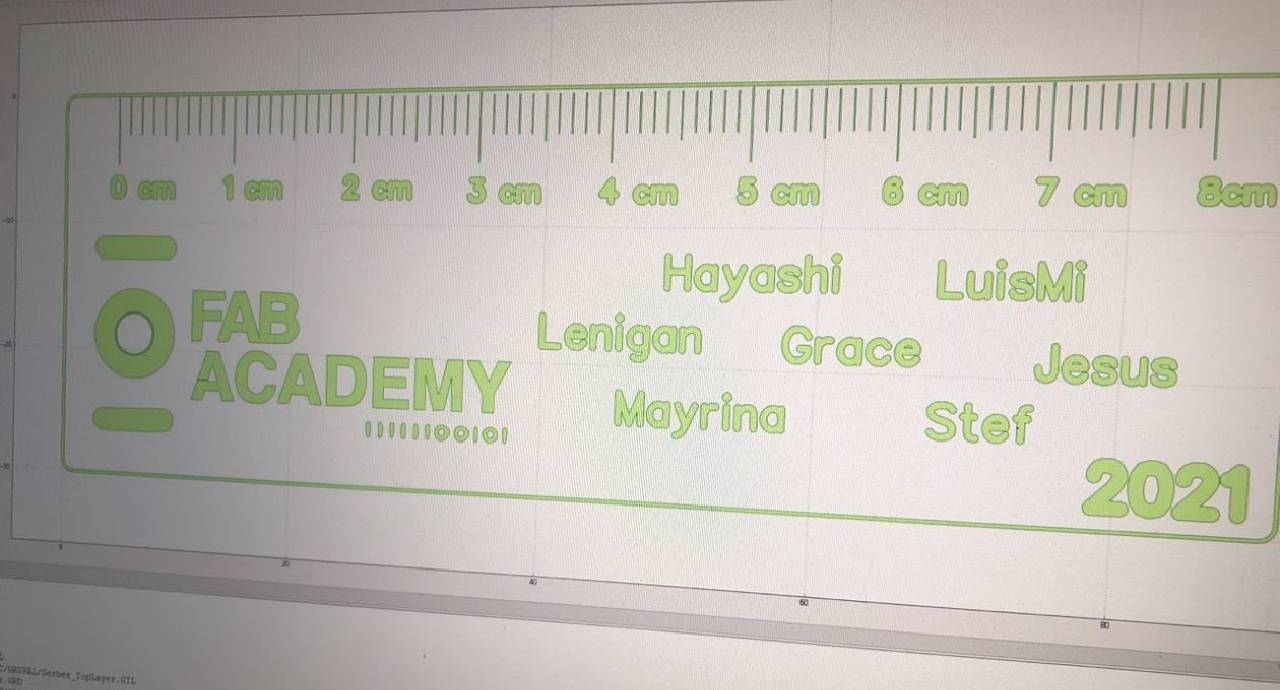
Group design
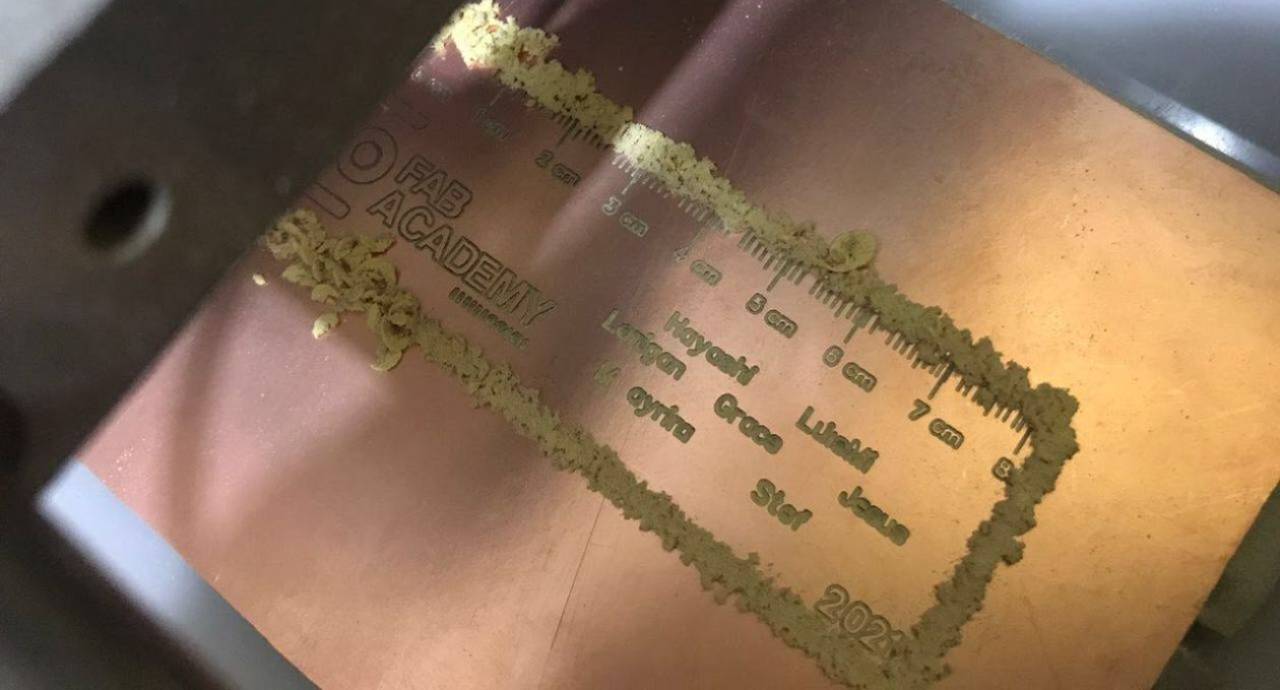
PCB fabrication
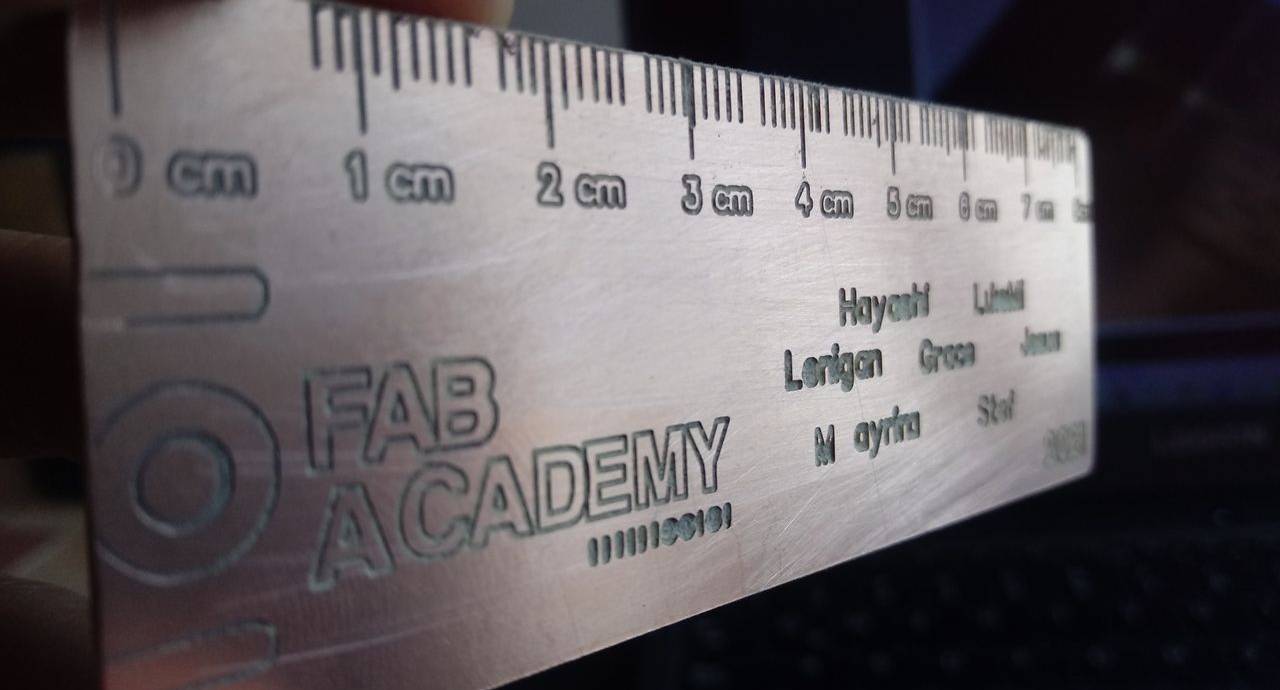
Finished cut
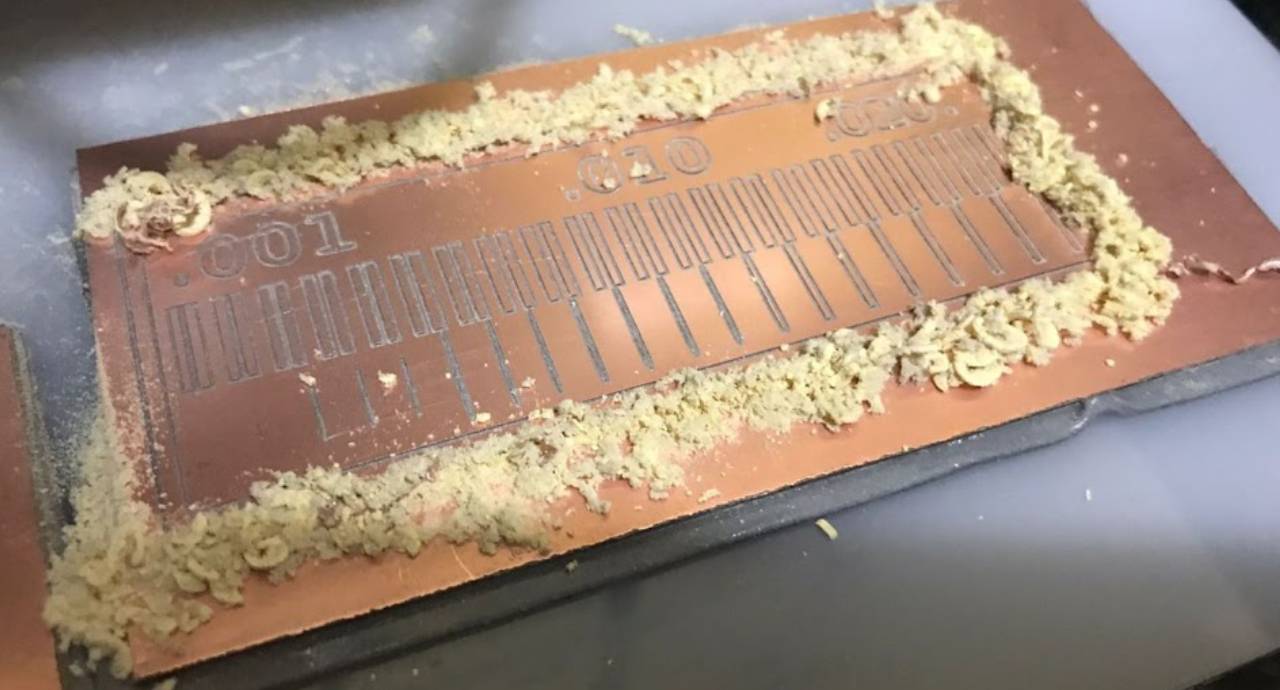
The second test
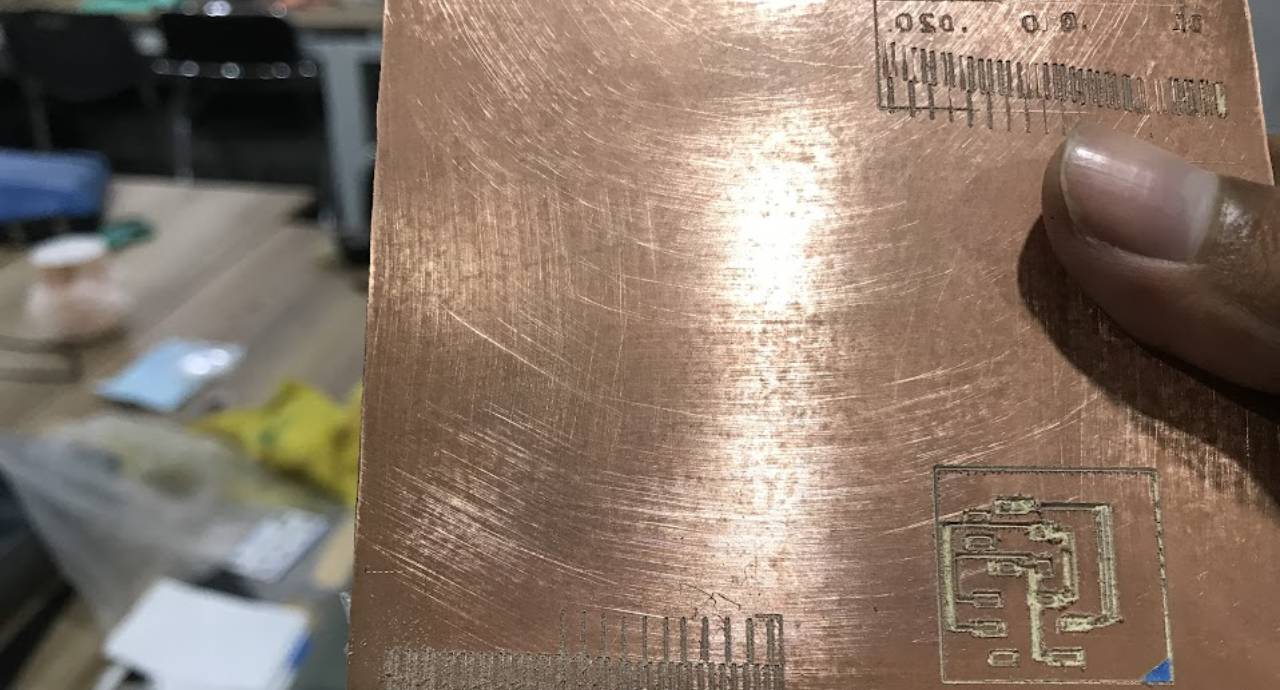
Another test
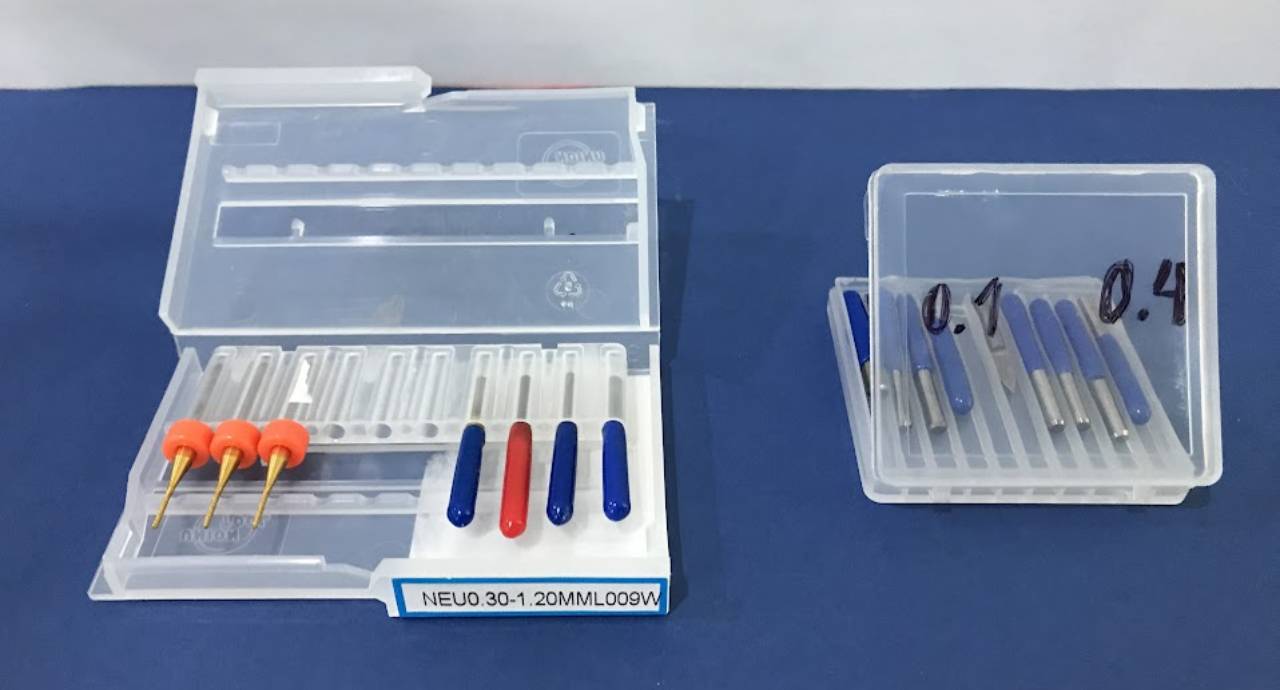
CNC milling cutter
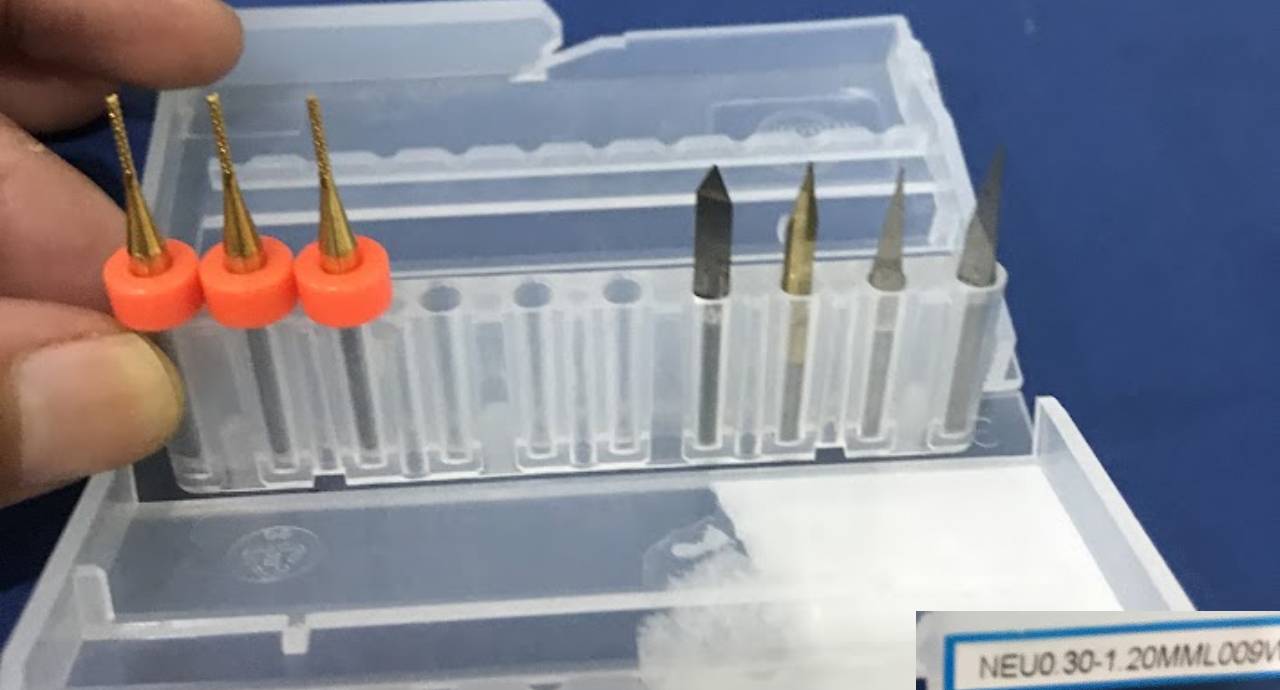
Not so good CNC milling cutter
Workflow for sending a PCB to a board house
Now we will experience the quote flow for a pack of PCB boards in a Chinese company. For this exercise we choose the company PCBWAY, which is one of the best-known PCB board manufacturing companies in the world.
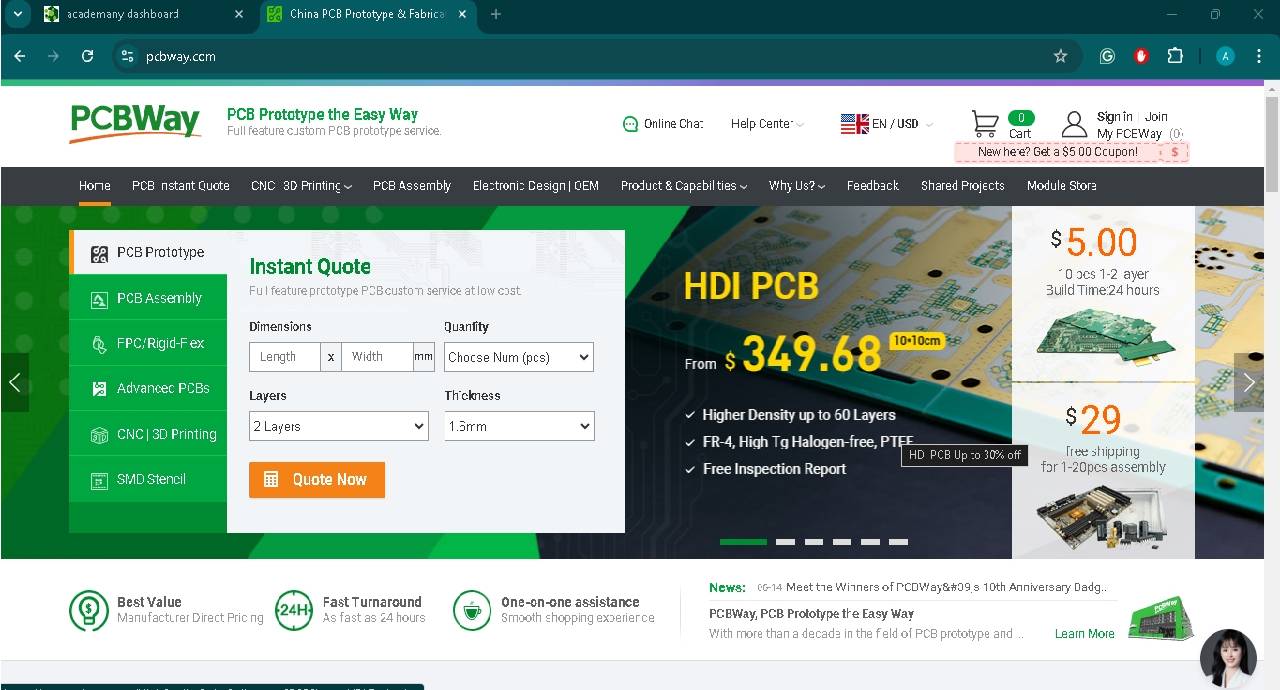
PCBWAY website
In order to be able to send files and receive a quotation we need to register. To complete the registration, you will receive a confirmation code that you must fill in the form.
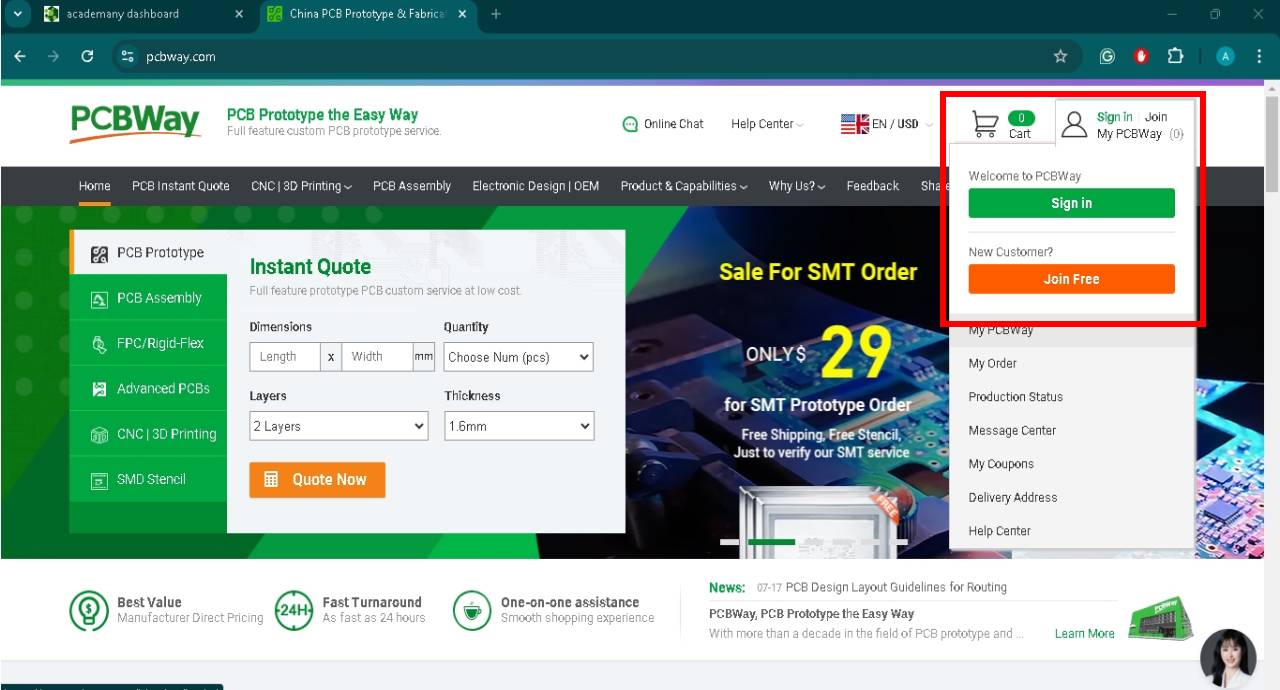
Registration section
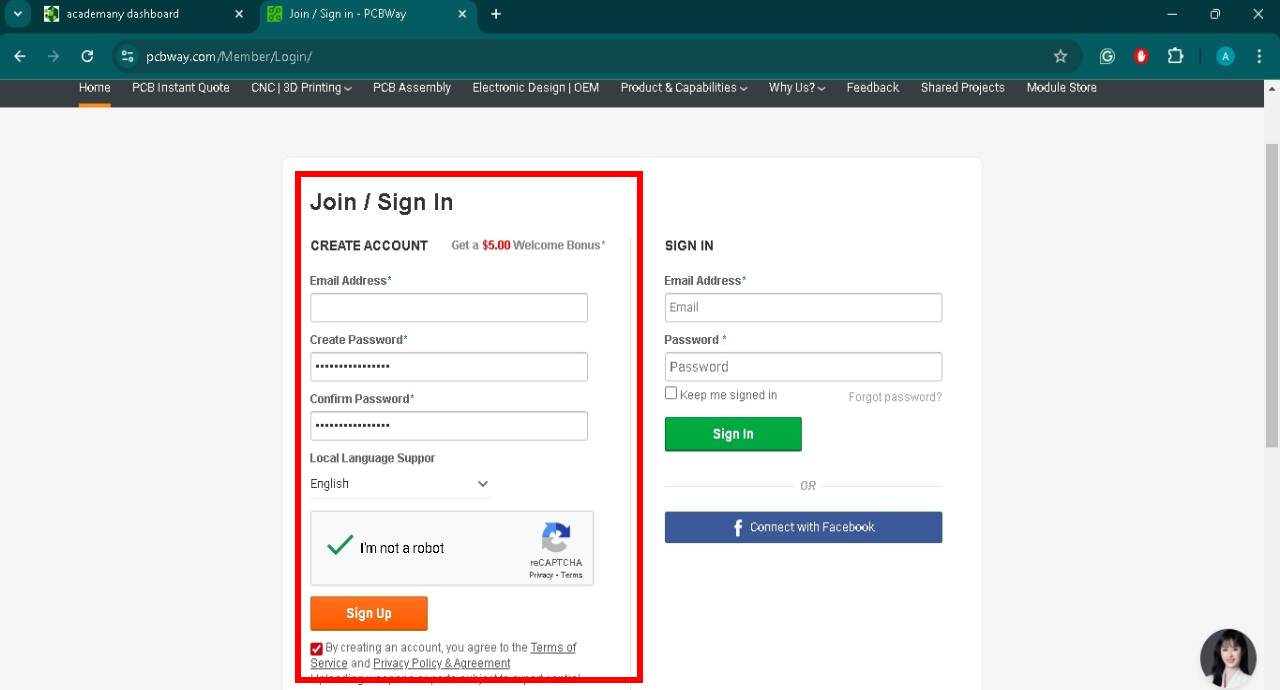
Registration page
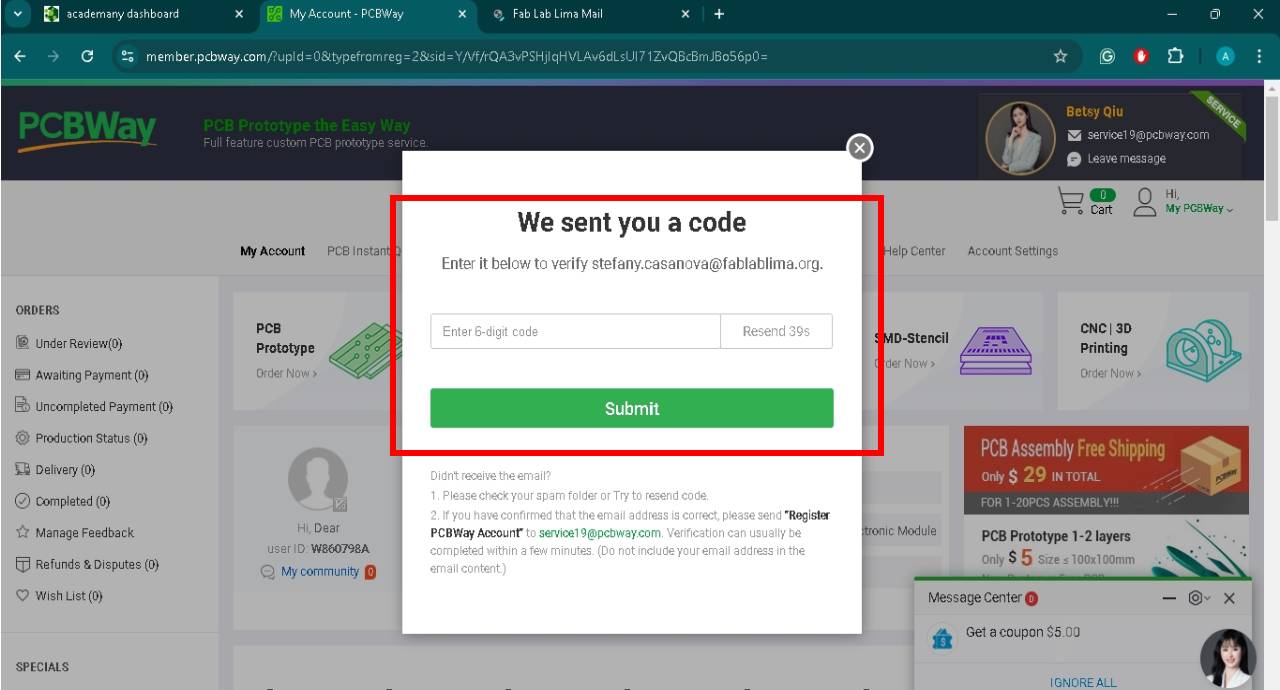
Confirmation code
Now we must enter the PCB Instant Quote tab and inside it select the Quick-order PCB option.
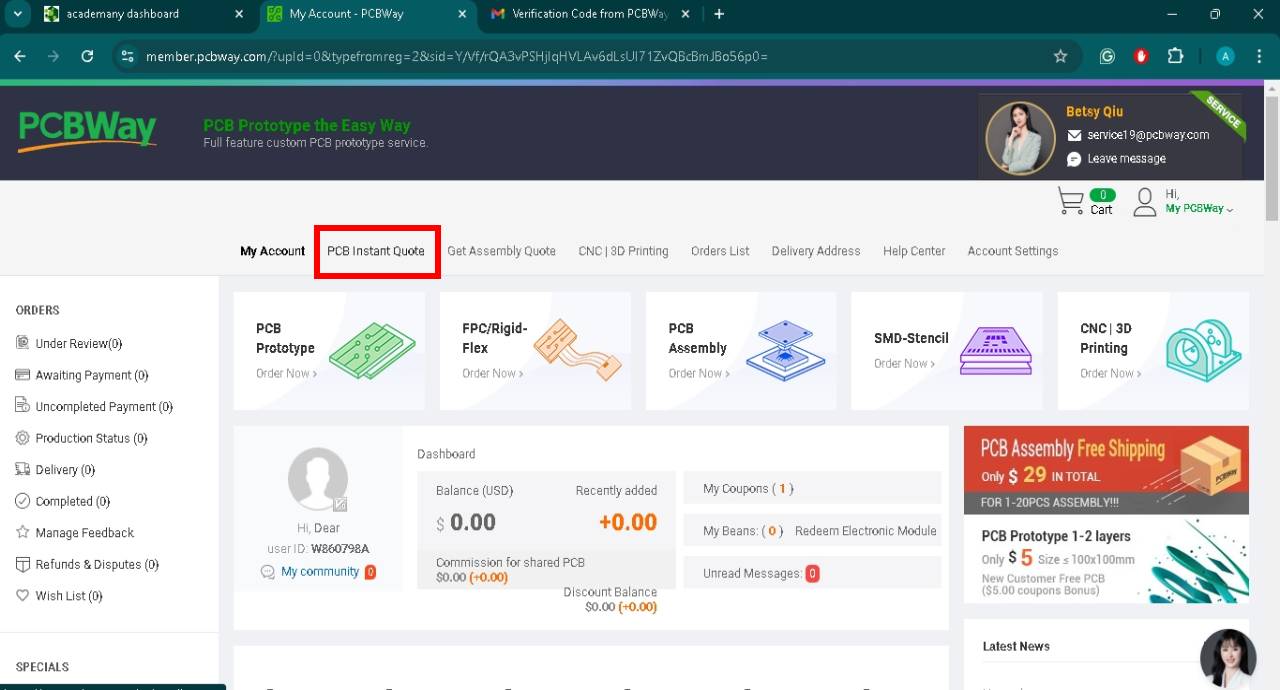
PCB Instant Quote tab

Quick-order PCV tab
Now it is time to upload the gerber files for the system to recognize the PCB board dimensions and give us the possibility to customize the requirement. We also select the quantity of pieces that we will try to send to manufacture, in this case 10 units.
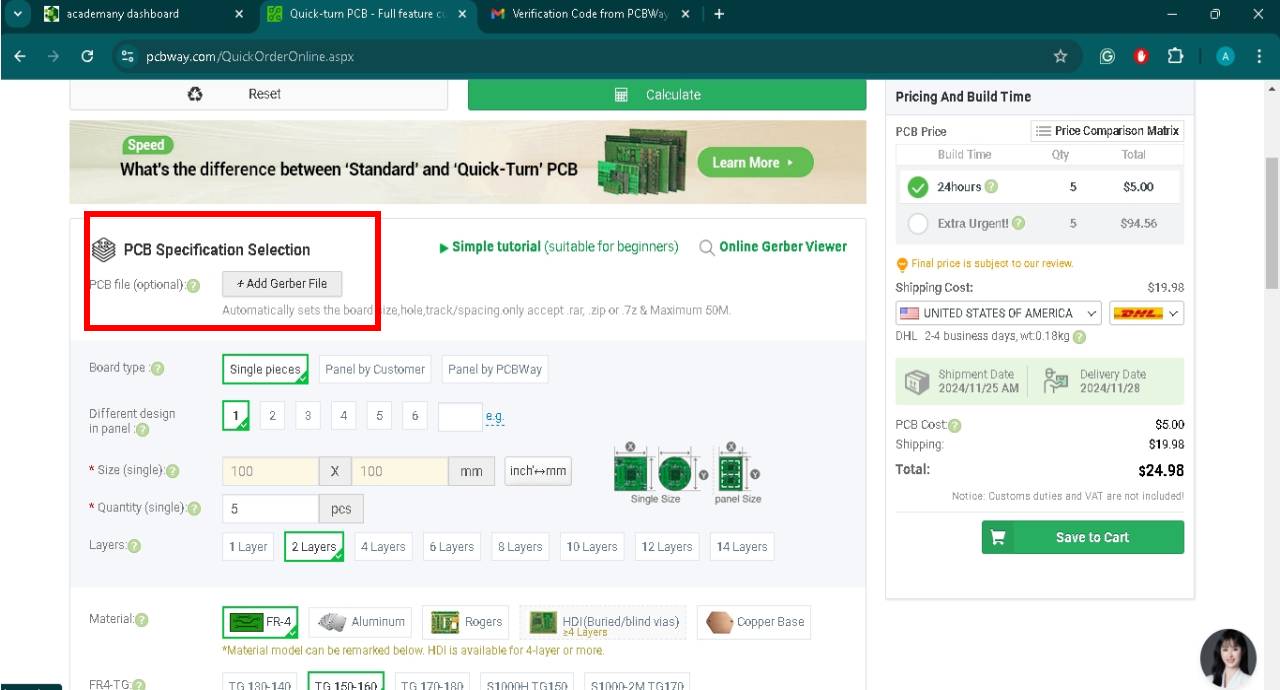
Gerber file upload tab
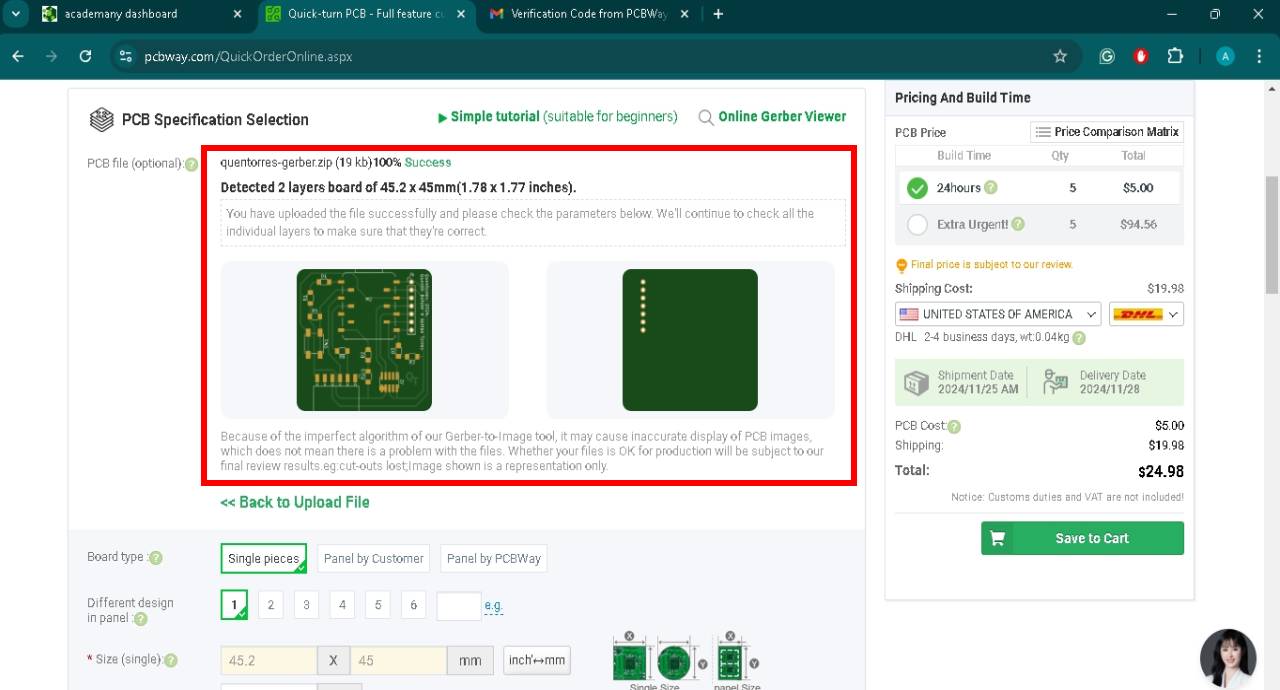
Dimensions detected
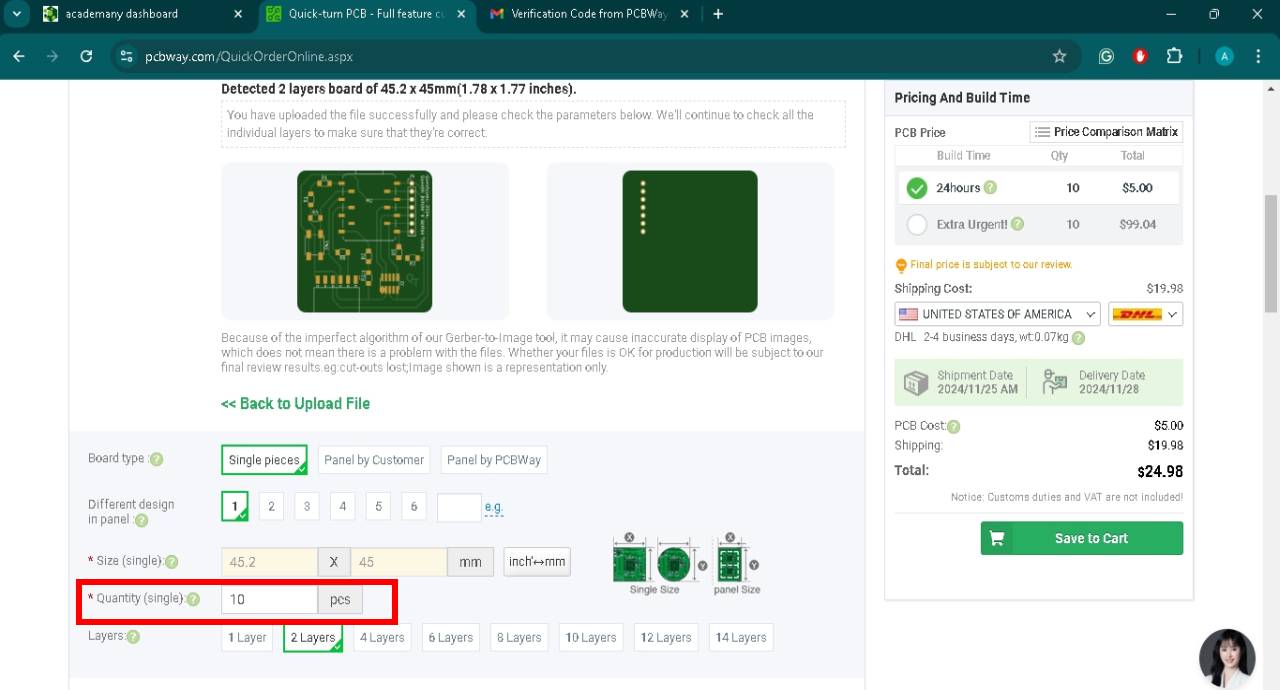
Select the number of pieces
Now we will select the type of material, the thickness, the color and thus customize our PCB board.
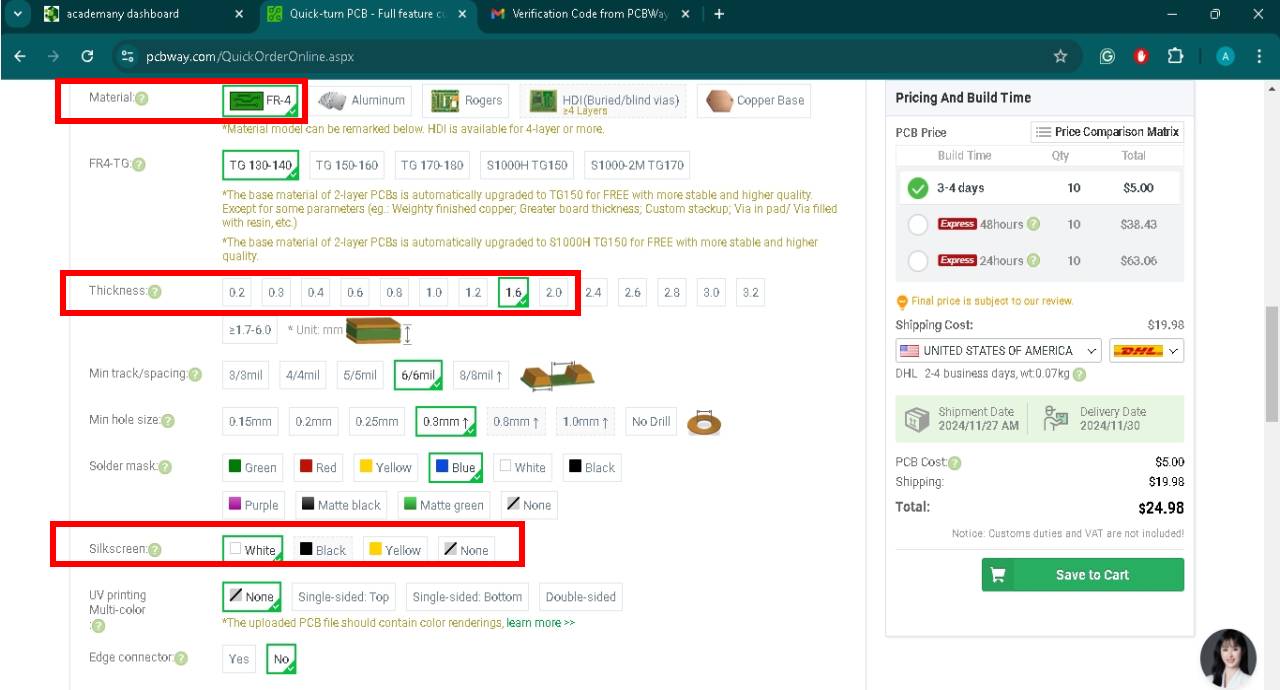
Customization
Finally we select the Country, in our case Peru and the shipping company Fedex. 10 PCB boards would cost us 48.10 dollars and the shipping time is 3-4 days.
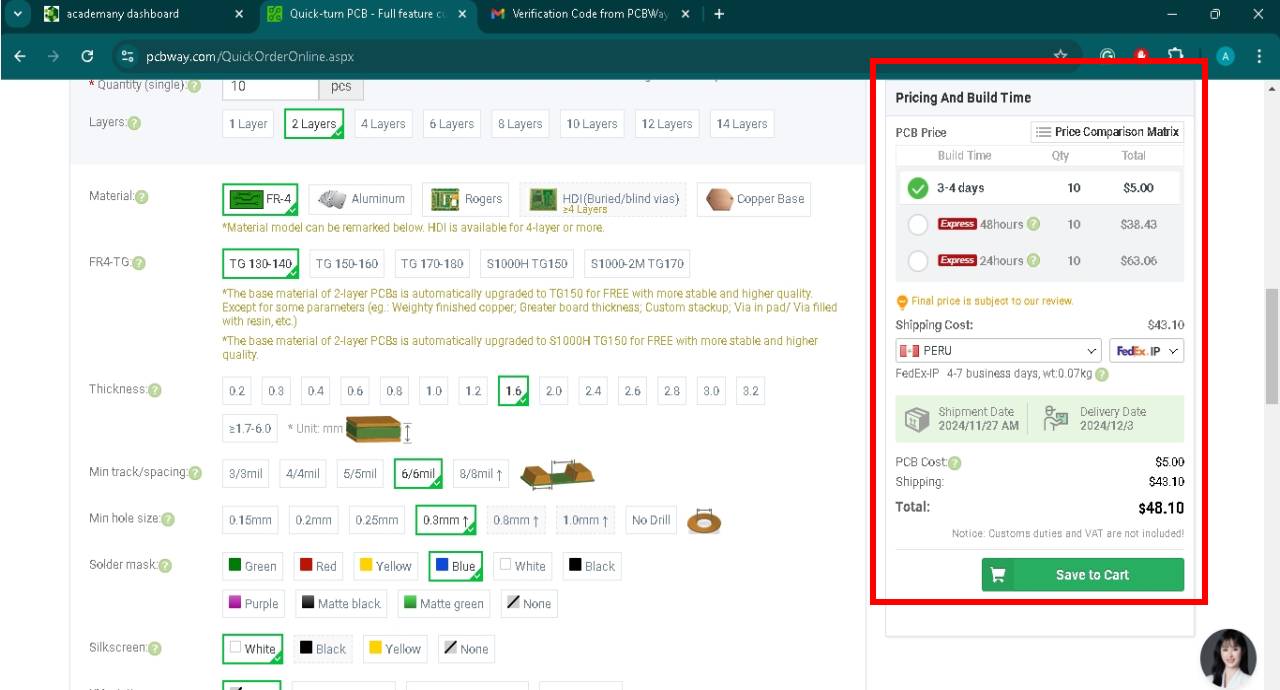
Final result
IndividualTask
To develop this week, we followed a path of exploration together with 💻Mayra 💻, helping us to mill our first PCBs. I worked at home a lot more and in the lab very little. We took the CNC milling machine “Roland Modela MDX 20” home and back to the lab. We tried to manufacture our boards on it. And although we practiced many times, “MODELITA” machine was not so accurate. We could always find more options.
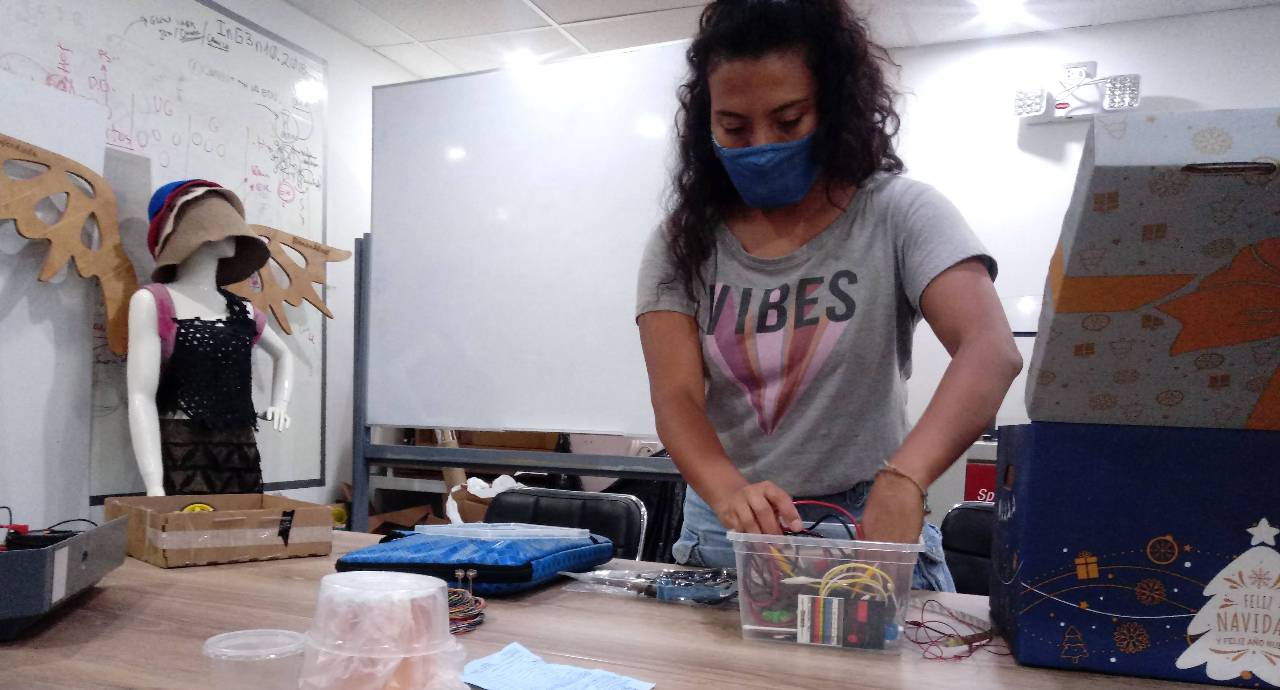
At lab
First ISP PCB design
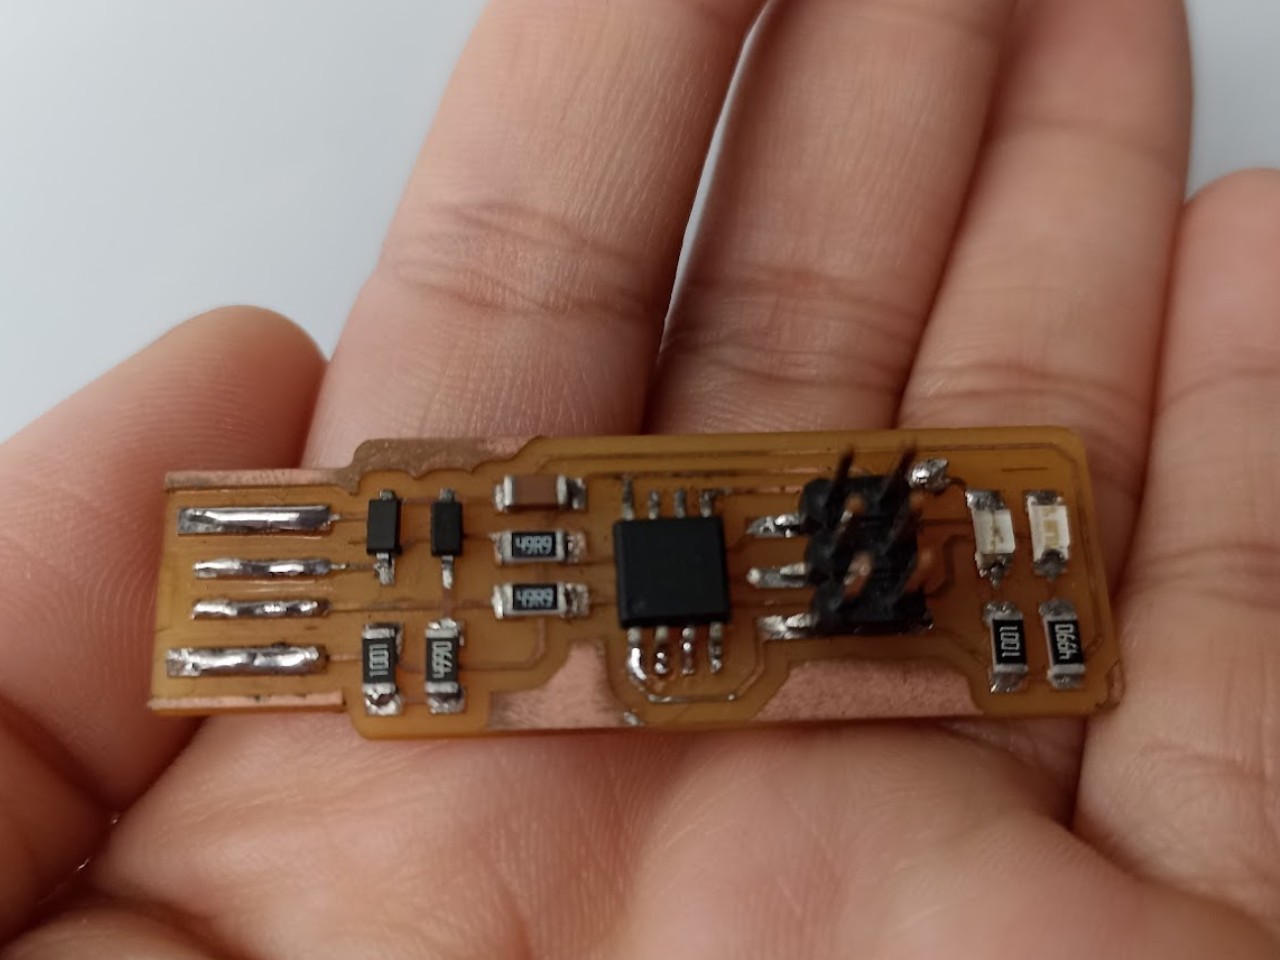
In this experience we learned how to design in EasyEda, a software to design electrical circuit boards. We investigated together with Mayra in several stores and did not find availability of several SMD components used in the Academy exercises, such as the Attiny45 microcontroller to design the fabISP, so together with the Fab Lab Peru team, we organized a local purchase and an import purchase. What we got locally was with a lot of effort because during this week we were not allowed to leave the city without the corresponding permits. With the available components, some SMD, some not, I decided to develop my Arduino compatible programmer board, using the ATTINY85 microcontroller and the available components, under the guidance of Hayashi Mateo.
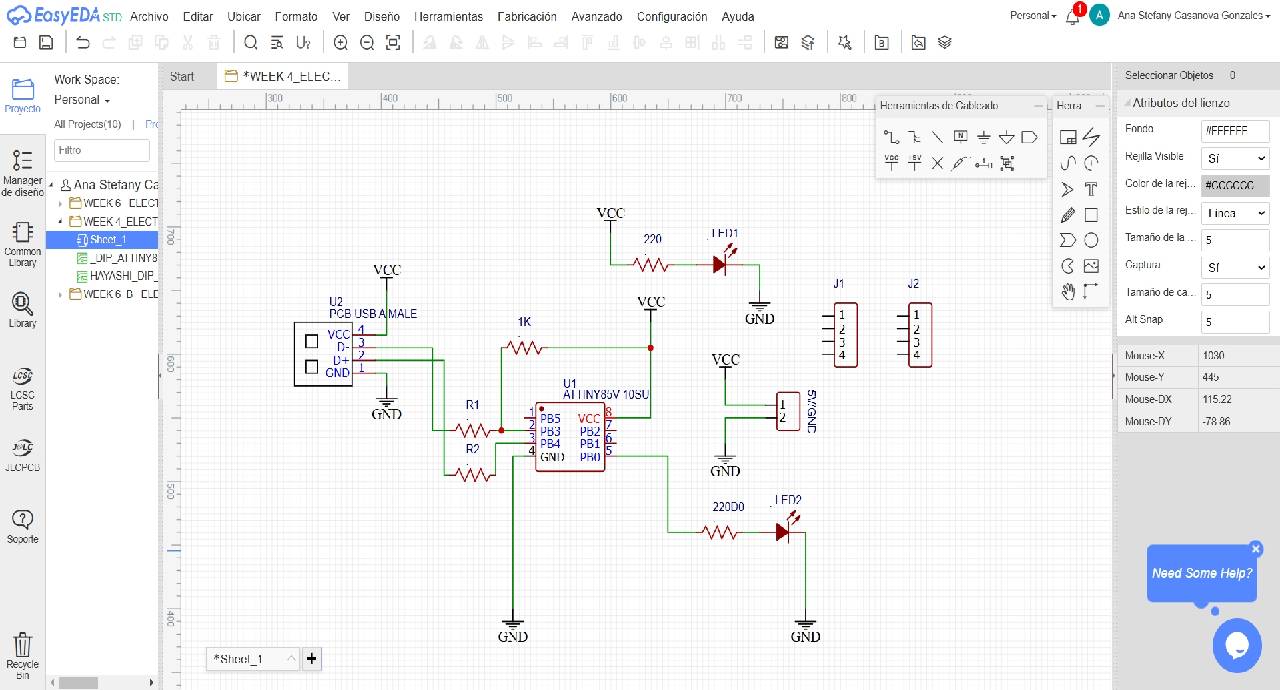
Schematic and components
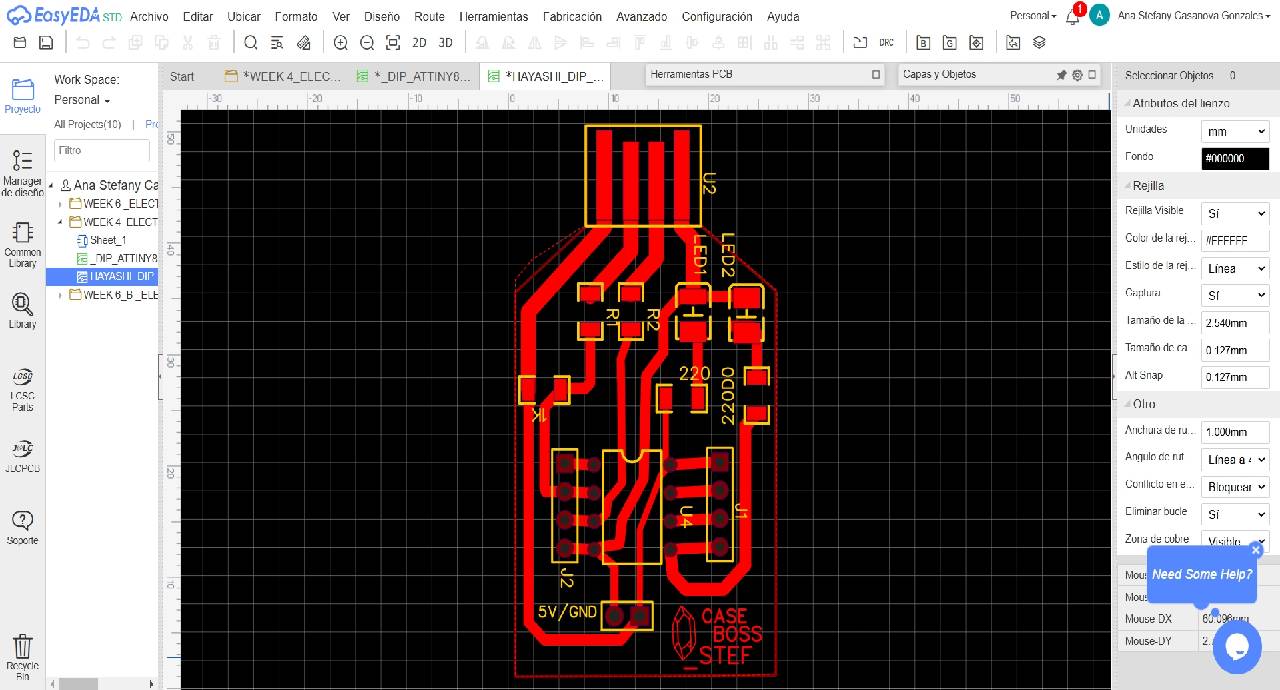
Traces ready
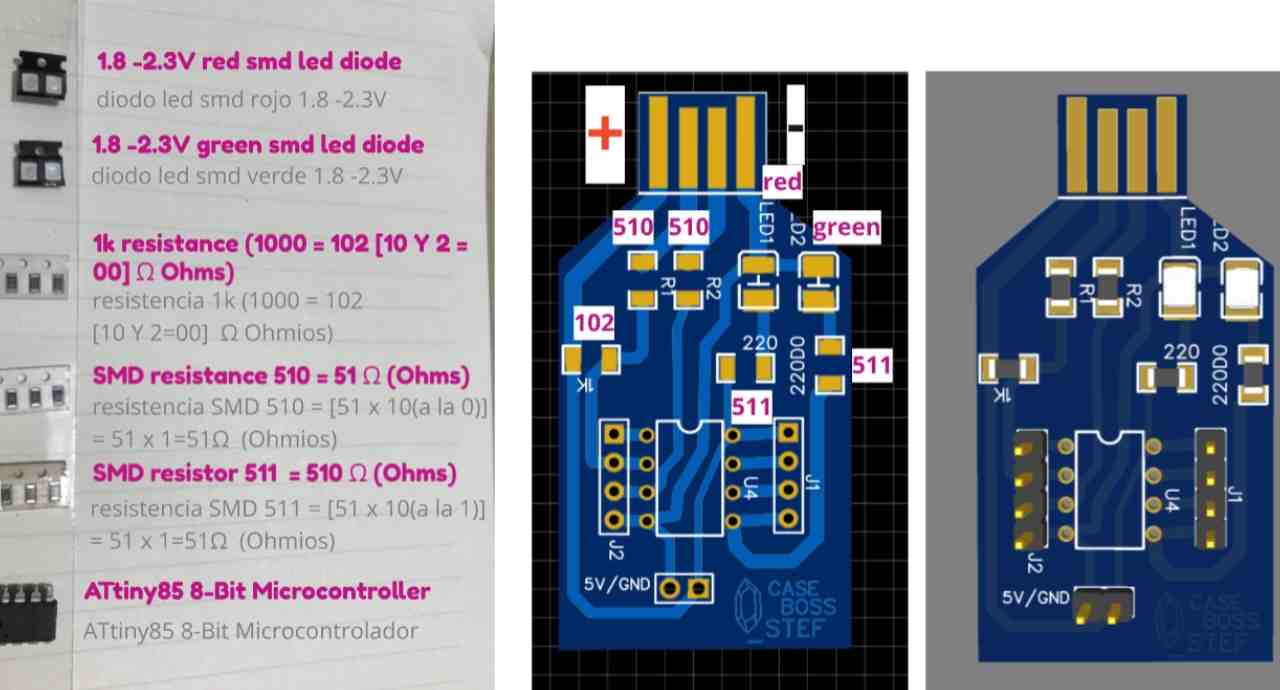
Components, 3D of PCB
After this first design experience it was time to manufacture, so I learned how to use the FlatCam program to generate the G-code file. Finally we used the CNCjs program to control the Modela machine and manufacture the PCB.

Setting Home x,y,z

Cutting in Modela Machine
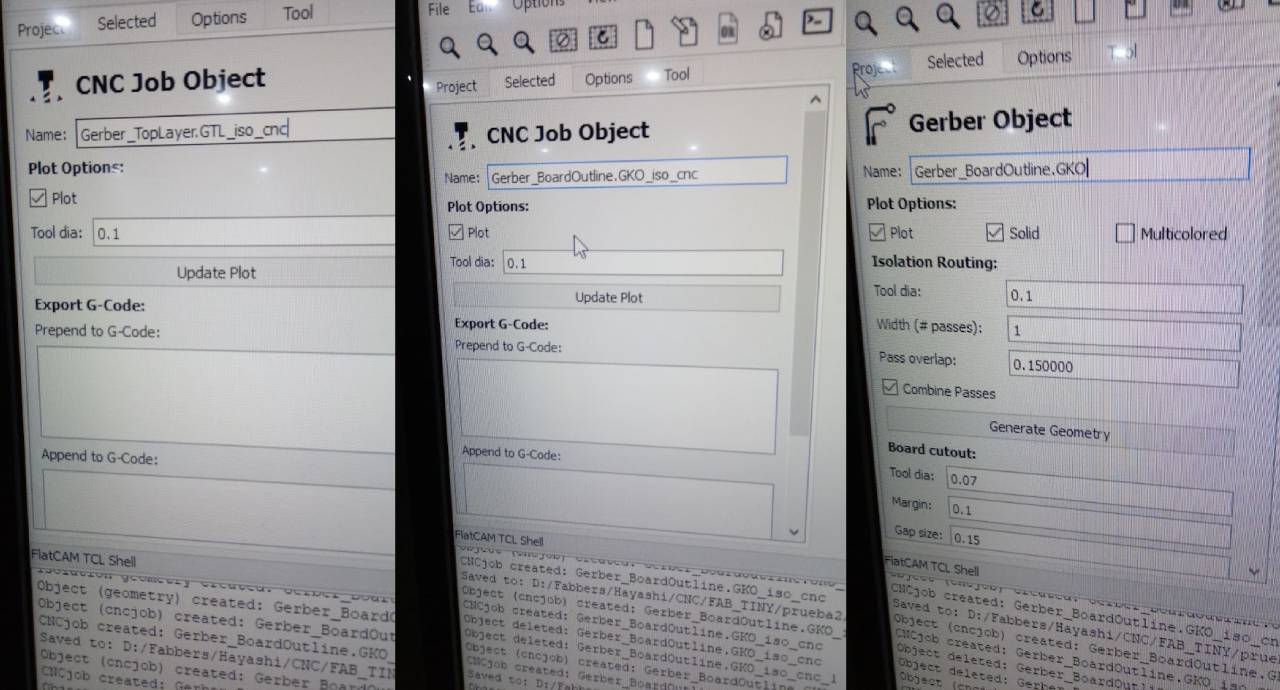
Process in FlatCam
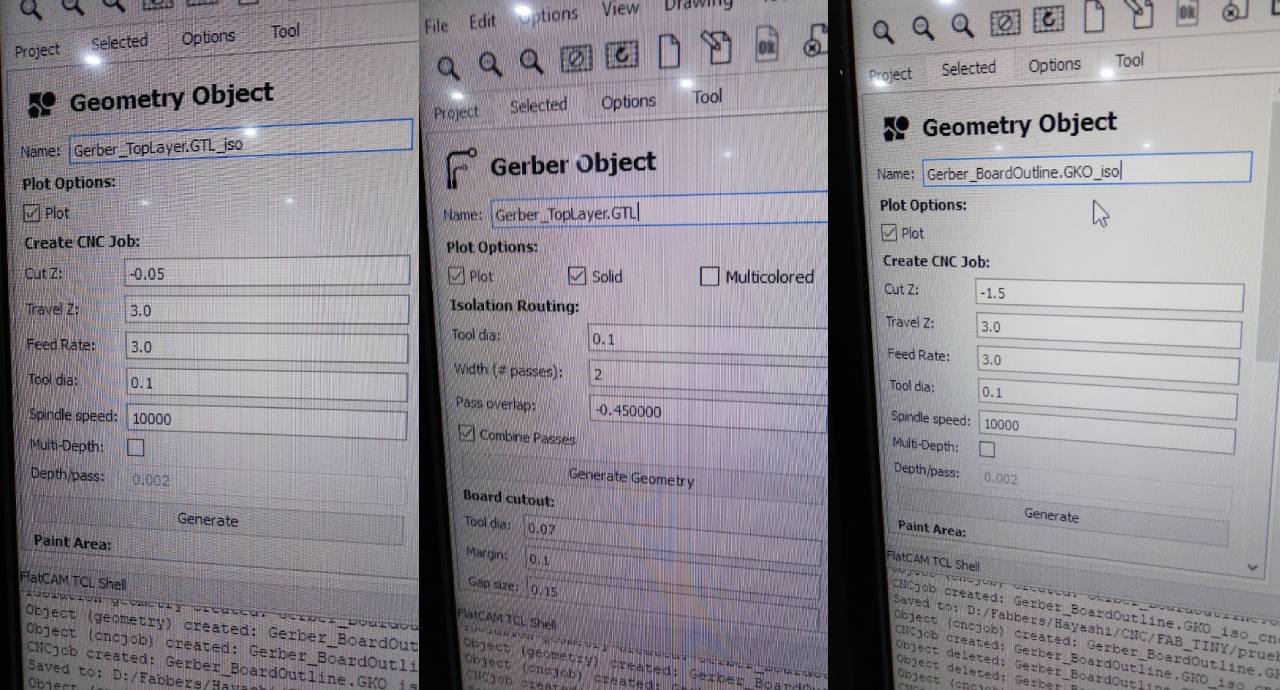
Process in FlatCam
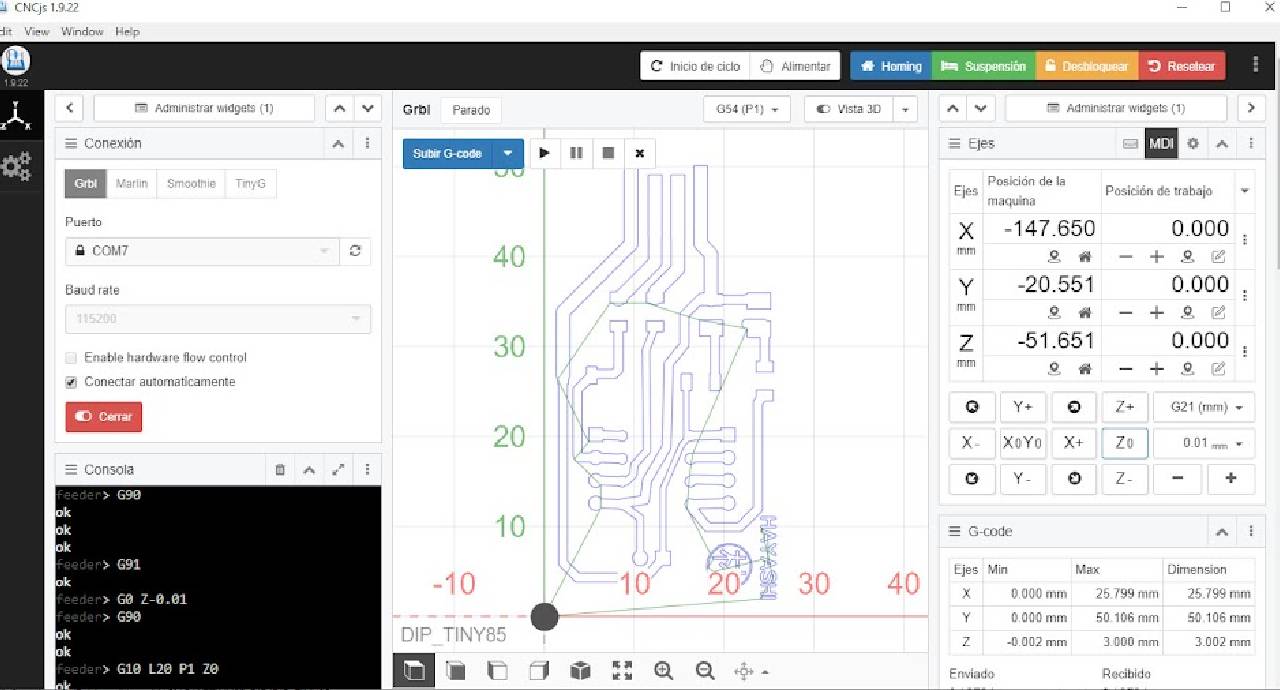
CNCjs
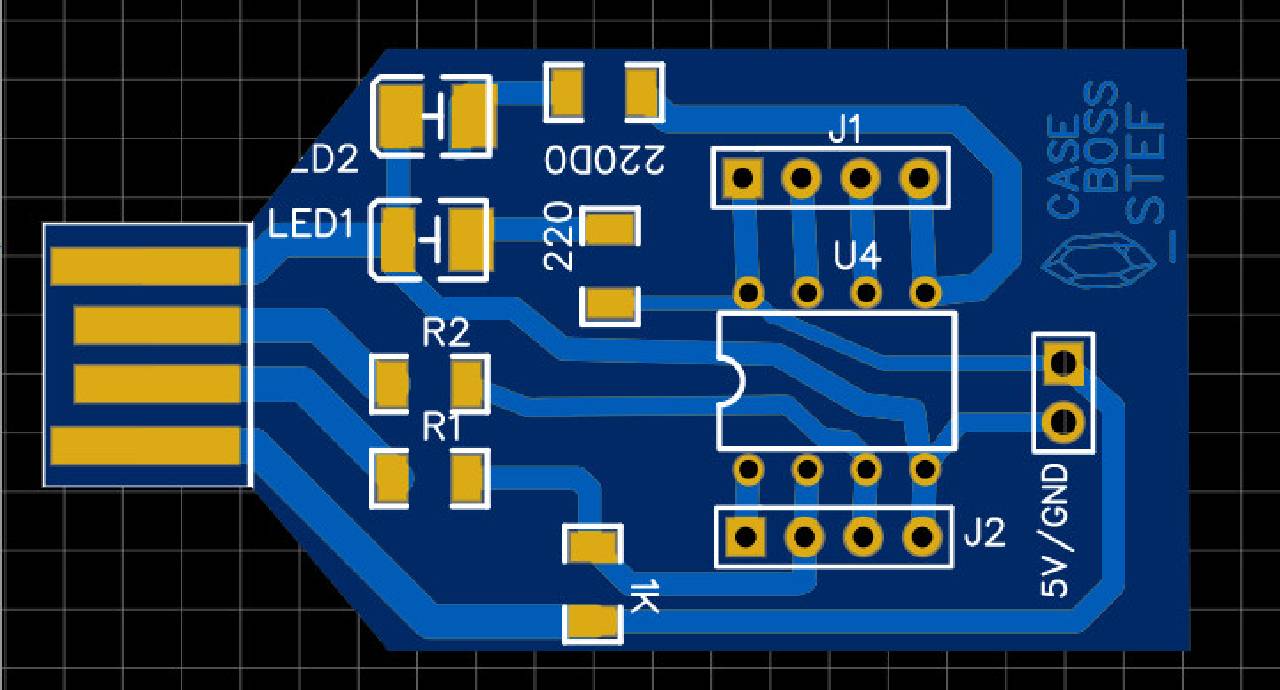
PCB
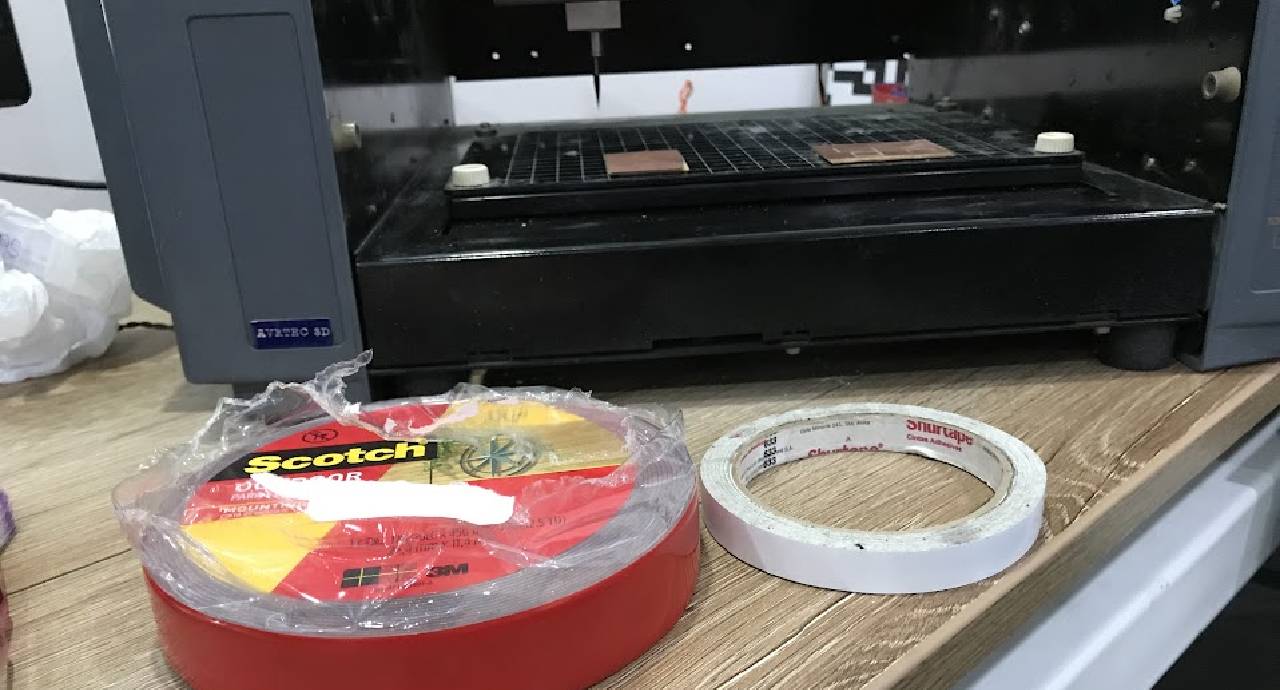
Double contact tape to secure PCB
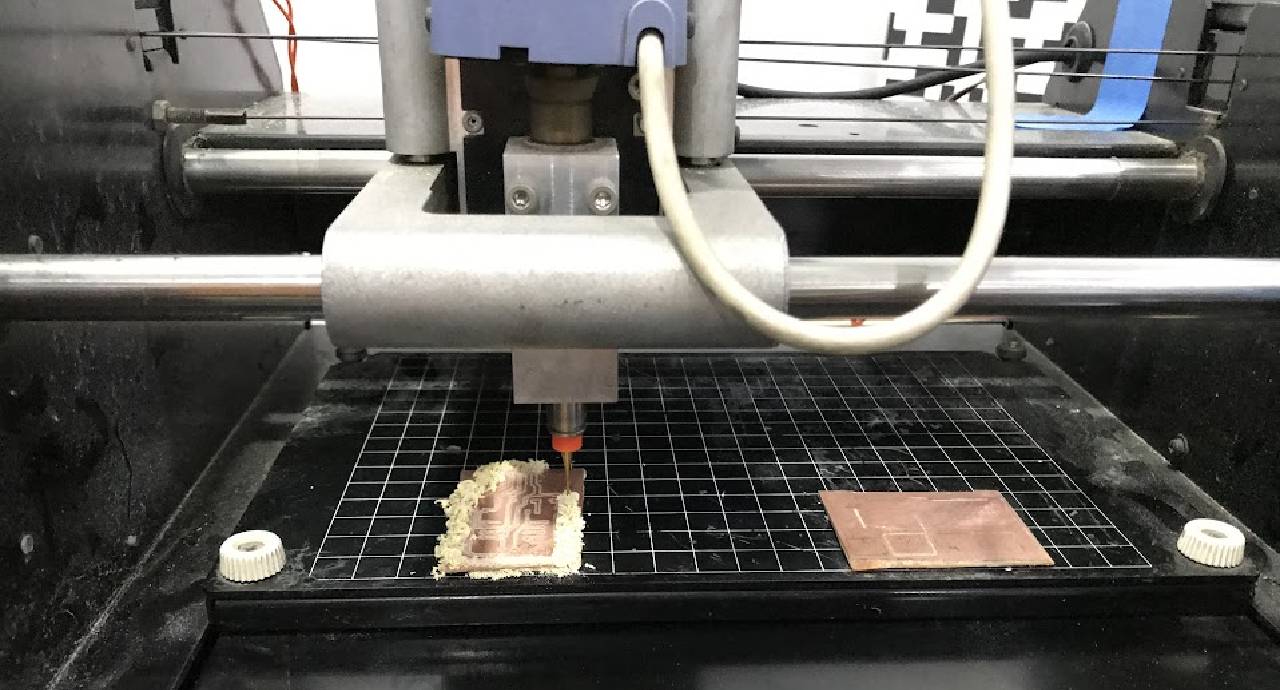
Milling PCB
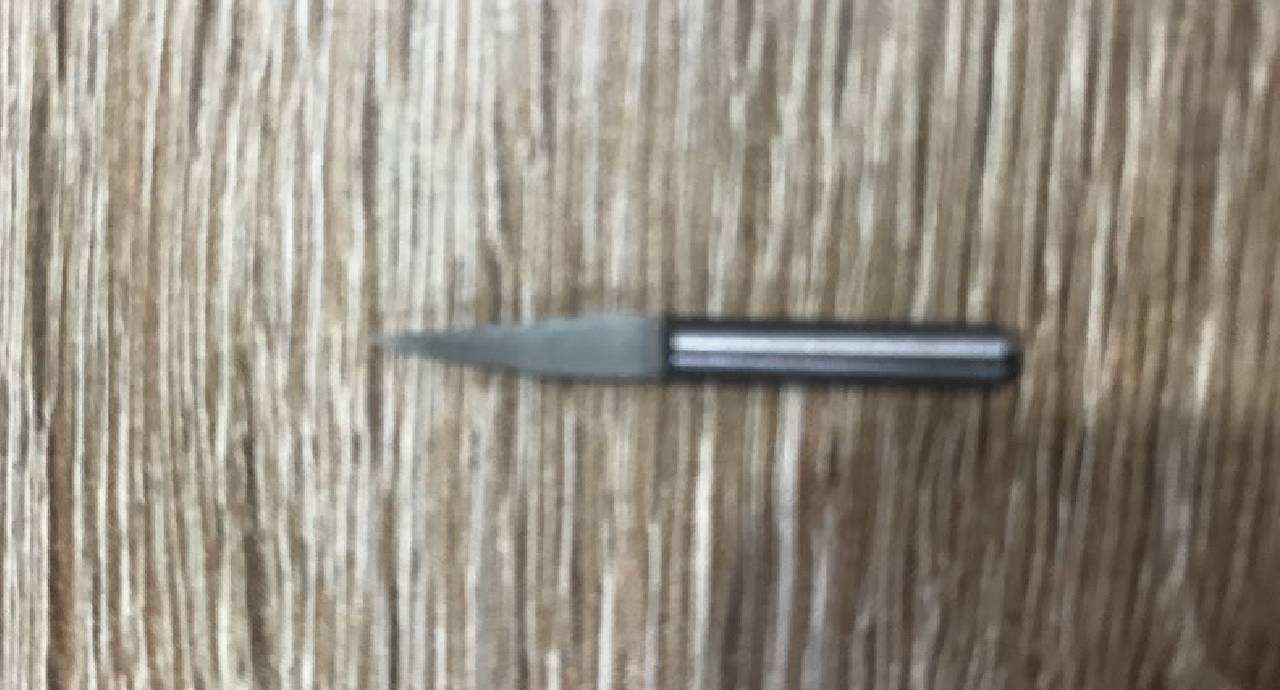
Milling cutter
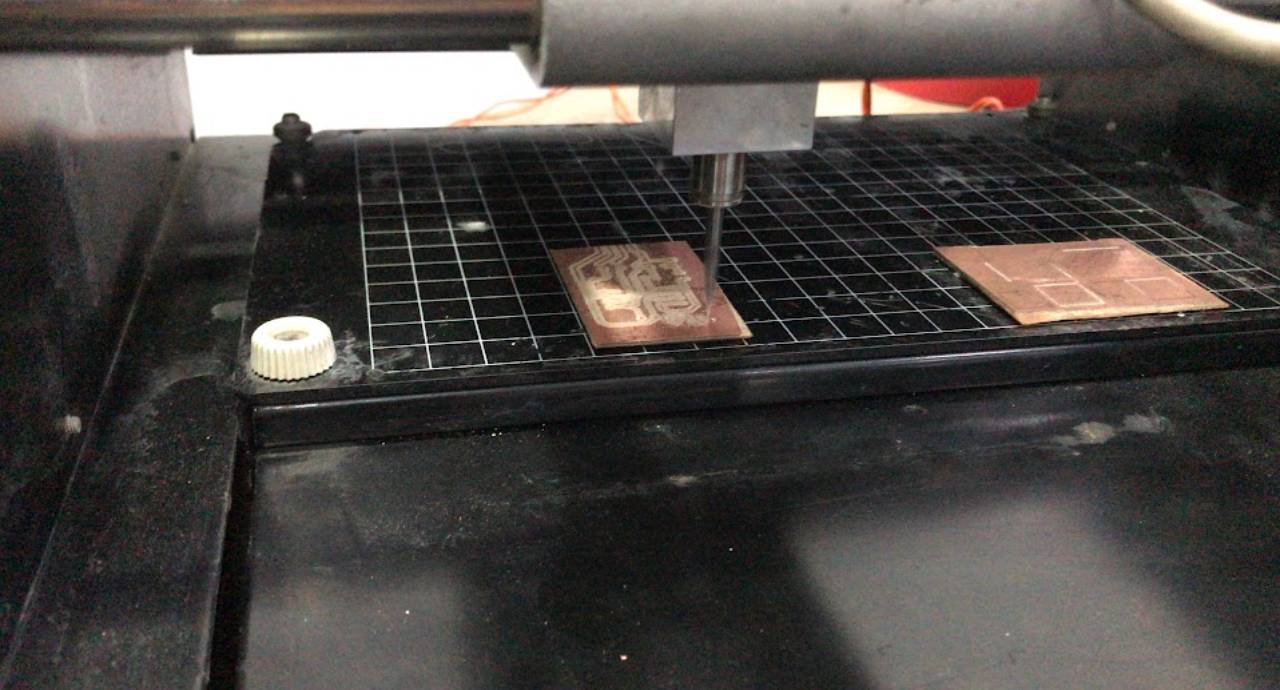
PCB fabrication
After I was very clear about which components to use and the PCB design, I processed the file in FlatCam to get the G-Code, and then I ran the machine with the CNCjs program to finally cut the electronic board.
PCB fabrication
Second ISP PCB design
I did the second design, I changed a little the positions and the shape of the card, I was testing the external shape. I improved the quality of the traces, and the separation between them to optimize the cutting.
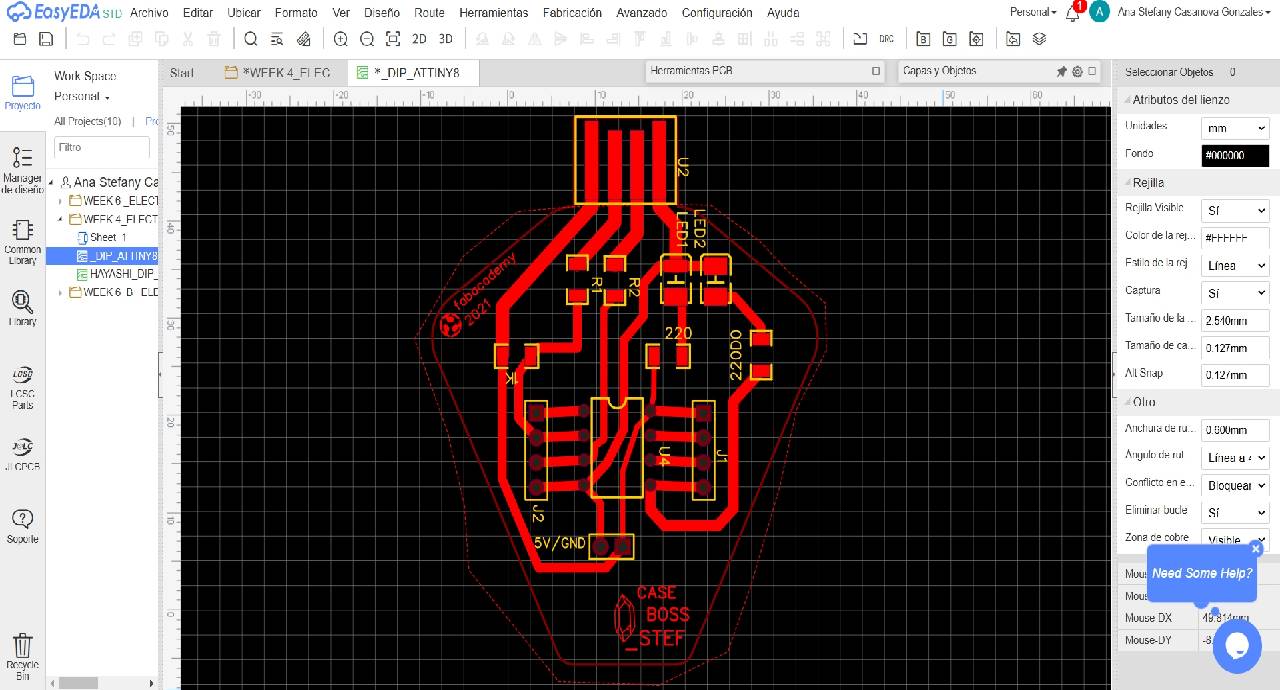
EasyEda second time
Then, I went back to the process of processing the file, sending it to CNCjs and fabricating the PCB. However, I had not yet been able to get professional cnc cutting cutters and worked with what was available. These basic cutters break easily and leave a poor finish on the traces. But we did not have access to import.

CNCjs

Milling cutter
PCB fabrication
PCB fabrication
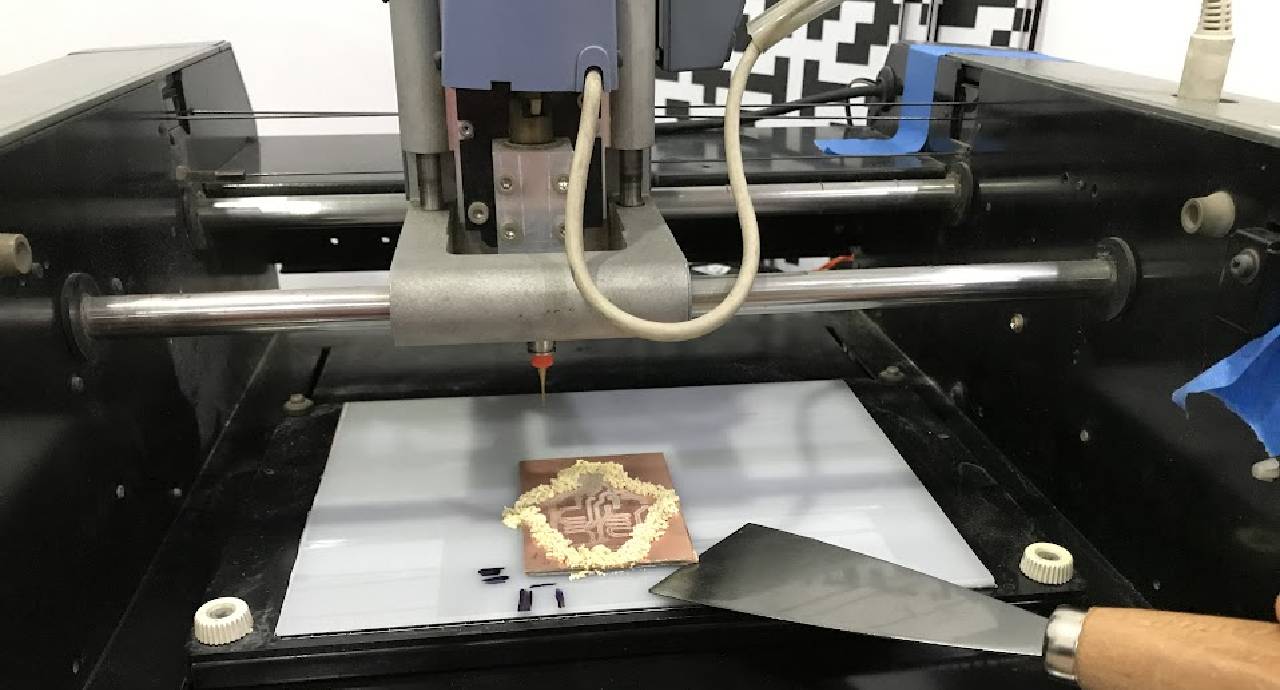
Taking off
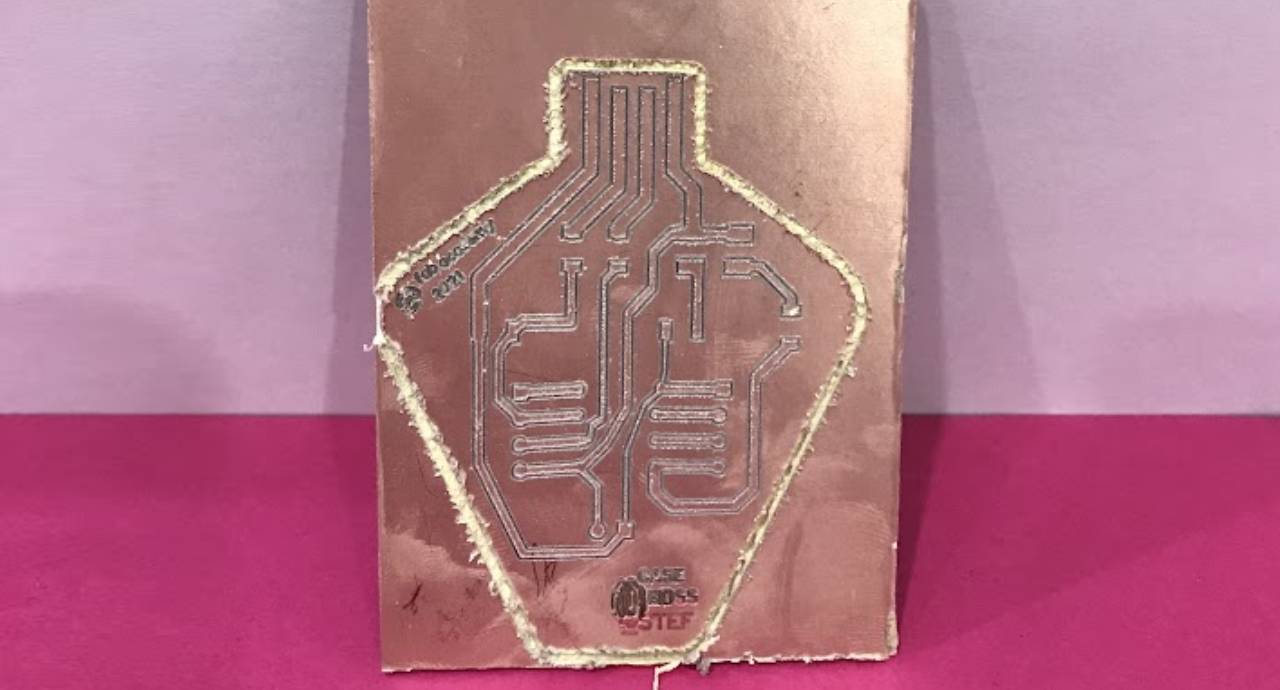
The edge wasn't cut

Taking off
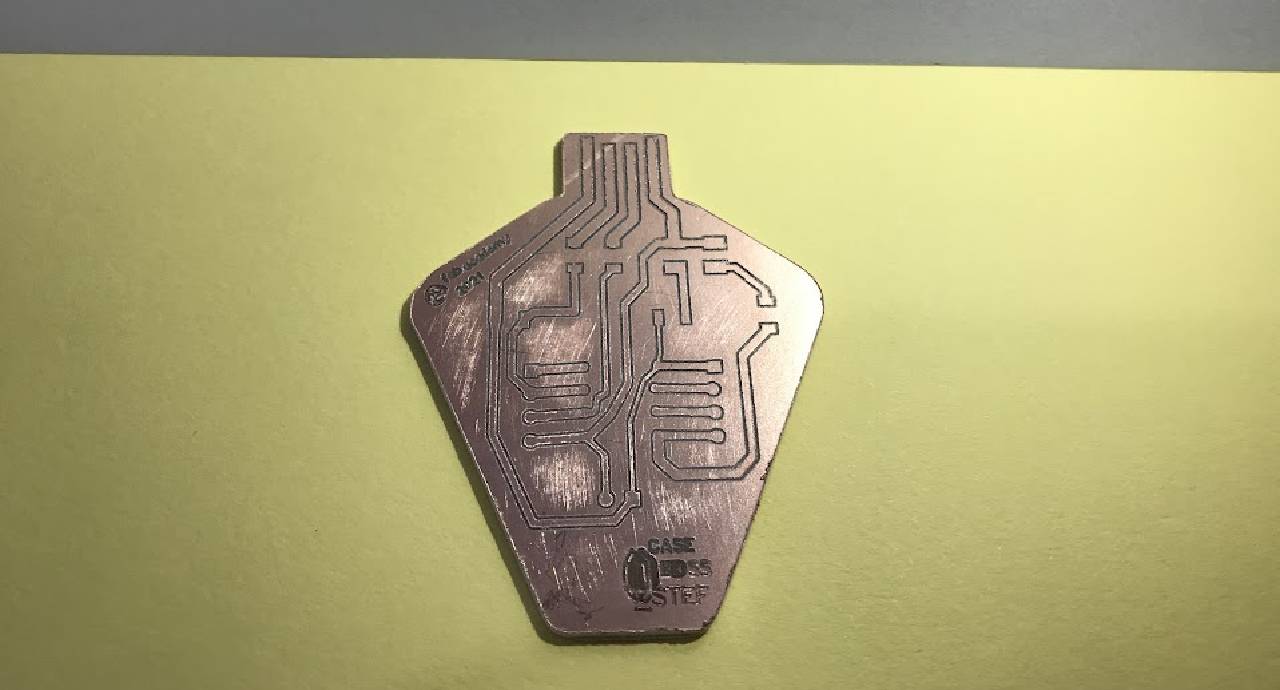
PCB ready
Starting to solder
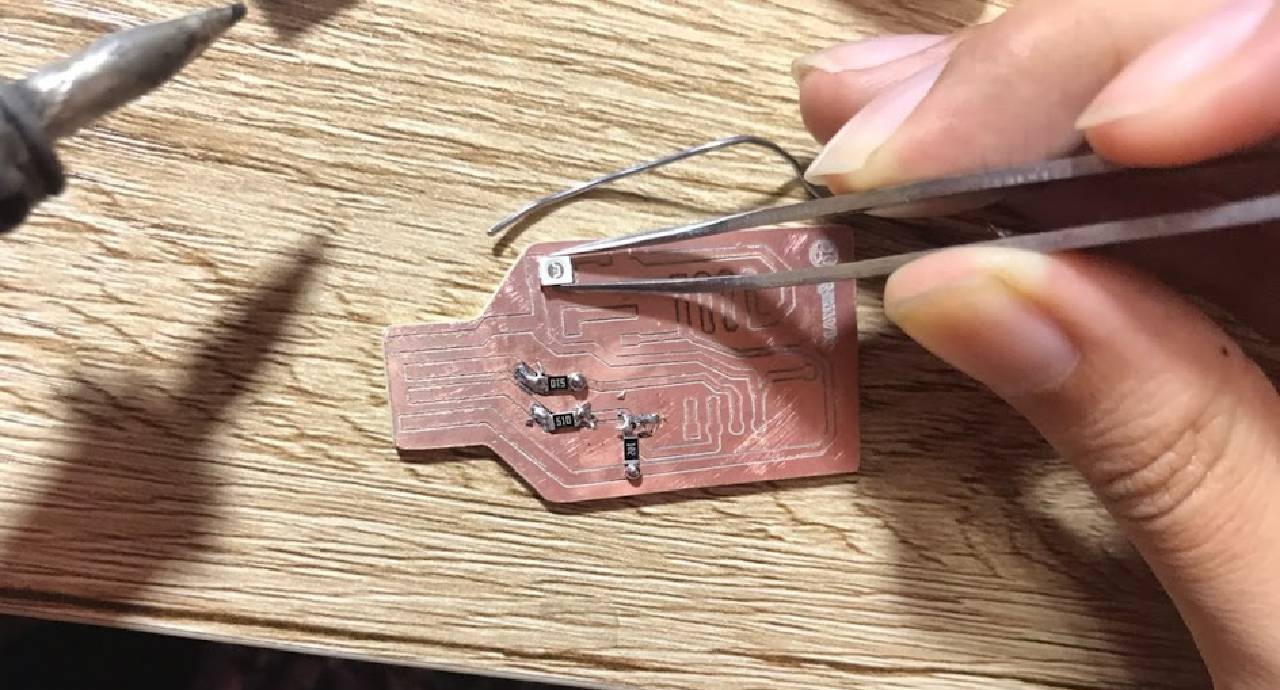
At this stage it was fun to get all the soldering implements, and to have my own kit. Although my brother says I wasn't taught how to solder well, I think I learned well and the PCB, the fabISP looked decent.If you are going to buy a soldering iron, I recommend the Goot brand of 20w or 30w, it is good. And well, it is very important to have your own multimeter, just don't forget to turn it off, otherwise, the next time you use it, it won't have batteries.
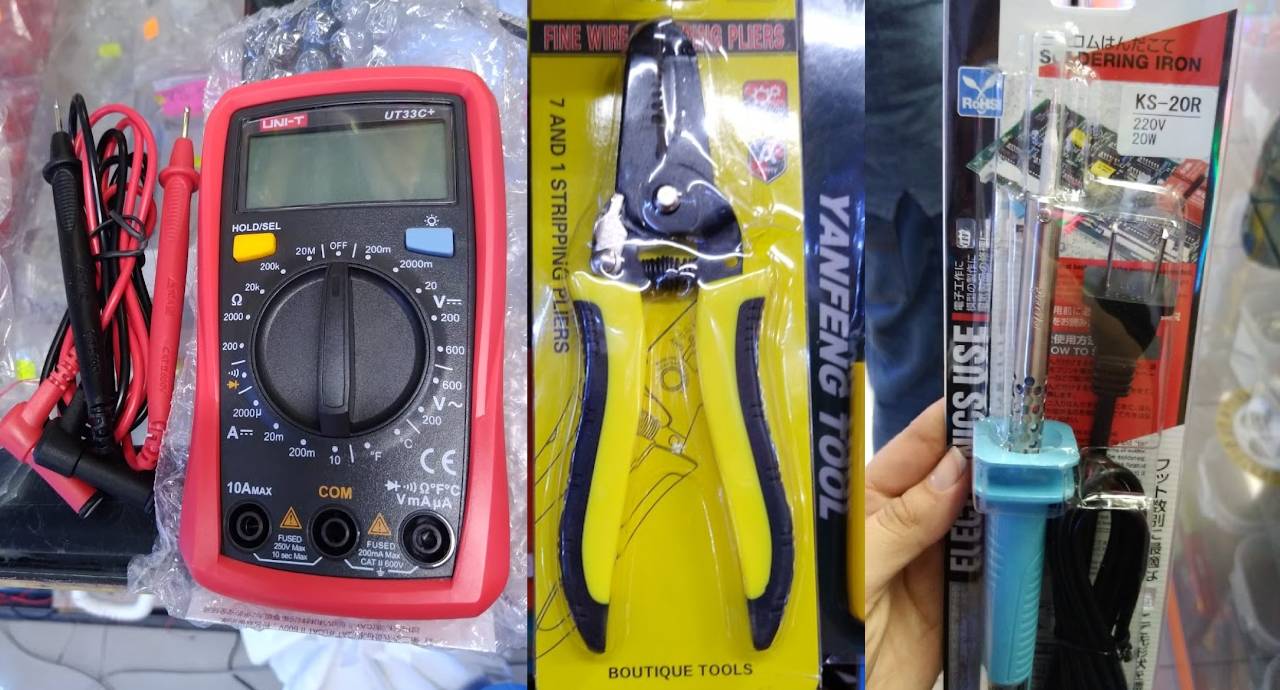
Tools
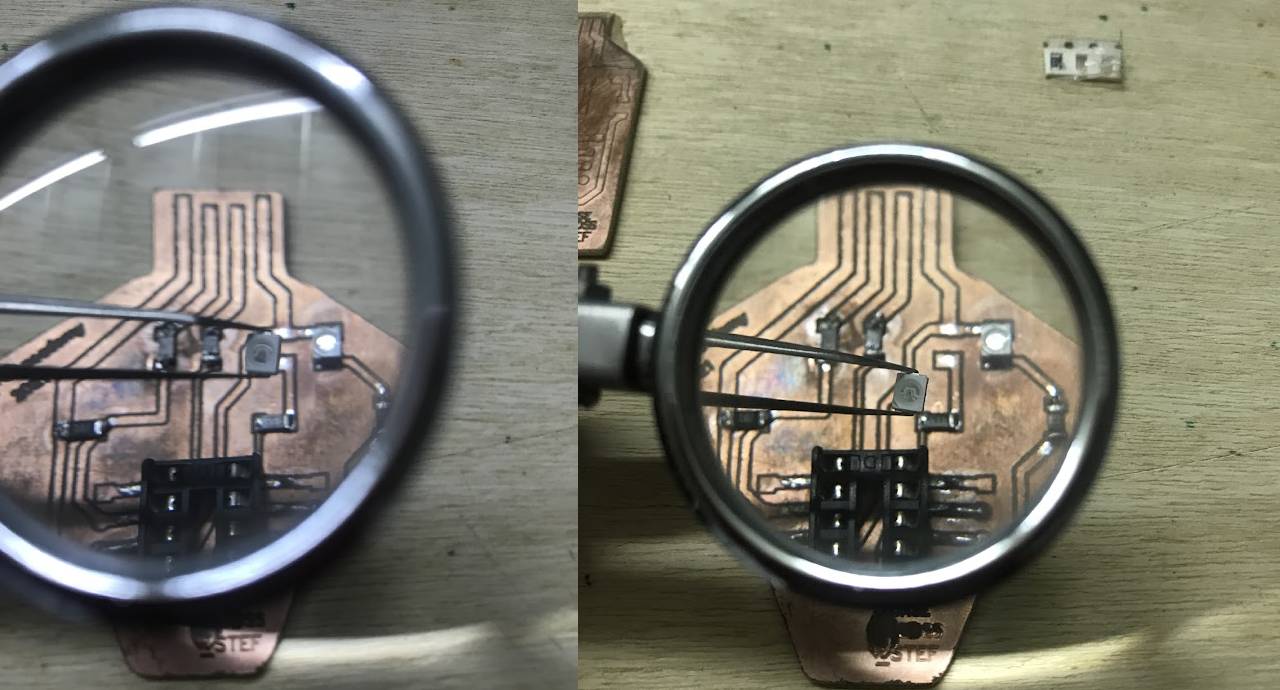
I organized all the components on the table to solder them to the PCB. As we were in pandemic and the whole country was closed, as I explained before, we decided to use the Attiny85 with pins, and we used a plug-in to be able to place it as if it was SMD. But we knew that later the passage would be released and the imported components would arrive. But we moved forward in Fab Lab Peru in this way.
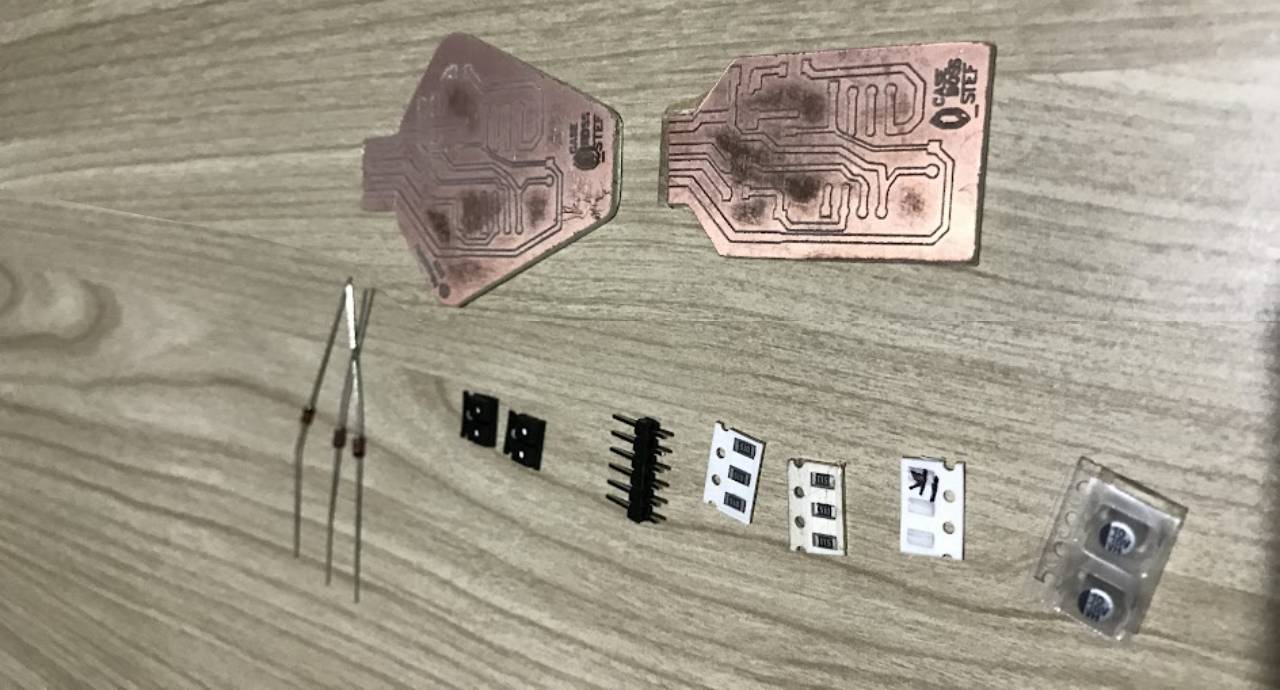
Components
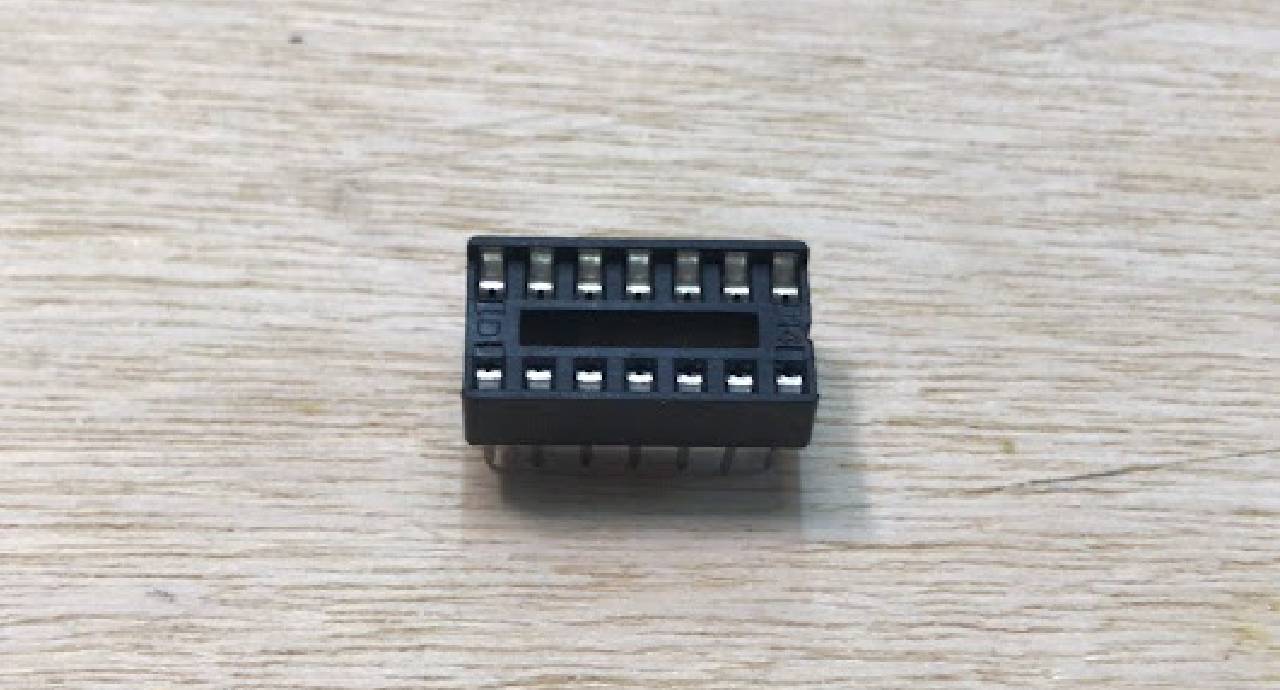
Complement
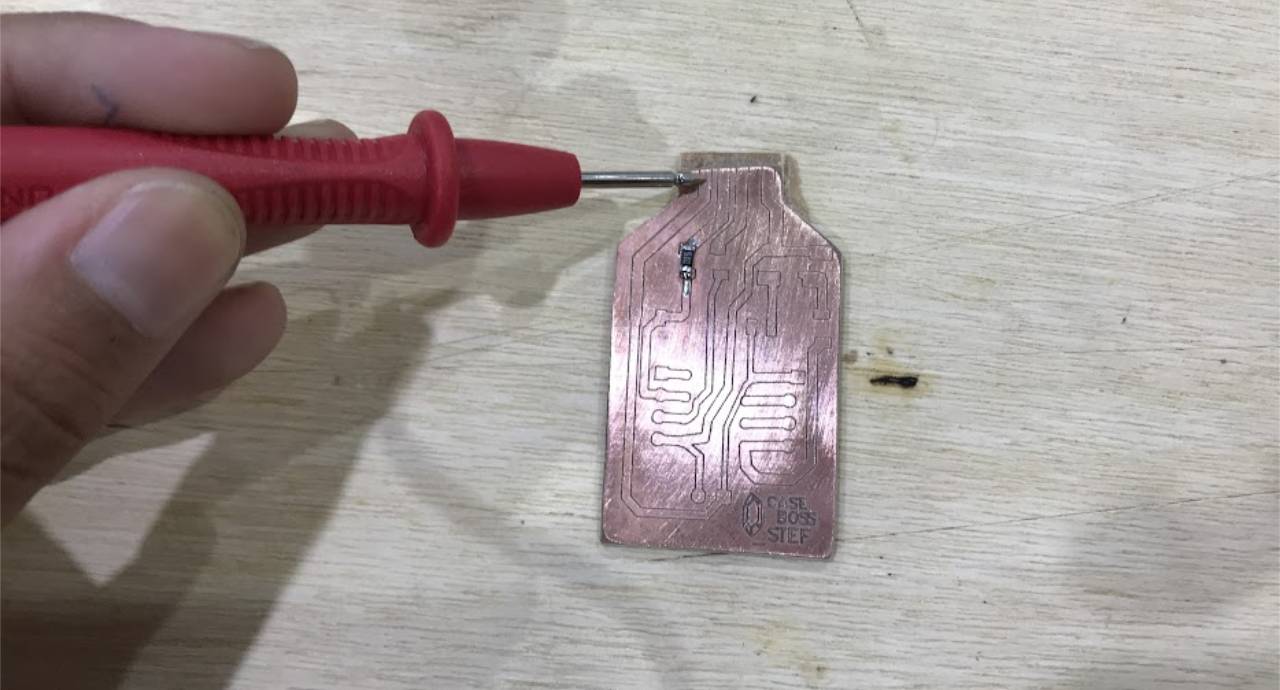
Testing
Soldering
Details
Finished
Second RoundfabISP of Brian
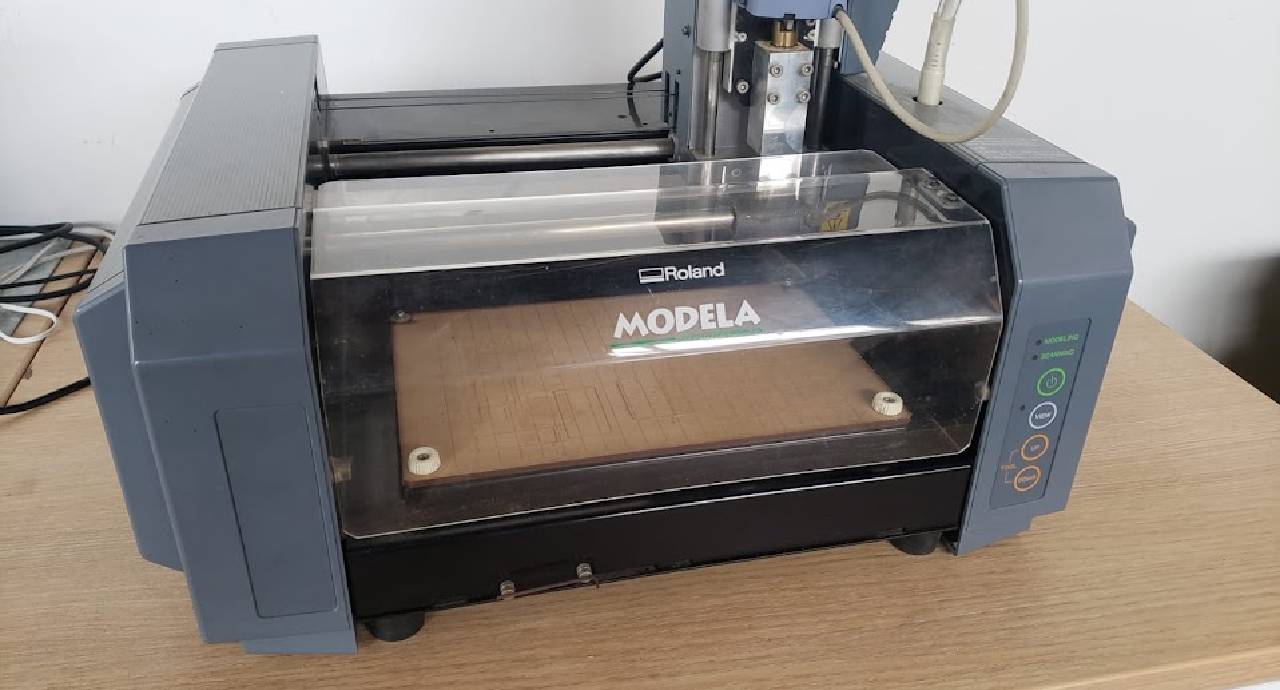
When it was time to program my first two PCB attempts, the opportunity came for Fab Lab Esan and their instructors to support us in making our Fab ISP boards, so we were guided by Brian's tutorial and page to make them. Fortunately by this time Mayra's professional cnc cutters had already arrived in Peru.They also had a Roland Modela MDX 20 in the lab that was in very good condition💎. Finally my PCB board was cut and it has an incredible finish.
Modela
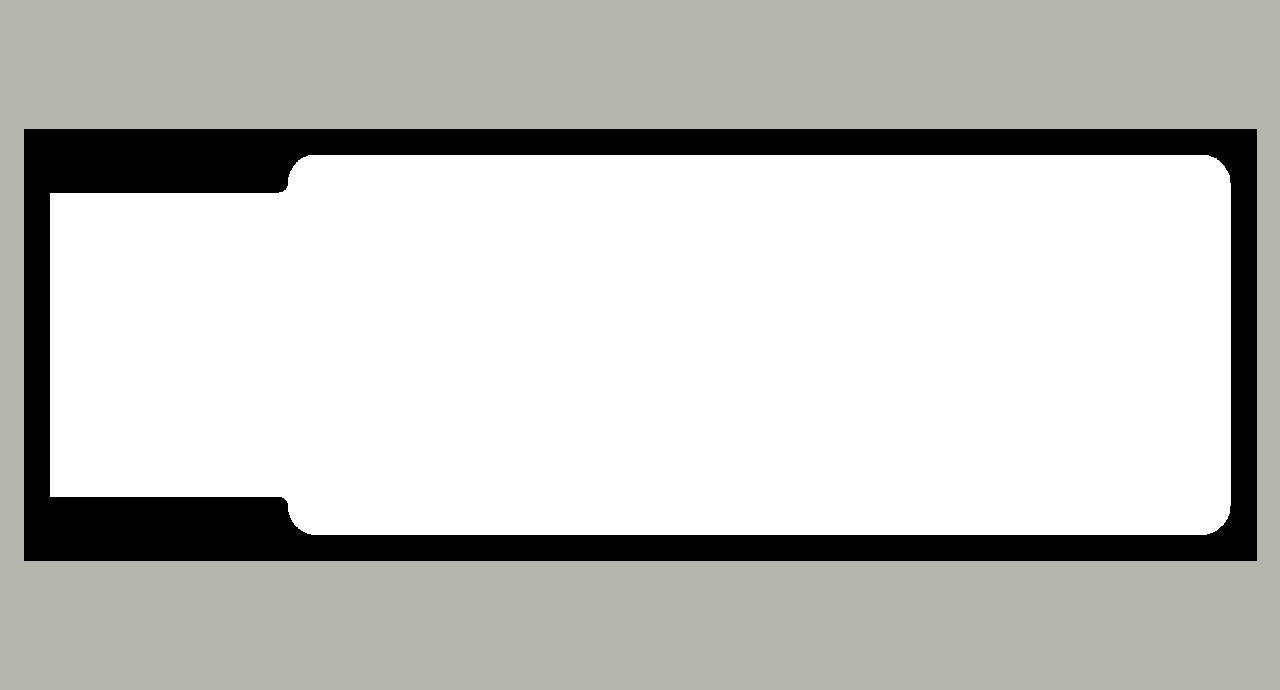
External border
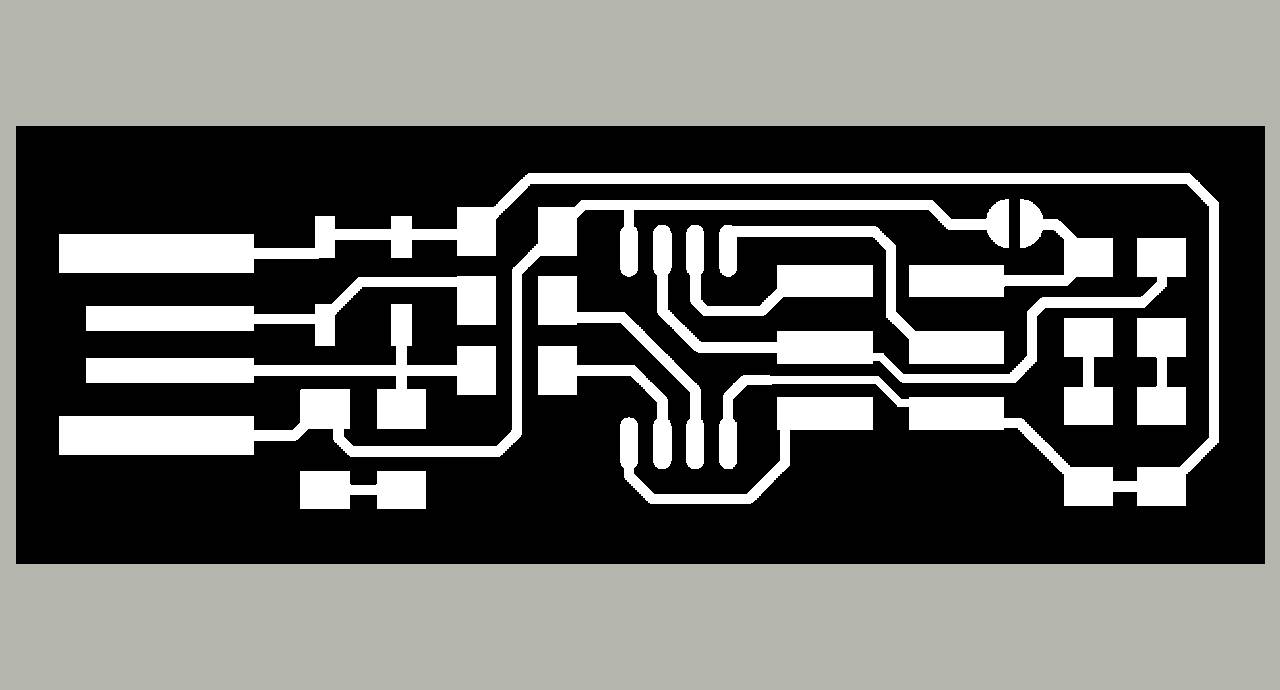
Traces
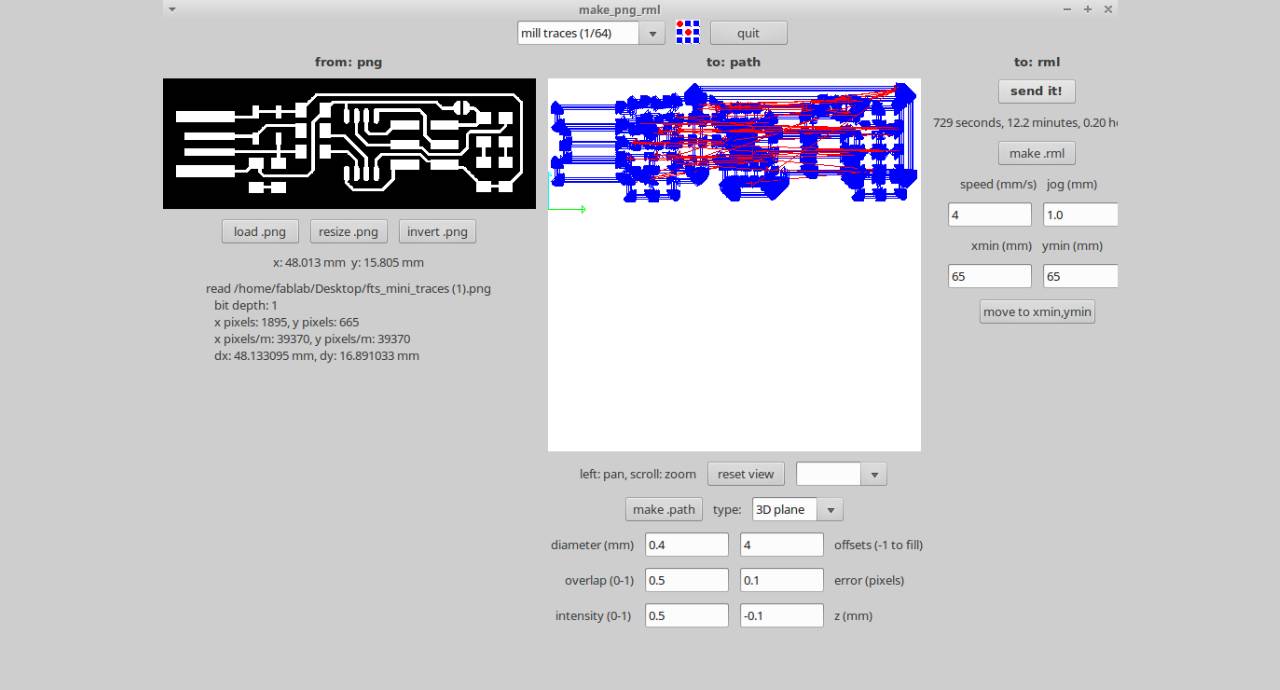
Parameters and fabrication
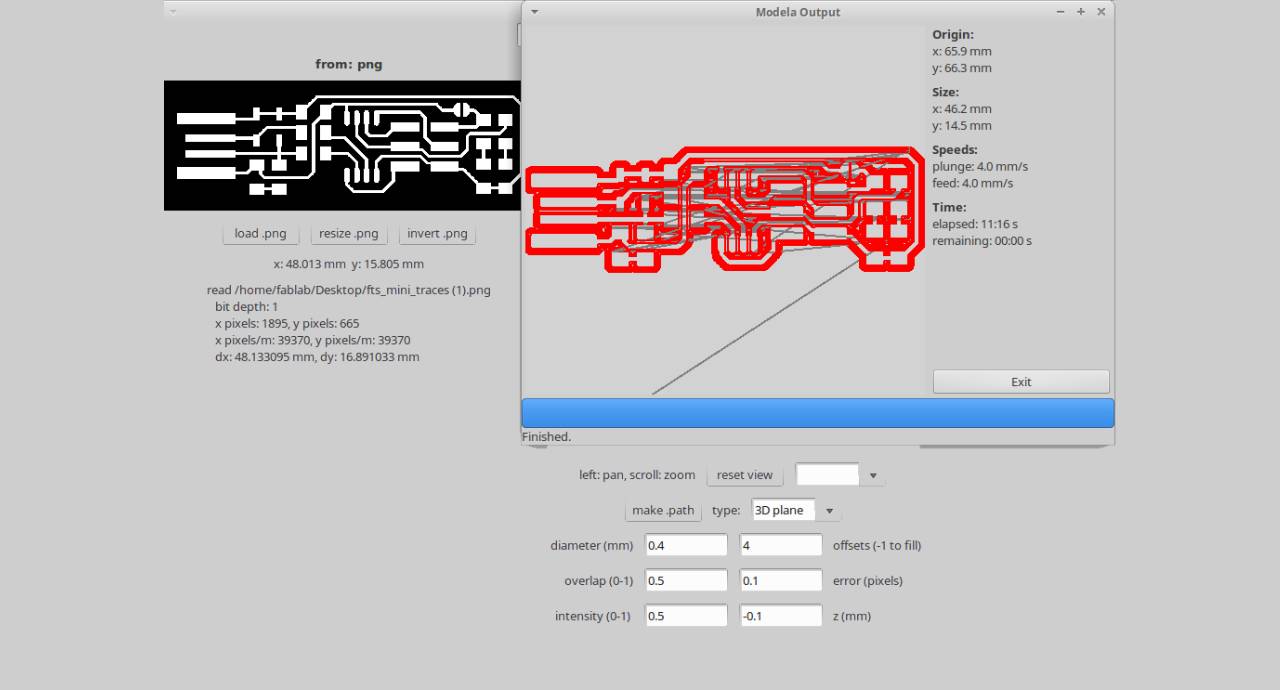
Parameters and fabrication
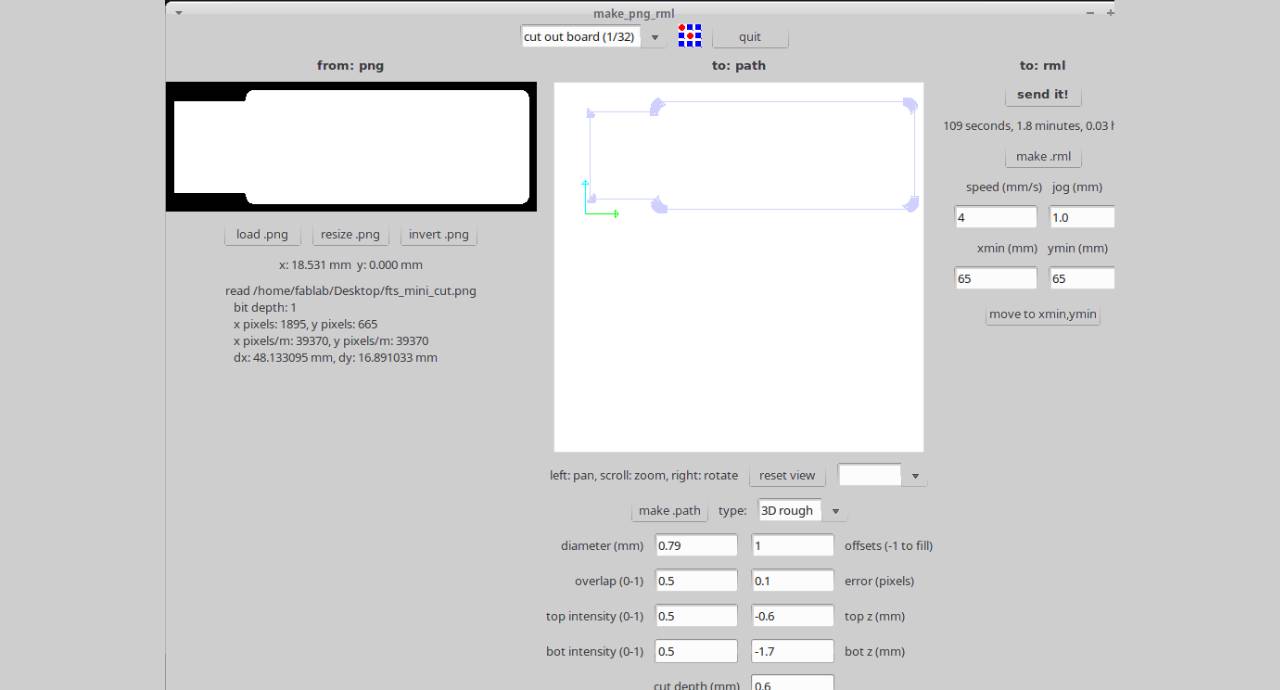
Parameters and fabrication
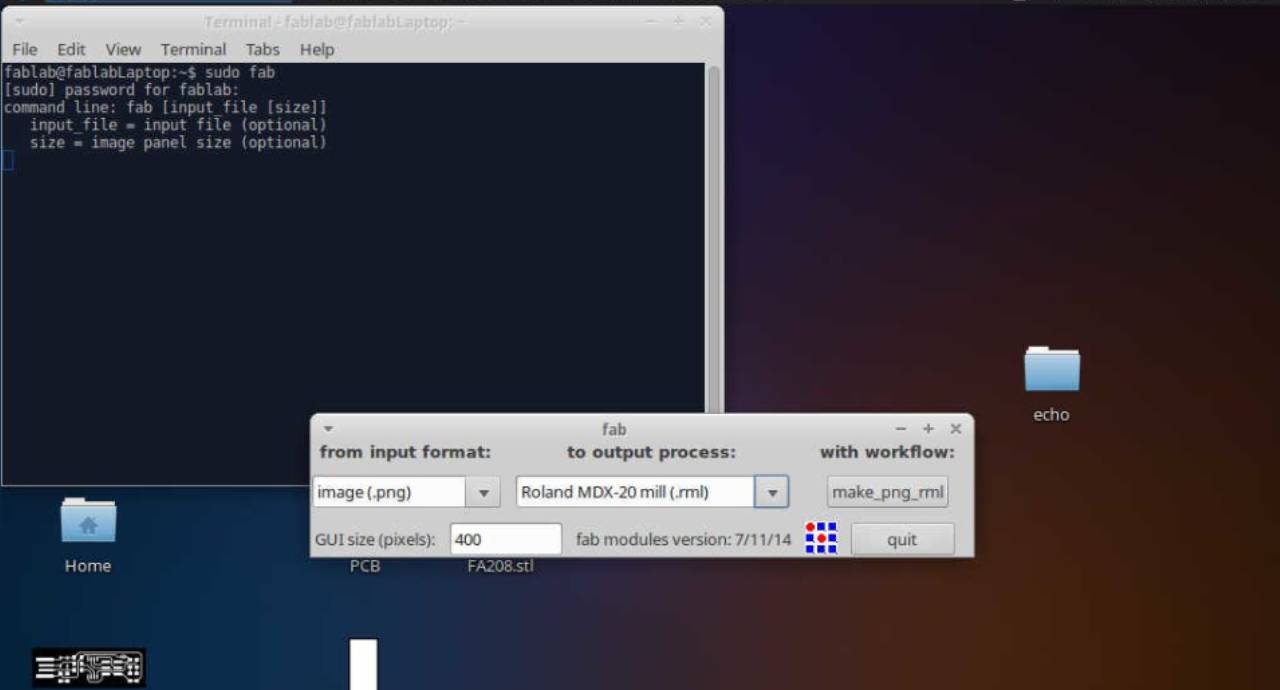
Parameters and fabrication
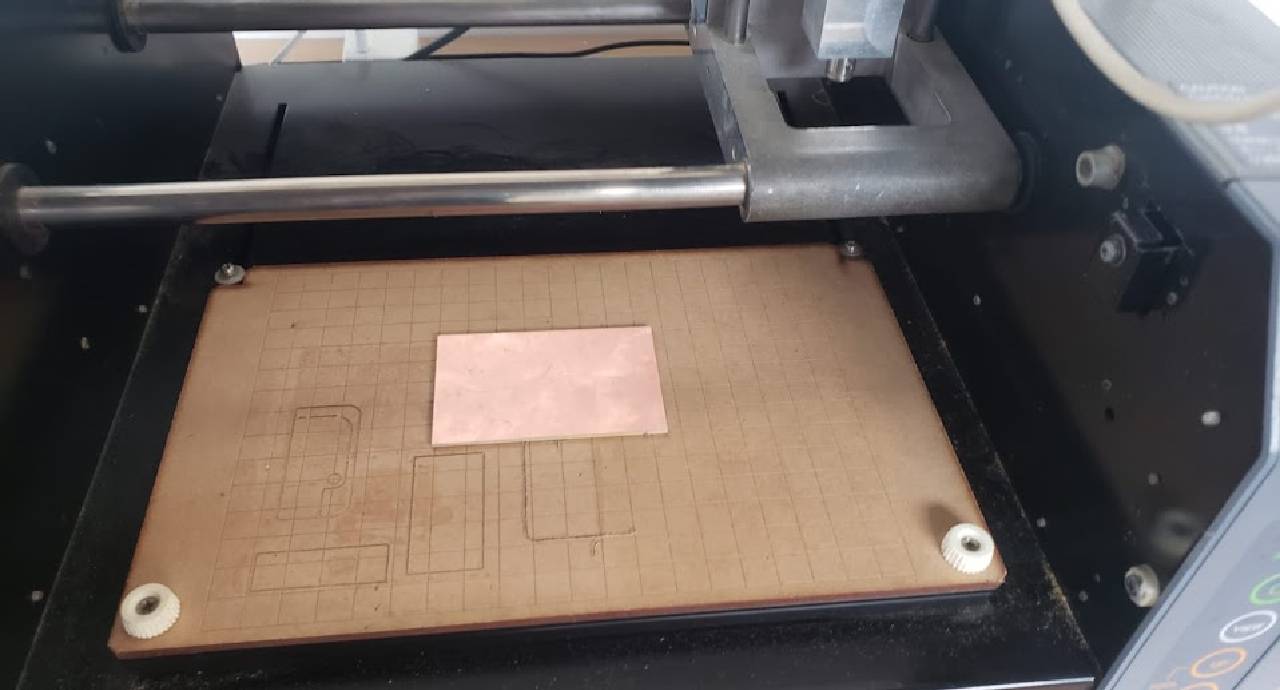
Bakelite
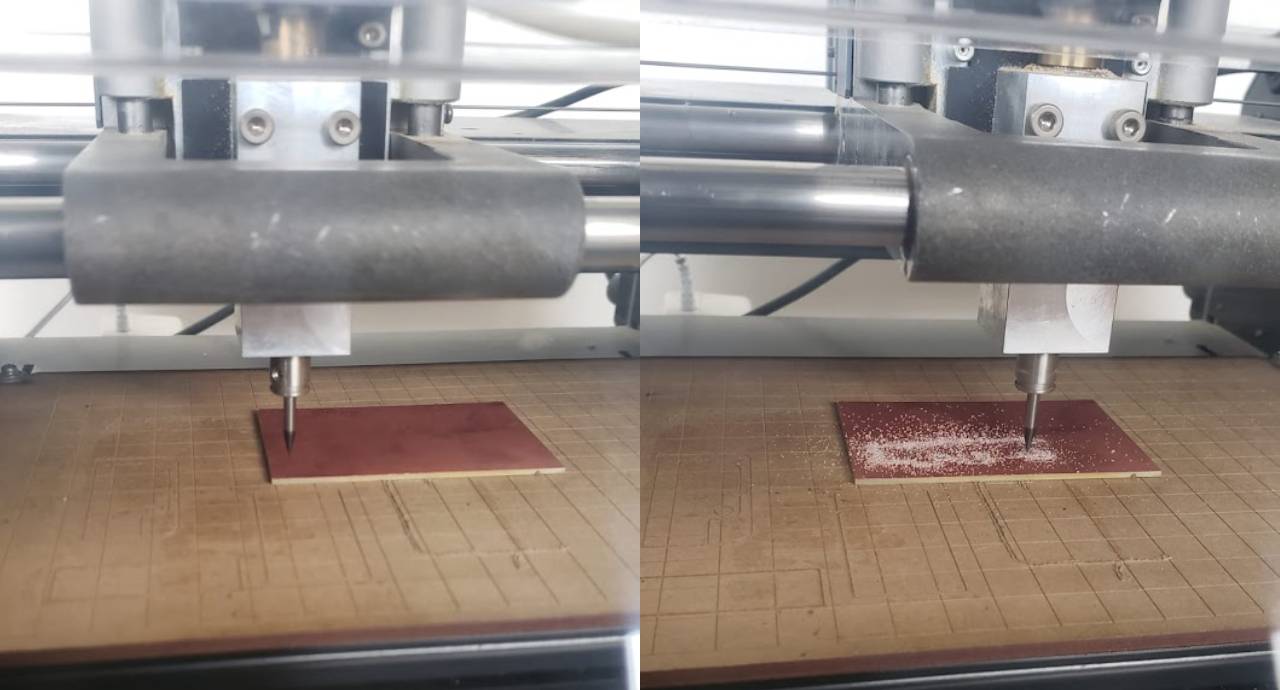
Process
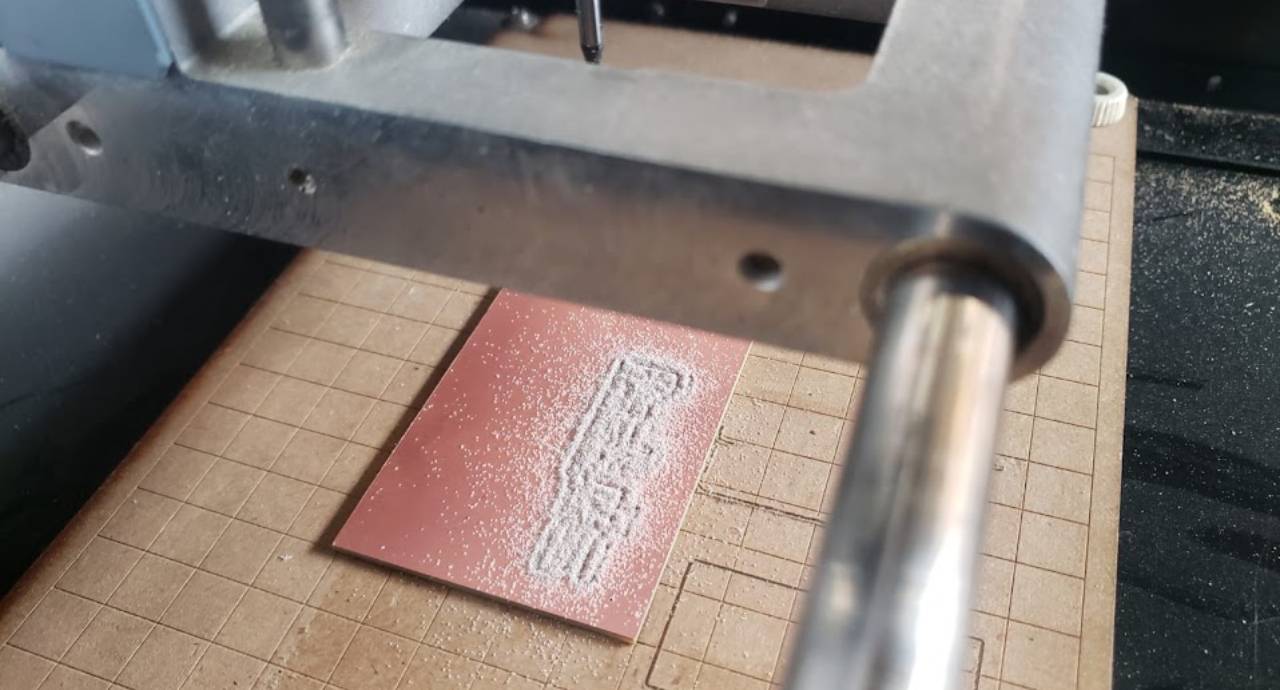
Job finished
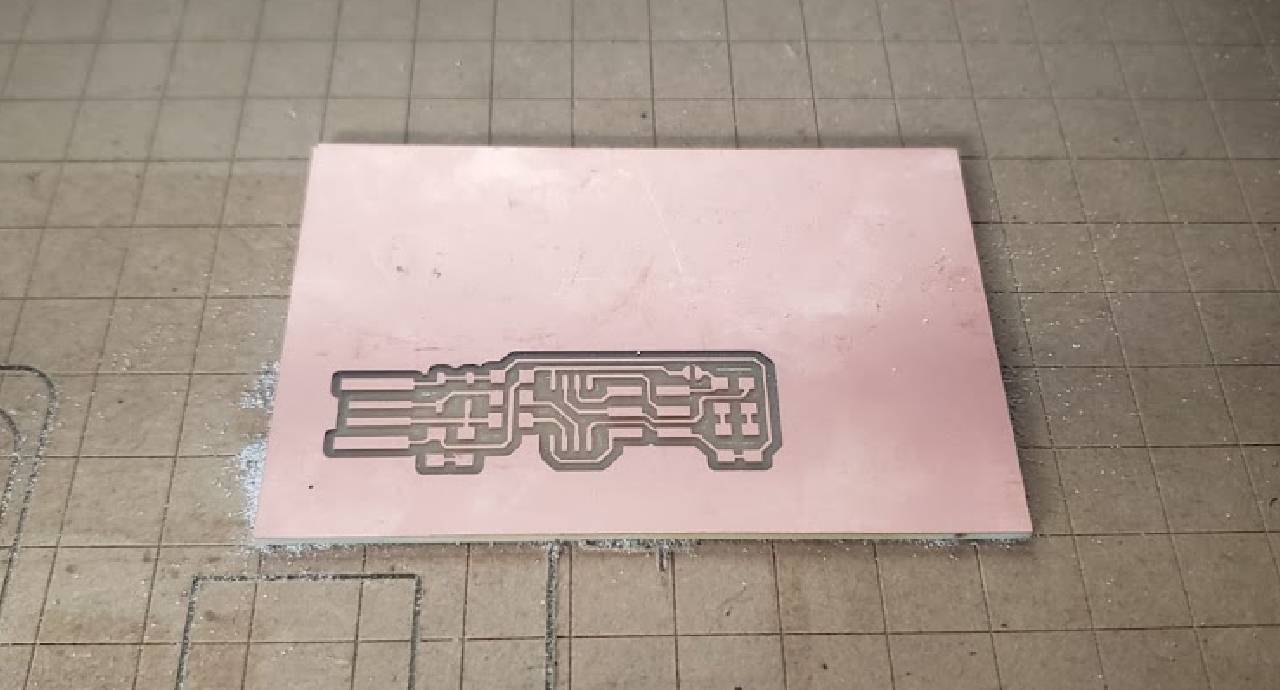
Almost!
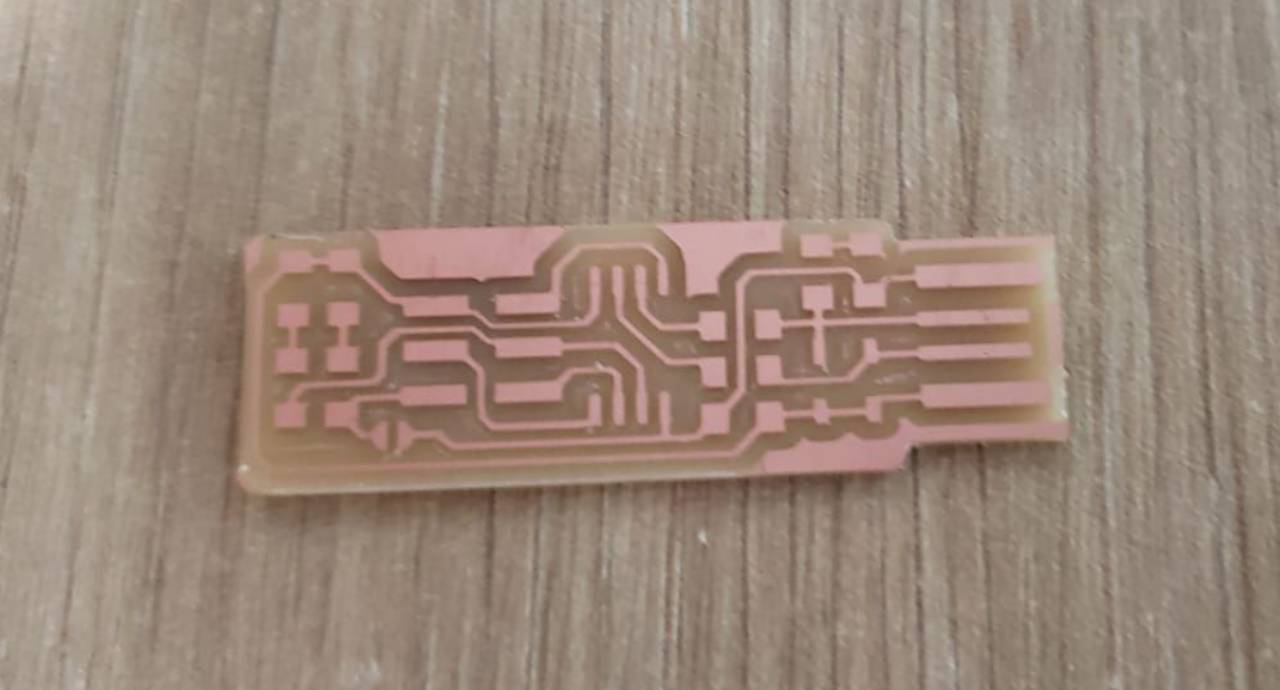
PCB ready!
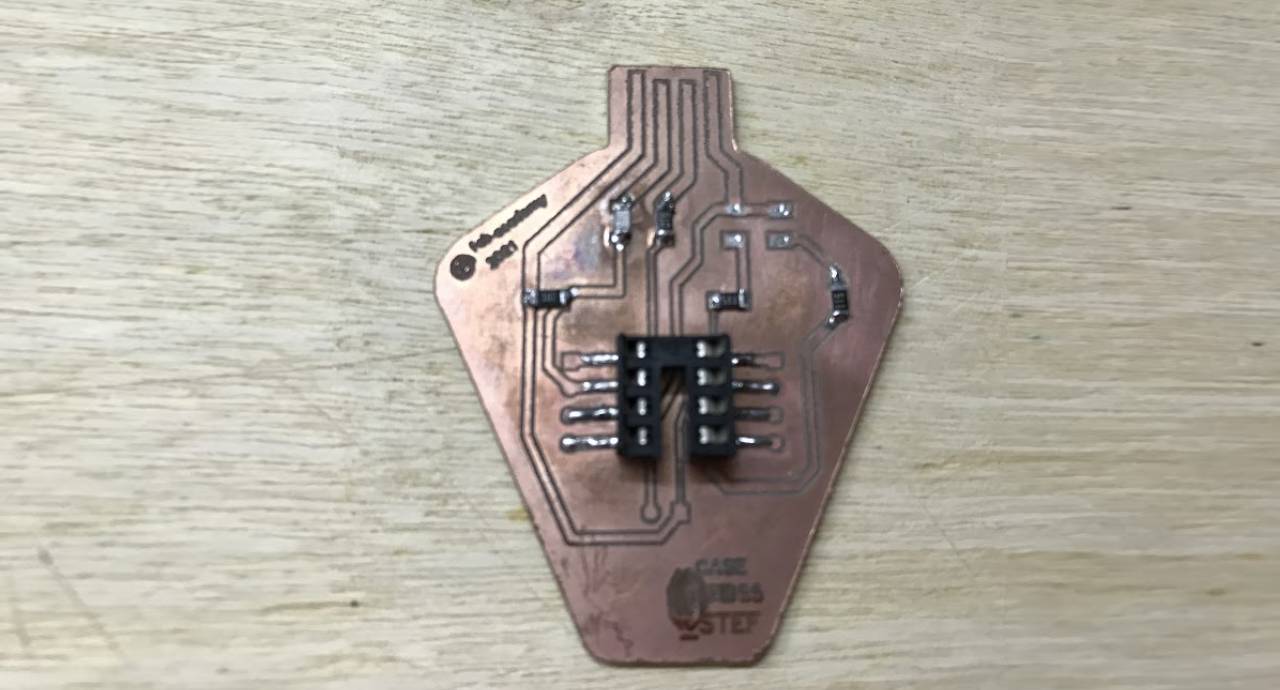
Then, I proceeded to solder all the components on the milled plate. I already had some practice so I think I got it right. The components are:
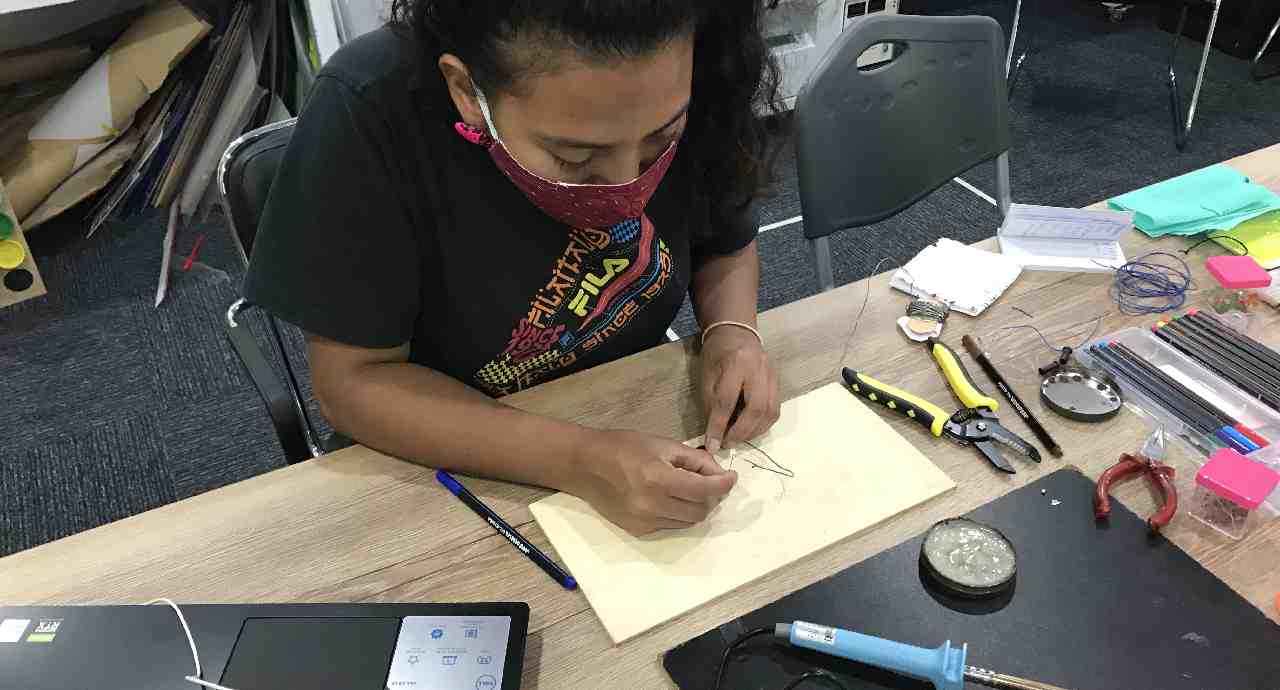
Some testing

Testing led polarity
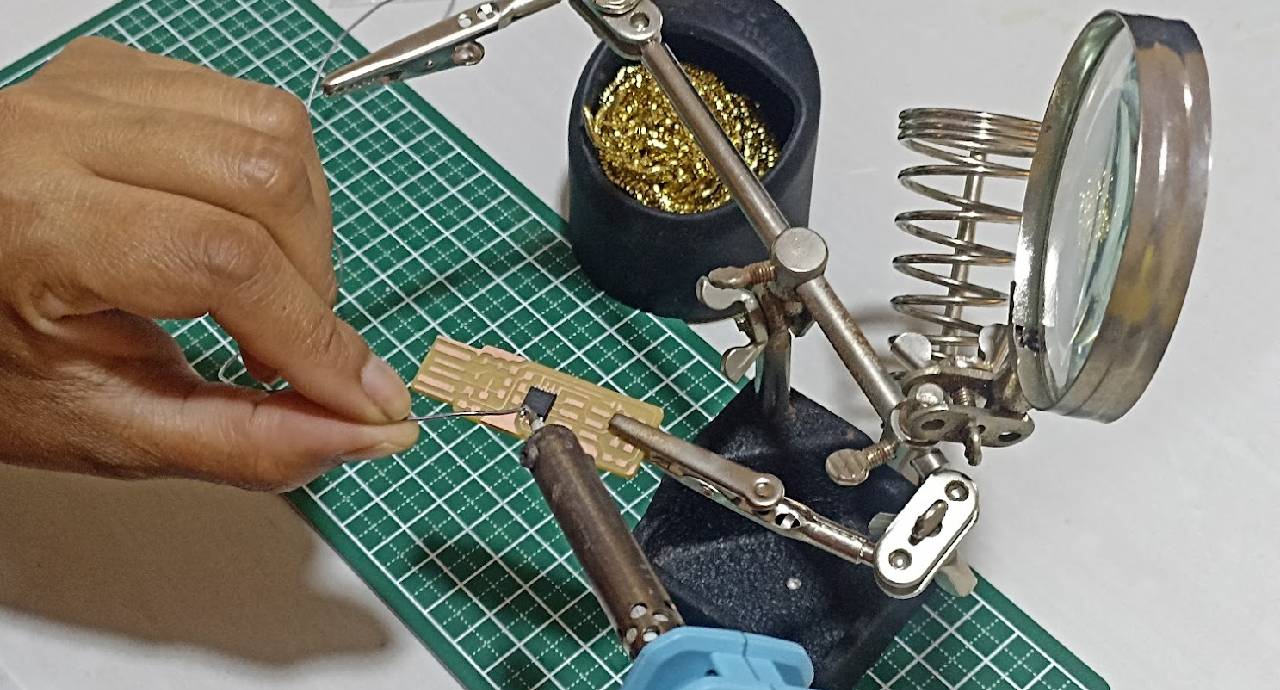
Soldering the microcontroller
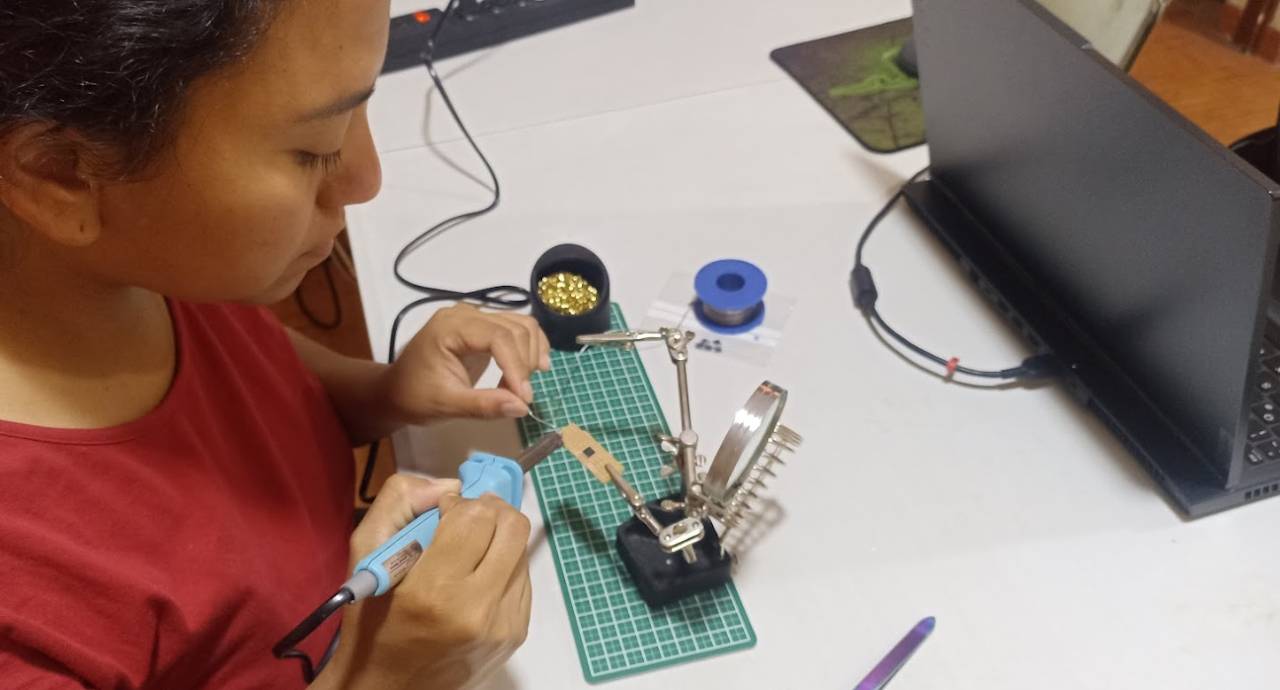
Soldering the microcontroller
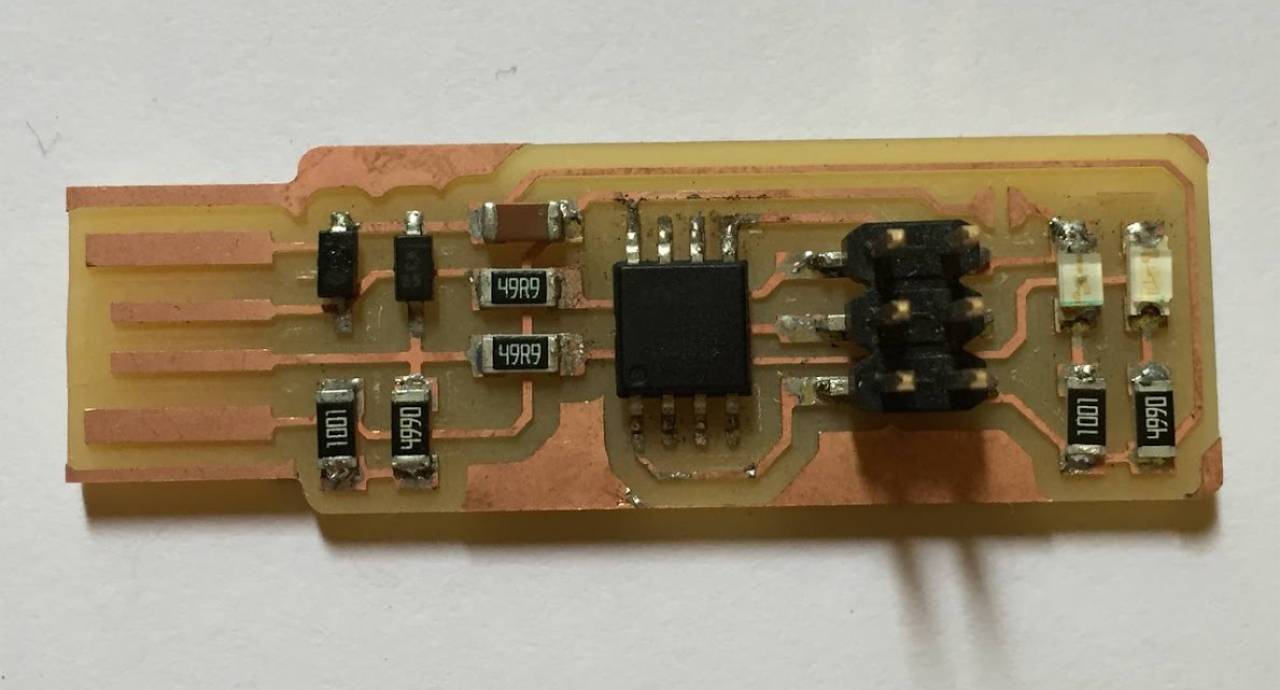
PCB with components ready!
I disassembled many USB sticks, to have the component to connect it to the computer, and I tried to put it in my ISP card, but I was not successful 😥, so I just soldered the terminals and that was it.
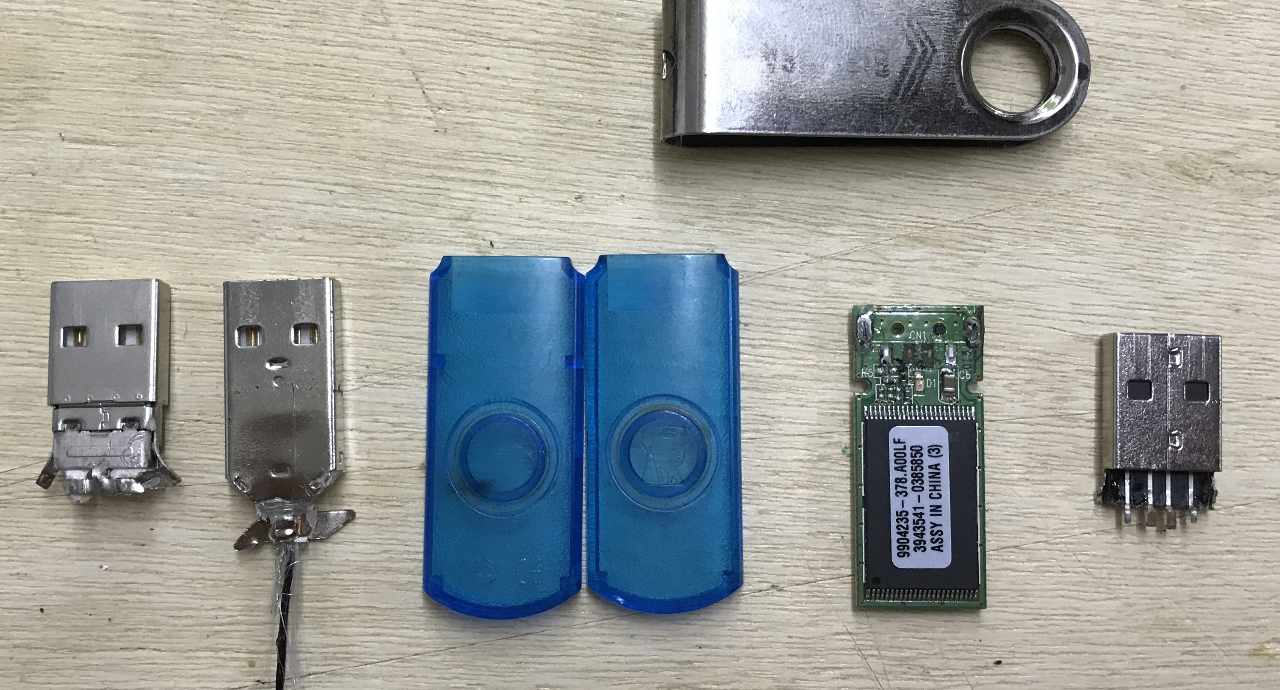
Making disasters

Not working
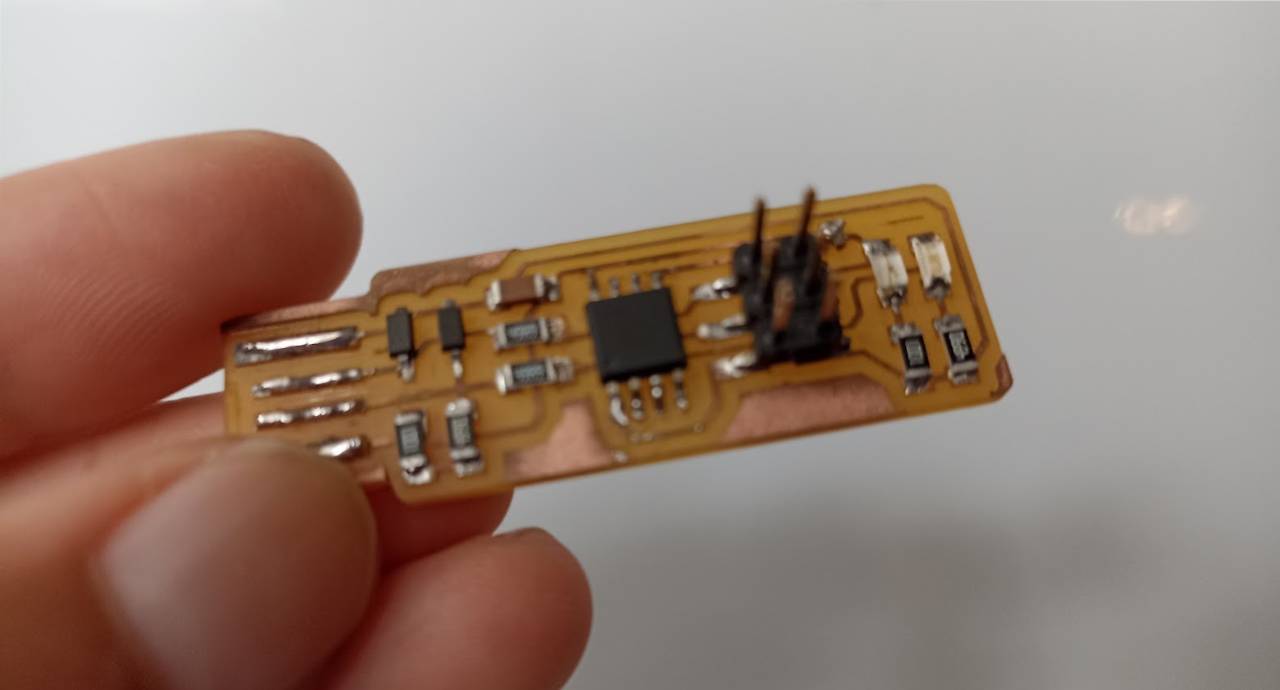
Ready terminals with soldering
Then, together with Mayra, we made the necessary cable to connect our FabTinyISP to the ISP programmer that Fab Lab Esan lent us, but unfortunately the Esan board did not work, maybe because it is many years old. So as another option I decided to program my ISP board from an Arduino UNO.
Programing Bootloader
Burning the bootloader on my FabTinyISP board is an essential step for the ATtiny45 or ATtiny85 microcontroller to work as an AVR programmer. This process allows me to configure the microcontroller's fuses, setting parameters such as the clock source to use the internal PLL, which is necessary for USB communication, and, later, converting the reset pin to a GPIO. I also load firmware into the microcontroller's memory, which gives it the ability to handle USB communication, interpret commands from the computer, and program other microcontrollers. By completing this step, I ensure that my board is configured at both the hardware and software level to operate as a functional ISP programmer. Without this process, my board would be nothing more than an assembled, but non-operational circuit.
Como no tenemos un grabador funcional, lo que hice fue utilizar una tarjeta de Arduino UNO as ISP, para grabar el bootloader de mi FabTinyISP.
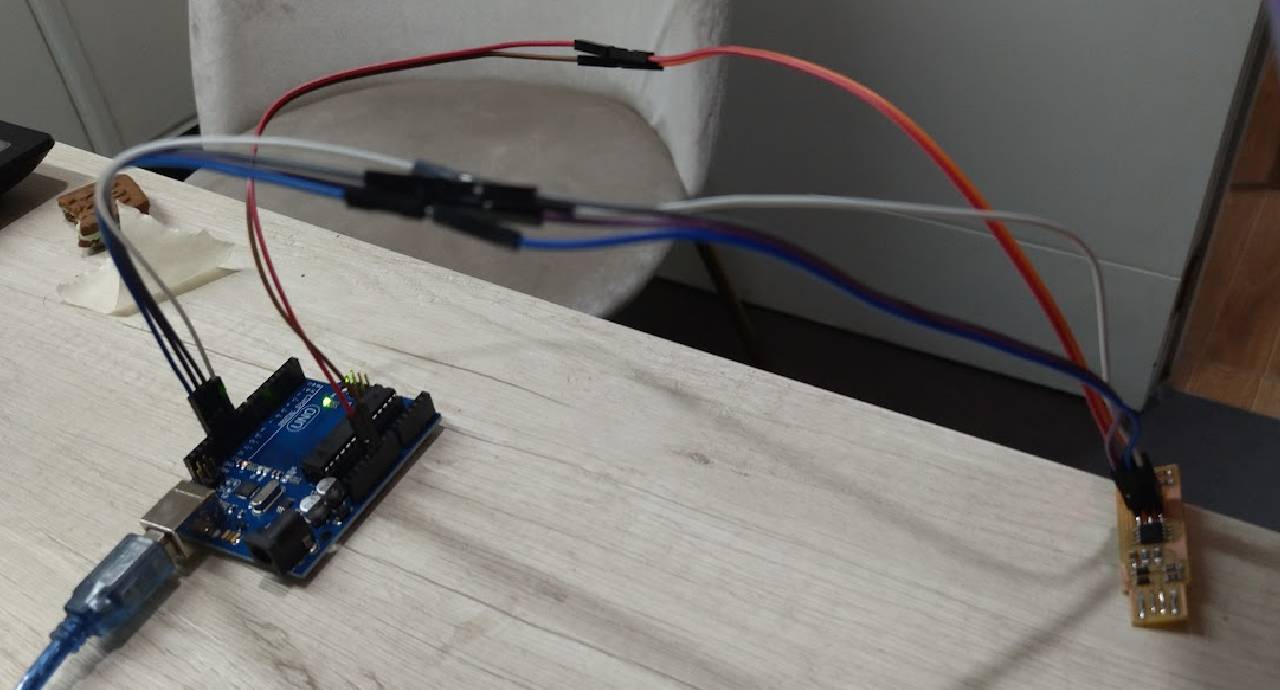
Programming the ISP with arduino
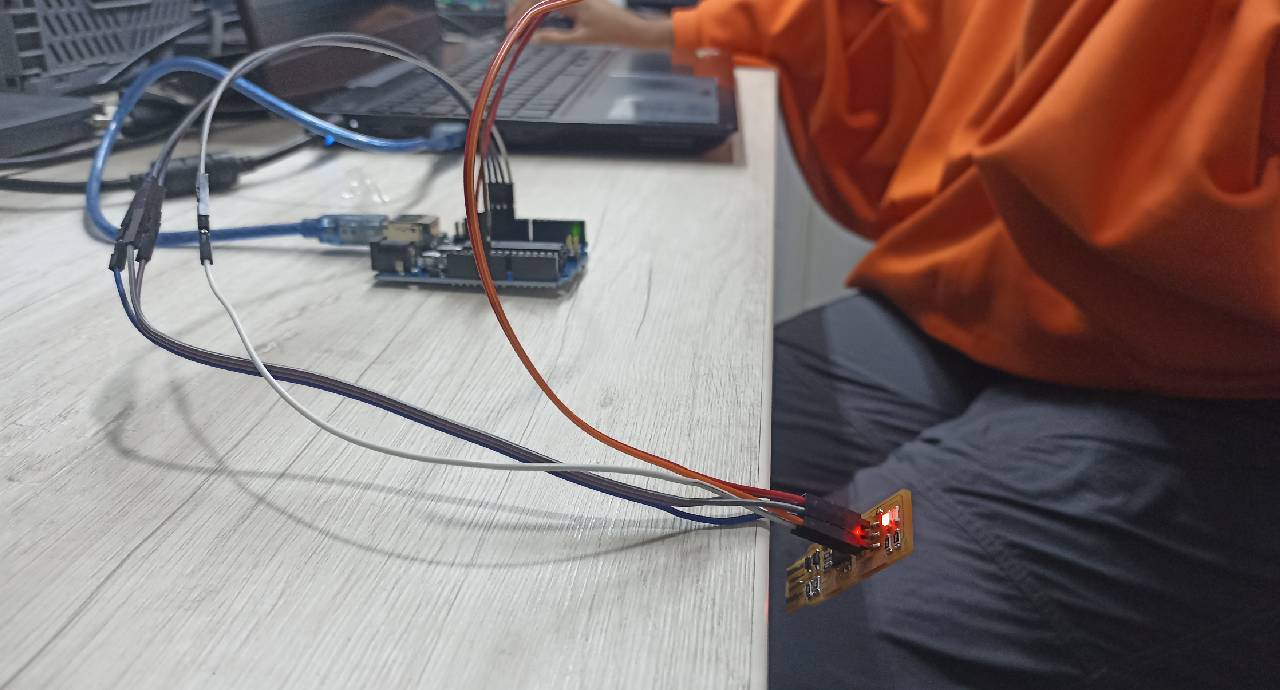
Programming the ISP with arduino
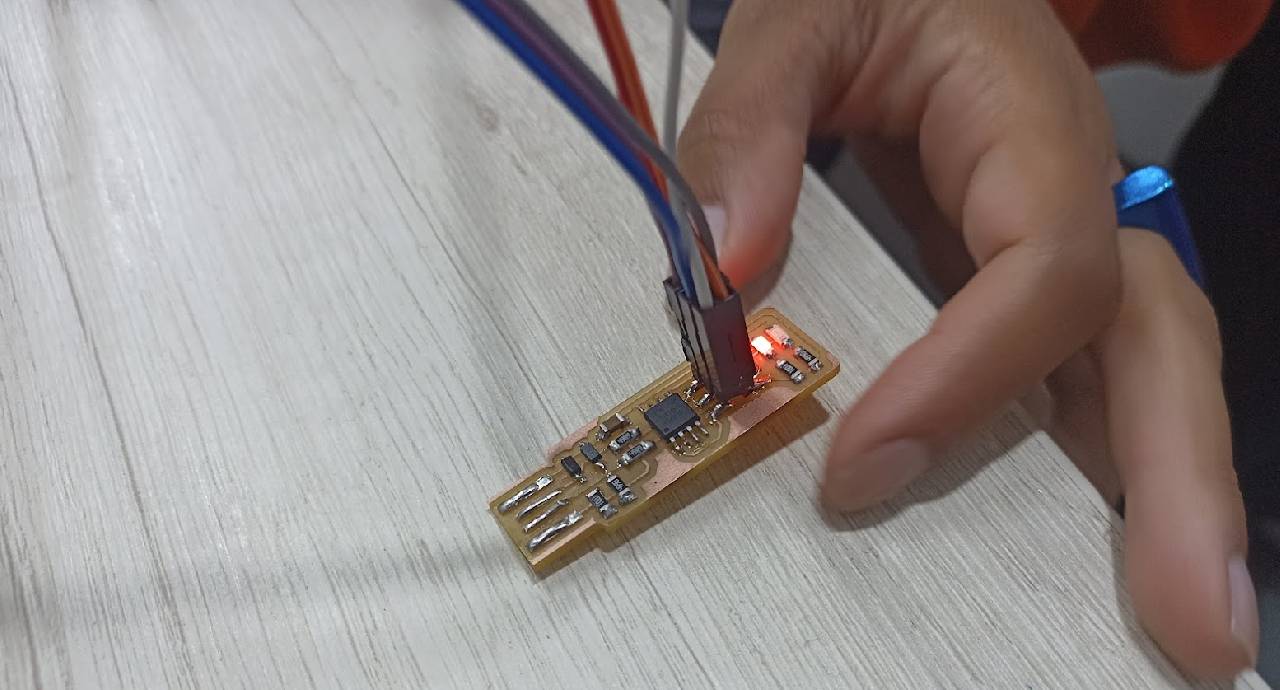
Programming the ISP with arduino
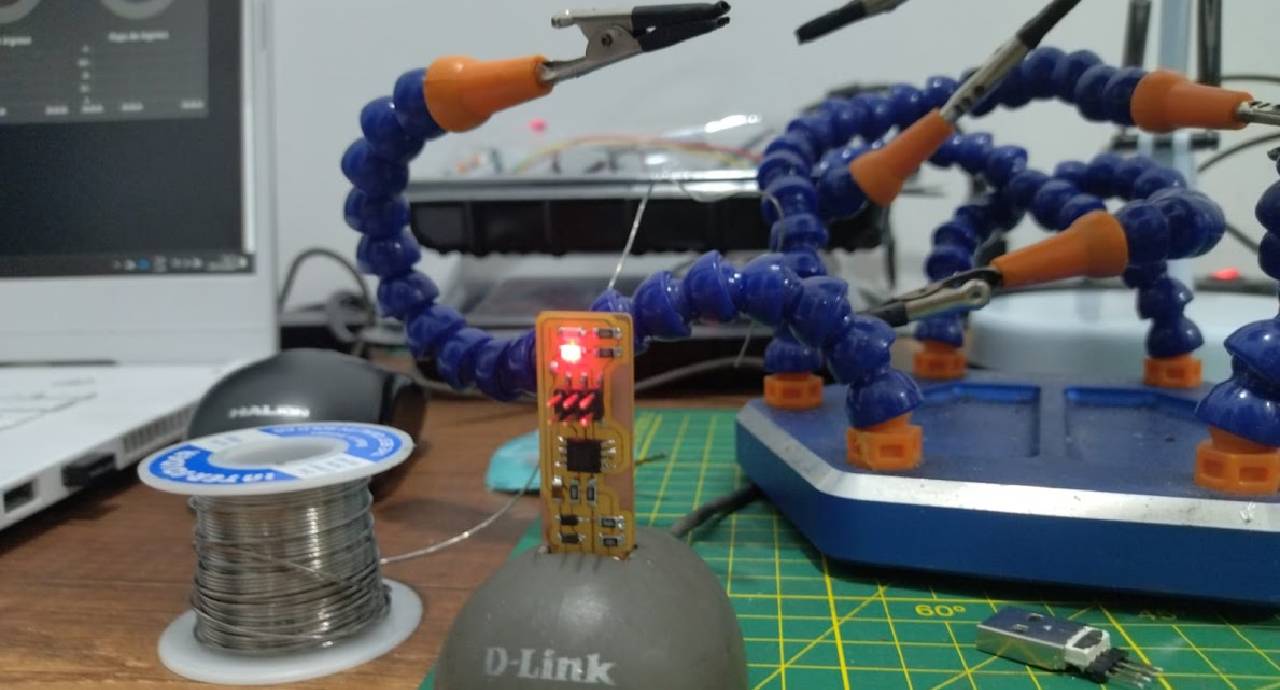
Testing and connecting the ISP to the PC
The process has two parts. in short it is to convert the arduino UNO into an ISP programmer (like Esan's board) and then use the arduino to burn ISP bootloader on the FabTinyISP board.
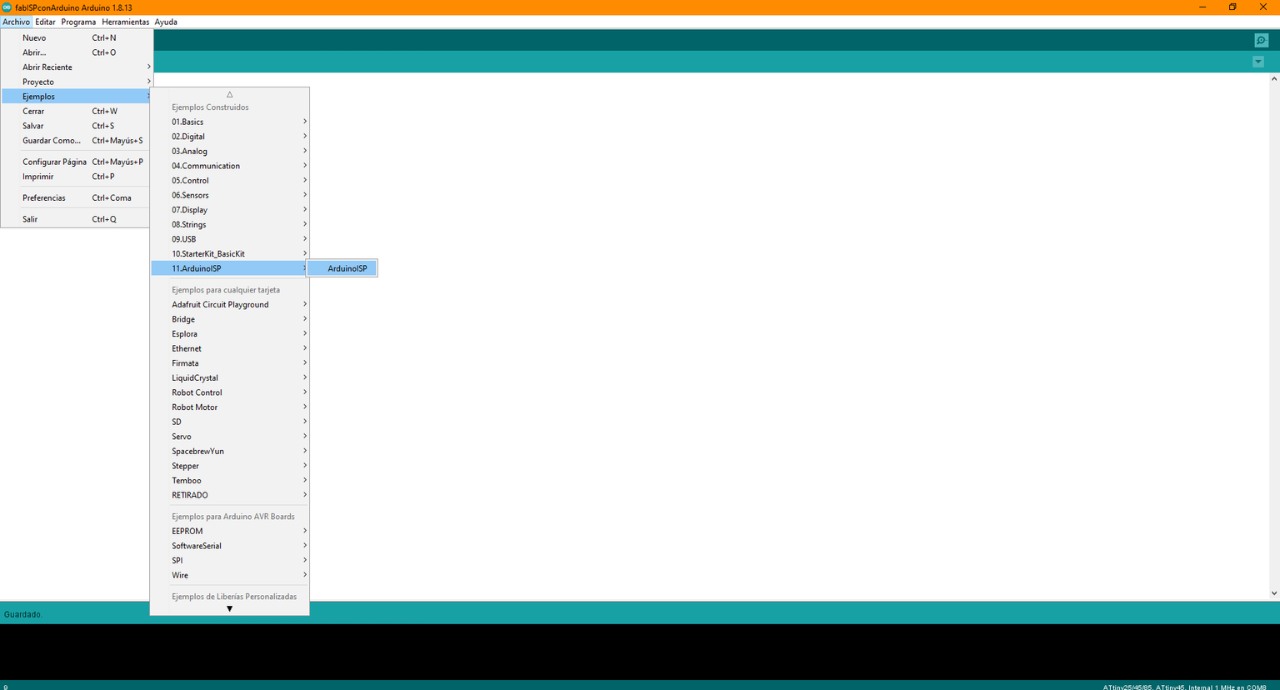
Go to Arduino > Files > Examples
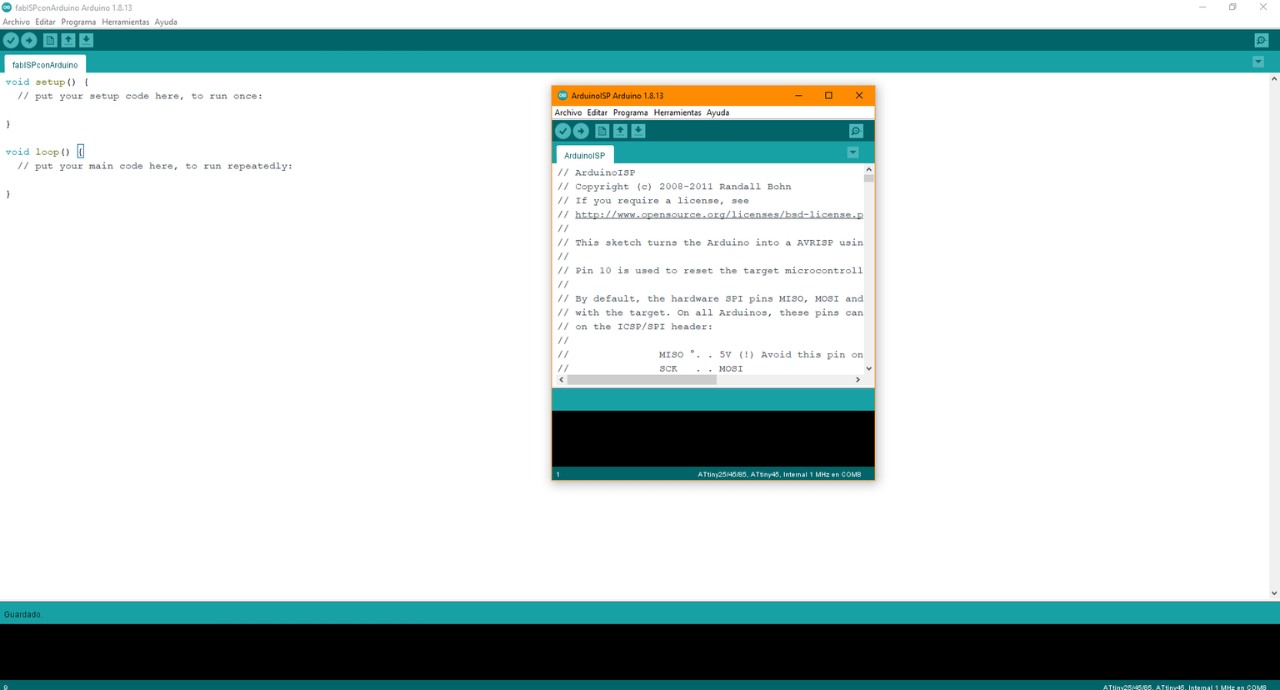
Select Arduino as ISP
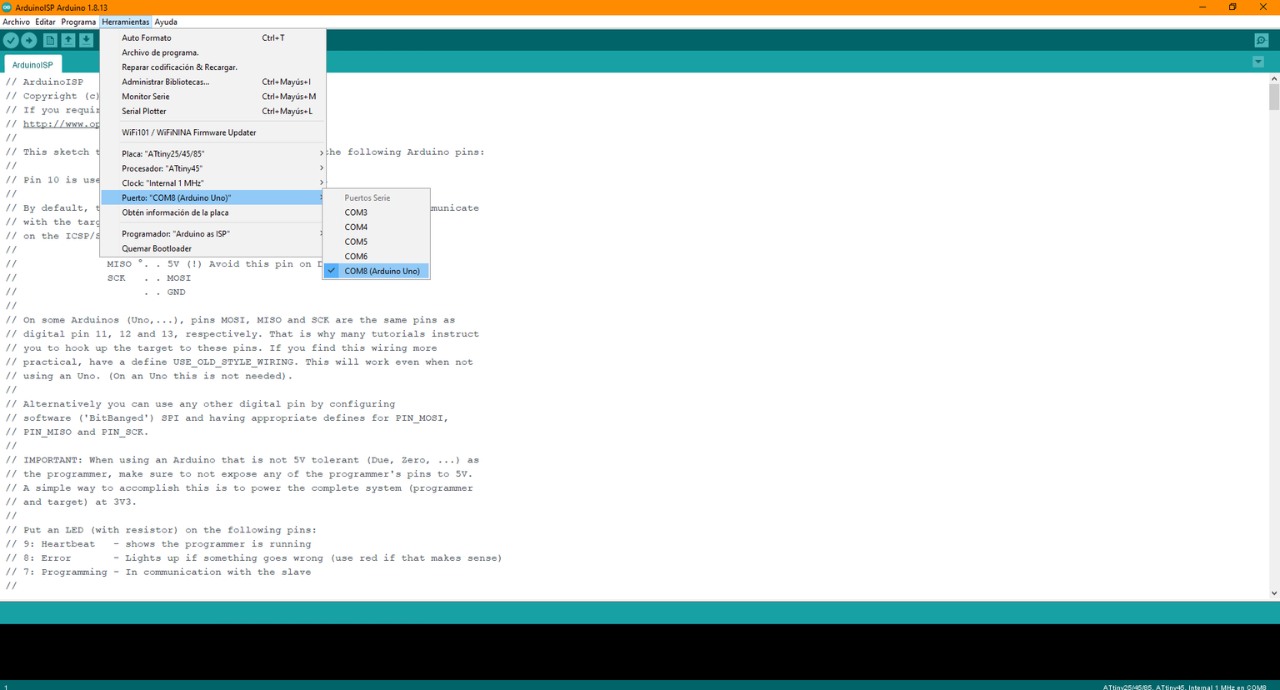
Port > COMX (Arduino UNO)
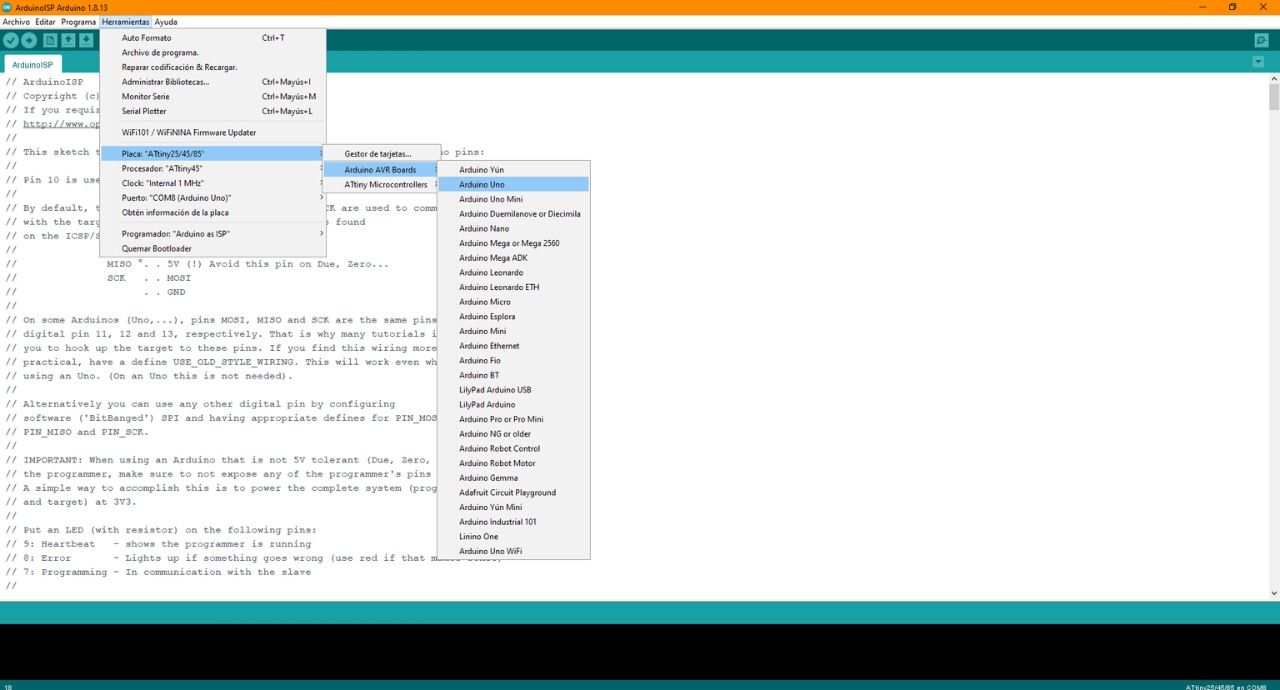
Tools > Boards > Arduino AVR Boards > Arduino UNO
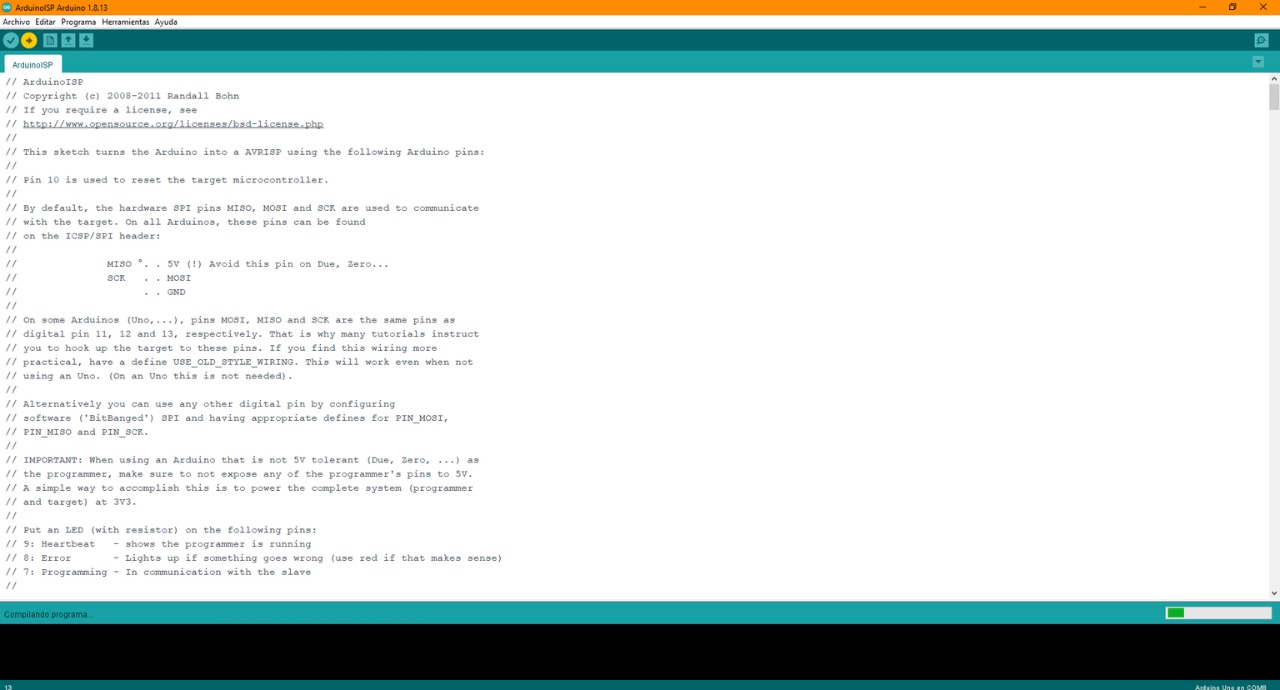
Upload program to Arduino Board
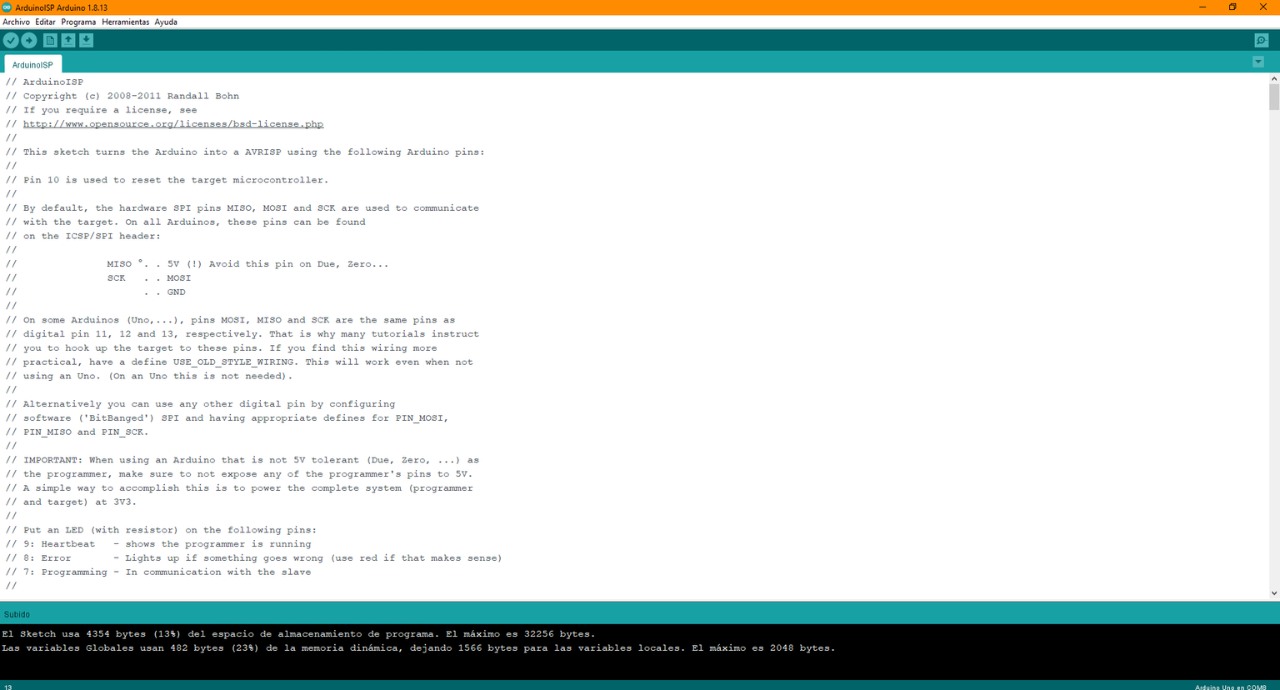
Done!
Up to this point what I did was, I converted the Arduino UNO board as an ISP recorder, so now I can use it to burn my fab ISP for the first time and load the Bootloader to the Attiny 45 microcontroller on the fabISP board. Now it's time to burn the bootloader. 🔥🔥🔥🔥
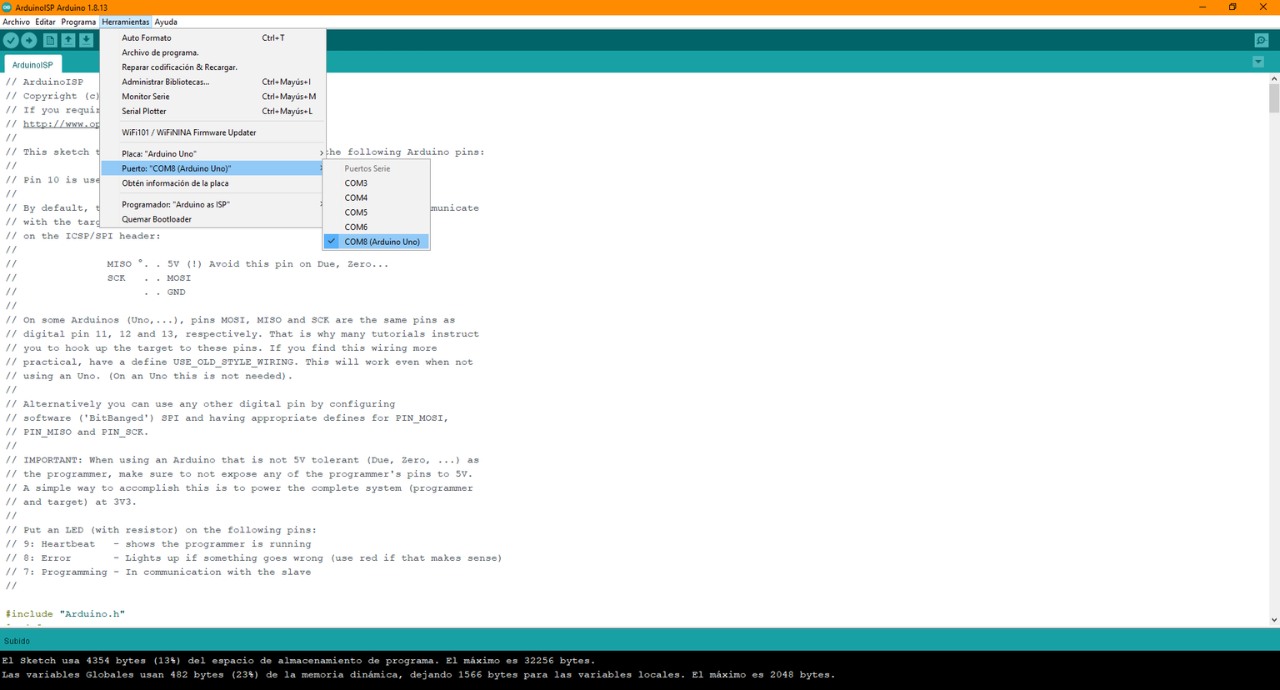
Select COM > Arduino UNO
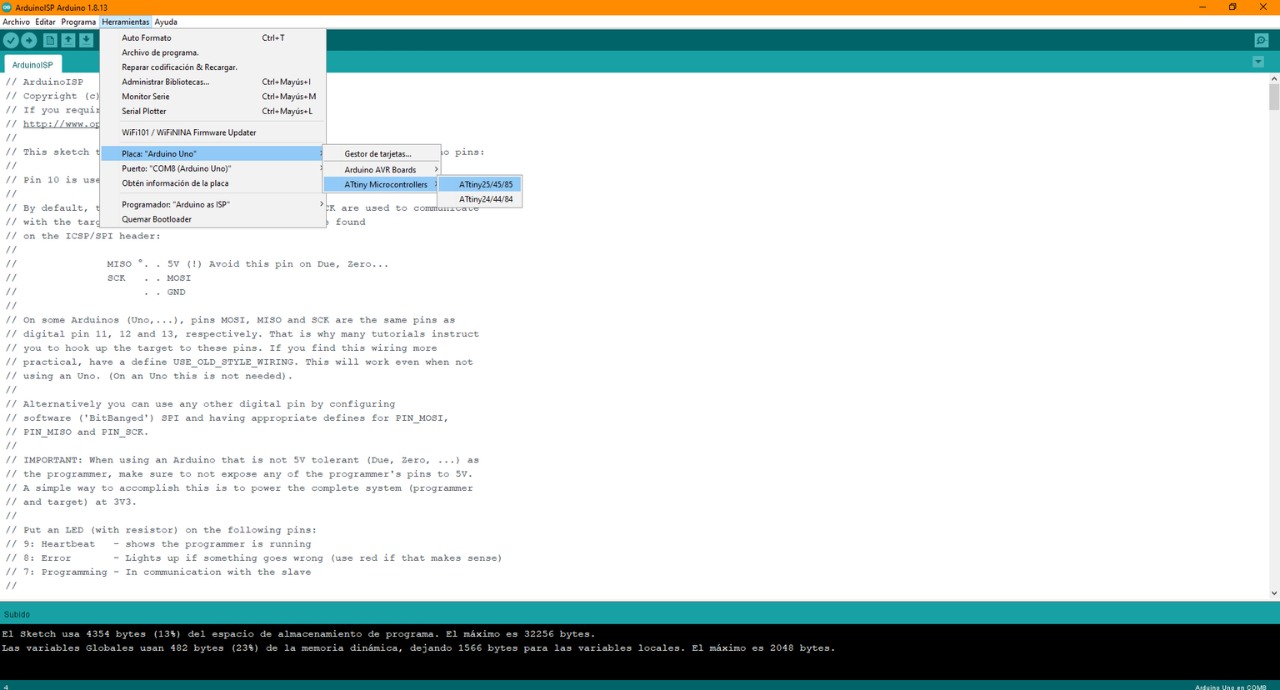
Select Board Arduino UNO > ATtiny microcontroller > ATtiny 25/45/85
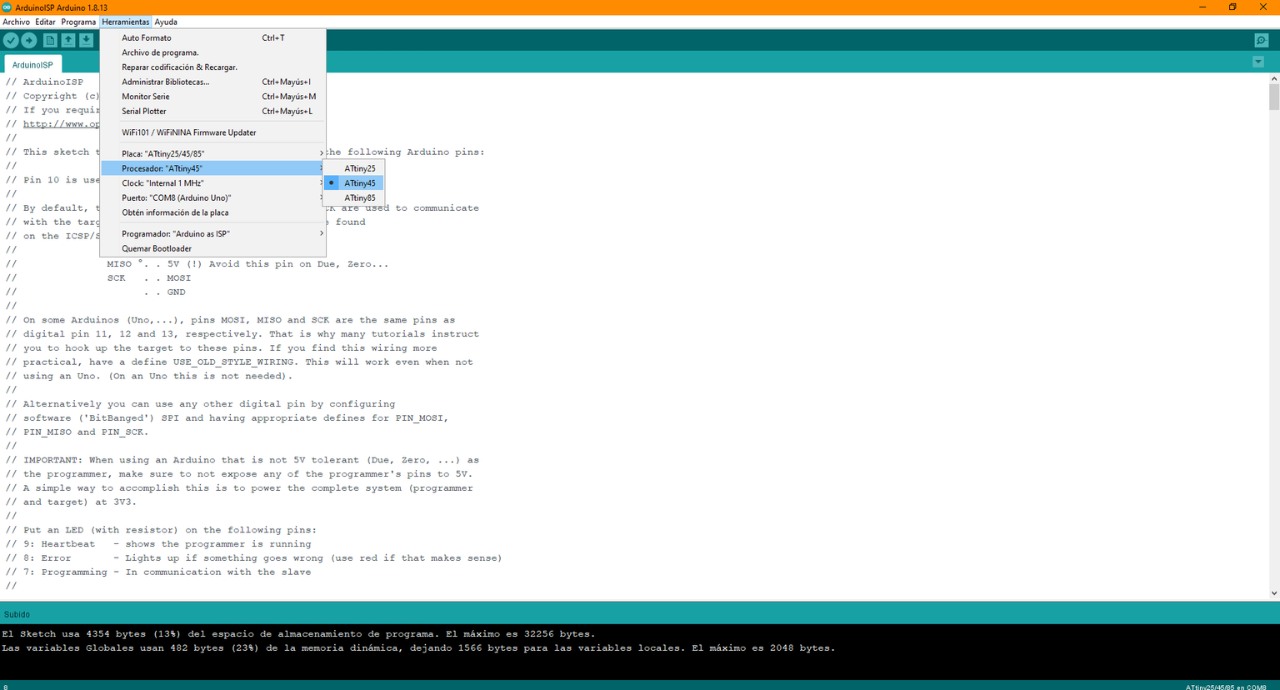
Process ATtiny 45 > ATtiny 45
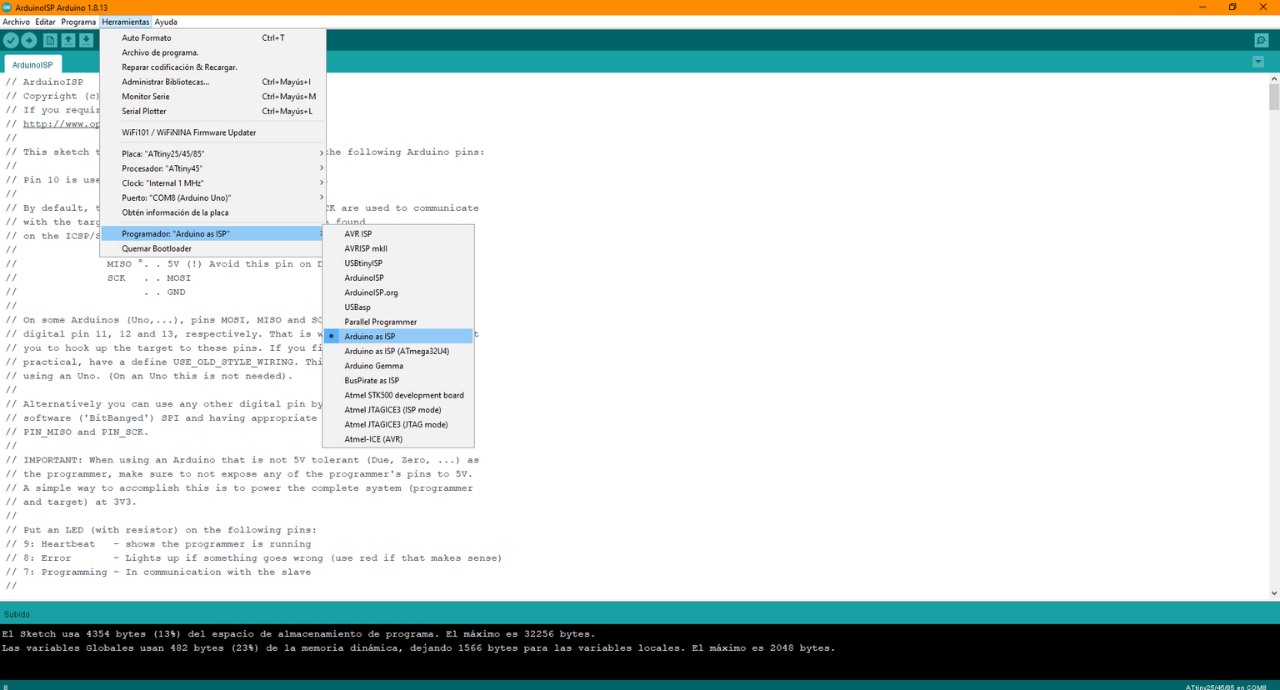
Programmer "Arduino as ISP" > Arduino as ISP
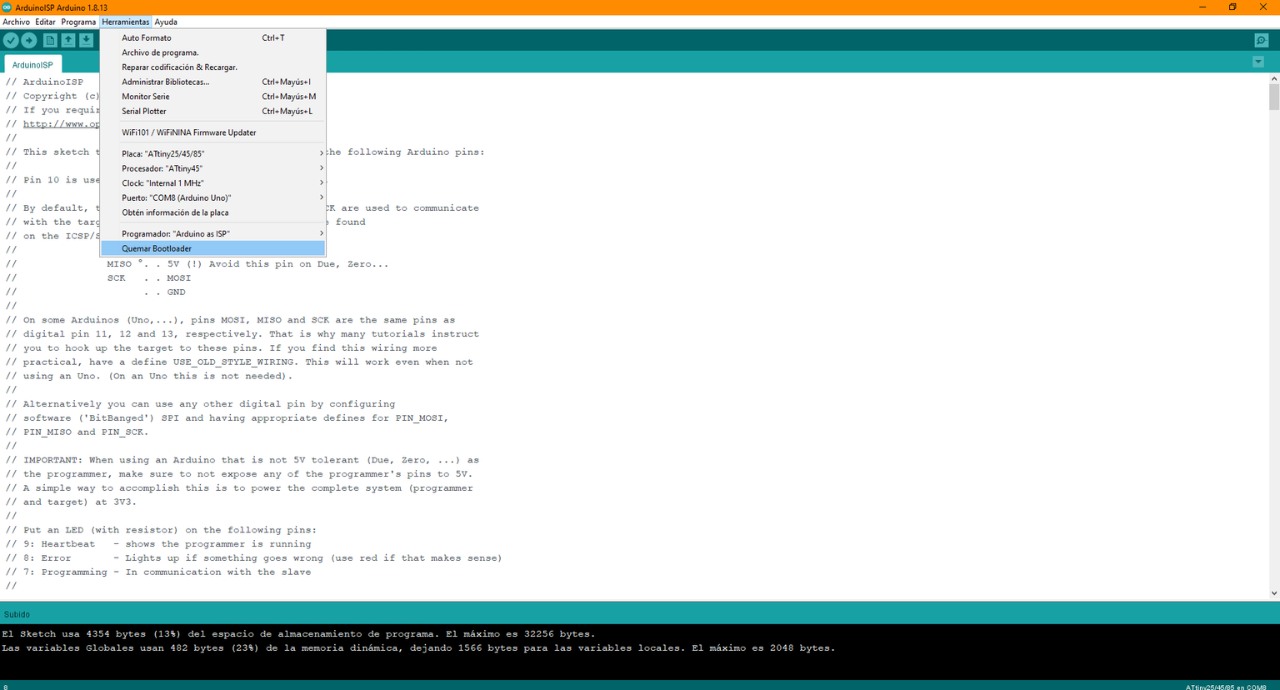
Tools > Burn Bootloader
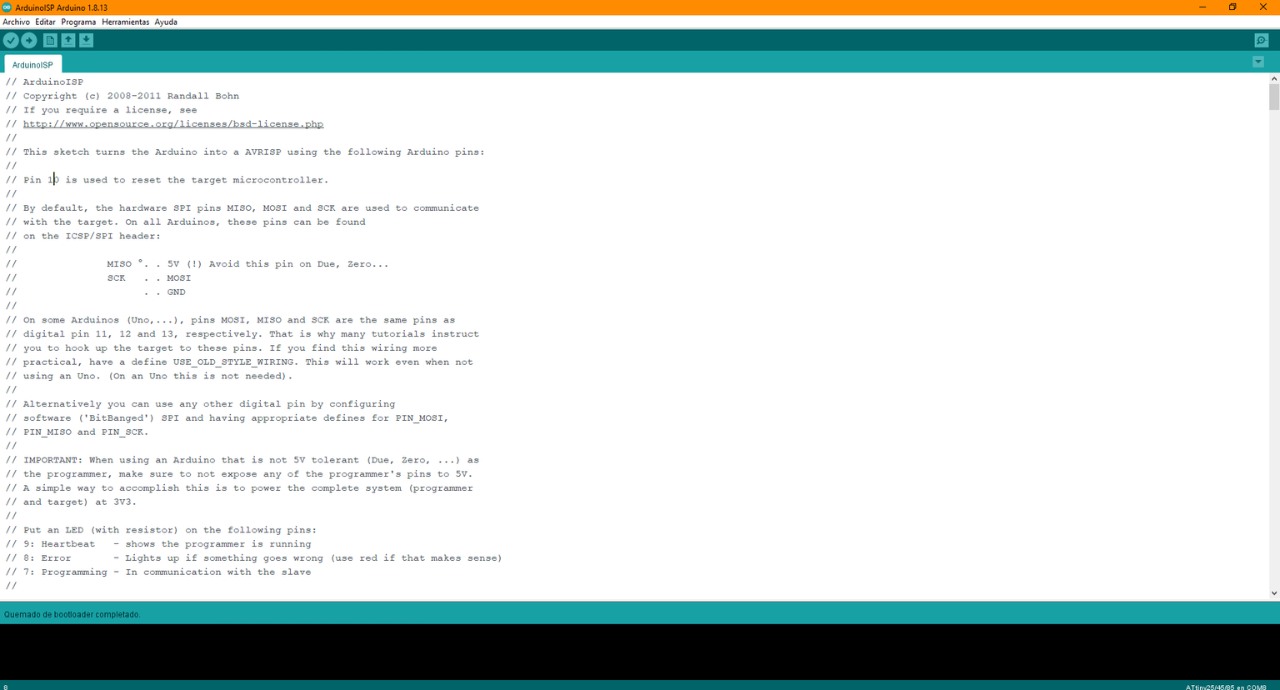
Burning
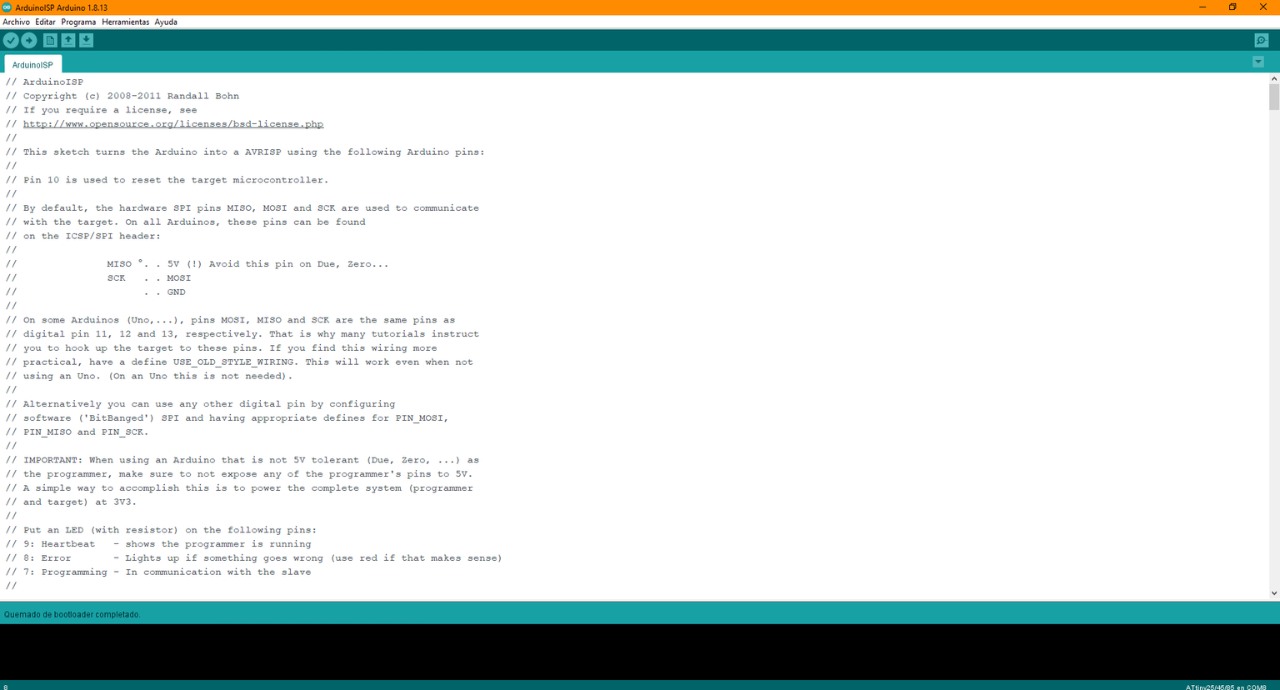
Bootloader burn completed
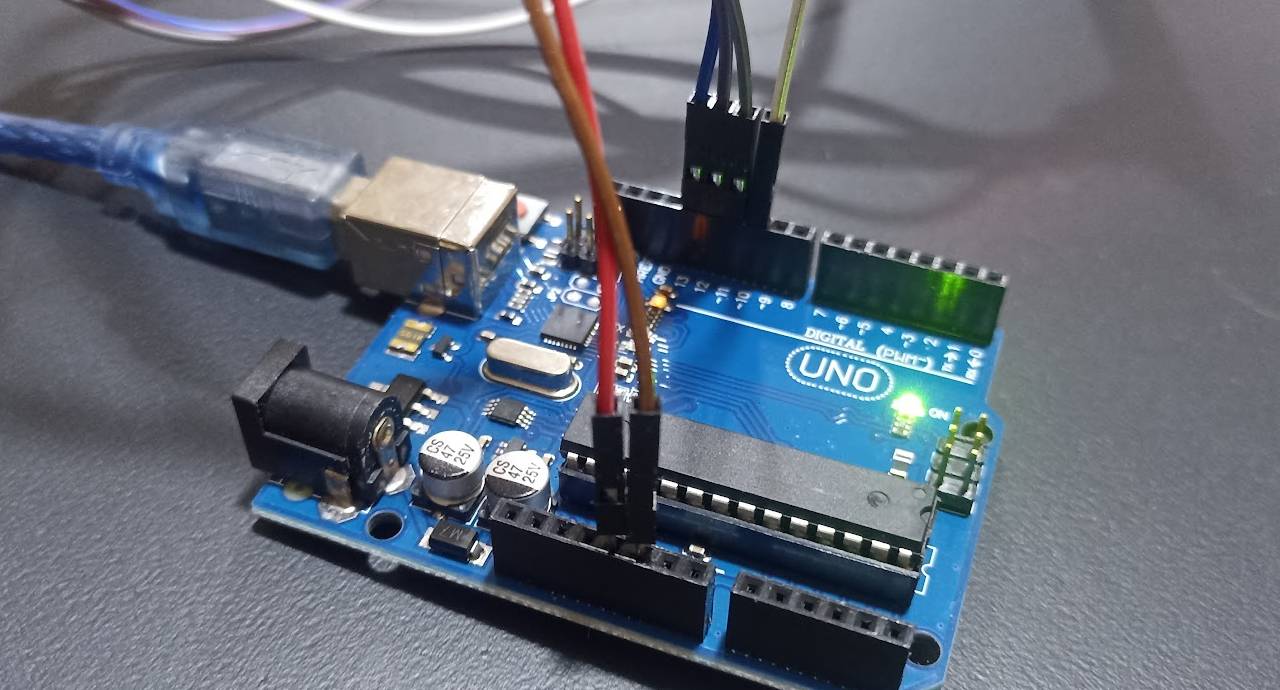
Connections on the arduino
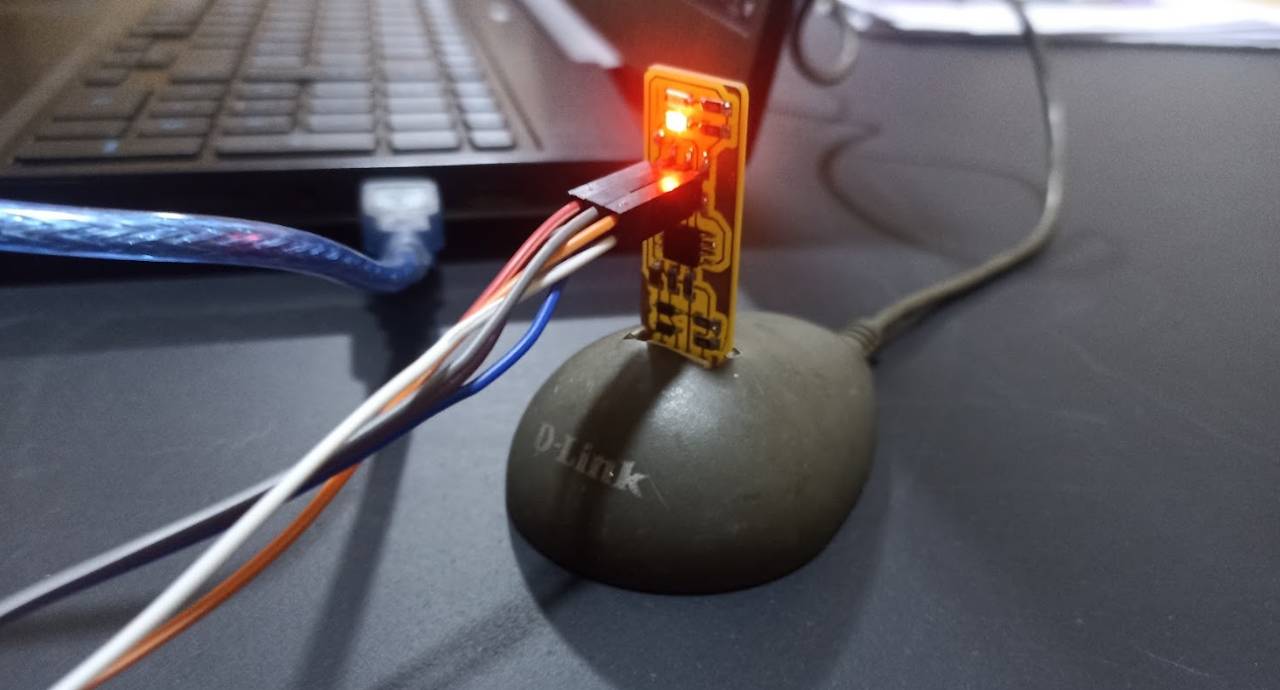
Connections in FabTinyISP
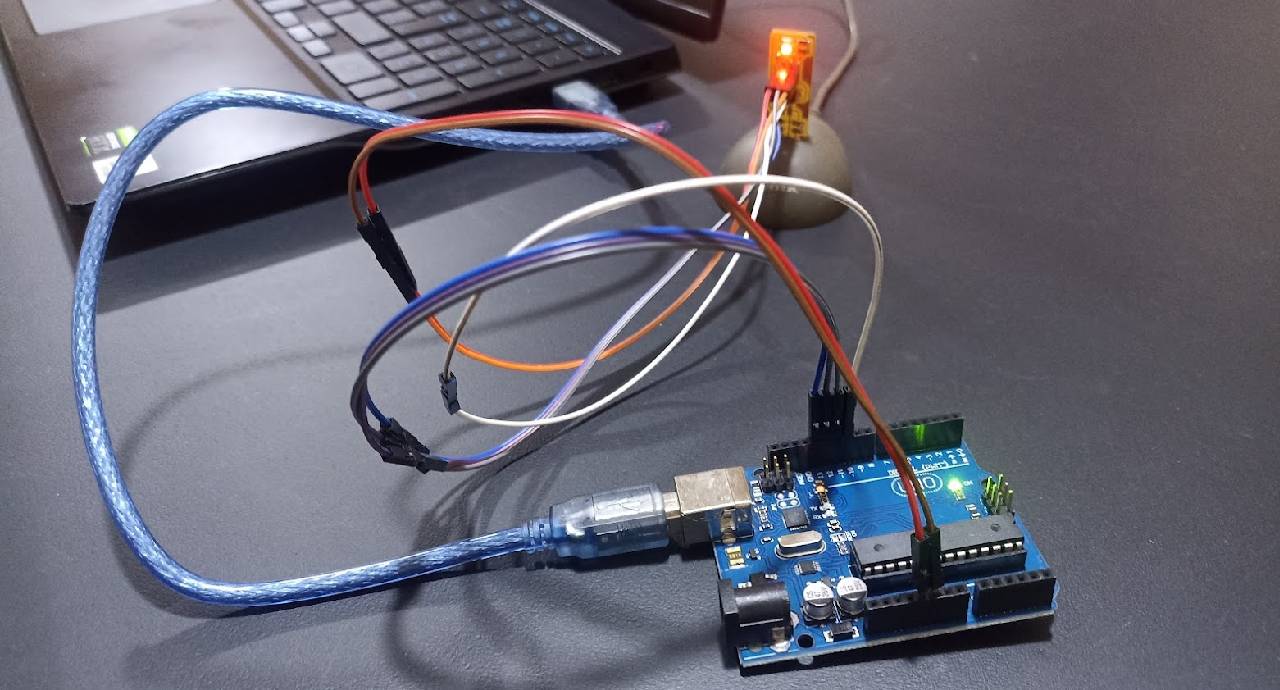
Burning bootloader
Bootloader complete!
AboutLearning
- I learned this week that electronics is a challenge and that if you don't have the right machines and materials on hand, it is difficult to accomplish these tasks.
- For electronics production, it is necessary to have a good bakelite, good milling cutters for precise cutting and also to know how to calibrate the board milling machine very well.
- The collaboration in this first stage was essential for Mayra and for me. With little knowledge in the area we had to do a lot of research on every step we took.
My Verdictfrom what I learned
- Fab Lab Peru's “Modelita” machine is not dead yet. We can revive it if we take the time. I think the Roland machines are of very good quality and last a long time.
- On the other hand, if you do not have the materials for the electronic production it is important that you import the necessary in time, in Peru some materials are still not available.